

Natural Homemade Toothpaste Recipes & Tips From a Dentist
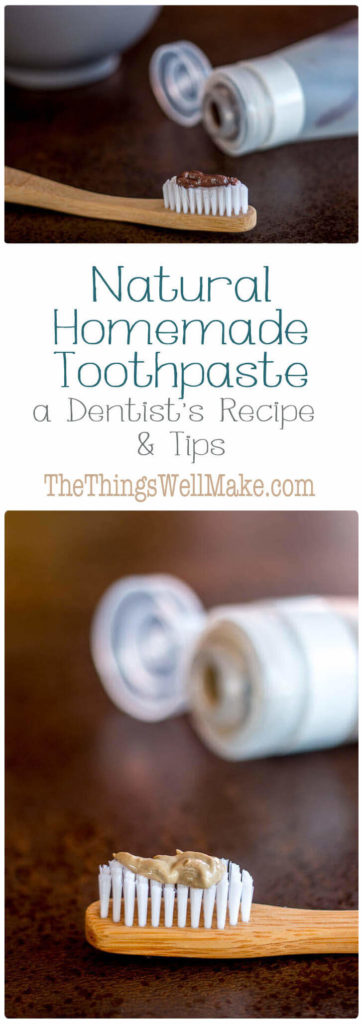
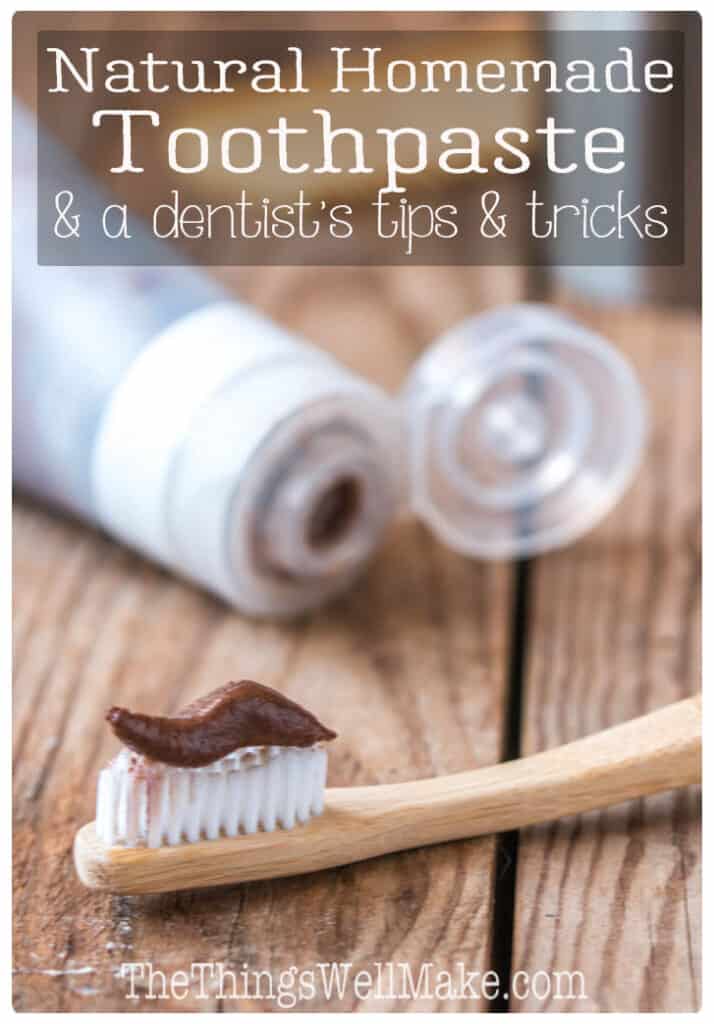
Brush and protect your teeth naturally with these homemade toothpaste recipes and tips for optimal dental hygiene from a dentist.
One thing that doesn’t come up much on this blog is my pre-blogging career. If you’ve read my bio under the post or my “more about me” page, you may already know that I’m a dentist. I earned my D.D.S. degree over 10 years ago from the University of Michigan School of Dentistry.
When I came to Spain, I wasn’t able to validate my degree. With too many dentists here already, they have recently made it mostly impossible for anybody who has studied outside the European Union (in some cases, outside of Spain) to legally practice here.
Rather than do as many foreign dentists and practice illegally under other dentists (for cheap), I began looking for other work and eventually ended up starting my blog. It’s something I absolutely love and now I don’t think I could ever go back.
While I am not currently practicing, I do happen to know a lot about teeth and dental hygiene.
While I’ve avoided writing about dental health up until now, I’ve decided that it’s about time that I help you understand certain things about oral health. I want you to understand why and how we get cavities and gingivitis in the hopes that you can prevent them and take back your dental health.
Disclaimer
This post is meant to be informative only. It is not meant to diagnose or treat any medical condition. While I use these homemade toothpaste recipes myself, I also recognize that there are many dentists who will only approve of fluoridated toothpaste with the ADA seal. (The ADA will only place their seal on toothpaste with fluoride in it.) Keep that in mind when choosing what toothpaste you choose to use.
The importance of brushing your teeth
Brushing your teeth, as you probably know, is very important for your oral hygiene, and serves several important functions.
Remove debris and dental plaque
First, brushing your teeth helps remove food debris and plaque. Dental plaque is a buildup of bacteria that forms on the teeth and gums. Some of these bacteria, mainly streptococcus mutans and other lactobacillus types, metabolize sugars and produce acids that form cavities.
What about cavities?
Normally, your saliva helps buffer the pH and there is an equilibrium between the ions in the hydroxyapatite crystals of your tooth enamel and those floating around in your saliva. In an acidic environment, though, your teeth begin to demineralize.
In other words, in the acidic environment caused by the bacteria, some of the ions dissolve from the enamel crystals leading to what we know as cavities.
When brushing your teeth and removing plaque, you can help prevent that demineralization from happening. You may also use a toothpaste which helps raise the pH and counteracts the acid from the bacteria.
Prevent gingivitis and periodontal disease
Brushing isn’t only about preventing cavities, though. Dental plaque can also harden into what is known as tartar which can lead to gingivitis (inflamed gums) and periodontal disease (bone loss around your teeth).
Removing the plaque, then, is important for both preventing cavities and for preventing gingivitis and periodontal disease.
Gingivitis & Periodontal Disease
Gingivitis, or gum disease, when left untreated can progress to become periodontal disease that affects the bone structure holding your teeth in place.
Maintaining healthy gums
Apart from removing the plaque from your teeth, brushing your teeth also helps massage your gums, stimulating better circulation for healthier gums.
Even those without teeth should brush their gums regularly to help improve circulation and ensure healthier tissues!
What about toothpaste, though?
The purpose of toothpaste
Toothpaste is normally formed of abrasives, active ingredients, and flavorings. It is intended to help remove plaque and freshen your mouth. At the same time, it can also deliver active ingredients meant to help protect against caries (aka. cavities).
Fighting plaque?
Many people think of toothpaste as being the important part of your dental hygiene routine. They think that something magical in the toothpaste will help eliminate plaque and keep you from getting cavities. Unfortunately, it’s not that simple.
In fact, if you’re using toothpaste mainly as a means of removing plaque, you may be surprised to find that a review study done recently found that using a toothpaste when brushing didn’t provide any extra plaque removing abilities.
So, brushing your teeth, even without any toothpaste at all, already does a pretty good job of removing plaque and helping in the fight for optimal dental health.
But does toothpaste serve another purpose?
Active ingredients in toothpaste
Most commercial toothpastes have additives meant to help prevent cavities in other ways.
Fluoride
Fluoride is the most popular active ingredient added to toothpaste.
How does fluoride prevent dental cavities?
Fluoride is added to toothpaste in an effort to remineralize teeth that have been demineralized by the bacterial plaque. Under the right conditions, the fluoride ion can substitute part of the missing crystalline structure of the enamel.
Enamel is mostly formed of what it called hydroxyapatite (Ca10(PO4)6(OH)2), but fluoride ions can become incorporated into the enamel structure forming what is known as fluorapatite (Ca10(PO4)6F2).
In the presence of fluoride, remineralization takes place more quickly. The newly formed fluorapatite is also said to be less soluble than hydroxyapatite. That means that it is less likely to demineralize again if and when the acidic conditions return.
The problem with fluoridated toothpaste
While adding fluoride to toothpaste can help prevent cavities, it also brings with it toxicity concerns. At high doses, fluoride may affect bone formation, cause digestive issues, kidney problems, or suppress the thyroid.
At lower doses it can cause cosmetic issues like fluorosis of the teeth, something I know from experience, as I have mild dental fluorosis myself.
To prevent having toxic amounts of fluoride in the toothpaste, in case young children were to ingest an entire tube of toothpaste, the levels of fluoride in toothpaste are pretty low for a topical application.
Is fluoridate toothpaste effective?
When you think about it, the method of trying to incorporate fluoride into the tooth structure through toothpaste doesn’t sound that effective.
Most people are brushing for only a minute or two at best, simultaneously removing the layer of plaque while trying to topically deliver a dose of fluoride to the teeth. In order to incorporate the fluoride ion into the enamel structure, you need an ideal environment with a high pH.
To make up for the non-ideal method of giving your teeth their fluoride dose, they tell you that you shouldn’t be rinsing after you brush to help keep the fluoride in contact with your teeth for longer. (Of course, that also means that you have the fluoride in your mouth for longer and are involuntarily swallowing small amounts of it during that time.)
Toothpastes with a higher concentration of fluoride are available with a prescription, but should be used with caution.
Each person has to weigh out the potential benefits and risks of using a fluoridated toothpaste. While fluoride may help in the fight against cavities, relying on fluoride toothpaste to keep cavities away isn’t your best bet.
Cleaning up your diet, and removing cavity-causing foods, is not only a healthier way of keeping cavities at bay but it also a lot more effective. (If there’s enough interest, I can give my tips for keeping cavities away some other day!)
Plus, there are other less toxic substances that can help with remineralization instead…
Other Problematic Ingredients
Sodium Lauryl Sulfate
The main ingredient I wanted to avoid, found in most commercial toothpaste, is sodium lauryl sulfate (SLS). Both my husband and I used to get canker sores quite often, and SLS in toothpaste has been linked to an increased recurrence of canker sores.
SLS is a surfactant that helps give toothpaste its foaming quality. In exchange, it can irritate the mucosa of your mouth. If I wanted a foamy toothpaste (which I don’t), I’d probably just follow Dr. Bronner’s advice and use liquid Castile soap instead. (For the DIY-ers who want to try it, I have several liquid Castile soap recipes up on the blog).
Ditching the SLS has been enough to keep our canker sores away for years now. I can’t remember the last time I got one.
Triclosan
Triclosan is an antibacterial agent that remains in your mouth for hours after having brushed your teeth. It is added to prevent bacterial plaque from forming, thereby preventing cavities, gingivitis, and periodontitis. It has been removed from most brands due to safety concerns, but Colgate still uses it in its Colgate Total® toothpaste. While their studies conclude that the benefits outweigh the risks, there isn’t really a lot of nonpartial data to study.
Triclosan has been banned from hand soaps because it was shown that antibacterial soaps weren’t more effective than using plain soap. Also, using antibacterial agents like Triclosan risked the creation of antibacterial resistant bacteria. It was allowed to remain in toothpaste, though, because Colgate convinced the government of the increased potential benefit.
I have several problems with it.
One, Triclosan has been shown to be a hormone disruptor.
Two, just as taking antibiotics every day isn’t the best way to keep yourself disease-free, I can’t imagine using antibiotics in your mouth is the best way to keep your mouth disease-free.
Our digestive system has a delicate balance of “good” and “bad” bacteria. Taking antibiotics constantly can wreak havoc on our digestive system by killing off the good bacteria along with the bad. I’d imagine that our mouths, the beginning of the digestive system, is the same way.
Without knowing more, I don’t like the idea of risking throwing off the balance of bacteria in my mouth, especially not as a preventative measure.
If you were dealing with a period of rampant cavities or have severe gingivitis and/or periodontitis, using a topical antibacterial agent may be helpful to control the disease for a short time, just as you’d use an antibiotic for a short period of time to deal with other diseases.
In this hypothetical situation, though, it would really be a lot more effective, and healthier, to find and remove the cause of the rampant caries instead. (Perhaps someone was sucking on cough drops all day to deal with a sore throat and cough, not realizing that the habit was also causing multiple cavities. Rather than use an antibacterial agent against the cavities, it would be more helpful to identify the cough drops as the culprit and either stop using them or limit the way they were used.)
Video
Formulating a natural homemade toothpaste
Today, I’m going to share with you several different methods of making homemade toothpaste.
Oil-Based vs. Water-Based
In the interest of avoiding the need for preservatives, many (most) recipes for a natural, homemade toothpaste are oil-based.
Most commercial toothpaste, on the other hand, is water-based. Once you add water to a homemade natural product recipe, though, you are also introducing a source for bacterial growth to form. That is why many prefer using either an oil-based toothpaste or a homemade tooth powder.
So, if we want to make a water-based natural homemade toothpaste, we’ll need to choose ingredients that make the toothpaste not very hospitable for bacterial growth. Several ingredients in the toothpaste will help keep the toothpaste safe to use for longer.
Ingredients
Coconut oil
Coconut oil is a commonly chosen oil for oil-based toothpaste because it has some antibacterial and antifungal properties. The antimicrobial qualities of coconut oil aren’t enough to wreak havoc on the balance of bacteria in your mouth.
Because coconut oil is solid at colder room temperatures, you can use that to make a thicker, more consistent toothpaste. The disadvantage of relying on its solid consistency is that it is temperature-dependant. The texture of your recipe will change from season to season, giving you a thinner toothpaste in the summer, and possibly a hard-to-use, almost solid toothpaste in the winter.
I’ll be sharing an oil-based toothpaste recipe using coconut oil, but you can adjust the amount of oil used to adjust the consistency as needed.
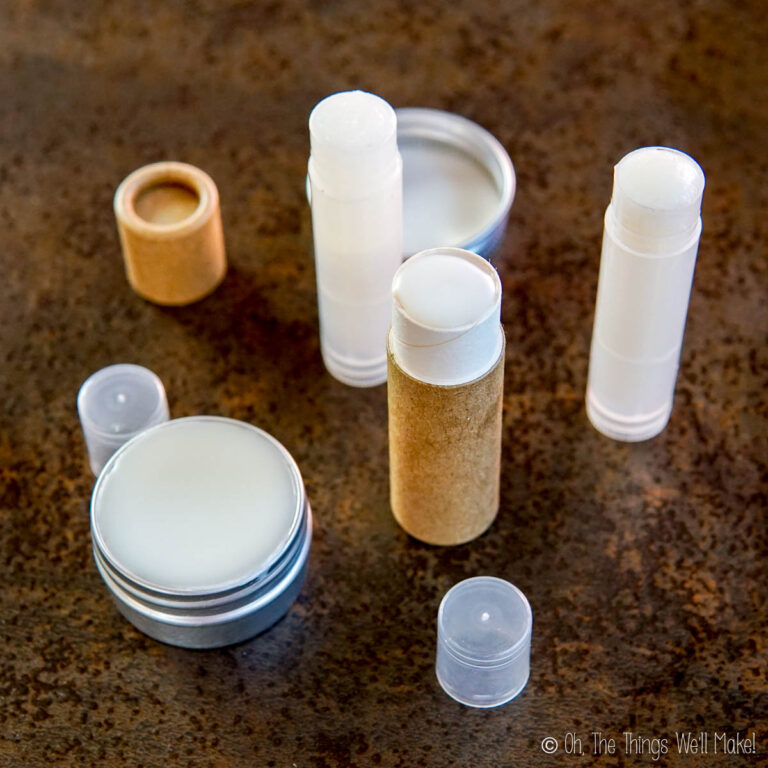
This recipe can also be made with fractionated coconut oil (which doesn’t solidify at 76ºF), or a different liquid oil, if you find that it’s too hard to use it in winter. (I like using a silicone travel tube for dispensing my toothpaste, but in the winter, if the toothpaste solidifies, it can be difficult to dispense the toothpaste from those dispensers.)
Want to use a different oil?
Olive oil would be another good choice for making a homemade oil-based toothpaste as it also has anti-inflammatory properties and can benefit endothelial function.
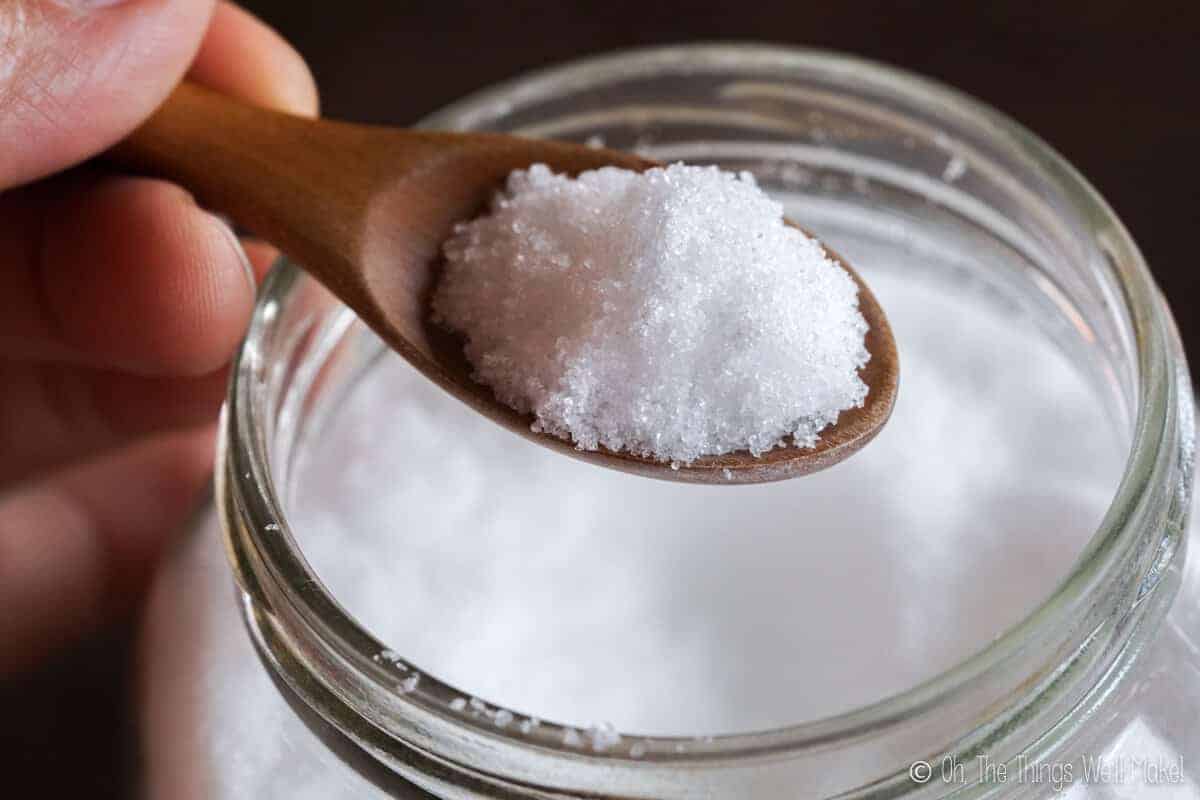
Salt
Just as salt helps preserve foods like sauerkraut, kimchi, salt cured olives, and homemade anchovy fillets, adding salt to the toothpaste will help inhibit the formation of dangerous bacteria. It may have other beneficial properties.
If you are using a mineral-rich salt, like pink Himalayan salt, these minerals may aid in the remineralization of your teeth. Apart from that, salt can help stimulate saliva formation, which, in itself, can help keep cavities away. Saliva helps buffer the pH, so the acid from the bacteria in plaque doesn’t eat away at your tooth enamel. (That’s why having a dry mouth can be a major factor in cavity formation.)
Baking soda
Baking soda can be found in a lot of toothpastes. It’s a different sort of salt that helps raise the pH of your toothpaste. The alkalinity of the baking soda can help neutralize the acids in your mouth, which can help fight cavities. (Remember: it’s the acids from the bacteria that lead to cavities in the first place.)
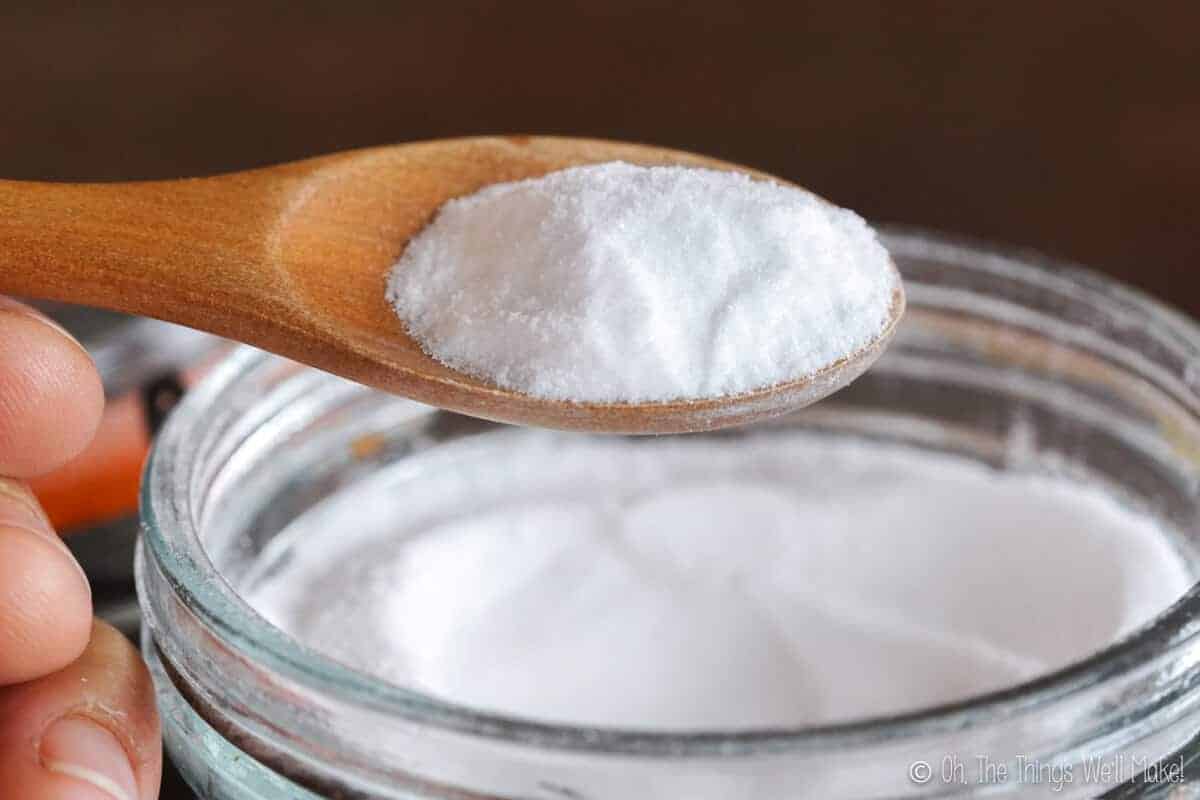
The high pH of the baking soda (around pH=9) also helps preserve the toothpaste in a way. Most bacteria prefer a pH near neutral (pH=7). While there are some microbes, called alkaliphiles, that can survive in alkaline environments of 8.5-11, most won’t cause us issues at high pH’s for homemade cosmetics.
In combination with the salt, raising the pH of the toothpaste with baking soda helps create a not-so-hospitable environment for bacteria and mold. That’s what is preserving our toothpaste.
We should still be cautious and make small batches of water-based toothpaste, just in case, since most of us won’t be doing periodic microbial testing.
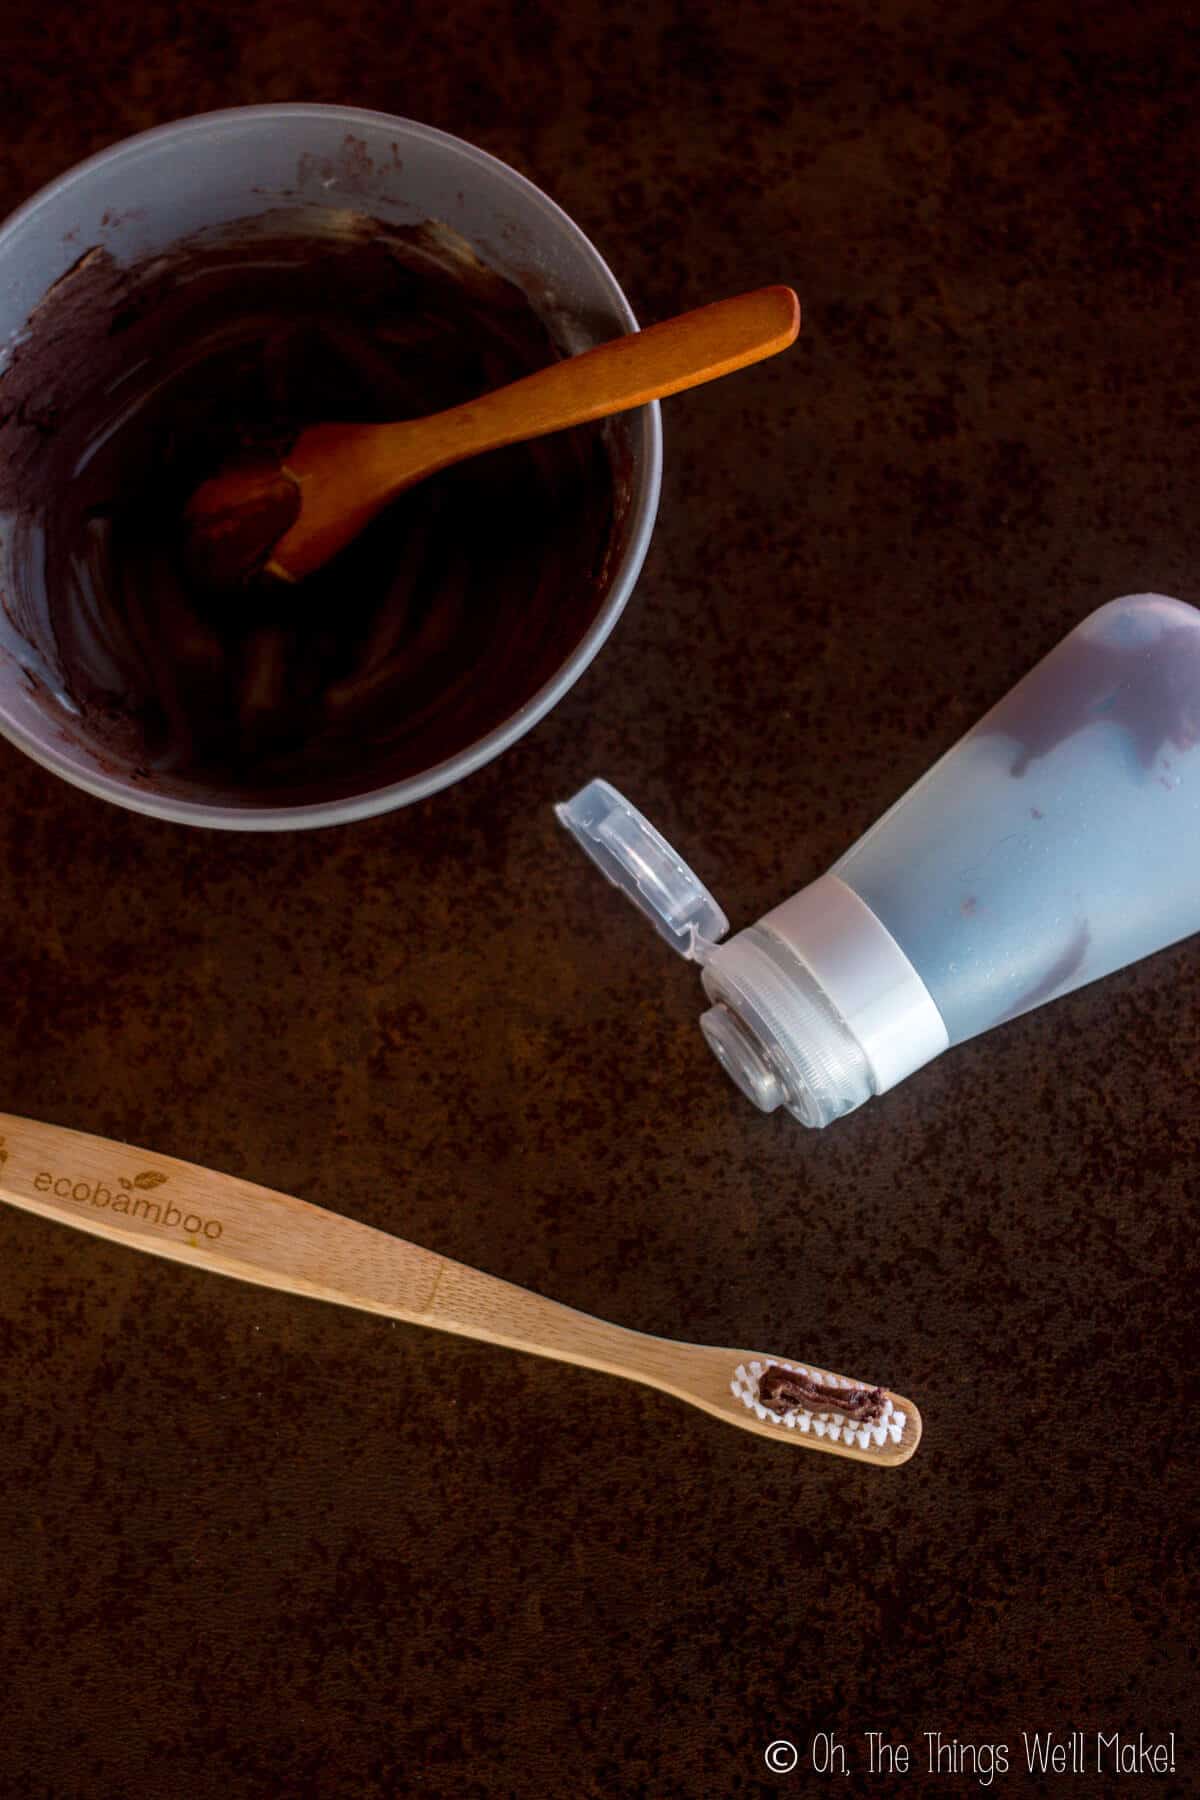
It’s also especially important not to contaminate a homemade water-based toothpaste by dipping your toothbrush into it. Either use a clean spoon to remove a small portion of the toothpaste from a jar or dispense it from a tube. Either will minimize contamination with bacteria.
Is Baking Soda too Abrasive?
Some people are concerned about the abrasiveness of baking soda.
Baking soda has a rating of 2.5 on Mohs Hardness scale and a rating of 7 on the RDA (Relative Dentin Abrasivity) scale.
Tooth enamel falls at a 5 on the hardness scale. Baking soda, in itself, will not harm it. (That’s assuming you are brushing gently with a soft toothbrush as you should be. Otherwise, you can do damage with or without the baking soda!)
The rating of 7 on the RDA scale is lower than any other dental product. The only thing written lower on the scale is brushing with only water.
Remember, having some abrasion is good as it help to polish tooth surfaces.
f you have sensitive teeth, be especially careful when brushing under the gumline. It’s important to brush there, as that is where a lot of plaque accumulates and can cause problems. That said, dentin is softer than tooth enamel and doesn’t hold up as well to abrasives.
Brush that area thoroughly, yet gently!
Bentonite clay
Bentonite clay is a great addition to homemade toothpaste because it helps give your toothpaste consistency. Here in Spain bentonite clay isn’t as commonly found, and homemade toothpaste recipes usually call for white clays like kaolin clay instead.
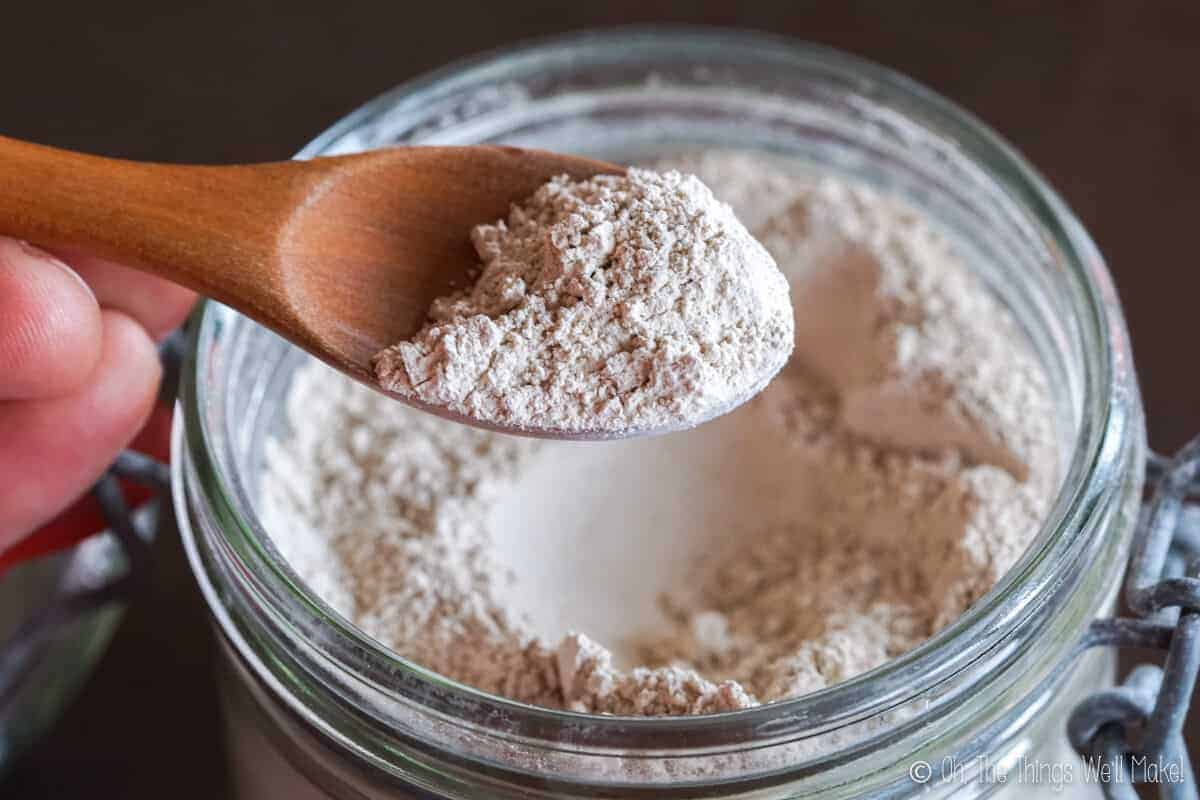
While either is fine, I tend to prefer bentonite clay for several reasons. Bentonite clay has a high pH, (pH=8-9.7), which, once again, helps to combat cavities.
Bentonite is also said to bind to toxins and impurities to help remove them. Whether or not that is true and helpful in the context of a homemade toothpaste (I wasn’t able to find any studies to support or oppose that idea), it is a clay that can be easily found food-grade, and one that is extremely useful to have on hand anyway. I use it often in my activated charcoal facial mask, and it works wonders on my oily, acne-prone skin.
Warning
Clays are notoriously difficult to preserve because they tend to absorb any preservatives added to them. That can inhibit the function of those preservatives in a mixed product.
I had considered trying to add a food-safe preservative like sodium benzoate or potassium sorbate to extend the shelf life of the water-based toothpaste. Both of those preservatives, though, have lower pH’s and only are effective at lower pH’s. So, I doubt they would provide any benefit. Adding them might actually make the toothpaste more prone to bacterial growth by lowering the pH.
This toothpaste is very similar to Earthpaste, a popular clay-based toothpaste without preservatives. They have answered questions about preservatives by saying that the salt acts as a preservative in their product.
I’m assuming they’ve done their due diligence and have done microbial testing on their product to ensure it’s safe. That, however, is something most MIY-ers (make-it-yoursef-ers) aren’t going to do.
So, keep that in mind when making the water-based toothpaste. Be careful about substitutions to the recipe which may make it more prone to microbial growth. Also, be careful about not contaminating your toothpaste with each use. Try to keep the water content low by not making your toothpaste too thin. Lastly, it’s always a good idea to make smaller batches so as not to keep it around too long.
Without microbial testing, I can’t ensure how long, exactly, it will keep.
Xylitol
Xylitol is an interesting sweetener because not only does it NOT cause cavities, it may actually help reduce them.
When I was in dental school, prescriptions for a xylitol gum were sometimes given to patients with a tendency towards cavities. These gums work in several ways. The act of chewing gum stimulates saliva production, which helps keep saliva in contact with the teeth to help buffer the acids that can damage your teeth. If you are using a gum with sugar, though, you’re causing more harm than good.
Xylitol on the other hand seems to discourage the formation of cavities by helping to raise the pH of saliva in the mouth. While some modern studies are calling into doubt just how much of a help it really is, it is still a sweetener that is safe for your teeth and is great for homemade toothpastes.
Xylitol Warning
While xylitol is the perfect choice for sweetening homemade toothpaste and tooth powder for humans, it is toxic to dogs and cats. (And, perhaps, some other animals.)
Do not use it on your pets and keep it out of their reach!
If you’d like to make a homemade toothpaste for your pet, there is no need to add any sweetener. I’d also avoid essential oils as they aren’t necessary and some may be problematic for animals.
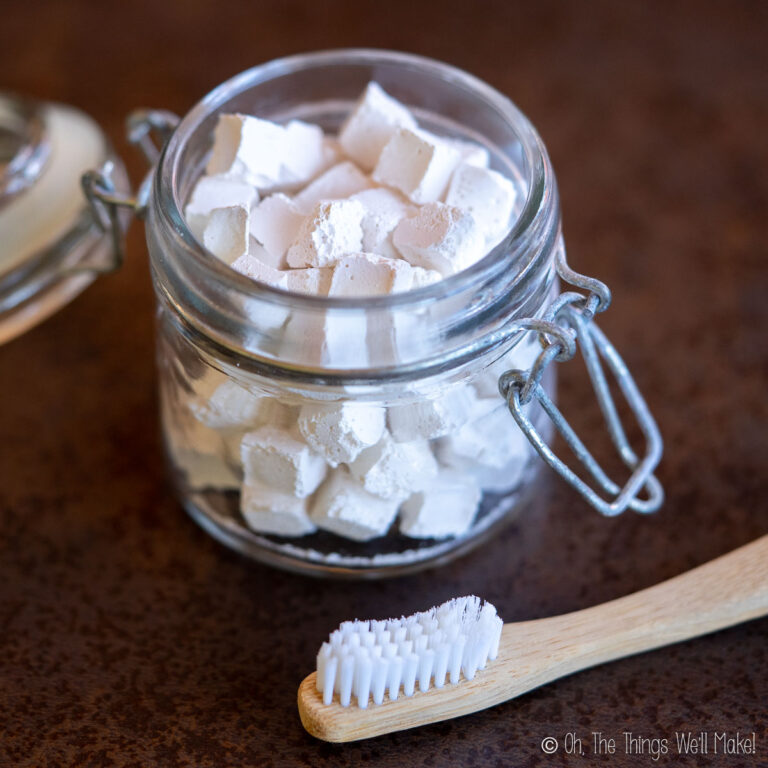
Perhaps a homemade tooth powder (minus the essential oils) would be a better option for pets!
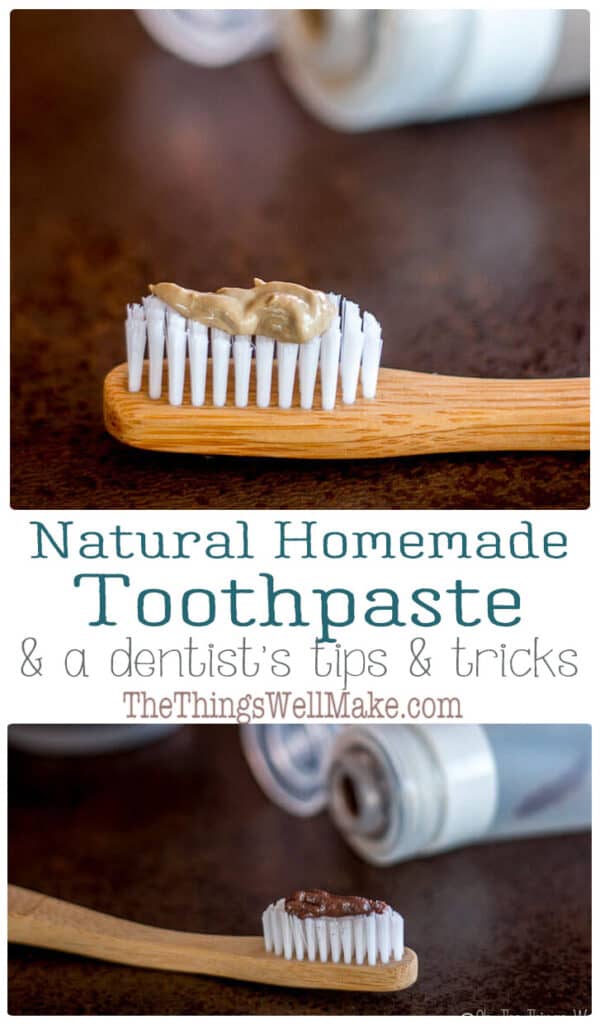
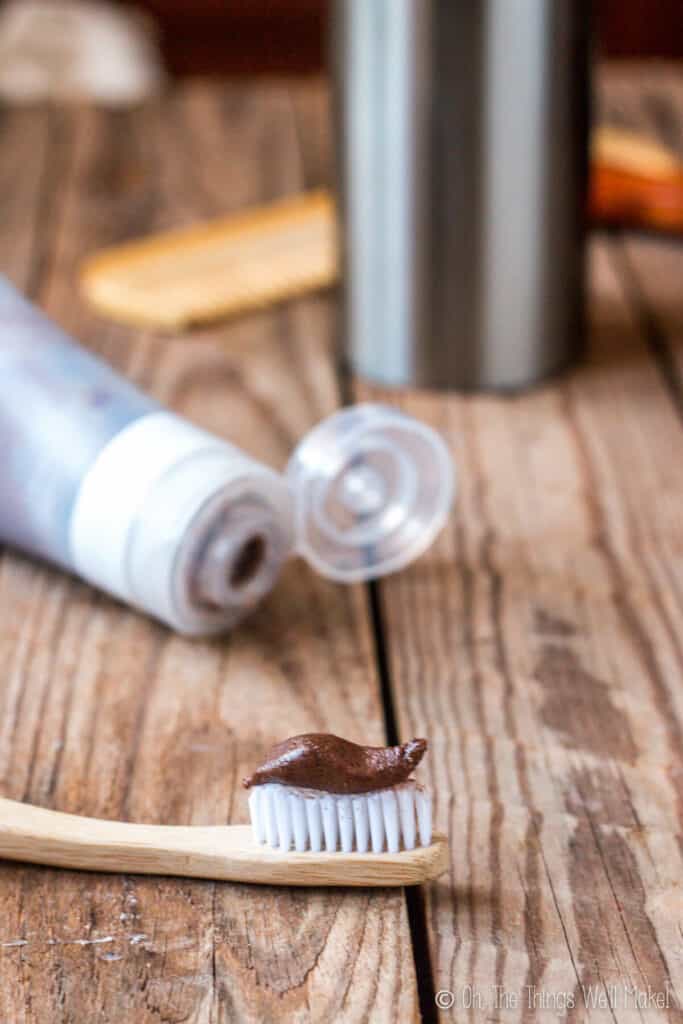
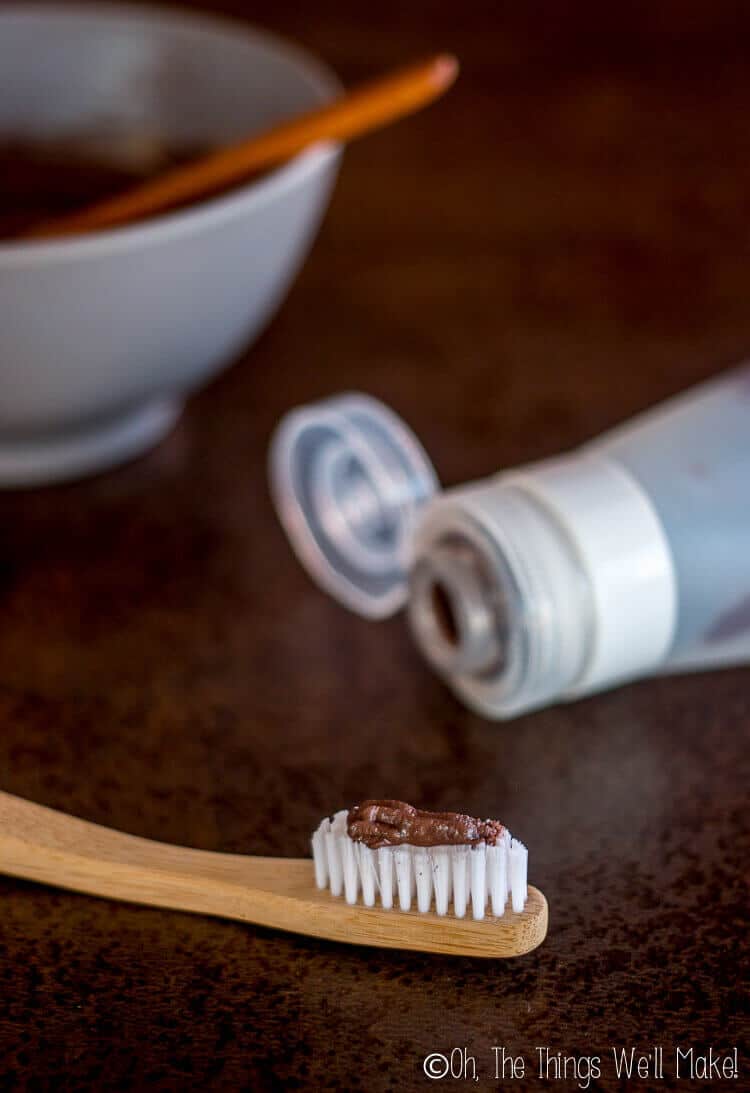
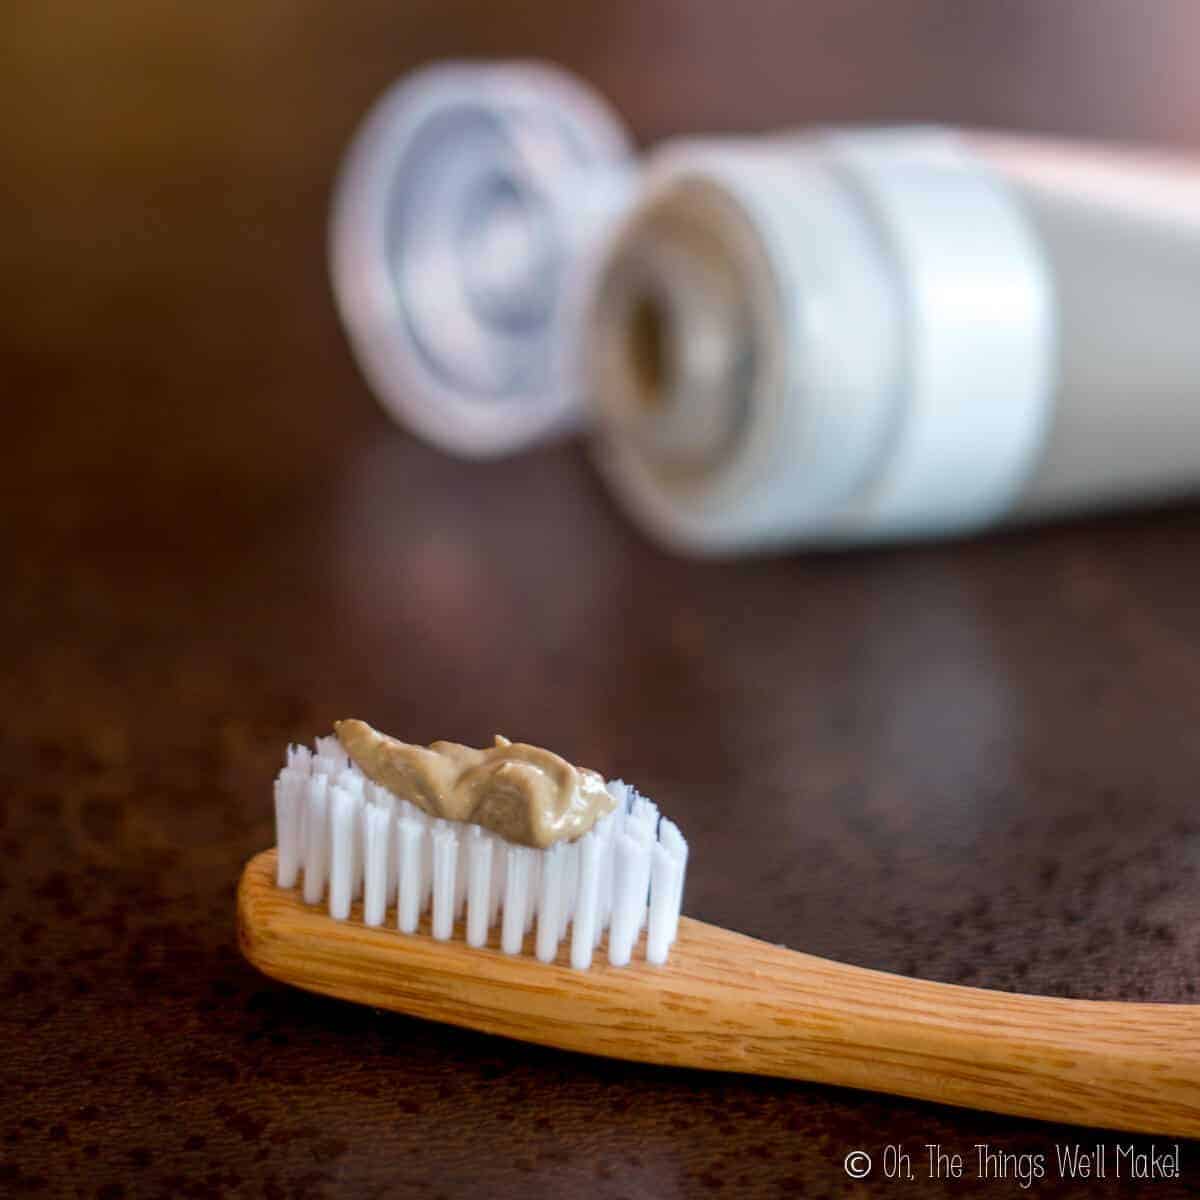
Cacao
Cacao is a fun addition to your natural homemade toothpaste that may make it a lot more appealing to kids. Theobromine, one of the components of cacao, has shown promise in the remineralization of teeth. In fact, some have said that theobromine may be a safer, better alternative to fluoride in toothpaste.
I came across its beneficial effects on teeth by accident when I saw people raving about a chocolate toothpaste in an online forum. I was tempted to buy it and test it out, but there were a few things I didn’t like about that particular toothpaste.
Apart from being quite expensive, it seems to be glycerine-based. I haven’t found any studies to back up the popular idea that glycerin inhibits the remineralization of teeth, but like to avoid it here just to err on the side of caution.
Does cacao stain your teeth?
I’ve been using homemade toothpastes with cacao in various forms on and off for almost 2 years now with no signs of staining. I’ve also read mixed things about whether or not it “should” stain your teeth.
Some hypothesize that because the theobromine helps strengthen teeth, cacao could help prevent any staining. In the end, I have to admit that I’m not sure, but can only state that I haven’t noticed any staining after years of using it.
You can use ground cacao nibs or cocoa powder, but I’ve found that even when grinding up the nibs finely in a coffee grinder that little bits stay behind and get stuck between your teeth. While that’s a great incentive to floss, it’s likely off-putting to most.
Cacao will leave dark marks on your sink if you don’t rinse well after spitting it out. While it doesn’t normally stain the sink, it can make for a messy looking sink. If that will bother you, leave the cacao out!
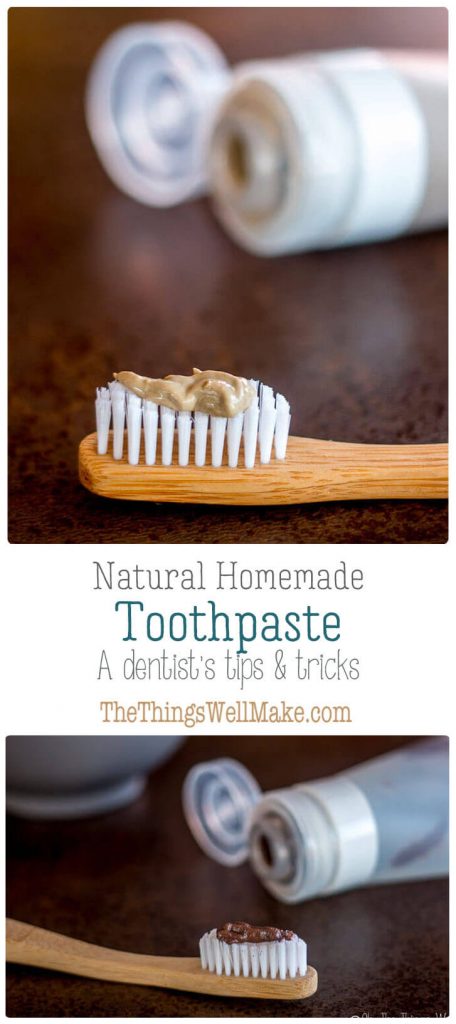
Oil-Based Homemade Natural Toothpaste
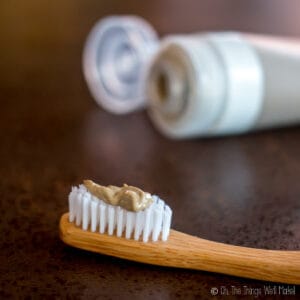
Oil Based Homemade Toothpaste
Makes around one liquid ounce- can double or triple the recipe as needed to fill your particular tube.
Materials
- 2 Tbsp. coconut oil more or less, depending on the desired consistency (can use other oils)
- 1 Tbsp. bentonite clay
- 2 tsp. cacao unsweetened, optional
- 1 tsp. xylitol
- 1 tsp. baking soda
- peppermint essential oil optional, for taste
Instructions
- Mix together all of the dry ingredients. If you are using cacao nibs, or you find that the ingredients are too abrasive for you because you have sensitive teeth or gums, you can pulverize them in a coffee grinder. (I normally use cocoa powder, and don’t grind the ingredients further, but it is an option.)
- Add coconut oil, little by little, until you reach the desired consistency. If using a silicone travel tube for storage, you may want to add a bit more to make it flow easily when dispensing. In the winter, you may use fractionated coconut oil or a different liquid oil to keep the toothpaste from solidifying.
- Fill your silicone tube or storage containers with the toothpaste. It’s now ready to use!
Notes
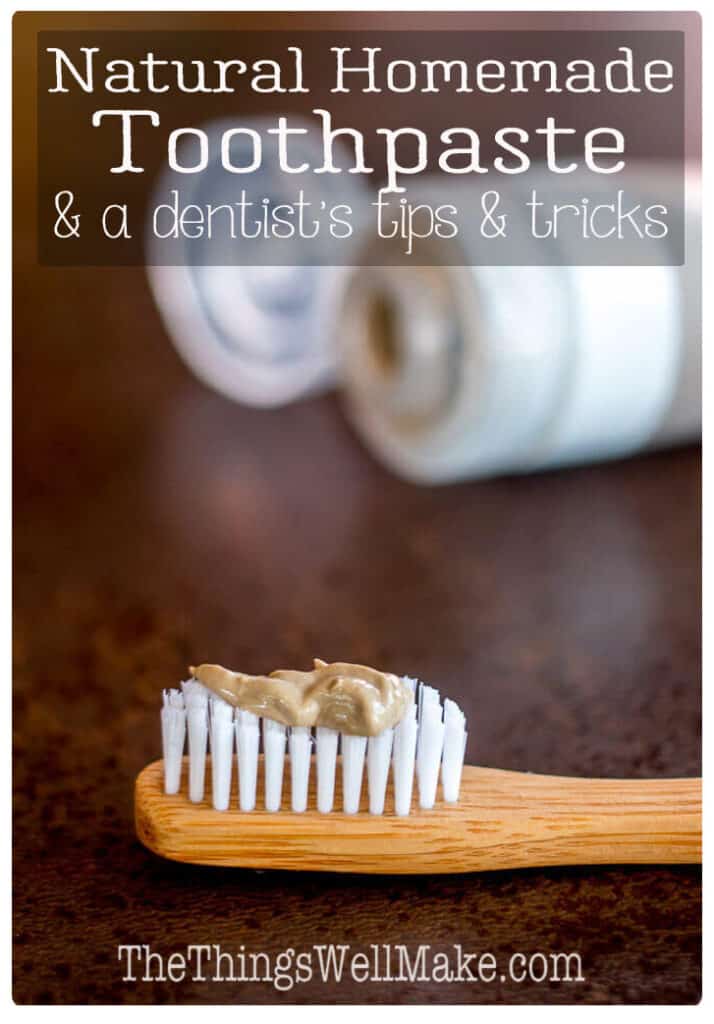
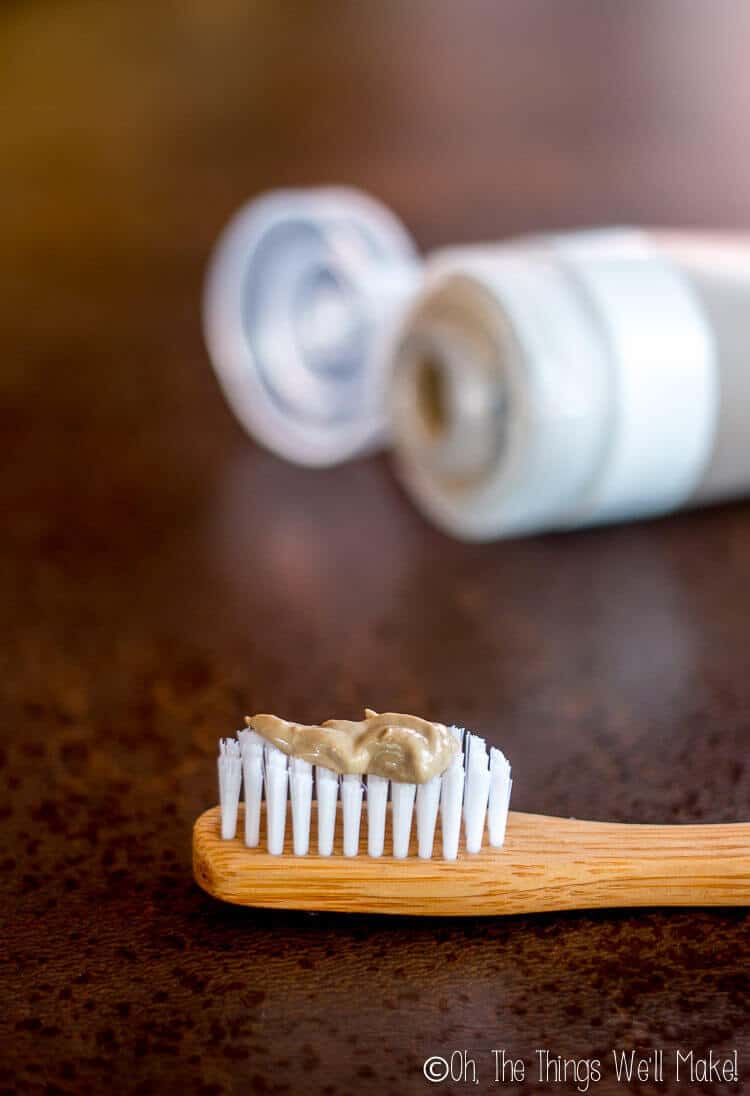
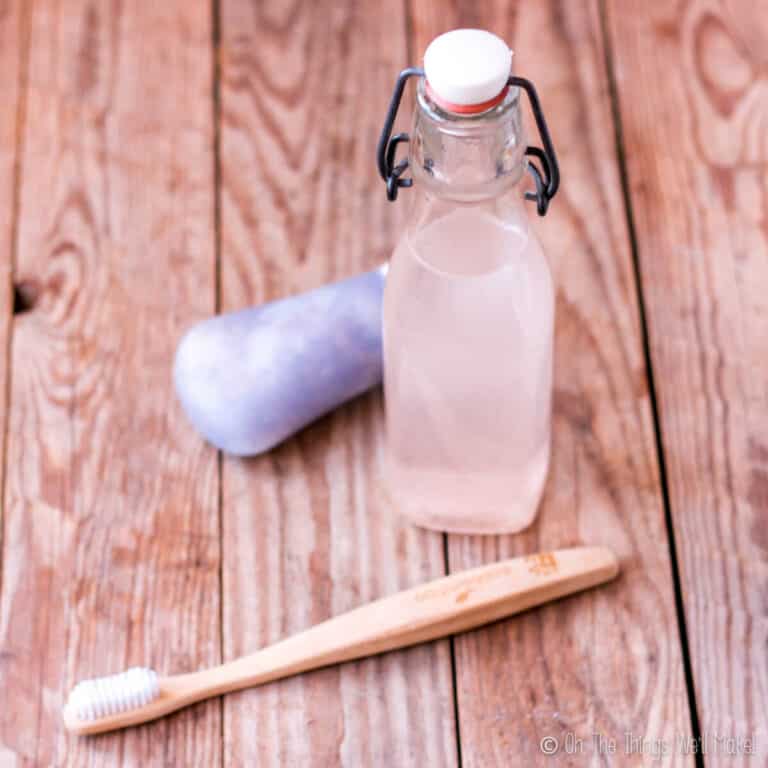
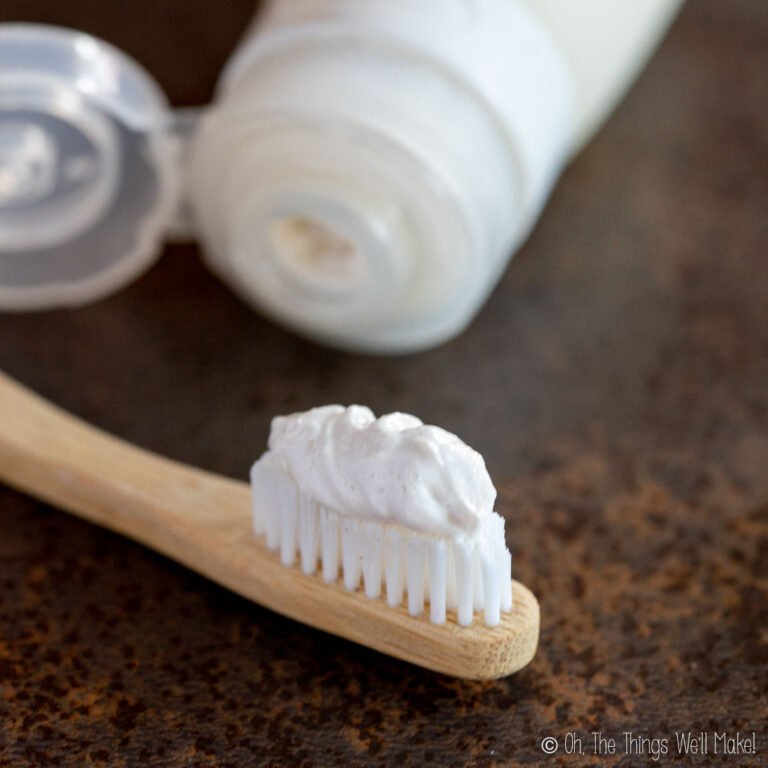
Water-Based Toothpaste Recipe

Water Based Homemade Toothpaste Recipe
Makes around 1 liquid ounce.
Materials
- 1 tsp. baking soda
- 1 tsp. salt
- 1 Tbsp. bentonite clay
- 2 tsp. distilled water
- 1 tsp. xylitol
- 2 tsp. cacao optional- unsweetened cocoa powder or finely ground cacao nibs
- 2 drops peppermint essential oil optional, for flavor
Instructions
- Mix together all of the dry ingredients. If you are using cacao nibs or find that the ingredients are too abrasive for your sensitive teeth as is, you can grind them in a coffee grinder before adding in the water.
- Add distilled water until you get the desired consistency. mix thoroughly.
- Add a few drops of an essential oil like peppermint or clove oil, if desired, for flavor.
- Fill your silicone travel tube, or other storage container, with your toothpaste. You are now ready to use it!
Notes
How to Use Your Homemade Toothpaste
Use this toothpaste as you would any other store-bought toothpaste. You don’t need to use much.
To prevent the toothpaste from spoiling, be careful not to contaminate it with bacteria. To avoid contaminating it, don’t dip your wet toothbrush into a jar of homemade toothpaste. Instead, use a tube dispenser to dispense a small amount onto your toothbrush. You can also use a clean spoon or another utensil to scoop out a small amount to add to the brush.
Technique
In my opinion, your technique for brushing is probably more important than the toothpaste you use (and if you use toothpaste or not).
(That, of course, is assuming you aren’t brushing your teeth with a sugar-based toothpaste, a acidic one, or something harmful to them.)
Choosing a Toothbrush
We all use electric toothbrushes in our home because I find that the rotating action of the toothbrush allows for proper technique without doing a lot of work. This is especially helpful for young children, older people, and those who don’t have good control using their hands.
If you are good with your hands, you can be just as efficient with a “normal” toothbrush. I like those that have irregular lengths of bristles because they can reach into small spaces better. I also love that there are now more options for toothbrushes made with sustainable materials.
Whichever type you choose, make sure you are using soft bristles. Hard bristles, or brushing too hard, can damage both teeth and gums. It can lead to recession of the gums (possibly exposing the roots of the teeth) and/or eat away at the tooth enamel and the protective layer on the roots of teeth.
When to Brush
While it is normally suggested that you brush your teeth multiple times a day, I think the most important thing is to have at least one thorough brushing session each day, preferably right before you go to bed.
It’s great (and preferable) if you can get in a quick brush after your meals. Doing so helps clean off remaining food debris and can also help raise the pH after having ingested acidic foods. That said, don’t let the fact that you’ve done a quick brush after your meals keep you from getting in your thorough brushing session at night before you go to sleep!
My favorite periodontal instructor in dental school always told us that one good, thorough cleaning session is preferable to several super-quick sweeps of a toothbrush, and it’s stuck with me ever since. I have a hard time going to sleep without getting in that all-important, thorough brushing session at night.
(While those who claim to brush frequently tend to have fewer cavities than those who don’t, they haven’t found a significant difference in the number of cavities dependent on how many times one brushes per day.)
How to Brush Thoroughly
When doing a thorough brushing session, you want to make sure that you brush each tooth surface completely.
Angle the toothbrush at 45º to help gently clean under the gumline. Use small, circular motions following the contour of your gums. Gently guiding an electric toothbrush along the gum line can perfectly gently massage your teeth and gums without too much effort.
Brush for at least 2 minutes, spending around 30 seconds on each quadrant of your mouth. The alarm on many electric toothbrushes normally sounds at 2 minutes for a reason. It’s been shown that brushing for 2 minutes removes almost twice as much plaque as brushing for only a minute.
Flossing
After that thorough brushing session, it’s the ideal time to floss between all teeth. Make sure to also floss behind the last teeth in your mouth. You want to gently bring the floss down along the side of each tooth, gently pushing down past the gum line, and pulling up any trapped food debris and leftover plaque accumulation on your way back up.
If you want to do a final rinse, consider making a homemade mouthwash! While it’s not a necessary part of daily oral hygiene, it can leave your mouth feeling clean and refreshed!
This post was originally published on Dec. 16, 2017. It was updated and republished in February of 2020 with new tips, warnings, and information about the preservation of the water-based toothpaste.


Hi Tracy, I’m looking forward to trying these.
Just FYI, your ‘print recipe’ button only prints the oil based recipe.
would be good if you could print both from the same link.
Hi Alizah,
Thanks for the heads up. It must have something to do with having placed two recipes on the same page. I’ll ask the developer if there’s a way to fix it. If not, I may have to place it on another page, from which it could be printed.
Can ingredients present in commercial Toothpaste can lead to Oral Cancer.
Hello,
Well, that’s the big debate, isn’t it?
It’s hard to give a definitive answer there. Obviously the toothpaste companies are going to say no. Others feel that certain ingredients in toothpastes may lead to an increased risk of cancer.
Triclosan and SLS are two of the ingredients that concern many people, but up until now they haven’t been shown to increase your risk of oral cancer. (Of course, as always, that doesn’t mean they won’t.) 😉
Thank you! I’m trying to reduce the use of packaged products and this will be very useful! Now for some shampoo / conditioner recipes !!!
Great, Angie! I hope it works out for you.
I do have good news for you. I have a great recipe for a hair conditioner already up on the blog. I absolutely love that conditioner, and find it so much better than the ones I was buying. Seriously! I’ve been using another deeper conditioner that I’ll be posting soon.
I also just took a course in natural surfactants, and am working on coming up with some decent shampoo recipes soon.
Thank you so much. That’s really helpful. 🙂
You’re very welcome!
Excellent article! I have recently been told I have developed periodontitis, so I have been using coconut oil dipped in a 50/50 mixture of powdered tumeric and baking powder. I would like to hear your opinion on using tumeric.
Hi cw,
I haven’t personally tried it, but find it an interesting addition. Turmeric is a wonderful spice that is known to be anti-inflammatory. I would have been worried about it possibly staining teeth, as it does such a great job as a natural food coloring, and I’ve even dyed clothes with it. 🙂 That said, I’ve done a bit of research right now and I’ve seen claims that it actually helps whiten teeth, mostly from it’s abrasive nature that helps polish off stains (but at least it doesn’t appear to stain teeth).
I’d think that it would be messy to use, but if you enjoy using it, I don’t think it’s hurtful in any way. There is some evidence to show that it may help with gum health, so…
Perhaps I’ll have to give it a try myself sometime. 😉
The coconut version looks more effective. Thanks for sharing this information in detail. Clove and cinnamon are both antibacterial to help discourage bacterial growth in the mouth.
Thank you for this, and for your professional thoughts. I understand that you don’t make medical nor scientific claims, but I really appreciate your scientific (or lack thereof, in the case of glycerin) evidence. It gives me a starting point for my own research. I will heavily cite your post in my blog The Grandmother Club when I get it written. Thank you, again, for your research.
You’re very welcome, J’Anette! 🙂
Ha- yes, I’m not sure at all about the glycerin thing at all. So many people talk against it, but on the other hand so many toothpastes use it. My son was using a store bought natural toothpaste that used glycerin (no fluoride), and he’s never had any cavities. So, who knows. 🙂
Looking forward to seeing your post.
Thank you for sharing your in depth knowledge on this subject. I’m most definitely going to try the coconut oil version!
You’re welcome!
I hope you enjoy it! You may want to try with fractionated coconut oil this time of year so it’s easier to use. 😉
Hey, great post! Thanks for sharing. I had a few questions: Have you come across the same problems with spitting coconut oil down the drain as many diyers out there say? This is what has been keeping me from trying it. How long does the water based one last?
Lastly, you have a little typo in your first recipe saying it’s not ready to use instead of now. Just so you know 🙂
Hi Laura,
I mostly used the coconut oil version up until lately. I know a lot of people don’t like the feel of the oil in their mouth when brushing. I don’t have a problem with it. I understand the concern about spitting the oil down the drain, but I’ve never had any problems with that either. You really aren’t using a lot of toothpaste at once, so very little coconut oil is actually going down your drain. (A lot more is probably going there when you rinse out a dirty plate or something like that.) I also am normally washing my face right after brushing my teeth, and I tend to use hot water to open up my pores and get my skin nice and clean. The hot water would help clear out the drain pipes, of course.
As for the water based recipe- I usually mix up small batches like the one in my recipe, and use it all up before making more. With the salt and the bentonite, I can’t imagine that you should have any problems doing it that way.
As a comparison, I’ve mixed up and saved bentonite clay facial masks for months on end, adding preservative to one while leaving another one without it, and I’ve never been able to tell the difference between them. Unfortunately, since the home DIY-er doesn’t normally have access to a means to test for microbes, it’s really impossible to say for sure. (These things would also be affected by the water you use, your environment, if you sanitized your containers well, if you are contaminating your toothpaste by dipping into it, etc.)
The mixture isn’t a hospitable environment for microbes, but I can’t promise that it’s impossible for them to grow there. You have to use common sense, and of things look off at all, don’t use it.
Somebody just pointed out to me that Earthpaste, a popular non-fluoridated natural toothpaste has this ingredient list: Water, Redmond Clay, Real Salt, essential oils, and xylitol
They make no mention of any preservatives in their toothpaste either. I’d imagine they are also relying on the salt and the high pH of the clay to preserve it.
Thanks for the info, I took the plunge yesterday and made the oil based one. I added some activated charcoal since I was already using that for whitening but otherwise I stuck to your recipe. I’m pretty happy with. It obviously takes some getting used to but much better than another recipe I tried.
Yes, oil based toothpastes are especially “different” than what most people are used to using. They’re sort of slick and abrasive all at the same time, which is a bit weird. The water based version is a little bit closer to “normal,” but still different because the salt and baking soda sort of dissolve away as you use them.
In the end, it’s the actual brushing that’s the most important. If you can find something that makes your mouth feel clean, though, and bring up the pH, all the better.
I’m about to post a recipe for a homemade mouthwash that helps with all that too. 😉
This was informative; thank you! I look forward to reading your tips on cavity-causing foods to avoid. 🙂
Hi Elizabeth,
You’re welcome!
Thanks for letting me know you’re interested in reading my tips. I wasn’t sure that people would be! 🙂