

Easy, Beginner DIY Liquid Castile Soap Recipe
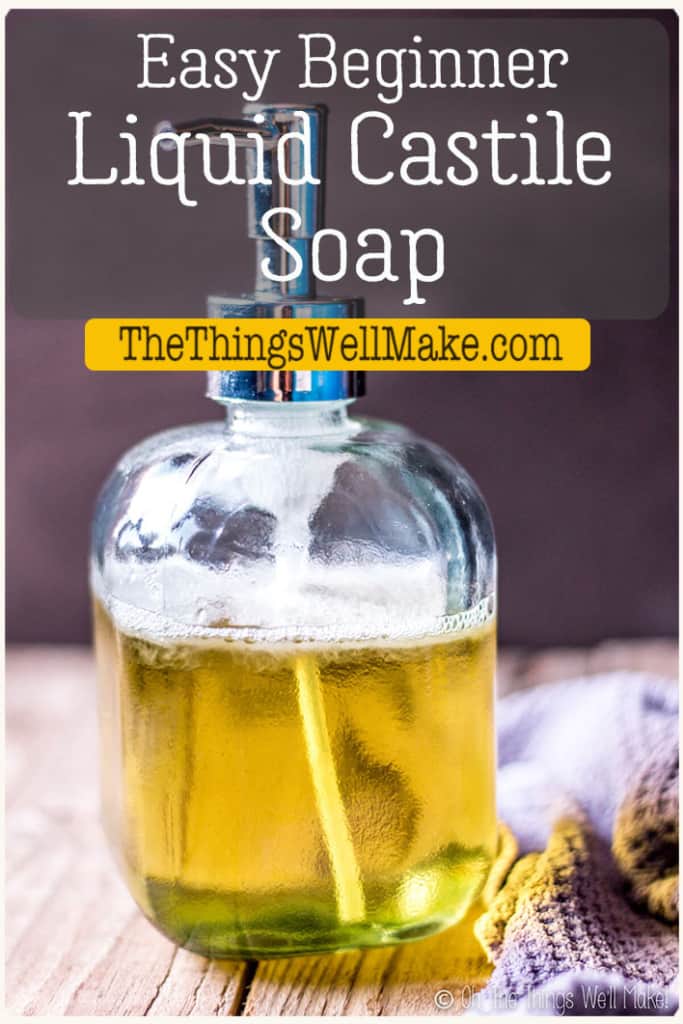
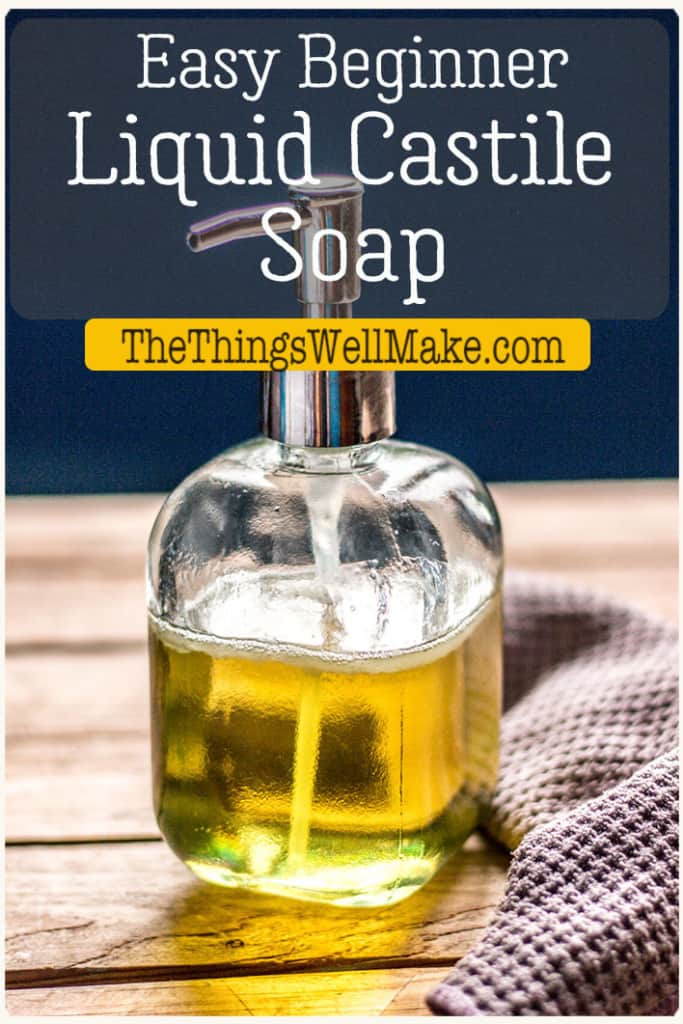
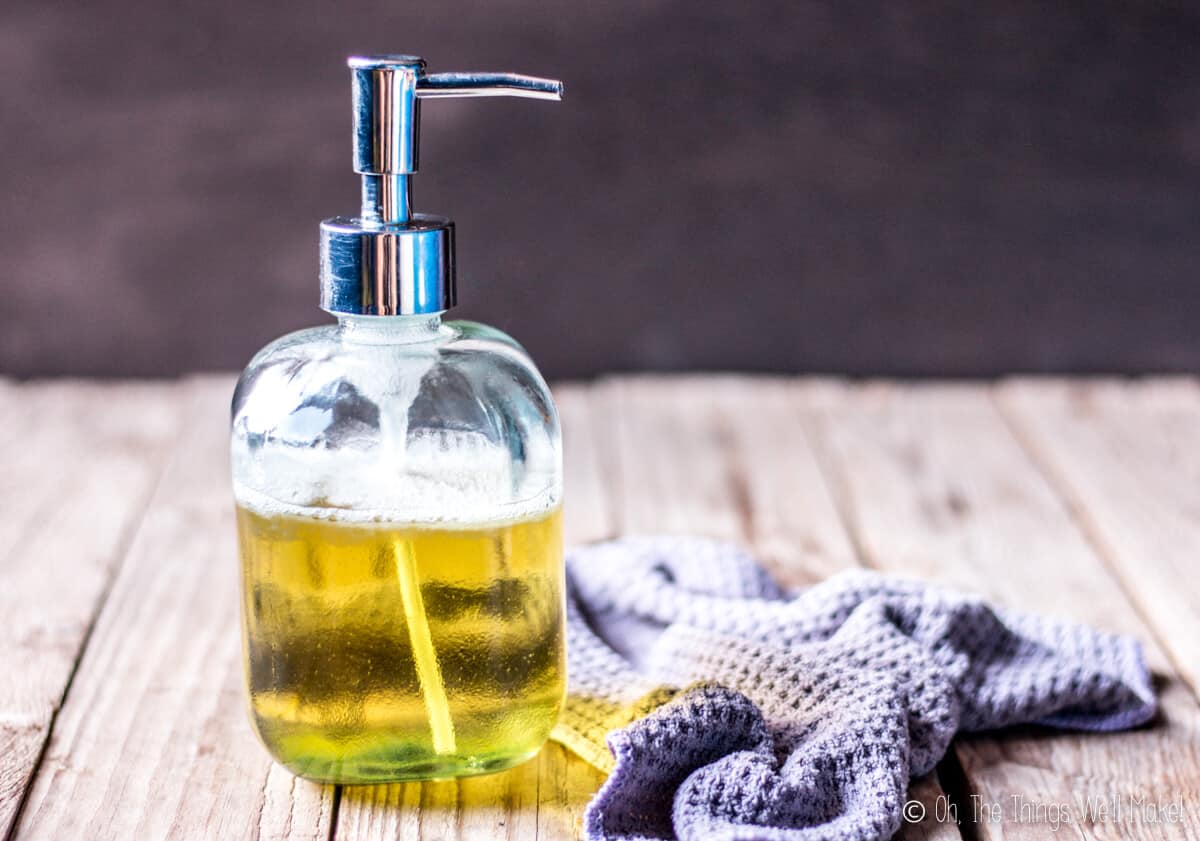
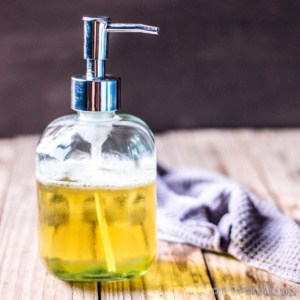
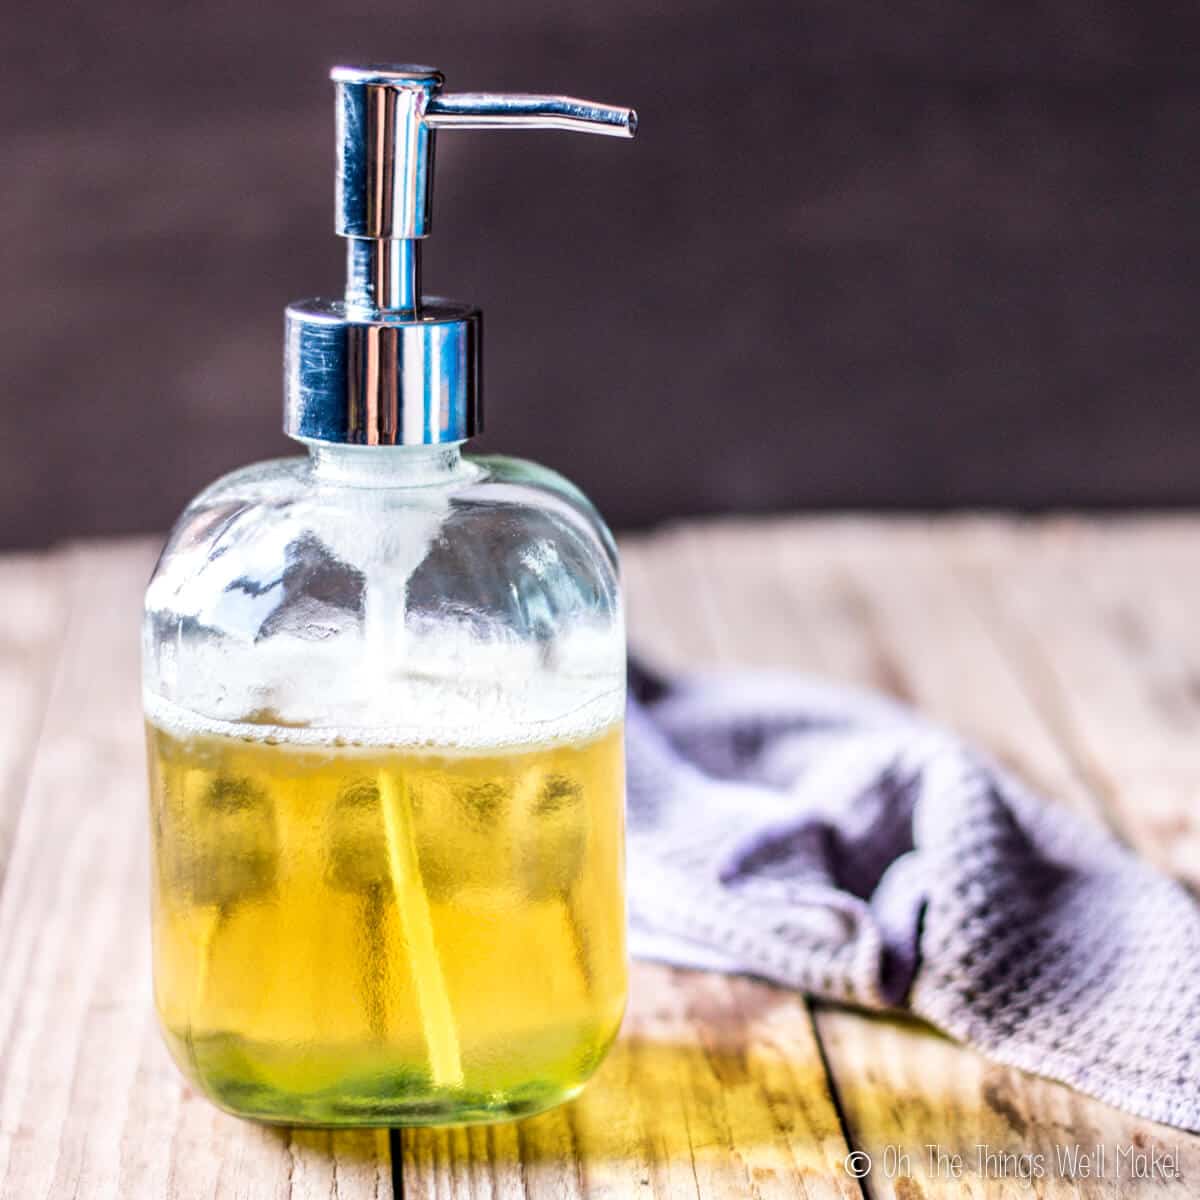
Made with only olive oil, this pure liquid Castile soap is easy to make and mild. It’s perfect for face and body, and for cleaning around the house.
A couple of years ago, I showed you how easy it was to make a basic beginner soap, even if you’ve never done it before.
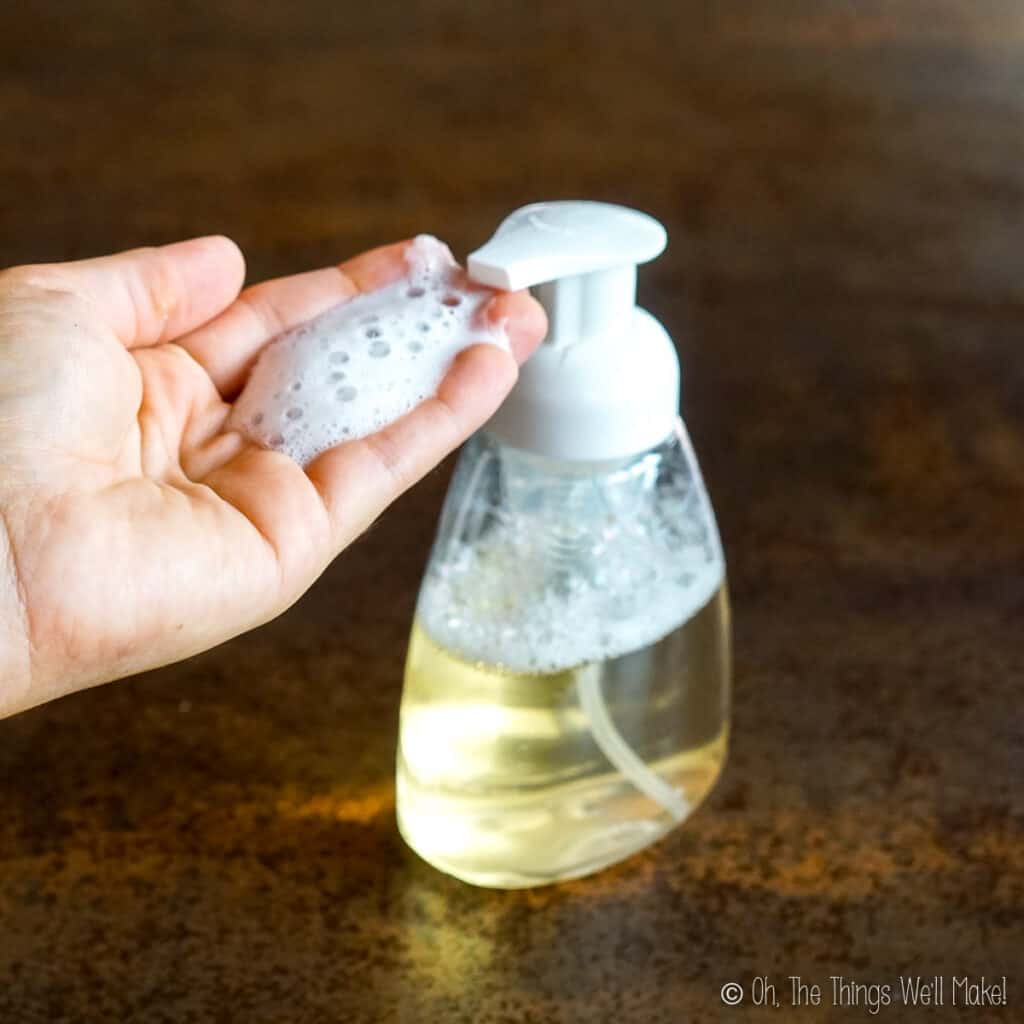
Making solid soaps can be a lot of fun, but not everybody likes using bar soap. Many people prefer using something in a dispenser like a shower gel or a liquid soap.
I made many different types of bar soaps before attempting to make a true liquid soap. There aren’t as many resources about making liquid soaps, so I had to do a lot of trial and error before posting this first liquid Castile soap recipe.
Once you find a good recipe, it’s pretty simple to make. While it does take a little more time and effort than whipping up some bars of cold process soap, I think you’ll find that it’s well worth it, especially when you take a look at the price of a store-bought liquid castile soap.
How does liquid soap differ from bar soap?
The main difference between bar soaps and liquid soaps is the type of lye used to make them. Liquid soaps are made with KOH, or potassium hydroxide, rather than NaOH, or sodium hydroxide.
You can read more about the different types of lye in my post about lye and why it is needed in soap.
While some people like to make a “liquid soap” of sorts by diluting bar soaps in water, you can’t really get a true, transparent liquid soap that way. Some people are happy with the result, but every time I’ve tried it, I’ve ended up with a gloopy mess. It doesn’t have the same cleaning power as either a bar soap or a true liquid soap, and the texture and appearance aren’t the same either.
What is pure Castile soap?
Technically, by definition, Castile soap is a type of soap made with only olive oil. The name “Castile” soap originates here in Spain. (You can read more about the origin of Castile soap and other soaps in my post with a recipe for pure Castile bar soap.)
Over the years, the definition of Castile soap has broadened to include other types of vegetable oils such as coconut oil. Dr. Bronner’s liquid Soap, which may be the most famous commercial liquid Castile soap, actually has a greater percentage of coconut oil than olive oil. (I made a Dr. Bronners liquid Castile soap copycat recipe for those who are interested!)
When it came to making a homemade liquid Castile soap, though, I was a bit of a purist and made the real deal: a soap made with only olive oil.
Olive oil in soap
Soaps made with different oils have different properties.
Soaps made with olive oil are more conditioning for your skin than soaps made with coconut oil. On the other hand, they don’t lather up as much as a coconut oil soap, nor do they leave you feeling squeaky clean in the same way (partly because they are more conditioning).
Some people find pure Castile bar soap to be “slimy” and not cleansing enough. On the other hand, pure coconut oil bar soap can be drying.
- Pure coconut oil soaps are great for general cleaning and for laundry. That’s why I made my homemade laundry soap only with coconut oil.
- Pure olive oil soaps tend to be gentle on the skin and great for gentle body cleansing.
Read my post about the properties of different oils in soaps.
Ideally, you’d combine different oils to get the qualities you want for your soap. That’s exactly what they did when they formulated Dr. Bronner’s soap, and what I did when I showed you how to make a basic beginner soap which uses a combination of olive oil and coconut oil.
Combining liquid soaps
When you make a bar of soap, you have to decide what combination of oils you want to use from the very beginning and your entire batch will have that very same combination.
With liquid soaps, though, you have the advantage of being able to combine your various soaps after the fact, making it easier to experiment with smaller combinations until you find the perfect soap for your need.
That’s why I made a pure liquid castile soap, using only olive oil, and then later made a pure liquid coconut oil soap. Once you’ve made both of them, you can combine them, as needed to get the type of soap you want.
Coconut oil liquid soap vs. liquid Castile soap
When I first started making liquid soap, I assumed that liquid soaps would be just like bar soaps. The difference between a pure Castile bar soap and a coconut oil-based bar soap is HUGE!
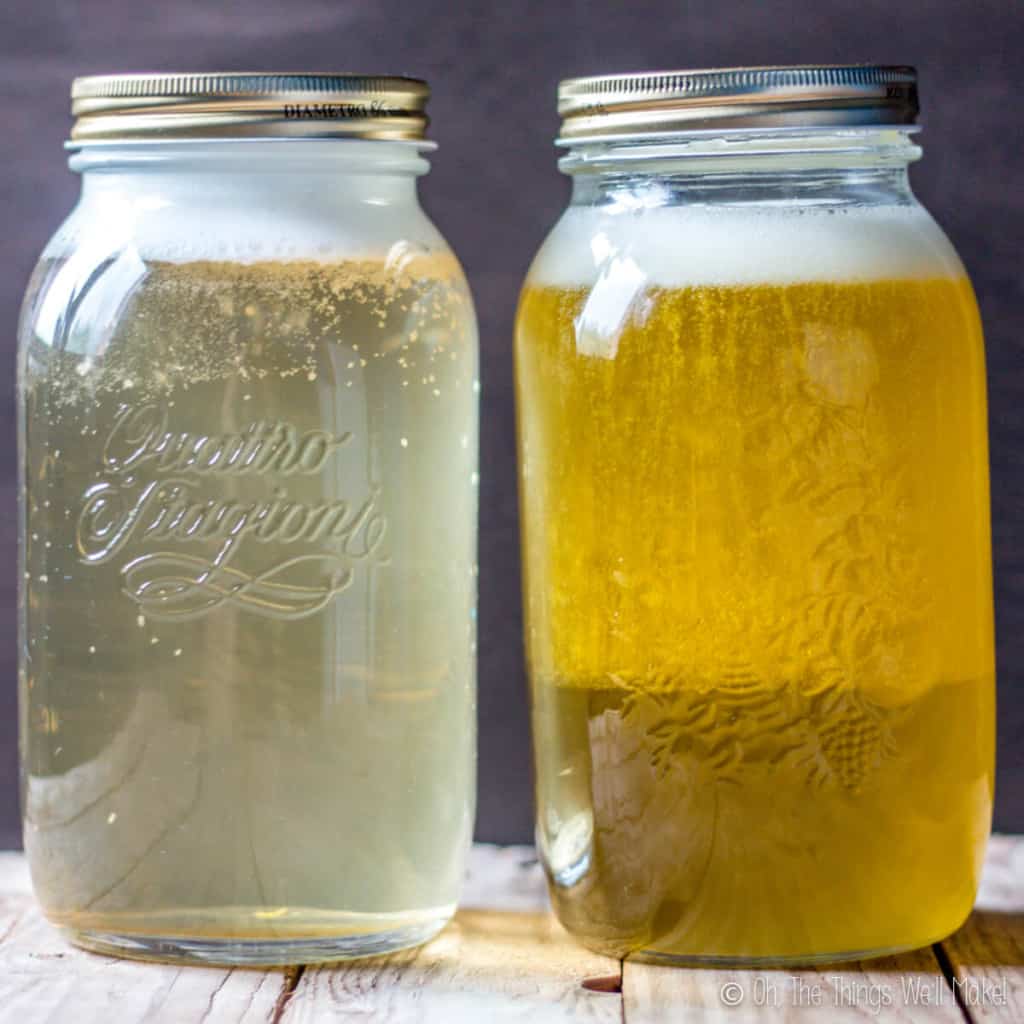
I was very surprised to find, though, that liquid soap made with coconut oil was actually quite similar to that made with olive oil. Sure, the olive oil-based liquid soap was darker in color than the coconut oil-based liquid soap. For me, that was probably the most notable difference.
Yes, the coconut oil soap does make a bubblier lather than this one and may be slightly more drying. It does give more of a “squeaky clean” feeling.
In the end, though, the difference isn’t as pronounced as I expected. In fact, I normally just make the coconut oil liquid soap recipe these days. I can buy refined coconut oil cheaper than olive oil, but also love the look of a lighter-colored soap. I also love the fresh, subtle scent of the coconut oil soap when left unscented.
Both soaps give a decent lather. They are also both relatively mild for skin. If you have sensitive skin, though, this soap is probably the better choice.
Those who have very sensitive skin may find that they have issues with the higher pH of any soap. In those cases, it may be best to use something like my DIY Baby Wash and Shampoo. (I made it pH balanced for a baby’s delicate skin.)
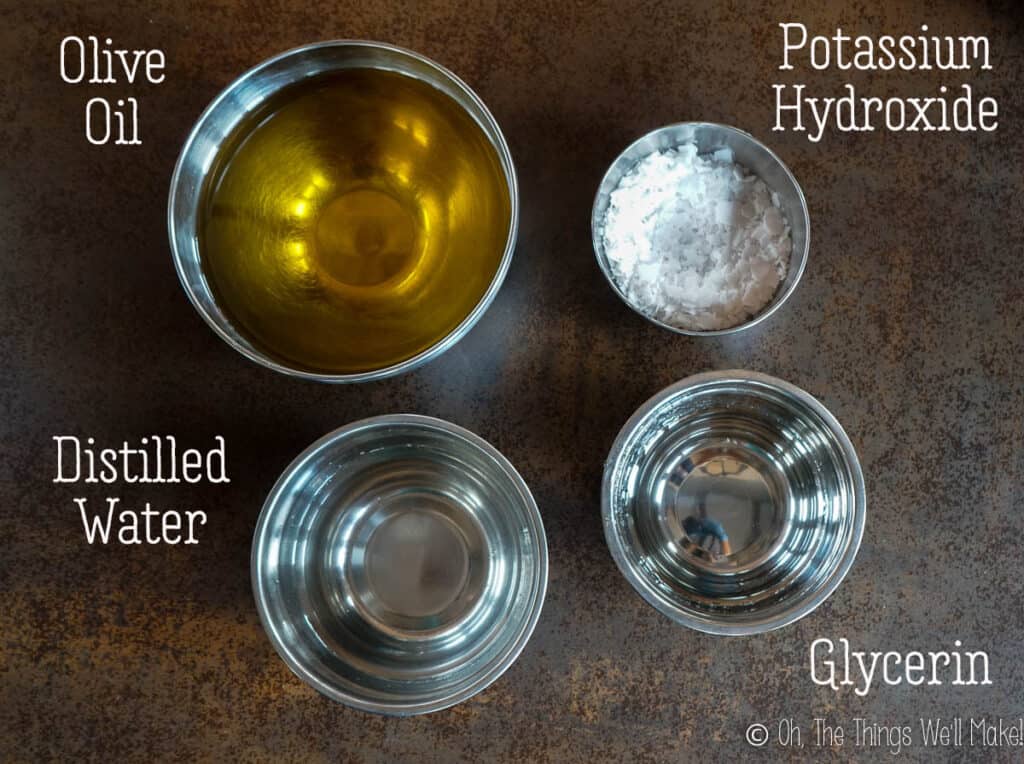
Ingredients
This soap uses 4 main ingredients: olive oil, potassium hydroxide, water, and glycerin.
You can use extra virgin olive oil or a lighter olive oil. What is important, though, is that you are using pure olive oil. (If it’s not pure olive oil, it may need a different amount of lye.)
For the water, it’s best to use distilled water. Tap water has minerals and may have other impurities that can affect the clarity of your soap.
Why use glycerin when making liquid soap?
One of the methods of making liquid soaps is called the glycerin method. It replaces part of the water with glycerin.
Adding glycerin moves the soap-making process along more quickly. Because I wanted to share a beginner liquid soap recipe, I chose the glycerin method to have this soap be as quick and fool-proof as possible.
Using glycerin may have some other benefits:
- The resulting soap paste dissolves very easily in water. I don’t need to heat the water nor do I need to leave it for days at a time. I can cover my soap paste with distilled water and usually, in a couple of hours, I have a beautiful, clear liquid soap effortlessly.
- Glycerin is a humectant, meaning it draws moisture into the skin. I find that even my liquid coconut oil soap doesn’t feel drying, despite the fact that it hasn’t been superfatted at all. I think the extra glycerin helps to make a really great, hydrating soap that is clear and doesn’t need extra oils. (I think my homemade glycerin bar soap has the same benefits.)
Materials
To make liquid Castile soap, you only need a few basic tools. An immersion blender helps mix the oils and lye solution quickly so the soap reaches trace faster. A slow cooker works beautifully for keeping the soap at a steady, gentle heat while it cooks. A kitchen scale is also important here, since soap making relies on accuracy. Measuring by weight instead of volume helps ensure that your recipe turns out perfectly every time.
Procedure
Making a liquid Castile soap isn’t difficult and it can save you a lot of money.
To get the clearest soap we can, we’ll use a hot-process method. That means that we will be cooking the soap. During the cooking process, the saponification process will complete and our soap will be ready to use immediately afterwards. (Liquid soap doesn’t need a curing time in the same way as bar soap does.)
The easiest way to make this and have it come out perfectly is to use a slow cooker. If you don’t have access to a slow cooker, though, you can also try baking it in the oven. (I showed how I used this method in the post and video for the coconut oil liquid soap.)
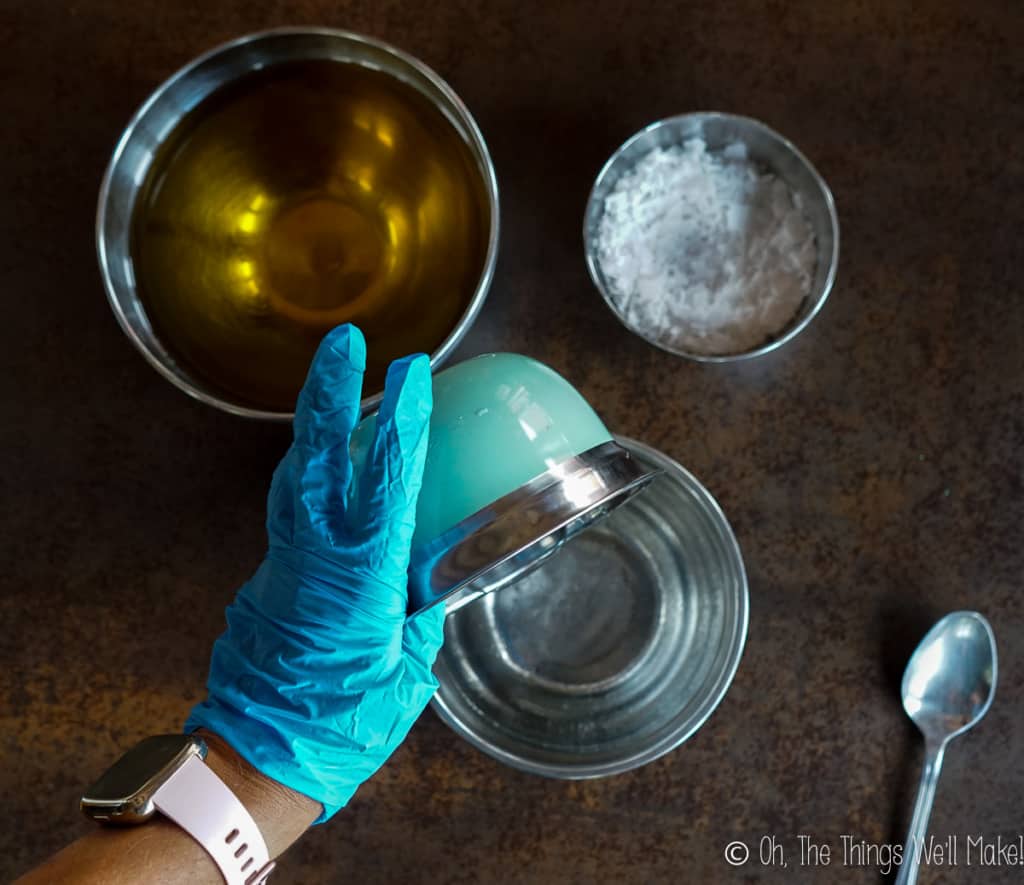
Making the lye solution
Weigh out the glycerine, water, and potassium hydroxide (KOH).
Add the glycerin to the water and then carefully add the KOH to the water and glycerin mixture. (Not the other way around!) Make the lye solution in a well-ventilated area.
Stir the KOH into the water until it dissolves. It will be cloudy at first, but then it will clear up.
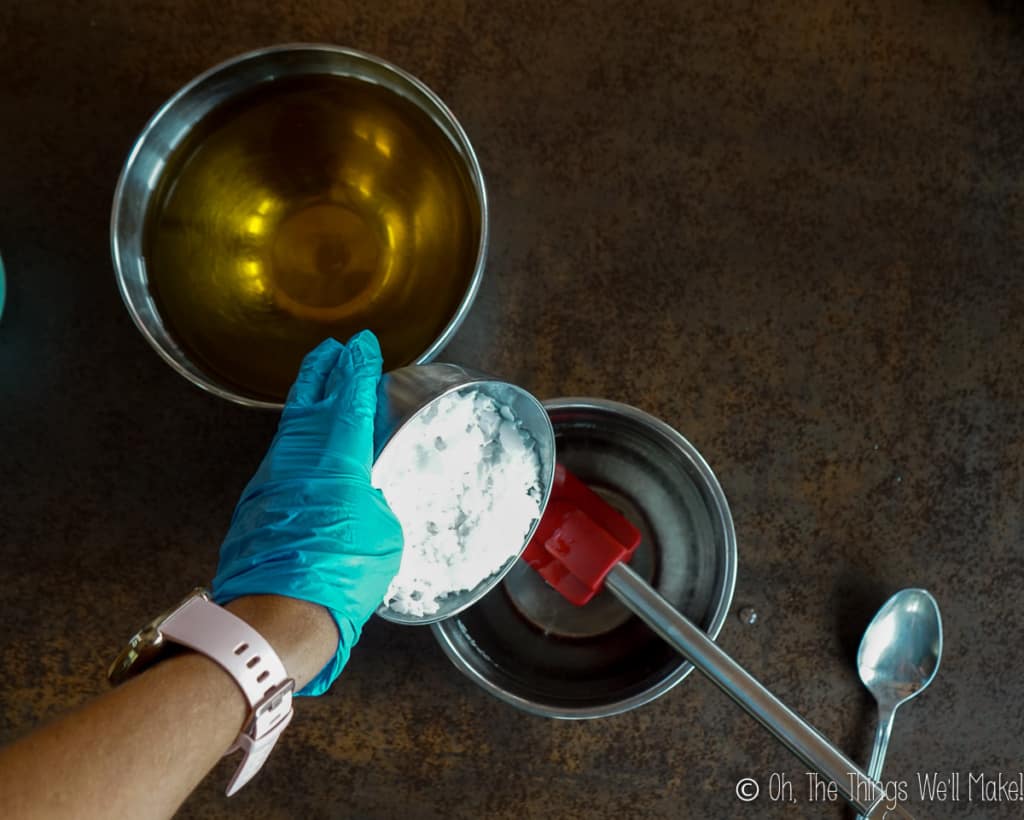
Making the soap paste
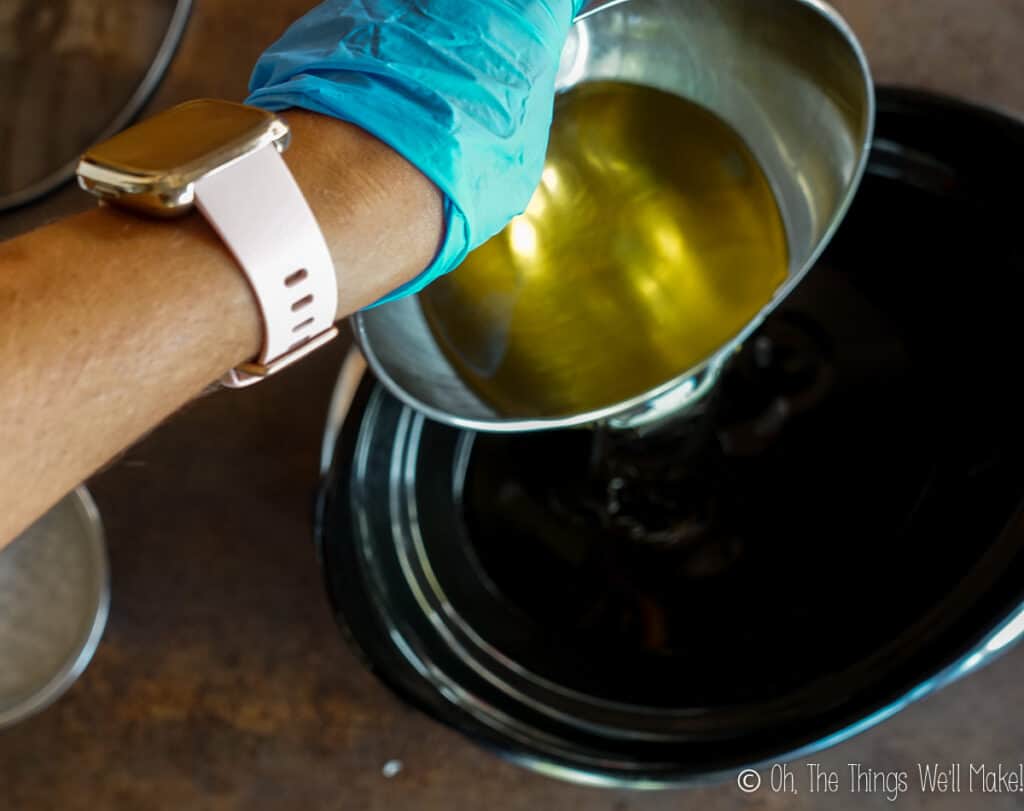
Measure out the olive oil and heat it over low heat directly in the slow cooker.
Slowly add in the the KOH mixture to the warm olive oil, and gently stir them together over low heat.
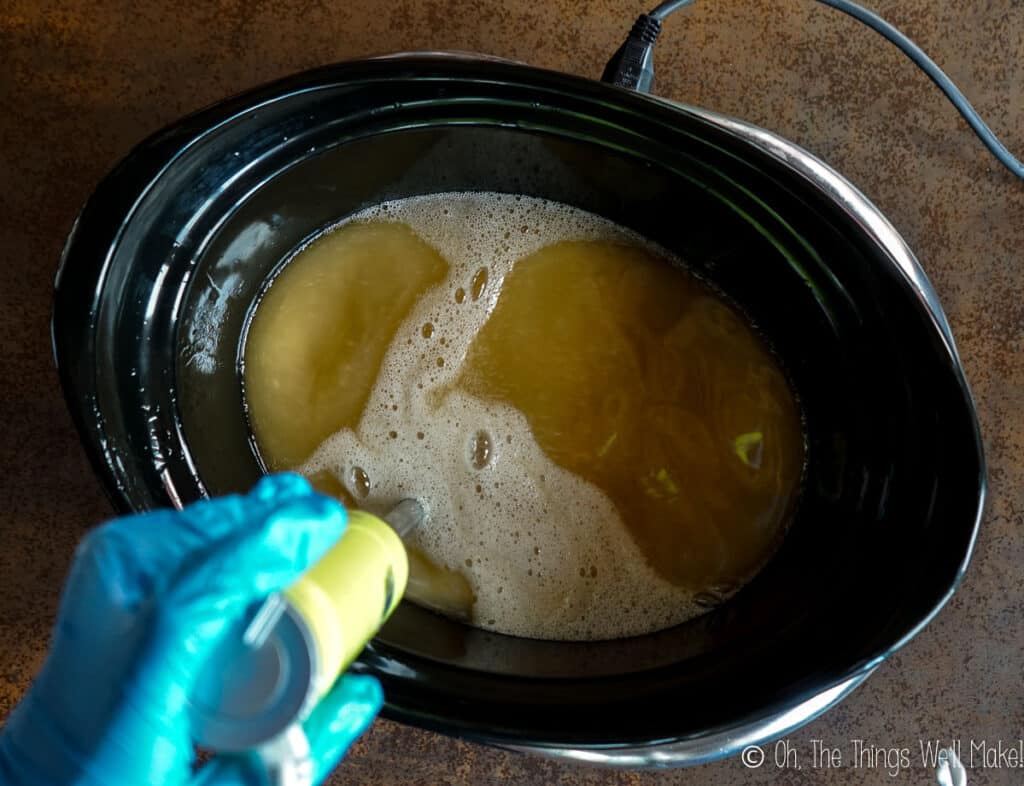
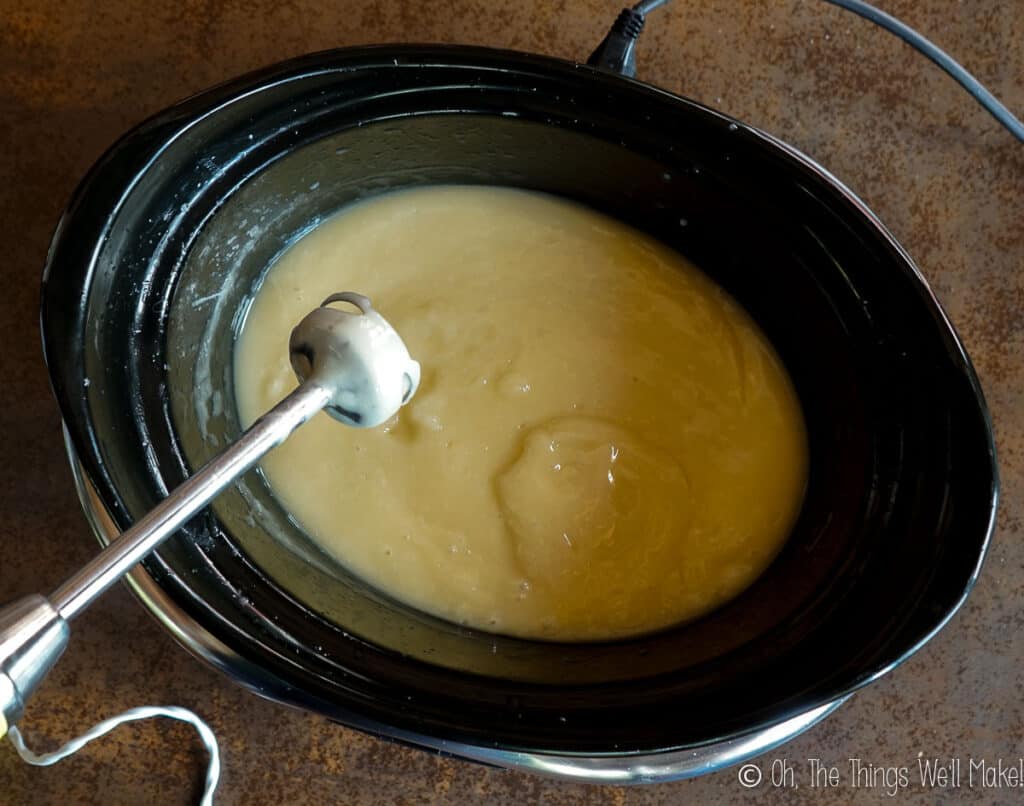
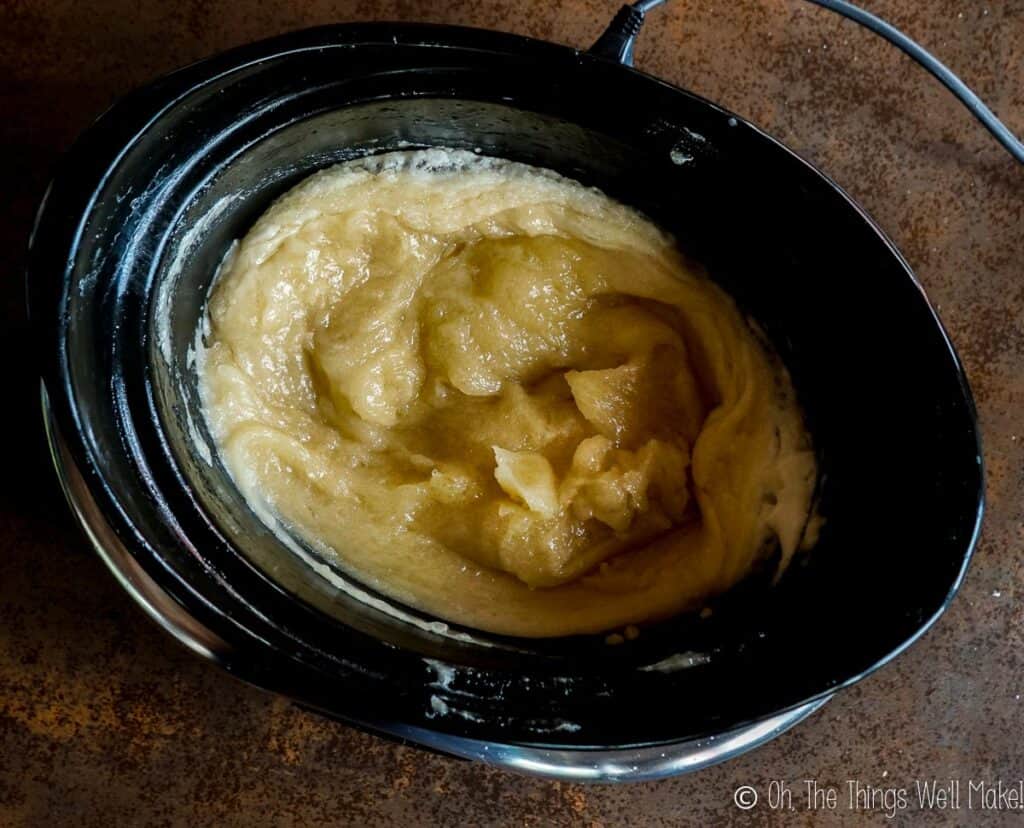
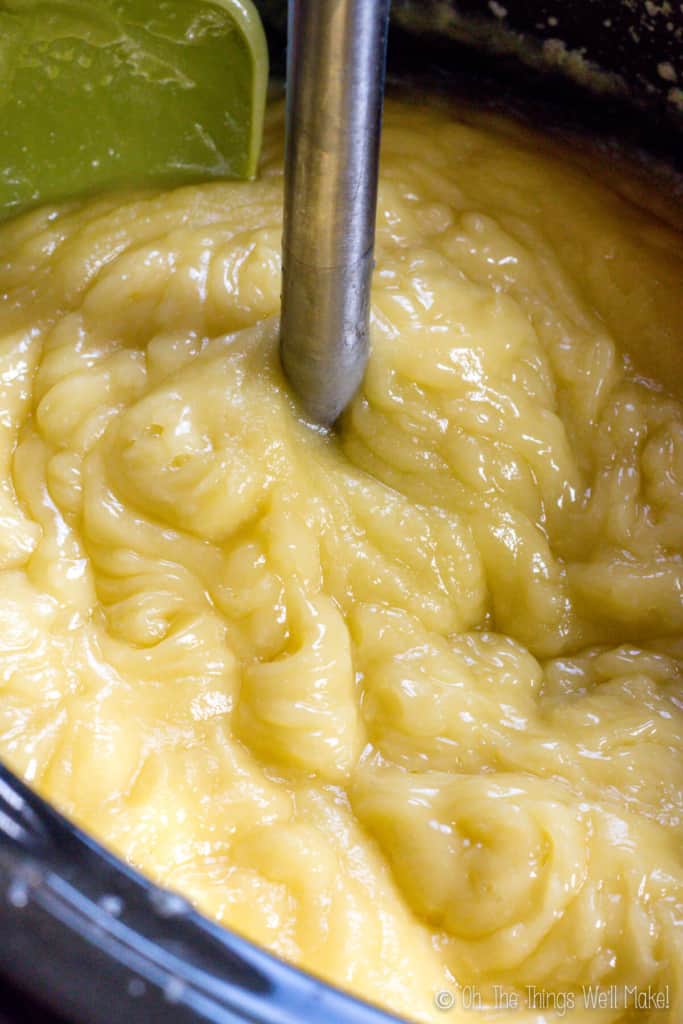
Once combined, use an immersion blender to blend the ingredients together in the slow cooker. In a few minutes the mixture will begin to thicken and look like mayonnaise. Soon after, it will look like a creamy pudding. (If you aren’t doing this over heat, it will take a bit longer.)

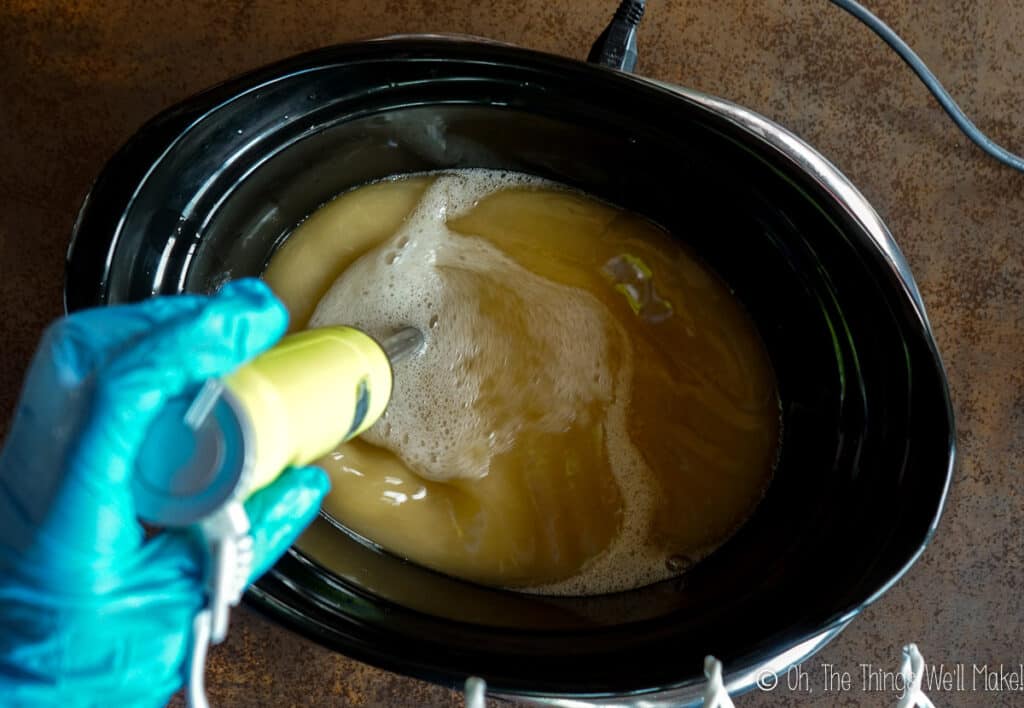
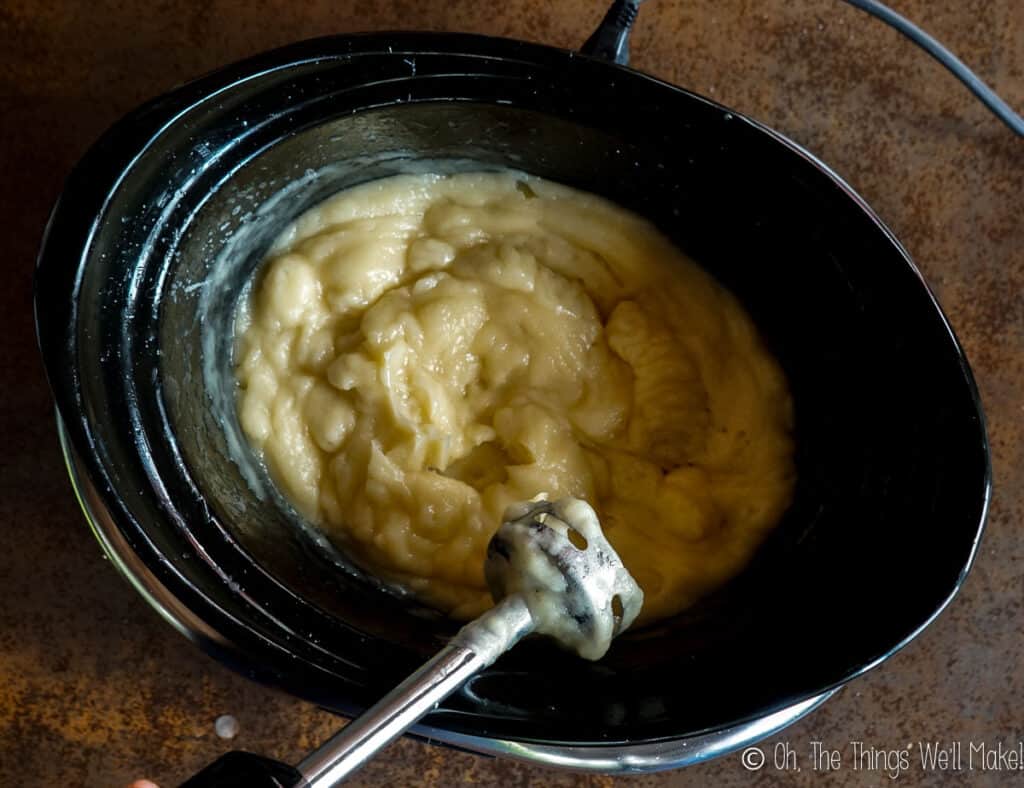
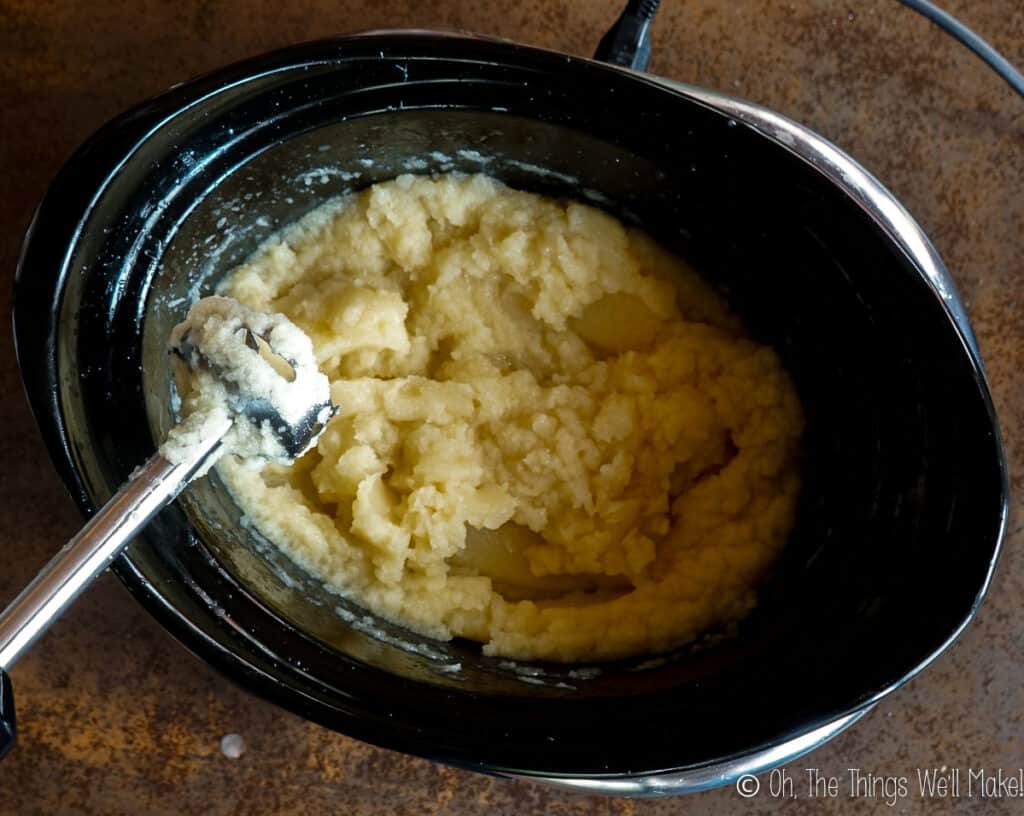
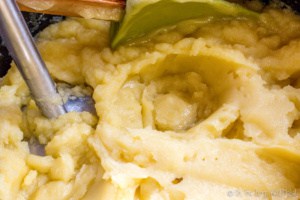
A few minutes later, the mixture will begin to look grainy and look like mashed potatoes or applesauce. Continue to blend.
If, at any point, the mixture becomes too thick to blend with the immersion blender, switch to mixing with a spatula or wooden spoon. It’s also a good idea to take breaks during the blending process so as not to burn out the blender.
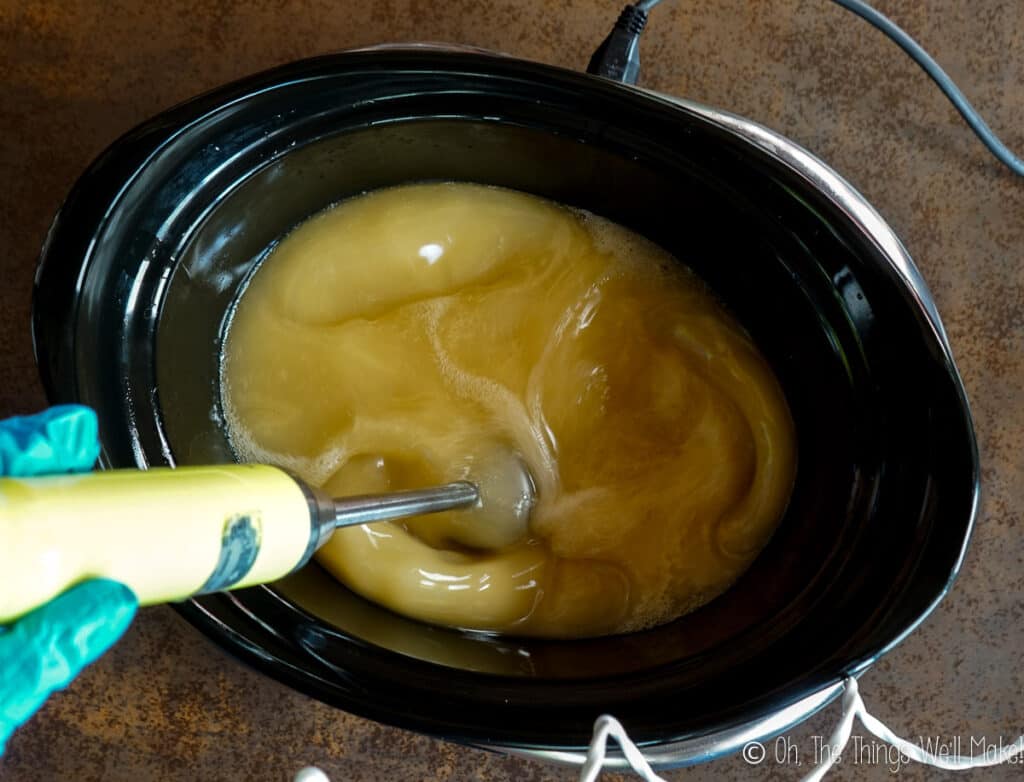
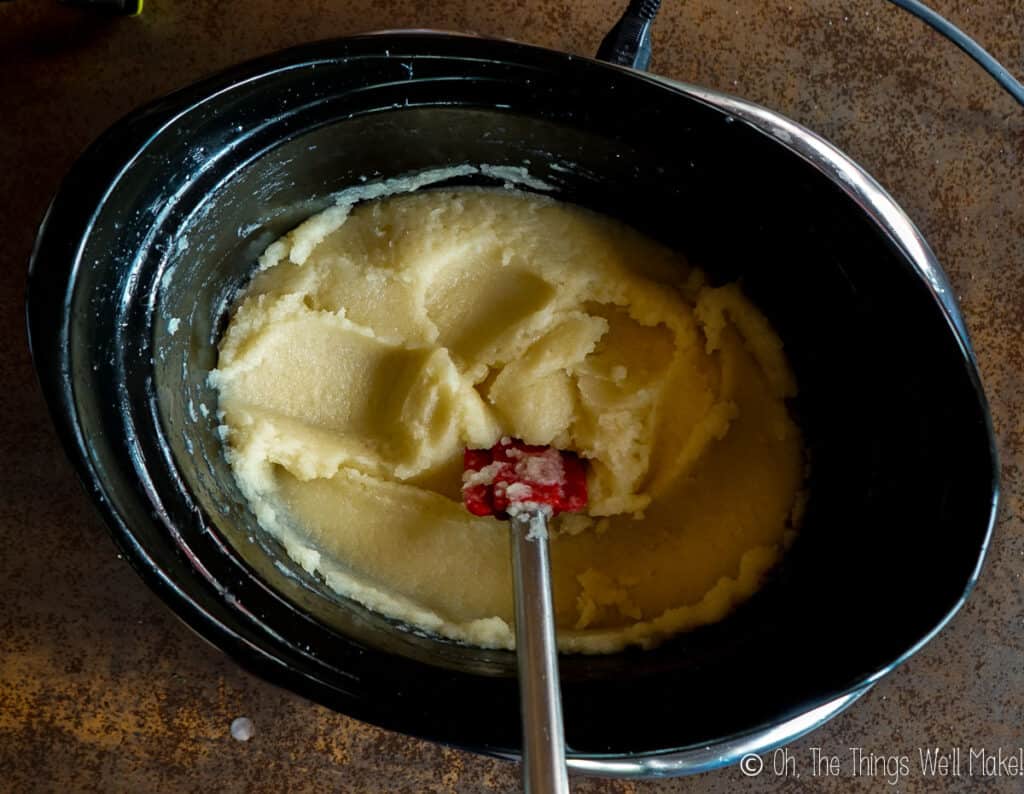
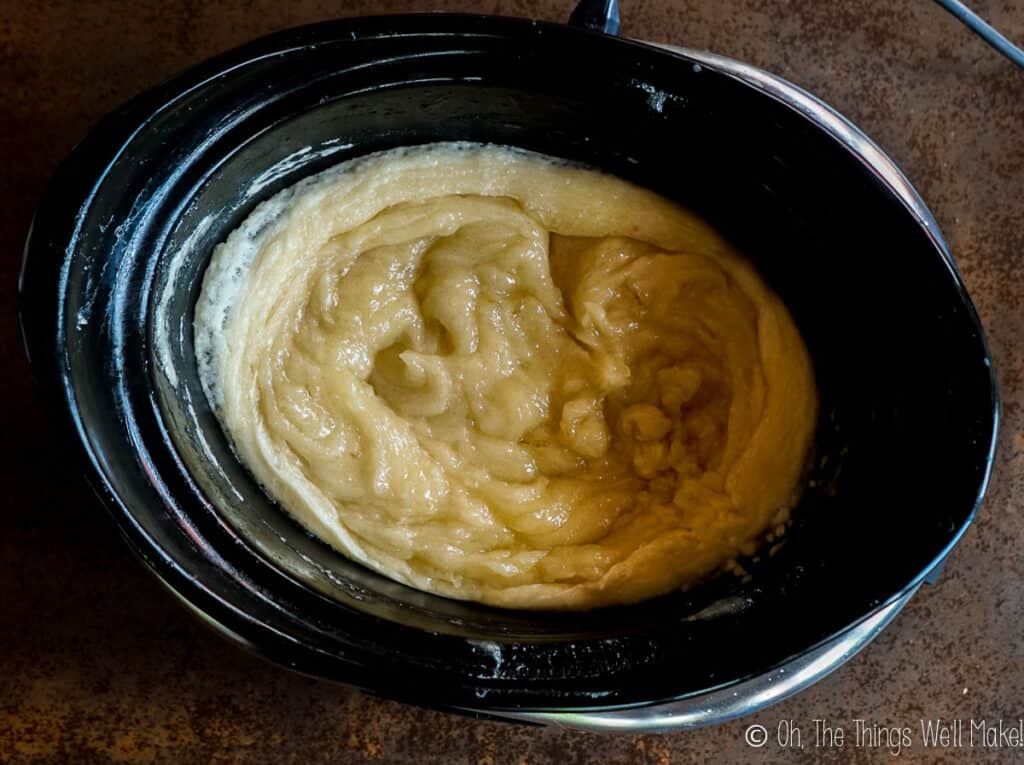
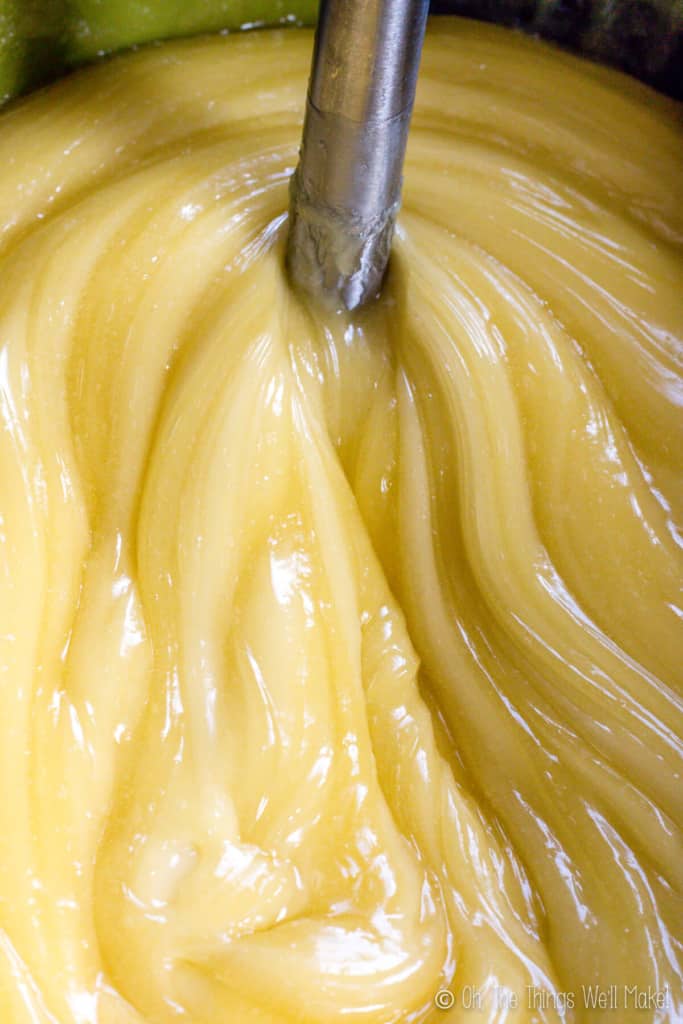
As you continue to blend, it will start to get creamy again. It is now time to cover it and cook it for a while.
Cooking the soap paste
Cooking the soap paste will allow the soap to finish the saponification process and will also help achieve a perfectly clear liquid soap immediately. The process will take 3-4 hours, and you will want to check on it and stir it up every half an hour or so.
As you cook the mixture, it will begin to thicken up and become more translucent.
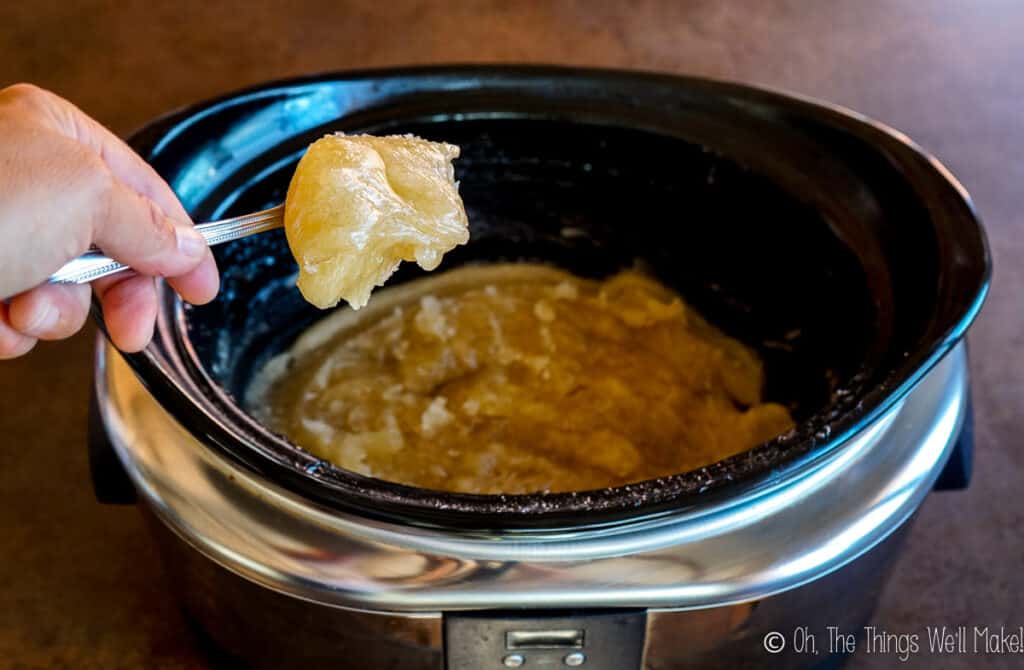
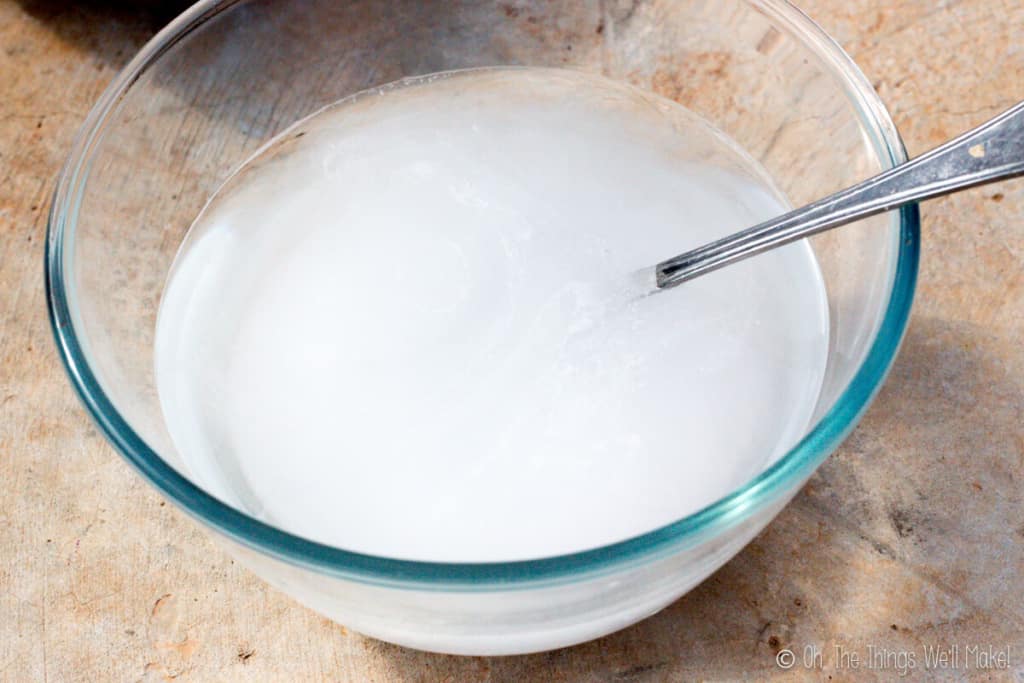
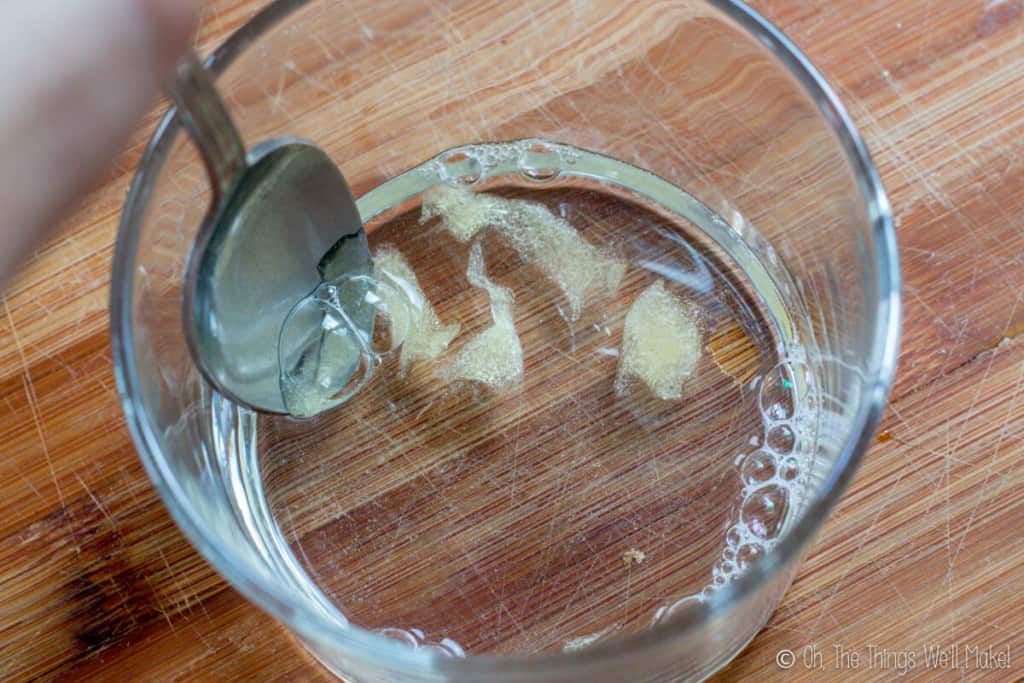
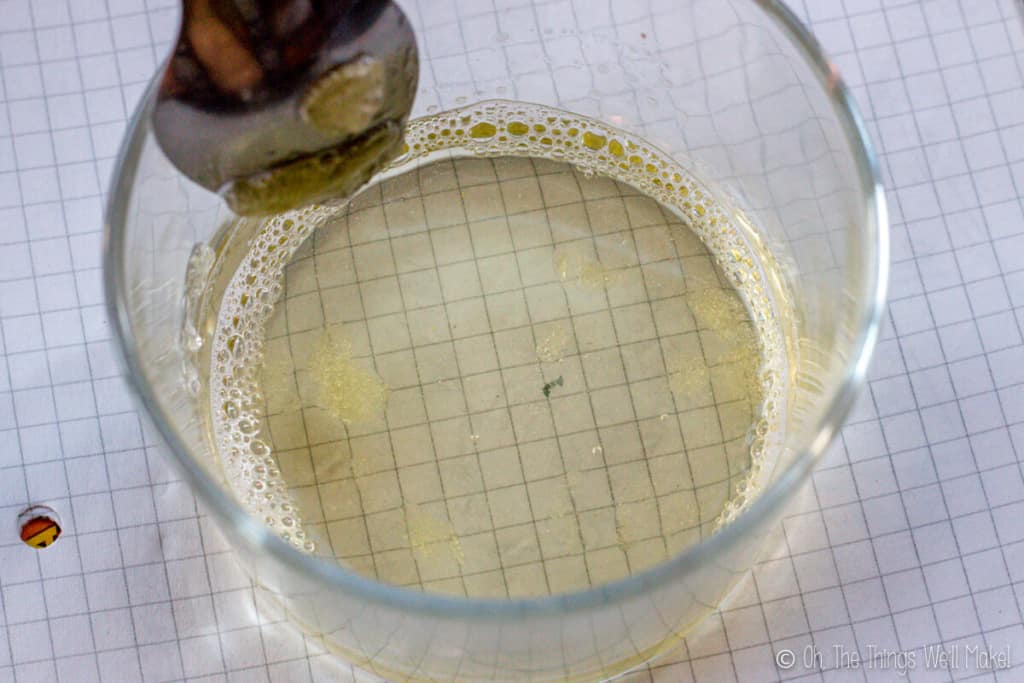
To check for “doneness,” we will look to see if our paste is dissolving into a completely clear liquid soap. To do this, take a small amount of the soap paste and dissolve it in water, and look to see if the water is clear once the soap paste is dissolved.
If the liquid is cloudy, you should continue to cook the soap in the slow cooker. Let it cook another half an hour before checking on it again. If it dissolves clear like the soap in my picture, you are finished making the soap paste.
Note: If you aren’t using distilled water, the soap paste may stay cloudy no matter how long you cook it! (For more reasons your soap paste may be cloudy, read my post about troubleshooting liquid soap problems.
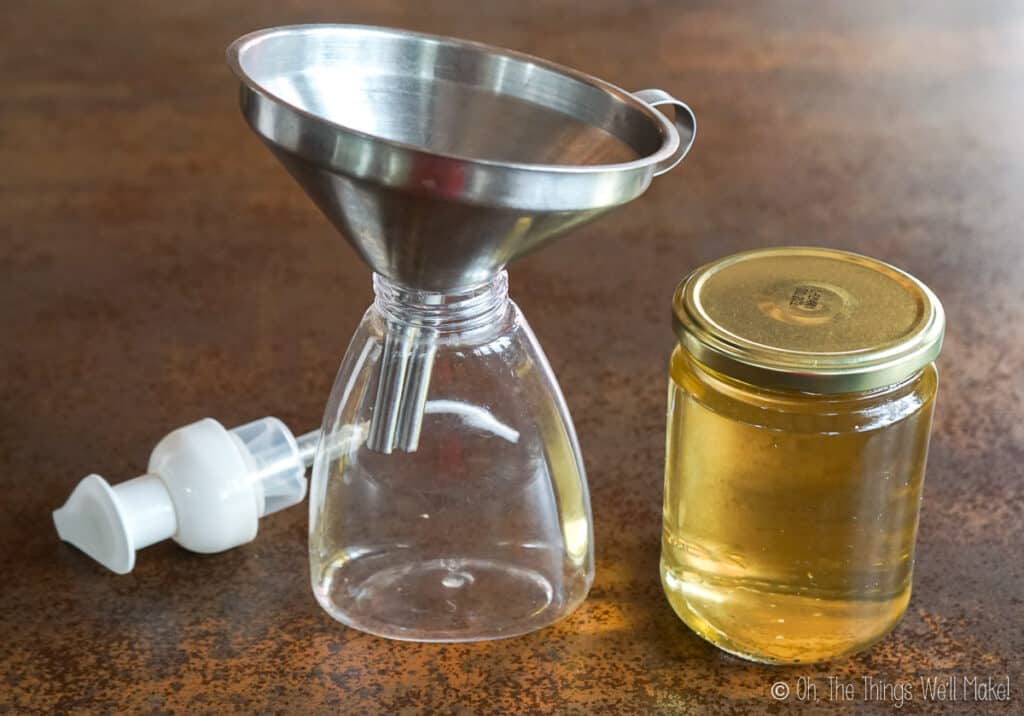
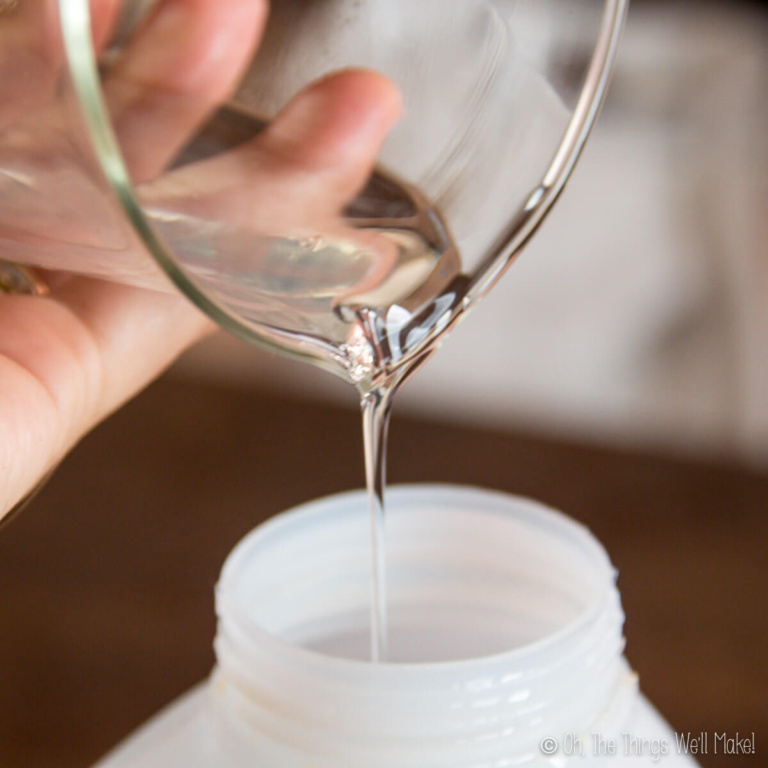
How to dilute the soap paste
Once you have made your soap paste, you’ll need to dilute it to obtain a liquid Castile soap.
To dilute a soap paste you can:
- Let it dissolve by itself into water over the course of several hours (or overnight).
- Speed up the process by warming the water and soap paste over the stove or other heat source (like the slow cooker).
For clear soap, use distilled water. That will also help ensure the water is free of contaminants and the soap will keep as long as possible. By choosing distilled water, not only are you keeping the possibility of microbial contamination to a minimum, but you are also ensuring that minerals and other substances in your tap water won’t cloud your soap.
If you are making small batches that are going to be used relatively quickly (and aren’t concerned about clearness), you can probably get away with tap water without any issues. I still recommend using distilled water when possible.
Read more about how to dilute a soap paste here.
Customizing your liquid soap
How else can you personalize your soap?
Adding fragrances
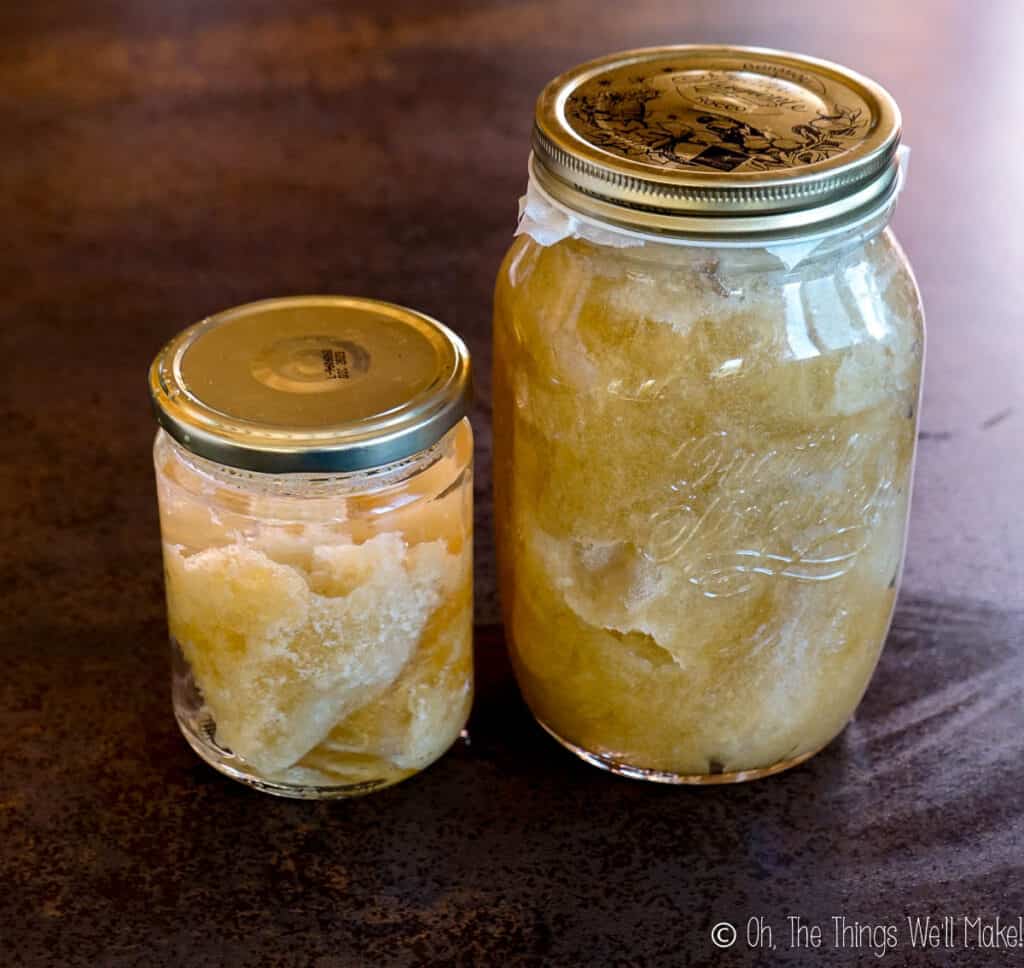
Unlike with bar soap, you can add in additives like essential oils after the fact. So, you don’t have to divide your batch at trace and work quickly to make soaps with a variety of fragrances. Instead, you can make a large batch of concentrated liquid soap paste base. The soap paste can be stored away and keeps well for a very long time. (I’ve successfully stored soap pastes for several years without issues.)
You can then add in the essential oils or fragrance oils as you dilute the soap paste. This gives you the freedom, even months after making the soap, to play with fun combinations.
At the time of dilution, I mix the soap paste with distilled water and then I add essential oils to give my soap a personalized fragrance.
Does it need a preservative?
Whether or not liquid soap needs a preservative is a controversial subject. Personally, I don’t use one as the pH of soap is high enough that it’s not a favorable environment for the growth of most of the microbes that we’re trying to avoid.
If I were going to sell a liquid soap, though, I’d do proper microbial testing of the liquid soap to see if a preservative was needed or not. Most natural preservatives on the market aren’t effective at the high pH of soap anyway. (Euxyl® K 900 is an exception and would be a great preservative to consider for using in soap.)
For more liquid soap FAQ’s, read my post How to Make a Liquid Soap: Start Here.
Video
Easy liquid castile soap (made from scratch with olive oil)
Materials
Instructions
- Measure out the olive oil and add it to the slow cooker on low heat.
Make the lye solution
- Weigh out the glycerine, water, and potassium hydroxide (KOH).
- Mix the water and glycerin.
- Carefully add the KOH to the water and glycerin mixture. (Not the other way around!) Do this step in a well ventilated area.
- Stir the KOH into the water until it dissolves. It will be cloudy at first, but then it will clear up.
Make the soap paste
- Slowly add in the the KOH mixture to the warm olive oil, and gently stir them together in the slow cooker.
- Once they are mixed together well, use an immersion blender to blend the ingredients together. In a few minutes the mixture will begin to thicken and look like mayonnaise. It will later look like a creamy pudding.

- The mixture will go through stages, from creamy to grainy and back to smooth.
- As you continue to blend, it will start to get creamy again. Once you reach this point, you can stop blending with the hand held blender and can leave the soap paste cooking covered in the slow cooker.

Cook the soap paste
- As you cook the soap, it will continue to thicken and will become more translucent. To achieve a clear liquid soap we'll need to cook the soap paste for 3-4 hours. During that time, check on it and stir it up every half an hour or so.
Check for doneness
- To check for "doneness," we will look to see if the soap paste dissolves clear. To do this, take a small amount of the soap paste and dissolve it in distilled water. If the resulting soap is clear, the soap is finished cooking. If it's cloudy, continue to cook the soap paste for another half an hour before checking on it again.
Dilute the soap
- To make a liquid Castile soap, dissolve some of the paste in distilled water. I ususally use a ratio of one part soap paste to 2-3 parts distilled water. Let it sit until dissolved, or gently heat to speed it up.
Notes
- A slow cooker is perfect for this because it gently heats without burning and keeps everything at a steady temperature. If you don’t have a slow cooker, you can bake the paste in the oven or cook it in a double boiler.
- Take breaks while blending so you don’t burn out the motor of your immersion blender. If your blender gets too hot, you can pause and let it cook before continuing.
- If the mixture becomes too thick to blend at any point, switch to mixing with a wooden spoon.
- If you’ve cooked it for more than 3–4 hours and it still isn’t clear, there may be other issues. Tap water can cause cloudiness. For other possibilities, see my post on troubleshooting liquid soaps.
- This recipe makes about 4.5–5 pounds of soap paste, which can be diluted to 10–20 pounds of liquid soap or more, depending on how concentrated you want it. That’s roughly 1–2 gallons or more.
- Keep in mind that liquid soap is not as thick as commercial gels or surfactants. It has a thinner consistency and doesn’t need to be thick to be concentrated and work well.
- Undiluted soap paste can be stored in glass or plastic containers in a cool, dry place for more than a year. I’ve had some last for several years without any problems. It may eventually develop a slightly rancid smell, but can still be used for general cleaning.
DIY liquid body soap recipe:
If you would like to combine this soap with a liquid coconut oil soap to obtain a bit more lather and a squeaky clean feeling, try using this ratio:
60-70% liquid Castile soap (made with only olive oil)
30-40% liquid coconut oil soap (for bubbly lather, link goes to the recipe post)
Essential oils of choice.
Mix all of the ingredients together, and keep a bottle in the shower to use instead of shower gel.
Add essential oils for fragrance. Lavender essential oil gives a lovely herbal scent. I also like citrus blends using lemon and bergamot.
What are your favorites?
This post was originally published on June 29, 2016. It was rewritten and republished in June of 2021, adding new information, more photos, and video.


I see that you are using potassium hydroxide (KOH). I understand that lye can be made at home with hardwood ash (I clicked through to your post about lye) but how do you go natural and still have to find this chemical to put into your “natural” soap? Is there a way to make this potassium hydroxide at home in a way that is going to work to make liquid soap? I’m wanting to use the Castille liquid soap to make homemade shampoo, so I’m not as concerned about clarity. I’m just trying to move away from unpronounceable, mysterious chemicals in my products.
Hi Channon,
That’s a great question, and honestly, a lot of people are surprised by this when they first start making soap.
Potassium hydroxide (KOH) is necessary for making true liquid soap because it reacts with oils during saponification to create soap. While it sounds intimidating, it doesn’t remain in the finished soap when the recipe is properly balanced. The oils and lye are transformed into an entirely new substance.
Historically, people did make potassium-based lye from hardwood ashes and water. In fact, that’s where the original process came from. I actually tried making soap that way once because we heat our house with a fireplace in winter and I had plenty of wood ash available. Honestly, it was kind of a disaster. The soap barely lathered, had a strange texture, and the whole process was a lot of work for a pretty disappointing payoff.
The biggest issue is that homemade lye varies a lot in strength, which makes soapmaking very unpredictable. Modern KOH gives much more consistent results.
That said, “natural” can mean different things to different people. Many ingredients with chemical names are still derived from natural sources. Even water is technically a chemical compound. I try to focus more on understanding what ingredients are, how they’re made, and how they function rather than whether the names sound scientific.