When making liquid soap using the soap paste method, you’ll need to dilute it to use it. Learn how simple it is to dilute a liquid soap paste, and how you can customize it during the process.
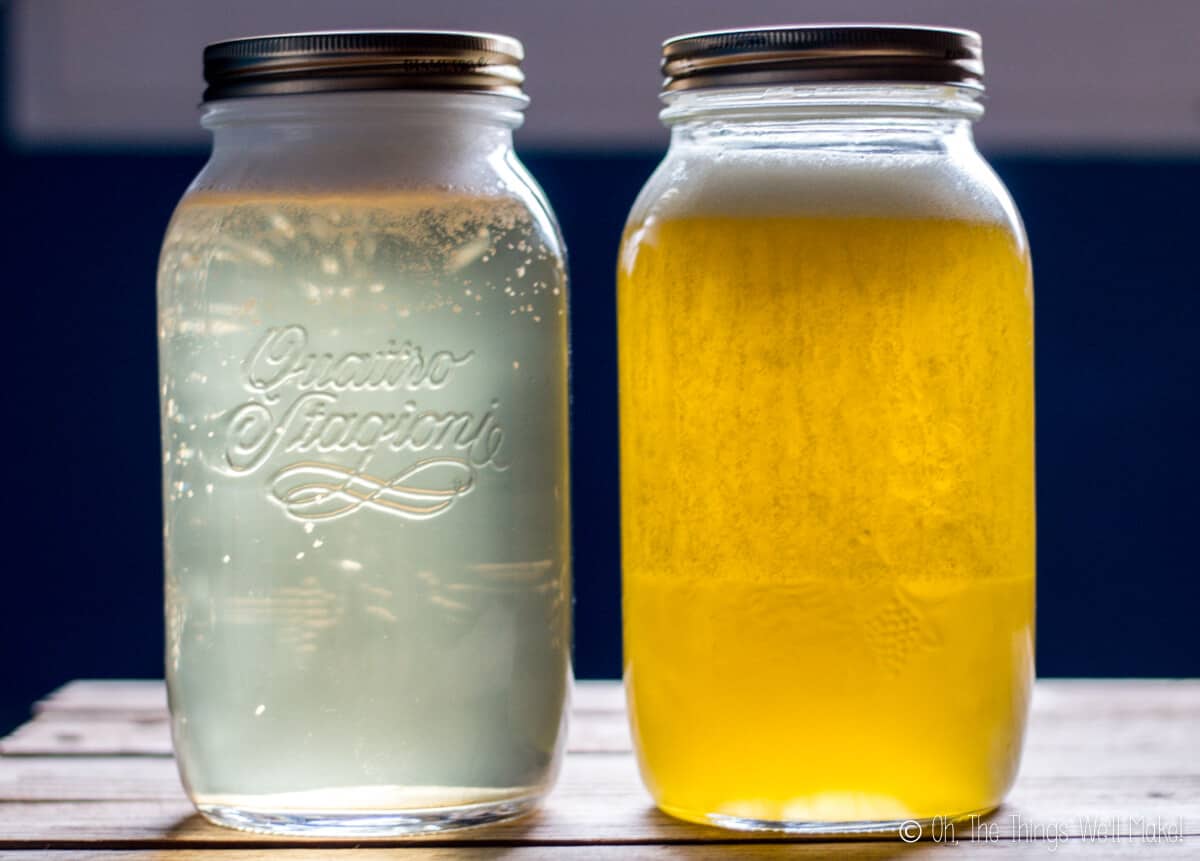
Over the years, I’ve made many liquid soaps using what is called the liquid soap paste method. In the liquid soap paste method, you make a thick, putty-like, pliable paste that needs to be diluted in water to use as a liquid soap.
On the blog, you can find a recipe for a liquid soap made with coconut oil, a pure Castile liquid soap made with only olive oil, and a combination liquid soap, Dr. Bronner’s copycat recipe.
For help deciding which one to make and more information about making liquid soap, check out my post on how to make a liquid soap (start here).
Benefits of the liquid soap paste method
I choose the liquid soap paste method because it’s easy and comfortable to use. The soap paste doesn’t take up a lot of room and stores very well. To save time, you can make large batches of liquid soap paste and safely store it away compactly for many months, (Or years!) only diluting the amount you’ll use relatively soon.
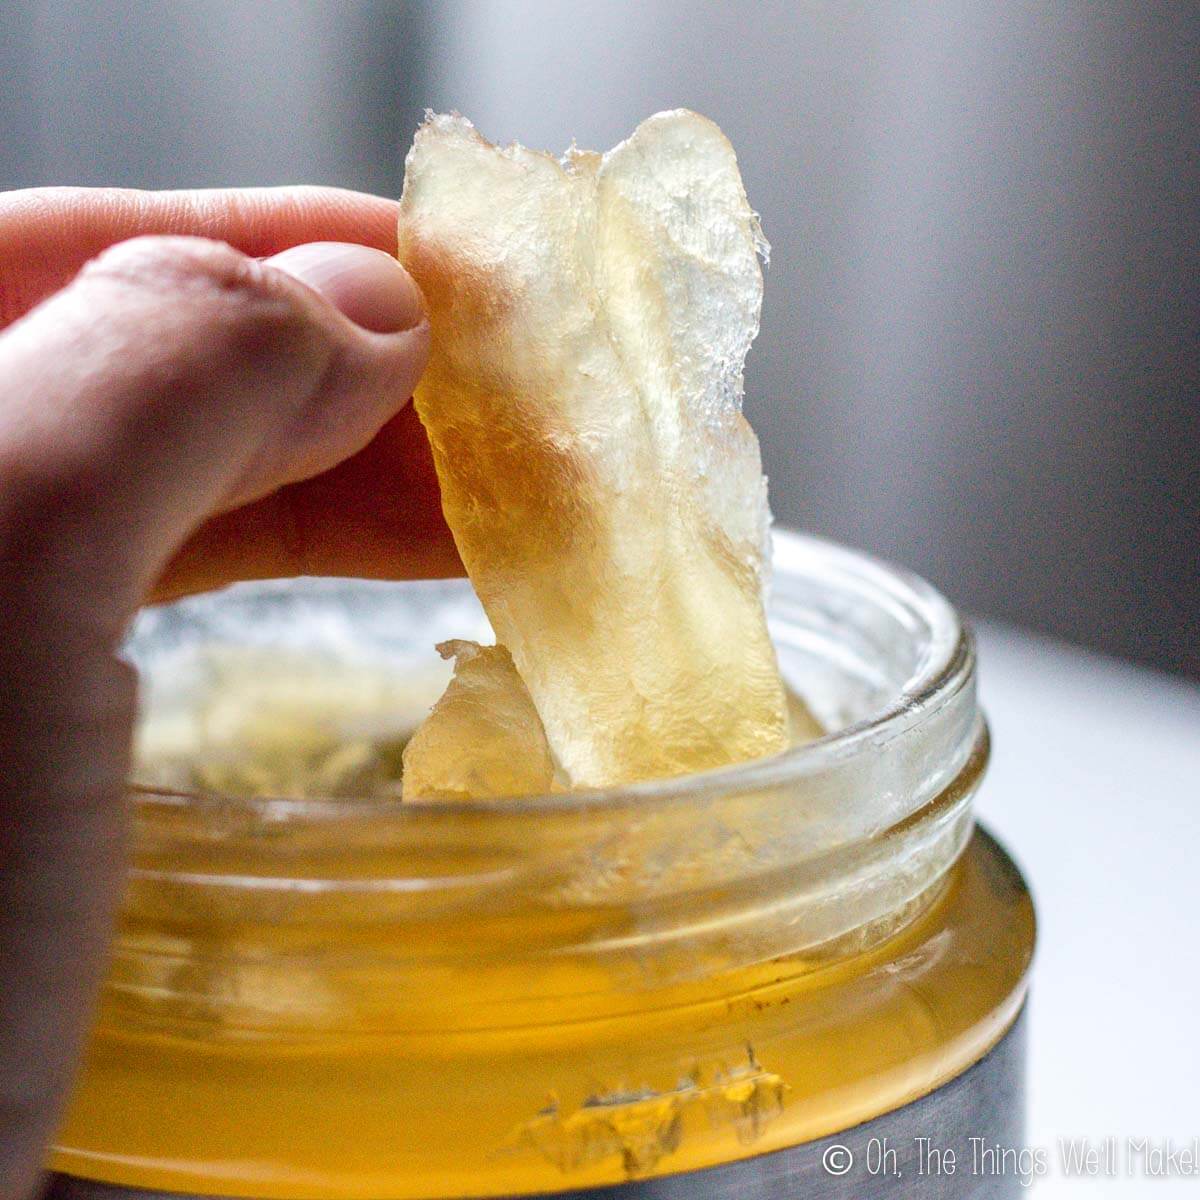
How to dilute a liquid soap paste
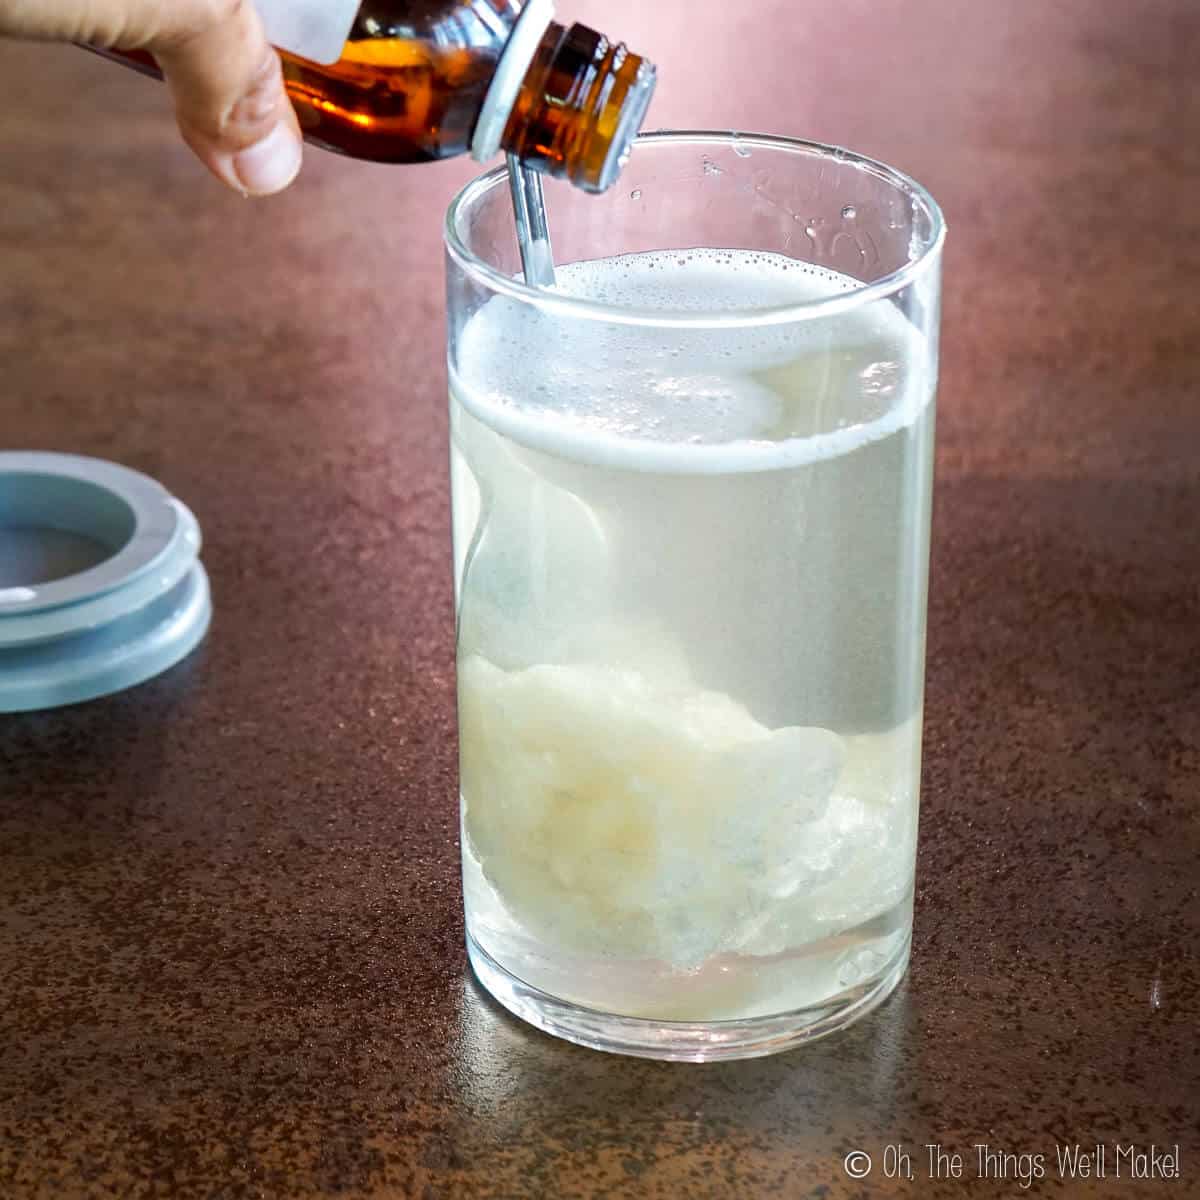
There are several ways to dilute the soap paste, depending on how quickly you need it. It can be as simple as just adding some distilled water to the paste and allowing it to dissolve into the water on its own, or you can speed up the process by using a bit of heat.
Using a slow cooker
A lot of people choose to dilute their liquid soap paste in a crock pot or slow cooker.
This is the method I use to dilute a fresh batch of liquid soap paste as it’s already in the crock pot anyway. I don’t like to dilute all of my paste at once, though, so I take a lot out and store the paste in glass jars with a wide mouth for easy removal later on.
(The more water something has, the more likely it will go bad more quickly, so I prefer to leave most of the soap in its paste form so that it will last.)
When using this method, I’m not very precise in my dilution rates. I usually eyeball the remaining amount of paste and pour in an “equal-ish” (yes, that’s the technical term, I think) amount of hot water. I then stir it all up as best as I can.
It’s important to add hot water if your soap paste and crock pot are still hot from making the soap paste or your crock pot can crack if you add even warm water to the hot paste mixture. (Don’t ask me how I know that.) 😉
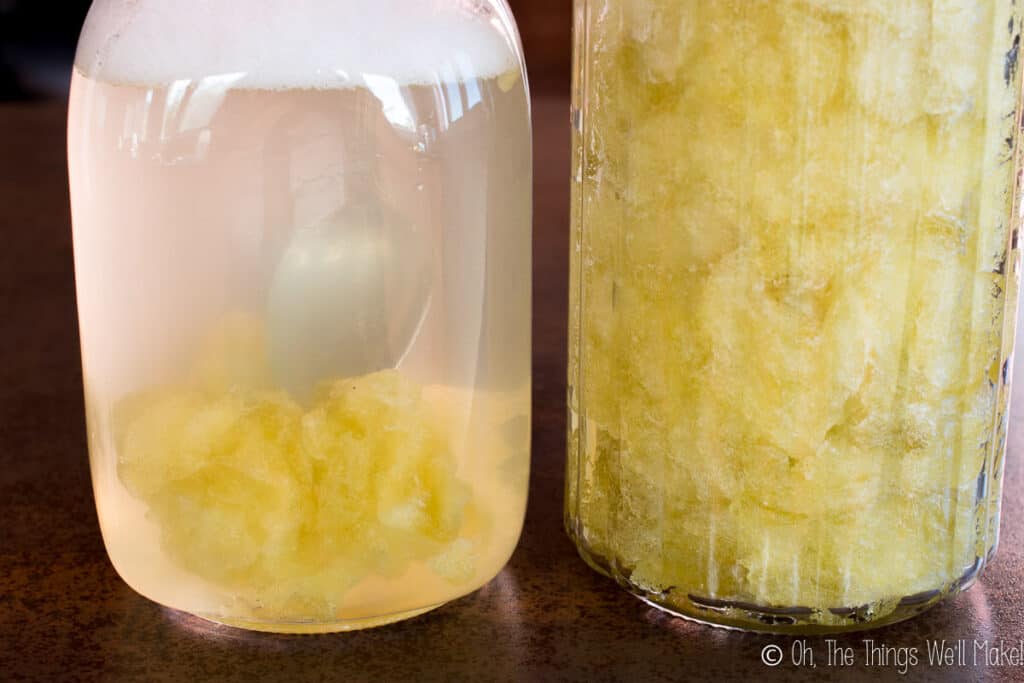
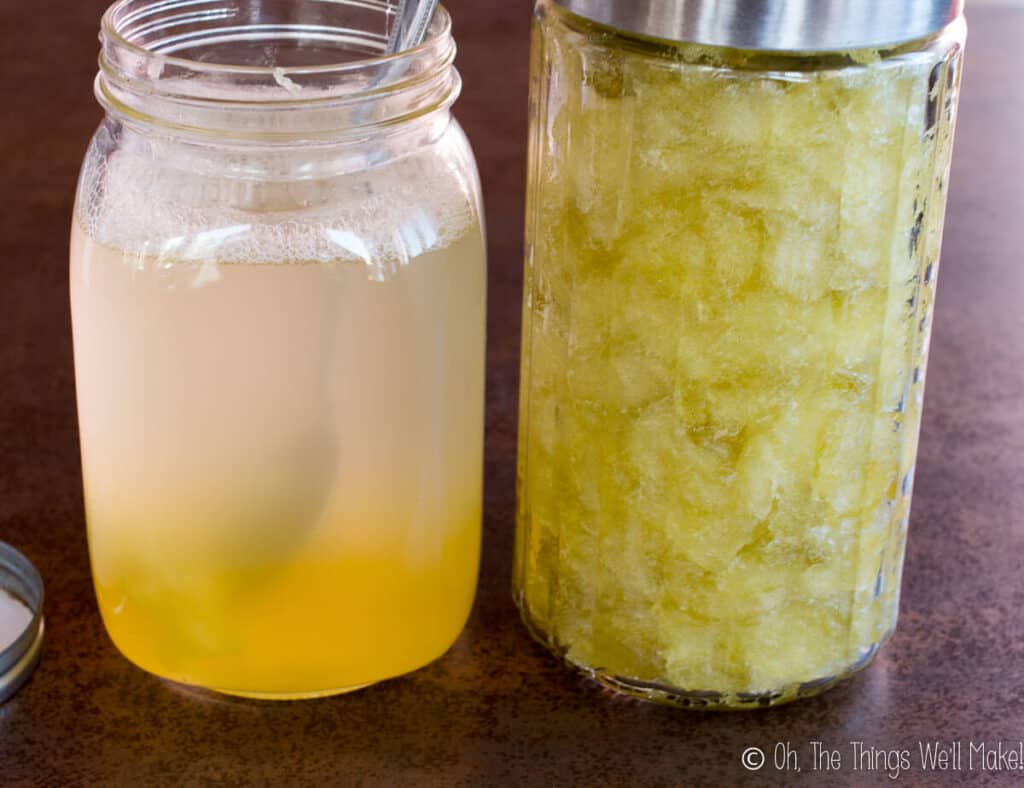
You can then turn the crock pot off and leave it alone for several hours, or overnight. If you happen to walk by, consider stirring it to help it dissolve more quickly. In the end, though, if you aren’t in any hurry, just let it do its thing. It will dissolve on its own.
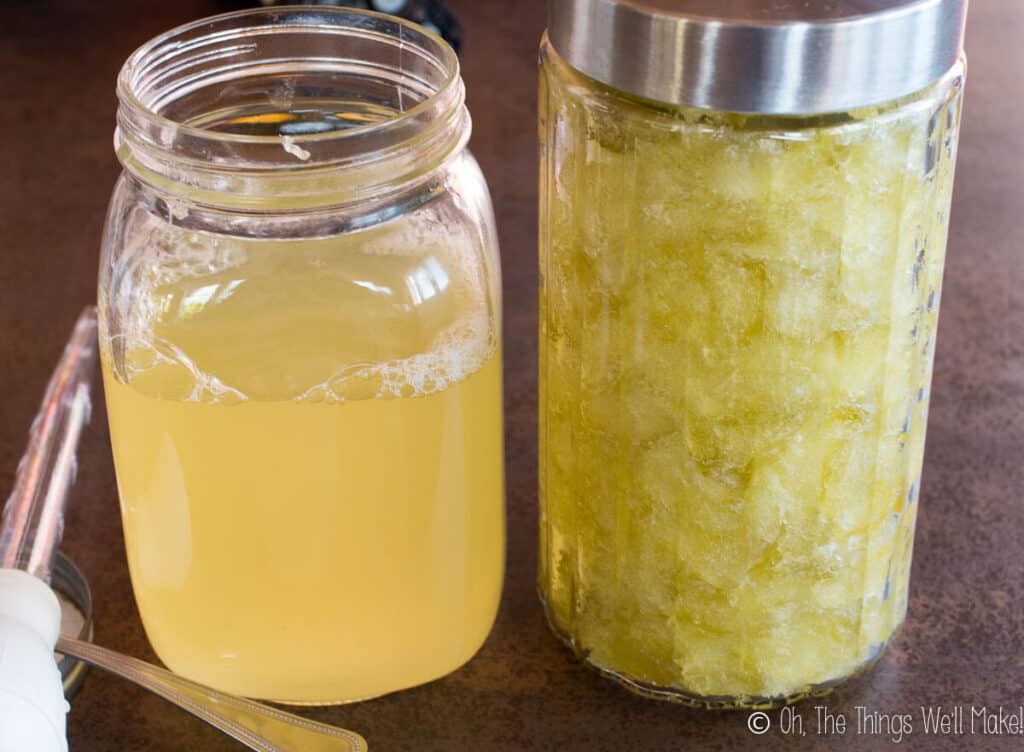
If by the next day the soap paste hasn’t dissolved, you can turn the heat to low for several hours or just let it sit for longer. If you still have big pieces of soap paste, you should probably add in a little more water and can also break them up to help dissolve them more quickly. Eventually, the soap paste will dissolve.
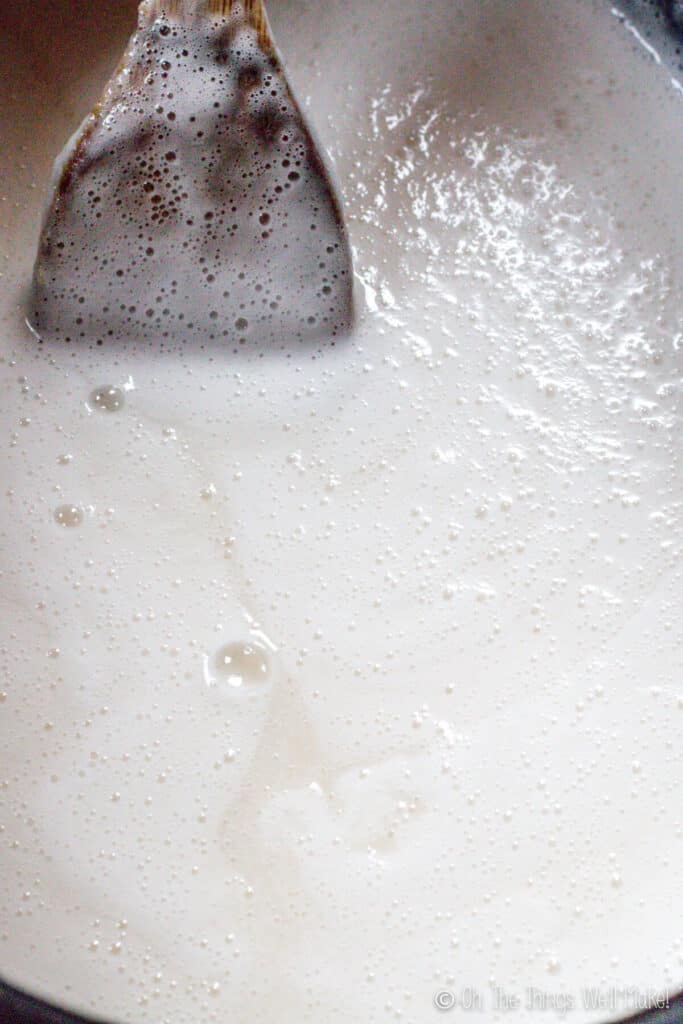
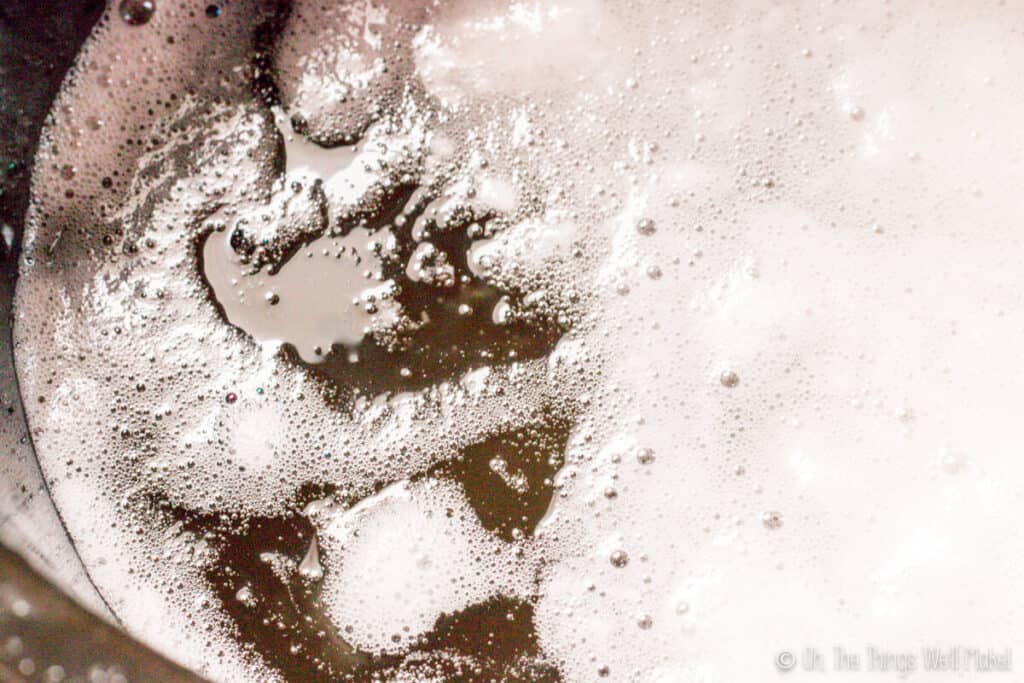
Of course, if you’re in a hurry, turn on the heat and stir the soap paste until it dissolves. It may get foamy at first, but it should clear as the foam goes away.
On the stove
As you can probably imagine, diluting the soap paste over the stove is very similar to the crock pot method. If you are in a hurry, you can cook the soap paste and water over low heat to help dissolve the soap paste. If you’re in less of a hurry, but want to get a head start on dissolving the soap paste, heat the water to almost boiling and then turn the heat off and add the soap paste. Stir it in as best you can and then allow it to rest until it dissolves.
Just as with the crock pot method, you can heat up the mixture again if, after several hours it hasn’t dissolved much and you want to help move things along more quickly. Or, you can just leave it be for as long as it needs.
Leave it alone method
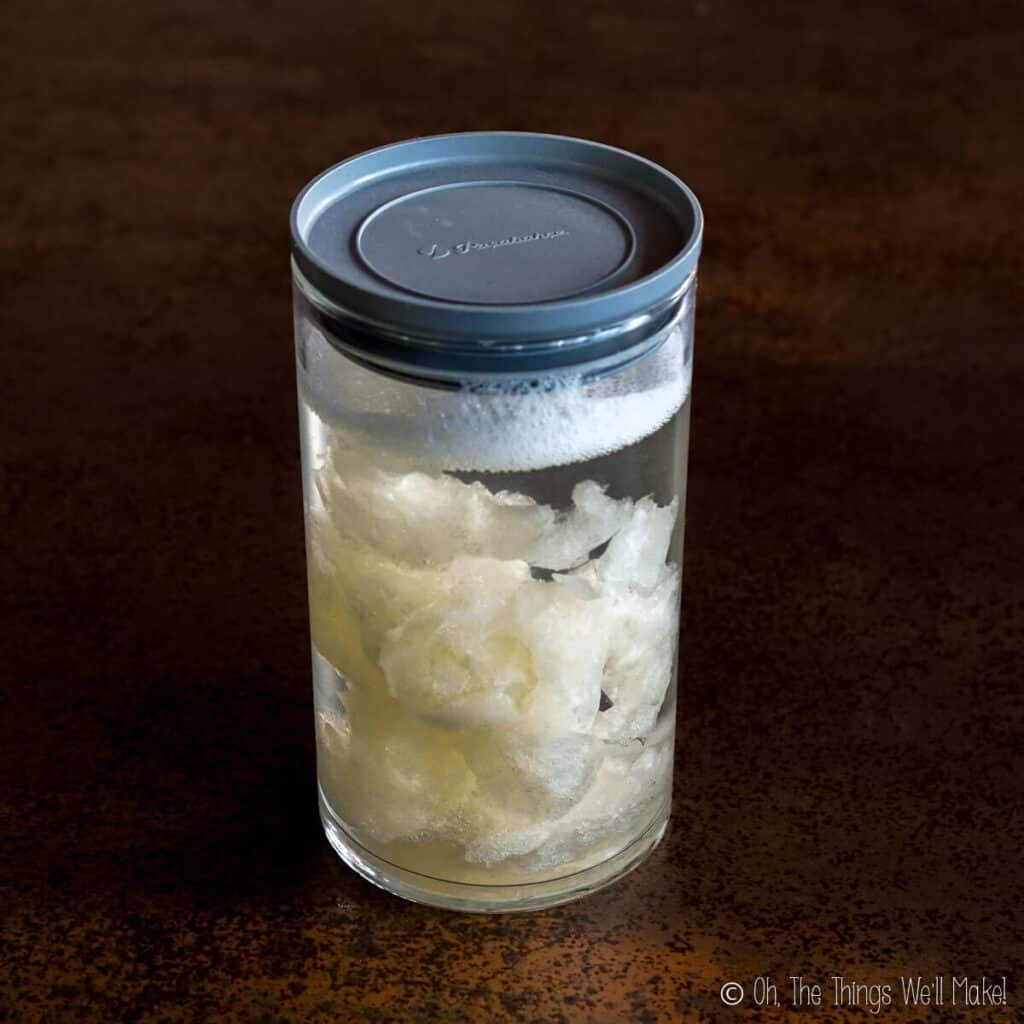
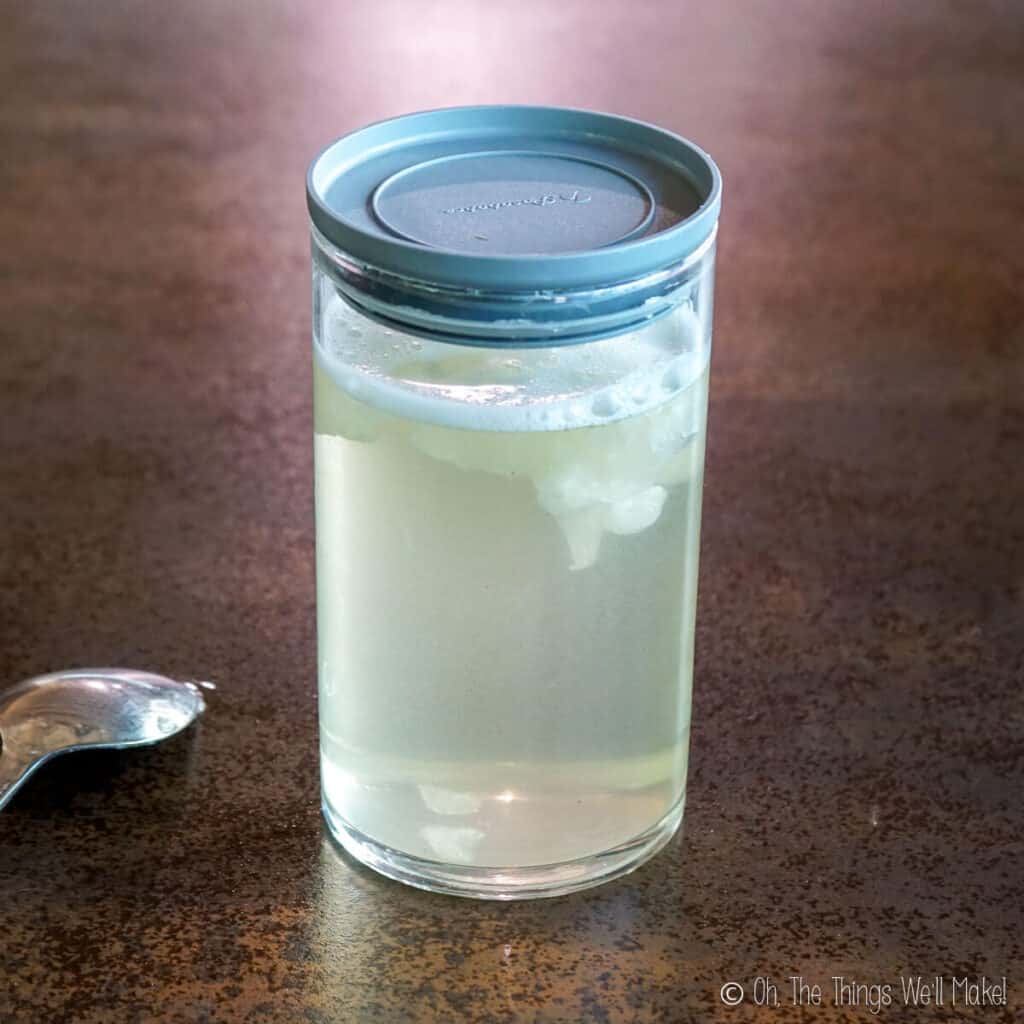
Honestly, this is probably the method I use most. Take some soap paste, pull it apart into relatively small chunks and pour some distilled water over them in a jar. Cover the jar, and leave it alone for several hours/days.
If I happen to be near the soap jar and think about it, I may occasionally give it a shake or stir. Mostly, though, I just leave it alone and forget about it until I need it.
I think it’s impatience that frustrates most people when diluting their soap base, but if you give it enough time, and enough water, it will eventually dissolve on its own. That’s why I start diluting when I see that we are starting to run out of diluted soap, not when we’re already out!
Dilution rates
Many people have asked me how much water they should be adding to their soap paste to get a proper liquid soap. For me, it’s more of a personal preference.
While I don’t normally weigh out the ingredients to follow a particular dilution rate, I normally visually judge how much water and soap paste I’m using. It generally ends up being around 1 part of soap paste to 1-3 parts distilled water.
Thin soap
The more water you add, the thinner the soap will get. Just because your soap is on the thin side, though, doesn’t mean that you don’t have a decent soap. Without thickeners, liquid soap will seem thin, even while still pretty concentrated.
I used to only dilute my liquid soap enough to make it a thick, dense liquid like many commercial soaps. By doing so, though, I decided that I was just wasting a lot of soap.
You know those commercials for dishwashing detergent that try to convince you that their product is so powerful that you’ll use less and save money in the long run?
I always roll my eyes at those commercials because I think, “Even if people could wash their entire load of dishes with one drop of soap, nobody is going to do it!”
We get used to pumping out a certain amount of soap, no matter how thick it is or how cleansing the soap is. So, even if we use a thicker, more concentrated soap, that doesn’t mean we are going to use less of it.
As an experiment, I started diluting my soap quite a bit more, leaving it a thinner consistency, not unlike Dr. Bronner’s soap. I found that we ended up using a lot less overall. We didn’t feel less clean, but were using up the diluted soap at about the same rate as we were using the thicker, more concentrated soap.
Plus, when the weather got colder, my thicker liquid soaps got cloudier and more opaque at higher concentrations! If I wanted my soaps to be more clear and transparent in the winter, I was needing to dilute them further anyway.
When I finally got around to buying a bottle of Dr. Bronner’s liquid Castile soap, out of curiosity, I was surprised to find that theirs was pretty thin too, despite them stating that it is very concentrated. That showed me that the density of the soap doesn’t necessarily correlate with its concentration or cleaning power.
Dealing with thin soaps
Most commercial soaps use some sort of thickening agent to thicken them. While I’ve read that you can successfully thicken liquid soap with salt, I’ve never been successful at thickening my homemade liquid soaps with salt. (I do use salt to thicken my non-soap homemade laundry detergent.)
Some people use gums and other similar type thickeners to get a thicker soap. (That’s the method I use to thicken my clarifying shampoo.)
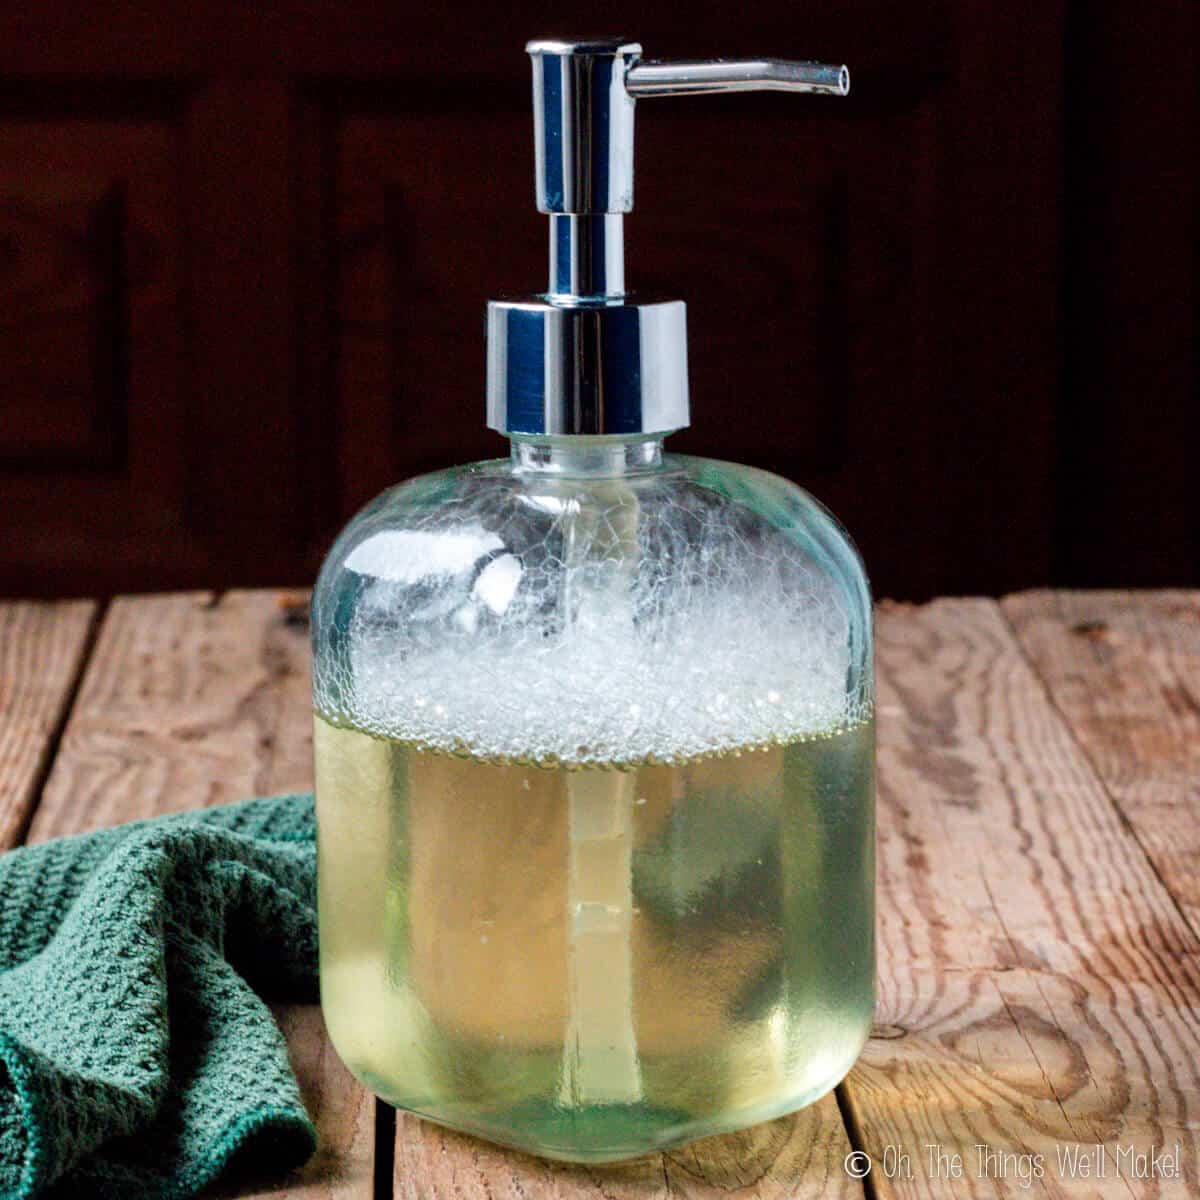
For easier usage of a thin liquid soap, I generally use a foaming dispenser rather than try to thicken it. A foaming dispenser will add air to the soap as it’s dispensed, giving a foam that is easy to apply. We also use regular pump dispensers in some areas of the house. While the soap still dispenses on the thinner side, it’s easier to dispense and use a proper amount that way.
Perhaps I’ll start experimenting again with the best ways to thicken liquid soap and will write a post dedicated to the subject.
Second dilution
Most people make one type of soap, dilute their soap to the consistency they like, and that’s that.
I, on the other hand, like to have some concentrated liquid soap ready for mixing and for a second dilution. My concentrated liquid soaps are generally made at a 1:1 concentration of soap paste to distilled water or thicker. (They may have even less water than that.)
Because different oils have different properties in soap making, you can combine several different types of liquid soap to obtain the benefits of each of them. When making bar soaps, you’d have to decide on your concentrations and make the whole batch the same way, but with liquid soaps, you can combine the already made soaps after the fact.
Soaps made with olive oil tend to be conditioning, but they don’t usually give off a lot of lather, and aren’t usually as cleansing as a soap made with coconut oil.
Soaps made with coconut oil tend to be very cleansing and they make a nice bubbly lather, but they can be drying on the skin.
For face and body uses, you could combine them, using more of the olive oil soap. For general cleaning around the house, you could use only coconut oil (or add a bit of olive oil soap if you’re cleaning something delicate like a leather sofa).
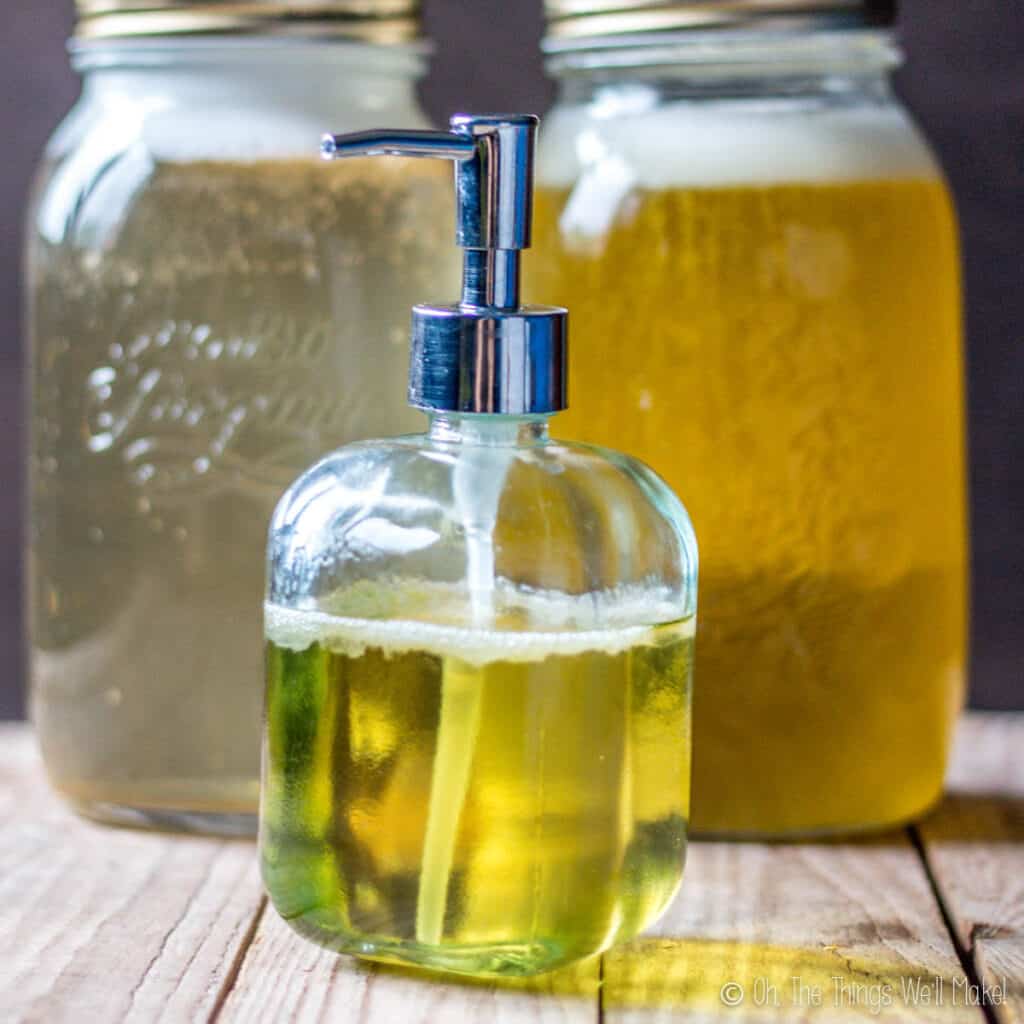
I’ve found it’s easiest to have two big jars of thick, yet diluted liquid soaps (one made with only olive oil and one of coconut oil soap) ready for mixing and further dilution.
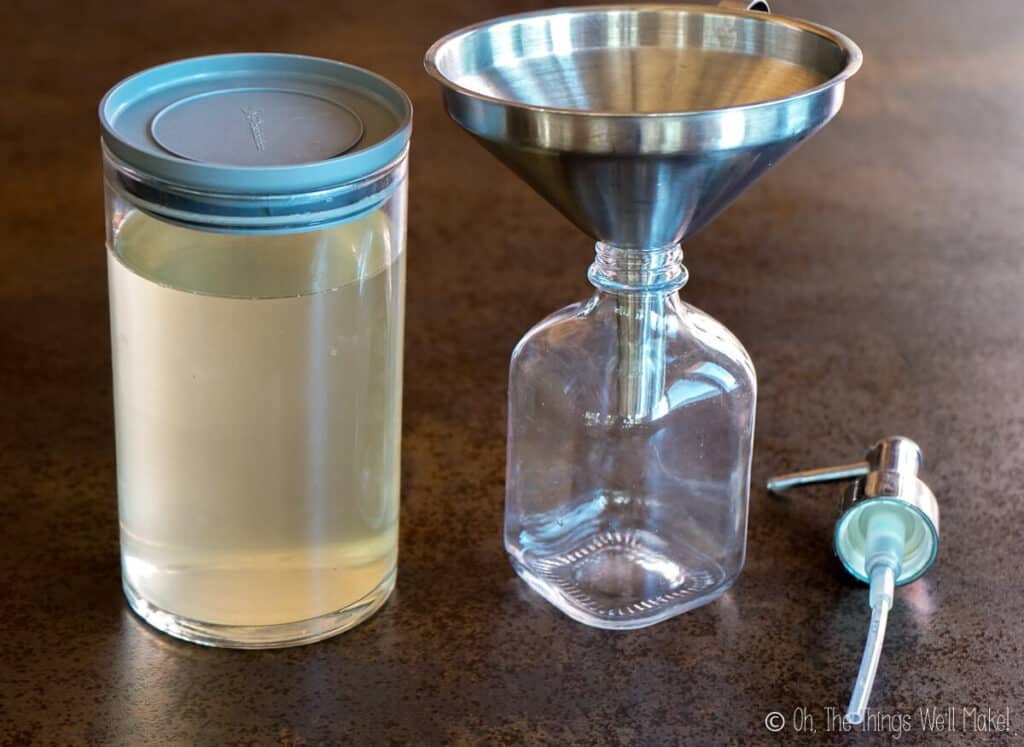
When it’s time to refill a dispenser, you can fill the dispenser around half full with distilled water (or more or less, despending on how thick you want it), and fill the rest with either of the soaps, or a mixture of both.
Adding fragrances
During the dilution, or second dilution when using that method, it’s the best time to add in any essential oils or fragrance oils.
Liquid soap is great in that it doesn’t need as much fragrance to be noticeable. Many people choose to use essential oils to add fragrances to their soaps in a more natural way, but they are frustrated that they need to add large quantities for the scent to be noticeable.
While you can get away with using much less fragrance in liquid soaps, essential oils and other natural fragrances still last much less time. That’s why it’s best to add the fragrances right before you are going to use them. (In bar soaps, the fragrances have to survive the cure time before you’ll even be able to use your soaps.)
Cloudy liquid soaps
If you find that the soap becomes cloudy when you dilute it, don’t worry too much. It’s generally safe to use, but it’s normally more of a cosmetic issue.
Cloudiness can be due to a number of factors.
One of the most common reasons for cloudy liquid soap is that it has been made or diluted with tap water instead of distilled water. Tap water can include impurities and minerals that can change the appearance of liquid soap.
Depending on the oils used to make the liquid soap, or how many oils were used, a soap can also be more or less cloudy. (Some oils, like jojoba oil, have unsaponifiables that can cause cloudiness in liquid soap.) Most of the time liquid soap isn’t superfatted (or at least not by much) because superfatted liquid soaps can become cloudy or even separate.
The other common problem is that the soap paste may not have finished the saponification process (or may just need to be cooked a bit more). To check for safety, you can do a “zap test”. If the soap passes, you can use iteven if the soap is cloudy.
The zap test
To check for safety of the soap, many soap makers rely on what is called the zap test. To zap test a liquid soap paste, run your wet finger over the surface of the paste and then touch your soap-covered finger to your tongue. If the soap is caustic, it gives a zapping sensation. (This has nothing to do with flavor.)
If the soap doesn’t zap (if you can’t tell, it doesn’t), then it doesn’t have any more active lye, and should be safe to use.
May times, a cloudy liquid soap will clear on its own if allowed to rest for several hours/days. This is called “sequestering” the liquid soap. Often times solids will fall to the bottom or unsaponified oils will float to the top. You can then carefully remove the clear soap from the center if that happens. (Or you can leave it as-is if the cloudiness doesn’t bother you.)
For more information, read my post about troubleshooting liquid soap problems.
 Español
 Homemade Liquid Coconut Oil Soap
yosh
hi can I dilute the soap paste with olive oil and water and not only water?
Tracy Ariza, DDS
Hi Yosh,
Very little oil would incorporate into the mixture. Most will separate out.
You can generally add small amounts of essential oils to scent the soap without issues, but adding too much oil will first make the mixture cloudy and eventually the oil will separate out.
Also, keep in mind that extra oil will lower the cleansing ability of the soap.
Gina Bagbey
Hello,
I really love this post and content. I was wondering however, when diluting my paste on the stove with heat, I always seem to get an undisolveable film on top. Do you know how to get rid of this?
Tracy Ariza, DDS
It can depend on the oils used. I’ve noticed that I have tried using certain oils that somewhat separate out or leave a film (like jojoba and argan.)
It may also depend on the ratio of fats to lye.
In the end, I’d suggest just skimming it off and using the soap underneath.
Gunda
Hello, you amazing woman!
I have only just found your site and am so impressed about your knowledge!
I would like to ask if you can give me any hints on making a liquid soap with the addition of rhassoul clay (or bentonite).
Have you ever tried this?
Is it just a matter of adding more water?
Many thanks, kind regards
Gunda
Tracy Ariza, DDS
Hi Gunda,
Thank you so much!
That’s an interesting question. I’ve added clays to solid soaps to give them color in some cases and experimented with bentonite clay for adding some slip to shave soaps, but I’ve never tried adding it to liquid soap.
When I make liquid soap, I generally store it in the paste form and then add things when I dilute the soap paste. So, it should be easy enough to experiment and see what happens without really having any waste. I’d just dilute a small part of it and add the clay when you add the water (and eny essential oils for fragrance). I’m not sure how well the clay would stay suspended. The only other concern I’d have is that all additions can make it more prone to microbial growth (so, you’d have to seriously consider testing if it’s for a commercial product and otherwise think about adding some sort of preservative.) Clays are on the alkaline side normally, so, fortunately, a small amount shouldn’t really interfere with the pH of the soap. Without testing it myself, I can’t really say more, but I hope that helps somewhat.
Adam
Thanks for the Tutorials. I’ve been making bar soap myself, but my wife and kids wont use them so I am trying to use liquid with essential oils so it smells nice for them. Thats not the question.
How do you clean this stuff up after? lol is it just hot water and wait or do you have a magic way to clean off all the paste from everything?
Tracy Ariza, DDS
Basically, yes.
As it’s soap, it generally cleans really well, really easily. 🙂
If it’s solid and hard to get off, just use a scrubby sponge. You can then use that sponge with soap to clean pots and pans and counters around the house. 😉
zidane
very good information. thank you