

How to Brine, Salt Cure, and Store Olives
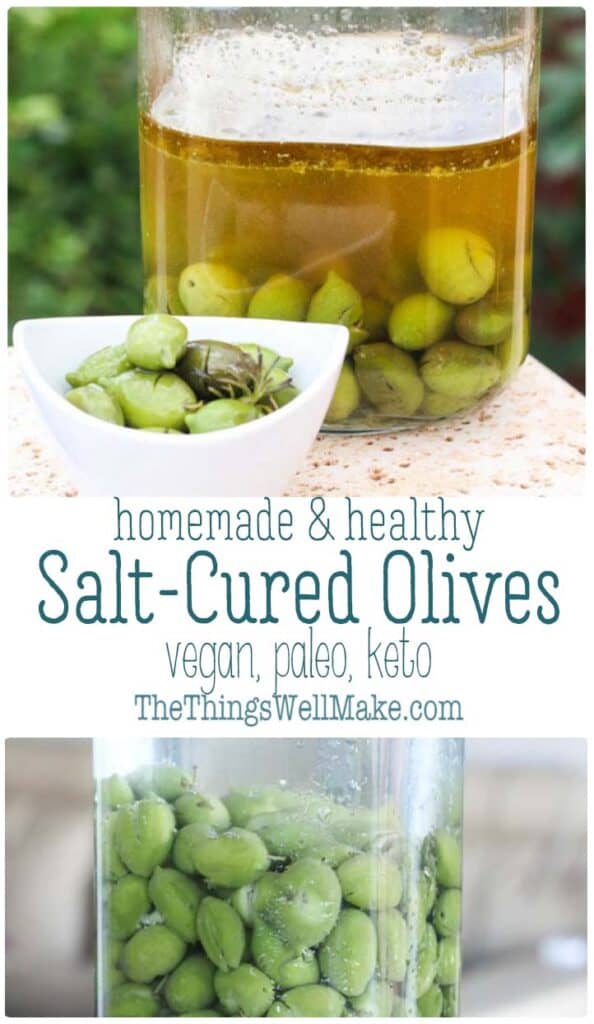
Brining olives is easy to do at home with simple ingredients. It is a delicious, natural way to enjoy fresh olives and store them for later. Learn how to salt cure and flavor your olives and preserve them.

While it’s spiced pumpkin season back in the US, here in Spain, it’s olive brining time! In my area of Spain, the olives ripen towards the end of October or the beginning of November. (The harvest time will depend on the variety of olives and where they are planted.)
To be honest, when I was growing up, I only ever ate black olives. Perhaps it was because the only green olives I’d ever tried were the stuffed green olives with pimento. (I still am not much of a fan of those.)
Luckily, once I arrived here, I decided to give green olives another chance. I didn’t want to be rude when presented with some homemade olives from a friend’s olive tree, and I was amazed by how delicious they were!
Being the sort of person who loves making things myself, I eventually also had to try salt curing my own olives.
So, one day, when I saw freshly picked olives at the local farmer’s market, I had to buy some.
Why cure olives?
After buying the raw olives, I took a bite from one and was surprised by its bitterness!
When first picked from the tree, olives are very bitter and have an astringent-like flavor. This is mostly due to the oleuropein in the olives. Oleuropein is a bitter compound that likely helps protect the olives while growing. Unless they have sun-dried for quite a while on the tree, freshly picked olives just aren’t palatable at all!
Before brining the olives to add flavor and help preserve them, we will be curing them in water to help remove some of the bitterness.
Ingredients
To make some delicious salt-cured (brined) olives, we’ll need fresh olives, salt, and filtered water. (Choose unchlorinated water.) You can use any salt you like. I generally use sea salt.
Ripe olives can be found in most areas with a Mediterranean Climate. Here in Spain (Also in Greece, Italy, and France), it’s common to see olive trees, but they can also be found in California and in many other countries (like some areas of Australia). Even if you don’t have olive trees growing nearby, you can often order olives in bulk online.
This process can be used with a variety of types of green olives (or those that are ripening into a darker color). Some common varieties to use are mission olives or manzanilla olives.

Water curing the olives
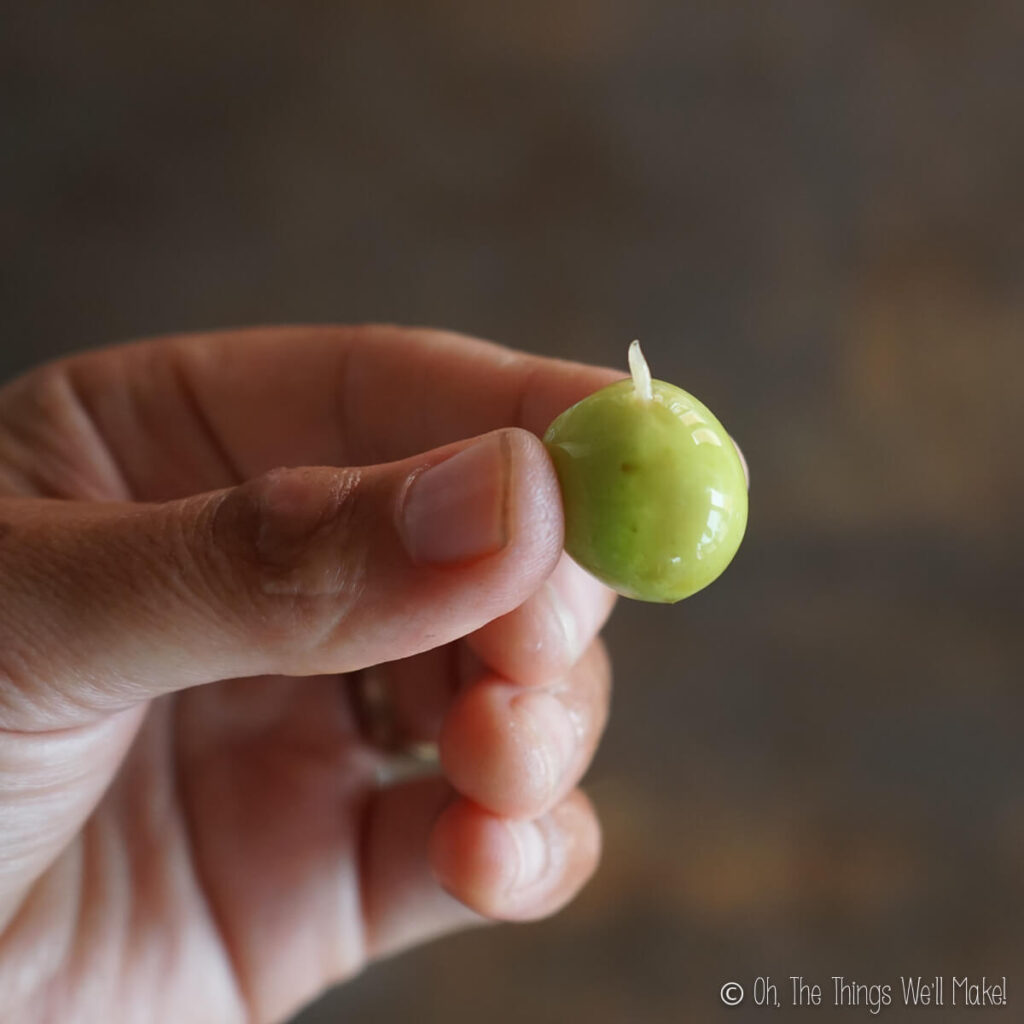
The first step is to soak the olives to remove the majority of the bitterness. While you could do this with whole olives, the process would take a very long time. So, to speed up the process, we’ll either smash the olives or cut into them with a knife.
If you’d like to cure whole olives, why not give lye-cured olives a try?
Smashing or slitting the olives
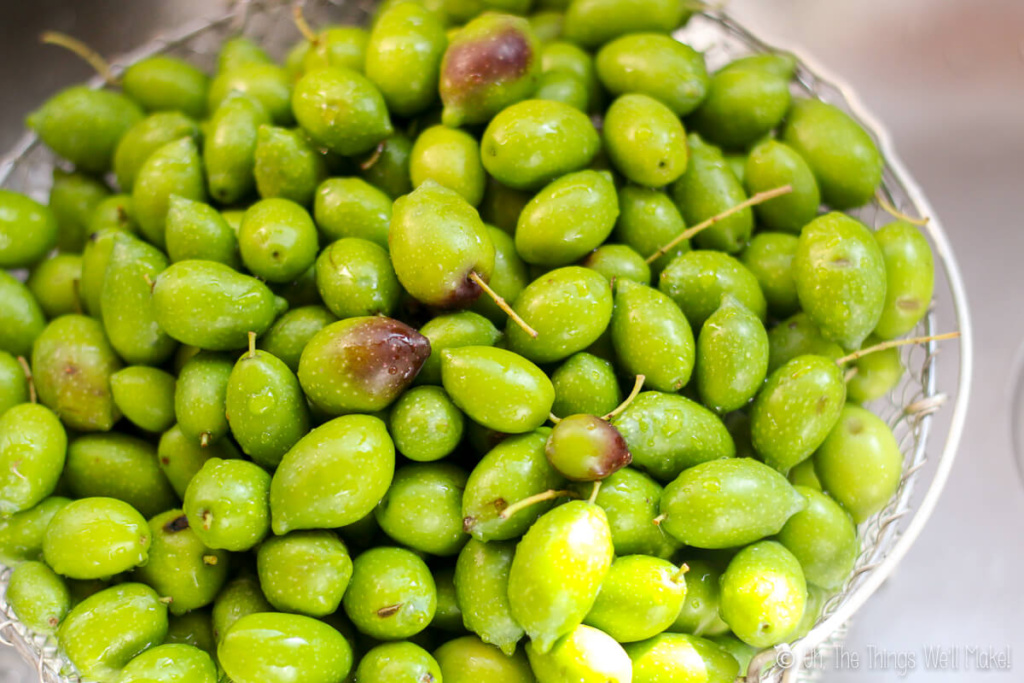
First, remove any damaged fruits from your olive harvest including those with obvious holes in them. (They likely have the larva of the olive fruit fly!)
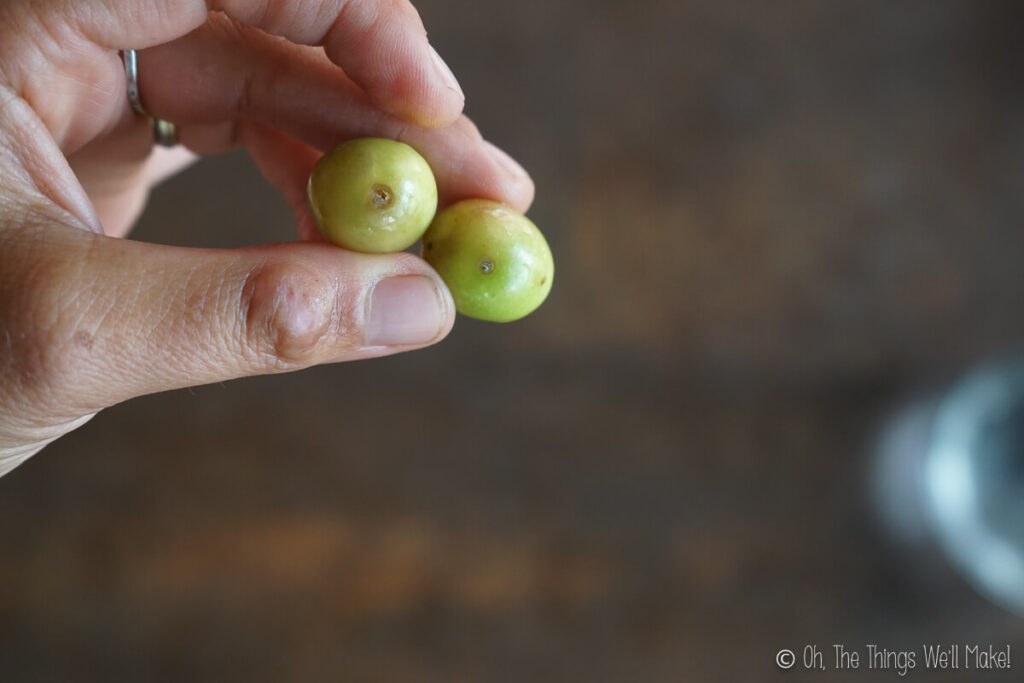
Obvious holes 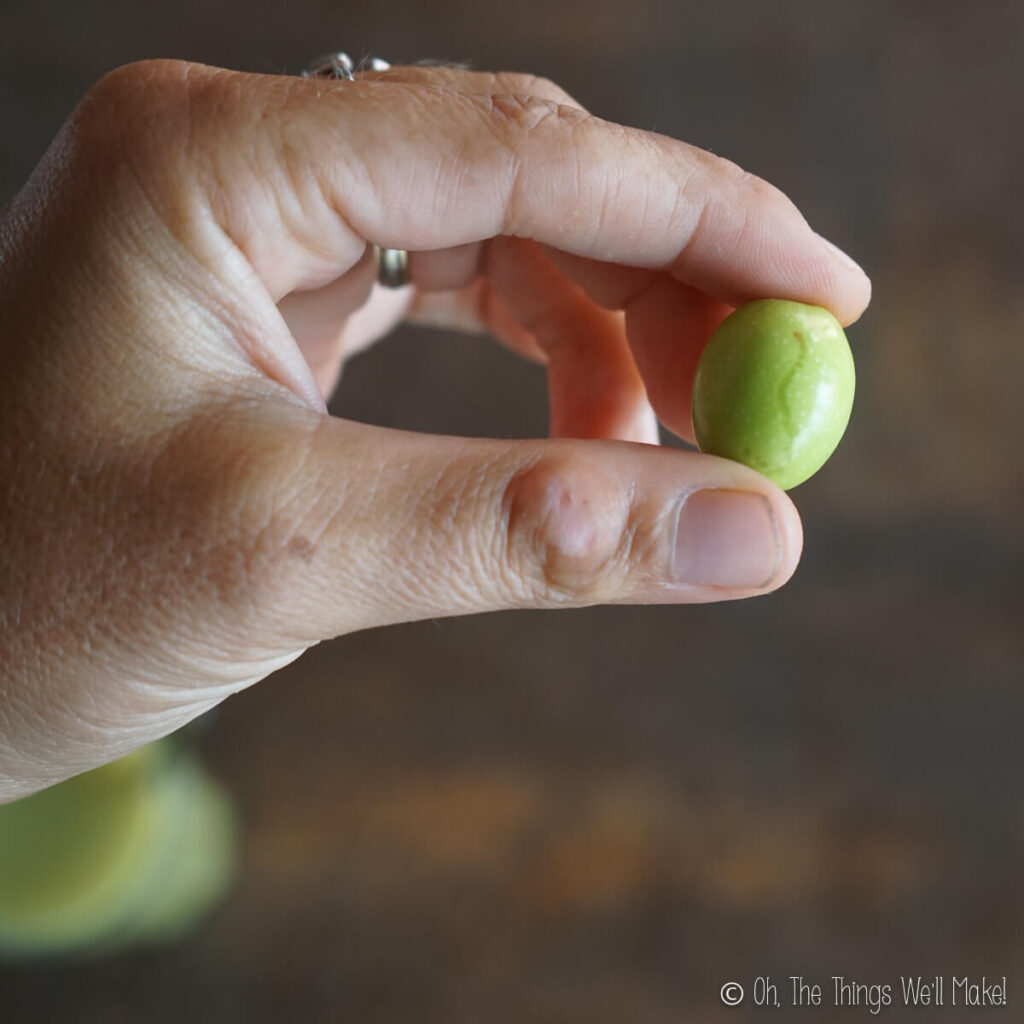
Olive with a larva coming out
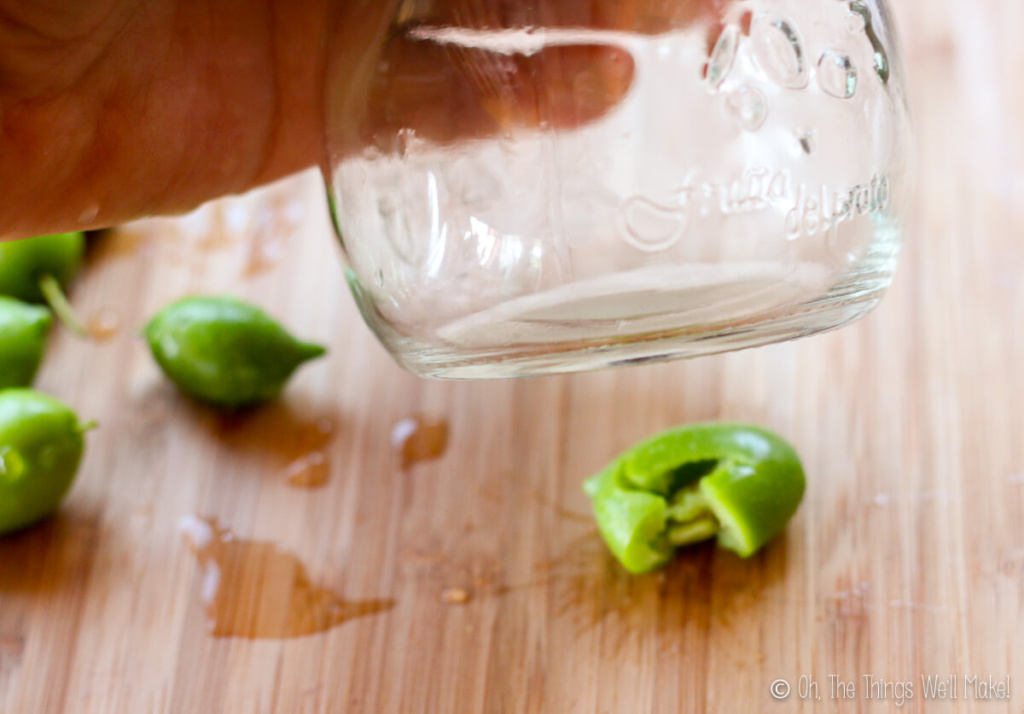
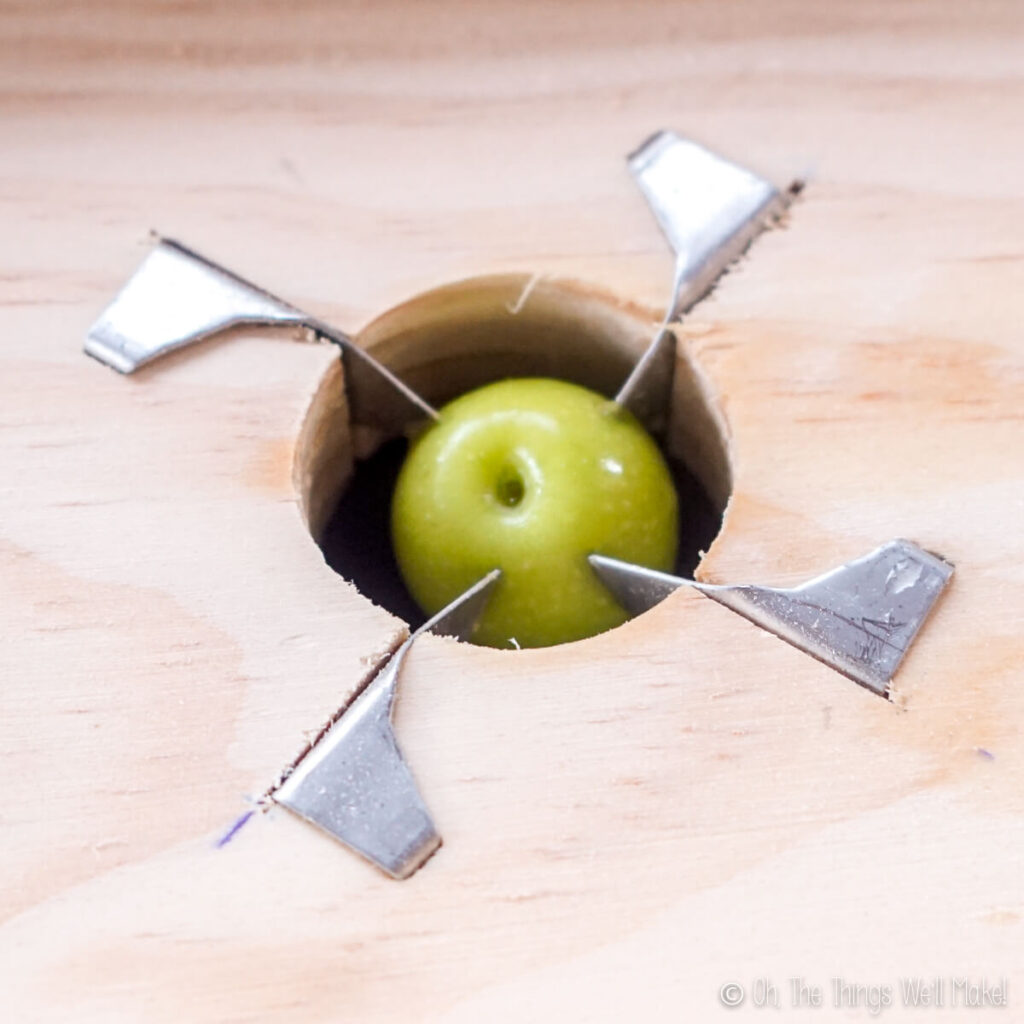
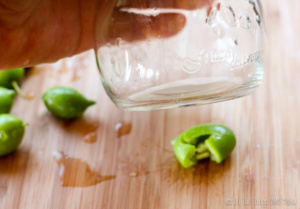
By piercing the skin of the olives, the flesh is exposed and the bitter compounds are more easily given off into the water.
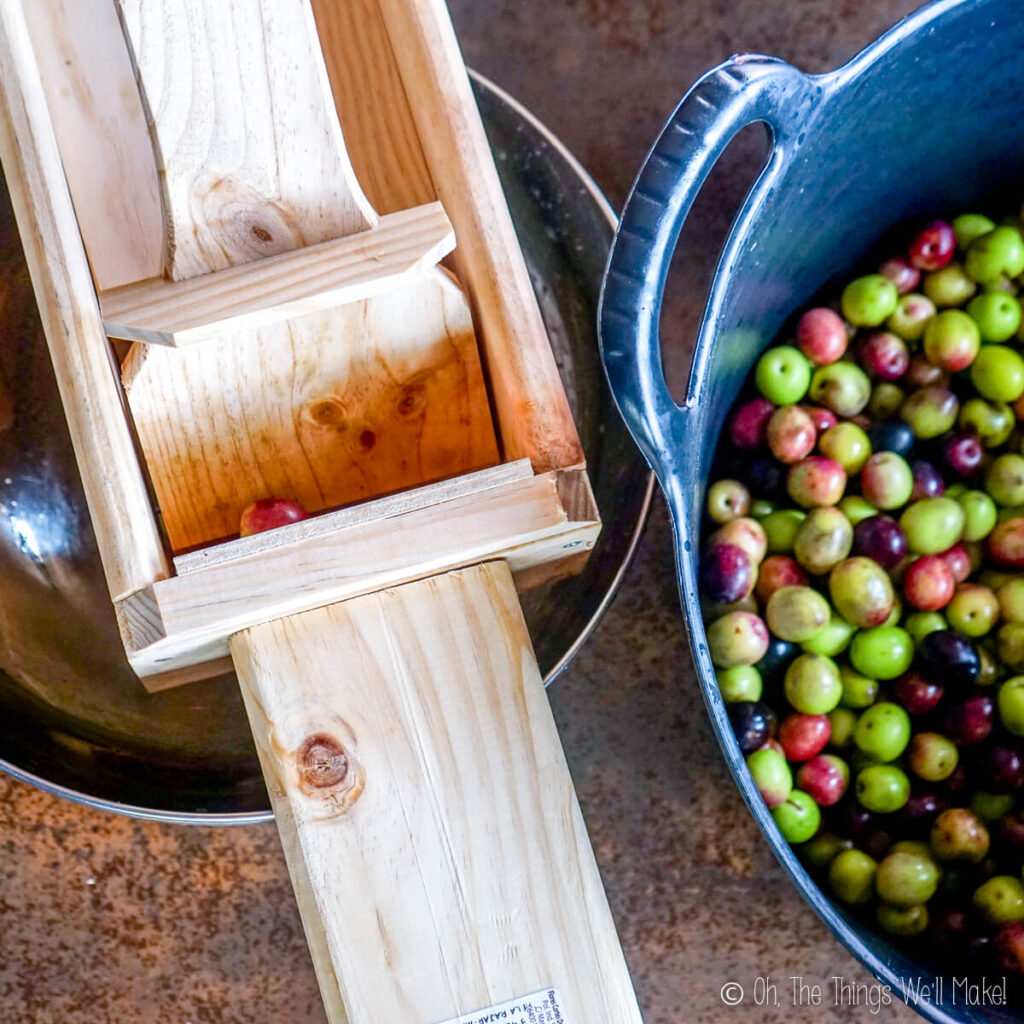
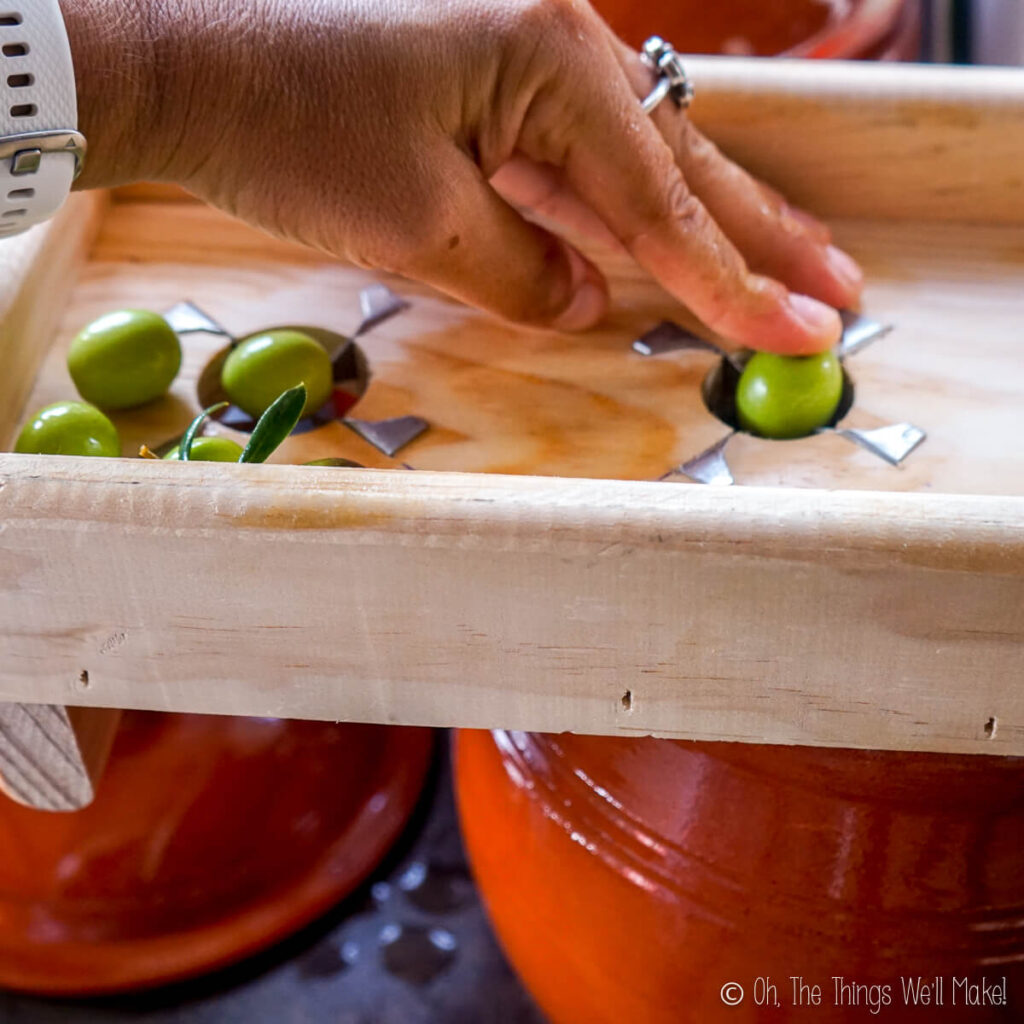
Either smash each olive with a clean, flat stone or the flat bottom of a resistant cup or bowl. Here in Spain, it’s common to find boards with an area for smashing the olives and another area for easily slitting the olives on 4 sides at once. If you don’t have access to something similar, you can use a paring knife (or another sharp knife) to slit into each olive, preferably making several slits into each one.
If you’re in a hurry and want to eat the olives as quickly as possible, smashed olives are the best choice. Once smashed, the olives generally are cured quite quickly, in just a few days. Sliced olives take a few more days to cure, but generally keep a bit longer than the smashed ones.
Soaking the olives
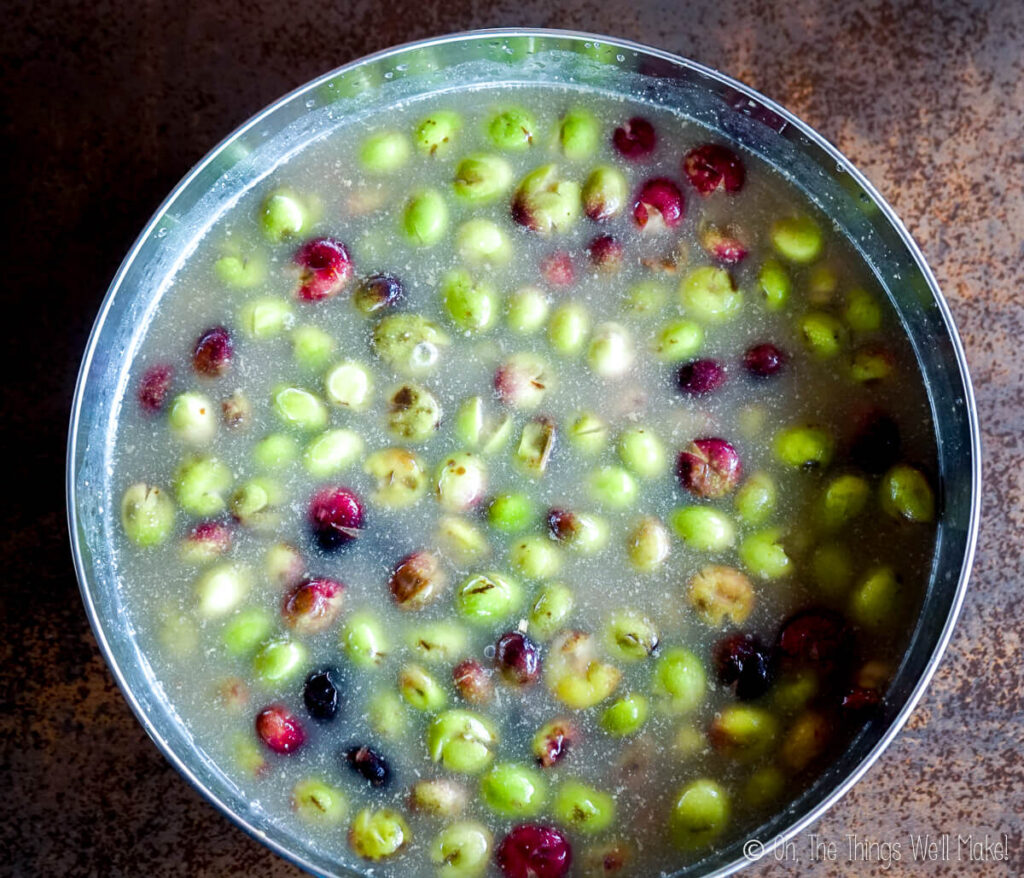
Once the olives have been smashed or slit, place them in large glass jars and cover them with water. Each day, change the water by pouring off the old water and adding new, unchlorinated water. (Some people add some salt to the water, but that’s totally optional. I’ve done it both ways and don’t notice much of a difference in the final product.) In the first days, the water that you pour off the olives will likely be brownish in color. That’s normal.

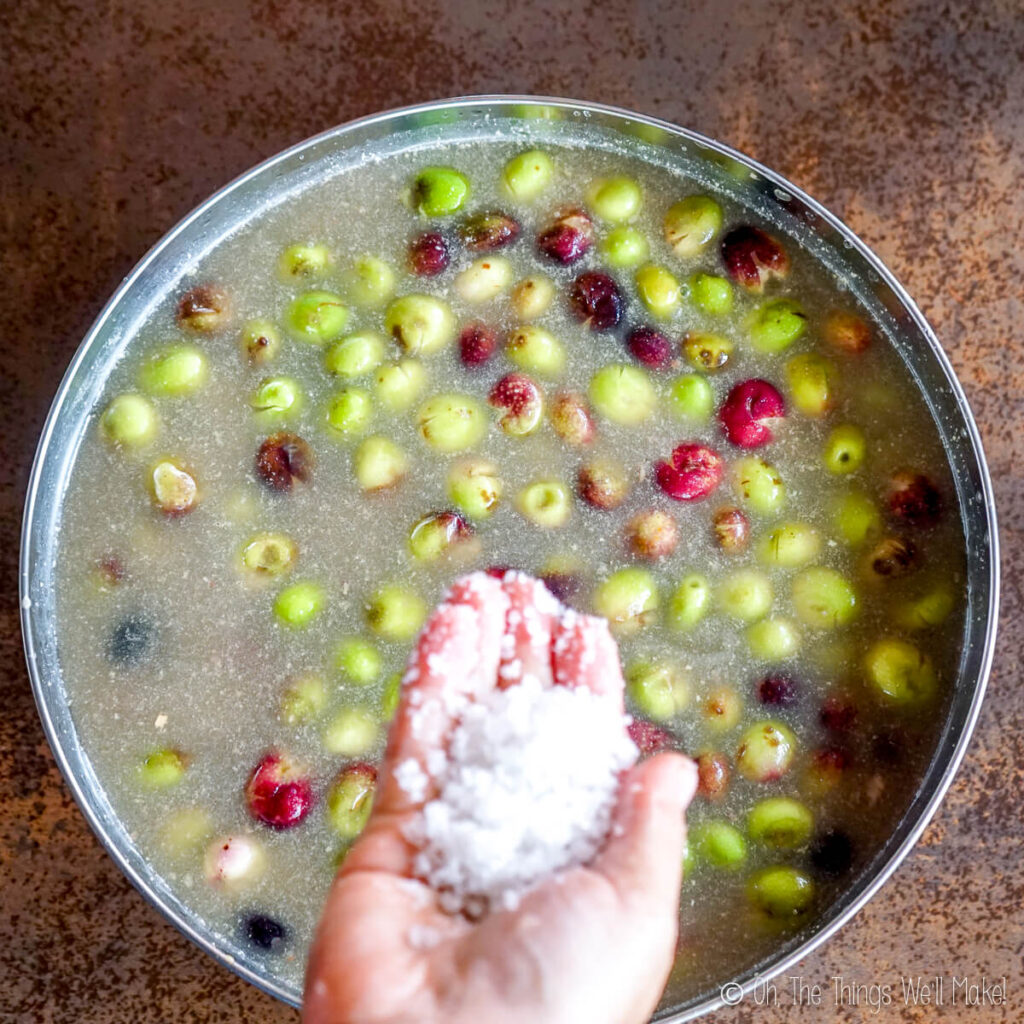
Optionally add salt to the soaking water
After several days, the water should get lighter and lighter in color and the olives should be less and less bitter. After around 5 days, taste an olive to check for bitterness. If the olives are still quite bitter, continue to change the water daily until you are happy with them. (Taste them each day when changing the water.)
Olives are generally ready after 5-7 days of soaking. The amount of time needed will depend on if you’ve smashed or slit the olives and on your preference for how bitter (or not) you want the olives to be.
While bitter olives aren’t pleasant to eat, removing all of the bitterness of the olives can make them bland. While you can compensate for bland olives by adding herbs and spices to the brine, it’s best to leave some of the flavor. Plus, the oleuropein of the olives may also have health benefits.
Brining the olives
Once you’ve removed most of the bitterness, it’s time to brine the olives. Brining the olives will help preserve them and add flavor. You can brine the olives with only a mixture of salt and water or you can add even more flavor by adding herbs and other seasonings.
To brine the olives, mix together 55 grams of salt (1.94 ounces) for every liter (35.2 fluid ounces) of unchlorinated water. That should be enough brine for around a kilogram of olives (2.2 pounds of olives).
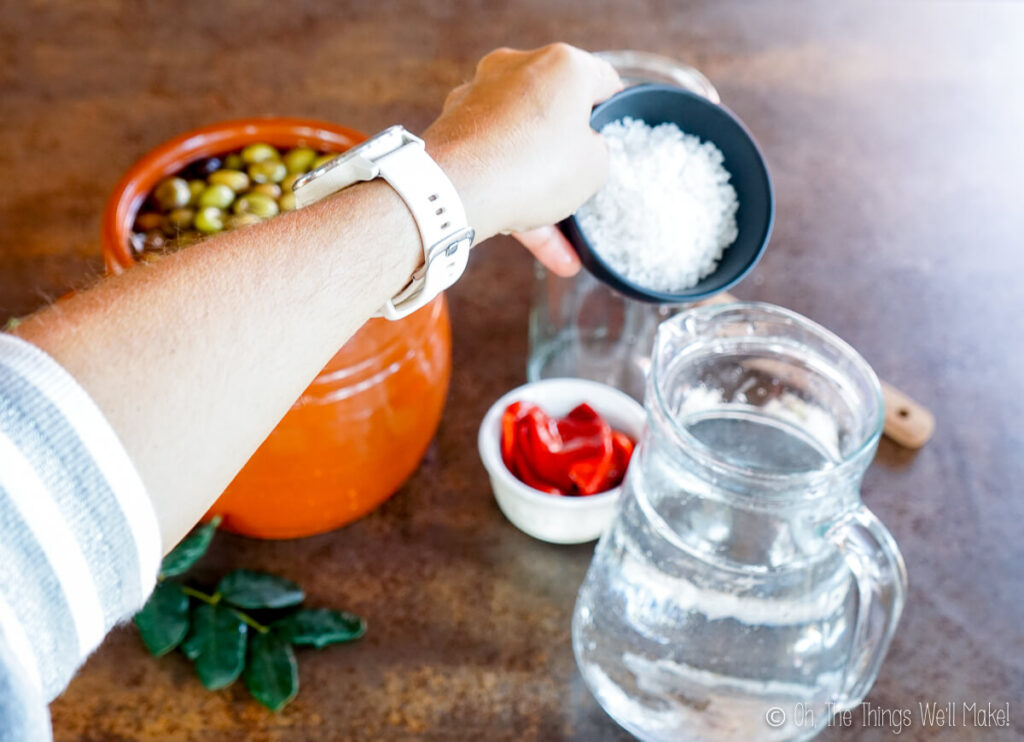
To help dissolve the salt in the water, you can heat the water and salt mixture. Boiling the mixture can also help kill any undesired microbes. It’s best to allow the hot brine mixture to cool before pouring it over the prepared olives, though.
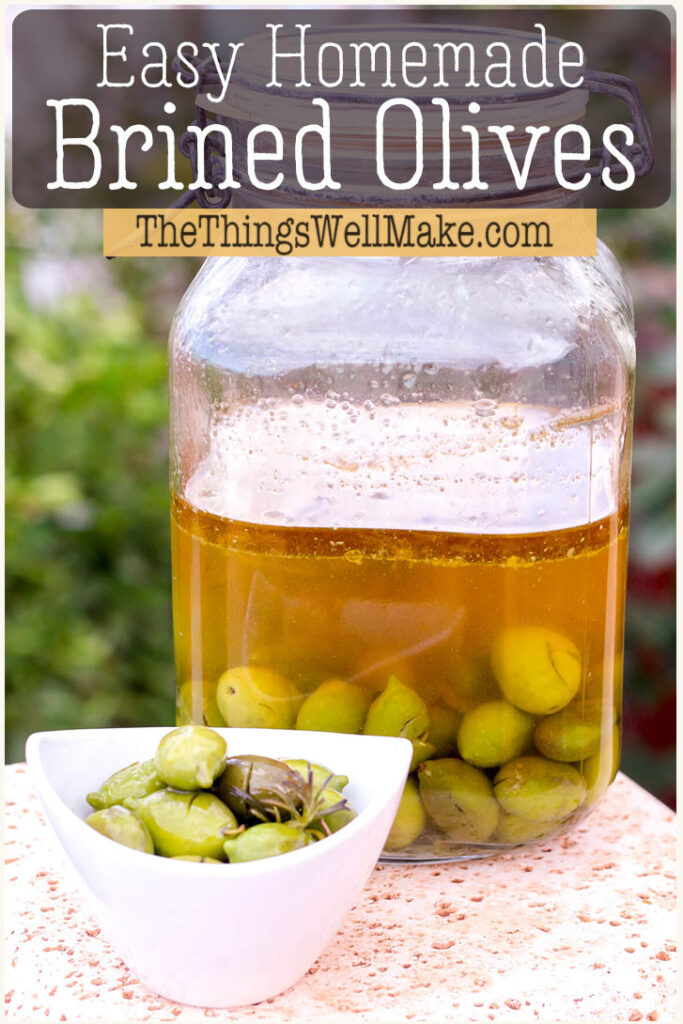
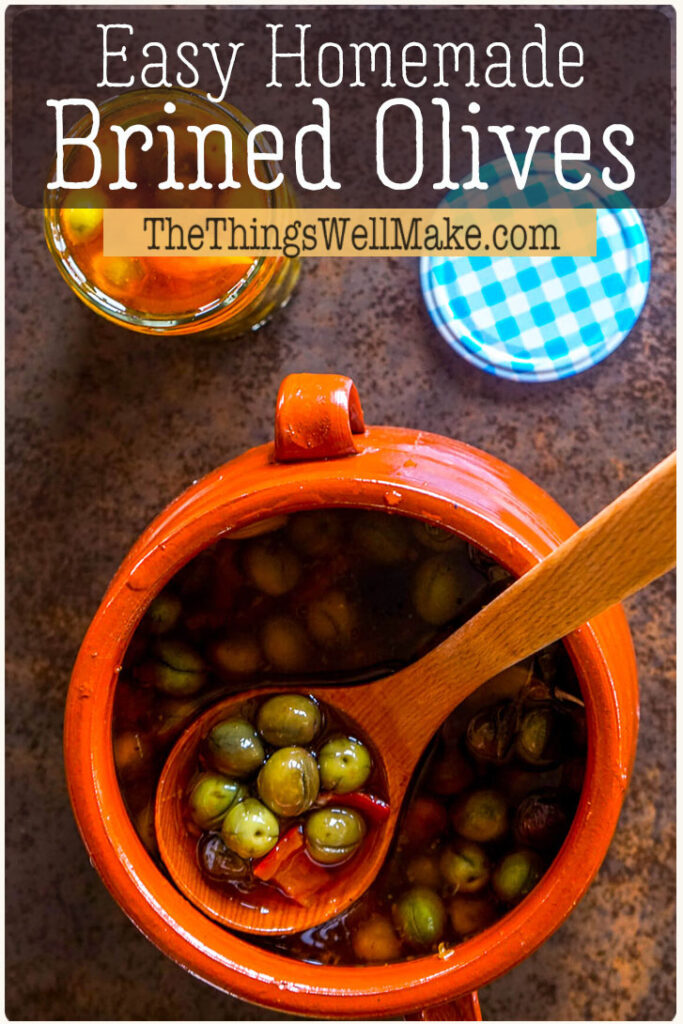
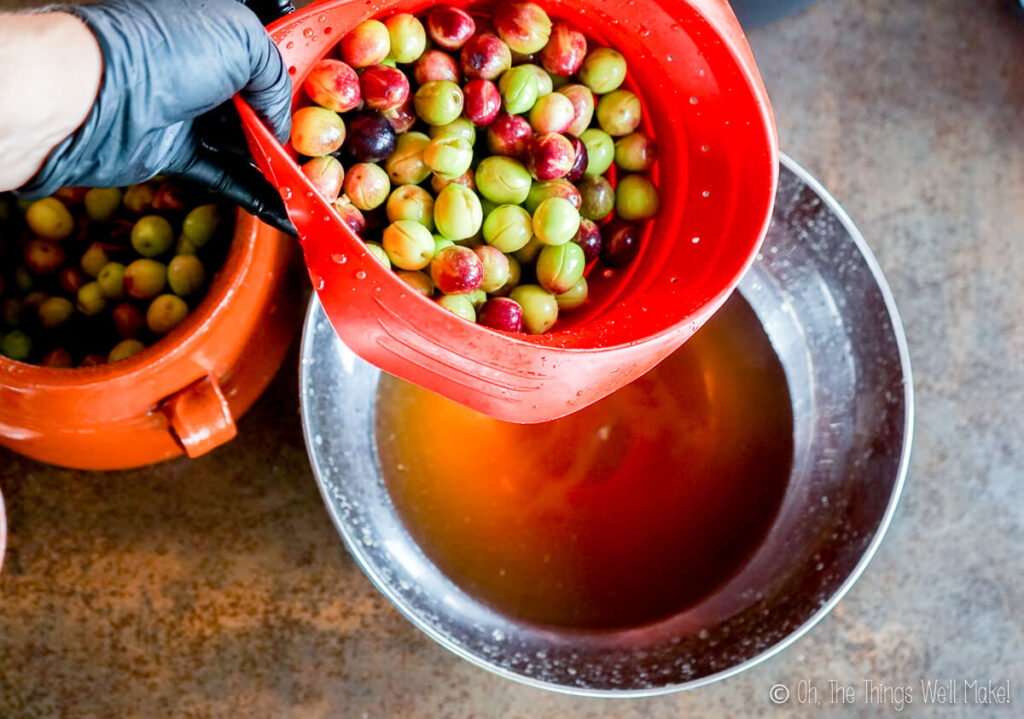
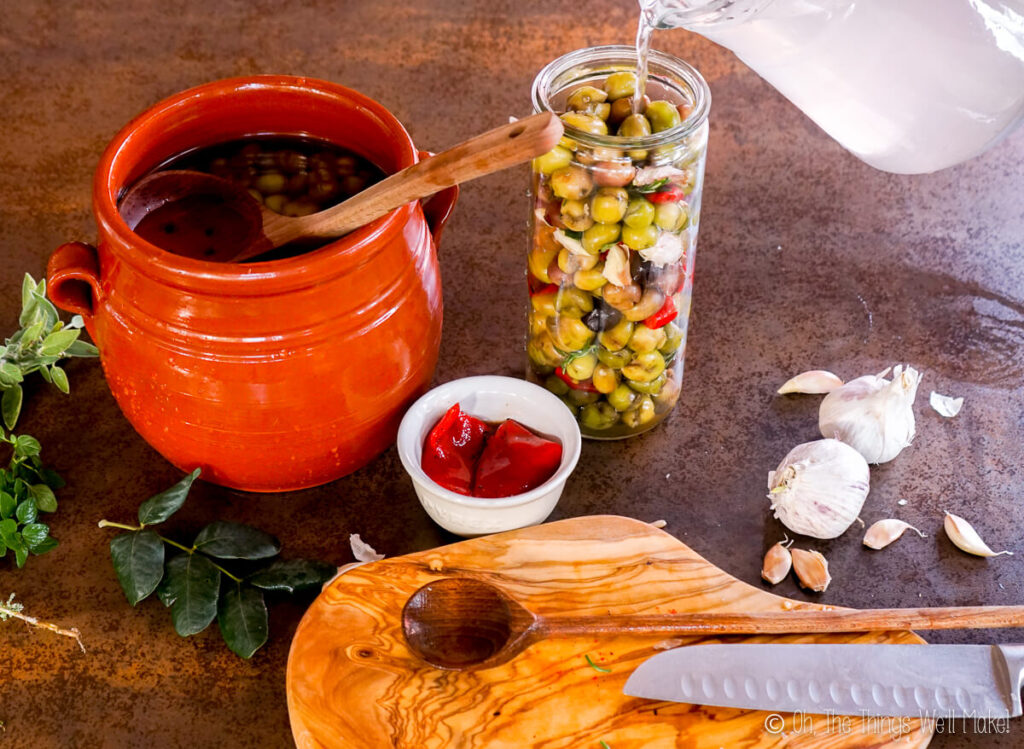
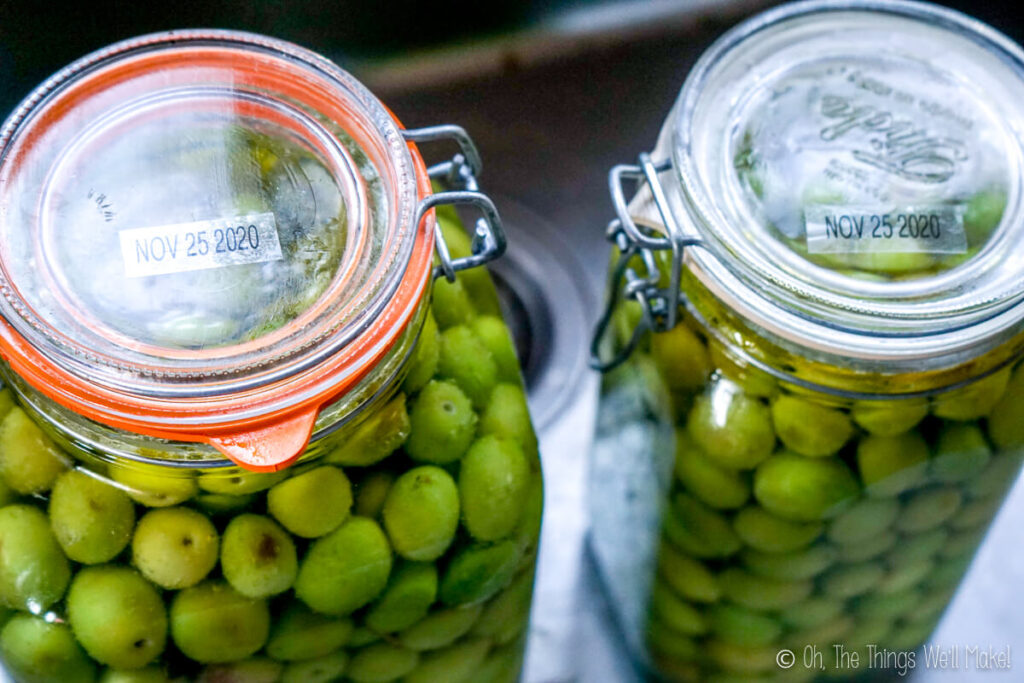
Add the prepared olives to a clean jar and cover them with the cooled brine solution. If you like, you can layer in smashed garlic cloves and herbs like oregano and thyme with the olives before pouring the brine over them. You can also add roasted red peppers. (Some people also add some vinegar in with the herbs and brine. ) Leave some room above the olives for a layer of olive oil.
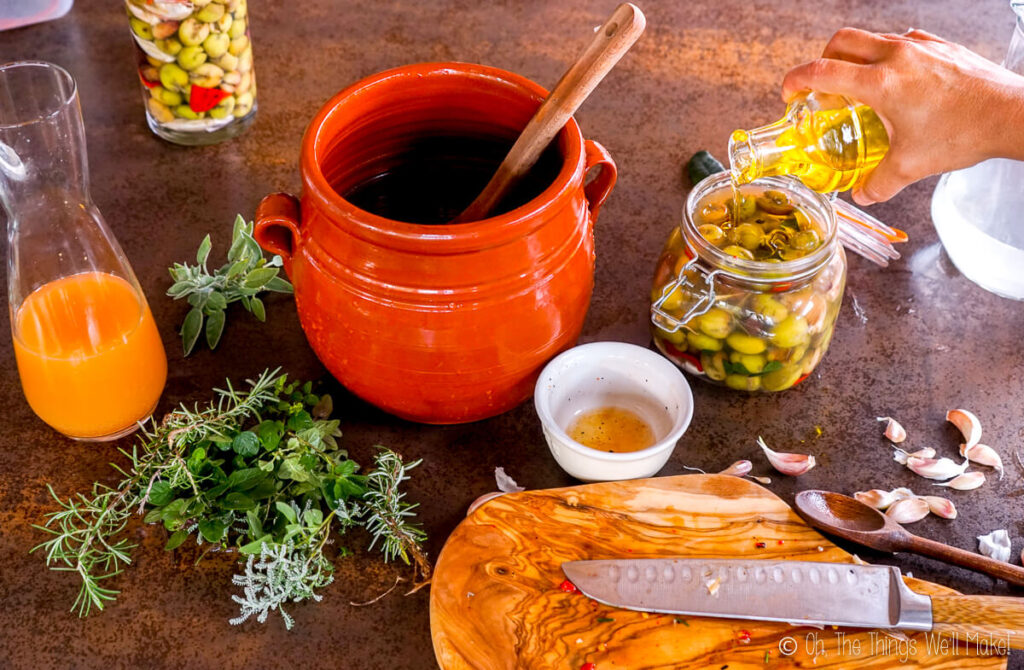
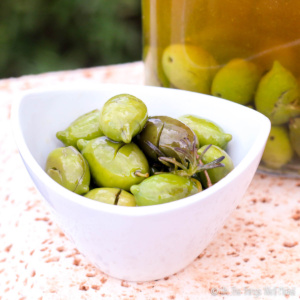
Pour a layer of olive oil over the brine-covered olives. Then clean the rim of the jar before sealing it with a lid. Store the olives in a cool, dark place (or the refrigerator, if you prefer.) After several days, the olives should have picked up enough flavor to serve them.
It is said that you should only use wooden or plastic utensils when brining the olives or serving them. (They say you shouldn’t use metal or your hands directly.) I couldn’t find the science behind it, but so many people believe it that I figured it was worth mentioning.
Dry salt curing olives
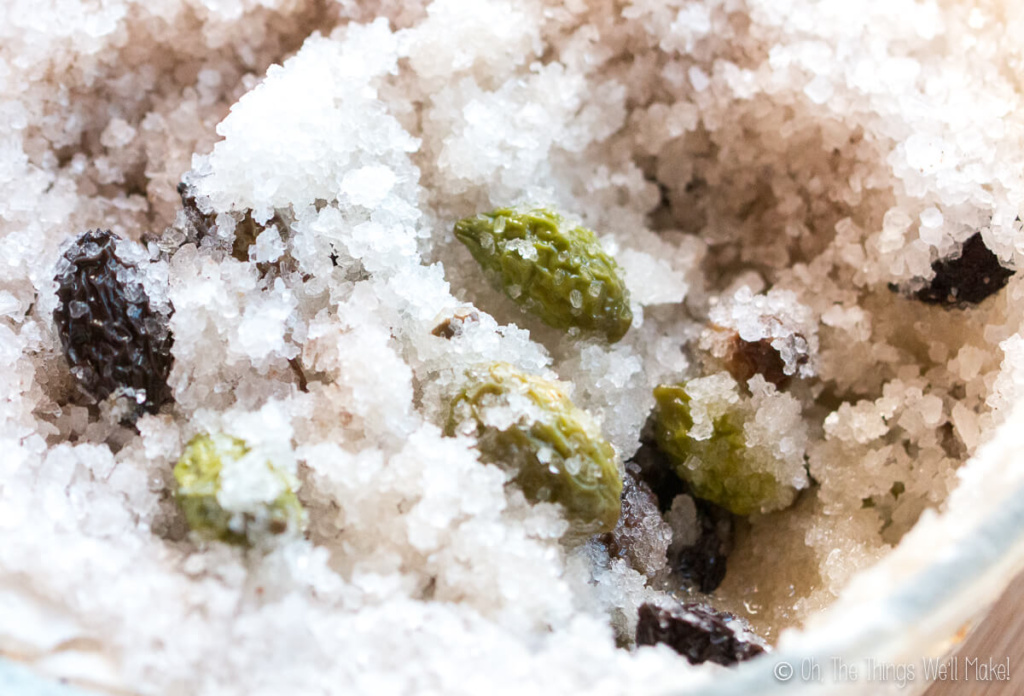
Another option for curing and preserving olives is to layer clean, dry olives in salt. The salt draws out the moisture from the olives and they shrivel up and darken. (They look almost like raisins.) During the process, remove the forming brine and add more salt, as needed.
Once shriveled, the olives are ready for consumption. (They have a completely different flavor and texture from the olives prepared with the other methods.)
One-year brined olives
Another alternative to curing the olives and then brining them, you can directly jar them up in a more highly concentrated salt brine. During the long fermentation process that takes place, there is no need to first remove the bitterness and then brine the olives. This method generally takes a year to fully cure and brine the olives, but it’s a great way to preserve them for longer periods of time if you have an overabundance of olives. (Plus, it’s less work.)
During the long fermentation process, different yeasts and lactic acid bacteria work to change (improve) the flavor of the olives, and also may add probiotic health benefits.
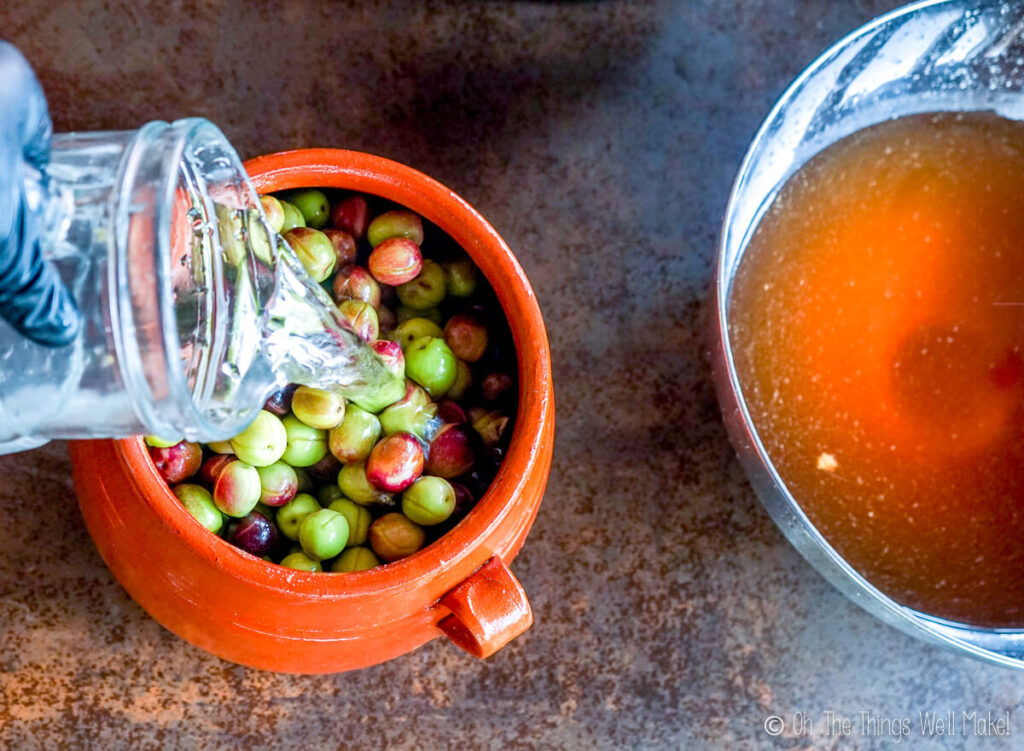
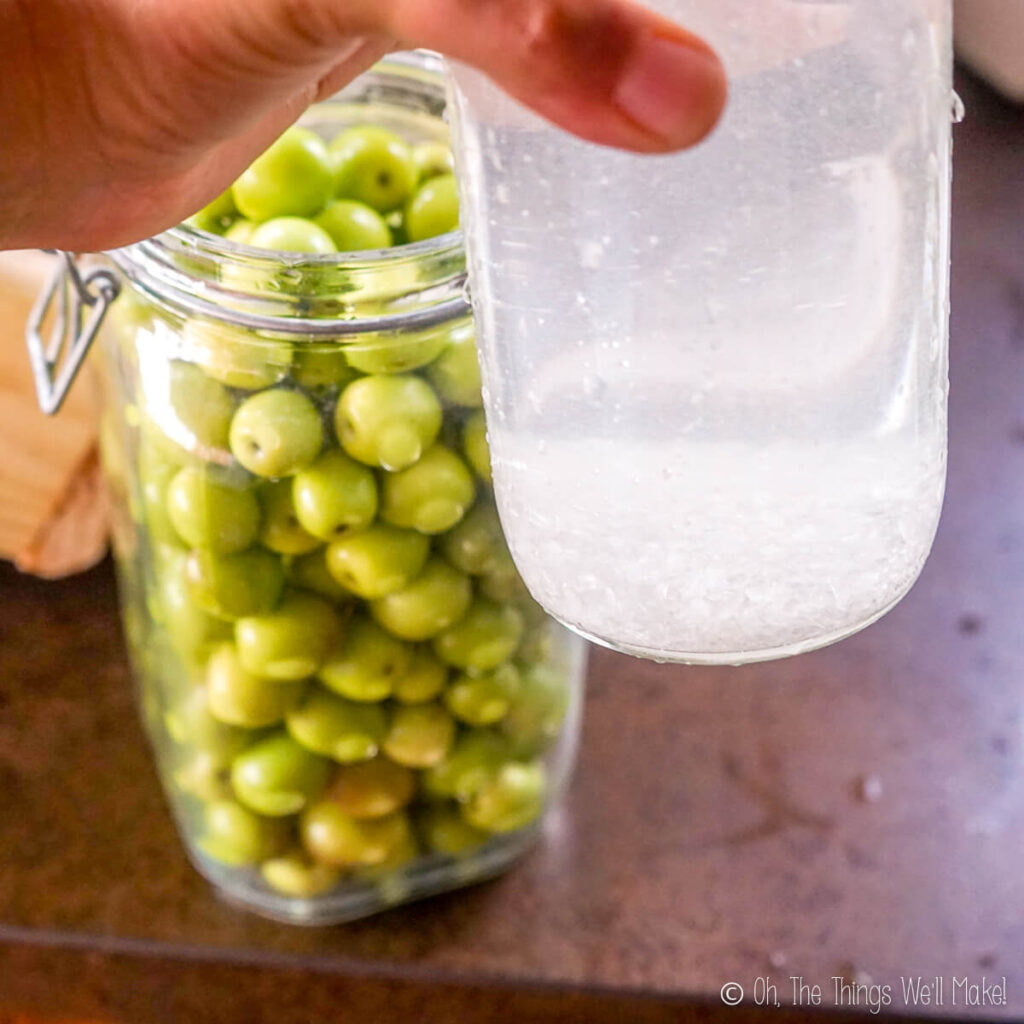
To slow brine the olives, place clean, whole, unbruised olives in a large jar. Cover it in a brine made with 60 grams of salt for every liter of water. For every kilogram of olives, you’ll need approximately 1 liter of water and 60 grams of salt.
Completely cover the olives in the jar with the brine solution and cover it with a layer of olive oil to keep the air from reaching the olives. Seal the jar and leave it in a cool, dark place for a year! In a year, you can eat the olives as is or further season them with spices and herbs!
Storage
Store the well-sealed jars of olives in a cool, dark place (or a refrigerator). Make sure that the olives are completely covered in brine and that the brine is completely covered with a layer of oil before sealing them. (Any exposed olives or herbs may develop mold.)

While the olives should keep well for many months (even a year or more), the flavor and texture will generally change over time. (They can get soft and overly salty.)
Video
Brined Olives (Salt Cured Olives)
Ingredients
- 1 kilogram fresh olives
- 55 grams salt
- 1 liter water filtered, non-chlorinated
- extra virgin olive oil
- herbs like rosemary or thyme optional
Instructions
- Rinse the olives and separate out any with bruises or holes in them. (Olives with holes likely have olive fly larvae in them. Discolored areas may be another sign of affected olives, even if they don't have visible holes.)
Removing the bitterness
- Smash or make cuts in each olive with a knife to help speed up the curing process. (Uncut olives will take at least a month vs. around a week.) If you have a lot of olives, consider trying out several different methods (slitting, smashing, and uncut olives.) Smashed olives are the quickest, but generally keep less time than slit or uncut olives. (Uncut olives keep the longest.)
- Place the olives in a clean glass jar and cover them completely with filtered water. If you are making several batches using different methods, place them in separate jars. (Keep only smashed olives in one jar, slit olives in another, etc.)Some people add a small amount of salt to the soaking water, but it isn't necessary at this point.
- Allow the olives to soak for 24 hours. Then, strain out the water and cover the olives with fresh new water. Soak for another 24 hours before changing the water again. (Continue this process, changing the water daily.)
- After around 5 days, you can start to taste the olives for bitterness. Most people end up soaking smashed or slit olives for around a week, but that will depend on the size of the olives and how bitter you want the finished olives to be. Continue to soak the olives, changing the water daily, until you are happy with the flavor of the olives.
Brining the olives
- Prepare a salt brine by combining around 55 grams (2 ounces) of salt for every liter (quart) of water. Stir well until all of the salt has dissolved. (You can heat the water to help dissolve the salt, but allow it to cool before pouring it over the olives.)
- Place some of the prepared olives into clean glass jars and pour the brine solution over the olives. You can layer the olives with herbs and/or smashed garlic for added flavor. Popular choices here are rosemary and thyme.
- Pour a thin layer of olive oil over the top of the brine solution, making sure to completely cover the water to keep air from reaching it. (No herbs or olives should be exposed or they may develop mold.)
- Seal the jars and allow the olives to absorb the brine solution and be flavored by the garlic and/or herbs (if you've added them) for several days. Serve them when you are happy with the flavor of your olives.
Serving the olives
- To keep the olives freshest (and keep them from softening too much), it is said that you shouldn't remove them from their jars with metal utensils or your hands. (I couldn't find the science behind it, but so many people believe it that I figured it was worth mentioning.) Ideally, use wooden or plastic utensils to remove the olives while serving them.
- After removing all of the olives that you want to serve, make sure that the remaining olives are covered with brine and a layer of olive oil. Add more oil, if needed to completely cover them. Seal the jar again and store it in a cool dark place.
Notes
Seasonings
Apart from adding herbs and garlic to the olives, some people also add a splash of vinegar to their olives before pouring in the brine.Storage
Store the well-sealed jars of olives in a cool, dark place (or a refrigerator). Make sure that the olives are completely covered in brine and that the brine is completely covered with a layer of oil before sealing them. (Any exposed olives or herbs may develop mold.) While the olives should keep well for many months (even a year or more), the flavor and texture will generally change over time. (They can get soft and overly salty.)One-year brined olives
Another alternative to curing the olives and then brining them, try directly jarring them up in a more highly concentrated salt brine. This method generally takes a year to fully cure and brine the olives, but it’s a great way to preserve them for longer periods of time if you have an overabundance of olives. To slow brine the olives, place clean, whole, unbruised olives in a large jar. Cover it in a brine made with 60 grams of salt for every liter of water. For every kilogram of olives, you’ll need approximately 1 liter of water and 60 grams of salt. Completely cover the olives in the jar with the brine solution and cover it with a layer of olive oil to keep the air from reaching the olives. Seal the jar and leave it in a cool, dark place for a year! In a year, you can eat the olives as-is or further season them with spices and herbs!This post was originally published on November 8, 2014. It was rewritten and republished, adding clearer instructions, new photos, and videos.


Hi Trace,
Here in Western Australia, sealing the top of a jar of olives with olive oil is a mistake if you can only keep them cool in the fridge.
Olive oil freezes in the fridge and you wind up with a messy sort of vaseline-like grease to contend with.
We use a vegetable oil instead.
Cheers, Rick
Thanks, Rick. We actually keep ours on the counter and out of the fridge, so no issues there. Plus, we generally avoid seed oils when possible, but it’s definitely something to keep in mind. Olive oil is very inexpensive here in Spain, so we use it a lot for just about everything! 😉
Hi Tracy,
thanks for your interesting website.
You mention curing olives with salt but don’t give any instructions on storing after this type of cure. I’ve used salt and have read they need to be washed and dried, but then? 1.5kg is too much to eat all at once! 🙂 Can they be kept in oil, or brine or vinegar? And how long will they last?
Thanks,
Jon
Hi Jon,
After dry salt curing, rinse the olives to remove excess salt and let them dry. From there, they can be stored in a few different ways.
The most common option is to store them in olive oil, often with herbs or garlic for flavor. You can also keep them in a light brine if you prefer a milder taste, or add a little vinegar for some acidity.
Keep them in a cool, dark place or in the fridge, and make sure they stay submerged. They should keep well for quite some time.
Tracy
Hi again Tracy,
sorry I couldn’t wait long for your response, had to deal with the salted olives right away. Apologies for my irritated response. I did in fact do what you suggested: washed, dried, then into brine and vinegar and topped up with olive oil to cover everything. Then into a dark cupboard. Holding thumbs they keep well.
Hi Jon,
No worries at all. 🙂
Comments don’t show up right away because I moderate them first. There’s a lot of spam, and even with filters, some pretty awful stuff still gets through.
I’m glad you were able to get started with the olives. That sounds like a good approach, so hopefully they turn out well.
I haven’t personally tried going from dry salt curing into a brine like that, but it does make sense. It should help mellow the saltiness a bit and soften them slightly. I’d be curious to hear how yours turn out.
It’s been a long time since I’ve done the salted olives myself. I remember just eating them straight from the salt and liking them that way. They reminded me a bit of raisins.
I’d like to experiment a bit more, and update this post and maybe even make a separate post on dry curing them. I just need to get my hands on olives again. I used to have a tree, but it died, and the last few times I’ve either bought some or gotten them while helping a friend prune her tree.
Fingers crossed that yours turn out well!
I always use 10% brine and never have fermentation issues. Before brining I soak whole olives in water for 21 days. First 5 days I change the water every day then change to every 2 days.
Then brine for about 6 months. I do about 180 lbs every year.
Baked Olives are the best IMO
Take a cookie sheet fill with olives, and garlic, slices of lemon and rosemary. Pour liberal amount of olive oil over them and bake for 1 hour at 425F
Eat right out of the oven hot and they are great cold too.
Hi Kiwi,
Thanks for sharing your method. A stronger brine like 10% can definitely work well, especially if you’re doing large batches. It’s always interesting to see the different approaches people use depending on tradition and personal preference.
And baking the olives like that sounds delicious. I’ll have to try that sometime! I didn’t even realize that was a thing!