

Make Your Own Photo Calendar (Easy Gift Idea)
Looking for a last-minute, easy holiday gift idea that will be treasured all year long? Why not make your own photo calendar using a flip photo frame that can be reused year after year.
Today I’m going to show you a fun and easy homemade gift idea, a homemade photo flip calendar. While I have made photo calendars in the past, none were as easy or as nice looking as these.
I used to print out photos and calendars on either side of several sheets of photo paper and had them spiral-bound together. That’s a great way to make a wall calendar, but takes a bit more time and effort than this smaller desk calendar.
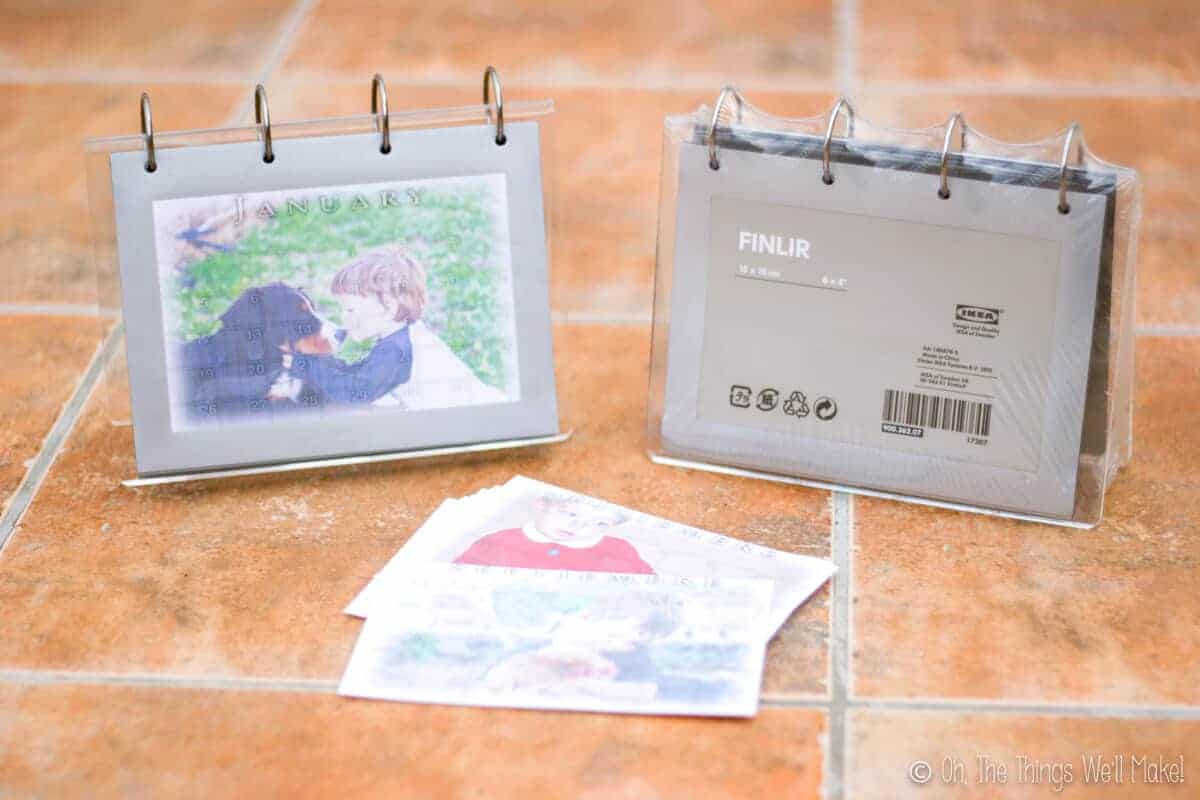
This idea came to me several years ago while shopping in IKEA one December. I came across their flip photo frames (IKEA Finlir) that had exactly 6 pages and thought they would be perfect for making desk calendars.
The IKEA frames were the perfect size and design for a photo flip calendar. When using one month per side, the frame had just enough room for all 12 months. There was no need to make a cover or fill the rest of the pages with anything else.
How to Make a Photo Calendar
You will need:
- Photo flip frame/album (I used the IKEA Finlir, but it is no longer available. There are some other options through Amazon like this album or this album.)
- 12 monthly photo calendars, one for each month of the year, printed out on photo paper in the size of your frame. To make your Calendars, consider trying one of the following options…
Choose the Photos
You’ll need to choose 12 photos for your calendar, one for each month of the year. I usually choose photos from the year before for the next year’s calendar.
So, for example, I usually use summer photos for the summer months. I used my Christmas card photos for the December calendar and use my first day of school pictures for September.
Get the digital photos together, ready for adding them to your calendars using one of the options below.
Make the Photo Calendar Prints
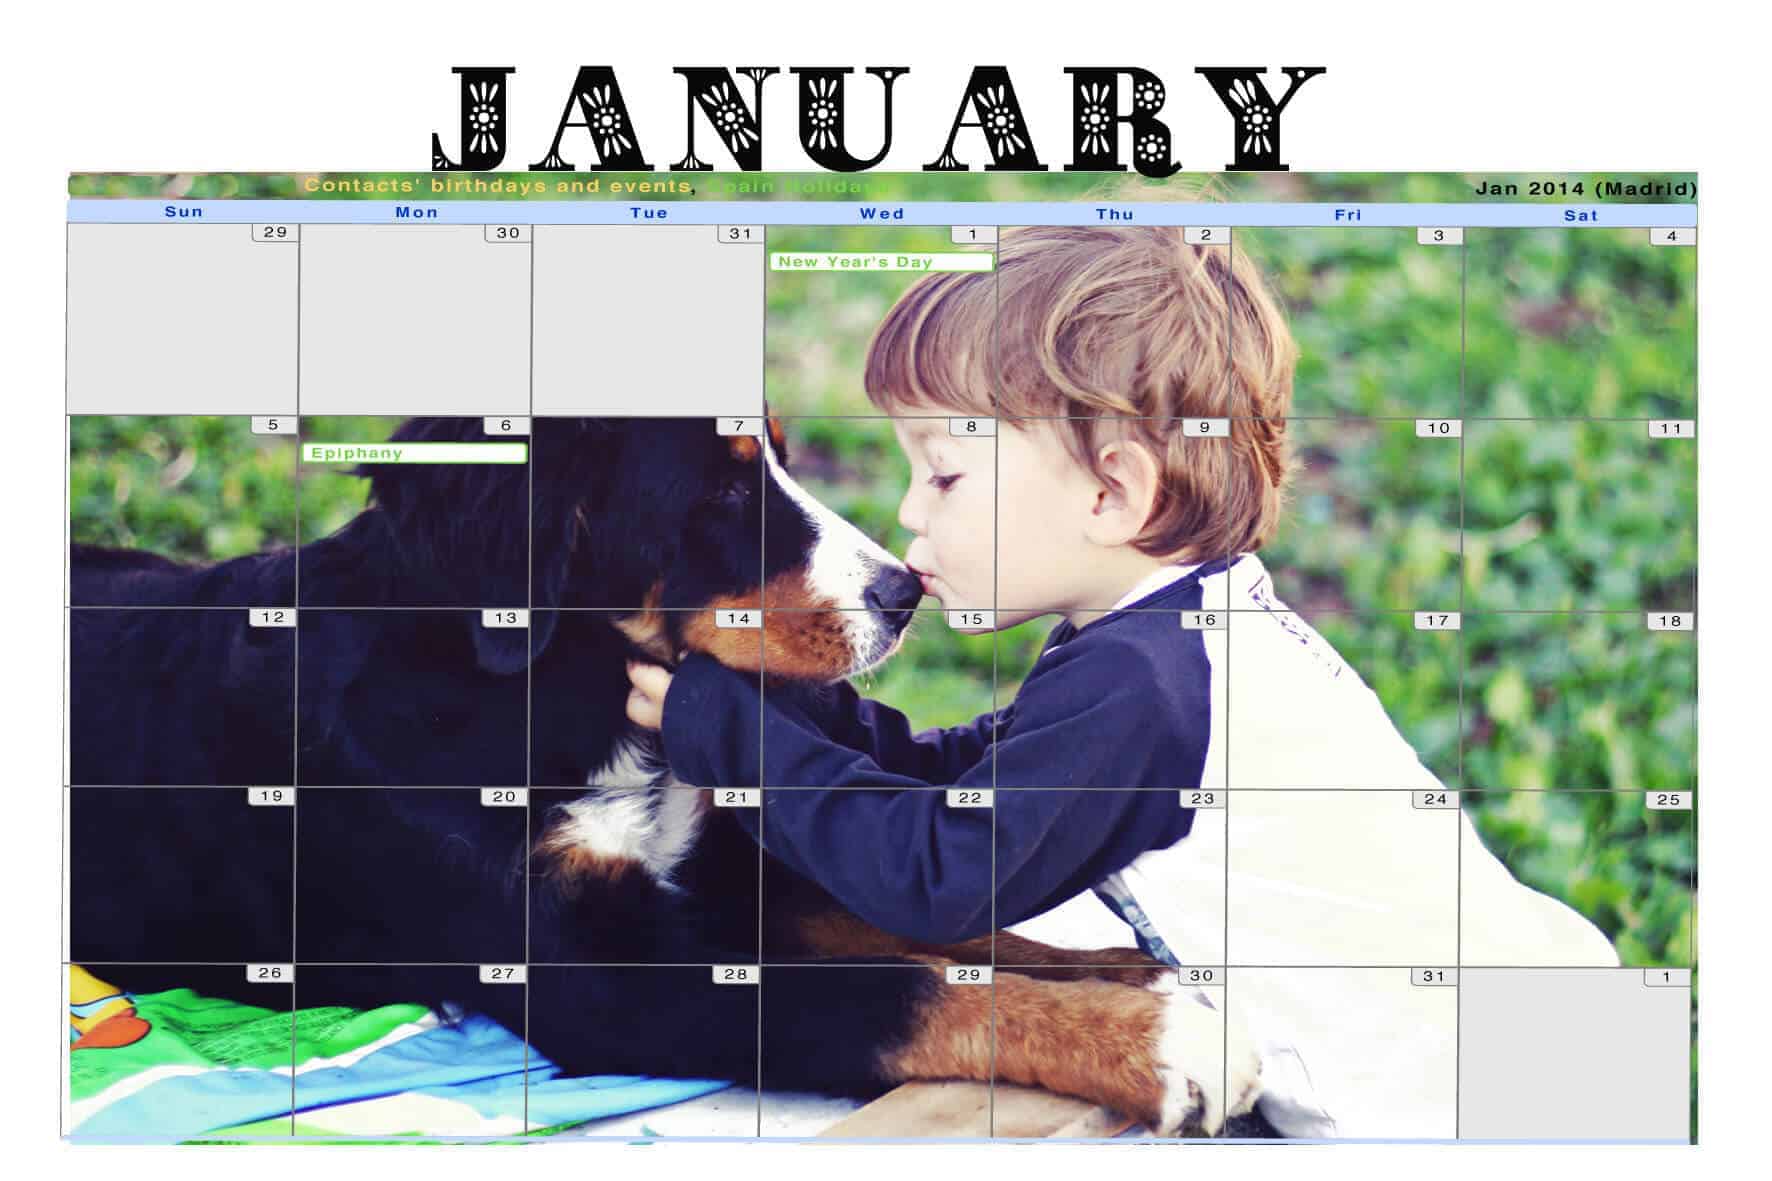
Use Canva Calendar Templates
The simplest, quickest and most elegant way that I’ve found to make my own photo calendar is to use the ready-made templates on Canva.
If you’ve never used Canva, I suggest giving it a try. It’s an online photo editor that has all sorts of templates to edit and use free of charge. They do have the option of paying extra for certain photos and have a monthly plan which allows you to use your own fonts and logos, get more free photos and can change the size of your design with one click.
For making your own calendar, though, there is no need to go pro. You can easily and quickly make a calendar using their templates for free. Just make sure to delete the photos that they have in the template before switching them out for your own or it will prompt you to pay for downloading your design. (They are charging for the photos and not for the template or the design.)
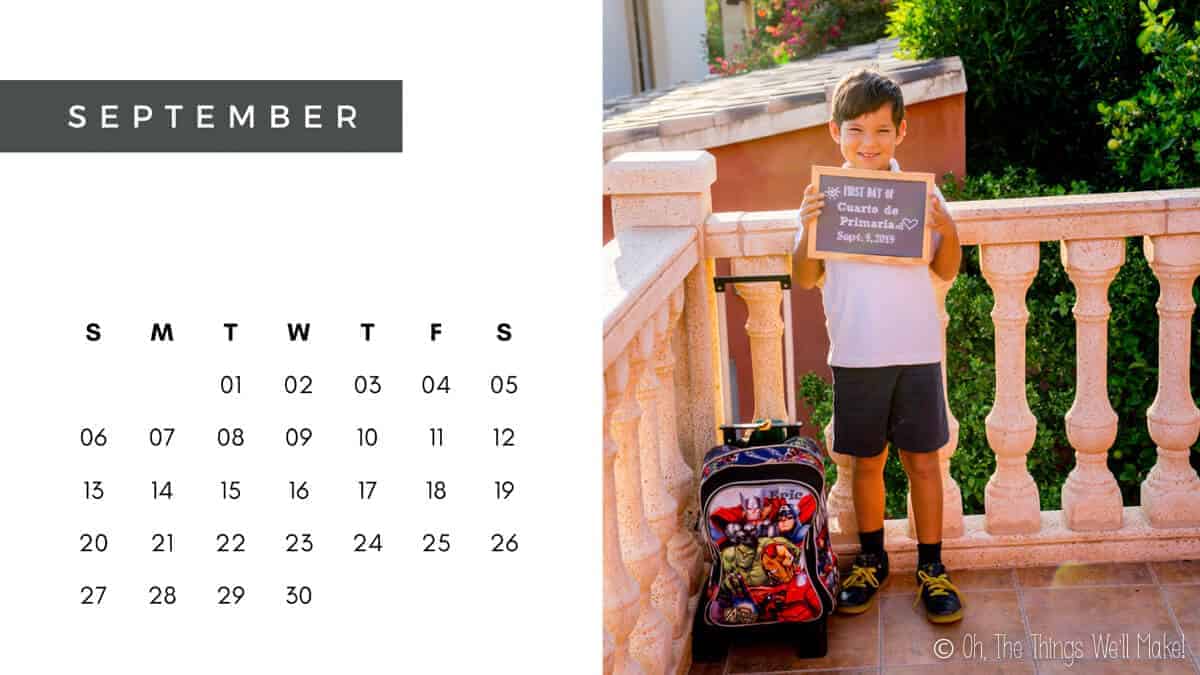
To make my own photo calendar this year, I used the “Various colors scenery photo calendar” template. I was looking for a calendar with a simple design that allowed for relatively large photos. That template fit best with the idea I had in mind.
You can choose from a variety of calendars there, though. Just go to the Canva website and do a search for “calendars.” (Or do a search for “Canva calendars” in your web browser.
Switch out the images in the calendar templates with your own images. You can then make any wanted adjustments to the fonts and add, remove, or change any filters used on the photos before downloading your calendars.
Use Photoshop to Make the Photo Calendars
If you have Adobe Photoshop, I found an easy, attractive option for superimposing a calendar over your photos. While this is a bit more complex than making a calendar in Canva, it’s a lot simpler than it looks.
To make the calendars, you can use a free Photoshop script. It’s called Jeffrey’s Photoshop Calendar-Template-Building Script.
To use the script, open a photo in Photoshop and then run the action. The photo will automatically be placed in the background of the calendar for the month you choose. If you don’t have a picture open when you run the action, a marked layer will be generated into which you can drag or paste in the desired photo after the calendar is made.
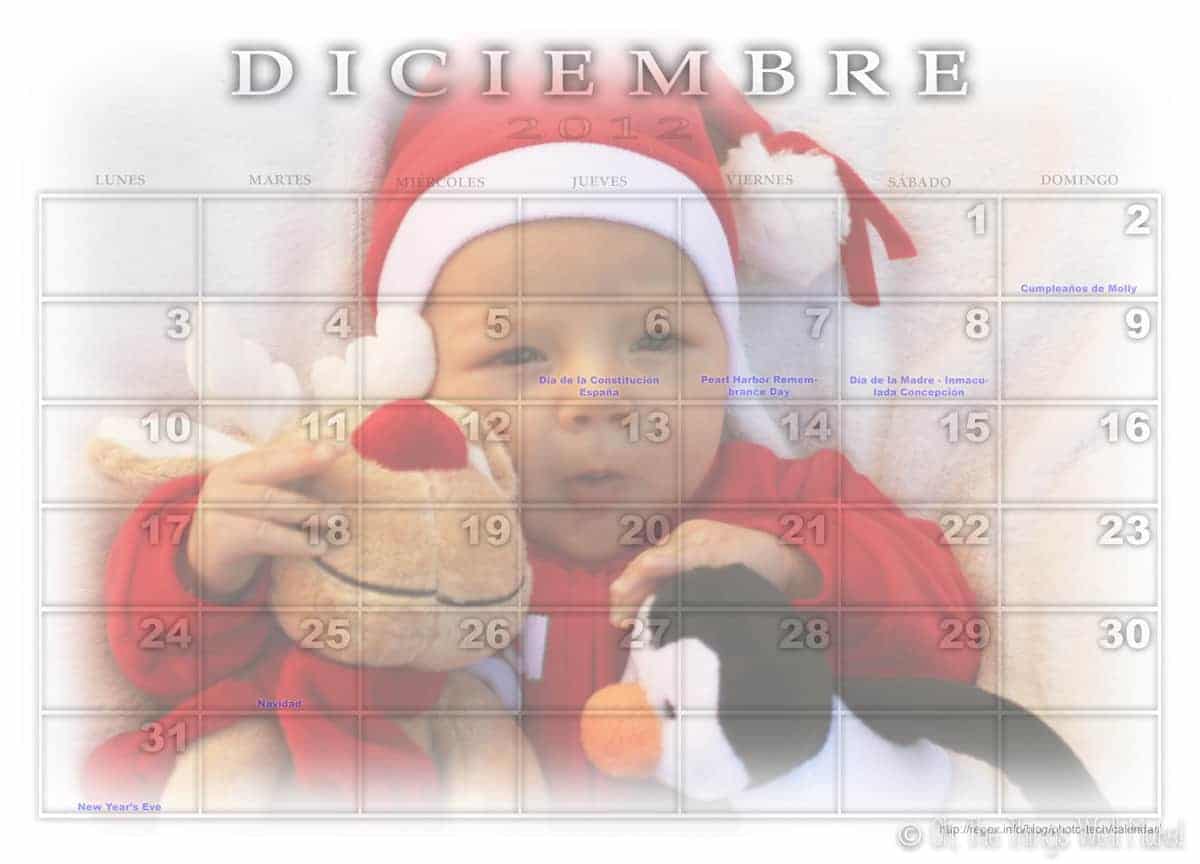
I love the free calendar action because it is fully customizable. You can choose the language for your calendar, the day that you want each week to start on, and have many other options to choose from.
Once you have finished running the script, you can play around with the picture somewhat to fix how it displays in your calendar. So, if one of the numbers hits your photo in a strange place, you can fix that somewhat before printing out your calendar.
Once you are ready, print out each month on a separate photo sheet.
Use Google Calendars
You can also use Google Calendars to generate your monthly calendars. While this is a valid option, I don’t like the way these turn out as well as the other options. I also find it more difficult to customize the calendars and make them look as wanted.
To use Google Calendars, go to https://www.google.com/calendar and open up a calendar for the month that you want to print out.
On the upper right, you will see several drop-down menus. One will allow you to choose “month” so that you are able to print out monthly calendars. Another drop-down from the settings menu (gear icon) will give the option to “print” your calendars. A calendar print preview will show up with options for printing out the calendar in the format you choose.
If you want to add a photo to your calendar, you’ll need to use some sort of photo editing program. Instead of printing out the calendar directly, use the “save as” option to save the calendar as a pdf. The PDF file has a transparent background on the days of the month, allowing a photo to be dragged into the calendar as shown above.
You can also use the photo editing software (if it supports PDF) to add other design elements like using other fonts for the month names.
Putting the calendar together
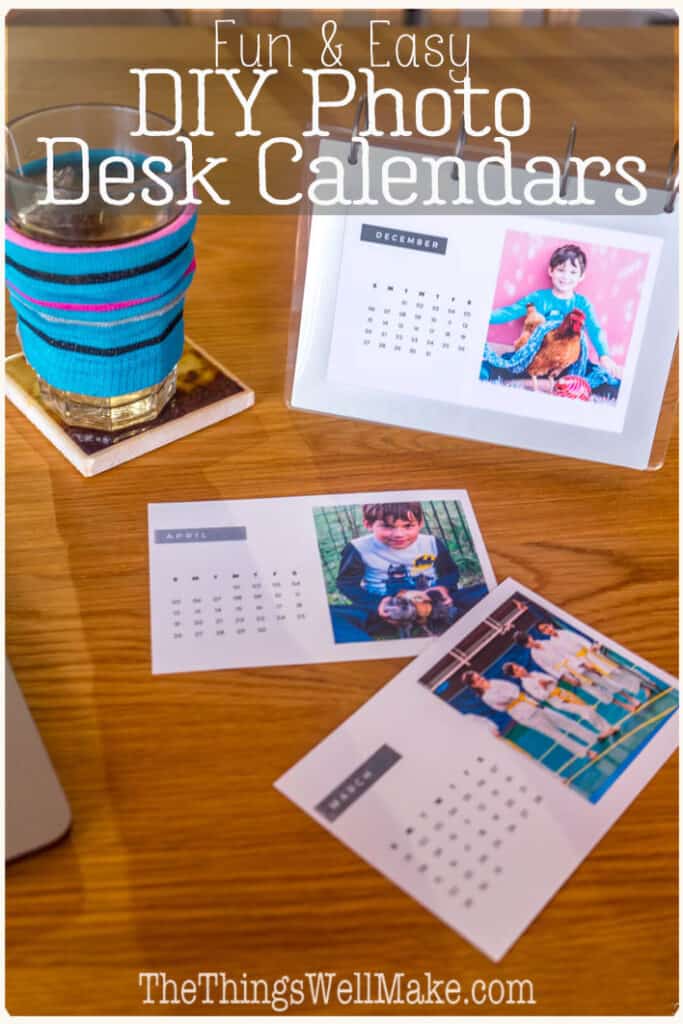
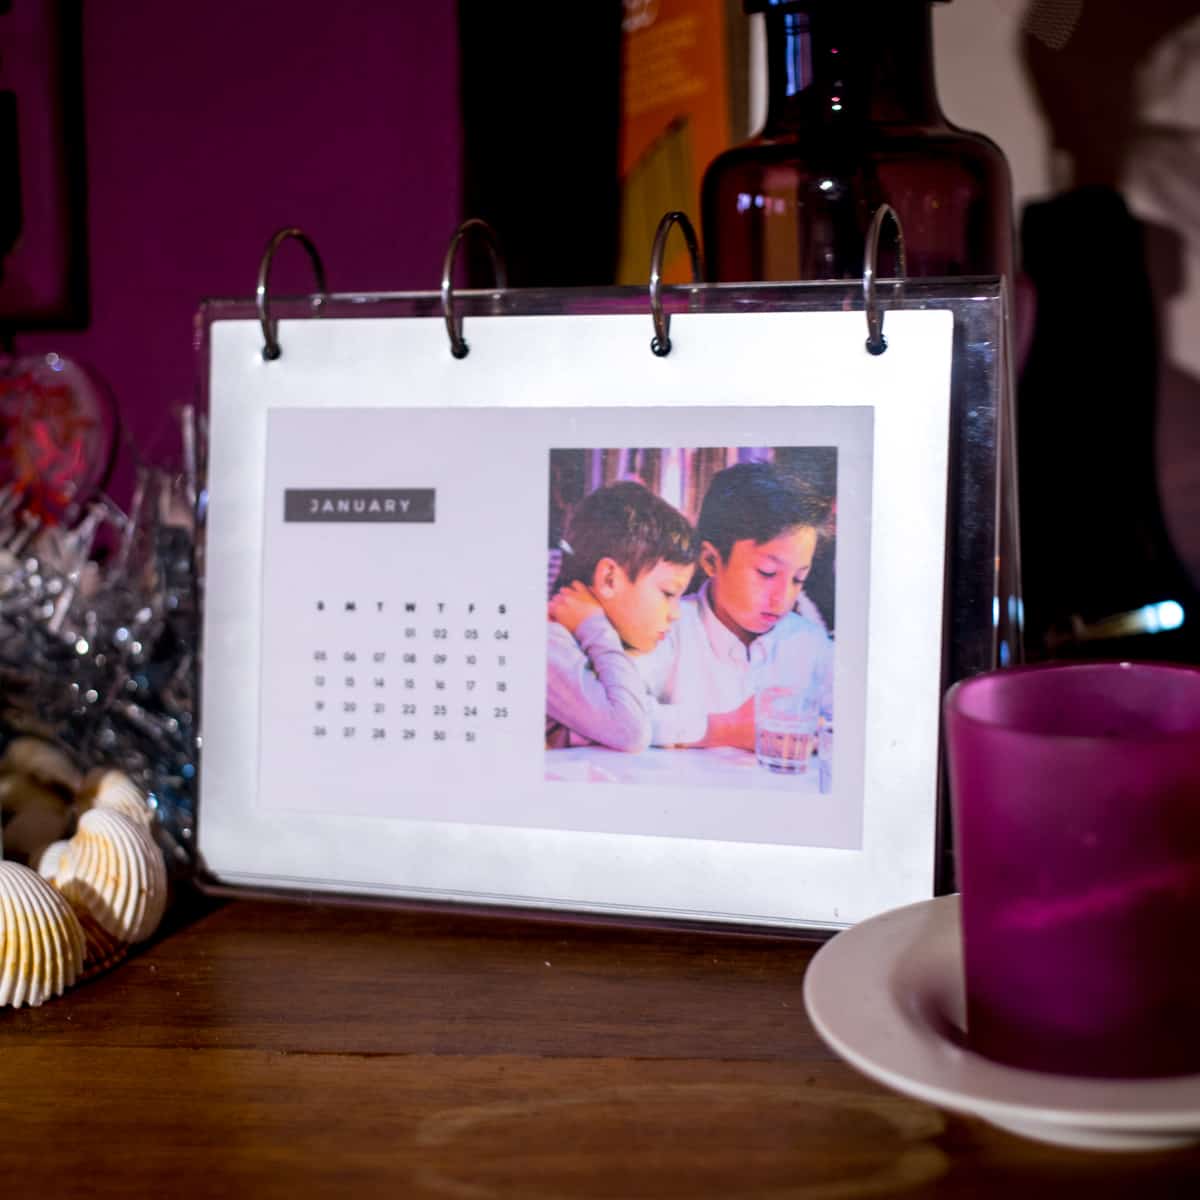
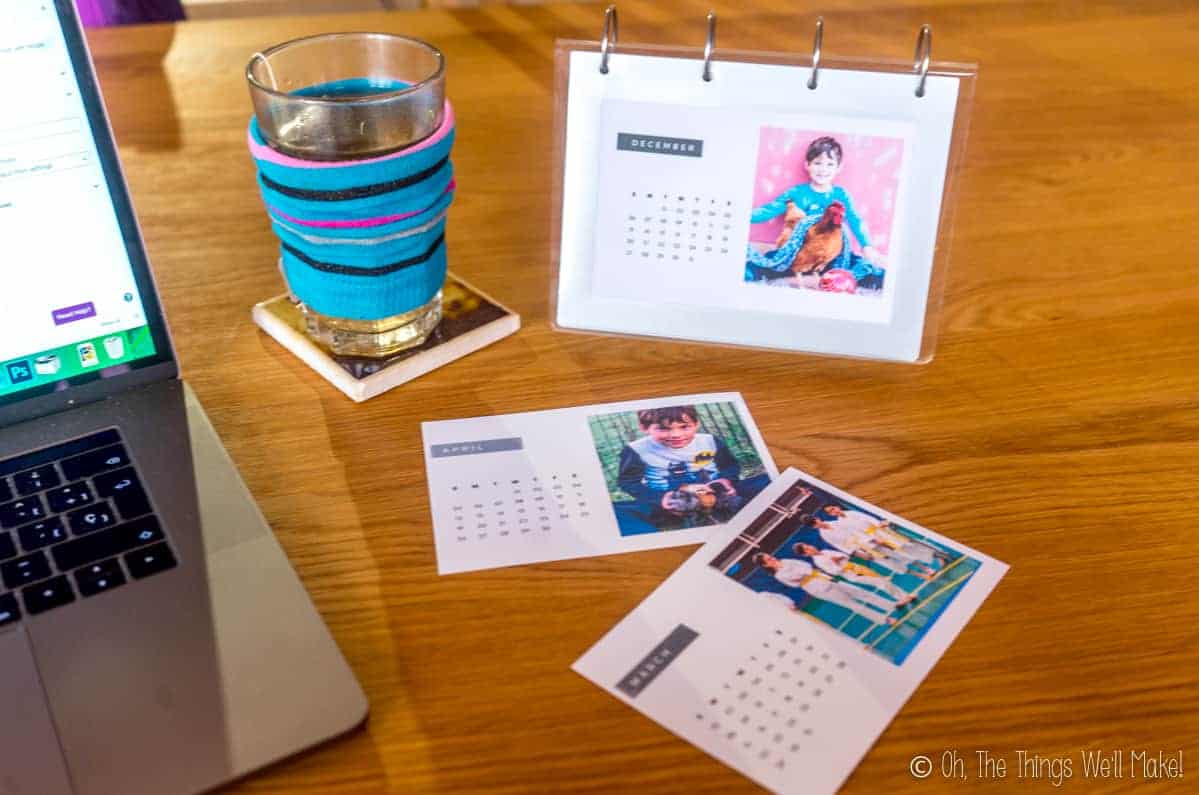
Once you have your calendars printed out, all that is left to do is to slip the calendars into your flip frame.
Begin with January and February. Place the monthly calendars back to back (both right side up), and slip them into the first page of the flip frame. Continue doing the same with March and April followed by May and June, etc.
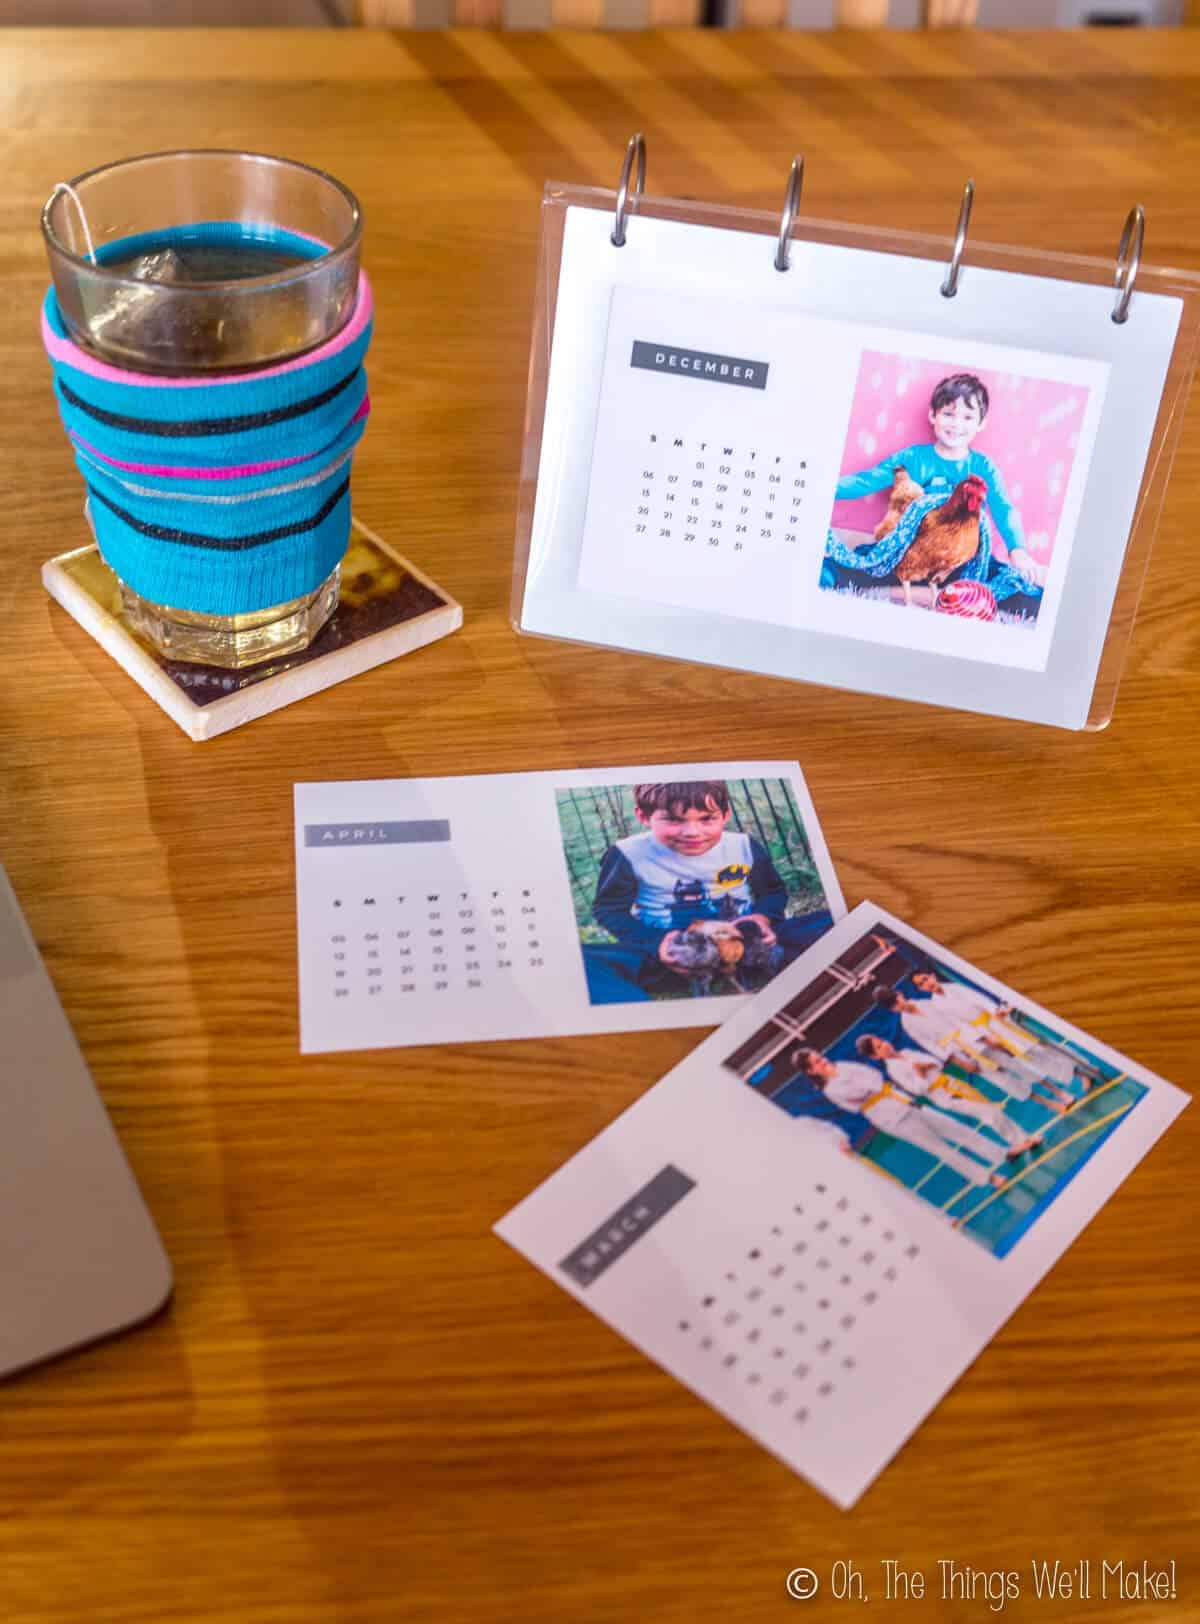
Above you can see my finished photo calendar next to a cup of tea with a super easy homemade cup cozy on it. It’s also sitting on a homemade marble photo coaster. Those are other great gift ideas for this time of year.
Printable Instructions

Easy DIY Photo Calendar
Equipment
- printer
Materials
- 12 photo sheets
- 1 photo flip frame
Instructions
Choose your photos
- No matter what method you choose to make your calendars, you'll want to choose 12 pictures, one for each month of the year. I usually take pictures from the year before. If I use pictures taken in July of 2019 for my July 2020 calendar, for example, it is more likely to have a summery feel that will fit well with that month on the calendar.
Choose a Flip Photo Frame
- Once you've chosen an ideal flip frame for your calendar, check on the size of the photos it holds. This will determine the size you need to print your calendars.
Make a Photo Calendar in Canva
- Using Canva is my favorite method for making a photo calendar. They have many photo calendar templates to choose from. Choose a template from the Canva calendar templates available.
- Remove the photos used in the Canva template to avoid being charged for them later. Upload your photos into Canva and drag them from the uploads section into the placeholder for the images on the calendar templates.
- Make any wanted adjustment to the filters used on the photos (or remove them). Make all other wanted adjustments to the fonts and other design elements on the calendars.
Make a photo Calendar in Photoshop
- Choose a photo and open it in Photoshop. Run the script with the photo open to work it into the calendar design.
- Make any wanted adjustments and then save and download that month's calendar. Repeat the process with new pictures and new months.
Putting the calendar together
- Download the 12 months of calendars and print them out in the size needed for your particular flip frame.
- Place the January and February calendars face up and back to back. Slip them into the first page of the photo flip frame.
- Place together the March and April calendars in the same way and slip them into the second page on the photo flip frame.
- Continue with the rest of the months of the year, until you've completed your calendar.
Notes
This post was originally published on November 29, 2013. It was rewritten in December of 2019 adding a new method for making the calendar, updated photos, and printable instructions.


It turned out very beautiful! Last year I made myself a similar calendar using this program: http://photo-calendar-software.com/. There are many templates and you can very easily and quickly make a photo calendar with photos of the family. I really liked the result, I advise you to try it.
Hi Lilia,
Thanks for sharing another resource for those who are willing to pay for a program. I do think that with software like that, you can definitely make things a bit easier.
This is such a cute idea for a photo calendar! Shouldn’t be too time-consuming so I can definitely give this personalised calendar version a try 🙂
Cute idea! My little love would love this. Pinned it.
Thanks Emily!
My son loves flipping through and seeing himself on all of the pages. 🙂