

DIY Photography Backdrops: Using a Pallet “Studio”
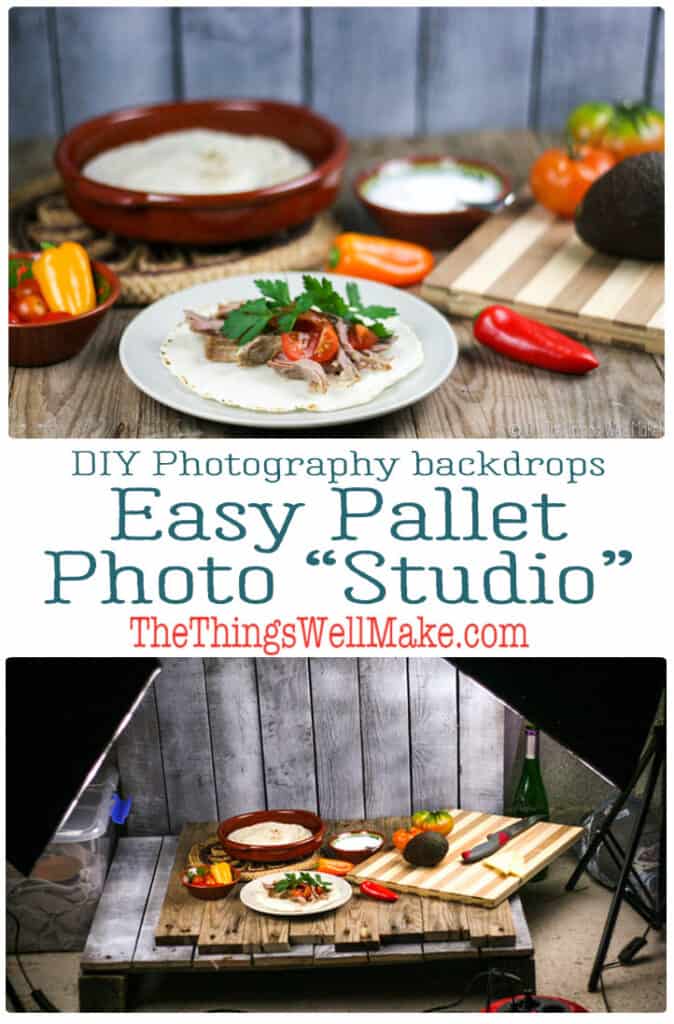
Making your own DIY backdrops for photography, especially food and still life photography, is a great way to save money while you improve your photo style.
In the winter, taking pictures for my blog is a bit of a challenge.
The lighting is as cold as the weather outside (with lots of blue hues). IT doesn’t help that I live on the “wrong” side of a mountain, the side where the sun is completely blocked during most of day during winter.
To make things trickier, most of the meals that I want to photograph are made at night. My husband is a fisherman and gone all day. While I get lots of great seafood, our main meal together is always at night.
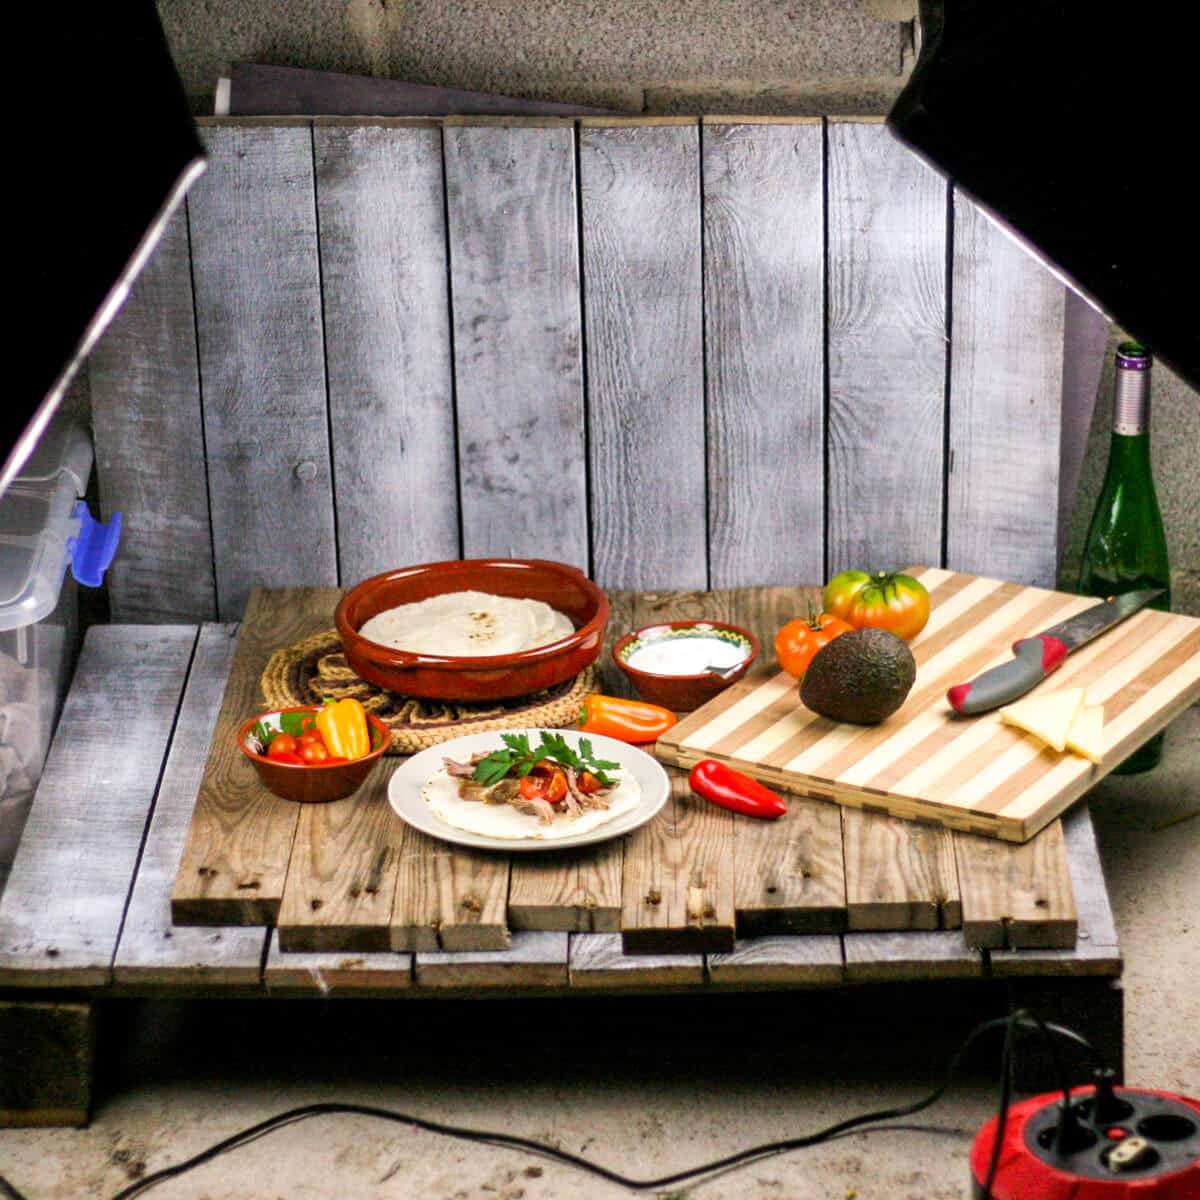
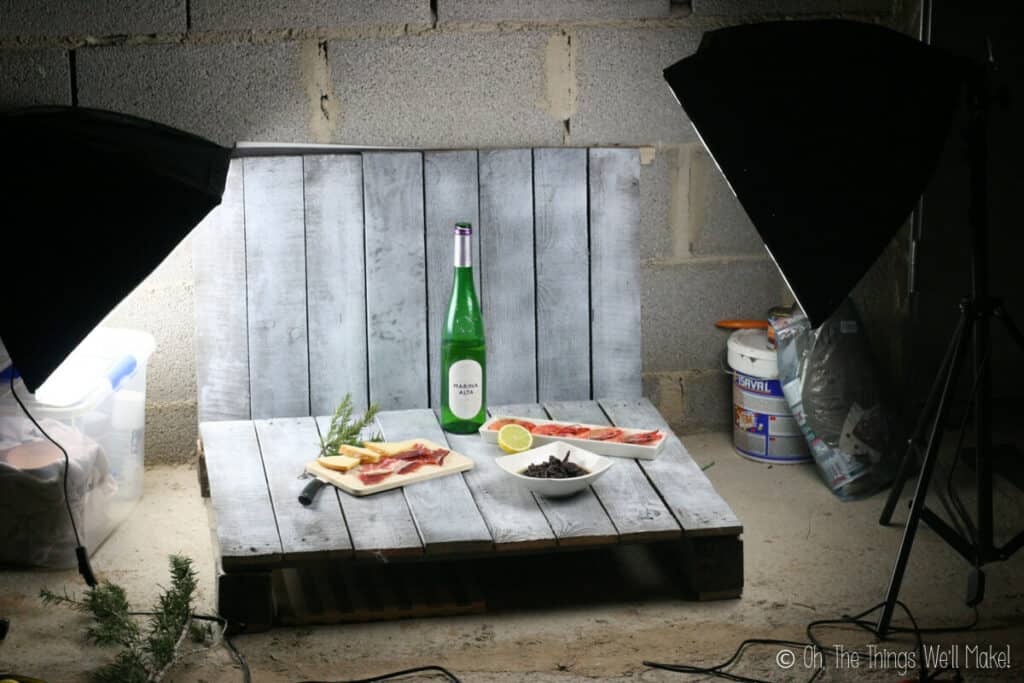
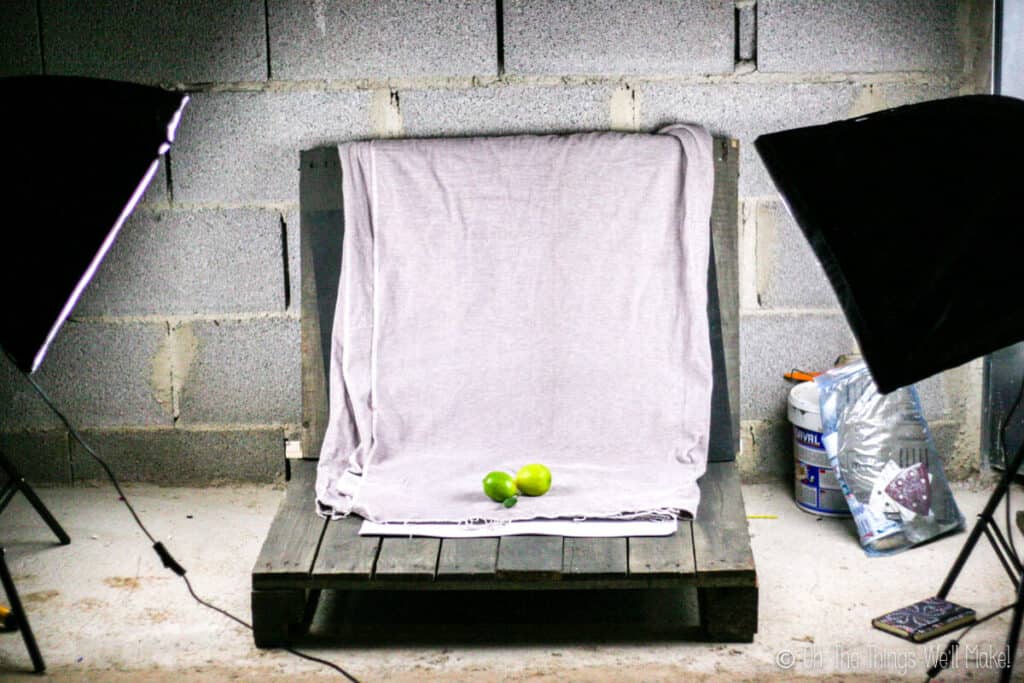
So, years ago, I decided to invest in some lights to be able to take pictures inside whenever my little heart desires. We don’t have a lot of room in our small house for a mini photo studio, though.
We do have an unfinished basement that had room to spare. It isn’t the most beautiful place for taking pictures, but it had a small, open spot for me.
Before I set up my pallet “studio,” I went everywhere looking for good lighting and interesting backgrounds. I took a lot of photos outside, but I (even) occasionally used my (albeit clean) bathroom floor! Yuck!
Making a pallet photography backdrop
To ensure I always had a nice, rustic looking background available, I decided to use some worn pallets for the “floor” and backdrop of my “studio.”
Choosing a pallet
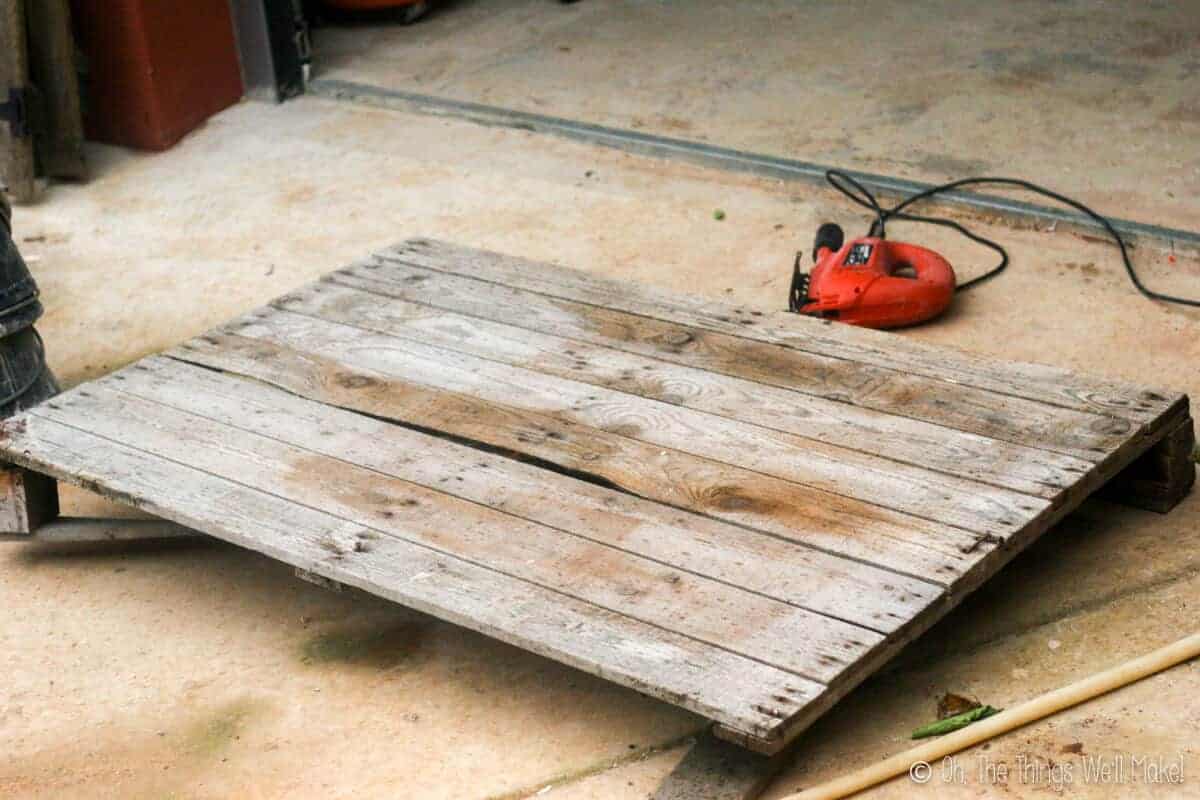
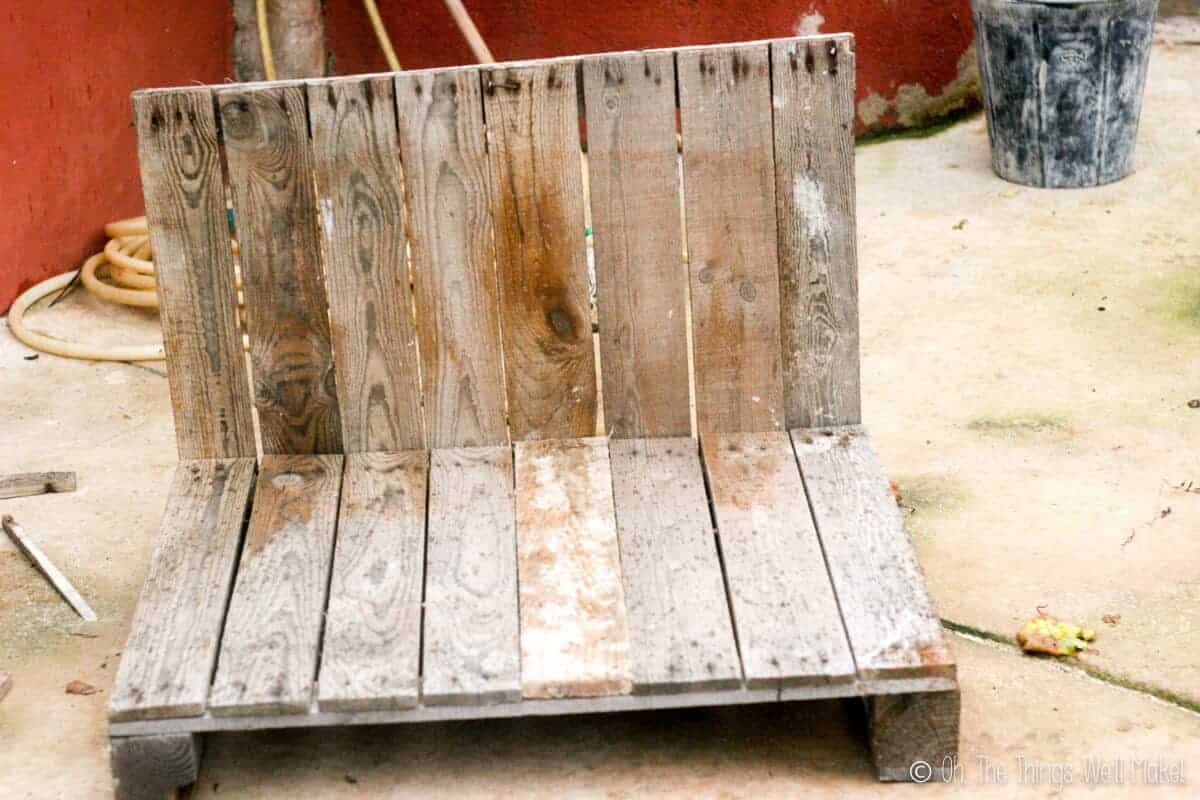
For my basement “studio,” I first looked for a pallet with the planks as close together as possible.
Don’t worry if it looks big. We’ll be using the same pallet for both parts of our backdrop! My usual photography subjects are food and small crafts so I don’t need the area to be very large.
Cutting the pallet
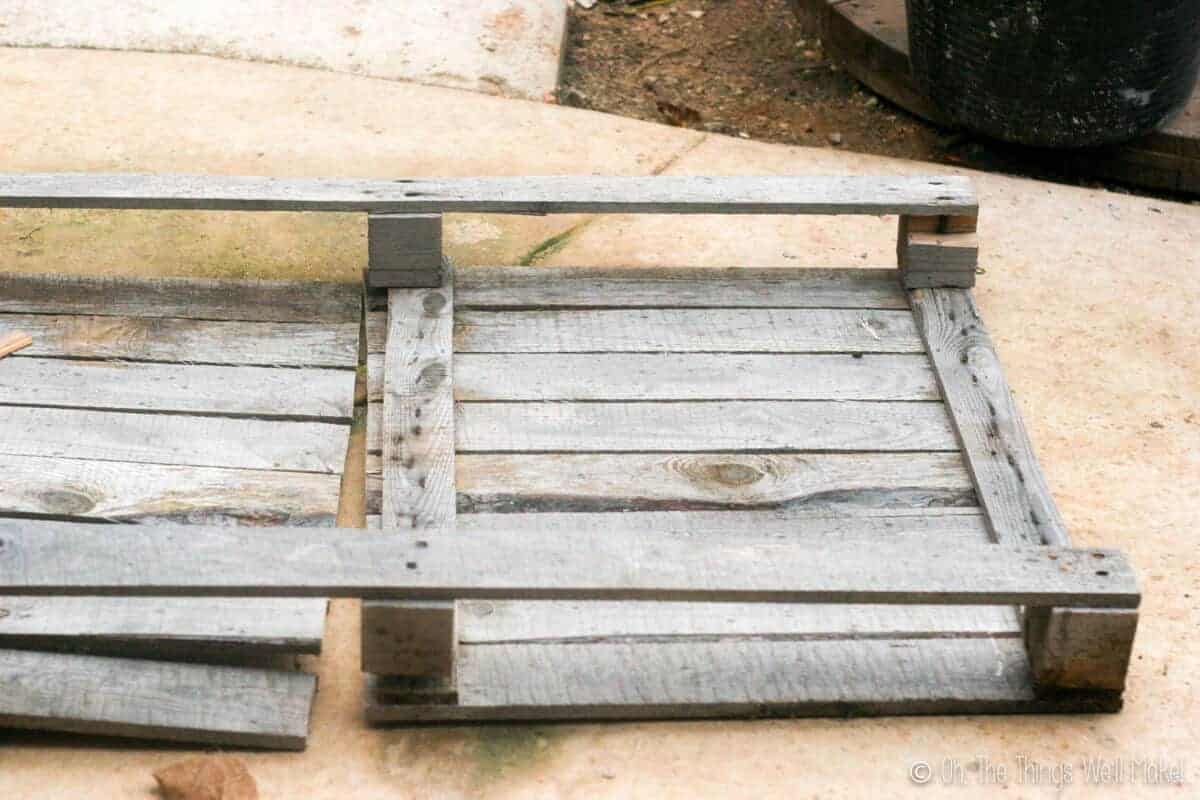
Cut the pallet in half so that you end up with a matching “floor” and “wall” backdrop.
Begin by cutting the top planks of the pallet just slightly off-center. You want to leave the center support in place underneath.
Next, flip the pallet over and cut through the bottom planks, along the same line, to fully separate the pallet in half.
You’ll end up with one pallet that is completely supported in all 4 corners. That one will end up being the “floor.” The blocks help raise it slightly off the floor, making taking pictures a bit more comfortable. I think it also makes it easier to move the pallet when needed.
The smaller half of the pallet will have unsupported planks along the cut line. We’re going to fix that by placing another plank on the backside, along the cut line. Use small nails to nail each unsupported plank to the new plank.
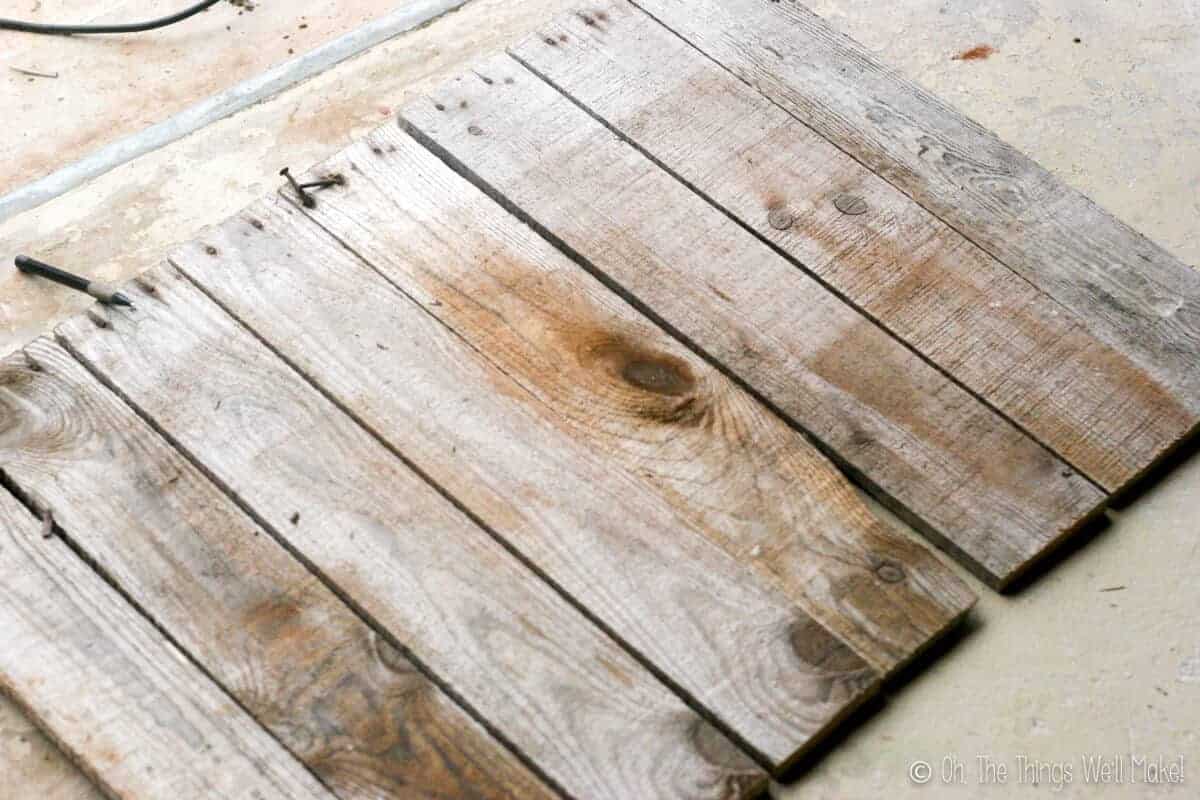
Because this piece will be used as a wall, I figured it’s more convenient for it to be thin and weigh less. So, I then decided to remove the blocks and unsupported bottom pieces, leaving a flatter panel that takes up less room.
Fixing Problematic Planks
If your pallet looked decent, you are finished and ready to start using your backdrop. If, on the other hand, any planks have issues, now is the time to address them.
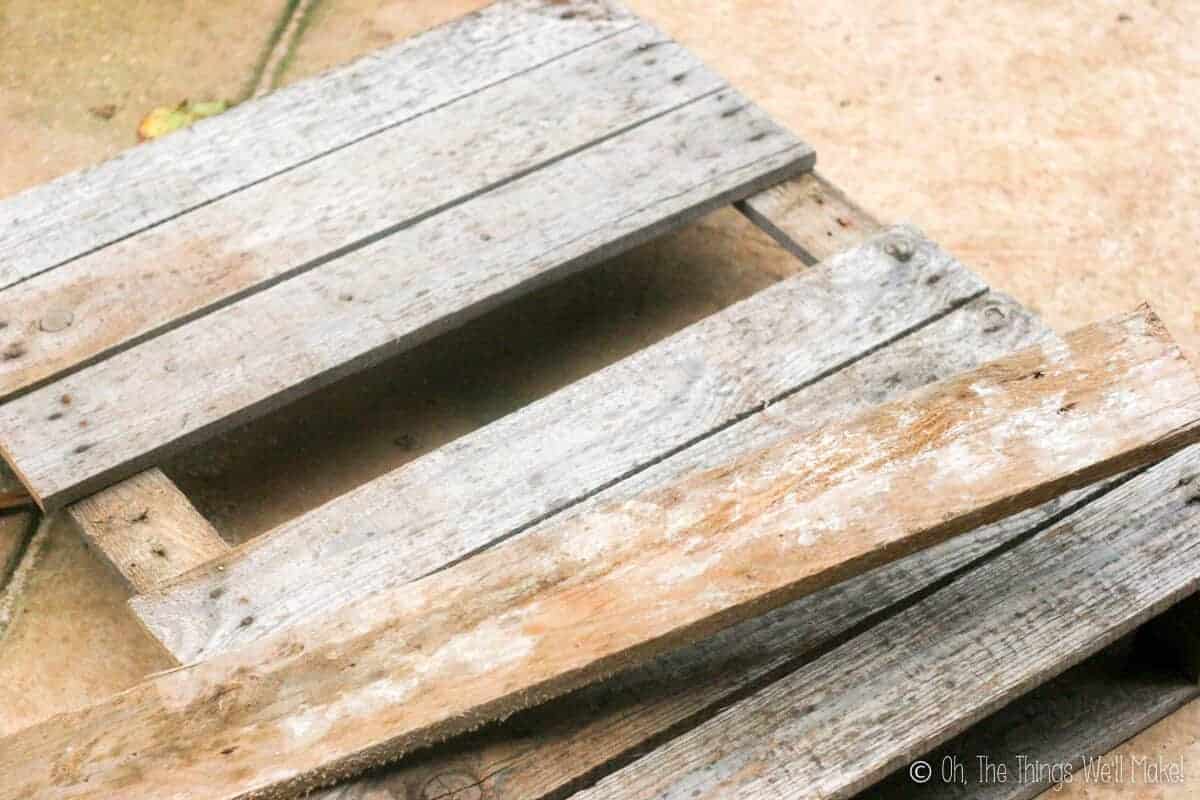
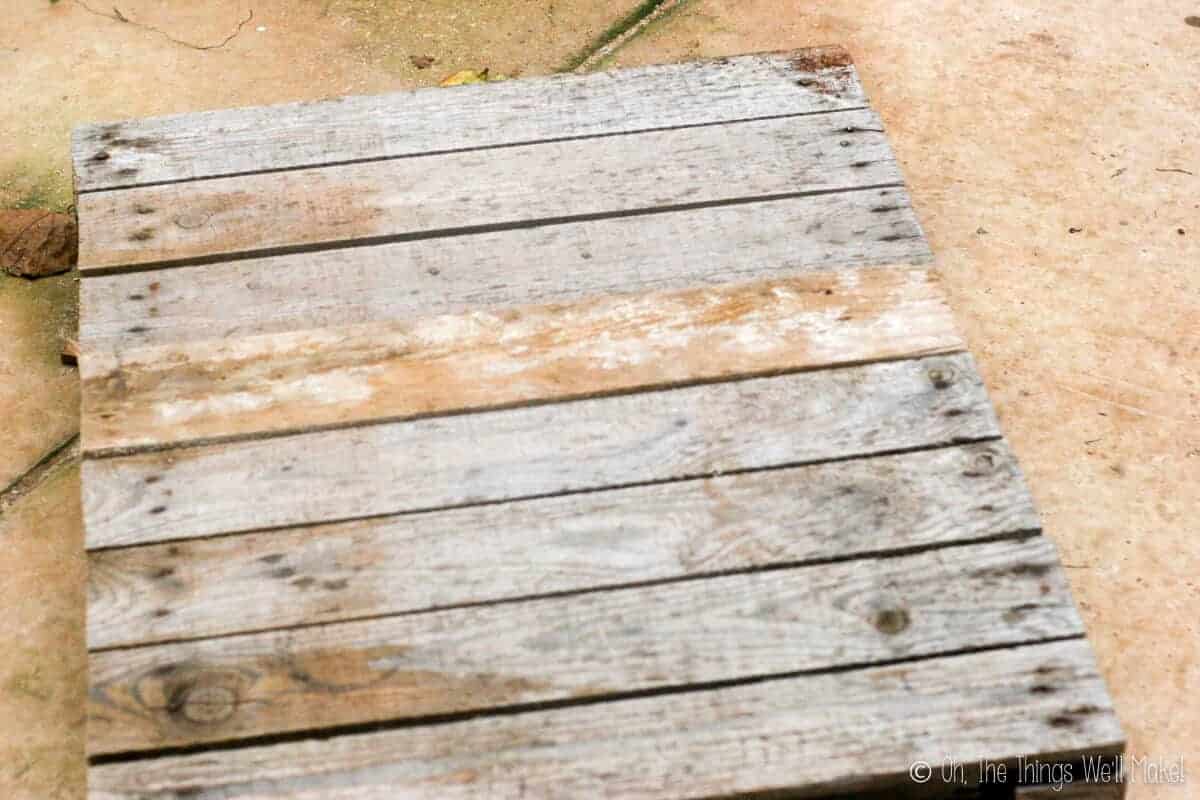
My chosen pallet had one plank with rough edges, leaving big gaps in certain places.
So, I decided to switch it out for another plank that fit into the open space once I removed it.

While you could consider attaching the “wall” to the “floor” with L-brackets, I decided to leave them separate. Because my studio will be used against a wall, it’s simple enough to rest the pallet “wall” against the real wall. Leaving them separate gives more possibilities for using them (as you’ll see when I show you how I use it.)
Painting the pallet studio
While I loved the rustic look of the pallets, I didn’t like how the new plank stood out from the rest. The color was slightly off, so I decided to paint the whole pallet. (I had been wanting a white wooden backdrop anyway.)
Looking for a distressed look, I first painted the pallet with a dark gray latex paint. I planned to paint over that color with white, and to sand it down in certain places, giving a distressed look.
First, though, I decided to put my new pallet “studio” to the test, taking pictures of my newly sewn notebook cover.
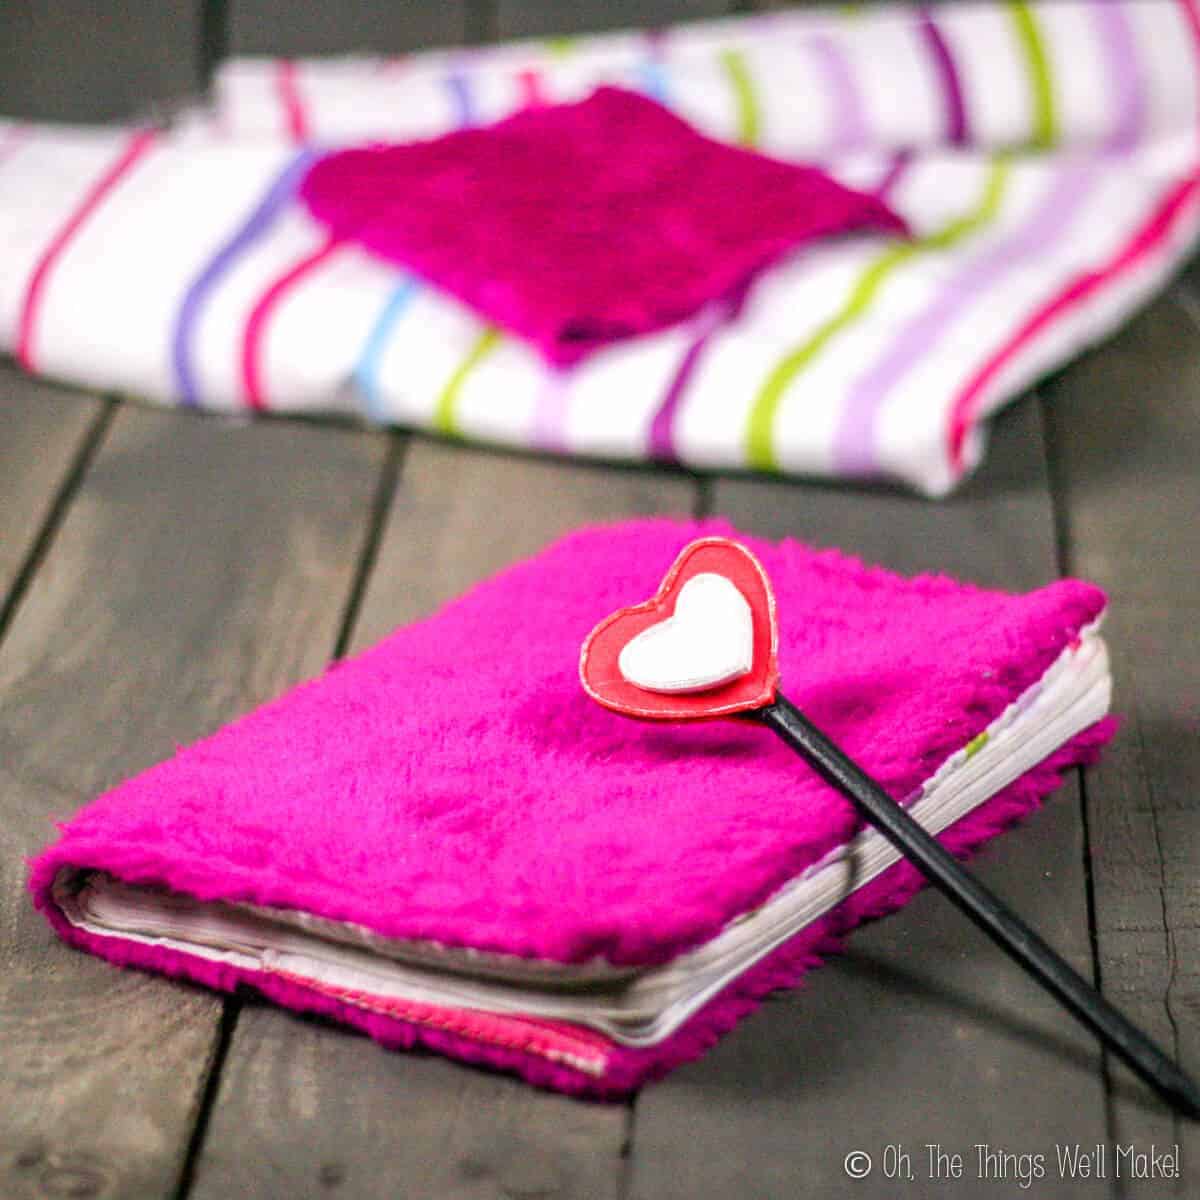
I have to say that I loved using it, and the picture I took of my DIY sewn notebook cover was even accepted by the Craftgawker “gods”! (For those who have tried getting pictures accepted by Foodgawker and/or Craftgawker, you’ll know that they’re very picky about what they accept.
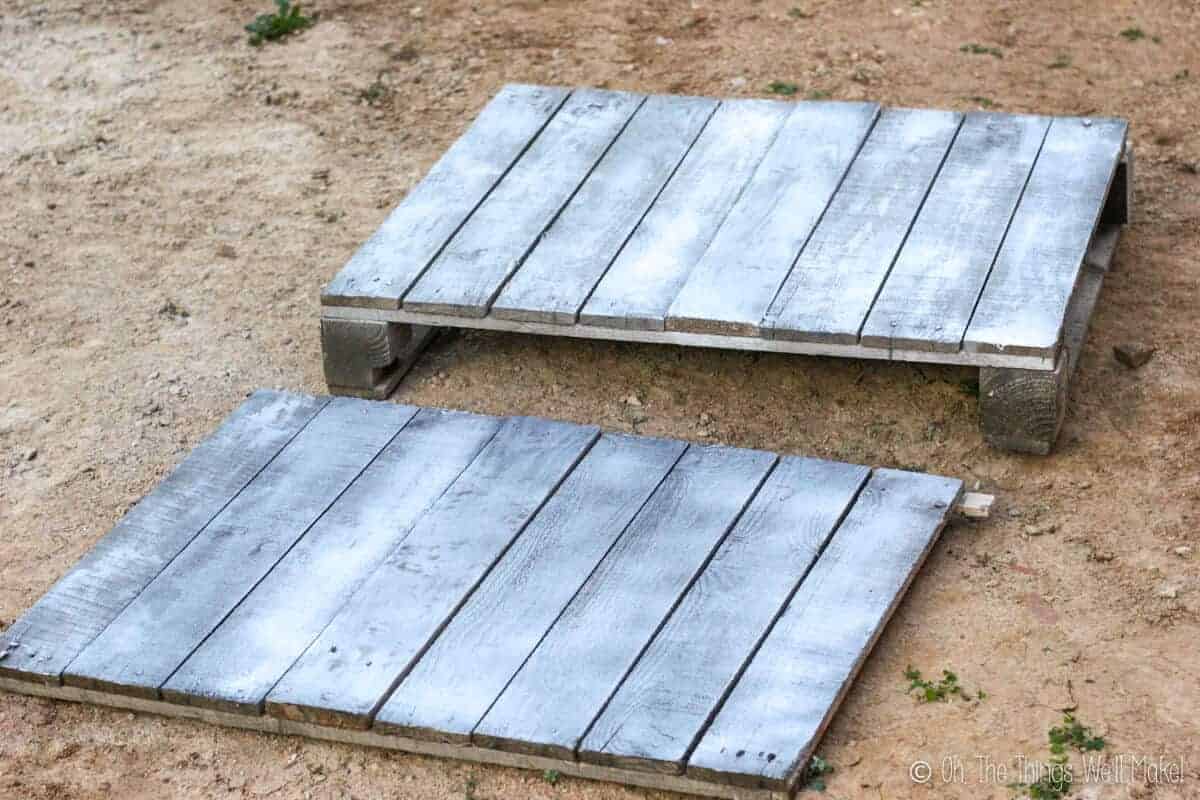
While the gray was actually quite pretty in photos, I continued with my objective: to make a white wooden backdrop.
I lightly sprayed my pallet pieces with white spray paint. The layer of white paint was so thin that it gave me a look that I liked without needing to do any extra work. In the end, I didn’t even bother sanding the topcoat at all.

DIY Pallet Photography Backdrop
Equipment
- Jigsaw
Materials
- 1 pallet
- 1 wood plank The length should equal the width of the chosen pallet.
- short nails
- paint optional
Instructions
Choose a pallet
- Look for a pallet with the planks as close together as possible.
- Choose a pallet that is bigger than what you want your final photography surface size to be. (We'll be cutting the pallet in half.)
Cutting the pallet
- Cut the pallet in half to end up with a matching "floor" and "wall" backdrop. Begin by cutting the top planks of the pallet just slightly above the center, leaving the center support blocks in place underneath.
- Next, flip the pallet over and cut through the bottom planks, along the same line, to fully separate the pallet in half.
- You'll end up with one pallet half that is completely supported in all 4 corners. It will be used as the studio "floor." The blocks help raise it slightly off the floor, making taking pictures a bit more comfortable. It also gives you a place to hide other wooden planks and props.
Fixing the pallet "wall"
- The smaller half of the pallet will now have unsupported, loose planks along the cut line. To fix that, place another plank along the cut line on the backside of the pallet across the loose boards. Use small nails to nail each unsupported plank to the new one. (Hit the nails from the front side and make sure they go into the other plank underneath.) If the nails don't successfully hold the plank in place, consider using glue and/or screws to hold everything together.
- Remove the remaining blocks on the other side (along with the unsupported bottom pieces). This leaves a flatter, lighter panel that takes up less space. (Cut off the long nail pieces if any stick out.) Make sure the pallet pieces are still nailed to the plank below them. Fix any loose boards.
Fixing Problematic Planks
- If your pallet looked decent, you are finished and ready to start using your backdrop. If, on the other hand, any planks have issues, now is the time to address them.
- Switch out any bad looking planks for similar-sized boards. Remove the bad ones and nail the newer boards in their place.
Painting the pallet studio
- While you leave the pallets unfinished, you can also consider painting the pallets to change the color of your backdrop.
- Use a paintbrush or spray paint to cover the pallets with paint. Try using a light coat to leave some areas uncovered for a more rustic look. The painted pallets can also be sanded later on to give a distressed look.
Notes
Using the Pallet “Studio”
Once you have your pallet studio set up, you will probably get sick of using the same color wood all of the time.
Changing up the wood colors easily
Rather than re-spraying your wood a new color each time you want a change, you can use some more pallet wood pieces to get the looks you want.
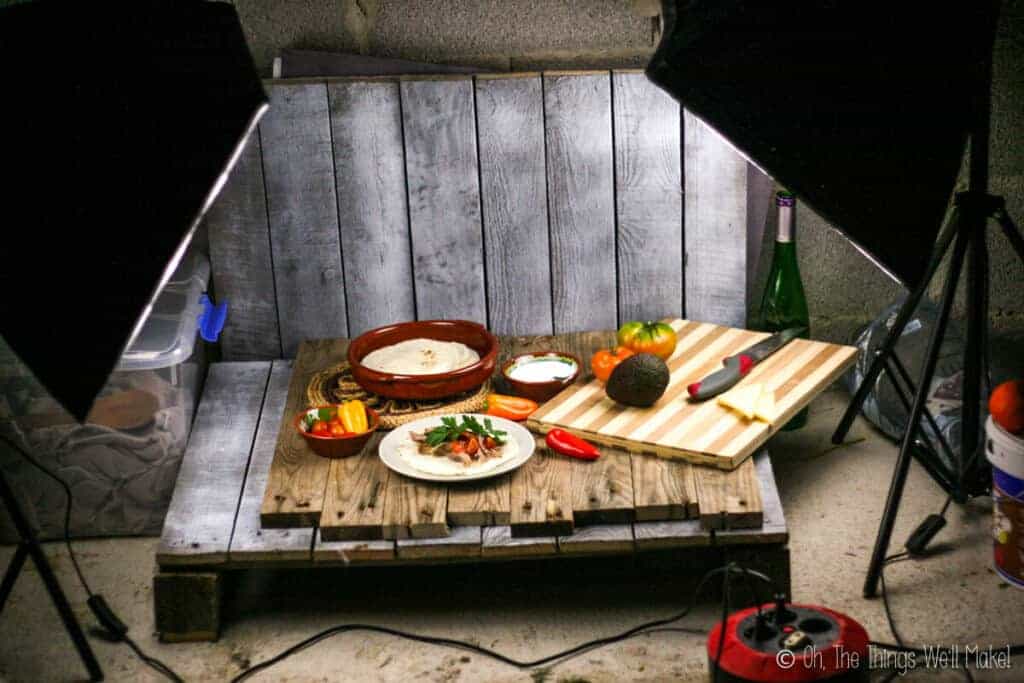
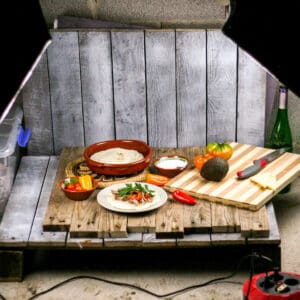
I use spare wooden planks from other pallets and set them side by side on top of my pallet floor, giving the appearance of a new wooden floor in a different color.
What’s nice about that system is that you can paint one side of your planks yet another color, giving you several different options for taking pictures. (Mine have turquoise painted on the backside.)
The extra planks can be easily stored in the space below your floor pallet for easy access whenever you need them.
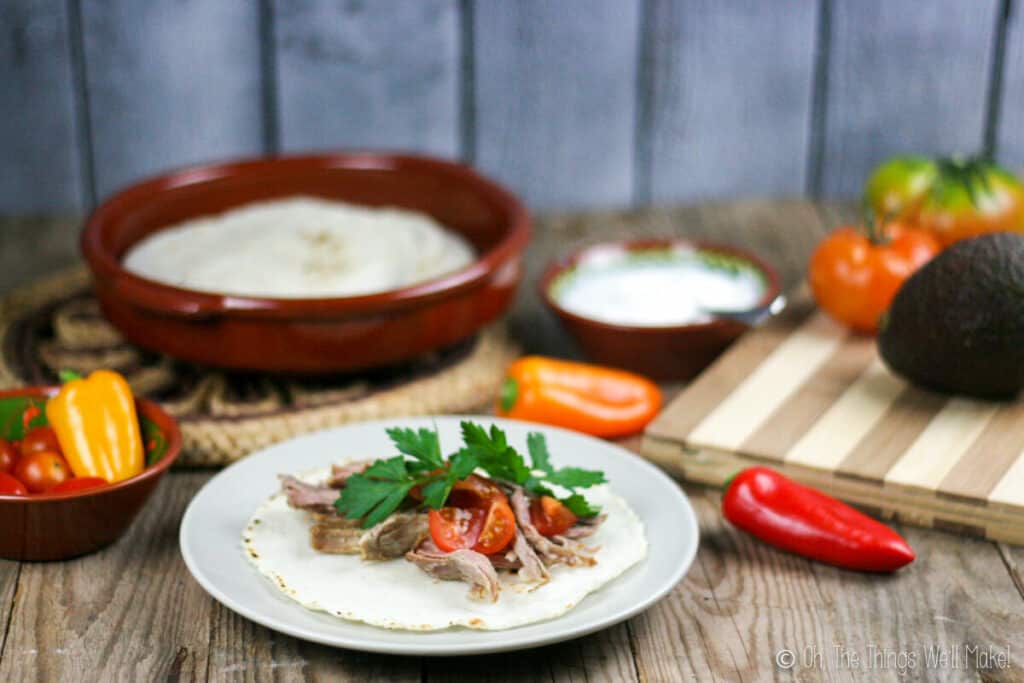
And, yes, the updated picture that I took of my slow cooker carnitas was also accepted by the Foodgawker!
Apart from using different planks on top of your pallets, there are lots of ways to get a variety of looks and backgrounds using the same pallets.
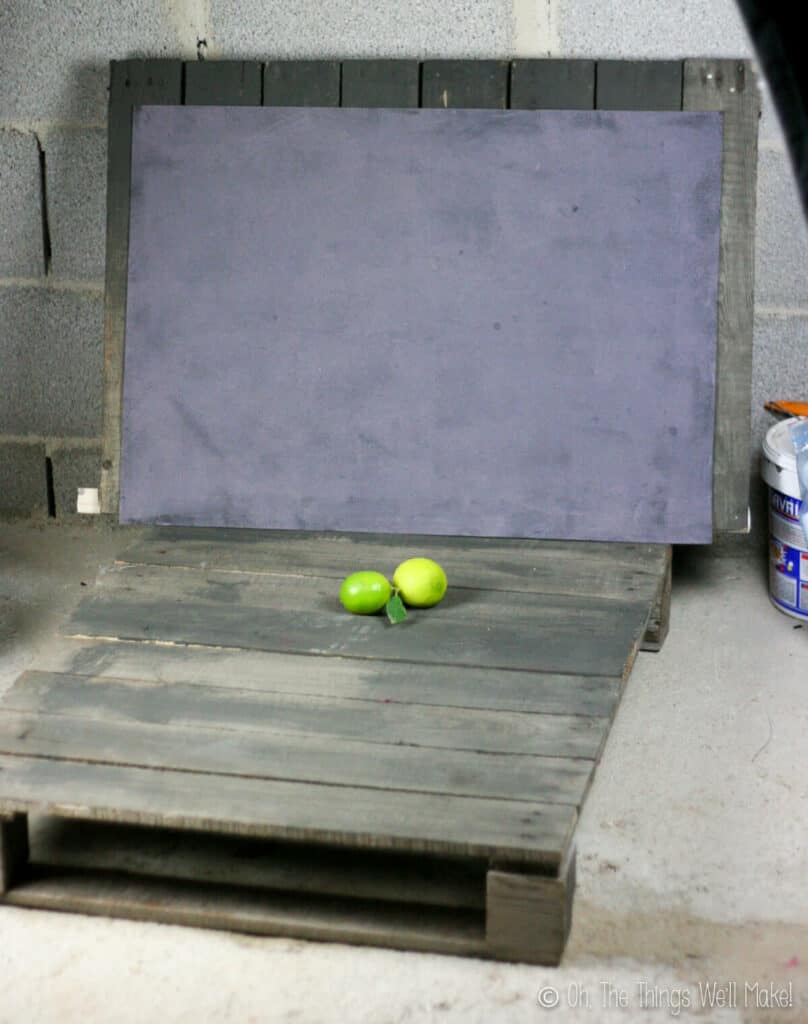
Craft Foam
Who’d have thought that craft foam would be perfect as an inexpensive background for photography? Oh, but it is!
Craft foam works great as a photography background because it is relatively matte. It doesn’t reflect a lot of light back at the camera.
Also, it’s lightweight and can be easily rested against your pallet “wall.” Not only does it stay wrinkle-free, but it also holds itself up if you have your pallet at a slight angle. (Otherwise, you can also clip it in place.)
Painting the foam
I started out by buying myself 2 sheets, one in white and one in black.
To get even more looks from my 2 craft foam sheets, I painted one side of the foam in a different color with a paint roller. I purposely didn’t make the paint very uniform to add more texture to the backdrops on one side.
By painting the other side, I ended up with 4 inexpensive backgrounds for the price of two!
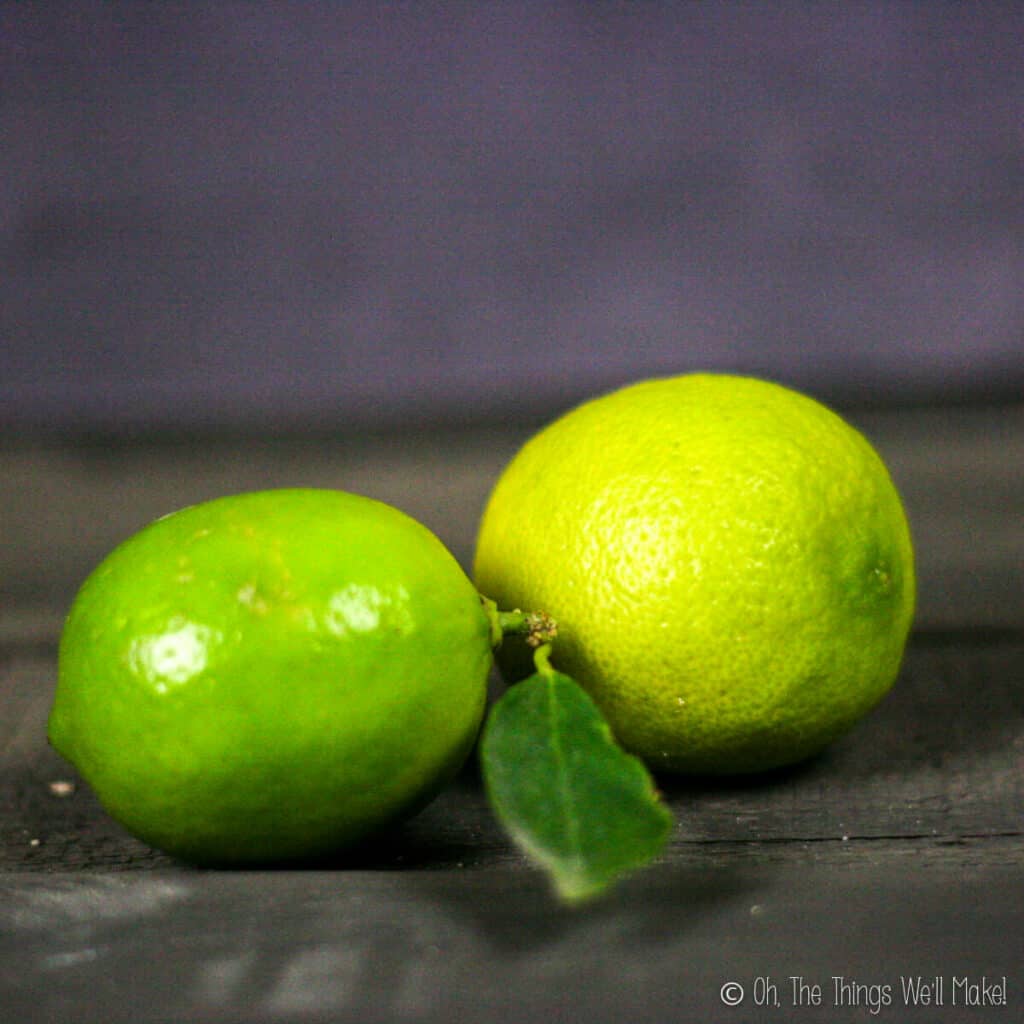
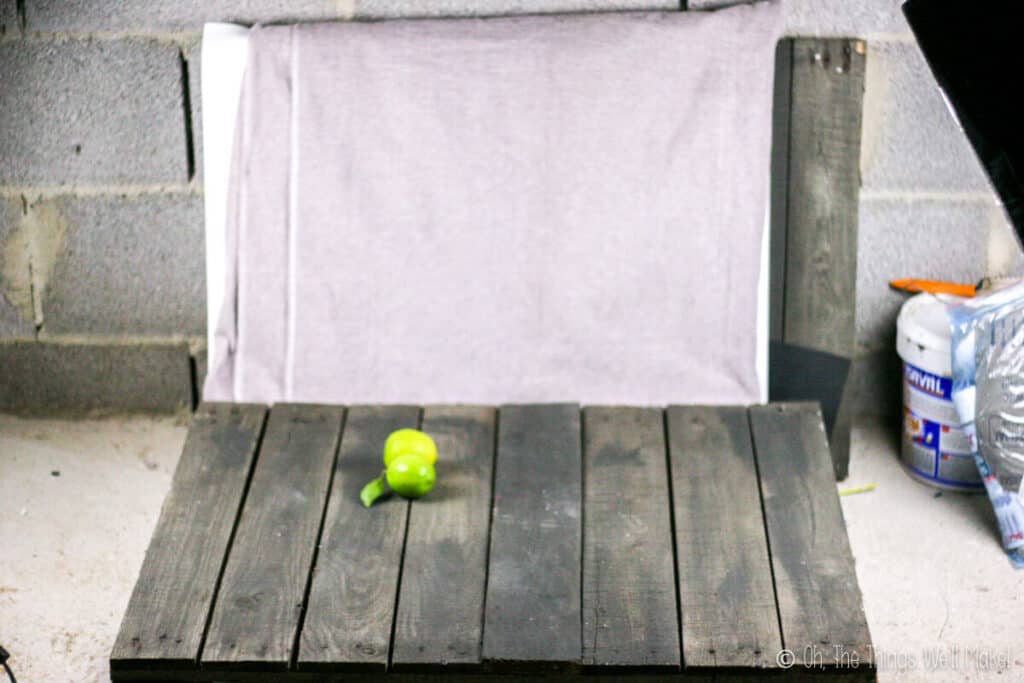
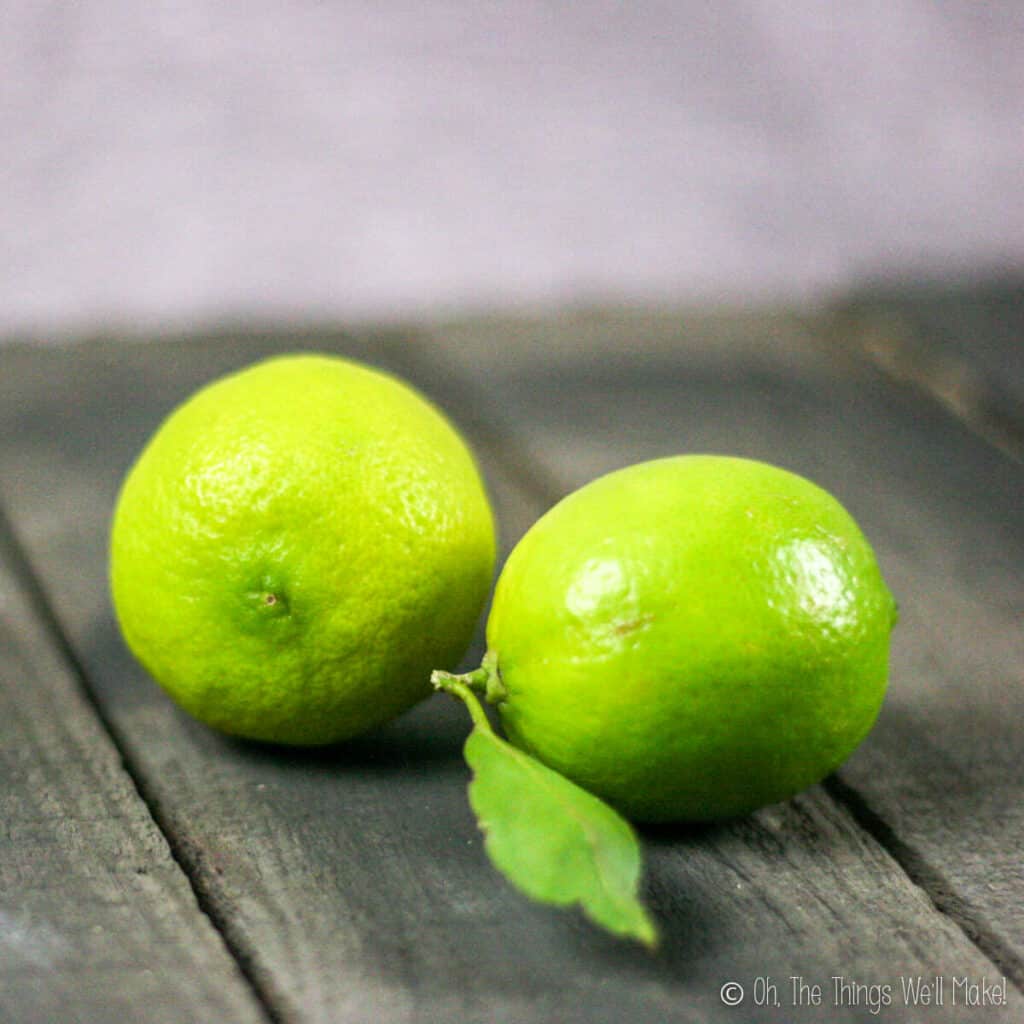
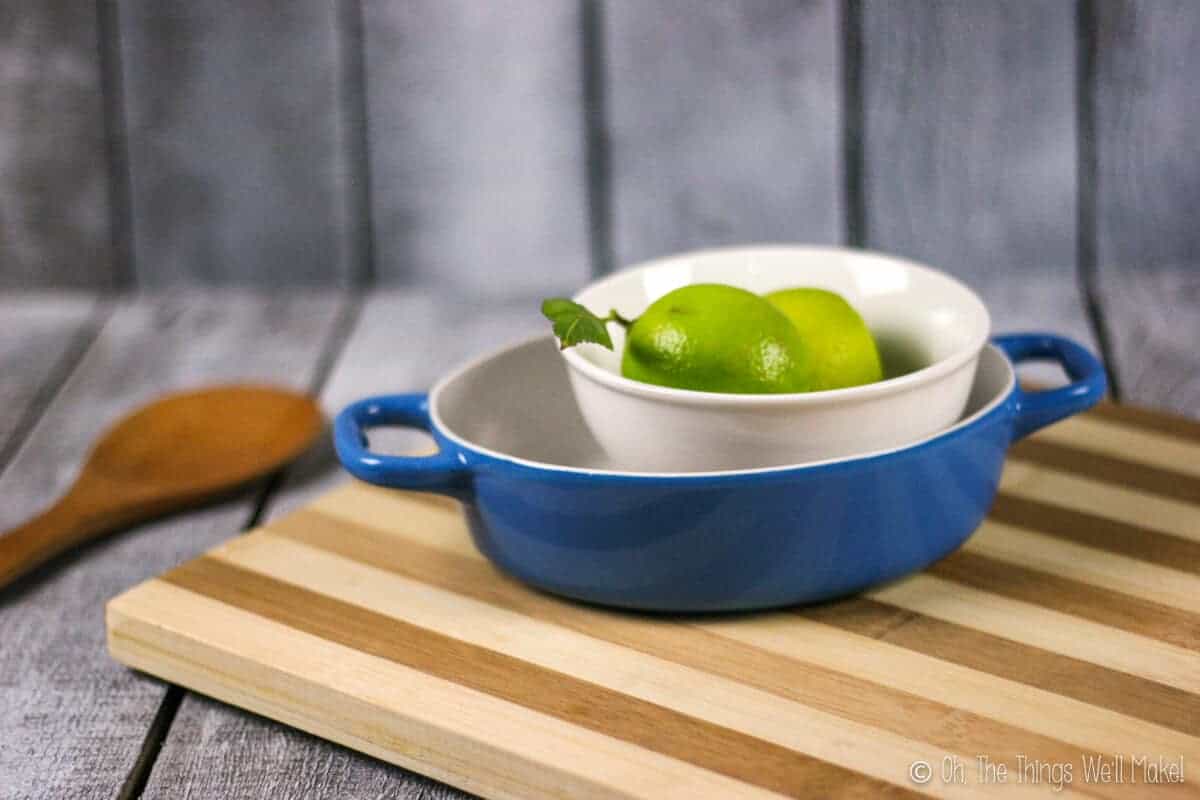
These pictures were taken of limes from our lime tree against the painted craft foam.
Note that I rotated the pallet floor, giving a different orientation of the “floor planks.” It’s another subtle difference that can help switch up your pictures a little.
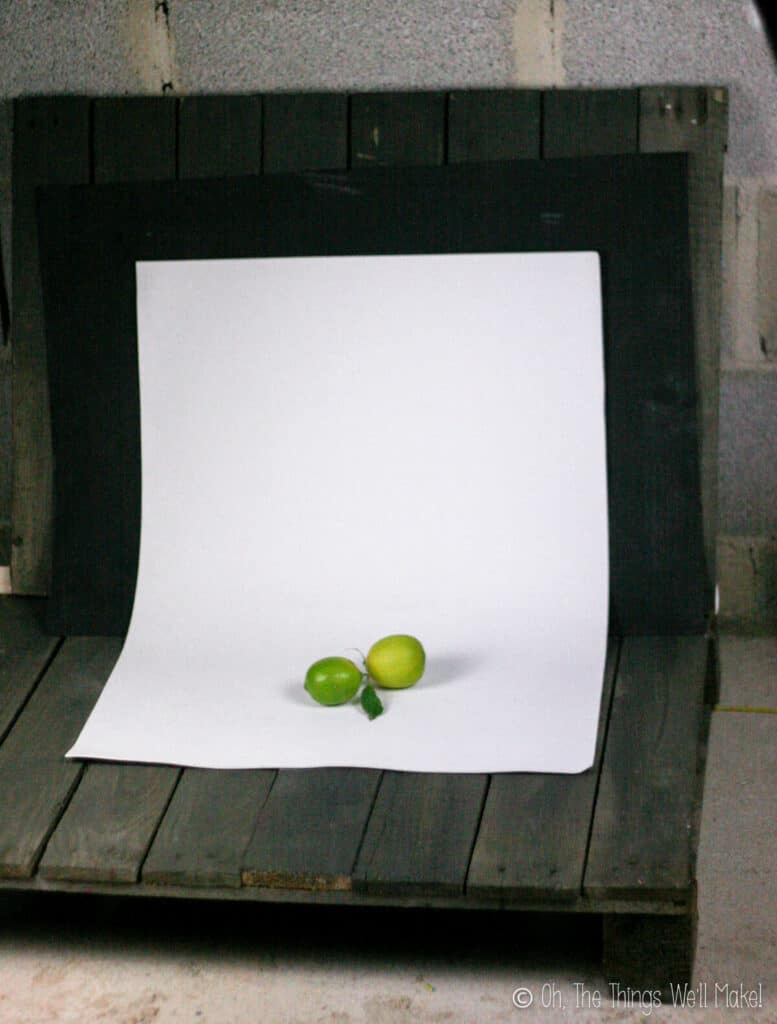
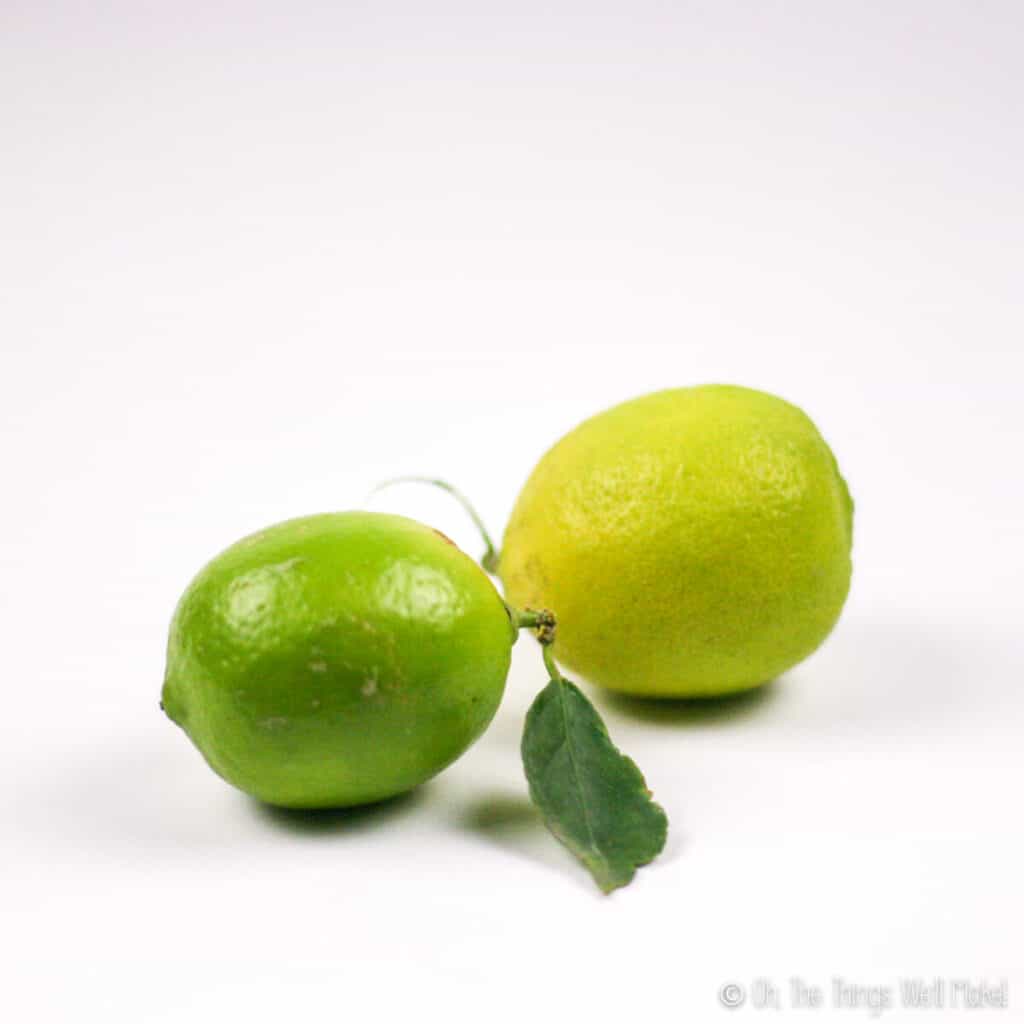
Because craft foam doesn’t easily crease, it also works well to use as a continuous (wall to floor) backdrop when you want the background to be a solid color.
Cloth Backdrops
Cloth backgrounds are also great for changing things up. The pallet studio makes working with cloth easier because it gives you something to clip the cloth to, when necessary. It’s also easy to rest the cloth over the top edge of the pallet to keep it in place.
Working with cloth is also quite versatile. You can either drape the cloth over the top pallet only or drape it over both halves of your pallet for a continuous backdrop in one color.
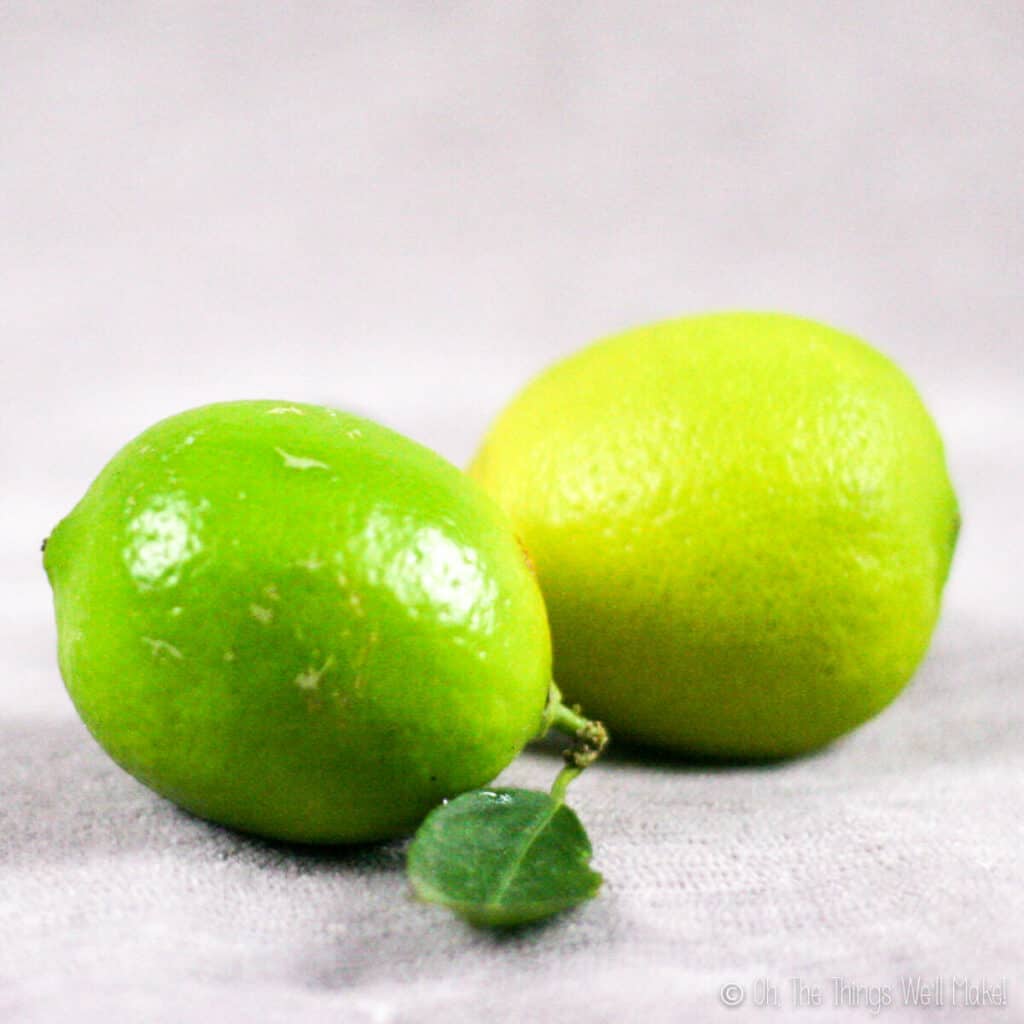
While I prefer working with fabrics that don’t easily wrinkle, wrinkled fabrics can also add and interesting texture to your photography. Have fun experimenting to see what types of fabrics you like best!
Props
While it’s great to be able to easily switch up the background when needed, the easiest way to have variety in your photos is to use fun, inexpensive props.
- Cloths and napkins
- Placements
- Cutting boards
- Pretty plates and bowls
Some people are great at adding random cloths and napkins to their photos (not me). When done right, cloths add a beautiful touch to pictures!
I find it easier to use placemats and love hunting for bargains at sale times. Because I usually only use one placemat in most pictures, a full set isn’t necessary. You can often find leftover single placemats at highly discounted rates!
Cutting boards can be used to give a different wood background to your photos while using the same pallets. I like having a variety of cutting boards available for my photos.
I’m also constantly on the lookout for pretty plates and bowls in small sizes. Small plates and bowls are easier to style and tend to look better in the finished photos. In the case of plates and bowls, I usually like using at least two at a time. (So, I end up buying at least three in case one breaks!)
I hope this post has helped give you ideas for playing around and improving your food and small object, still life photography. It’s a lot of fun to experiment once you have new ideas.
Other ways to improve your photography…
Using a great objective lens can really help improve your photos. My guide to choosing a lens for food and still-life photography explains a lot of the techy objective lens terminology in a way that helps make it easier to understand. I also help you choose the best lenses for you.
If you’re still struggling with food photography, I highly recommend reading this book. It concentrates on ideal lighting and styling, showing that great photos can even be taken with a phone camera when you know what you’re doing!
I’ve seen people drastically improve their photography within days of reading it!
This post was originally published on January 23, 2014 with a second post was written on January 29th. In February of 2020, this post was rewritten with clearer instructions and combining the two older posts making it easier to find all of the information in one place.


Loved this article, since this article demonstrates us to spare and still make lovely photographs. Liked the way in which you composed this and furthermore the image instances of how we can even now make stunning product photography backgrounds reasonably.
Thank you! I live in an Apt. So not much space. I do not do food photos,have no sense of smell so food is Meh… I do like to take photos of books and small toys. So I will be taking a walkabout to find some pallets to carry home! Thanks from Colorado.
Hi Danny,
You’re very welcome! I’m happy to have helped.
Sorry about the sense of smell. I’ve always said that that’s one thing that I’d really be sad to lose (but that would help me keep from putting on weight- ha!)
We have a man at our house right now remodeling our kitchen who has the same issue. We keep teasing him that we’ve put strange things in his coffee because he says he wouldn’t know the difference.
Back to the pallets- if you’re lacking on space, it really helps to cut out (or pull apart to keep them longer) the planks and then you can lay them out as you need them. I’ve moved my “studio” to a small bedroom upstairs because I had no natural lighting in the basement, and now I rarely use the full pallet. I almost always use the individual planks that are natural brown wood on one side and painted turquoise blue on the other side. I just flip to whichever side I want for each photo, laying them out on the ground or on a wooden board. (You’ll see that the majority of the pics on my blog use those planks.)
I can then stack them out of the way when not in use.
Good luck finding some pretty pallets!! 🙂
Great article. Thank you for the tips. So many adverts though. Made it tough to keep reading.
Hi Steve,
I’m happy you liked the article.
Unfortunately, it would be impossible for me to keep up the costs to maintain this website if it weren’t for the ads.
Thanks for understanding.
Love this idea! I just started food blogging recently and I’m working on finding/making new photo props to take my photography to the next level. I will be trying this out.
Thanks, Samantha.
I’ve been making other sorts of backgrounds, but this is still my favorite. I hope it works well for you!!
More than great, i really like it