Looking for a tasty pumpkin puree to use in recipes? Store-bought brands may contain sugars and ingredients you can’t pronounce. Here’s how to easily make your own!
What is Pumpkin Puree?
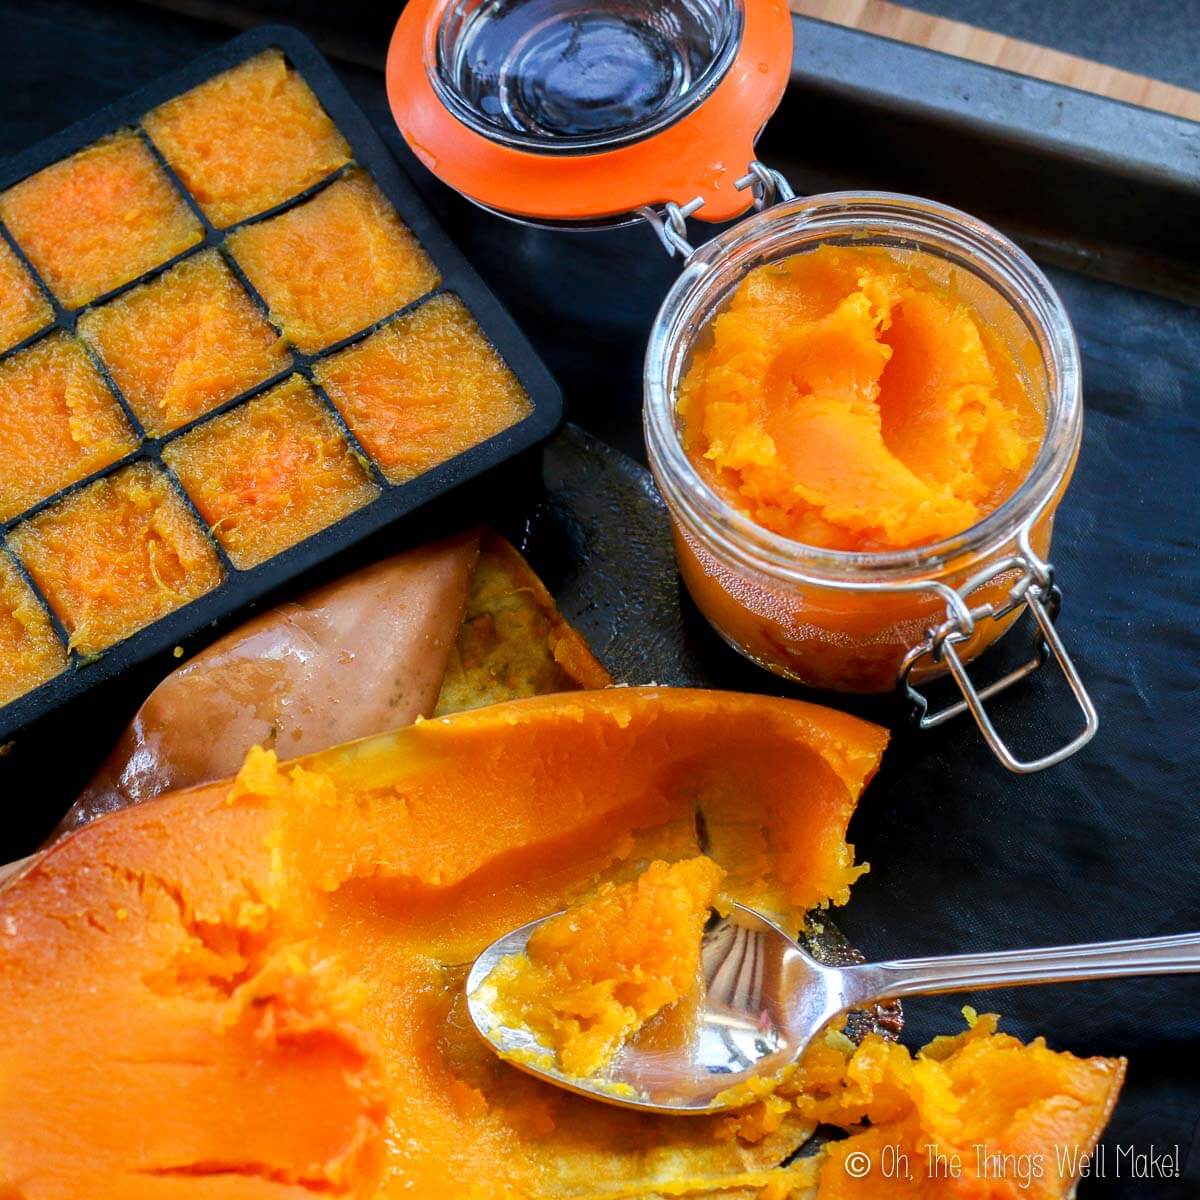
Pumpkin puree is a thick paste made from cooked pumpkin or other winter squashes. It can be made by boiling, roasting, or steaming and then mashing or blending the cooked squash. The finished puree can be served warm or cold and can be used in a variety of recipes in place of canned pumpkin.
Why Make it?
Cooked pumpkin is a healthy treat packed with vitamin A, vitamin C, and vitamin E. It’s also a good source of dietary fiber, potassium, and magnesium.
There are several reasons that you may want to consider making your own pumpkin puree rather than buying canned pumpkin.
Superior flavor
While the producers of canned pumpkin would probably argue I’m wrong, I don’t think there is any comparison between the taste of a freshly roasted pumpkin and the bland mush that comes from a can.
Freshly roasted pumpkins have a pleasant aroma. They taste fresh and sweet. They’re so flavorful that in many countries people serve the roasted pumpkin, by itself, as a tasty dessert!
Can you imagine spooning out some canned pumpkin on a plate and saying, “Dig in!”?
Universally available
While canned pumpkin is super easy to find in the United States, it’s not a common pantry item worldwide. In most countries, people are accustomed to roasting or boiling pumpkins rather than relying on a can.
I have to admit, when I first got to Spain, many years ago now, I was a little bit disappointed that they don’t sell canned pumpkin here. I wanted to make a pumpkin pie to celebrate Thanksgiving and had to figure out how to do it. At the time I couldn’t rely on the internet (yet!), and I didn’t even have any cookbooks with me.
I successfully made that pumpkin pie without canned pumpkin and without a recipe by mixing together some roasted pumpkin, cream, eggs, sugar, and pie spices. I crossed my fingers, poured the mixture into a crushed cookie crust, and threw it all into the oven. In the end, it turned out amazing, but I guess I shouldn’t have been surprised! From scratch is almost always better!
Avoid possible toxins and additives
Some canned pumpkin brands add sugar or other additives like preservatives. Luckily, it’s not hard to find brands selling “100% pumpkin” instead, but there is still another problem to consider.
While canned pumpkin is sold in metal cans, those cans have a plastic lining to help prevent corrosion and maintain the quality of the food inside.
Up until recently, the majority of cans had BPA (bisphenol-A ) in that lining.
By now, many companies are moving away from using BPA in their cans, but they could be using other plastics that are just as harmful or possibly even worse like BPS (bisphenol-S) polyvinyl chloride (PVC) While the FDA states that low levels of BPA are safe, the Mayo Clinic suggests that it is a good idea to cut down on cans and plastic use for food storage.
Ingredients
Not surprisingly, the only ingredient in homemade pumpkin puree is pumpkin!
What may surprise you, though is that the word “pumpkin” can include a wide variety of different types of squash. Even cans of “100% pumpkin” usually include a variety of winter squashes.
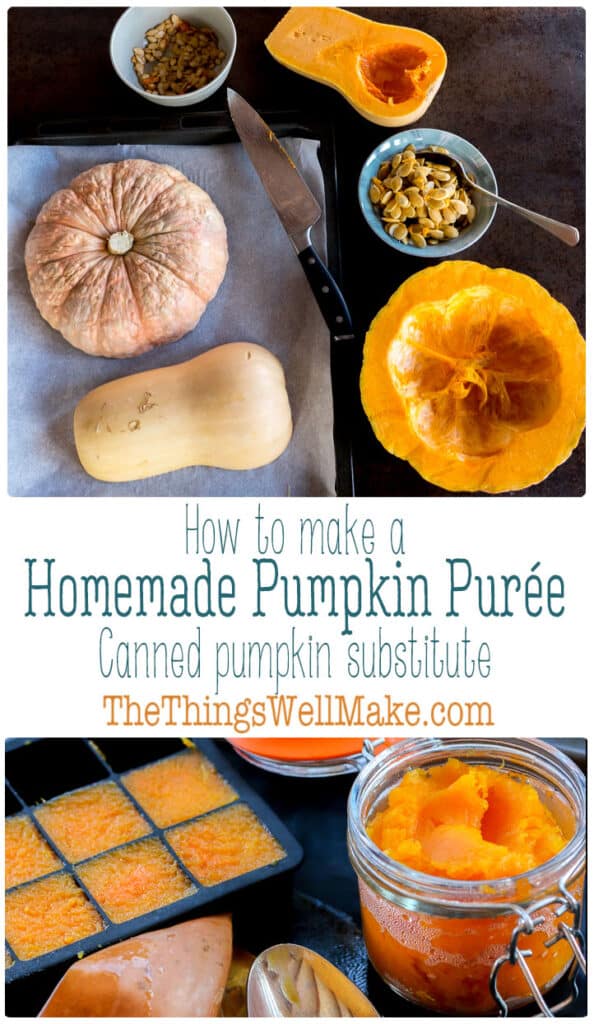
Best “pumpkins” to use
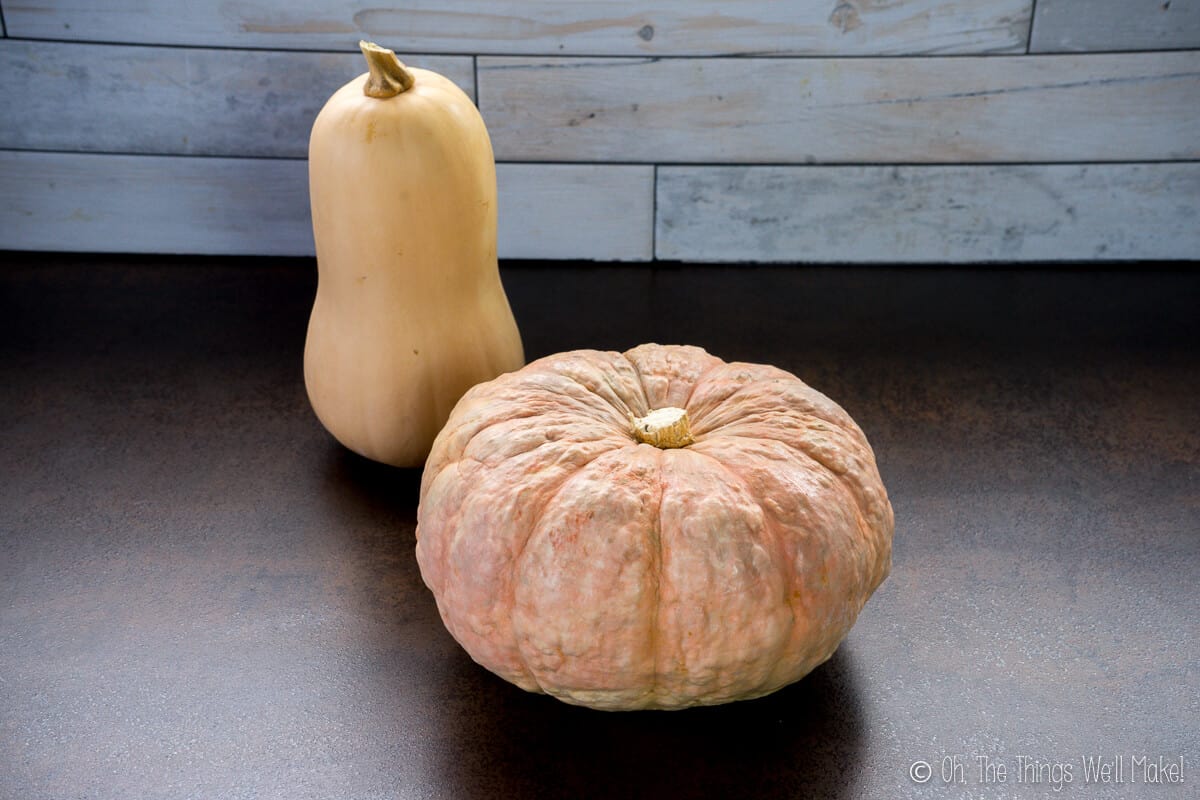
You’ll find many varieties of pumpkins that can be used for making your puree. Some varieties include Amish Pie Pumpkins, Dickinson pumpkins, Connecticut field pumpkins, and Kentucky field pumpkins.
Pie pumpkins and Sugar pumpkins
When shopping for pumpkins, you may find varieties of small, round pumpkins. They are often referred to as pie pumpkins or sugar pumpkins. Despite their name, they can be used for both desserts and savory pumpkin recipes
Butternut Squash and other winter squashes
Butternut squash is also known as butternut pumpkin in many parts of the world. Here in Spain, it’s probably the most commonly found “calabaza” (translation: pumpkin). It’s what I most commonly use for my homemade pumpkin puree.
Butternut squash is sweet and perfect for using in soups and pies.
Other squash varieties you can use include Boston marrow squash (aka. Autumnal Marrow) and Golden Delicious squash.
Avoid Jack o’Lantern pumpkins
The large pumpkins sold for making “Jack lanterns” are the main pumpkins that you’ll want to avoid. These Halloween pumpkins have been chosen for easy emptying and carving. Their pumpkin flesh is stringy, less compact, and bland. Plus, they have less of it. While they are edible, they aren’t as sweet and flavorful as other varieties.
Choosing a sweet pumpkin
In my experience, sweeter pumpkins and squashes will weigh more than average for their size. Less flavorful varieties tend to be stringy and weigh less.
Look for relatively heavy squashes that are unbruised. Also, check for soft spots or holes that could be a sign of damage that could lead to rotting.
Step-by-step instructions
There are several ways to easily make your pumpkin puree.
Roasting method
Roasting pumpkins in the oven is my favorite method for making a homemade pumpkin puree.
- Roasting a pumpkin in the oven brings out its sweetness.
- There is no need to peel the pumpkin while it is raw and hard to cut, so I find this method the easiest.
- The texture of roasted pumpkin has a nice consistency and isn’t “watered down” like boiled pumpkin.
You’ll need:
- A pumpkin
- A baking sheet
- An Oven
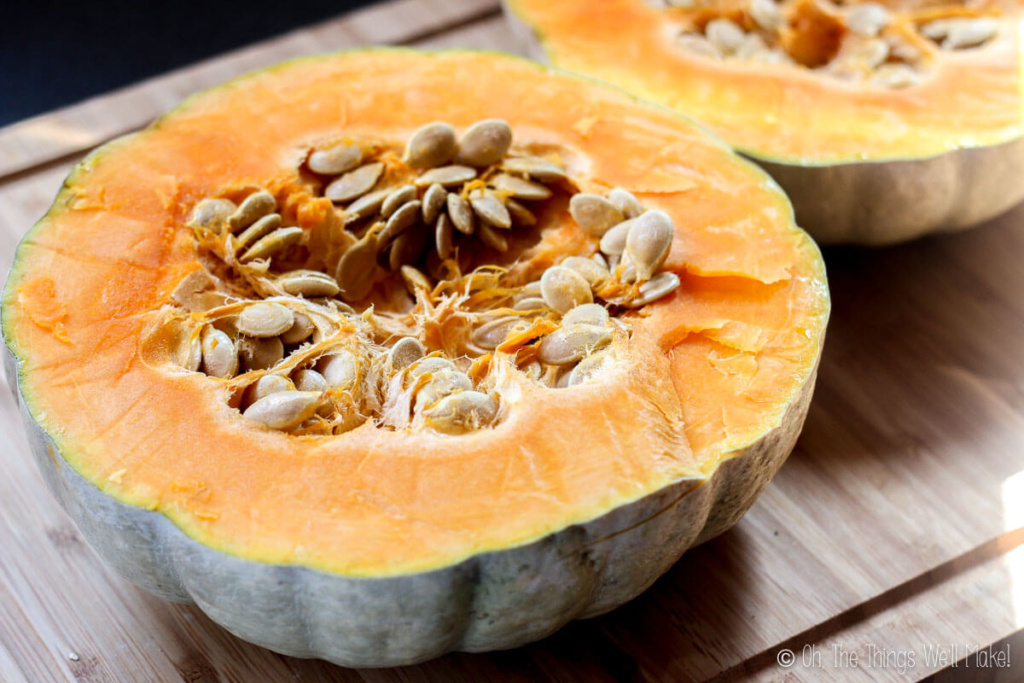
Cut round pumpkins across width 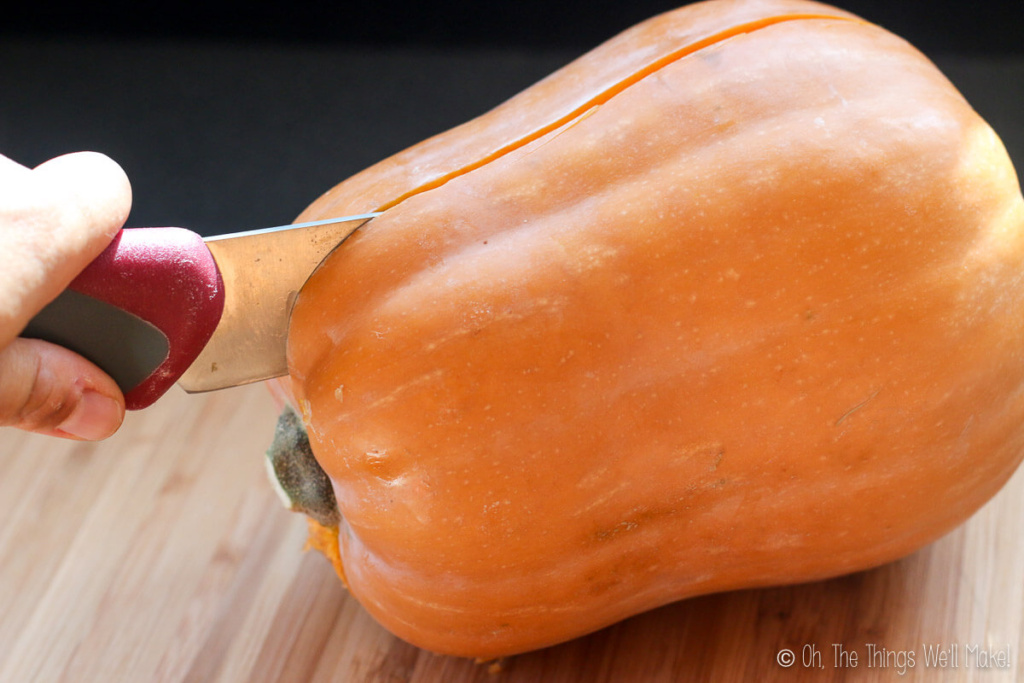
Cut long pumpkins lengthwise. 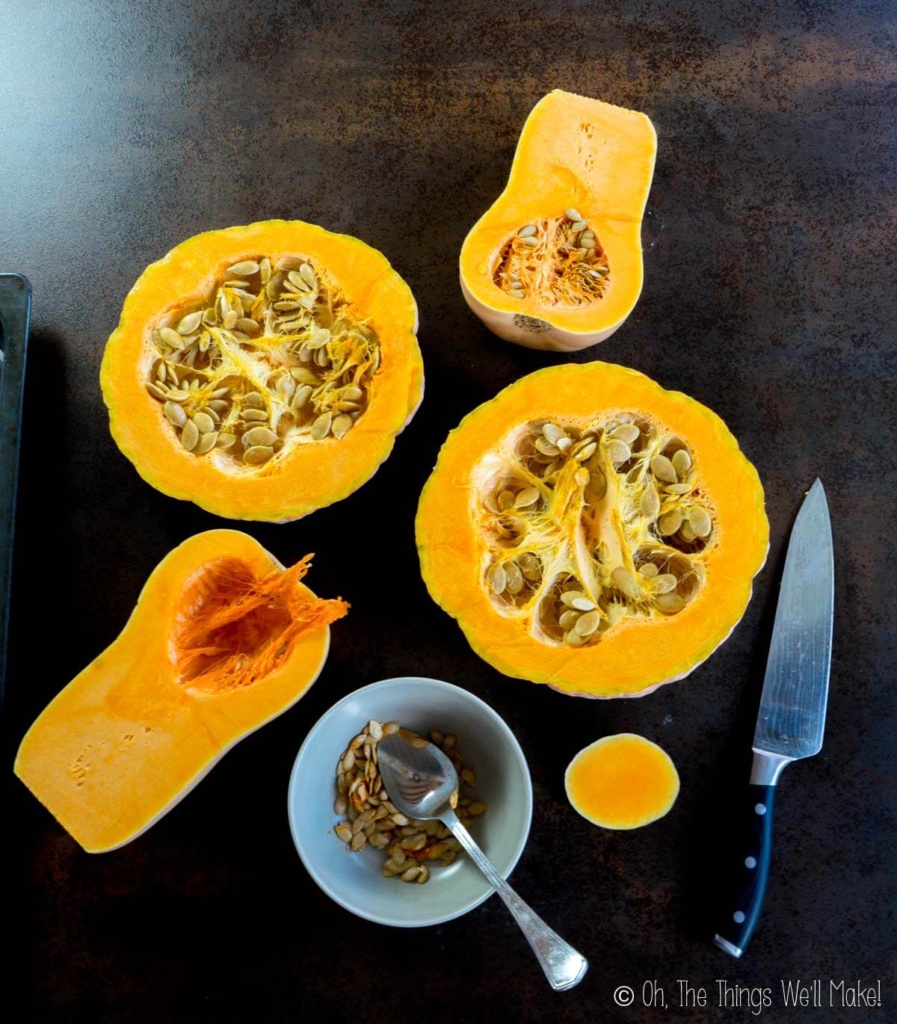
Scoop seeds from the pumpkins. 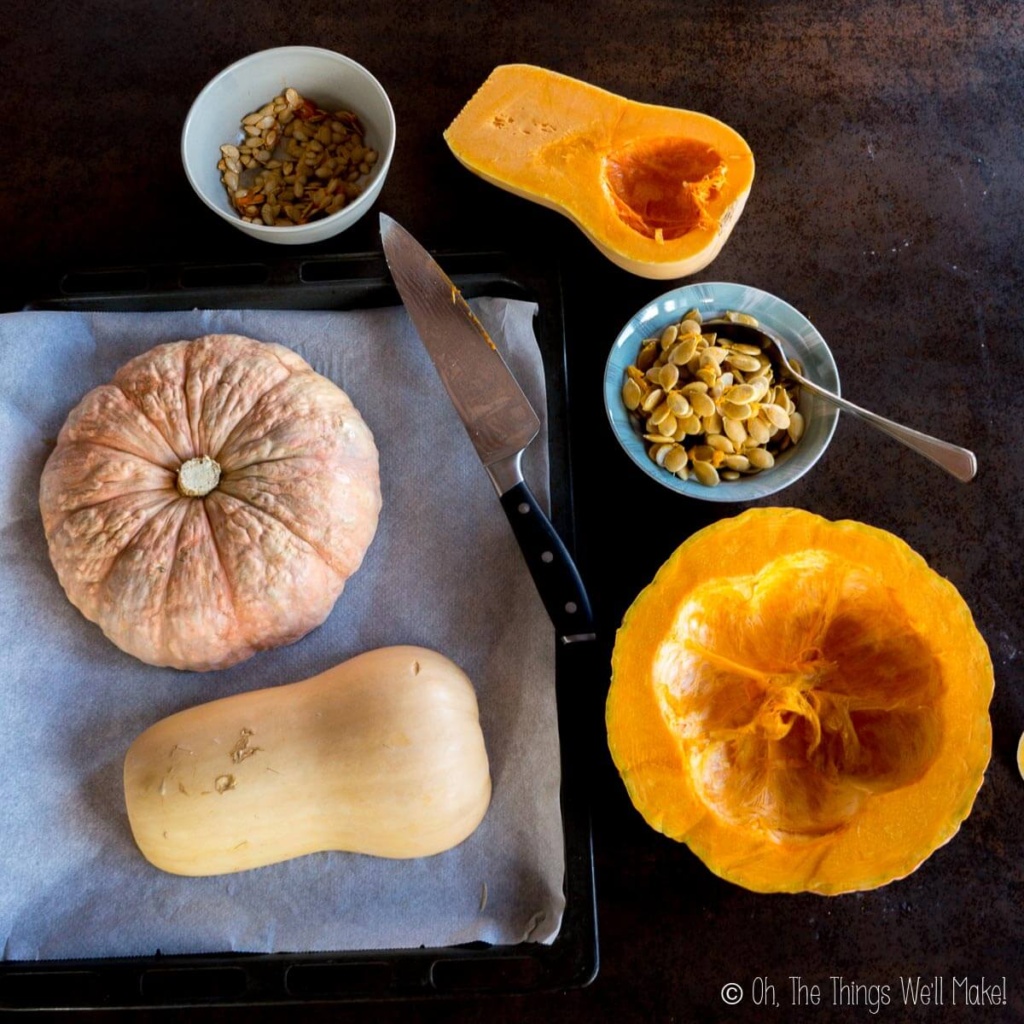
Preparing the pumpkins for baking. 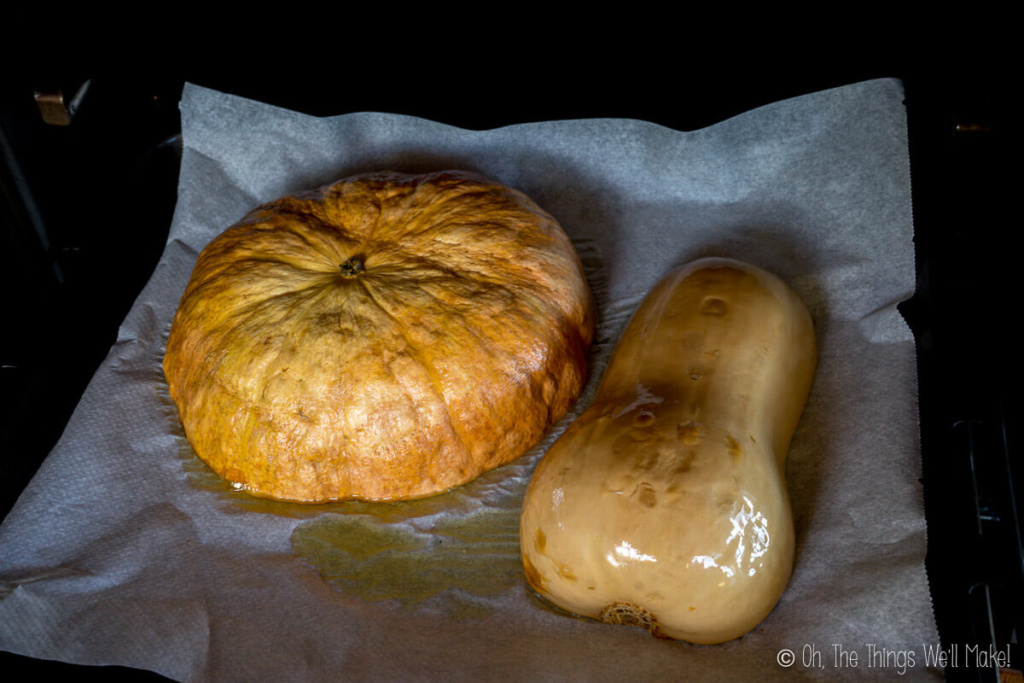
Baked pumpkins are soft to the touch. 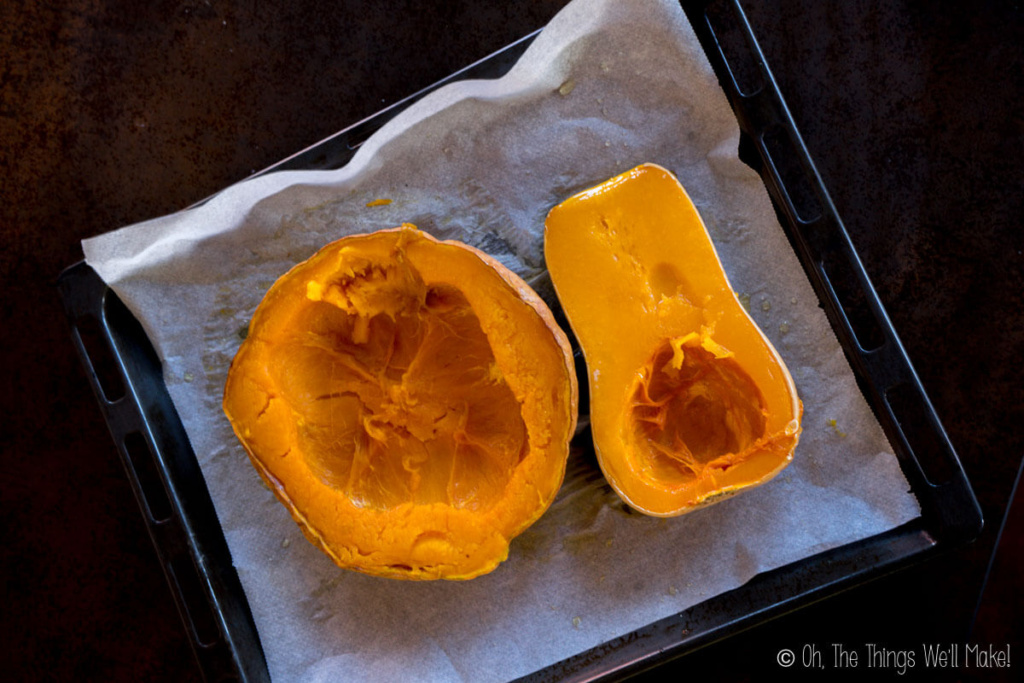
Flip the cooked pumpkins over for immediate use or further broiling. 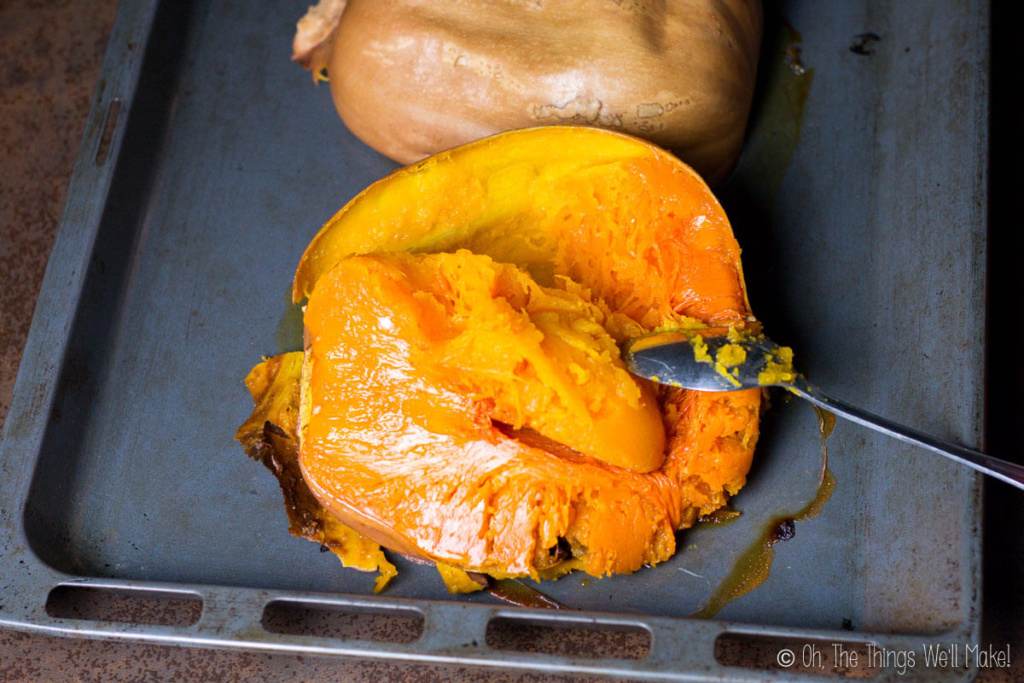
Scoop the roasted pumpkin from its skin. 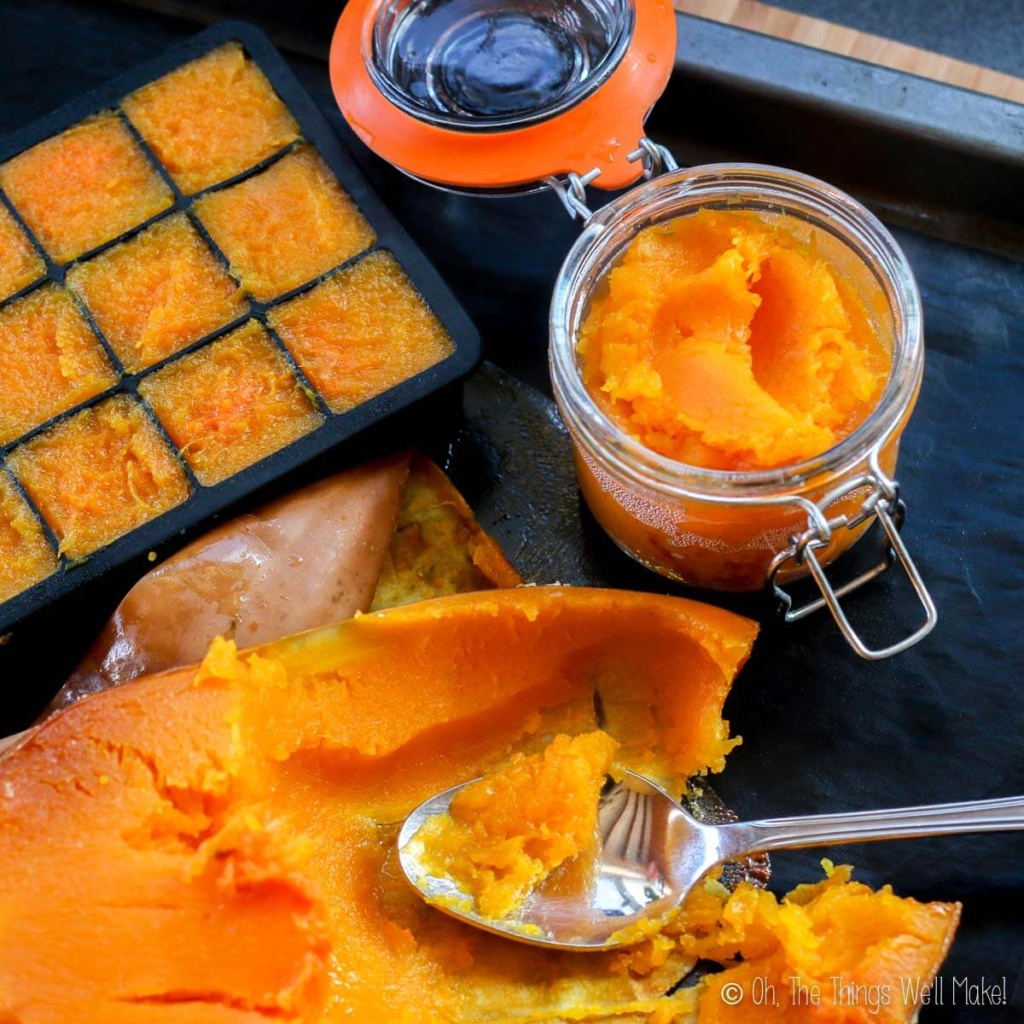
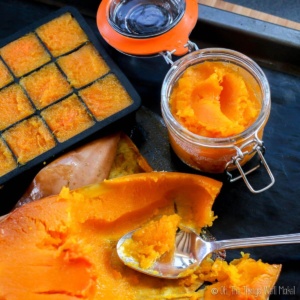
Store in storage jars or freeze for later.
- Preheat your oven to 350ºF/180ºC.
- Cut the pumpkin in half. Round pumpkins are best cut across the width, while long pumpkins like butternut squash are best cut lengthwise.
- Scoop out the pumpkin the seeds.
- Flip the pumpkins onto a prepared baking sheet with the cut side down. (For ease of cleaning, line the baking sheet with parchment paper.)
- Bake for at least 30 minutes. After that time, begin testing the pumpkin for ripeness by pressing on the skin every 10-15 minutes. When it gets soft to the touch, it should be fork-tender and ready to use.
- If you want to caramelize the top of the pumpkin, flip it over and bake it under a broiler for a few minutes, until browned.
- Remove the baked pumpkin from the oven and scoop out the flesh. You can scrape the skin of the pumpkin with a spoon to remove it.
Consider saving the seeds to roast as a tasty snack! Clean the flesh off of them and sprinkle them with salt. They can then be roasted until golden brown and crispy! They’re delicious!
Bioling (or steaming) method
While I find it easier to roast pumpkins in the oven, there are times that you may prefer boiling. I’ve found that when the women here get together to make large batches of pumpkin desserts like buñuelos de calabaza, they choose boiling over oven roasting for several reasons.
- Boiling pumpkins is quicker than roasting them in the oven.
- If you are cooking many pumpkins at once, they may not all fit in your oven. Instead, when peeled and cut into smaller pieces, they are more likely to fit in a large pan.
To boil or steam pumpkins you will need:
- A Pumpkin
- A sharp knife
- A large pan and/or a steamer
- Water
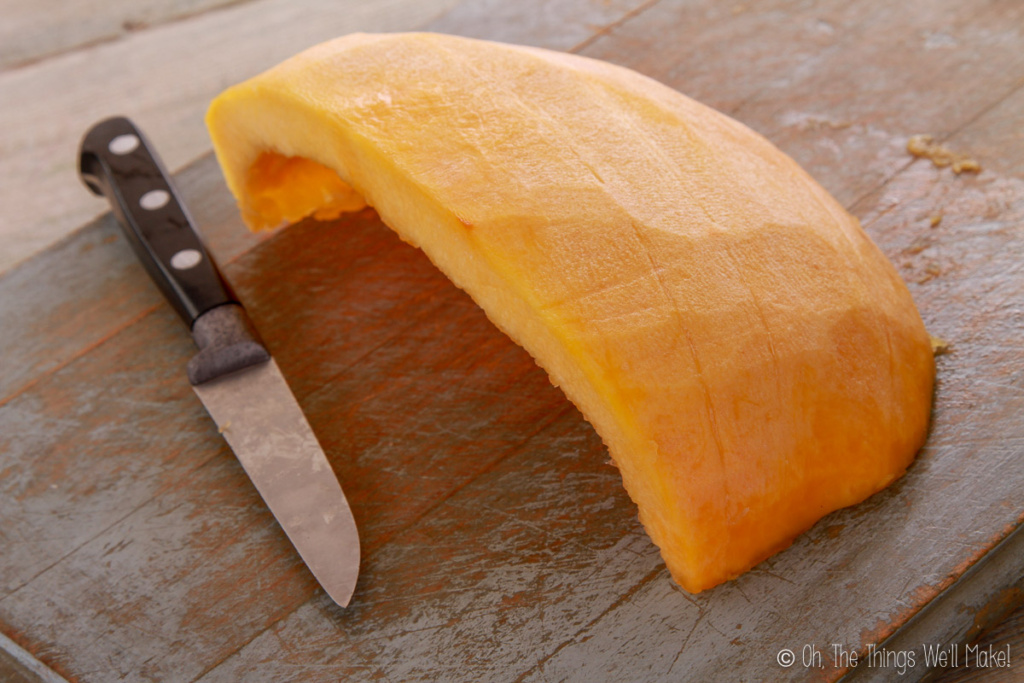
Peel the pumpkin for boiling or steaming. 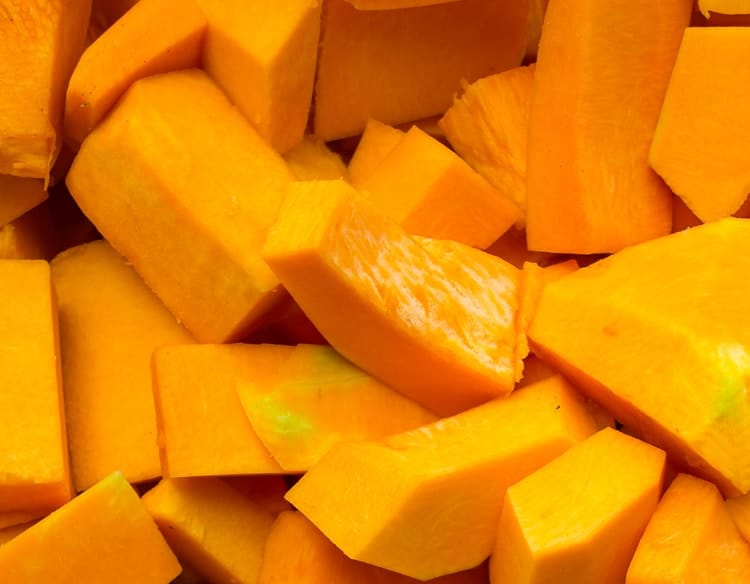
Cut the pumpkin into chunks.
- Cut the pumpkin in large pieces and remove the skin carefully with a sharp knife or a vegetable peeler.
- Slice the peeled pumpkin into smaller, somewhat equal-sized chunks.
- Place the pumpkin chunks into a pan and cover with water.
- Bring to a boil and cook until tender, around 10-20 minutes, depending on the size of your pieces.
You can alternatively steam the pumpkin pieces in a steamer or steam insert within a large pan for around the same amount of time. - Strain out the pumpkin from the water and allow it to cool.
- You can now use it as-is or blend it to make it smoother.
- Use immediately or store for later.
Making a smooth puree
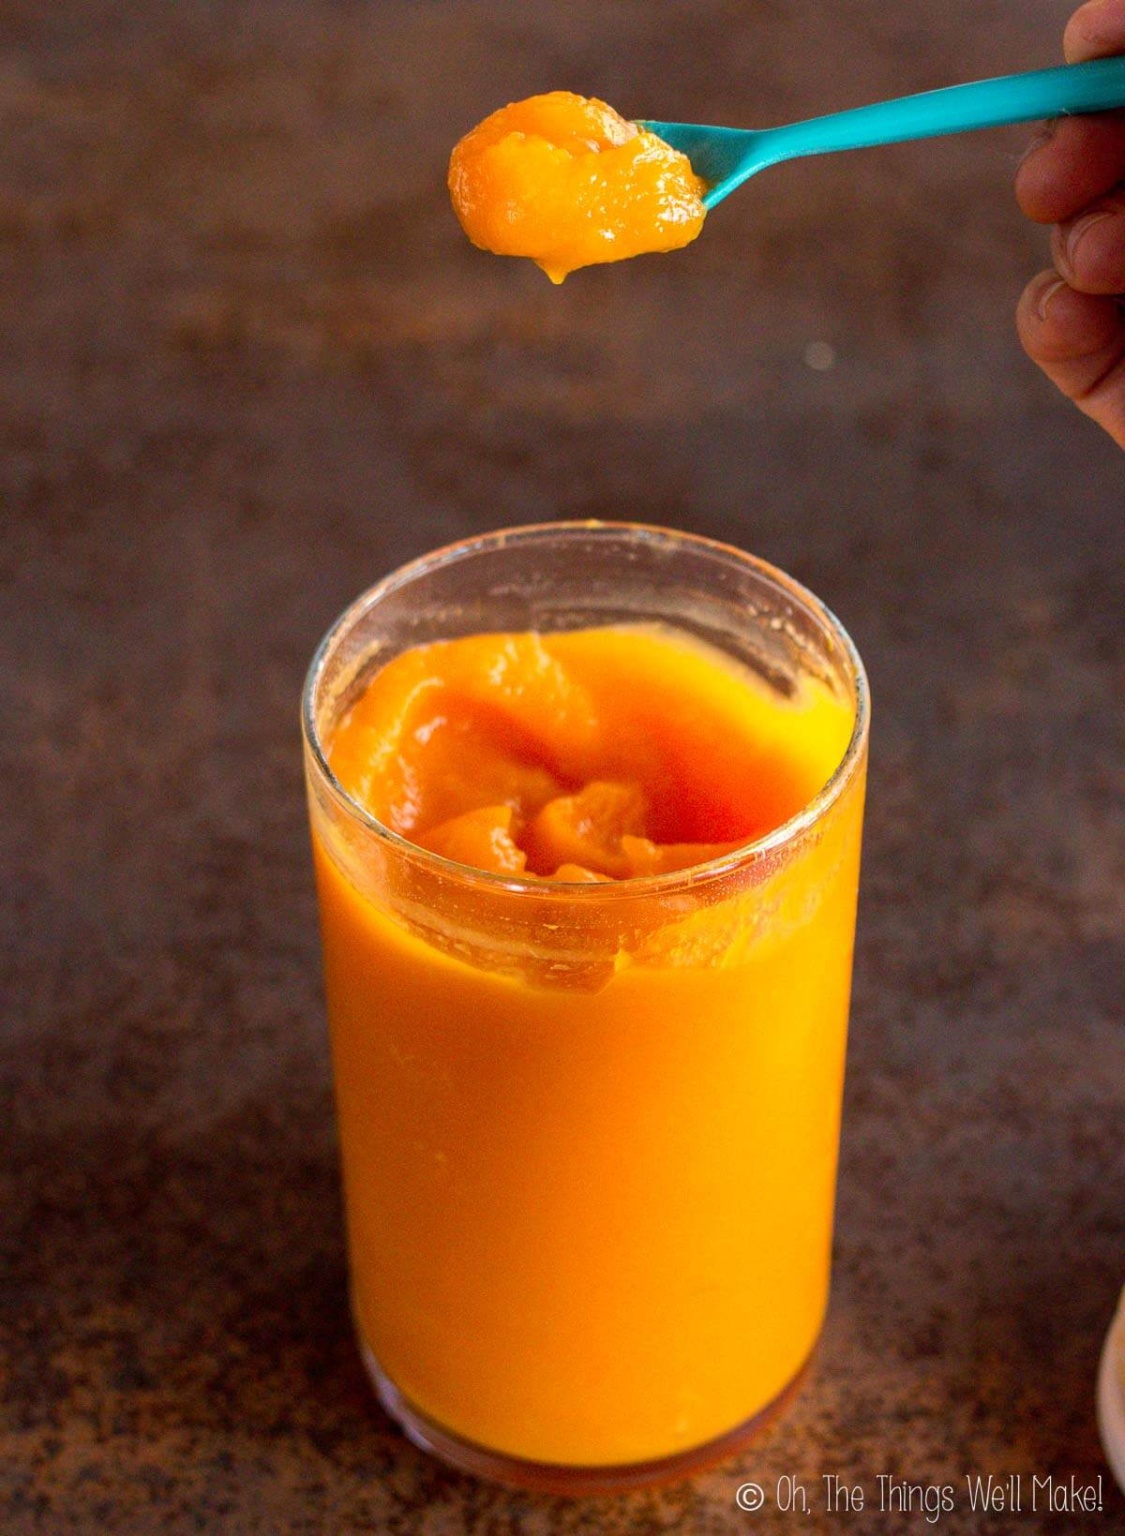
While mashing the cooked pumpkin is generally good enough for most recipes, some recipes may call for a smoother puree. To achieve a nice smooth consistency, blend the cooked pumpkin until smooth. This can be easily done with an immersion blender, but can also be done in a food processor or stand blender.
Storage
Your homemade pumpkin puree can be used immediately. Store unused puree in an airtight container in the refrigerator. It will remain fresh for several days (possibly up to a week, depending on the water content and pumpkin variety).
For longer storage (up to 6 months), try freezing it. To keep it freshest, remove air contact while freezing it by covering it with parchment paper or plastic when freezing.
I like to freeze mine in perfectly cube-shaped ice cube trays. They allow you to store the cubes in plastic baggies without any wasted space in your freezer. You can see my method in my post about making smoothie cubes/homemade baby food.
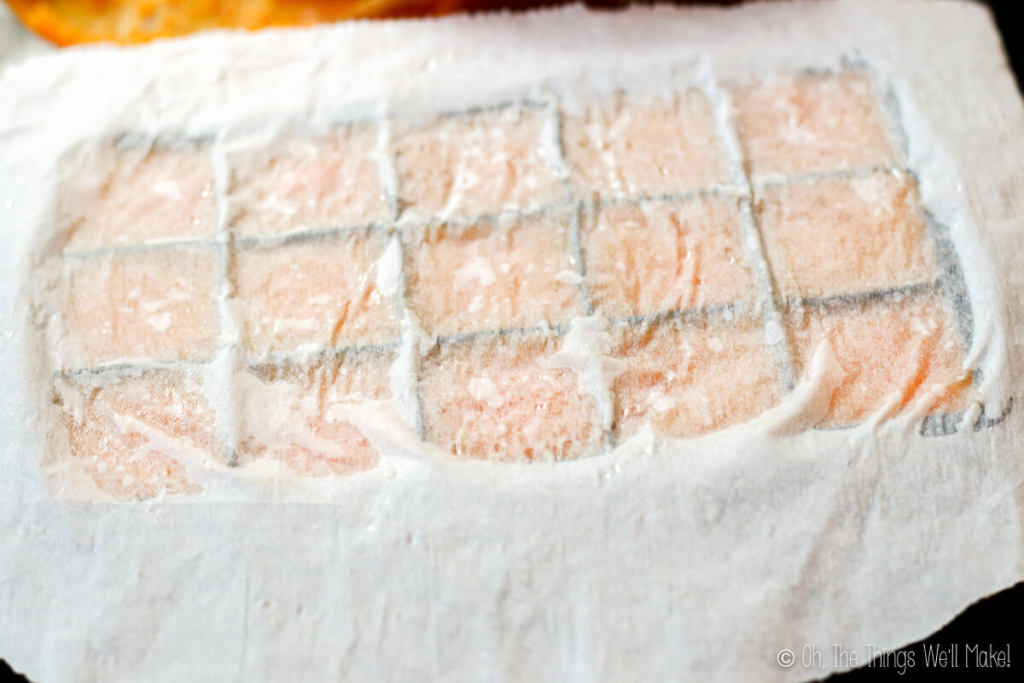
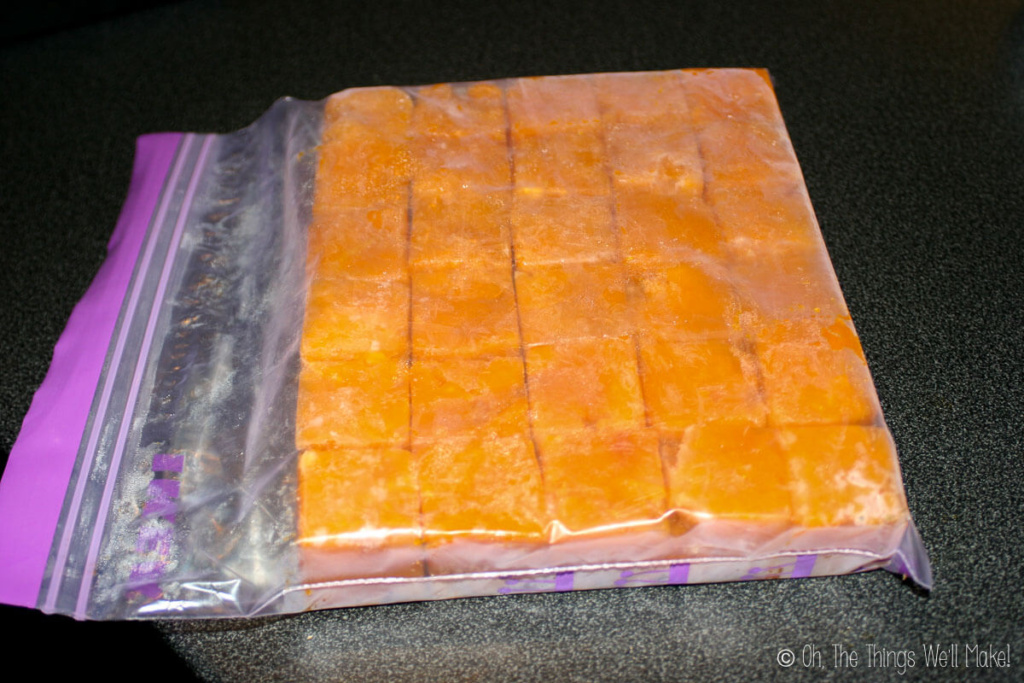

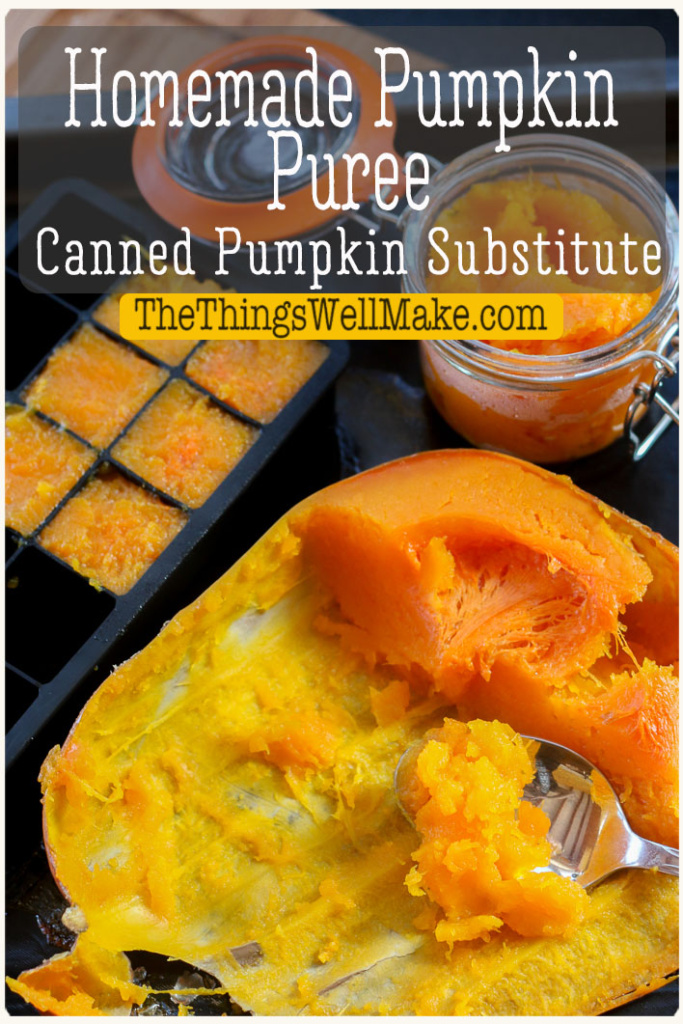
Store the purée in storage jars or freeze for later.
Favorite pumpkin recipes
Having pumpkin ice cubes handy is convenient for making quick pumpkin smoothies, or adding a little pumpkin flavor to your recipes. That’s especially handy in the fall when pumpkin spice flavors so many recipes.
Being a pumpkin lover myself, you can find a wide variety of pumpkin recipes on my blog. I even make a pumpkin spice soap!
Here are some of my favorite ways to use pumpkin puree:
Pumpkin Spice Biscotti (Paleo, Vegan)
Easy Spiced pumpkin butter
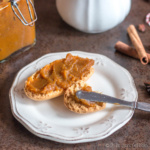
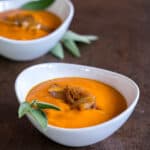
Roasted Pumpkin Soup with Red Peppers and Caramelized Onions
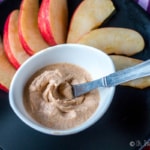
Pumpkin Pie Dip
Makes around 1 cup
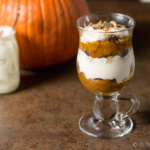
Spiced Pumpkin Yogurt Parfait
Other recipes
- Easy, no-bake paleo pumpkin pie
- Pumpkin cheese (Paleo, Vegan)
- Paleo pumpkin fries
- Grain-free buñuelos de calabaza
Video
Pumpkin Puree (Canned Pumpkin Substitute)
Equiment
- Steamer
Ingredients
- 1 large pumpkin, around 4lbs. or butternut squash
Instructions
Roasting method
- Preheat oven to 180ºC (350ºF).
- Cut pumpkin in half. Round pumpkins are best cut across the width while long pumpkins are best cut lengthwise.
- Scoop out the seeds.
- Place each half, cut side down, on a baking sheet. (Line the sheet with parchment paper for easier cleaning.)
- Bake in the oven until the pumpkin is soft to the touch. After 30 minutes have passed, start checking every 5-10 minutes or so for doneness by lightly pressing on the skin.
- You can use the roasted pumpkin as is, or broil the top to caramelize it slightly, adding a new dimension to the flavor. To do so, flip the pumpkin halves over on the baking sheet and put them under the broiler for several minutes, until browned. Remove the pumpkin from the oven.
- Allow the cooked pumpkin to cool slightly.
- Scrape the pulp off of the skin.
- Mash the pumpkin flesh with a fork or potato masher. For a smoother consistency, purée the roasted pumpkin in a food processor or with an immersion blender.
Boiling or steaming method
- Cut the pumpkin in half and scoop out the seeds.
- Slice it into large pieces that are easier to handle.
- Remove the skin by cutting it off with a sharp knife or peeling it with a vegetable peeler.
- Once peeled, cut the pumpkin into smaller, even-sized chunks.
- Fill a large pot with the peeled pumpkin chunks and cover them with water.
- Bring to a boil and simmer until the pumpkin is fork-tender.Rather than boiling the pumpkin directly, you can steam the pieces in a steamer or a steamer insert within a large pan.Either should take around 10-20 minutes, depending on the type of pumpkin and the size of the pieces.
- Strain out the cooked pumpkin.
- Allow to cool slightly.
- Mash or blend until reaching the desired consistency.
Notes
Roasting vs. Boiling
Roasting the pumpkin has a shorter prep. time, but a longer cook time than steaming or boiling. Boiling or steaming will take longer to prepare, but once the water has been brought to a boil, they should only take around 10-30 minutes.Storage
You can use this immediately or store it in an airtight container in the refrigerator for several days (up to a week, depending on the water content and type of pumpkin). This also freezes well for up to 6 months. I like to use cube-shaped ice cube trays for convenient storage that doesn’t waste space in the freezer.This post was originally published on October 11, 2013. It was later republished, adding new photos, tips and tricks, and other helpful information.
 Español
 Dandelion Lotion Bars (& Homemade Dandelion Oil)
Jasmin Jackson
Hi, dairy allergy here so heavy cream is an issue. I’ve used Silk Vanilla Almond Creamer and no diver (bc it’s soo sweet). My question is… is it supposed to be super runny before baking?
Tracy Ariza, DDS
Where are you using the dairy?
This is just for making the puree.
The pumpkin flesh should be very hard before baking.