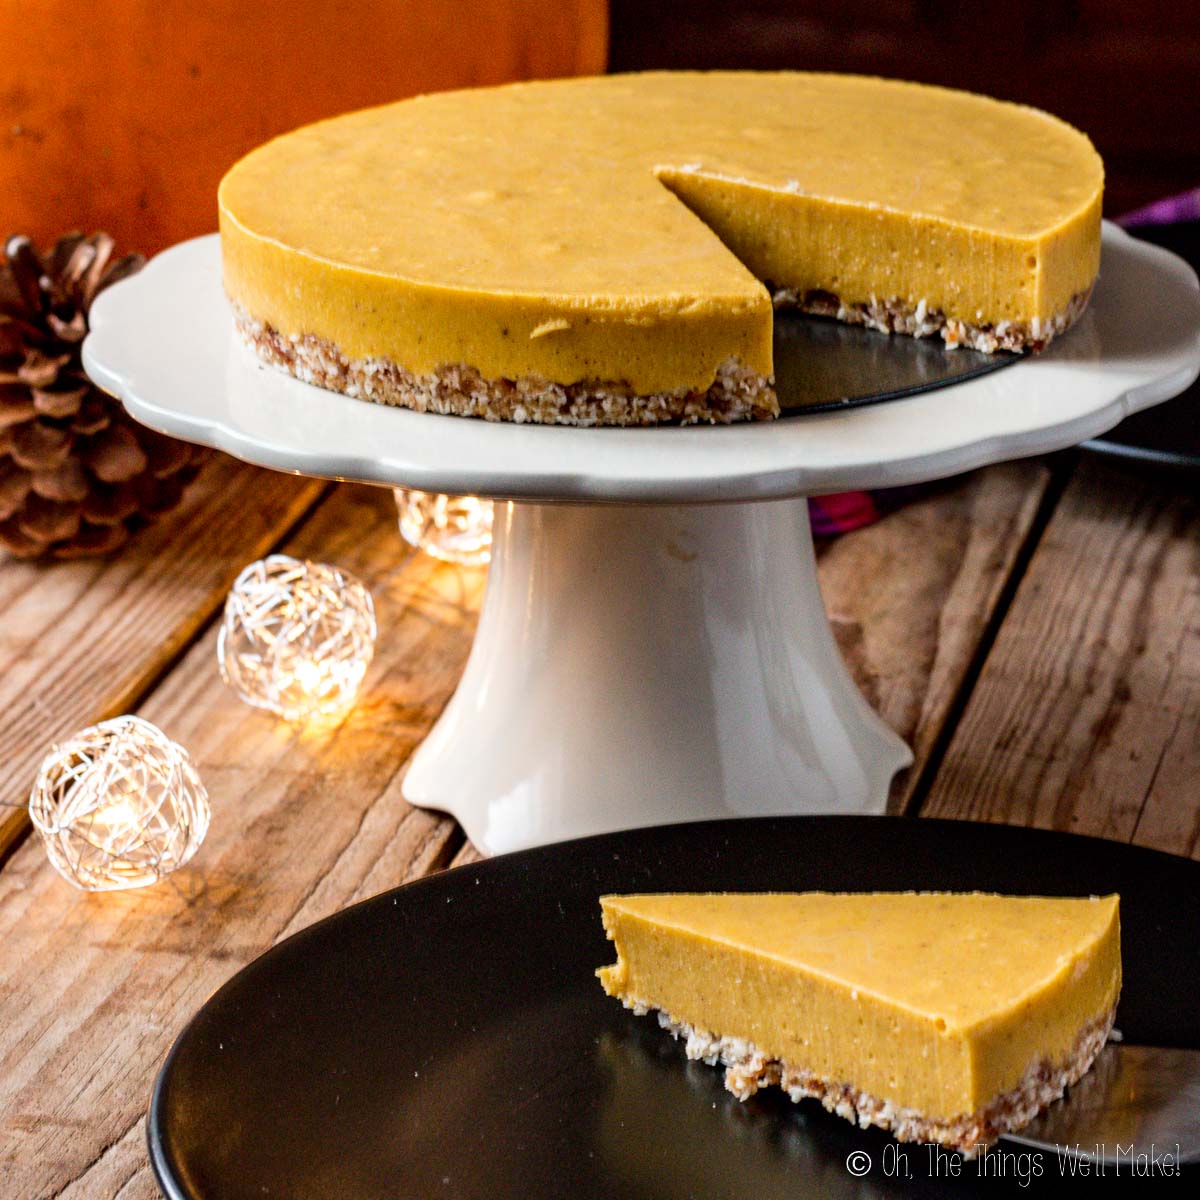
Super quick and easy to make, this no-bake paleo pumpkin pie can be whipped together in under 15 minutes, and is the perfect ending to your holiday meals.
Lately, I’m a huge fan of quick and easy paleo no-bake pies that can be thrown together in a matter of minutes. Sure, you need to let them set in the fridge before they can be served, but because most of the ingredients are already chilled, the wait time is minimal. I still think that these sorts of pies are pretty much the quickest way to almost immediate gratification.
Easy paleo no-bake pies
A few months ago, I had a bunch of limes sitting around because my lime tree was packed full of them. Despite drinking lemon or lime water almost every morning, I wasn’t using them up quickly enough. I don’t know how it happened, but I had a can of coconut milk in the fridge, and I just thought “You put the lime in the coconut!” I mixed some lime juice with the coconut milk, added a bit of gelatin, poured it over a paleo crust made of dates and shredded coconut, and ended up with the easiest, most amazing paleo key lime pie!
Since then, I’ve been tweaking the recipe, depending upon the season and the fruits I have available, and I have been very happy with the way my easy paleo pies have been turning out. This summer, my paleo strawberry cream pie was not only popular at home, but it was also catching people’s attention on Pinterest.
As much as I love a classic pumpkin pie made with eggs and baked in the oven, I also love the simplicity of a pie like this that can be whipped up in a matter of minutes, and that needs no baking whatsoever.
So, a couple of weeks ago, when I had some leftover pumpkin puree, I decided to give making a no-bake paleo pumpkin pie a try. And I loved it.
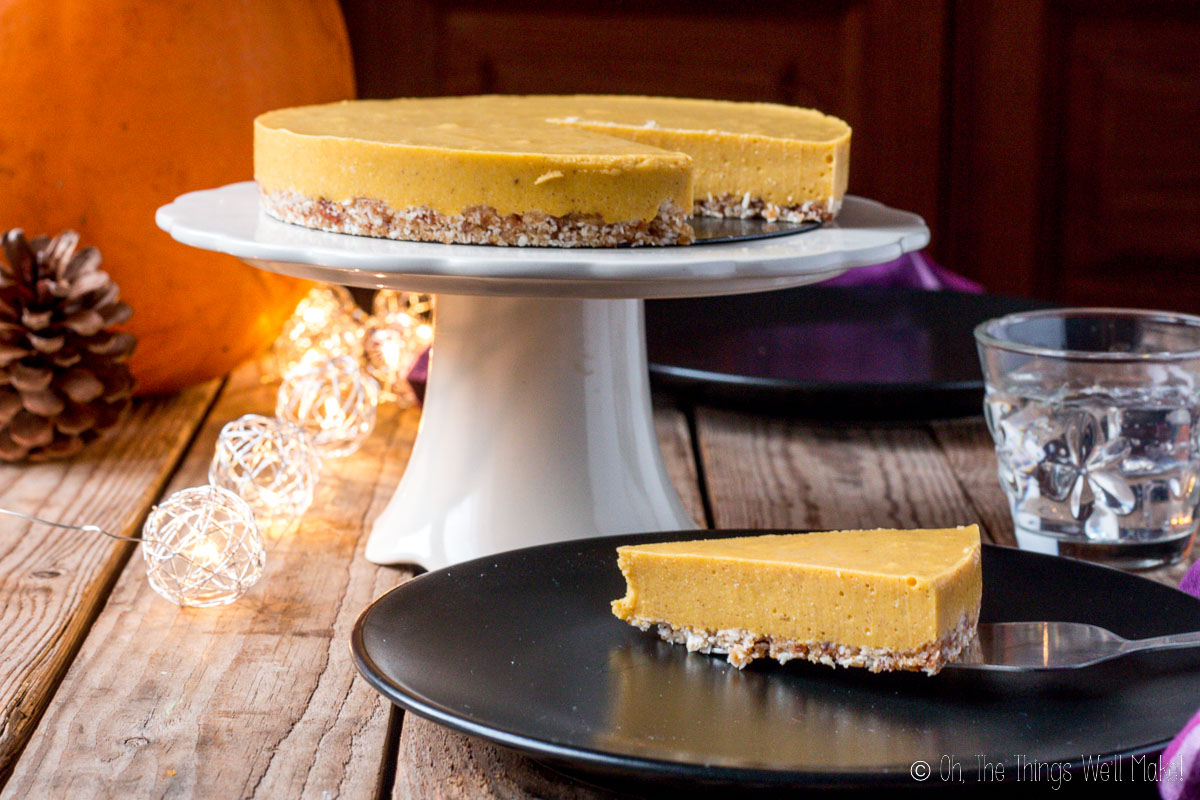
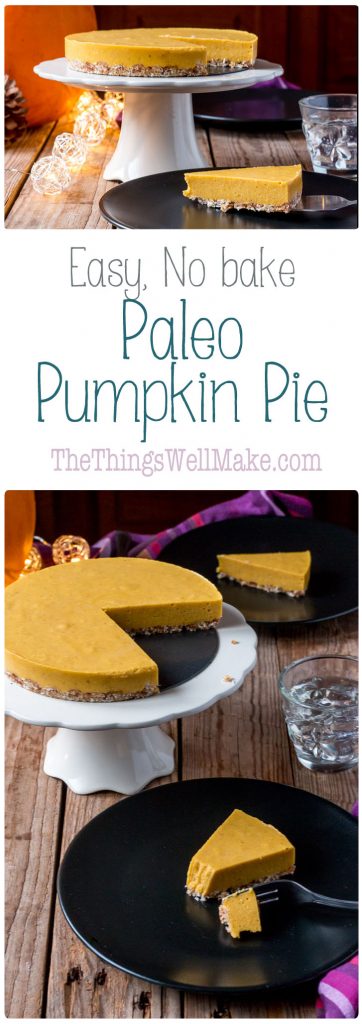
That first paleo pumpkin pie is the one that shows up in the pictures.
Making the paleo pumpkin pie again- for video
I was ready to publish this post with just photos, but I decided that I wanted to show off how simple the process really is by making a short video of how to make this paleo pumpkin pie. I didn’t have quite a full cup of pumpkin puree unthawed, but I decided to proceed anyway. (I make my own pumpkin puree and freeze it for whenever I need it.)
Apart from that, the day I made the video, I opened what was a very unusual can of coconut milk. If you chill a can of coconut milk in the fridge, normally your can will separate into two layers, which can vary in amount from can to can. You will end up a more solid layer on top of the thicker coconut cream that has hardened when chilled. When you scoop off that top layer, you normally have a layer of a thinner liquid at the bottom.
When making these pies, I add the thick coconut cream to a blender, and dissolve the gelatin in the remaining liquid. The day I tried to make the video, though, I opened up a can of coconut milk that was freakishly full of coconut cream! (And, yes, I’ve tried many brands, but that day I was using the same brand as the first time.) It was so full of the thicker coconut cream, that there wasn’t really any liquid at the bottom of the can, and I had to add a bit of water to the very little remaining liquid in the can to dissolve the gelatin.
Normally, I’d be excited to have a can that full of coconut cream. It’s great for whipping into a paleo whipped cream! That said, I should have realized that too much of a good thing would probably affect the results of the recipe. You’ll see in the video that the resulting pies made in the video turned out a lot lighter in color than the ones in my photos from before. All of the pies tasted great, but you can definitely notice the coconut flavor in the second batch. The first pies tasted more of pumpkin, and the coconut is a lot more subtle.
I’m telling you the story not only to explain the differences in colors of the pies in the video, but also to let you know that things can vary from one can of coconut milk to the next, even when you use the same brand each time. If you find that you have a can of coconut milk that is freakishly full of coconut cream, and without a layer of thin liquid below, you’ll need to add some water to the gelatin to dissolve it. You may also want to reserve some of the extra cream, rather than pour it all in, in the interest of making a brighter, more orange pie.
Watch me make the paleo pumpkin pie:
If you were to have the opposite problem, and were to open a can of coconut milk with very little coconut cream on top, you may find yourself with a thinner consistency to your pie, and may want to add in a little extra gelatin just in case. Likewise, this type of pie will not turn out the same way with homemade coconut milk because it is much thinner than store bought cans of coconut. This is really meant to be made with the canned variety. I do always use a homemade pumpkin puree, though, not only because canned pumpkin isn’t sold here, but because it grosses me out for some reason. Pumpkin puree is so easy to make and freeze that I really think you should give it a try if you haven’t by now.
All of that said, don’t let any of those notes scare you away from making this pie. I’ve made many of these types of pies by now, often using different brands of coconut milk, and this is the first time that I’ve had an unusual result like that. Even with the unusual can of coconut milk, the pie was delicious (albeit slightly different). Sometimes you just have to go with your instinct and tweak things if necessary.
I think a pie like this would be great for finishing off a Thanksgiving feast, but is also great for any fall dinner. I hope you’ll give it a try and that you enjoy it as much as I do.
Easy, No-bake Paleo Pumpkin Pie
Paleo Pumpkin Pie Recipe
Makes 2 small 6 inch pies
Ingredients
For the Filling
- 1 can coconut milk pre-refrigerated 13.5 oz
- 1 cup pumpkin puree
- 2 Tbsp. gelatin
- 1/2 tsp. cinnamon
- 1/4 tsp. nutmeg
- 1/4 tsp. ground cloves
- 3 Tbsp. honey or maple syrup
For the Crust
- 10 dates pitted, soaked in water
- 3/4 cup almond flour
- 3/4 cup shredded coconut
Instructions
For the Crust
- Prepare the pie crust by processing together the dates, shredded coconut, and almond flour (ground almonds) until well combined and easily clumped together.
- Press the mixture into the bottom of either one large, or two small pie pans. (I use two 6 inch pans.) You can use the bottom of a spatula to smooth out the crust on the bottom of the pans.
For the Pie Filling
- Open the can of coconut milk that has been previously chilled for several hours in the refrigerator, and remove the top, thick layer by spooning it off into a blender. Reserve the remaining liquid.
- Pour the remaining liquid of the can of coconut milk into a small saucepan, and pour the gelatin into the liquid. Heat and stir the mixture over low heat until the gelatin has fully dissolved. (I have occasionally had a can of coconut milk with very little liquid left in the bottom of the can, as the day I made the video for this recipe. If that is the case with your can, you can add a bit of water to the gelatin to help dissolve it. If you want your pumpkin pie to be a brighter shade of orange, you may want to leave out some of the coconut cream too because you will find that in the case of cans with a thicker coconut milk, and little leftover liquid, that the final pie will also be lighter in color.)
- Meanwhile, add all of the other filling ingredients to the blender with the coconut milk, adding in the dissolved gelatin mixture as soon as the gelatin dissolves.
- Blend together all of the filling ingredients until well combined and smooth.
- Pour the filling mixture into the prepared pie crusts, dividing the mixture amongst the prepared pans, if necessary.
- Refrigerate until the pies have set.
- Cut and serve.
 Español
 Paleo Apple Crumb Cake (Coffee Cake)
Michelle James
Thank you very much for this recipe! I was trying to find a no bake pumpkin pie that was healthy and did not included condensed milk. This is great!
Tracy Ariza, DDS
Thanks, Michelle!
Happy to help!
Kimberly
I just made this. I really was wanting pumpkin for the first day of Autumn and did not have eggs in the house.
This was so simple and it tastes lovely. A wonderful recipe, thank you!
Tracy Ariza
Hi Kimberly, I’m so happy to hear it worked out for you! Thanks for letting me know! 🙂
Have a lovely week!