

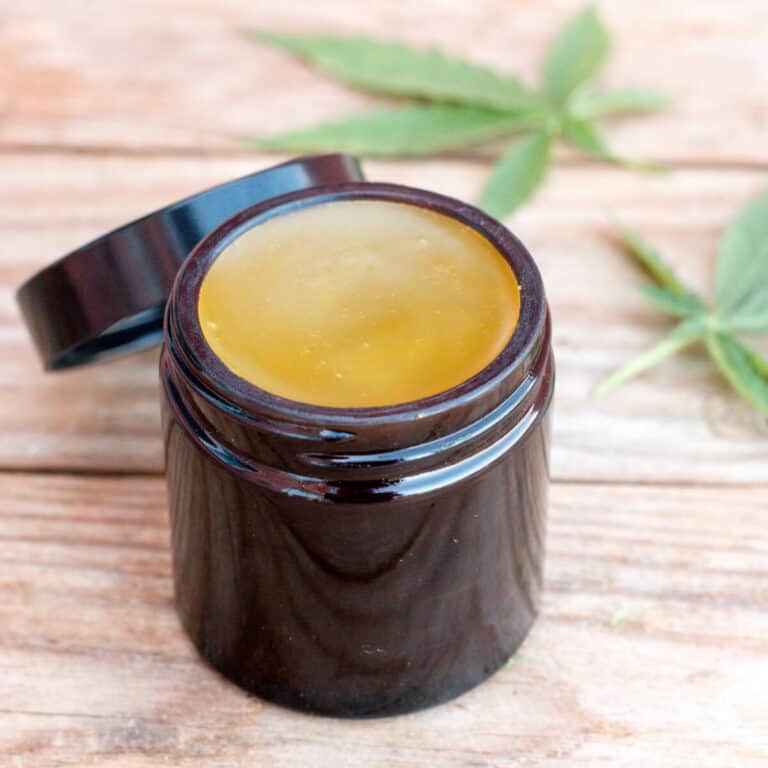
Dandelion Lotion Bars (& Homemade Dandelion Oil)
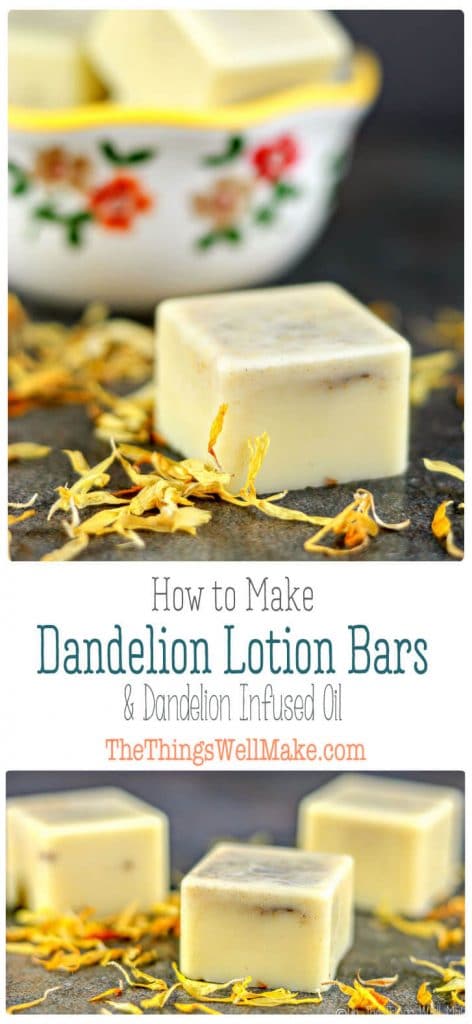
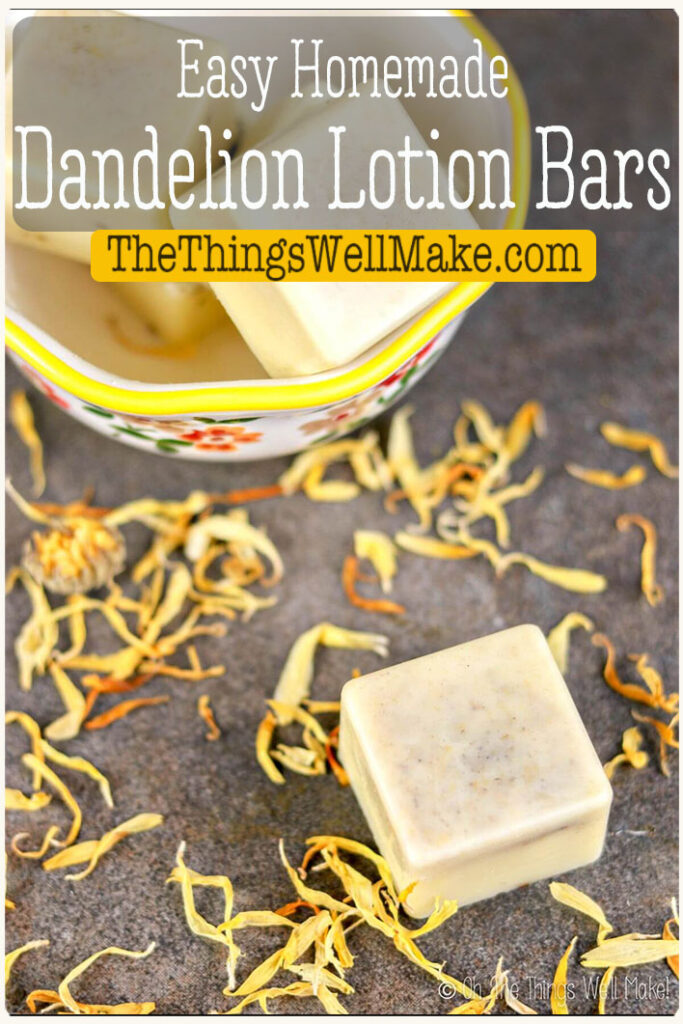
Made with an infused dandelion oil to soothe irritated skin, these homemade lotion bars are a convenient, non-messy way to moisturize your skin.
Over the years, I have generally stuck to showing you more complex recipes like how to make lotion or how to make a facial moisturizer recipe for acne-prone skin. While those recipes aren’t difficult, they do need emulsifiers and natural preservatives.
Some people, especially beginner cosmetic formulators, are intimidated by those ingredients. Luckily, there are several options without them.
To avoid the need to use emulsifiers and preservatives, we can only use oils and waxes and should avoid all water-based ingredients. Whipped body butter is one popular option, but another simple solution is to make lotion bars!
What is a lotion bar?
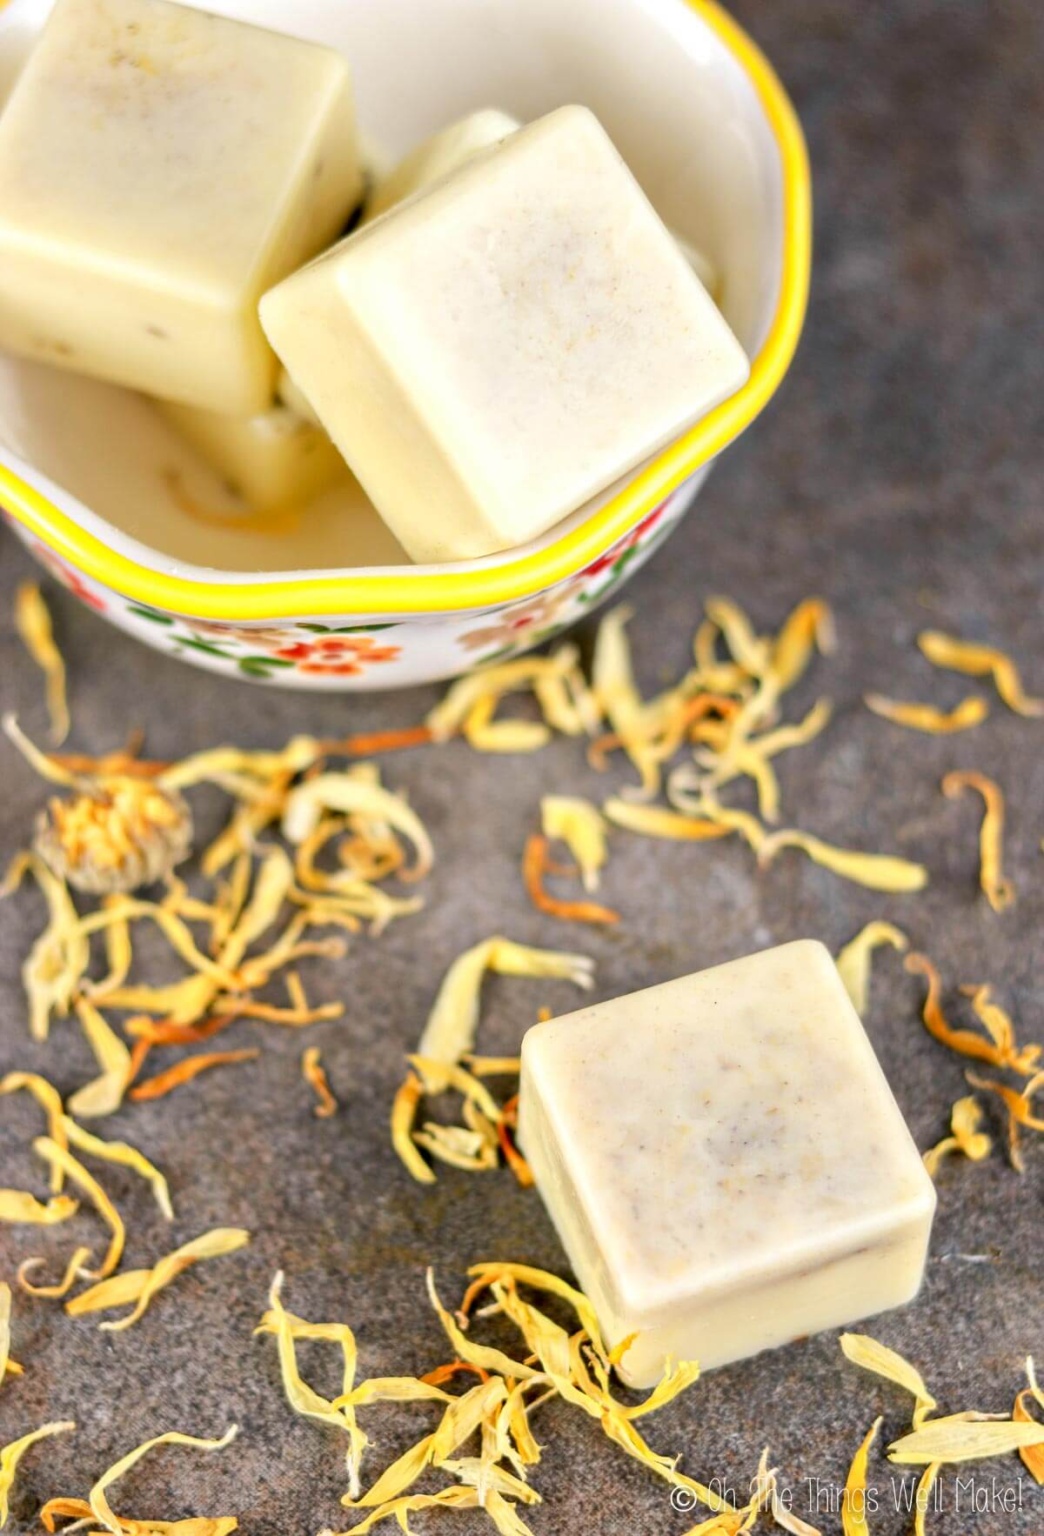
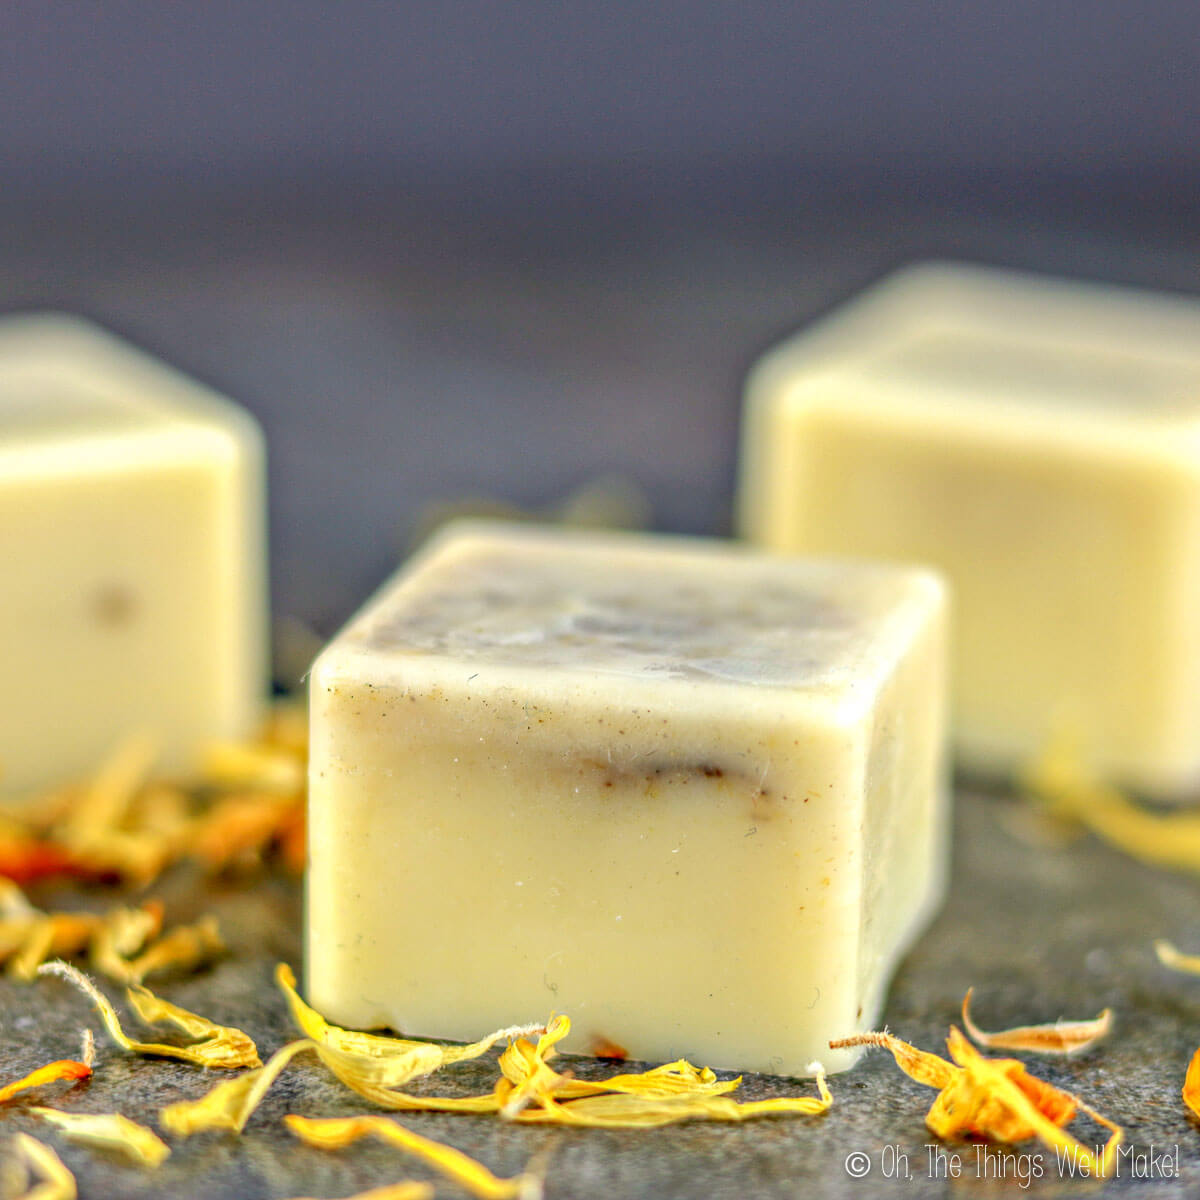
A lotion bar is a type of solid lotion that is formed into bars for easy handling. The idea is to make something that almost resembles a small bar of soap, but it’s really a nice, solid lotion that melts into your skin.
Lotion bars are quite convenient and sustainable. You don’t have to worry about dealing with plastics and have several options for storing them, allowing you to avoid plastics. For easy transporting, make your lotions bars in a size that its directly into small tins.
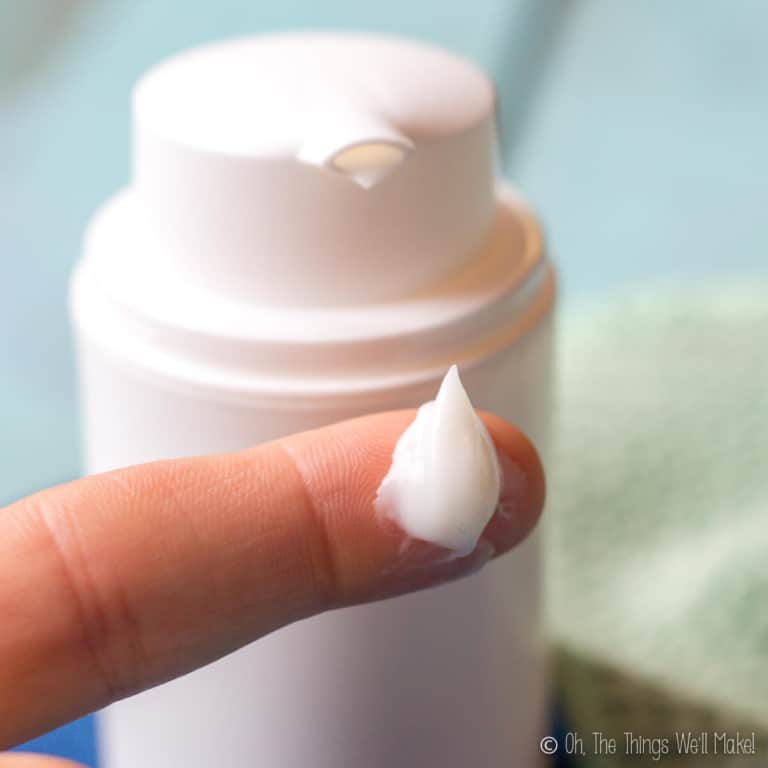
Another option is to pour the melted ingredients directly into solid deodorant-type containers for push-up or twist-up lotion bars that are even easier to apply. (I recommend using smaller 15ml push-up containers like these for easy transporting.)
Lotion bars are easy to apply, making them a great option for people who don’t have a lot of dexterity. They’re easy to use for kids who might otherwise make a mess when applying a lotion. It’s still a good idea to help your kids apply the lotion bars (and you shouldn’t let young kids play with them without supervision).
How do you use one?
Lotion bars are formulated so that they are solid at room temperature but will melt when warmed with body heat. They can be used at any time, but an ideal time is right after showering when your skin is normally warmer and ready to absorb the oils.
Because they don’t have any water-based ingredients, they won’t add extra moisture to pull into your skin. That’s another reason why it’s a good idea to apply them right after showering. The wax and butter will help form a barrier that prevents the moisture from escaping and your skin from drying.
You can first warm the bar in your hands a bit, and then rub the melting bar over your dry skin. It should absorb into your skin to help soothe and protect it.
Lotion bars are especially great for applying to rough skin patches (such as those often found on heels and elbows).
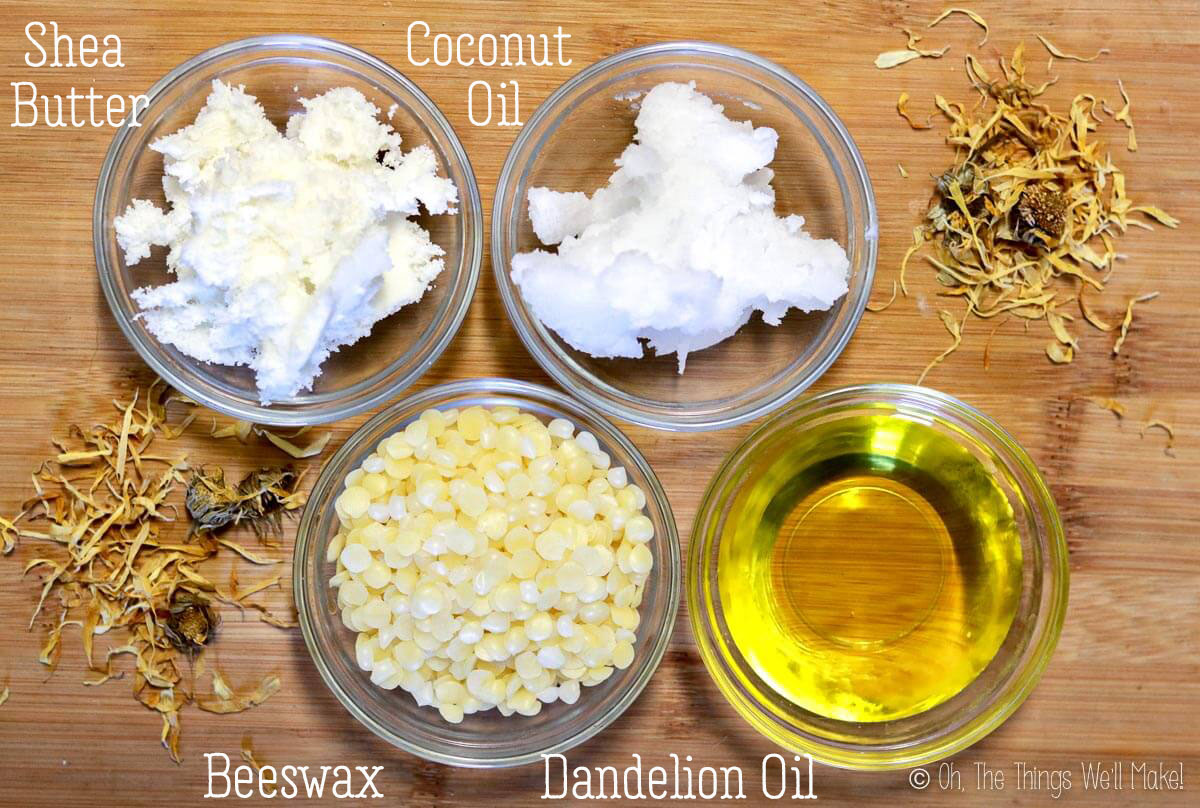
Ingredients
Like a salve, lotion bars bars combine liquid oils with wax to help solidify them. To give the bars a creamier feel, a butter is also incorporated. If using cocoa butter, as I did in my basic lotion bars, you can generally use equal parts of wax, oil, and cocoa butter because the cocoa butter also adds hardness to the bar. In this case, we’re using a softer butter, shea butter, and also incorporating some dandelion oil, so these lotion bars need more wax to achieve the proper consistency.
Customizing the ingredients
- For the wax, I used beeswax, but you can use candelilla wax as a vegan substitute.
- If you’d prefer to avoid shea butter, mango butter can be used instead.
- Instead of coconut oil, you can use another liquid oil. Sweet almond oil is a popular choice. You could also use more of your homemade dandelion oil.
Vitamin E is an antioxidant that can be added to the recipe to help prolong the shelf life (and impart its beneficial properties to the skin). Ideally, it should be added at around 0.5% of the recipe by weight. Cari provided volume measurements, but I’ve calculated an approximate total weight of 187grams for the recipe. So, adding around 0.9-1 grams of vitamin E is ideal.
Essential oils can also be added to provide a pleasant fragrance to your lotion bars. Add up to 2-3 grams for this recipe.
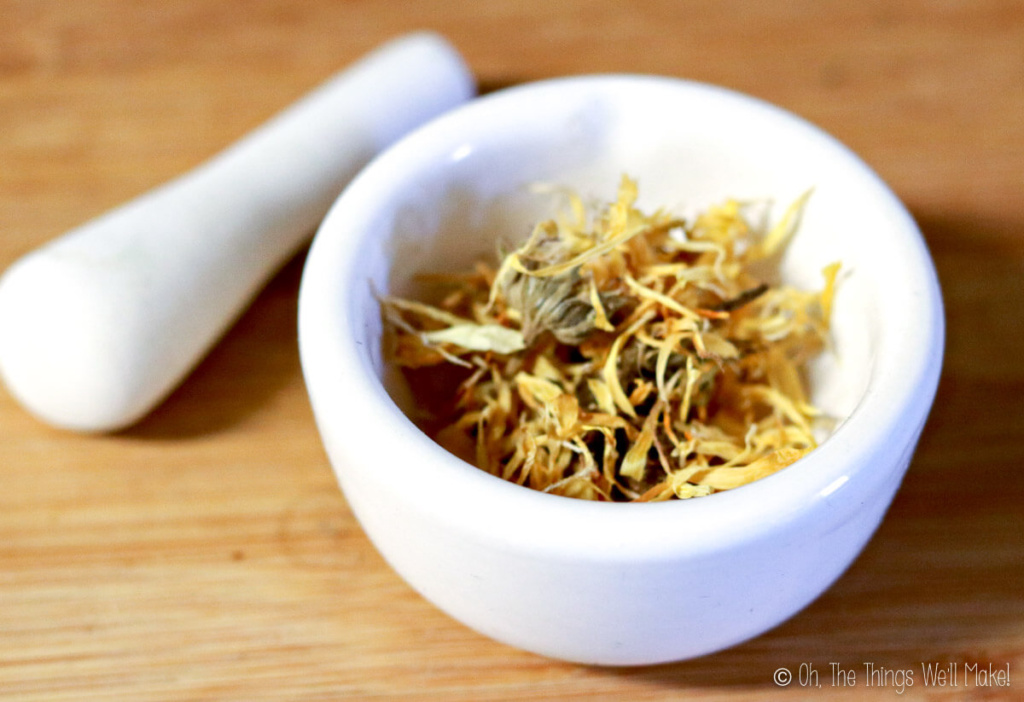
Incorporating botanicals
While I have already shown you how to make basic solid lotion bars, today we’re going to concentrate on incorporating botanicals. In this case, we’ll be making dandelion lotion bars, but you can do something similar with dried calendula petals or other dried plant material.
Dandelion flower benefits
Not just a weed, dandelions are a wonderful plant for dry or cracked skin, including eczema. The flowers are high in vitamins A, C, D, B, and E. They are also one of the richest sources of beta carotene and contain magnesium, calcium, potassium, and phosphorus to help nourish the skin. By infusing the dandelion flowers with a carrier oil, you get the benefits of dandelions without actually using the plant material. This allows you to obtain a clean, smooth lotion bar.
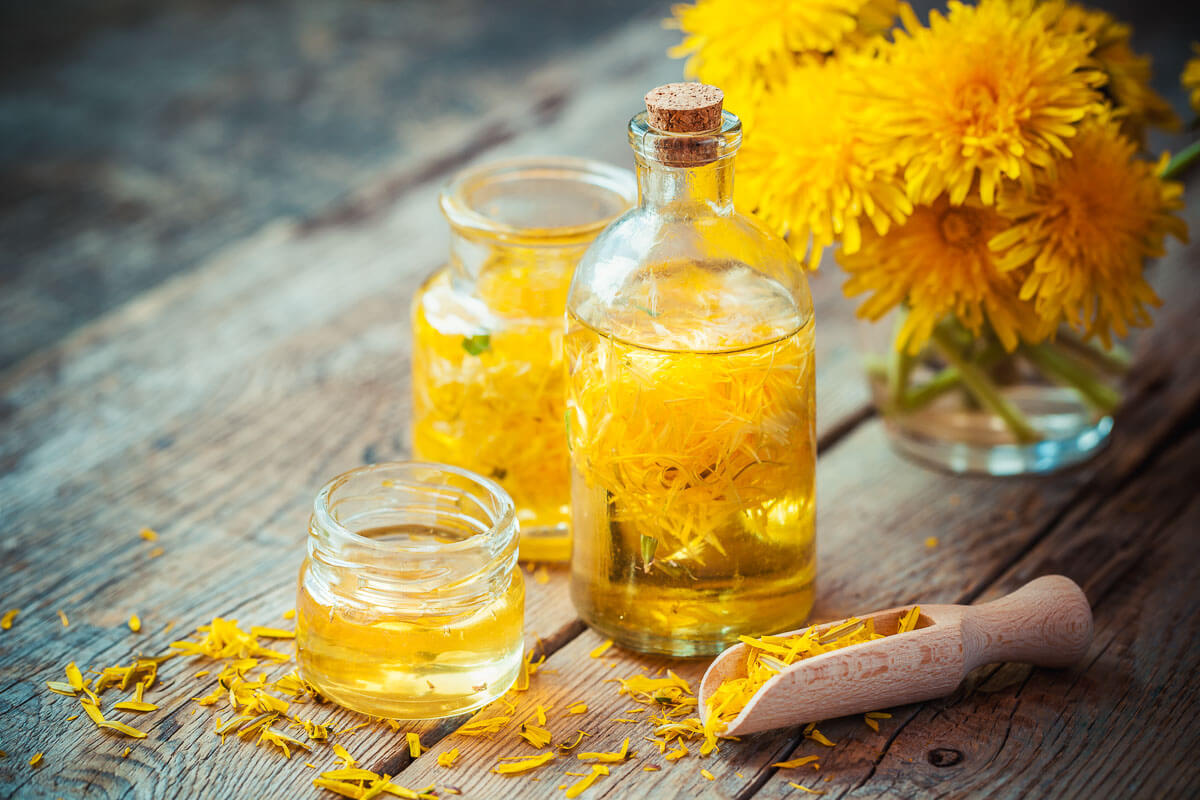
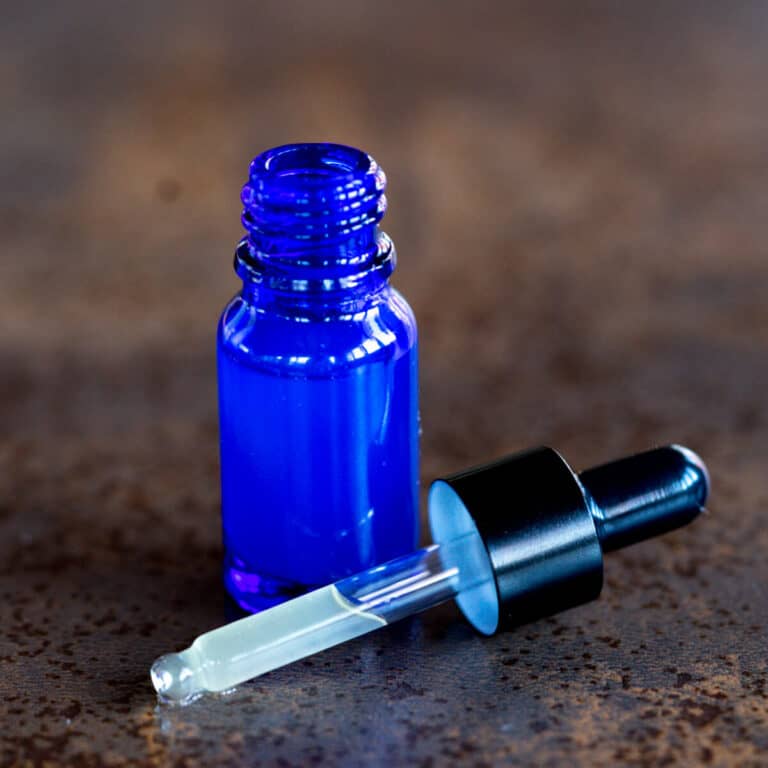
How to make dandelion oil
Infusing the dandelions is easy, but it does take some time.
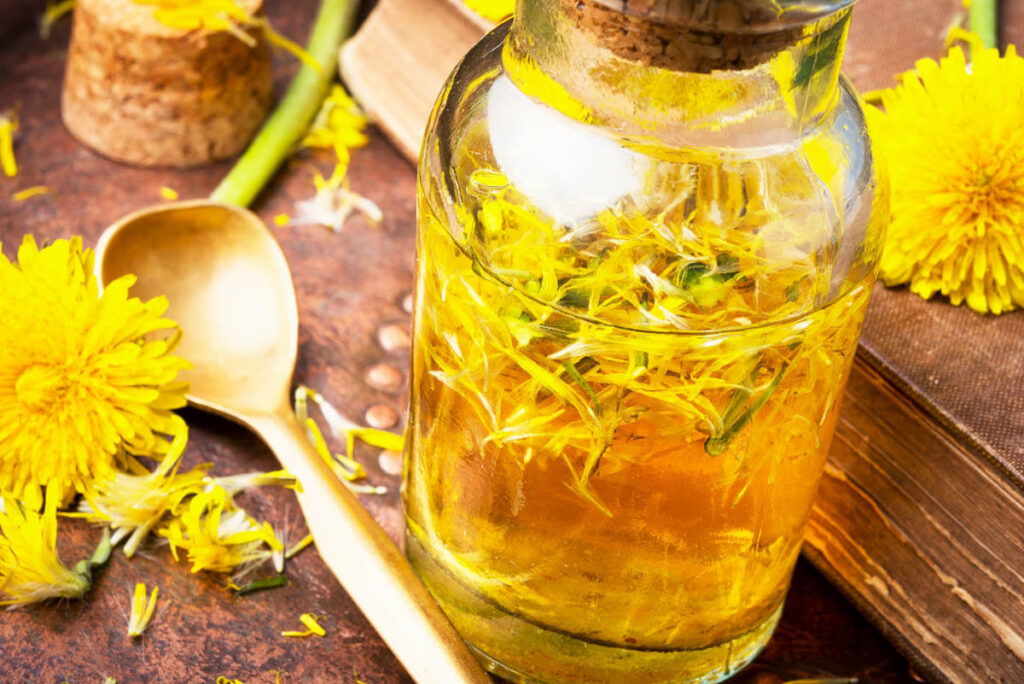
Collect about two cups of dandelion flowers. Rinse them thoroughly to remove dirt and bugs and then let them dry completely. Place the dried dandelion petals in a canning jar and completely cover them with a carrier oil. Let them sit in a warm place for two weeks. Shake the jar every day to help the flowers infuse in the oil, but make sure that the flowers are always covered in the oil so mold doesn’t grow.
After two weeks, strain the oil through a cheesecloth. Discard the flowers. You are left with a beautiful golden-colored carrier oil that can be used in many different DIY recipes.
What carrier oil should you use?
You can use any liquid carrier oil. Avoid using coconut oil if making this in the winter because it is solid at room temperature when temperatures are below 76ºC/24ºC. I used avocado oil because it’s great for dry skin. Jojoba oil is another stable oil that would be a great choice. You can also use a combination of oils if you want the benefits of each oil.
Making the lotion bars
Once you have the dandelion oil ready, you’re ready to make your lotion bars.
Mix together the oils, butter, and wax in a double boiler insert or a heat-safe bowl or glass jar that can be placed over a pan of simmering water. Heat gently until the wax and butter melt. Once melted, remove them from the heat source.
Stir in optional ingredients like vitamin E and/or essential oils. Then, pour the mixture into molds or small deodorant applicators. I love using silicone molds made for candy or soaps.
Once cool, gently remove the bars from the molds. If you’re having difficulty removing them cleanly, freeze them for a little while before removing them.


Storage
Finished lotion bars can be stored in airtight containers to help keep them soft and dust-free. For traveling or carrying in your purse, they can be stored in small soap dishes, metal tins, or even small Tupperware-type containers.
Watch me make regular lotion bars
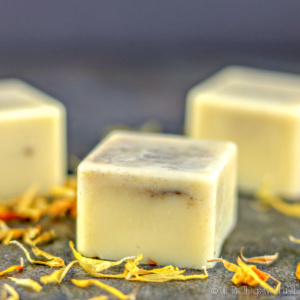
Homemade Dandelion Lotion Bars
Materials
- ½ cup beeswax
- ¼ cup shea butter
- ¼ cup coconut oil
- 2 teaspoons dandelion infused oil
Instructions
- Combine the beeswax, shea butter, coconut oil, and dandelion-infused oil in a double boiler. (Double boiler inserts are perfect for this sort of recipe.)
- Heat over medium heat, stirring occasionally until everything is completely melted.
- Once melted, carefully remove the mixture from the heat source.
- Stir in any optional ingredients (such as vitamin E or essential oils for fragrance).
- Pour the mixture into molds and allow it to rest until completely cool. Depending on the size of your mold, this could take anywhere from half an hour to a few hours.
- The lotion bars should pop right out of the mold. If they don’t, put the mold back into the freezer for a few minutes and try again.
Notes
Making dandelion oil
- Collect about two cups of dandelion flowers.
- Rinse them thoroughly to remove dirt and bugs and then let them dry completely.
- Place the dried dandelion petals in a canning jar and completely cover them with a carrier oil.
- Let them sit in a warm place for two weeks. Shake the jar every day to help the flowers infuse in the oil, but make sure that the flowers are always covered in the oil so mold doesn’t grow.
- After two weeks, strain the oil through a cheesecloth. Discard the flowers. You are left with a beautiful golden-colored carrier oil that can be used in many different DIY recipes.
Optional ingredients
Vitamin E is an antioxidant that can be added to the recipe to help prolong the shelf life (and impart its beneficial properties to the skin). Ideally, it should be added at around 0.5% of the recipe by weight. Cari provided volume measurements, but I’ve calculated an approximate total weight of 187grams for the recipe. So, adding around 0.9-1 grams of vitamin E is ideal. Essential oils can also be added to provide a pleasant fragrance to your lotion bars. Add up to 2-3 grams for this recipe.This post was originally published on February 23, 2018. It was rewritten in 2021 to add clearer instructions, photo and video of how to make lotion bars.


This looks so good! What. a great natural remedy to have on hand!
Thanks for sharing! Do they freeze well?
Hi Vanessa,
I’ve never tried it, but I assume there wouldn’t be any problem freezing them to help extend the shelf life. You could also try vacuum sealing and storing in a cool, dark place. (I haven’t tried that either, though.) 😉
This look so good! What a fun project to make with kids after a foraging adventure!
Sounds like my kind of fun! 🙂
Thanks for sharing! Can I use other oils to make other kinds of lotion bars?
Yes, of course! Any oil will work!
This looks so good! What a fun product to make after a nature walk with kids!
This may sound silly or trivial, but how do you package these for giving and how do you store after you lotion up with them? Do they package well in a cute little clear plastic bag or would they smudge that up? Can you store them on something like a soap dish or would they dry up? Final question, do you put any essential oils in them? I’m sorry for all the questions, but I really want to make these!!! Thanks
Hi Mary Ellen,
This was a guest post, so it’s not something I’ve personally made yet. (I generally prefer regular lotions with water in them.) That said, I’ve been meaning to make some basic lotion bars and add essential oils to them. (I’d add around 1% of the recipe, by weight, which is a good standard amount to add for fragrance without most people having issues with sensitivities.)
My plan was to keep them in a tin or leave them out on a dish. Because they don’t have water, I don’t expect they would dry out much. The outer layer may harden slightly, but would rub off when being used.
Thanks for sharing! Does it keep long?
Hi Venssa,
They should keep for as long as the product with the shortest shelf life. So, take a look at the expiration date of the oils you use to get a general idea. (After that, they can start to go rancid.) Keep them from getting wet, and store them in a dry place to avoid contaminating them with bacteria and mold.
This is such a fun project! What a fun gift to make with kids for friends or family!