• Skip to main content
  • Skip to header left navigation
  • Skip to header right navigation
  • Skip to site footer
es_ES Español
  • Mail
  • Amazon
  • Facebook
  • Pinterest
  • Instagram
  • Twitter
  • YouTube
  • About
    • Meet Tracy!
    • Contact Me
    • Disclaimers & Disclosures
    • Terms and Conditions
    • Cookie Policy
    • Privacy Policy
  • Holidays
    • New Years Eve
    • Valentine’s Day
    • St. Patrick’s Day
    • Easter
    • Fourth of July
    • Halloween
    • Thanksgiving
    • Christmas
  • es_ES
Oh, The Things We'll Make!

Oh, The Things We'll Make!

Make it yourself so that you control the ingredients!

  • Recipes
    • Appetizers & Snacks
    • Soups & Salads
    • Breakfast
    • Lunch & Dinner
    • Desserts & Sweets
      • frozen treats
    • Breads & Wraps
    • MIY Pantry Basics
    • Condiments & Sauces
    • Beverages & Smoothies
    • Carnivore Diet
    • Story Archives
  • Make it Yourself
    • Arts & Crafts
    • Face & Body
      • Cleansers, Soaps, & Gels
      • Deodorants
      • Hair
      • Skin Care
      • Oral Care
      • Baby & Toddler Care
    • Home & Garden
      • Cleaning & Laundry
      • Garden & Hens
    • Soap Making
    • Upcycling
  • About
    • Meet Tracy!
      • More About Me
    • Contact Me
    • Disclaimers & Disclosures
    • Cookie Policy
    • Privacy Policy
  • Recipes
    • Appetizers & Snacks
    • Soups & Salads
    • Beverages & Smoothies
    • Breakfast
    • Lunch & Dinner
    • Desserts & Sweets
      • frozen treats
    • Breads & Wraps
    • Condiments & Sauces
    • MIY Pantry Basics
    • Carnivore Diet
    • Story Archives
  • Make it Yourself
    • Arts & Crafts
    • Natural Face & Body
      • Cleansers, Soaps, & Gels
      • Natural Skin Care
      • Natural Hair care
      • Oral Care
      • Deodorants
      • Baby & Toddler Care
    • Soap Making
    • Home & Garden
      • Cleaning & Laundry
      • Garden & Hens
    • Photography
    • Upcycling
  • Holidays
    • New Years Eve
    • Valentine’s Day
    • St. Patrick’s Day
    • Easter
    • Fourth of July
    • Halloween
    • Thanksgiving
    • Christmas
es_ES Español
A charcuterie board with a meat and cheese hand design on a wooden board, accompanied by a purple candle and another board with assorted snacks in the background.

Spooky Halloween Charcuterie Board

Last Modified: October 11, 2024 // by Tracy Ariza, DDS // October 11, 2024 I may receive a commission if you purchase through links in this post. Learn more here.

es_ES Español

Spook up your Halloween charcuterie board with cheese shapes, a creepy meat "hand," and assorted snacks on rustic wooden platters. Text overlay reads: "Fun ideas for the perfect Halloween Charcuterie Board.

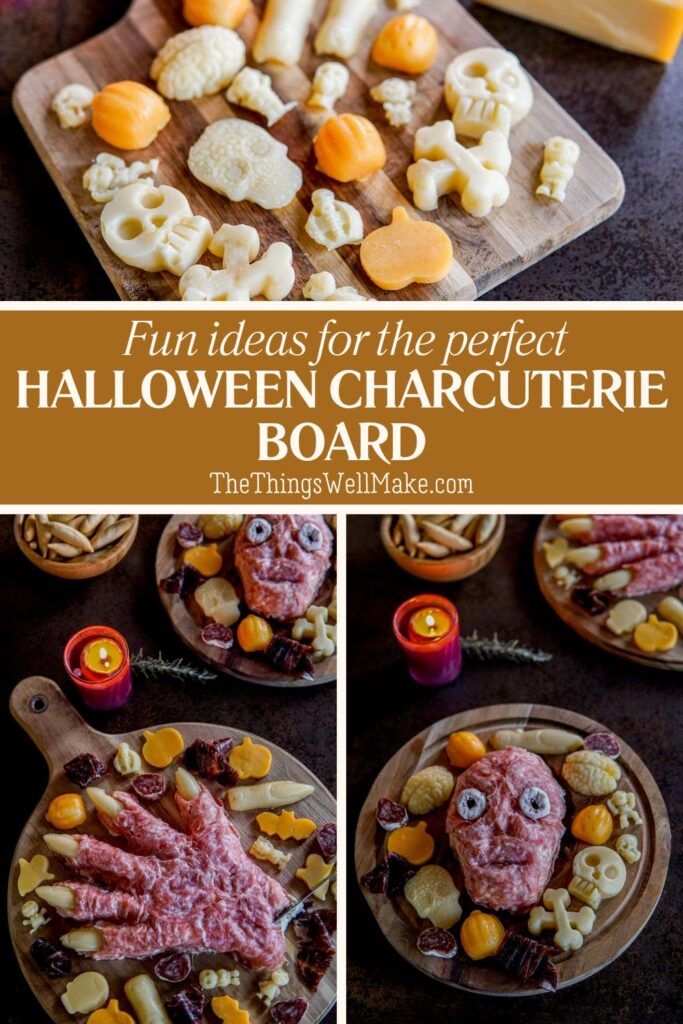
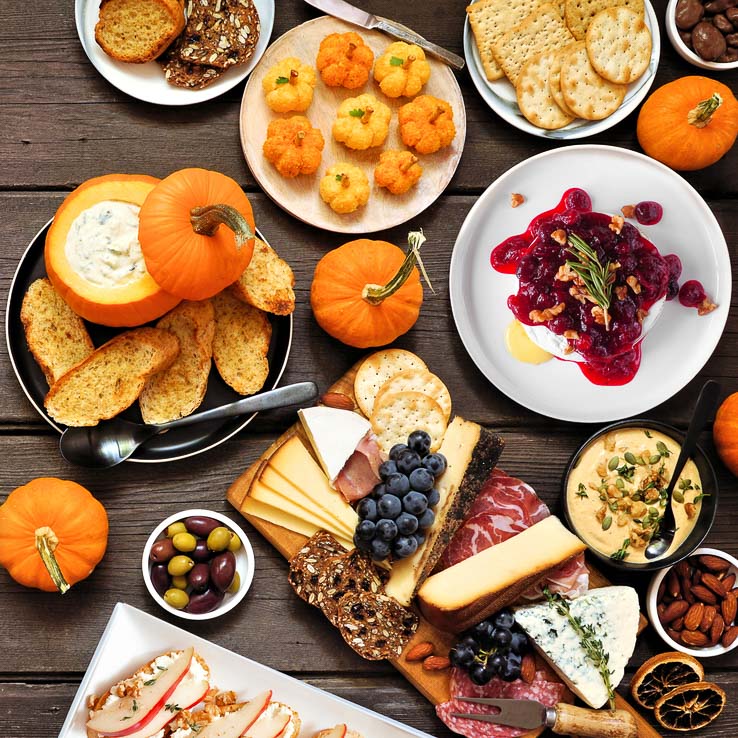
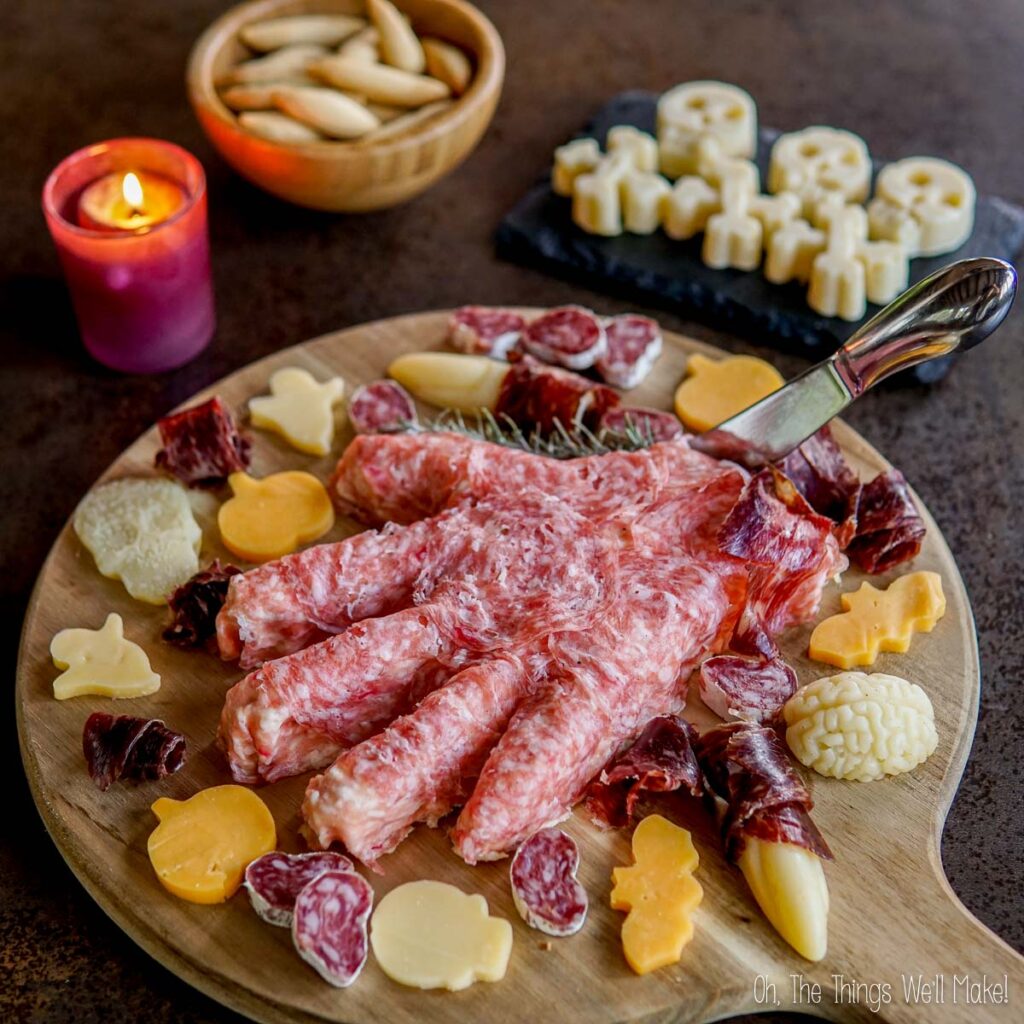
Delight your guests this Halloween with a spooky charcuterie board featuring chilling cheese balls molded into a severed hand or an eerie face, alongside an assortment of cheese shapes and cured meats.

A charcuterie board with a meat and cheese hand design on a wooden board, accompanied by a purple candle and another board with assorted snacks in the background.

Why make a Halloween-themed charcuterie board?

Whether you’re hosting an extravagant Halloween bash or an intimate gathering, a fun charcuterie board can make the perfect centerpiece for your Halloween table. The mix of eerie shapes, creepy cheese balls, and cured meats adds a haunted twist to a traditional favorite.

This board lets you serve a variety of tasty meats and cheeses with fun shapes and themed cutouts. You can adapt the board to suit your theme and the size of your party!

Ingredients

Feel free to customize the ingredients to your liking, but here are my favorite additions to my Halloween charcuterie boards.

Cheese for Molding and Cutting:

  • Thick slices of firm cheeses like cheddar, gouda, or provolone for cutting with cookie-cutters
  • High fat cheeses (like the above) for molding cheese into 3D shapes.
Assorted Halloween-themed cheese shapes, including skulls, pumpkins, and bones, arranged on a wooden board.

Creepy Cheese Balls:

While it’s not a mandatory addition to your charcuterie board, a cheese ball makes a great centerpiece for your party platter. You can make any sort of cheese ball you like, but I have a recipe for a real-food seafood cheese ball in my Halloween hand cheese ball post.

My cheese ball uses the following ingredients:

  • Cream cheese
  • Salted cod (pre-soaked)
  • Garlic powder
  • Dried onion
A charcuterie board with a meat and cheese hand design on a wooden board, accompanied by a purple candle and another board with assorted snacks in the background.

To cover the cheese balls and make them creepy, you can use one of the following cured meats:

  • Salami or salchichón
  • Prosciutto or other cured hams like serrano ham or country ham

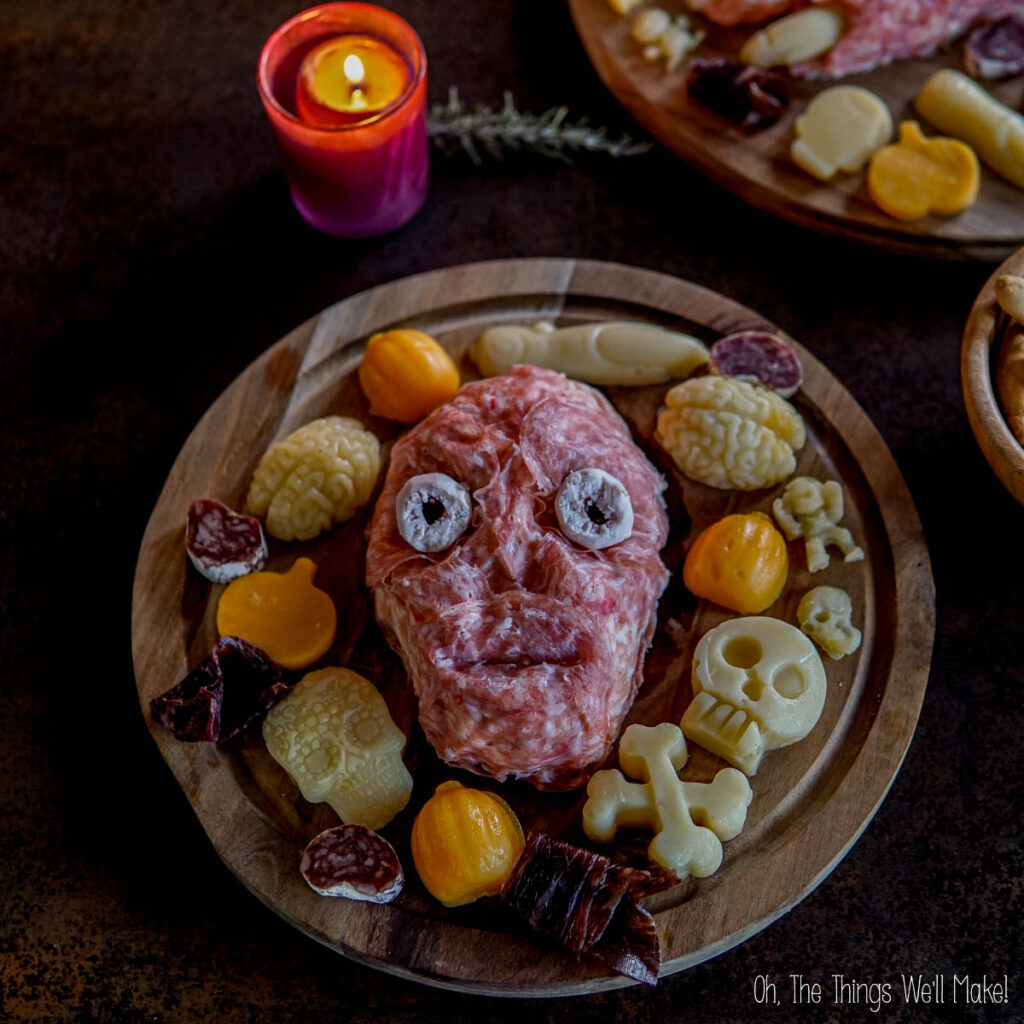
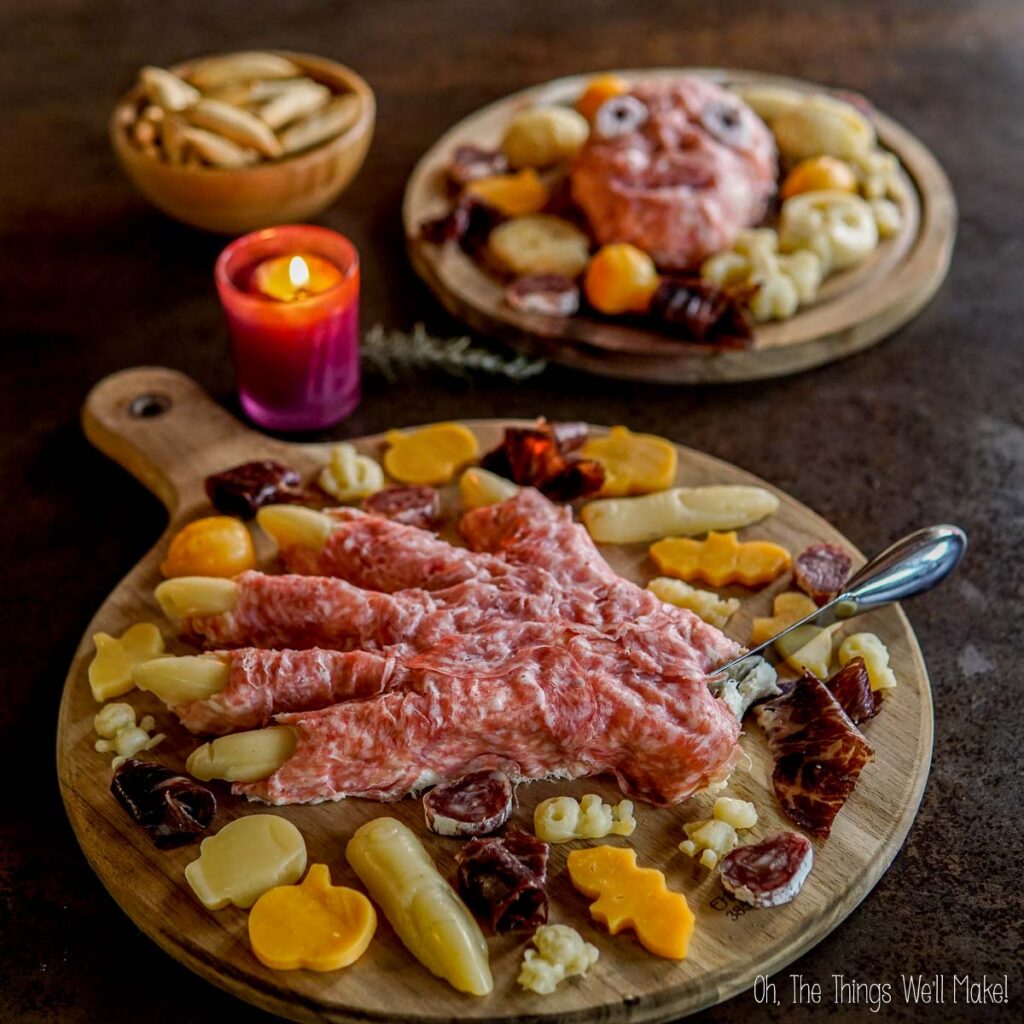
See how to make the creepy face cheese ball or how to make the severed hand cheese ball!

Other optional ingredients

To fill in the spaces of the charcuterie board, you can use a variety of meats, fruits, and/or nuts.

  • Cured Meats: A selection of prosciutto, salami, chorizo, pepperoni, and other sliced meats and sausages.
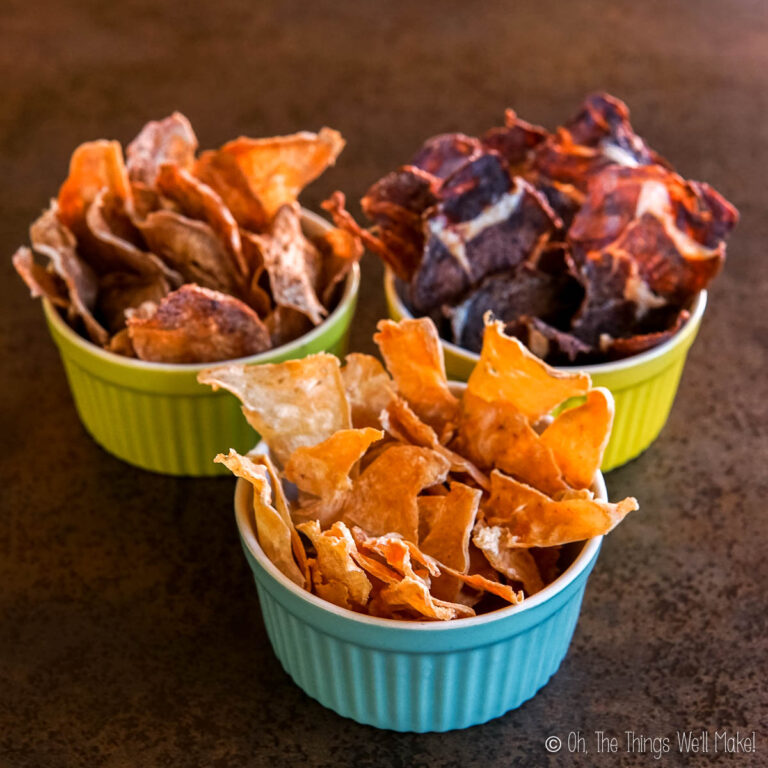
  • Assorted Crackers and Breadsticks or pretzels. For a carnivore/keto option, add some pork rinds or chicharrones.
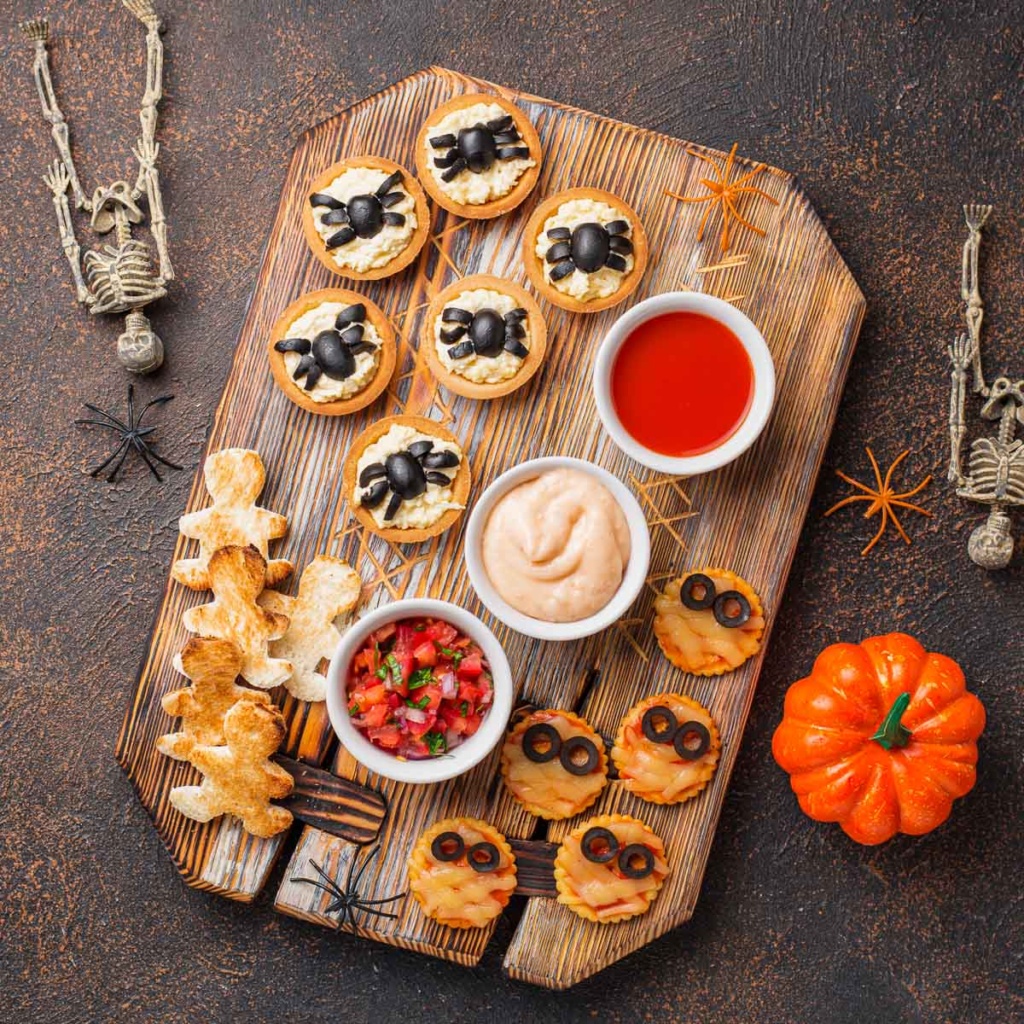
  • Olives: to make them even spookier, make them into spiders!
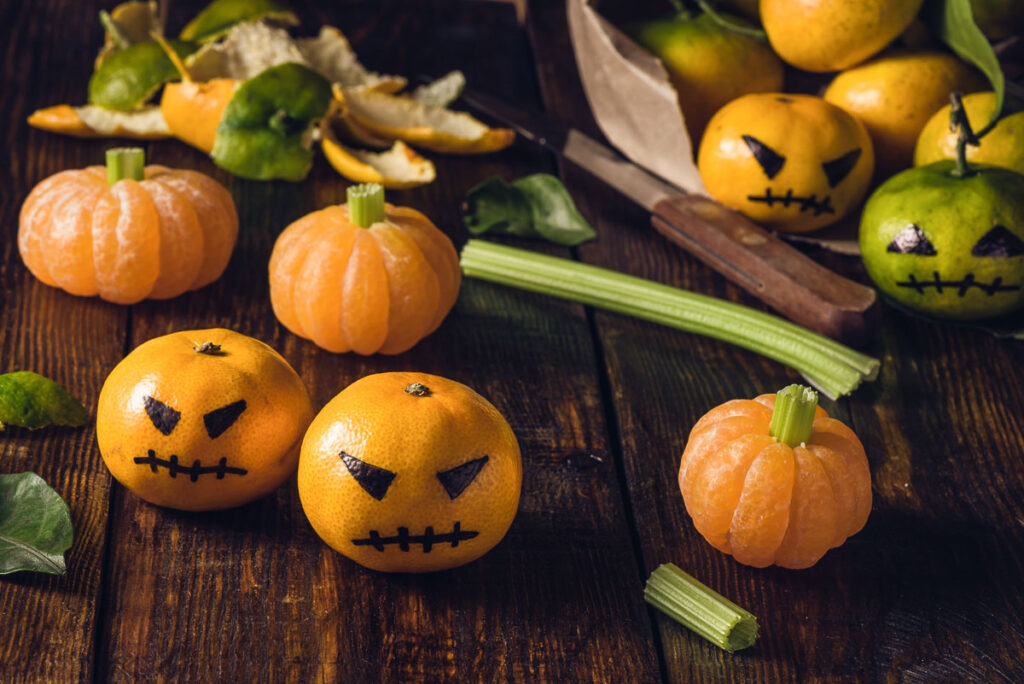
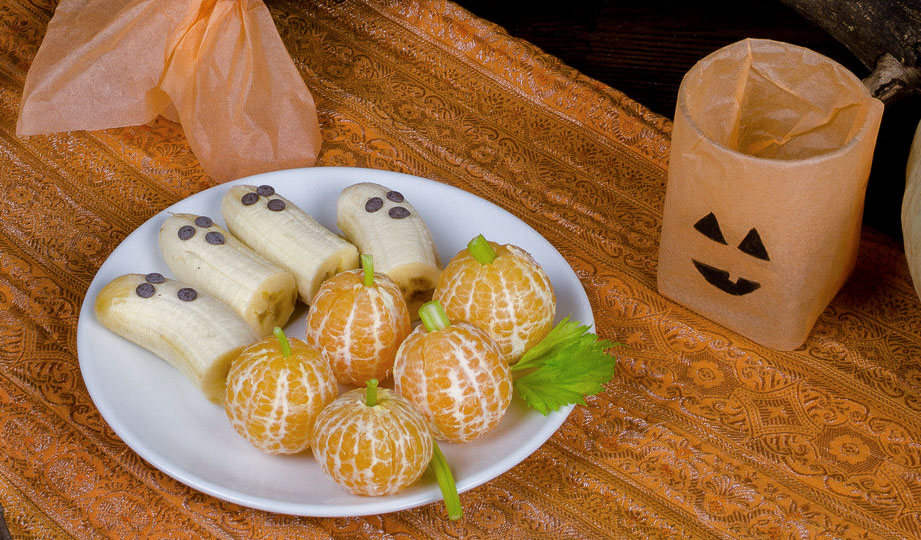
  • Fruits: Apple slices, grapes, dried apricots, or figs give an autumn feel. Tangerines with pieces of celery can give the look of pumpkins for a fun touch. You can also make banana ghosts for a playful feel.
  • Nuts: Almonds, pecans, or walnuts give a different texture and an added crunch. Maple glazed nuts are perfect for autumn.
Clementines with spooky faces are artfully arranged on a Halloween charcuterie board, garnished with celery and leaves to look like pumpkins, all sitting on a rustic wooden table.
Tangerine pumpkins
A Halloween charcuterie board features a plate with peeled tangerines topped with celery leaves to look like pumpkins and half bananas adorned with chocolate chips to look like ghosts. In the background, a paper lantern glows with a jack-o'-lantern face.
Banana ghosts

For larger boards or party tables, you can also add mini pumpkins as decorations. You can even hollow them out to make a dip bowl for serving salsas and other dips like pumpkin spice dip, or pumpkin butter.

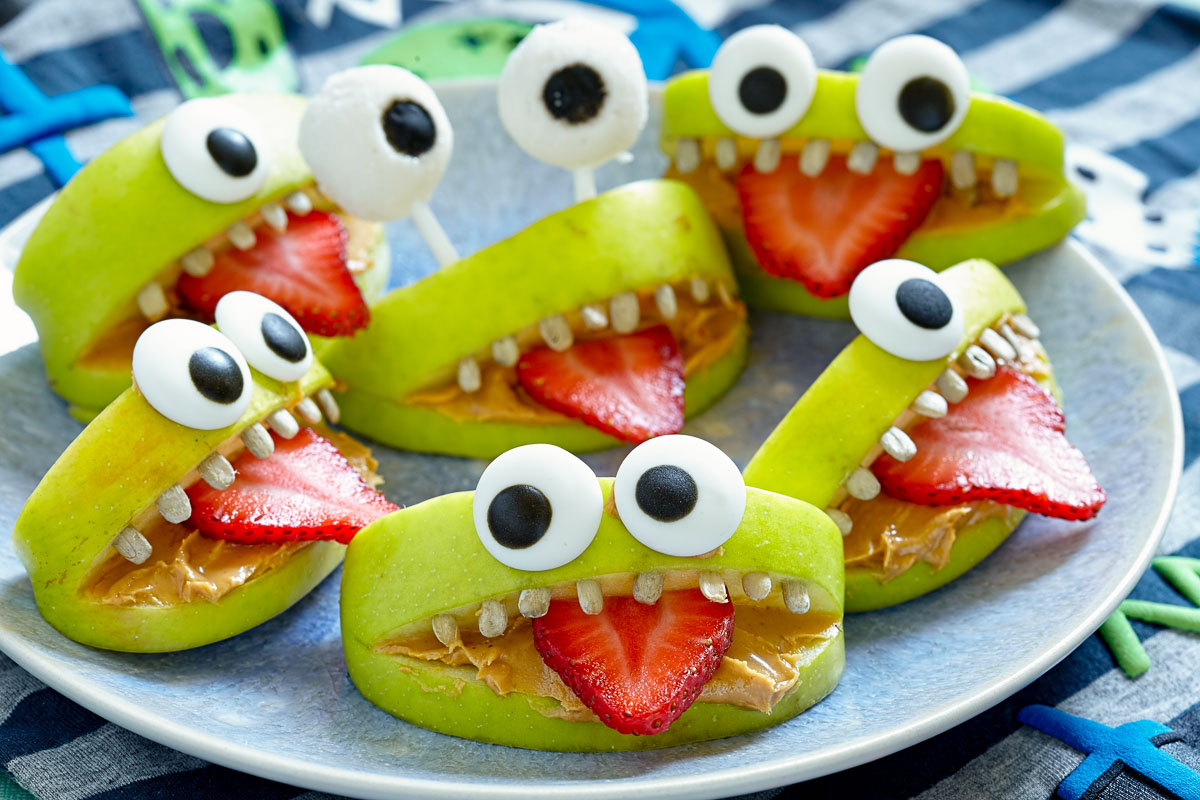
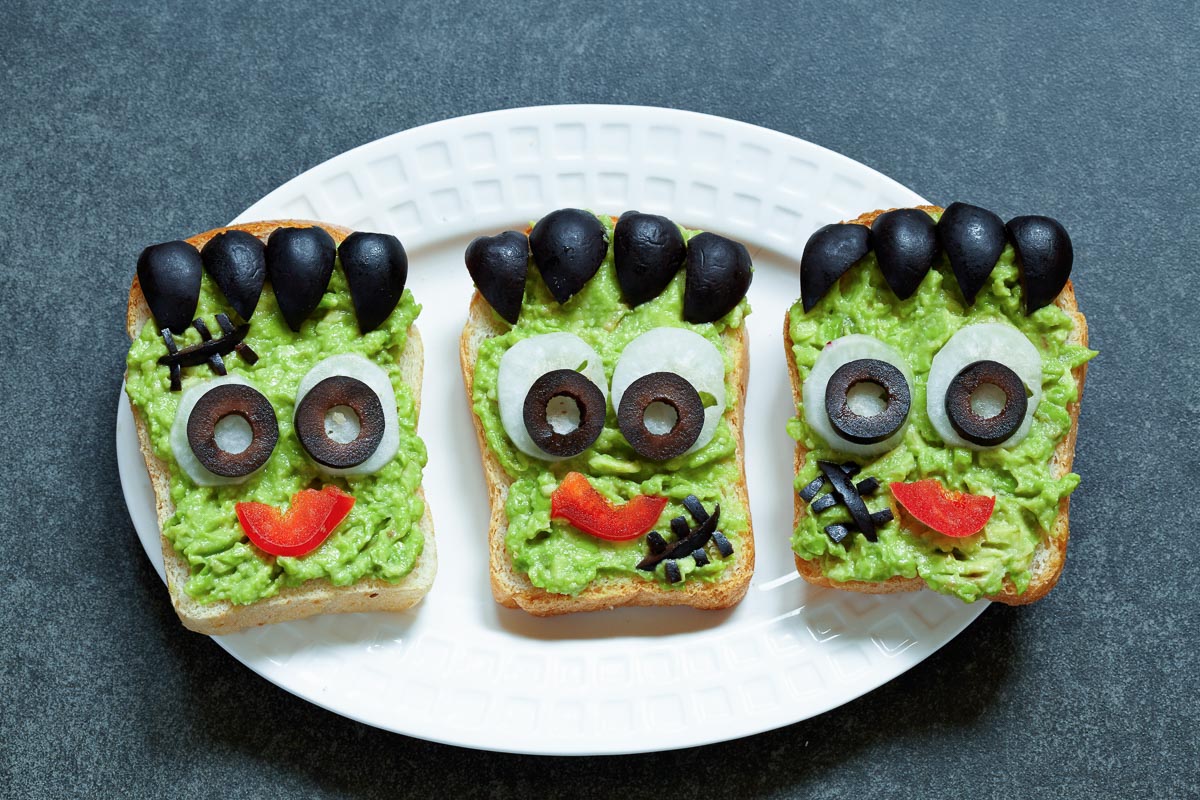
Add playful touches by making foods look like silly monsters or other Halloween creatures. You could also wrap breadsticks and sausages to look like little mummies. For more ideas, see my post about fun Halloween food ideas.

Deviled eggs topped with black olives, arranged to resemble spiders and sprinkled with paprika, make the perfect spooky addition to your Halloween charcuterie board.
Olive spiders on deviled eggs
A delightful Halloween charcuterie board features an assortment of cheeses, crackers, olives, pumpkin-shaped treats, and dip on a table in a pumpkin bowl, surrounded by small pumpkins.
Dip served in a pumpkin bowl
6 monsters on a plate made from apple slices, peanut butter and with strawberry slice tongues.
Frankenstein open sandwiches made from avocado, black olives, and a red pepper mouth
Overhead view of a platter covered with mini mummy pizzas, and tarts covered with olive spiders, amongst other foods.
Overhead view of 12 pizzas that have been decorated for Halloween with ghosts, spiders, a bat and other Halloween characters

How to make it

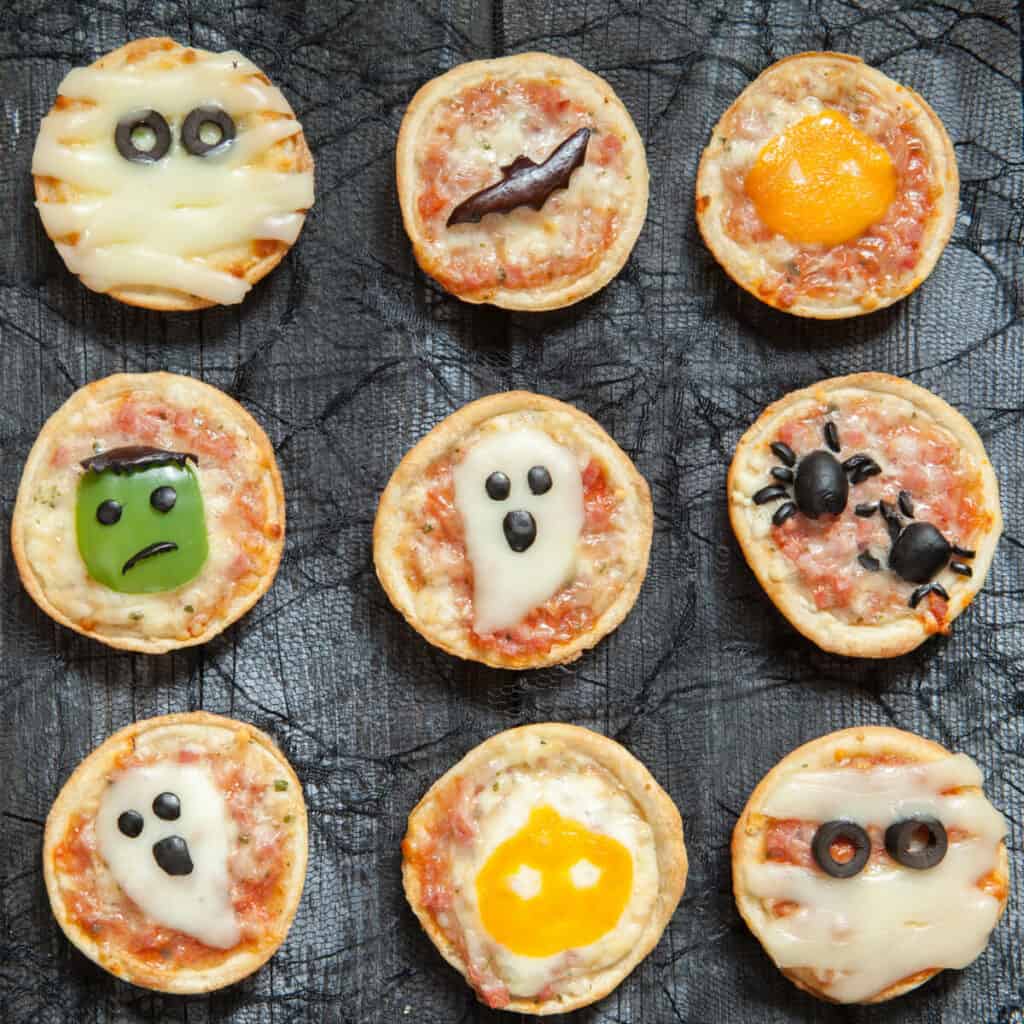
There are several ways to put together a fun Halloween charcuterie board. My favorite way is to make a fun, Halloween-themed cheese ball surrounded by shaped cheeses and cured meats. for larger gatherings, though, you can add a more elaborate spread with fun-themed canapes and mini pizzas like the ones pictured above.

Step 1: Make the creepy cheese ball

  • Mix the cheese base: Combine the softened cream cheese, shredded salted cod, garlic powder, and onion powder in a bowl. (Or use your recipe of choice!)
  • Shape the hand or face: Mold the cheese mixture into the shape of a hand or a face on plastic wrap or parchment paper.
  • Wrap in meat: Cover the cheese with overlapping slices of salami or prosciutto.
  • Chill: Refrigerate for at least 1 hour to allow the shape to set.

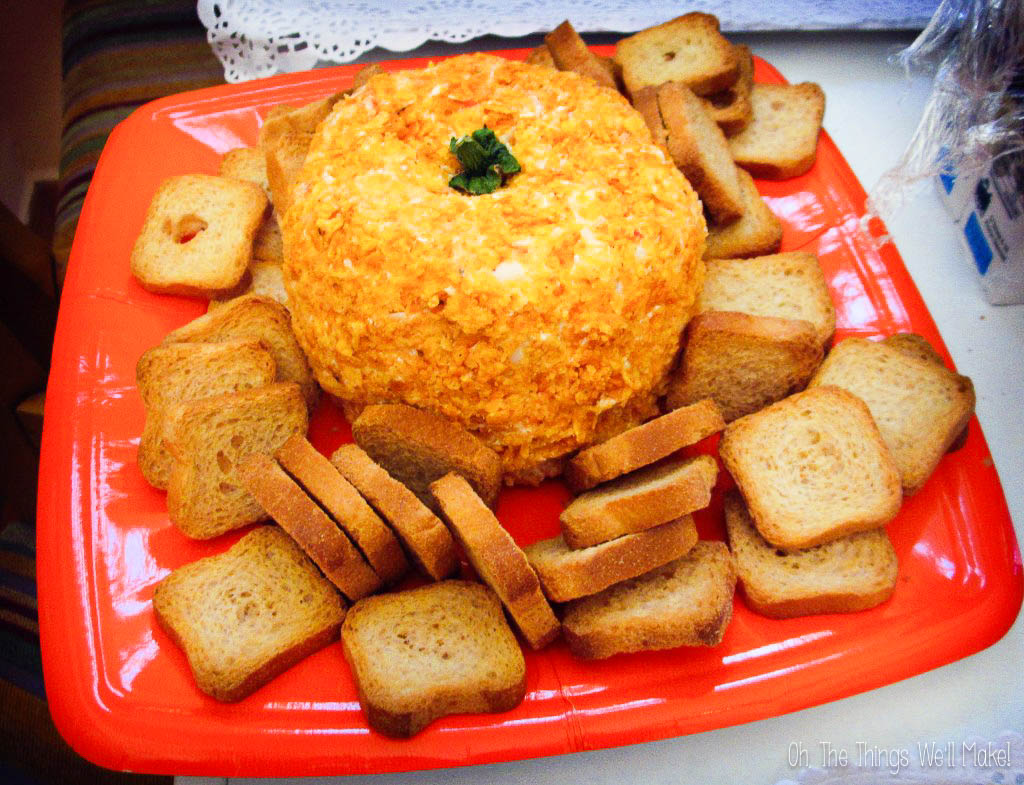
For a less eerie cheese ball, shape the cheese into a pumpkin shape and cover it with shredded cheddar. Make a stem with a celery stick or whatever green you have on-hand.

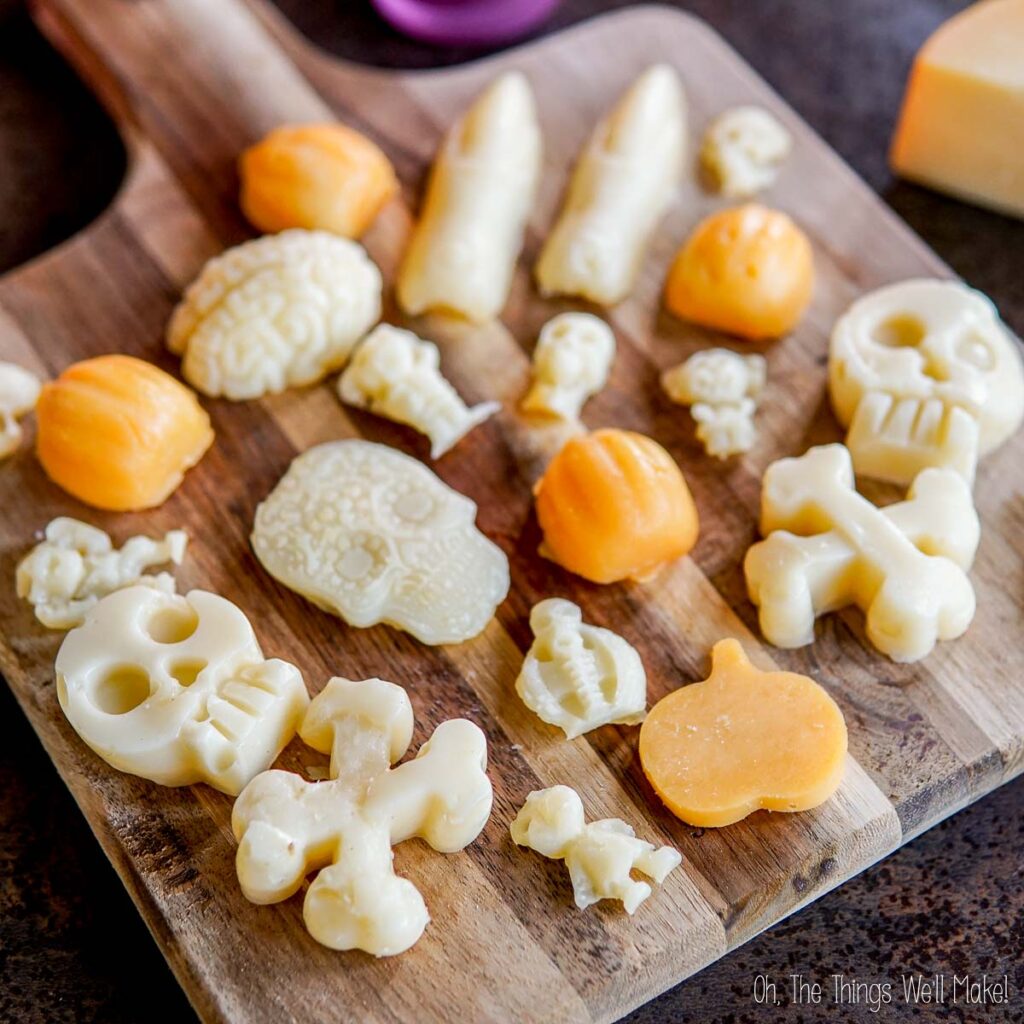
Step 2: Cut and mold cheese shapes

  • Use cookie cutters: Cut a thick slice of firm cheese (like cheddar or gouda) and press Halloween-themed cookie cutters (pumpkins, bats, ghosts) into the cheese to create festive shapes. Arrange these on the board. Read my post on cutting cheese shapes for more tips!
  • Mold soft cheeses: You can also melt cheese and mold it in candy molds for 3D shapes for an extra spooky touch. Read my post about how to mold cheese here.
A charcuterie board features a Halloween hand-shaped cheese ball centerpiece, surrounded by various cheeses and meats, with a lit candle and breadsticks in the background.

Step 4: Arrange the charcuterie board

  • Choose your base: Start with a large wooden board or platter
  • Place the cheese balls: Position the cheese ball in focal points on the board.
  • Add cured meats: Spread out an assortment of cured meats around the cheese balls. For larger slices of cured meats, you can cut them into thin slices and roll them up.
  • Place cheese shapes: Arrange the cookie-cutter cheese shapes and molded cheeses throughout the board, interspersing them with meats and crackers.
  • Add crackers, fruit, and nuts: Fill in any gaps with crackers, breadsticks, fruit, and nuts to create a full board.
  • Final touches: Scatter a few black olives or dried fruits around the board for color and texture.

Expert tips:

  • Use a Variety of Cheeses: For the best flavor experience, include a mix of soft, semi-soft, and hard cheeses. Also, include a variety of milder and stronger cheeses and different colored cheeses. This gives guests different textures and tastes while making the board more visually impactful.
  • Get Creative with Meat Placement: Wrap the meats around the cheeses or fold them in different ways so they fit without overwhelming the board visually.
  • Don’t Overcrowd: Leave some space between the elements to let each spooky creation stand out.
  • Serve at the Right Temperature: For the best flavor, let the cheese balls sit at room temperature for around 10–15 minutes before serving, but don’t leave them out too long.

Why your guests will love it:

The spooky cheese balls capture people’s attention, and the rest of the board offers a variety of flavors. That helps ensure that everyone can find something they like. With a variety of shapes, textures, and flavors, the board can be fun and playful, and delicious.

By making it yourself, you can choose your ingredients based on your guests preferences. You can also make it as elaborate or as simple as you like for the number of people you’ll serve.

Have fun & Happy Halloween!


Category: Carnivore Diet, Halloween Food

About Tracy Ariza, DDS

Tracy Ariza, B.A., D.D.S., left dentistry and the United States to found Oh, The Things We’ll Make!, writing to you from the Spanish Riviera. She loves making things herself in order to keep control of what goes in them. While far from perfect, she strives each day to live a healthier, more sustainable lifestyle.

Previous Post:A charcuterie board features a Halloween hand-shaped cheese ball centerpiece, surrounded by various cheeses and meats, with a lit candle and breadsticks in the background.Spooky Halloween Hand Cheese Ball
Next Post:Creepy Halloween Food: Make a Ham FaceCreepy Halloween dish shaped as a head made out of Prosciutto ham with cream cheese and green olive eyes, surrounded by square crackers.

Reader Interactions

Leave a Reply Cancel reply

Your email address will not be published. Required fields are marked *

Recipe Rating


Sidebar

Search

  • Email
  • Facebook
  • Instagram
  • Pinterest
  • Twitter
  • YouTube

Hello, I’m Tracy!

I love making my own natural products like soaps and lotions and my own pantry items like yogurt and salad dressings.
Why do I do it? Sometimes to save money, sometimes because it's healthier, but I always love having control of the ingredients!​
Oh, the things we'll make!...

More about Tracy

I am a participant in the Amazon Services LLC Associates Program, an affiliate advertising program designed to provide a means for us to earn fees by linking to Amazon.com and affiliated sites.

Featured on Buzzfeed, Lifehacker, Fitness, Shape, Country Living, Healthline, Redbook, Redfin

Closeup of 4 bars of homemade soap. Two of them have been wrapped in brown paper and wrapped with ribbons. One soap is wrapped with red ribbon and the other with white ribbon.

Making an Easy, Basic Beginner Soap, and Then Making it Fun!!

Homemade prawn crackers on a plate in front of uncooked homemade prawn crackers and a roll of prawn crackers dough.

Prawn Crackers from Scratch

Impress your friends and save money by making your own soy sauce from scratch. Today we'll learn how to make a homemade shoyu, a fermented Japanese soy sauce made from soybeans and wheat berries. #shoyu #soysauce

How to Make Soy Sauce (Homemade Shoyu)

Two bottles of a homemade conditioner next to a wooden comb and a washcloth.

Easy DIY Hair Conditioner for Natural Hair

A small glass jar filled with an emulsified sugar scrub with a wooden spoon in it.

Easy Emulsified Sugar Scrub

Over head view of a spoon full of tomato paste over a jar full of it. A couple of fresh tomatoes lay next to the jar.

Easy Homemade Tomato Paste Recipe

Featured on Buzzfeed, Lifehacker, Fitness, Shape, Country Living, Healthline, Redbook, Redfin

Oh the things we'll make.

Copyright © 2025 Tracy Ariza · Disclaimers and Disclosures · Privacy Policy · Cookie Policy

We use cookies to ensure that we give you the best experience on our website. If you continue to use this site we will assume that you are happy with it.Ok