

Rendering Pork Fat: How to Make Lard
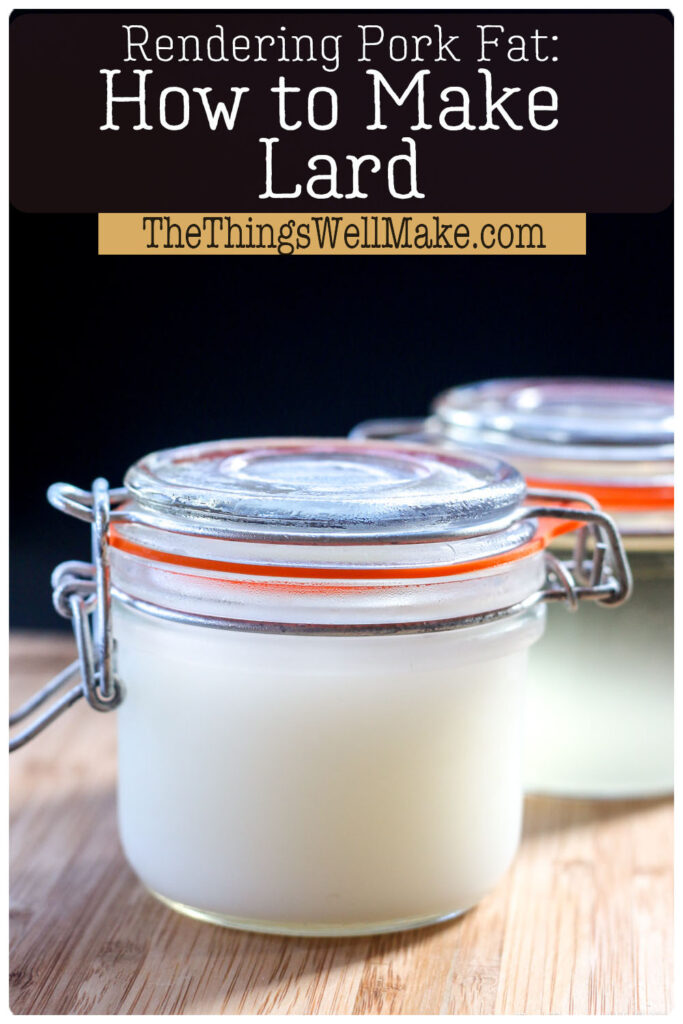
Rendering pork fat is an easy way to get a cost-effective, versatile fat for cooking and soapmaking. Learn how to make lard and why you’d want to.
What is Lard?
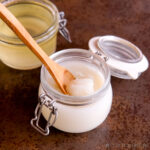
Lard is a semi-solid, white-colored fat obtained by rendering pork fat. It has been used for centuries as an ingredient in cooking and soapmaking. It’s a delicious fat with a high smoke point that adds flavor to a variety of dishes.
What does it mean to render fat?
Rendering is just a fancy way to say you are melting and clarifying the fat. By cooking off the excess moisture and straining out the proteins and other impurities in the fresh fat, it converts into a smooth, white stable fat with a much longer shelf life.
Made in a similar way, ghee is a type of clarified butter and beef tallow is rendered beef fat. Cooled bacon grease, while normally called bacon fat, is also a delicious type of lard.
Why make it?
By rendering pork fat, you can make something useful from something that would otherwise be thrown away. Many people are going back to traditional ways of cooking and baking including rendering fats and cooking and baking with them.
Lard is a great cooking fat. It adds flavor, and it’s a stable fat that can be used for high-heat cooking and deep frying. It also has a long shelf life. While the word “lard” has negative connotations, it is actually a very healthy fat. It is especially high in monounsaturated fats, which can be beneficial for heart health. It also contains natural antioxidants, which may aid in reducing inflammation and improving digestion. Rendered fats like tallow and lard, are often used for cooking in gut-healing diets like the GAPS diet.
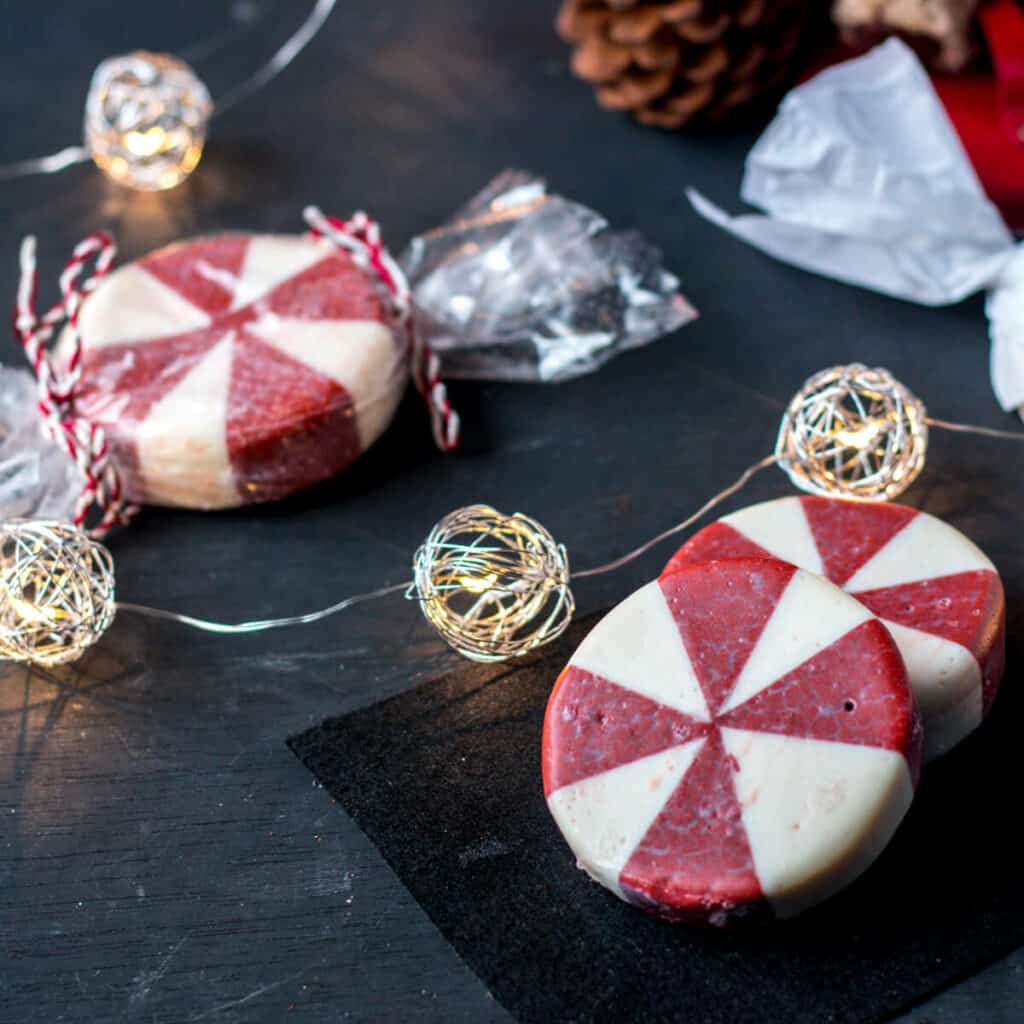
Lard is also a great fat for making soap. Soaps made with animal fats tend to be very hard soaps that clean well. By making your own lard (and soap), you can save a lot of money!
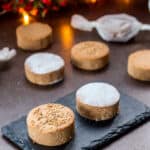
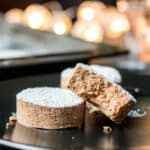
I originally got over my initial intimidation and rendered my first batch of lard to make some homemade mantecados, a Spanish cookie that is popular at Christmas time. Lard gives the silky smooth cookies their distinctive flavor. It’s also a not-so-secret ingredient for making the best, flakiest pie crusts and homemade flour tortillas.

Avoid hydrogenated lard
While you could just go buy it, I find homemade to be superior. Some store-bought lard is hydrogenated or has other added ingredients. It often doesn’t have the same flavor or texture. Even if the ingredient list is free of other oils or other ingredients, they may use chemicals to bleach or deodorize the lard, or emulsifiers to change the texture.
The main problem with buying lard is that you don’t know anything about the quality of the original fat used. You also don’t know what process was used to render and refine those fats.
Some supermarket lards are hydrogenated to help increase their shelf stability. All partially hydrogenated fats will have some trans fats in them, which we know to be harmful. Fully hydrogenated fats should convert into saturated fats, which may or may not include trans fats. Still, they may have other potential problems. (What happens with the nickel catalysts mixed into the fats to help hydrogenate them? What, exactly, have we made in the end?) I’d personally rather err on the side of caution and avoid hydrogenated lard by making my own.
Ingredients
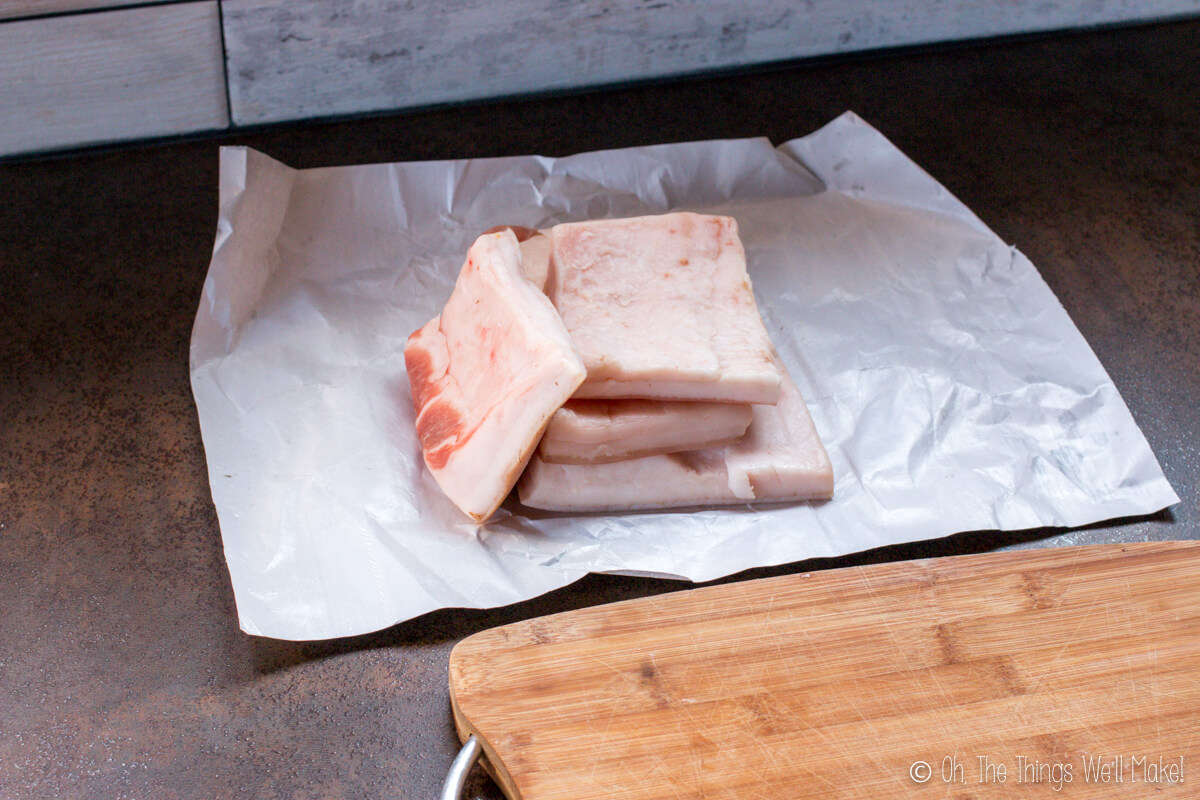
Obviously, we’ll need pork fat to make pork lard. We can get a bit more specific, though. The flavor of the finished lard depends upon the fat you render.
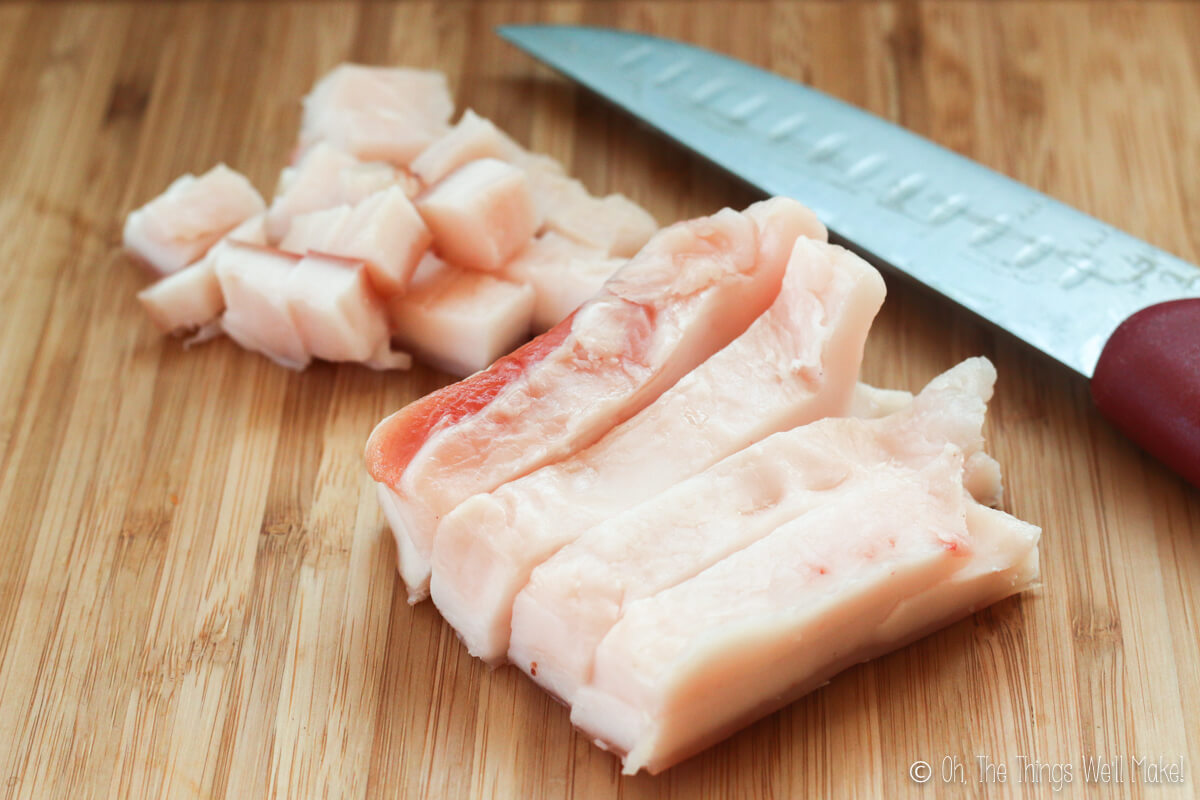
Pig fat is very easy for me to find here in Spain. They sell “tocino”, pieces of pork skin with a layer of fat, at the supermarket for dishes like Valencian puchero (aka. cocido). I don’t have to specially order it or worry about people thinking I’m crazy for wanting it. Tocino renders to white lard with a mild pork-like flavor. It gives mantecados their characteristic flavor, and makes pan-fried fish a delicious treat. When making lard from tocino, you get the added benefit of making crispy cracklings as a delicious byproduct.
Leaf lard, made from pork leaf fat, has a more neutral flavor. Leaf fat is the visceral fat of the pig found around the kidneys and other organs. It makes high-quality lard with a mild flavor and is many people’s favorite fat for making a flaky pie crust or flavorful tamales.
Looking for mild flavor for your pastries? Try leaf lard. Looking for a stronger flavor? Go for the cuts with meat and skin.
Procedure
First, you’ll need to obtain the fat. If you can’t find pork fat for sale at the local farmers market, try talking to a local butcher or farmer to see if he’ll save you some.
Once you have it, rinse it and cut it into small pieces so that it renders more quickly. Some people find it easier to cut if you freeze it lightly beforehand. While I don’t generally remove all of the meat and skin, you can if you prefer. Leaving them on will give you delicious cracklings in the end, but may result in a lard with a stronger taste.
Slow cooker vs. stove, water vs. no water
There are several methods that you can use to render the lard. You can use a Crockpot or a regular pot over the stove. Either way, you can cook the fat alone or with the addition of water.
Some people prefer adding water to help keep the fat from burning. If you cook at too high of a temperature, the fat can start to scorch. By adding extra water, you can help keep the temperature down. Overheating the fat will result in a darker lard with a slight brown color. To obtain a whiter lard, use low heat and don’t overcook it. This will also make lard with more of a mild flavor. I don’t find the water to be helpful. In fact, it can be difficult to separate all of the excess water, resulting in a softer lard that is more prone to spoilage.
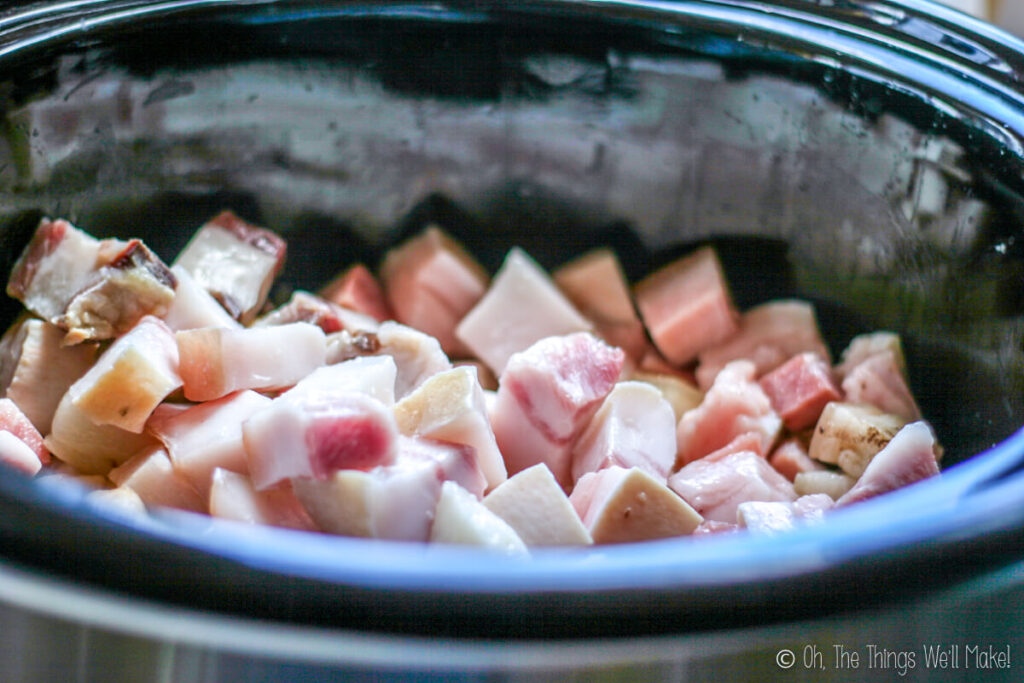
I do alternate between using the slow cooker and the stove. The slow cooker method takes slightly longer, but is also a little less messy. With the low heat of the Crockpot, the fat doesn’t spatter all over the place when you lift the lid.
Rendering the fat
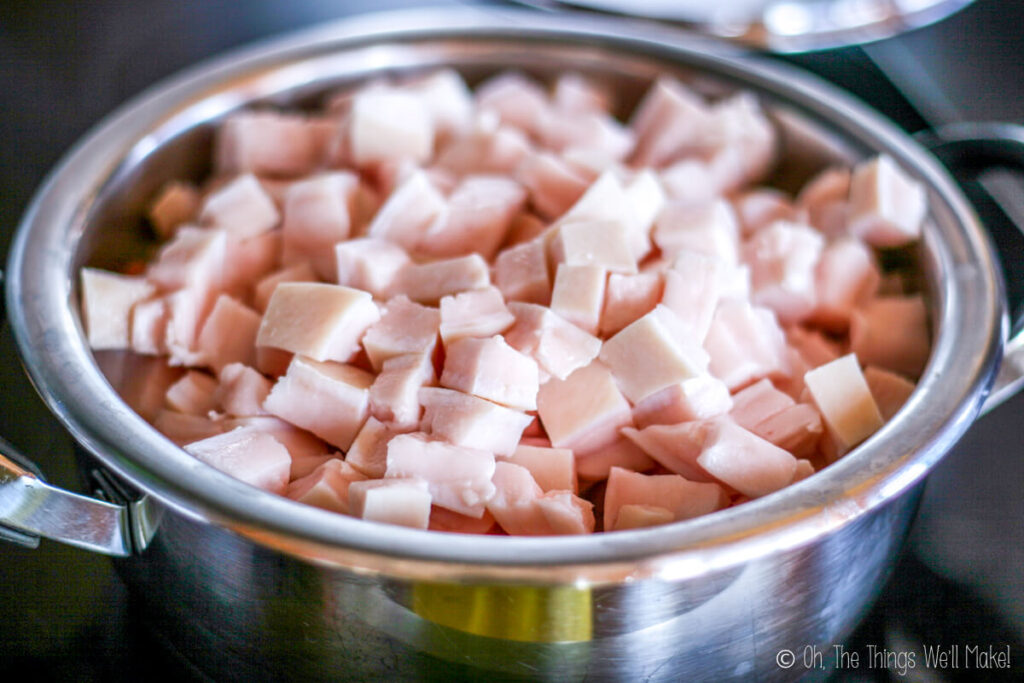
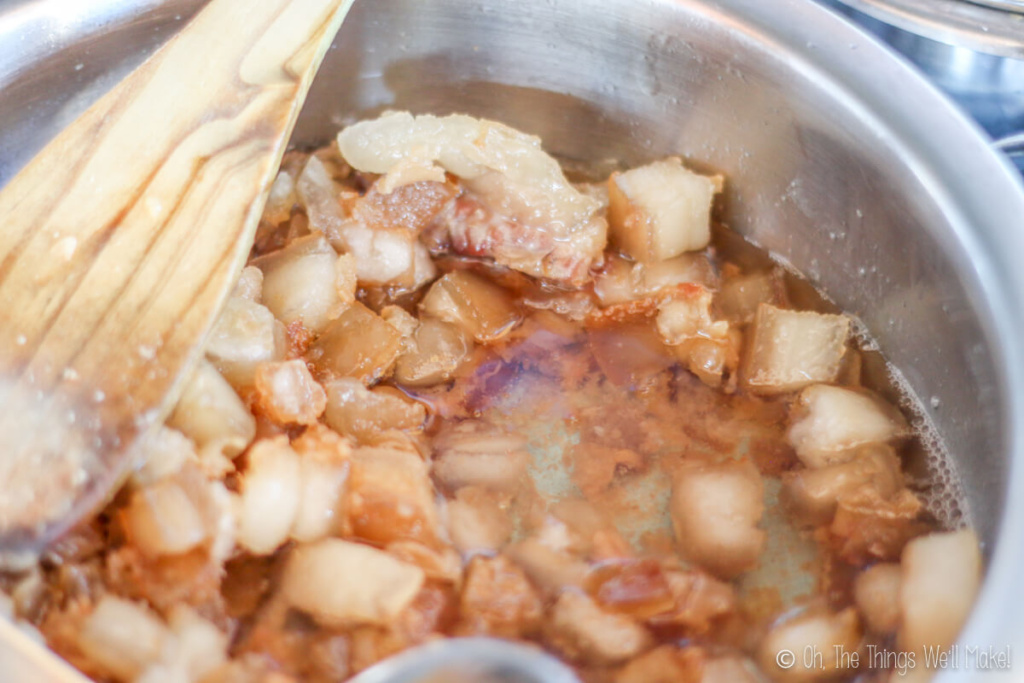
Once the fat is cut into pieces, place it in the pot or slow cooker. I use a heavy duty stainless steel for stove-top rendering or a large Crockpot for slow-cooking. Heat the fat over low heat until it melts and starts to bubble. Keep an eye on the temperature, as you don’t want it to burn.
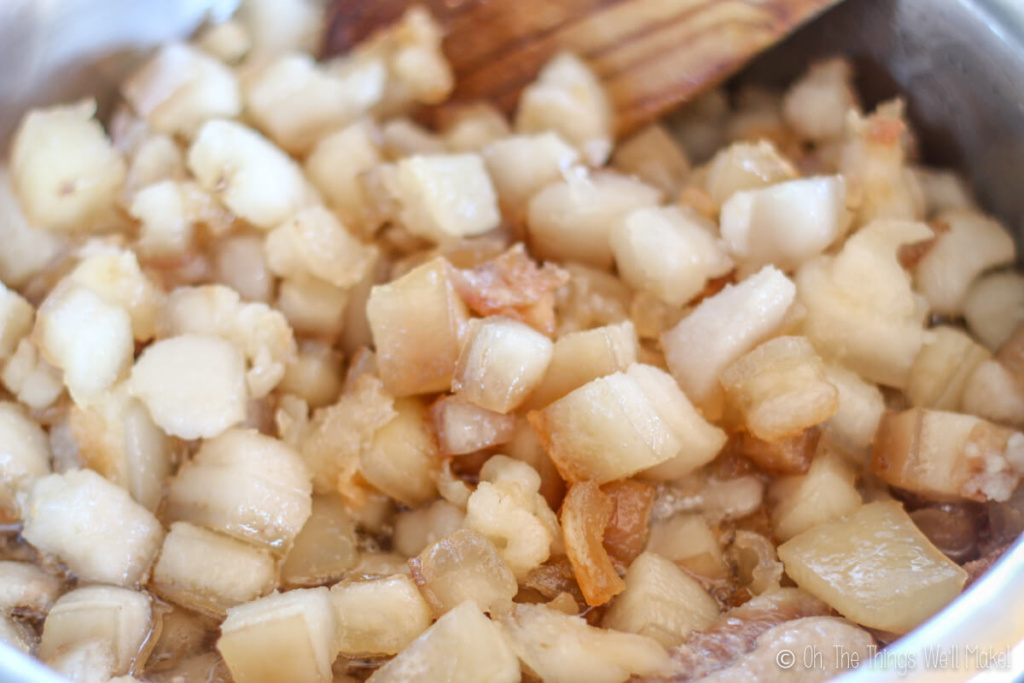
Allow the fat to simmer until most of it has melted and the remaining pieces are crispy. This can take anywhere from one to four hours, depending on how much fat you’re rendering and which method you’re using. As the lard renders, you can periodically skim off any foam that accumulates on top. This will help keep your lard clear and allow you to see the progress better.
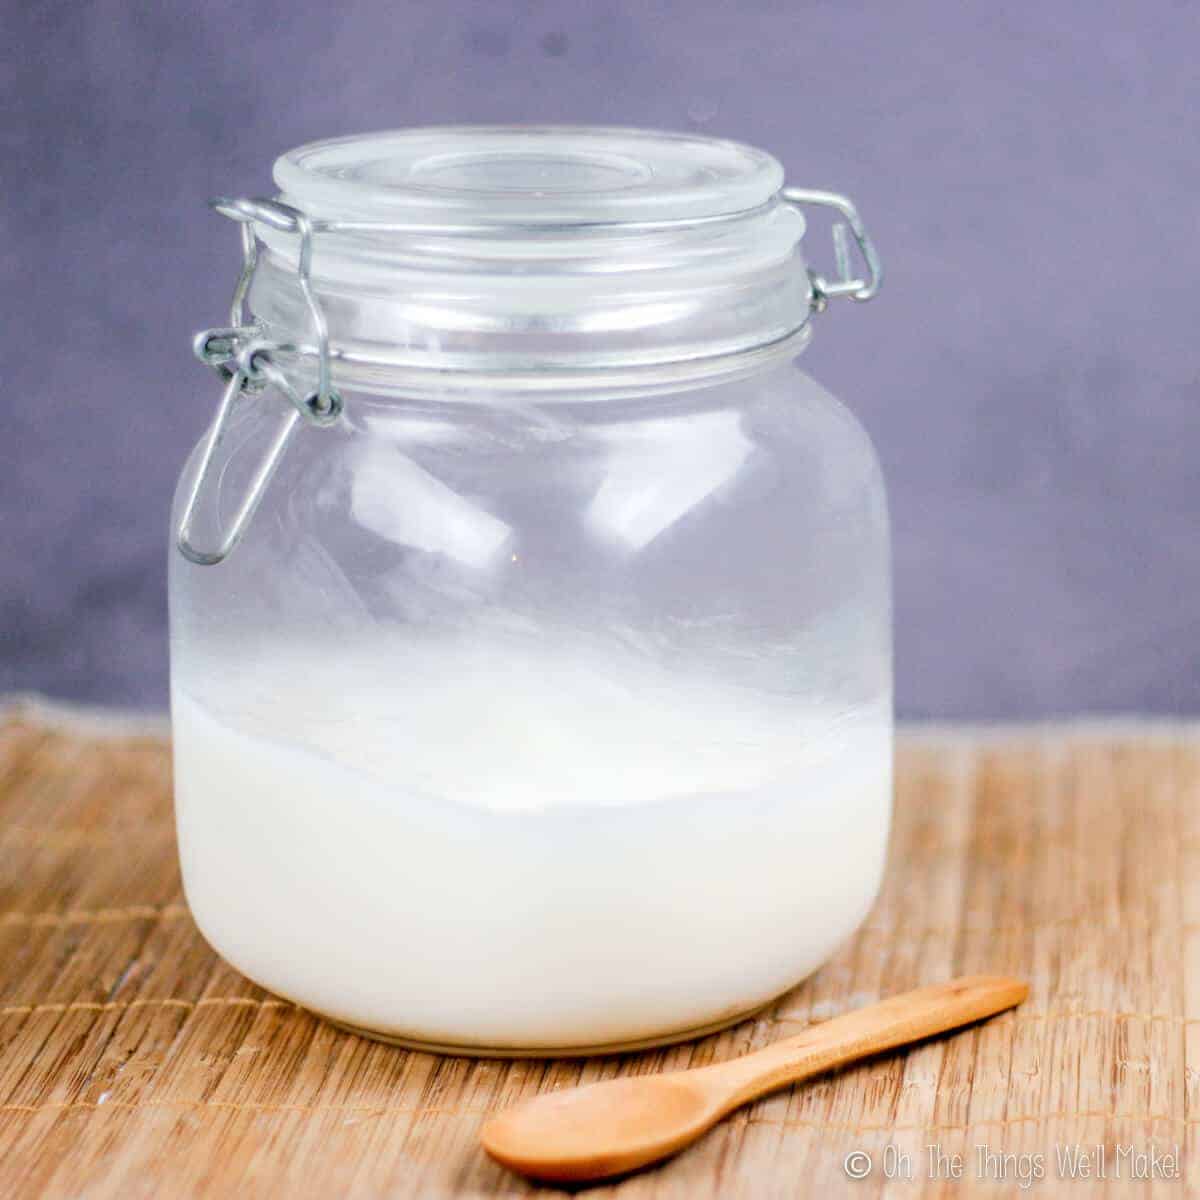
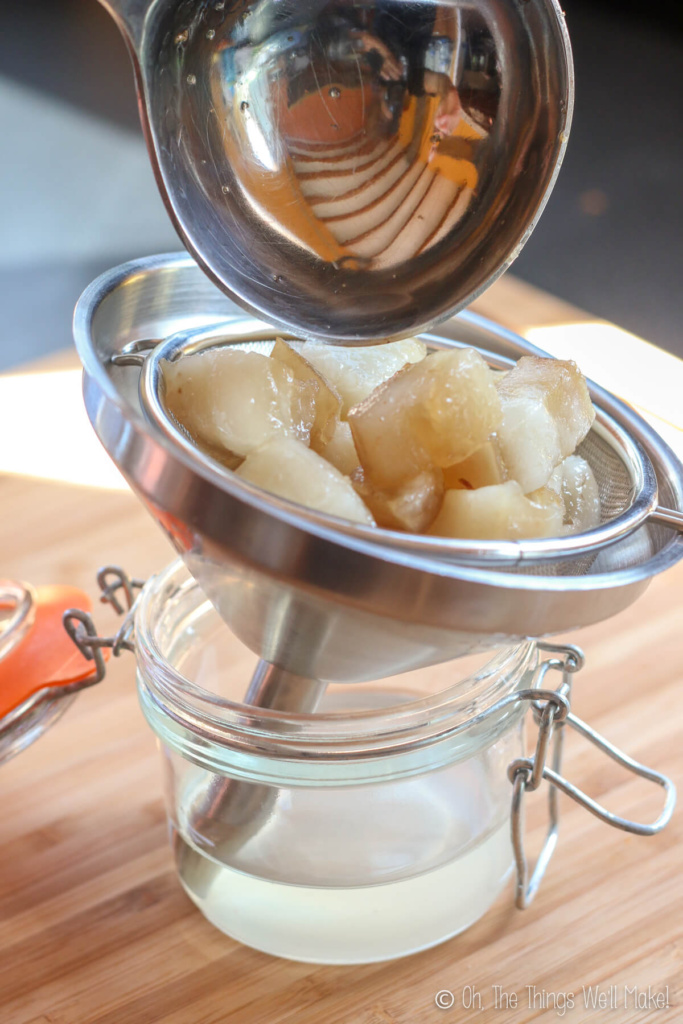
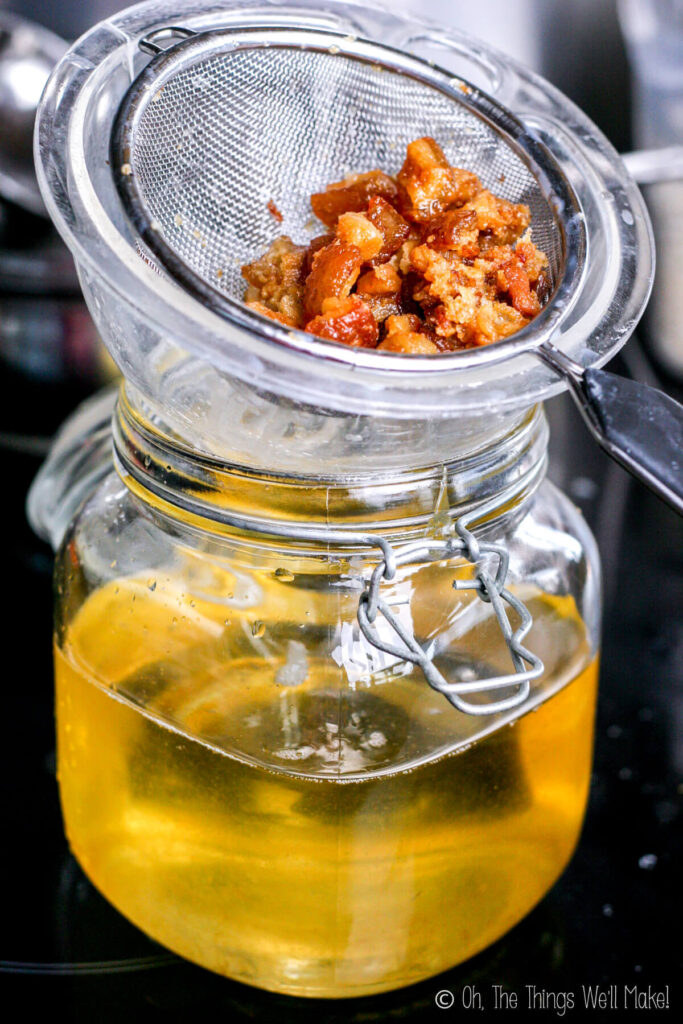
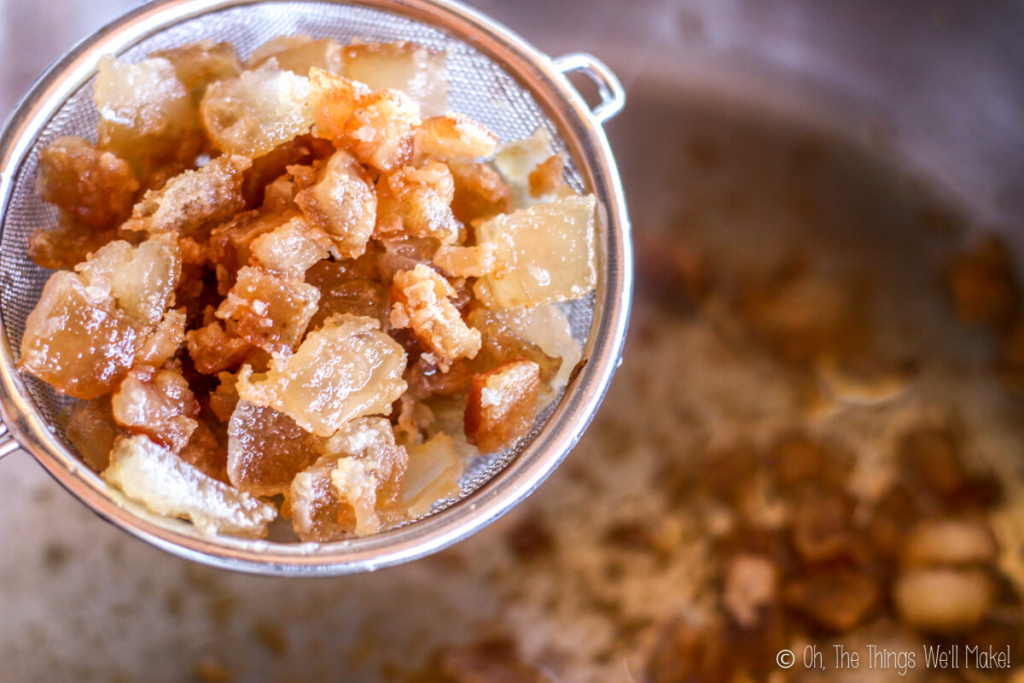
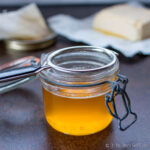
Strain it
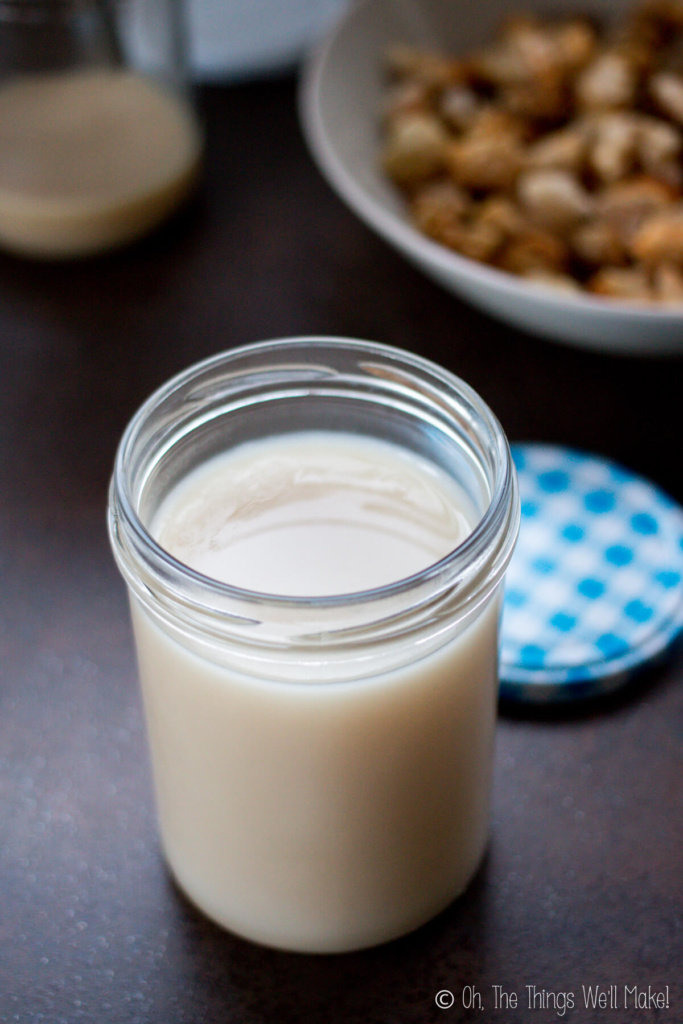
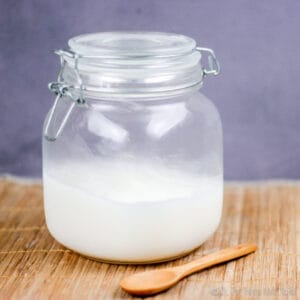
When all of the fat has been rendered, strain it through a cheesecloth or fine mesh sieve. The liquid fat is your lard, the solids are your cracklings. Strain into jars with lids for storage and allow it to cool. (You can also strain it into silicone loaf molds to make blocks of lard that can be vacuum sealed for long term storage.) You’ll notice it will change from a transparent golden color liquid to an opaque white color semi-solid fat.

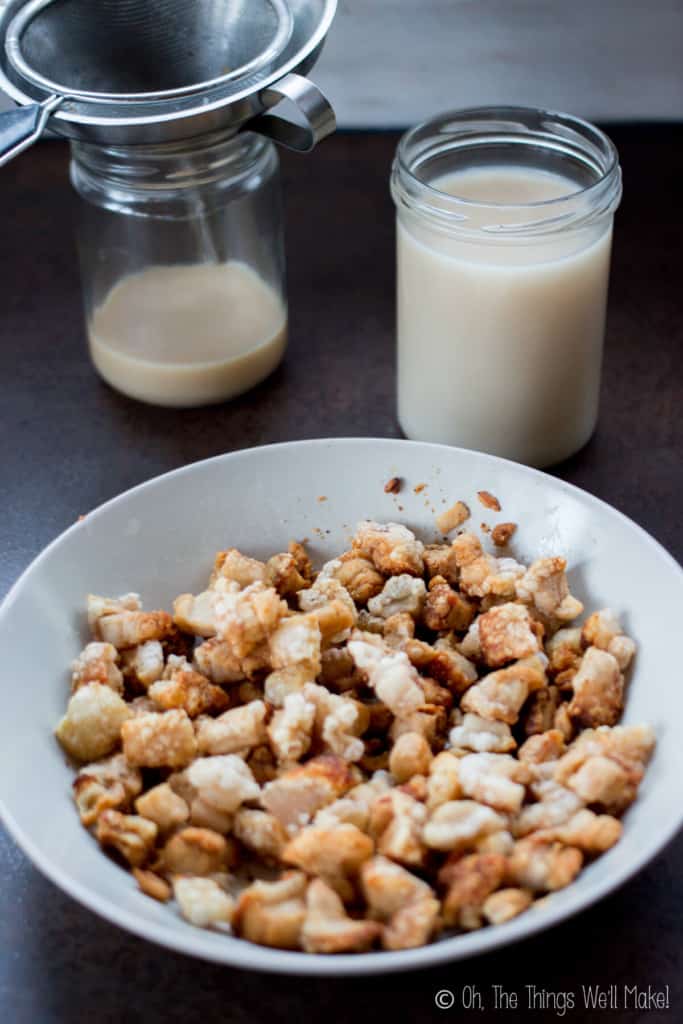
What to do with the cracklings?
Cracklings are the leftover crunchy bits of meat and skin that are strained out of your home-rendered lard.
Sometimes, the cracklings come out crispy and light. Other times, they may turn out hard or soggy. Soggy cracklings generally have remaining fat that hasn’t been fully cooked. Hard parts of cracklings are generally bits of skin that didn’t fry enough in the oil.
To melt off any remaining excess fat and make them crunchy, spread the cracklings onto a baking sheet and bake in a 350°F oven for about 10 minutes. If you find they’re still hard, fry the hard skin pieces in liquid lard. This should puff them up, turning them into pork rinds.
Finished cracklings can be stored in an air-tight container for about a week.
Once your cracklings have cooled a bit, you can season them and eat them as a snack or for flavoring dishes. They’re great sprinkled over salads, soups, or potatoes. You can also mix them into sauces and soups to add texture and flavor.
Storage
Once rendered, lard should be strained and stored in an air-tight container. It’s best stored in a cool, dry location. At room temperature, it should keep for up to a month. If kept in the fridge, it will last up to 6 months. If frozen, it can last up to a year.
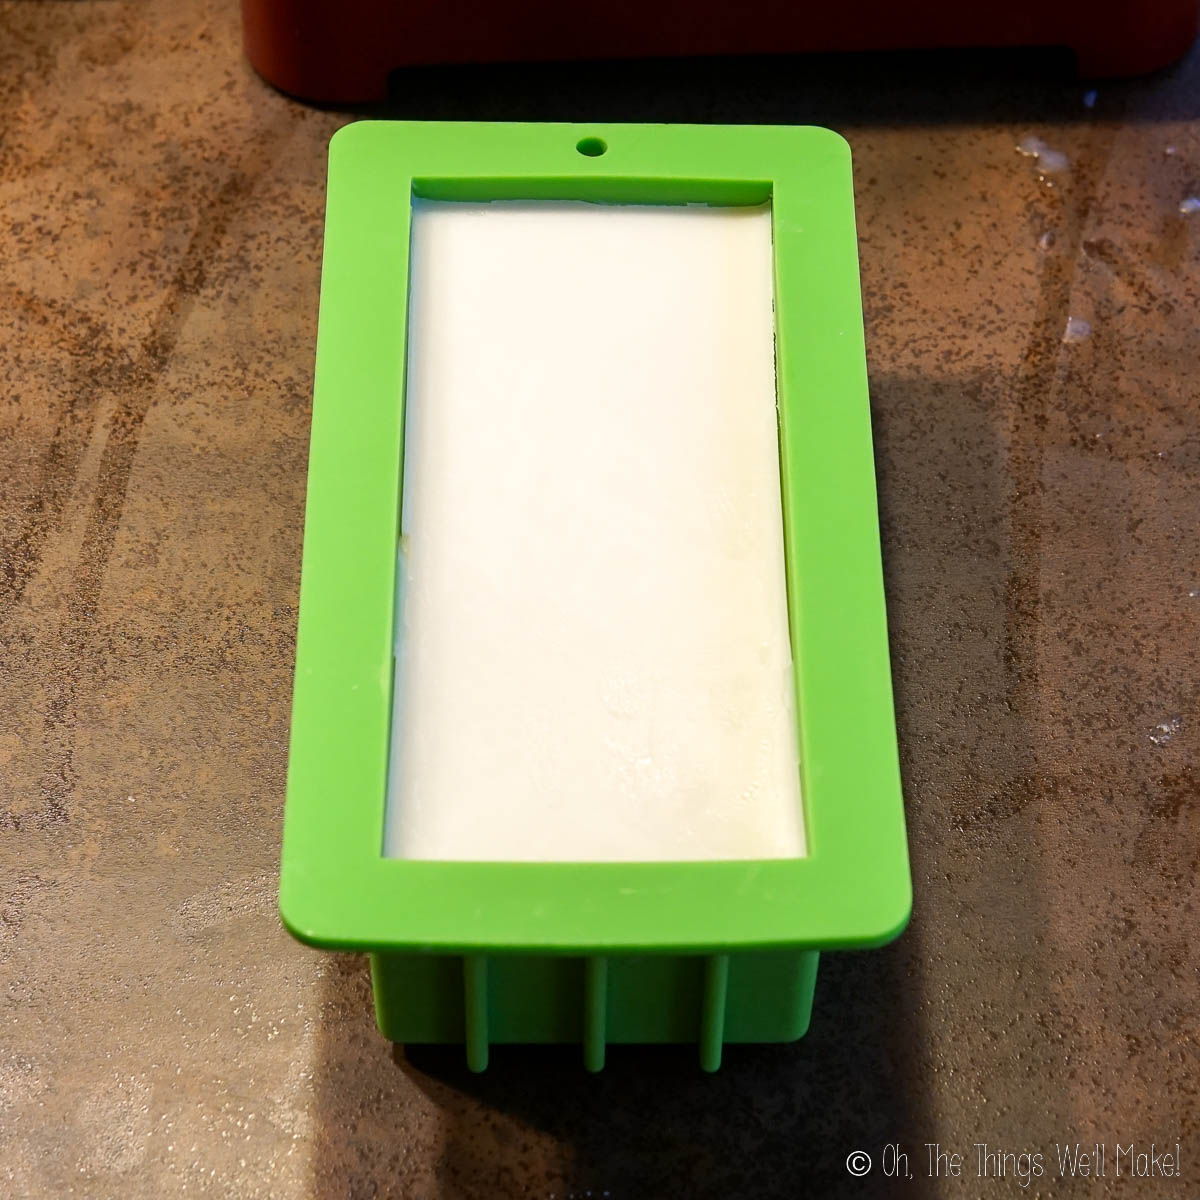
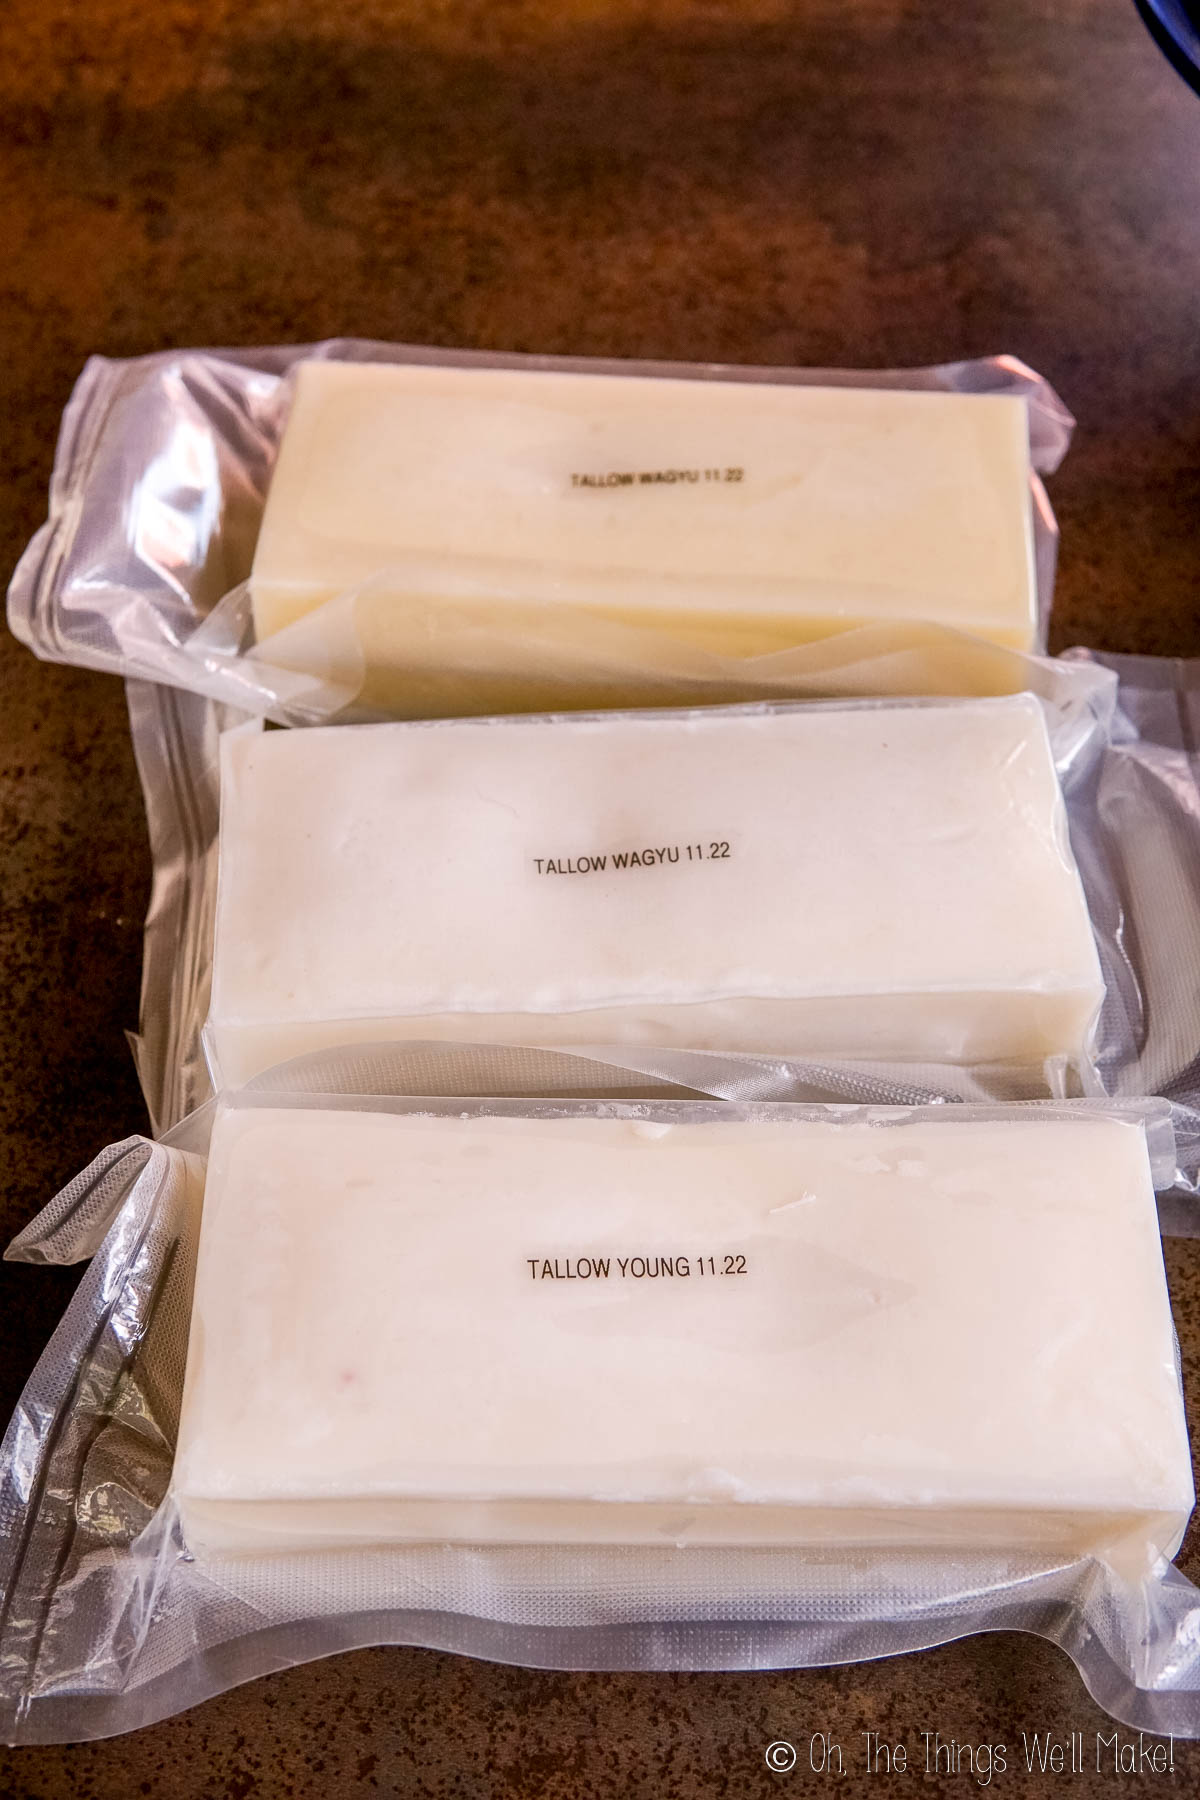
For long-term storage, consider making blocks of lard by straining the liquid lard into loaf molds. Freeze the lard for easier unmoulding, and then vacuum seal the block of lard before returning it to the freezer. Vacuum-sealed lard will last up to 2 years in the freezer.
Is lard healthy? Or is it bad for you?
I don’t remember a lot from my high school classes, but do remember a statement made by my Biology teacher. He said that when he was younger, people weren’t overweight and sick, despite eating a high-fat diet with butter and whole milk. He, of course, attributed it to my generation’s lack of exercise. While that is likely a factor, it made me think: could our change in diet also be playing a role?
Years later, it started to make sense. Maybe we haven’t gotten ill and overweight in spite of our reduction in fats, but rather because of it! Fats have been replaced by sugar which fuels cancer, raises cholesterol levels, and causes, either directly or indirectly, heart disease and other health problems.
Neither a low-fat diet nor the supposedly healthier fats we switched to (like vegetable oil, seed oils, margarine, and vegetable shortening) were a trade for the better. They contributed to weight gain and chronic inflammation.
Lately, I’ve adopted a fat-heavy carnivore diet (with plenty of lard, tallow, butter, and ghee) and I am feeling great! The traditional fats our ancestors used are helping me heal years of damage done by nutritional misinformation. Could lard actually have health benefits?
The fat composition of lard
Lard is high in monounsaturated fats (45-50%) and saturated fatty acids (around 40%), making it one of the most stable cooking fats available. (Saturated and monounsaturated fats are more stable at higher temperatures than unsaturated fats.) Lard also contains omega-3 fatty acids, which are essential for human health and can help reduce inflammation.
Monounsaturated Fats:
- oleic acid: 44-47% (The oil that “heart-happy” olive oil has at 70%)
- palmitoleic acid: 3%
Saturated fats:
- palmitic acid: 25-28%
- stearic acid: 12-14%
- myristic acid: 1-2%
Looking at its fat profile, you can see that lard is comprised of around 45% oleic acid. Oleic acid is the fatty acid credited with making olive oil (70%) so good for you! Compare that to corn oil which is only 27%.
We’ve been told that lard, animal fats, and coconut oil are unhealthy because of their higher percentage of saturated fats. Lard is especially high in palmitic acid (l26% vs. olive oil with only 13%). It is also higher in stearic acid and myristic acid, but neither has ever been associated with harm to our hearts. Little by little, it’s becoming more obvious that saturated fats were unfairly demonized. They are also more heat stable. When heated to high temperatures, the less stable oils oxidize, creating free radicals which can cause inflammation in the body.
When taking a nutrition continuing education class to maintain my dental license several years ago, the instructor already advised us that coconut oil, despite being so high in saturated fats, was one of the healthiest fats for cooking because of its stability at high temperatures.
Video
How to Make Lard From Scratch
Ingredients
- 1 kg Pork fat
Instructions
- Cut the pork fat into small cubes and add to a pot for stove cooking or a slow cooker.
- Heat the fat over low heat, stirring occasionally. After a little while, you will start to see a transparent, slightly yellowish liquid forming.
- Continue to simmer the fat until most of it has melted and the remaining pieces are crispy.
- Strain the liquid lard into a glass storage container (or a silicone loaf pan if making blocks of lard).
- As the liquid starts to cool, it will solidify and turn opaque and white.
Notes
Tips
If you are having a hard time cutting the pork fat and skin, you can try placing it in the freezer for a little while to help stabilize it and make it easier to cut. (Don’t freeze for too long, though, or it will get too hard to cut.) The leftover solid bits, the cracklings, can be baked in the oven. If the skin is too hard to comfortably eat, refry the hard skin in lard until it puffs up. Strain and season with salt. The cracklings can be eaten alone as a snack or sprinkled on other foods to add flavor.Storage
Once rendered, lard should be strained and stored in an air-tight container. It’s best stored in a cool, dry location. At room temperature, it should keep for up to a month. If kept in the fridge, it will last up to 6 months. If frozen, it can last up to a year. For long-term storage, consider making blocks of lard by straining the liquid lard into loaf molds. Freeze the lard for easier unmoulding, and then vacuum seal the block of lard before returning it to the freezer. Vacuum-sealed lard will last up to 2 years in the freezer.Related recipes:
Slow Cooker Pork Carnitas

Mantecados and Polvorones: Typical Spanish Christmas Cookies
Grain Free Mantecados Recipe: Spanish Christmas Cookies
Peppermint Soap

How to Make Ghee
How to Make Beef Tallow
This post was originally published on July 4, 2013. It was rewritten with clearer instructions and more ideas in February 2023.


I rendered my lard in the crock pot. It is liquid at room temperature and strangely layered. There is a light layer, strip of white solid and darker layer at the bottom. Any ideas? unsafe to use?
Hi Linda,
That can happen sometimes and usually just means that small amounts of water or impurities separated out as the fat cooled. When lard cools, it can form layers if it wasn’t strained very finely or if there was still some moisture present.
If the lard smells clean and mild (not sour or off), it should still be fine to use. You can gently re-melt it and strain it again through a fine cloth or coffee filter to help remove any remaining solids.
Once properly strained and stored in a clean container, it should solidify into a more uniform texture.
How do you know when it’s lost all it’s moisture and you can bottle it?
Generally, if you’ve cooked it long enough for the cracklings to be golden and crispy vs. soft and beige, you should be fine.
If you choose to cook with water, though, I’d pour the cooked lard into a glass bowl and make sure you don’t see a water layer underneath the lard. I’d then take only the top layer and remelt it for several minutes before pouring it into its final storage container.
I used my Instant Pot on slow cook to make lard for the first time. After cooking it on low for 4 hours (I included 4 peeled granny smith apples (diced), one huge onion diced, and 3/4 cup of fennel stalks (I had grown last summer) I strained it using cheesecloth and a strainer. I poured the lard into Ball jars. After allowing it to cool down and skimming the lard off of the transparent yellowish-brown water that had collected in the bottom of the jars, I ended up with about 18 oz of water overall (I used 3 half pint jars). Is there anything I can use the leftover water for? Broth or gravy for instance?
Hi Valerie,
Yes, I suppose those would be the best uses for it. It’s probably mostly liquid from your veggies, so soups or sauces would probably be the best uses. (If it’s not too sweet for your recipe because of the apples.)
I’d suggest taste testing it first to make sure the flavors are compatible with whatever you want to use it in.
OMG Tracy!! Love love love this post! I am Spanish, from Spain and I need to say that you did an excellent job explaining the everything about rendering lard!! I was having troubles finding this ingredient since I am living in California (5 years already) and I need to say that i am going to follow your recipe this Christmas to bake my mantecados. I miss them so much! Thank you so much!
I hope it worked out well for you. 🙂
So how long can you keep the Lard in the fridge with out spoiling?
Hi Christina,
It actually keeps for months. When it starts to taste a bit off, just toss it. If you’ve removed all of the humidity, it won’t really get unsafe- it will just become rancid and unpleasant to use.
What is the best container to store the lard in and how long can it be stored?
Hi Michael,
I normally use a glass jar. It normally keeps well for several months. With time, it will start to smell like it’s going rancid. At that point, it’s not unsafe. It’s just not pleasant to use. That’s when you know it’s time to make a new, fresh batch!
Hi! I don’t see how long or at what setting you would render the fat in the crockpot! I’d think it would longer than the time on the stove?
Hi Joyce,
I used the low setting, but either would probably work fine. You just have to keep a better eye on it at higher temperatures so that it doesn’t burn.
I never really time it. Yes, it takes longer if you use a lower heat setting, but it’s also a bit less hands on because you don’t have to watch it as closely.
The time will depend on so many things- how small you cut the pieces of fat, the temperature of your stove/crockpot, etc.
Well that was interesting! I did a bit of googling and pork belly seems the closest thing to use over here. My mother always used lard for pastry and my grandmother would save dripping from beef, the top of which was very tasty on bread. If I used pork belly would I cut off the meat first?
Hi Angela,
If it has a lot of meat on it, yes, you can cut if off first, but it’s not really necessary. Normally here they sell the pieces with mostly a thick layer of fat, but sometimes they do have some meat on them and I’ve never taken it off. Eventually the meat will cook in the fat and you can take it out and eat it. 😉
If it’s a really thick piece, you may want to cut it in half first, just to make it more manageable, but it’s not really necessary either!
I like to save the fats off of bacon for cooking plates that dont require a flavorless oil. This is mostly the same idea except regular bacon needs more cleaning to come out one consistency.
Thanks for your comment!!
I also love to do the same thing. Bacon fat adds great flavor when using it in cooking. I often have a layer of bacon fat on top of the rendered lard that I have sitting in the fridge. 🙂
I just strain off the bits of bacon left and pour it into the container. Yum!