

How to Make a Simple, Homemade Lotion and How to Customize it
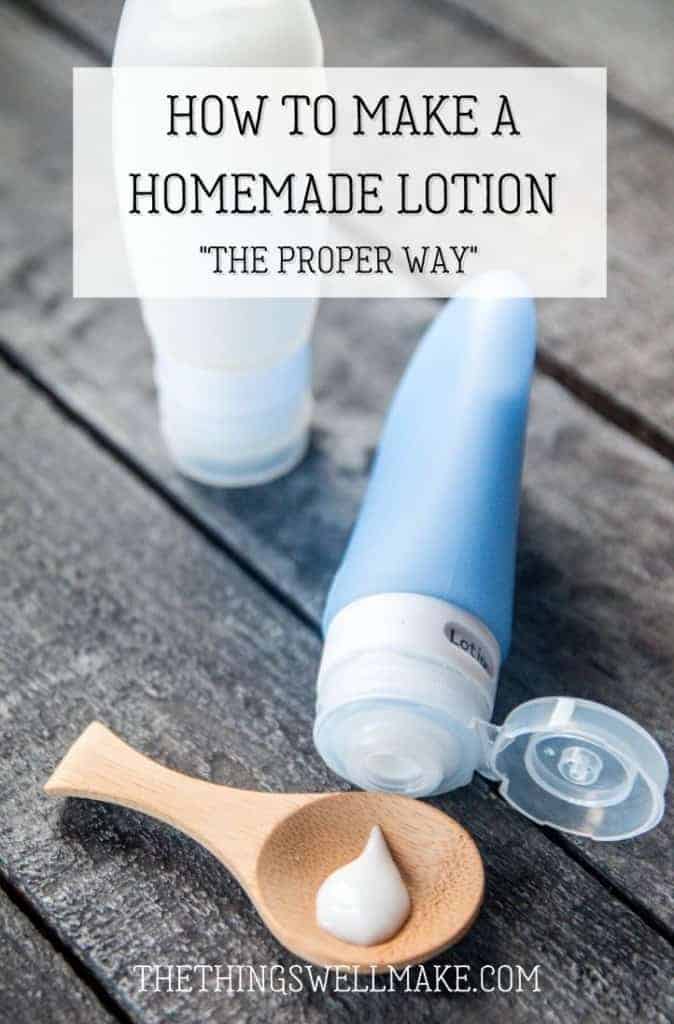
Learn how to make an easy, basic homemade lotion that is the foundation for many different types of cosmetics. It can be customized to suit different skin types or to make a wide variety of products!
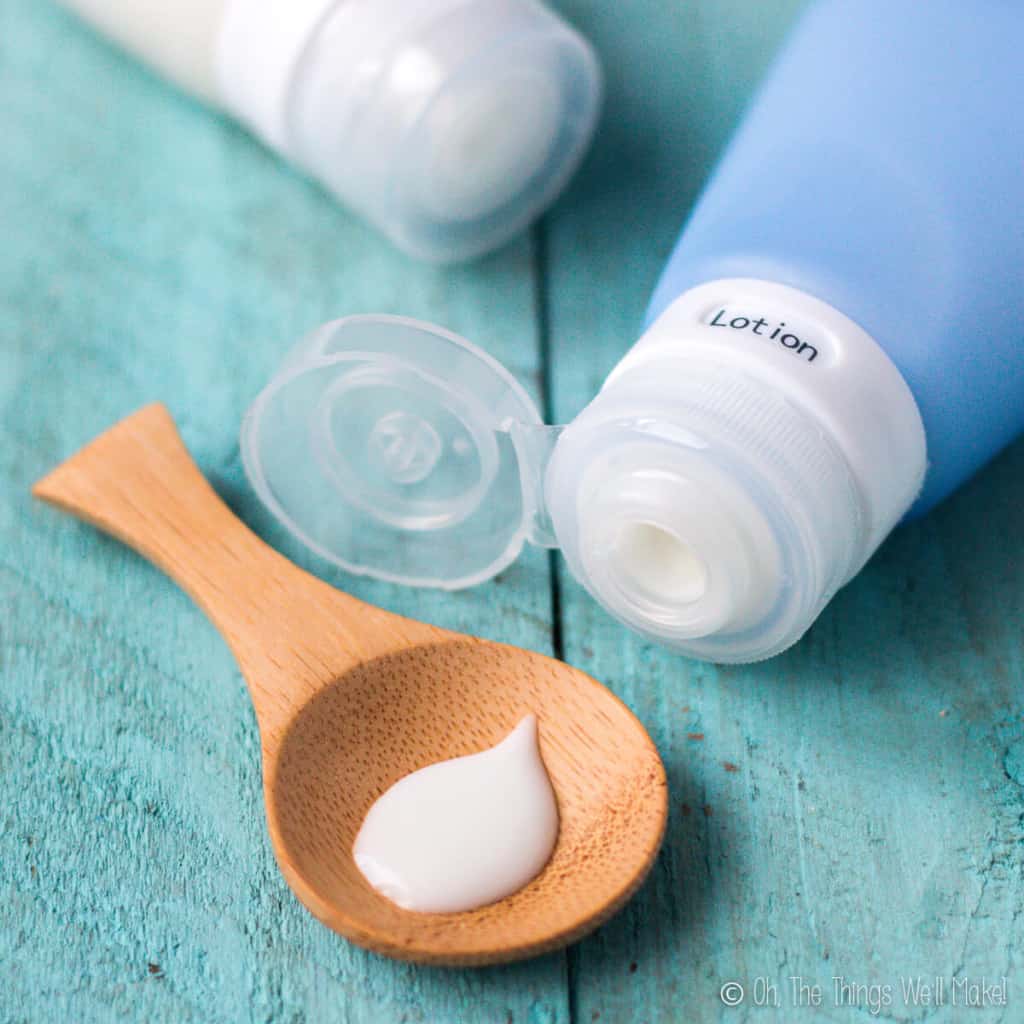
Over the years, I have shown you how to make all sorts of things. I’ve shown you how to make soap, cosmetics, and lots of food recipes. This, however, might be one of the most important things I show you how to make!
Lotions are the foundation of many types of homemade cosmetics. It’s important to learn how to make a lotion correctly so that it is stable and safe for use on your skin.
Most recipes I’ve seen out there are either intimidating with lots of (unusual) ingredients, don’t work, or are lacking important information like how to preserve the homemade lotion so that it is safe to use.
Years ago, before I knew better, I tried one with beeswax. Beeswax isn’t a true emulsifier and that lotion separated into liquid and oil layers. It also got mold right away because it didn’t use a preservative.
So, today I’ll be showing you how to make a simple lotion safely!
Why make your own lotion?
There are several great reasons to make your own lotion from scratch.
Save money
While you can probably find inexpensive lotions for sale at the local dollar store, those may not be exactly what you are looking for. A cheap lotion will probably have cheap ingredients and cheap packaging.
On the other hand, high-quality lotions with high-quality ingredients tend to come with a hefty price tag.
When you consider that the main ingredient of pretty much any lotion is water, you’ll soon realize that there is a huge potential for saving money by making a lotion yourself!
Keep in control of the ingredients
For me, the main reason for making my own lotions and other cosmetics is gaining full control of what goes into them.
In some cases, I want to use an organic ingredient and I’m willing to spend a bit more on it. In other cases, it’s not that important to me.
It’s not just about the quality of the ingredients, though. It’s about choice.
- Are you allergic to a certain oil? You can use a different one!
- Are you looking for a certain oil blend that isn’t available in any store-bought lotions? Make your own!
- Are you looking for all vegan/all locally sourced/palm-free ingredients, etc.? You can choose!
Sustainability
Making your own products also helps keep waste to a minimum. When you make your own lotion, you can disinfect and reuse your packaging or at least choose something more sustainable.
Lotion Based Cosmetics
Even if you don’t normally use hand or body lotion, this is an important basic recipe to learn.
Learning to make a simple lotion serves as a foundation for making all sorts of other cosmetics. By tweaking the various components of a homemade lotion, you can make just about any creamy-type cosmetic product that you can imagine.
Facial moisturizers
Let’s “face” it ?: facial moisturizers are expensive!
They make all sorts of claims and often have a bunch of exotic-sounding ingredients that make you want to buy them. That said, moisturizers are really just lotions with oils, vitamins, and other active ingredients targeted at improving our appearance.
Most of the time, it’s simple enough to make your own. The base recipe is just like any lotion. You just use oils known to improve fine lines and wrinkles (or whatever you are targeting) and add in extra active ingredients, as desired.
Check out my homemade moisturizer for oil, acne-prone skin as an example.
Homemade Moisturizer for Oily, Acne Prone Skin
Homemade conditioners
What’s the difference between a lotion and a conditioner? Not much!
Basically, the main difference between a lotion and a conditioner is the emulsifier used. To make a conditioner, you want to use an emulsifier that will “condition” your hair. Learn more about it in my post for how to make a conditioner.
Easy DIY Hair Conditioner
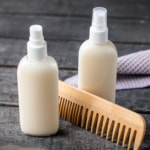
Roll-on deodorant
Even in a product like a roll-on deodorant, an emulsion is needed to get the right consistency. You could use all oils, I suppose, but it would be messier to apply and wouldn’t allow for water-soluble ingredients.
This roll-on deodorant is basically a light lotion with active ingredients to keep you odor-free. ?
Natural Roll On Deodorant
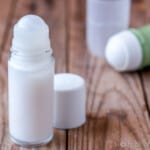
Other specialized lotions
Lotions aren’t just for your legs and hands. There may be special times that you may want a special lotion.
Why not try making a lotion with aloe and d-panthenol for some help in healing your skin from any possible ill effects of the sun. (It can also be used as a general, healing lotion.)
After Sun Lotion
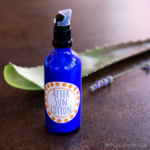
Another of my favorites, this stress relief lotion uses menthol and essential oils to give a pleasant scent and cooling sensation when applied. I like to massage it into my often sore neck muscles. Some people like rubbing it into their temples to help relieve headaches.
Cooling DIY Stress and Headache Relief Lotion
Lotions vs. body butter
To be honest, I personally don’t like body butters very much. I showed you how to make body butter because many of you asked for a simple recipe without emulsifiers and preservatives. That said, it’s not something I normally make for myself. When I do use a body butter, I layer it over a lotion.
There are several reasons I prefer lotions. Even when you whip butters and oils into a fluffy, smooth body butter, it still goes on feeling greasier than a lotion. Yes, I shared ways to reduce that sensation, but most body butters just don’t have that silky feeling that a lotion does when you put it on.
Body butters and lotion bars have other disadvantages. They don’t absorb into your skin in the same way or pull moisture into your skin either. (They have no water/moisture to draw in.) Plus, they are a lot more expensive to make because 100% of your ingredients are oils and other active ingredients.
When you stick to only body butters and lotion bars, you lose out on the opportunity to use a lot of beneficial ingredients that are water-soluble. I add things like rose water, witch hazel, aloe juice and gel, and hyaluronic acid to my creams and lotions as part of the aqueous phase.
Ingredients
Making a basic lotion is very easy, and only uses 4 simple ingredients: water, oil, an emulsifier, and a preservative.
You can customize those ingredients somewhat, as needed. You can also add essential oils for fragrance and/or other ingredients like vitamins for their beneficial properties. For now, though, we’ll concentrate on the main essential ingredients.
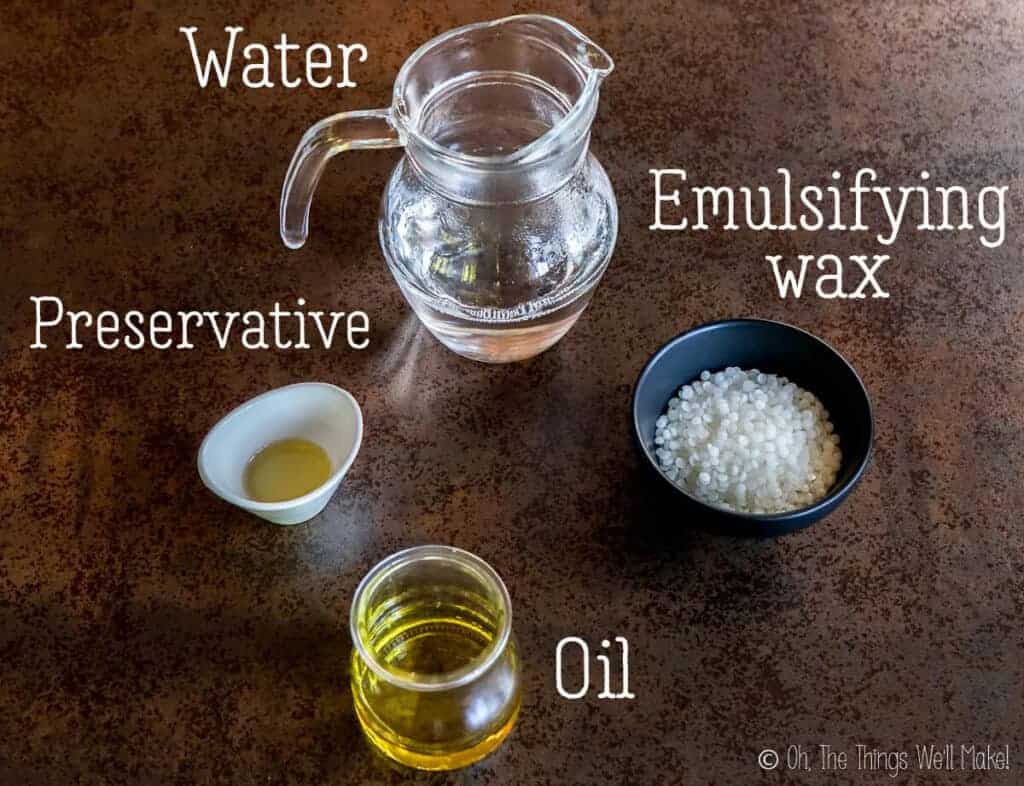
The aqueous phase:
The main component of lotion, and the one that makes it differ from a body butter, is water. In most cases, water makes up over 50% of the ingredients in a lotion!
This phase isn’t just made of water, though. It also includes hydrosols or floral waters as well as water-soluble ingredients.
What type of water?
To keep contaminants to a minimum, I use distilled water for my homemade cosmetics. You could use recently boiled filtered water too. By boiling the water before using it, you can kill off any pathogenic microbes that might be present in the water.
Once you introduce water into a product, you are making way for bacteria and mold formation, so you need to use a preservative of some sort. (Learn more about when and why to use preservatives in my beginner’s guide to natural preservatives.)
Other water soluble ingredients
While you can use just water in this recipe, you can also change out part of the water for other water-based ingredients.
Let’s say you want to add a mild fragrance to your lotion without using essential oils. Rather than use 65g of water, you could use 35g water and 30g rose water in the recipe below.
Other ideas include making teas/infusions to add the benefits of certain plants.
While using herbal teas is a valid option, keep in mind that any “organic” additions to the lotion can make your lotion more prone to bacterial/fungal growth. Strain out the plant material well, if making an infusion. Also, keep in mind that the final product may not keep as well as one made with water.
Always use freshly made infusions rather than ones that has been sitting around for a while!
For products that I want to preserve, I normally only use store-bought aloe gels/juices in the water phase. Aloe is notoriously difficult to preserve, so I only add small amounts and I don’t use fresh aloe. (Although I do make my own aloe oil.)
Cosmetic formulators test their products to ensure they stay microbe-free with time. As most DIY cosmetic makers don’t do that sort of testing, it’s always best to err on the side of safety. I like to make small batches, and use the product within 3 months or less. This is especially true of products made with herbal teas or aloe.
The oil phase:
Oils and “butters” add nutrients and antioxidants to your lotions and creams. Different oils have different properties that can be beneficial for different types of skin.
Despite what many believe, not all oils provoke acne or are bad for acne-prone skin. Some oils can actually help reduce acne and the inflammation caused by it by balancing the oils in your skin. Other oils are especially good for healing dry skin, clearing up eczema, and reducing the appearance of fine lines and wrinkles.
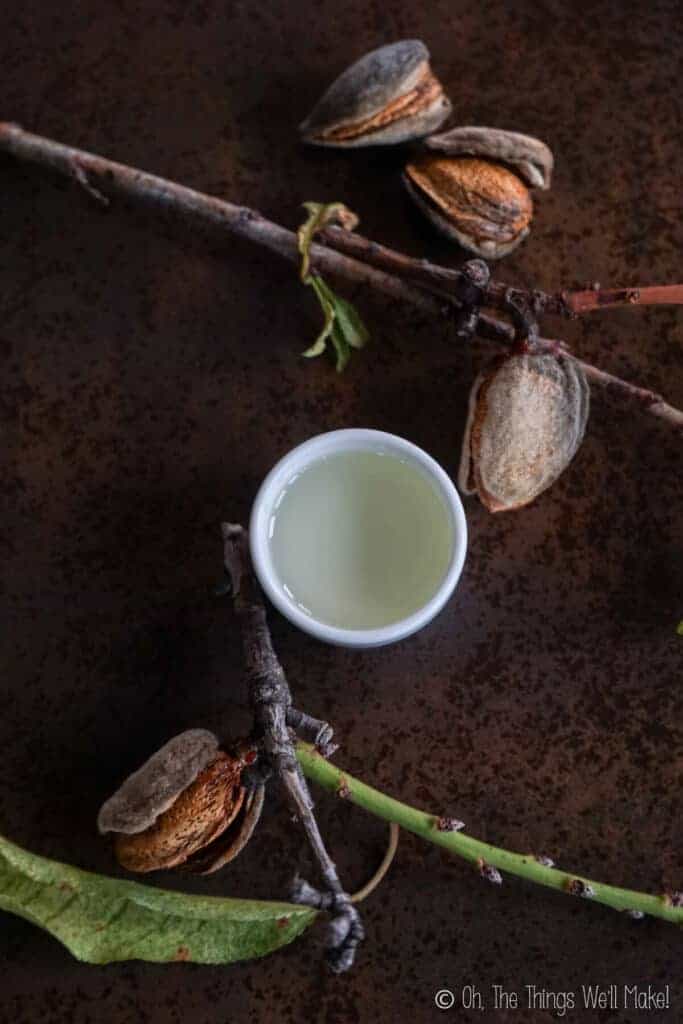
Sweet almond oil 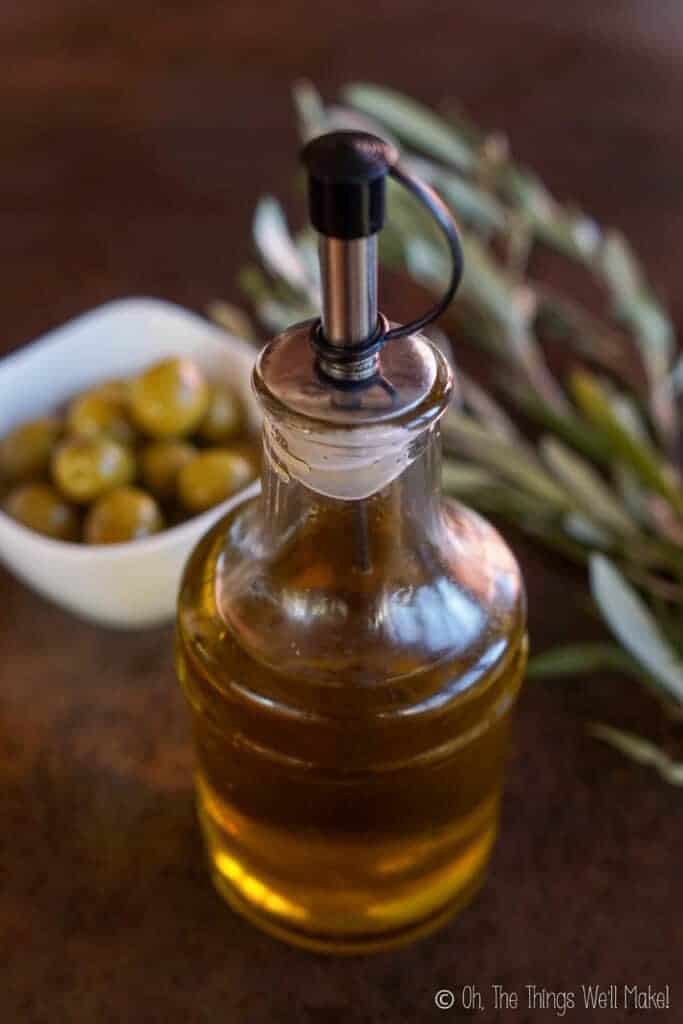
Olive oil 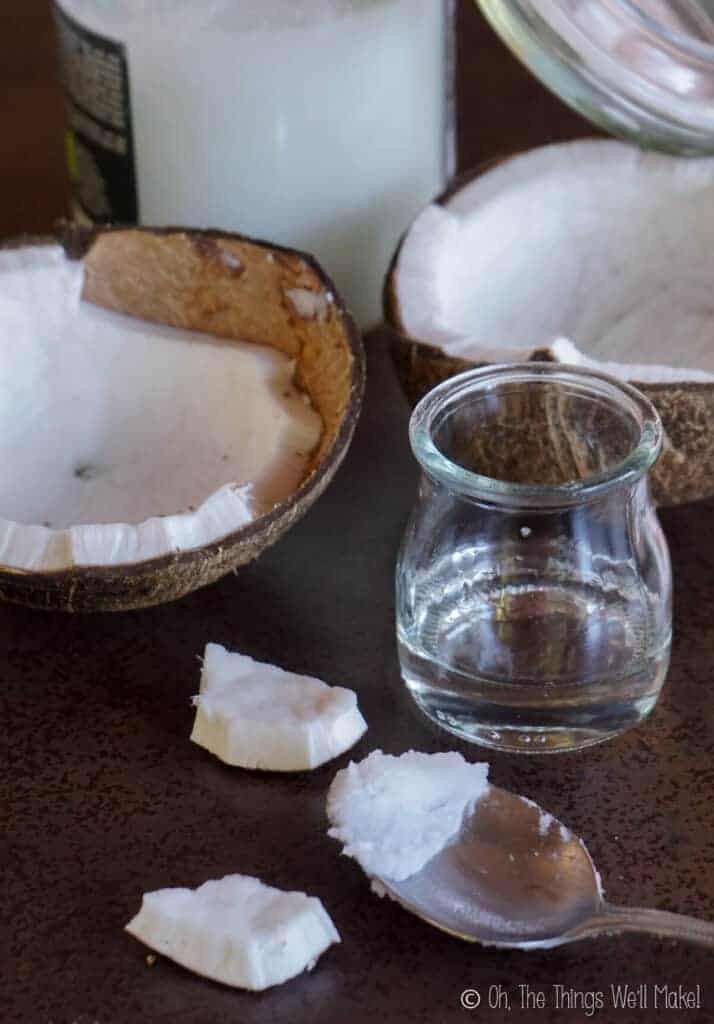
Coconut oil
What oils should you use?
I have made this recipe, as written, with only olive oil and with only coconut oil, and both worked well. I assumed that the coconut oil lotion would be a bit thicker, especially in colder environments, but both lotions were pretty similar in texture.
Making a simple lotion with only one oil is a great place for people with skin sensitivities. By minimizing the number of ingredients, it’s easier to pinpoint which ingredients are problematic for each person.
That said, you can also divide up the oil phase and use a combination of oils instead. The possibilities are really endless.
High-end cosmetics often add a variety of expensive oils in small amounts. This is not only for their beneficial properties but also for product appeal. (A product made with meadowform and rosehip oil, for example, sounds a lot more expensive than one made with only olive oil, even if there is very little of each of those oils in the product.)
Emulsifiers and waxes:
Oil and water don’t combine well on their own. In order to get them to come together into a stable product, you need some sort of emulsifier or emulsifying wax.
Emulsifiers have both a water-loving and oil-loving component to them, so they work as sort of a “glue” to keep both the oil and aqueous phases of your lotion together.
Because most of the emulsifiers are called emulsifying waxes, many people think that all waxes will work as emulsifiers for making lotions.
Unfortunately, waxes like beeswax, candelilla wax or carnauba wax, can’t be used as the emulsifier for making a lotion- at least not on their own.
(I found that out the hard way when I made a mess trying to make my first lotion with beeswax many years ago.)
There are lots of different emulsifiers and emulsifying waxes on the market, each with their own properties. Some will give a different texture or weight to your lotions, others are used more for hair conditioners and similar products.
Most emulsifiers are added to the oil phase of a lotion, but there are exceptions. Depending upon the emulsifier, you may need more or less for emulsification to take place or to get the right texture.
When substituting a different emulsifier in a recipe, it’s a good idea to check on its specifications and see how they differ from the emulsifier being used.
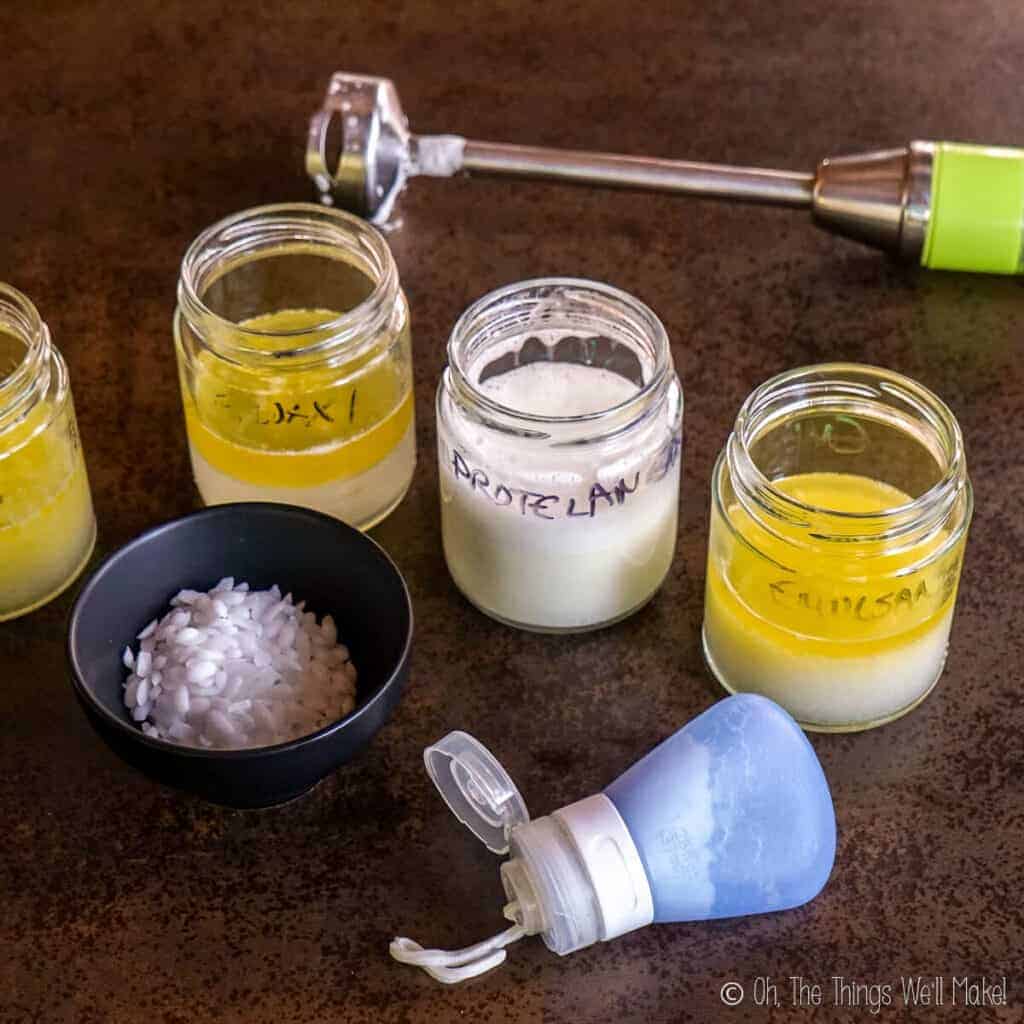
Examples of emulsifiers
- Emulsifying wax: Emulsifying wax is a plant-based emulsifier made from wheat straw. In this simple recipe, I’m going to use emulsifying wax number 2 because it’s a common emulsifier to find on the market. It’s a good emulsifier for lotions with an oil phase of 25-40% of the recipe. (If using less than 25% oil, you’d need to add either some sort of gelling agent or a co-emulsifier like cetyl alcohol to help get a proper texture.) The recommended dosage for this emulsifier in lotions is 3-5% of the final product weight.
- Montanov 68: This emulsifier, made from coconut oil and the tapioca plant, is one of my favorites. (I guess the paleo diet lover in me loves those base ingredients.) 🙂 It’s a non-comedogenic emulsifier that is 100% biodegradable and accepted by BDIH and ECOCERT as a suitable natural cosmetic ingredient. The recommended dosage for a lotion is 4-5% of the final weight of the product.
- Olivem 1000: This interesting emulsifier comes from the olive tree plant, as the name implies. Unlike most emulsifiers, it can be melted into either the aqueous or oil phase of your recipe. The recommended dosage is 1.5-3% in serums or light lotions, or 3-8% for thicker lotions or creams. Olivem works in a wide variety of pH levels and for a wide variety of products like lotions, makeup, sunscreens, after-sun products, hair conditioners, and baby products.
- Emulsan II: Emulsan II is another plant-based emulsifier that can be used for making hydrating creams and lotions for any skin type. It should be used as 3.5-7% of the weight of ingredients, obtaining a normal texture at around 4%.
When updating this post, I decided to leave the information above with some options for emulsifiers that you can use. Since I wrote this, I’ve tested out many more emulsifying waxes. For more information about how to use emulsifying waxes, and which ones you can use, check out my beginner’s guide to emulsfiers.
Using beeswax and other waxes
Just because waxes like beeswax, carnauba wax, and candelilla wax don’t make good emulsifiers doesn’t mean that they aren’t suitable for homemade cosmetics.
Waxes can help thicken up a lotion or other emulsion, and they add staying power to certain cosmetics. They also help create a barrier that keeps moisture in your skin. I especially love waxes for making a simple homemade lip balm, a natural root concealer stick for your hair, or even a solid perfume.
The preservatives:
Preservatives are the “scary,” “non-natural” part of making lotions and other emulsions.
Once you add water to your product, it becomes lighter and absorbs more easily into your skin, but it also becomes a breeding ground for bacteria and molds.
There are people who make their own homemade lotions without preservatives thinking they will use them quickly enough to not have any problems. Even if you keep your preservative-free homemade lotion in the fridge, it will likely be filled with mold and bacteria within a couple of weeks. If you don’t use a preservative, you have to treat your lotion as if it were a general food recipe. Keep it in the fridge and toss it after 7-10 days max!
I much prefer to use a mild preservative that will allow me to have a safe product for several months.
There are natural preservatives on the market that will give your finished product a shelf life of around 2-3 months, on average, even when you store your lotion outside of the fridge. In reality, most cosmetics made with these preservatives will keep much longer than that. Without doing microbial testing on your products to see how long they really keep, I would suggest making small batches than can be used up within 3 months.
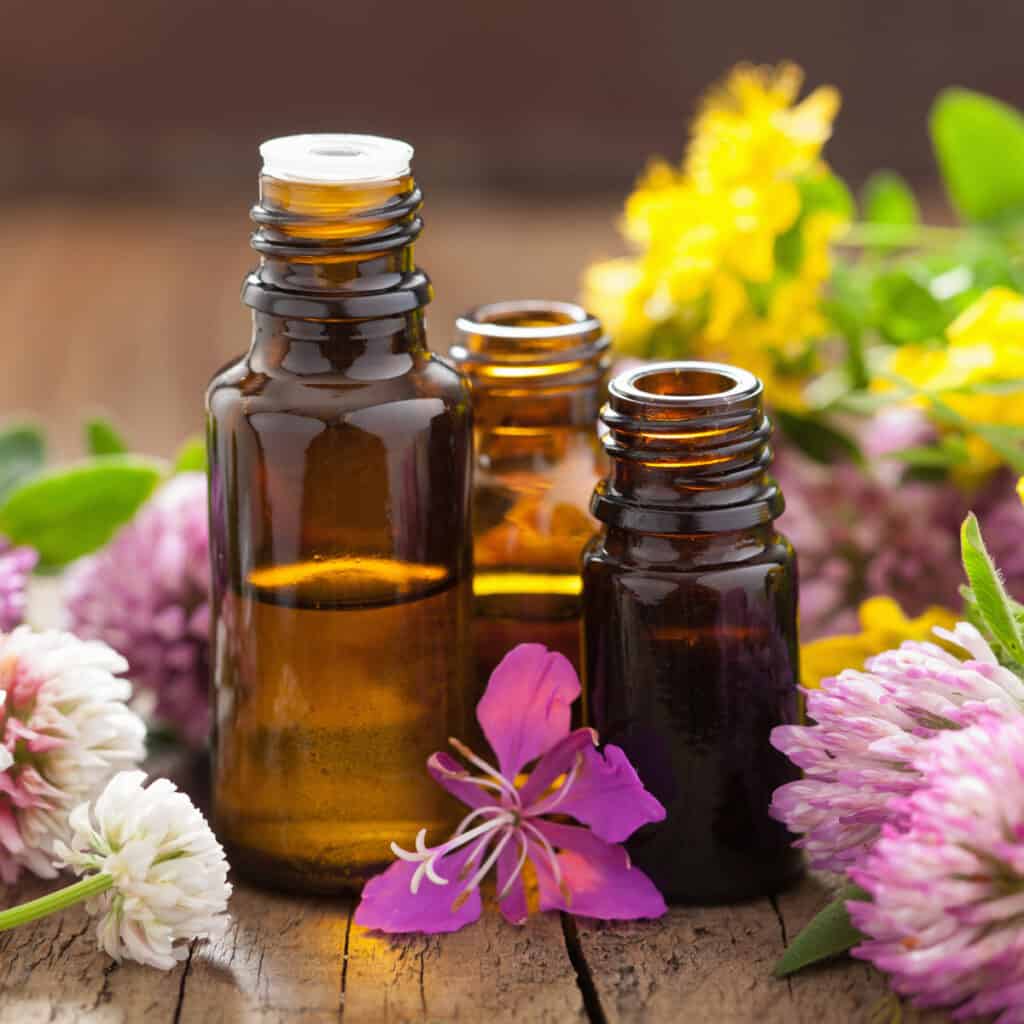
Natural preservatives
While you should use a preservative, you can choose to avoid the harsher chemical preservatives that most store-bought products use to give extended shelf lives that will allow their product to last for months and months on end.
When I first wrote this post, I gave you the following list of preservative examples. At the time, there weren’t a lot of natural preservatives on the market that were easy for me to find. I’ll keep the list up because they are still valid alternatives. That said, I now tend to use other preservatives instead. (Sharomix 705 is one of my favorites because it’s inexpensive and easy to find here in Spain.)
I suggest you read my beginner’s guide to natural preservatives to get more ideas about how to preserve your homemade cosmetics.
- Rokonsal: This preservative is a mild preservative that is accepted for natural cosmetics by the BDIH and ECO-CERT. It can be used to give a 2-3 month shelf life of products whose pH is less than 5. I use a few drops of lactic acid to lower the pH of my lotions before adding this preservative. It works against a wide spectrum of bacteria and molds and can be used at a dosage of .2% in shampoo recipes or .3-1% in lotions and creams. This is the preservative I used when I made the video of myself making a basic lotion.
- Leucidal: This ECO-CERT-approved preservative seems to be easier to find in the US, and it also seems to work on a wider pH range (3-8). It is made from fermenting radishes with the Leuconostoc Kimchii bacteria. (Kimchi? Yum! 🙂 ) One of the issues I have with Leucidal is that you need to add more of it to your products than you would with most of the other natural preservatives. (Its recommended dosage, when used alone, is somewhere between 3-4% of the recipe by weight.) It does have the added advantage of being able to augment the hydrating ability of homemade lotions. It gives your lotion a shelf life of 2-3 months.
- Geogard 221 (Cosgard): This mild preservative will help give a longer shelf life to products with a wider pH range. It’s effective in a pH range between 2 and 7, giving a shelf life of about 2 – 3 months. The recommended dosage is 0.2-1% of the final recipe by weight. Geogard is ECO-CERT approved for organic products certification.
What about essential oils and vitamin E?
Some people like to say that they are using essential oils, Vitamin E, grapefruit seed extract, potassium sorbate, or even coconut oil as natural preservatives.
While it is true that coconut oil and some essential oils can have antibacterial and antifungal properties, they alone aren’t enough to preserve any type of homemade lotion. Vitamin E and grapefruit seed extract are high in antioxidants, and can help slow rancidity in the oils in your lotions. They won’t prevent the formation of bacteria and mold, though.
Potassium sorbate can be used as a preservative against mold. The problem with potassium sorbate is that it doesn’t prevent against bacteria formation. If anything, adding only potassium sorbate may actually make for a more dangerous lotion because the mold formation won’t occur, which is what normally alerts you to something going wrong in your lotion! You could end up with a bacteria laden lotion that looks perfectly normal.
Potassium sorbate can be used to help preserve certain cosmetics, though, as long as it’s used with some sort of bacteria inhibitor like 10-12% alcohol in your recipe.
Again, most of this is covered in more detail in my post about natural preservatives.
Making a homemade lotion
Once you’ve chosen your oil(s), emulsifier(s), and preservative(s), making the lotion itself is quite simple.
Use proper hygiene
To ensure a safe lotion, you should work in a clean environment. It won’t be a sterile environment, nor does it need to be. That said, you should clean and disinfect both your work surface and utensils as best you can. I like to spray down my work surfaces and utensils with my homemade disinfectant spray. (Once I spray, I wipe the surface with a clean towel and allow it to dry.)
The packaging you will be using for your homemade lotion should also be clean. I like to run heat-stable packaging through the hot dishwasher before using them. Newly bought and wrapped packaging should be ready to use, as is. In any case, you can also use a disinfectant spray (or even something like vodka) to help further sanitize the packaging.
Weigh out the ingredients
Over the years, people have requested that I give recipes in cups and other volume measurements rather than in weight measurements like grams. While I also prefer using cup measurements for most basic food recipes (where precision isn’t important), in the case of cosmetics, it’s important to use precise measurements. That’s why I write my recipes in grams.
For those who will be making their own soaps and other cosmetics, having at least one scale is essential. You can buy an inexpensive kitchen scale for under $20. A kitchen scale is great for recipes where you don’t need to be super precise. It will give you a reading to the nearest gram.
More precise measurements may be needed for making smaller batches. (For example, when measuring out preservatives or when making a homemade serum.) I use an inexpensive jeweler’s scale for those times.
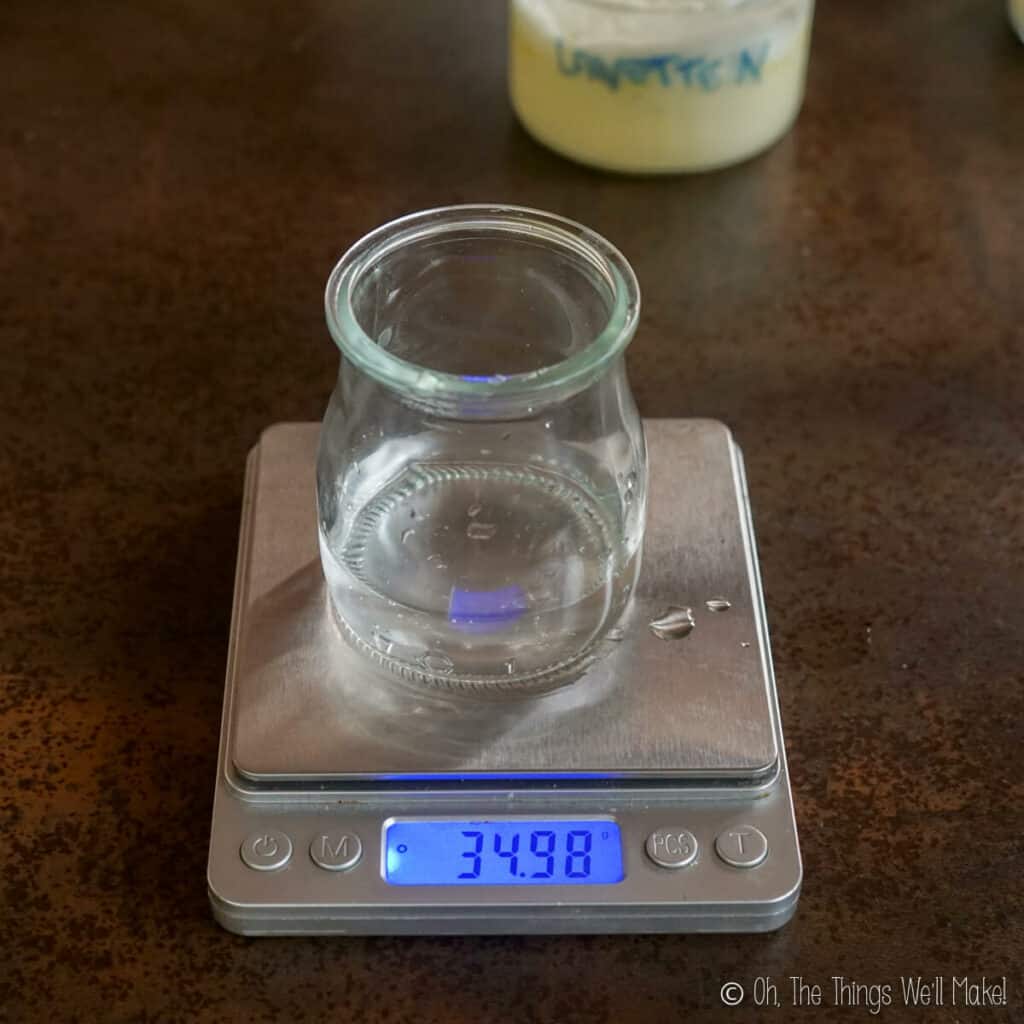
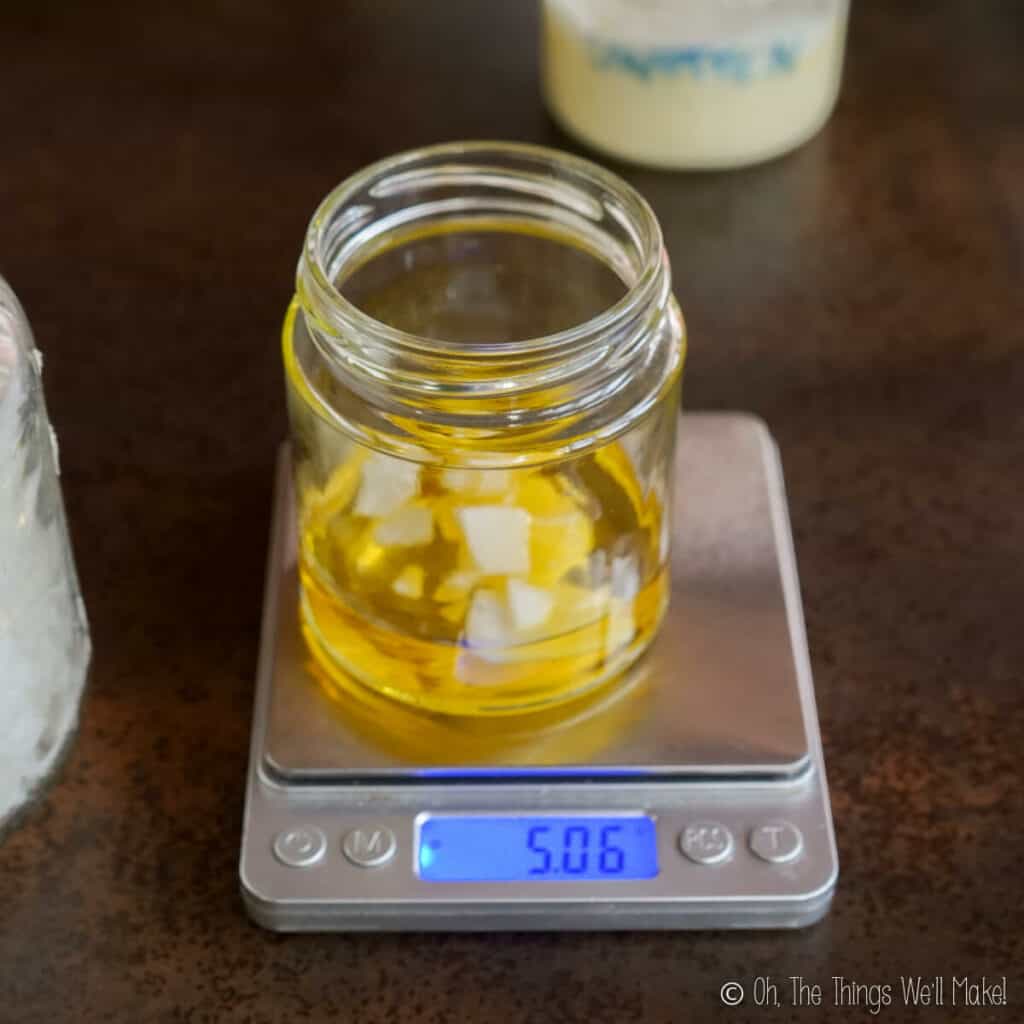
I like to weigh the ingredients directly in the recipient in which I will be heating them. When weighing out multiple ingredients in the same recipient, it’s easiest to tare the scale between each ingredient addition. So, tare the scale with the recipient on it and add the first ingredient until you reach the required weight for that ingredient. Tare the scale again, and once it has reached zero, add the next ingredient. Continue that method until you have weighed out all of your ingredients.
For the lotion, you should weigh out all of the aqueous phase ingredients (water and/or hydrosols) in one recipient and the oil phase (oils and/or butters and waxes) in another recipient. The emulsifier is generally added to the oil phase (but it may depend on your emulsifier).
Heat the ingredients
In a water bath or in a pan of water over the stove, heat the ingredients of both phases. (You can also use a double boiler instead.) Heat until all of the waxes and butters have fully melted.
Both phases should be heated to around 70º-75ºC/160º-170ºF.
Heat and hold?
Some people advocate using a “heat and hold” method, where you heat both the oil phase and aqueous phase ingredients separately, and hold them at around 70º-75ºC/160º-170ºF each for around 20 minutes, before bringing them together. Some say it helps with the emulsification process. Others say it helps ensure killing off all possible pathogens.
I personally don’t use the “heat and hold” method myself, and until now haven’t had any problems with lotions separating or going bad more quickly. This is a topic that would warrant a full post, but I don’t want to go into it right now, so I’ll leave you with this post with some arguments against it. If you are having problems with lotions separating after several weeks, though, it is maybe something that you could try.
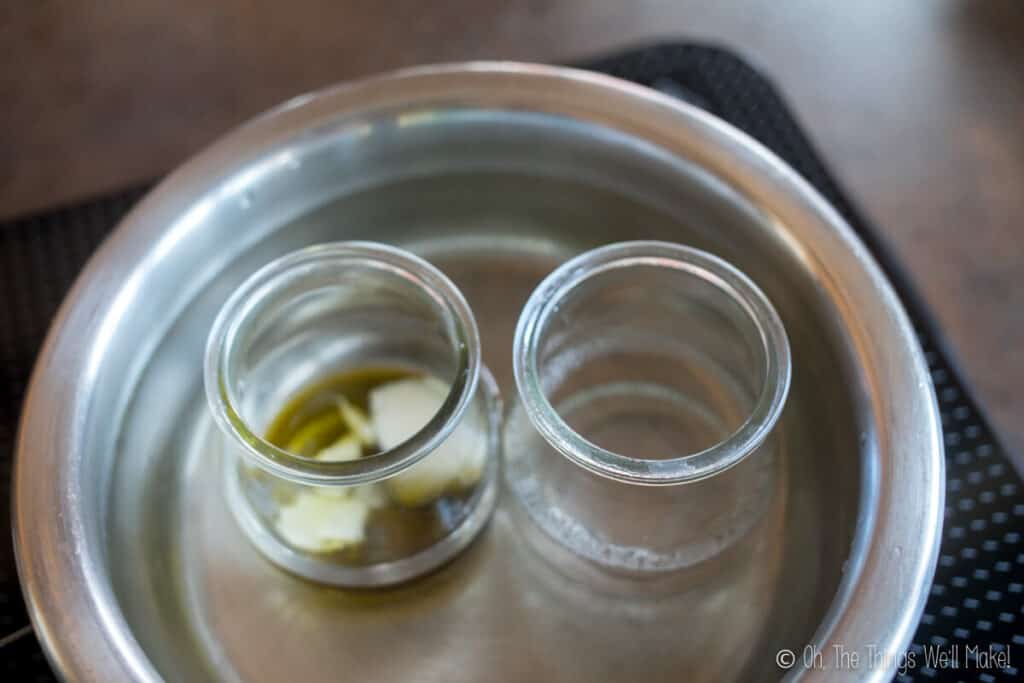
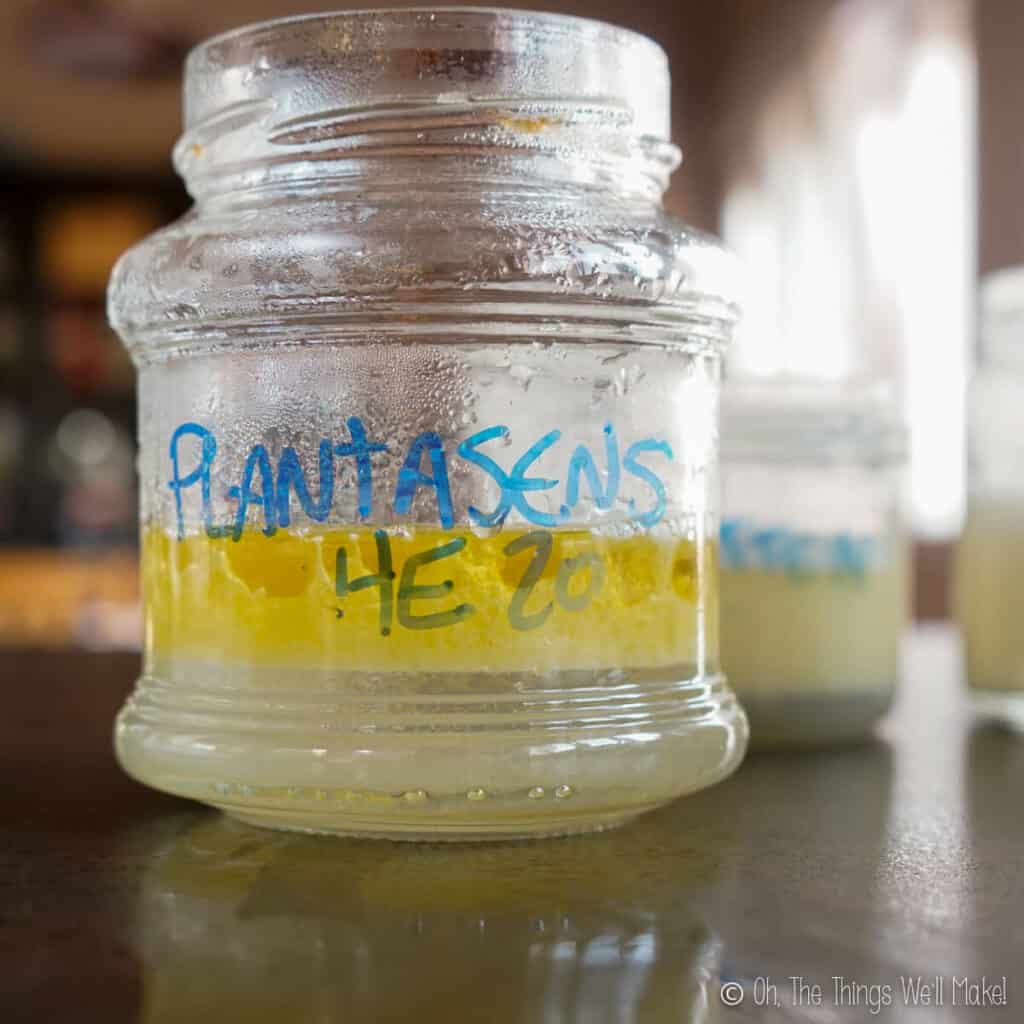
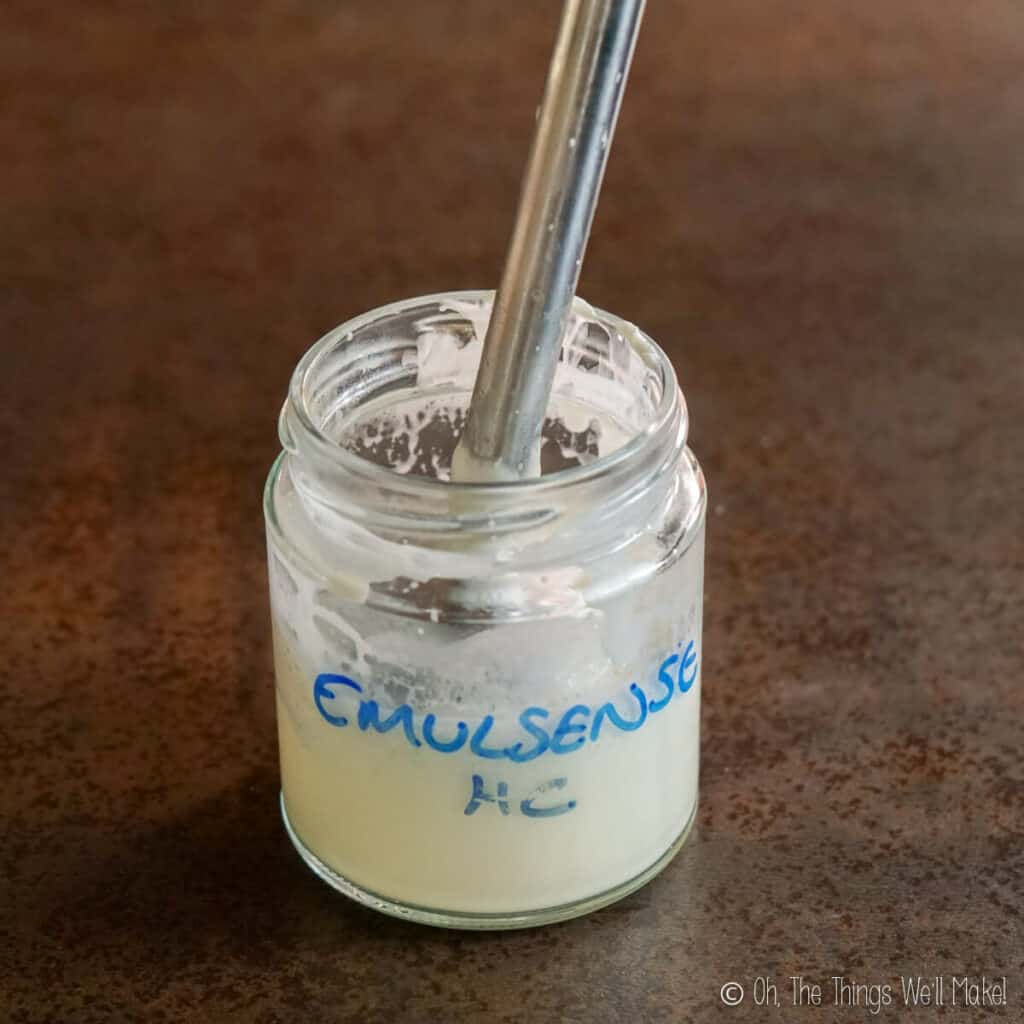
Combine the ingredients
Once you’ve reached the goal temperature range, remove both phases from the heat source and combine them immediately by pouring one phase into the other and whisking them together. For a more stable emulsion, use an immersion blender to combine the ingredients.
When they are still warm, they will still be liquid. They may also start to separate. That is normal. To prevent them from separating, periodically mix together the ingredients as they cool.
Test the pH
While the lotion is cooling, you can also test the pH and make any adjustments as needed. You want the pH of your lotion to be in a range that is good for your skin. (A pH of 5-6 is a good range.) You also want the lotion to be in a pH in which your preservative is effective. (It’s better to use a different preservative that fits your ideal pH range than to adapt the pH of your product to fit the preservative you have.)
If needed, you can adjust the pH down with a couple of drops of lactic acid (or citric acid). You can raise the pH with a solution of sodium bicarbonate, sodium hydroxide, or another alkaline pH adjuster.
I have a post dedicated to the importance of pH in cosmetics with more detailed information on the subject.
Cool down phase
Once the lotion has cooled to around 30ºC/85ºF, you can add the preservative and any other heat sensitive ingredients that you may want to add. This includes adding essential oils for fragrance. You can also add vitamins and other active ingredients. Give the ingredients a final blending with the blender or a whisk before pouring it into your packaging.
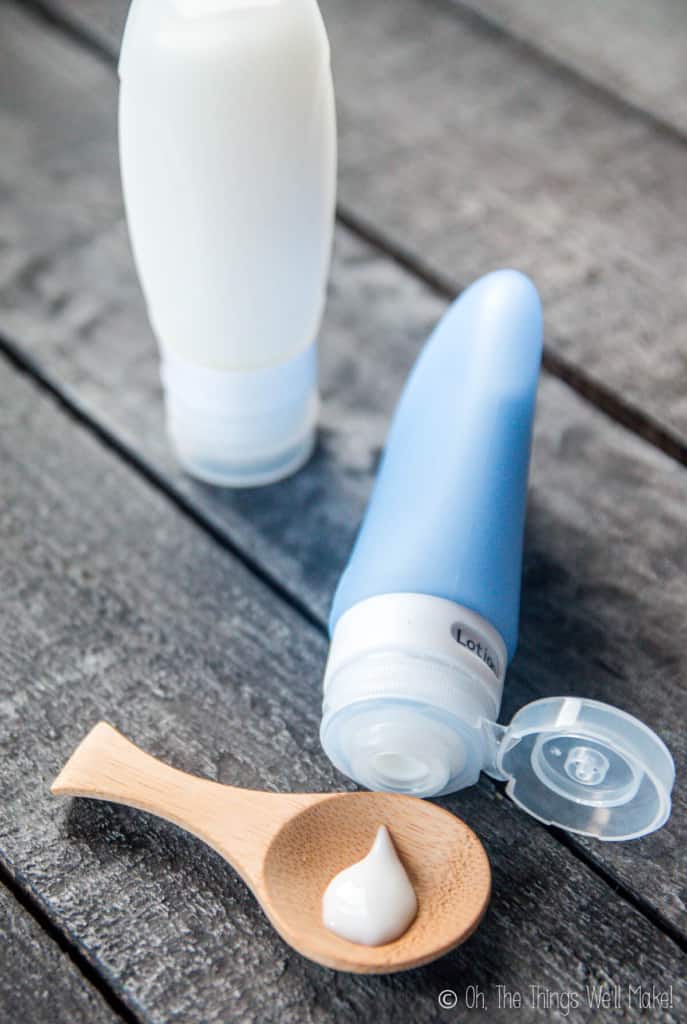
Packaging
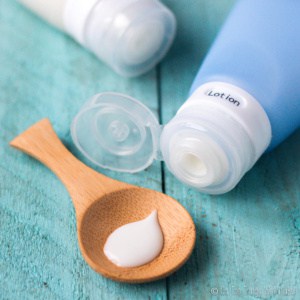
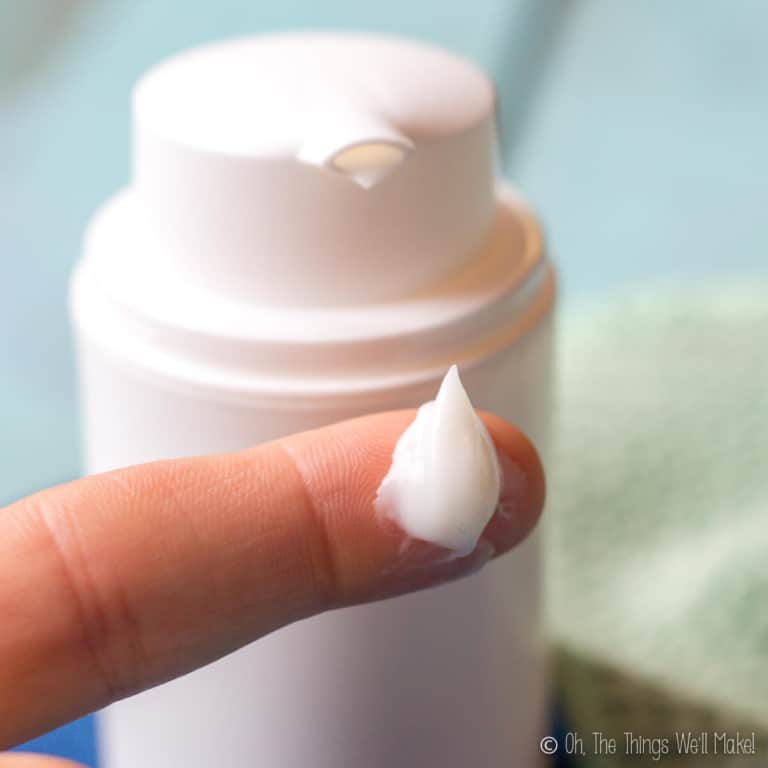
I like to use “airless” containers or silicone tubes for my lotions because they allow you to dispense the lotion without putting your fingers into the container. When scooping a lotion out with your fingers, you are potentially contaminating it with water, bacteria, and other microbes.
Wait until the lotion is fully cooled to room temperature before capping. This is just a precaution to keep condensation from forming inside the container and floating on top of the lotion to prevent mold from forming. In any case, it’s a good idea to shake the containers well, once capped, to ensure any humidity from possible condensation is incorporated into the rest of the lotion.
Troubleshooting
If you are having issues with the emulsification process, there are several things you can try to make a more stable emulsion.
- Use more emulsifying wax. (This will also thicken your lotion.) The amount of emulsifying wax needed for a stable emulsion will depend on the emulsifier used. You can also try using a different emulsifier.
- Use a co-emulsifier. (This will also thicken your lotion.) Try adding 1-2g of a co-emulsifier like cetyl alcohol or cetearyl alcohol to help stabilize and thicken it.
- Use an immersion blender to fully blend the phases together. Rather than whisking by hand, using an immersion blender to combine the phases can help disperse smaller droplets of oil within the water, ensuring a more stable emulsion.
- Try the “heat and hold” method.
- The mixture can also separate if the phases weren’t at a similar, hot-enough temperature. This can be remedied by re-heating the mixture over a double boiler and whisking until the mixture is well emulsified. (You’ll want to do this before adding any heat-sensitive ingredients like essential oils.)
Video
How to Make a Simple, Basic, Homemade Lotion and Customize it for Your Skin Type
Materials
- 65 g distilled water (Can use hydrosols)
- 30 g oil (Can use a combination of oils)
- 4 g emulsifying wax Use 5g for a thicker lotion.
- 1 g preservative (Adjust to recommended dosage of your preservative- 3.5g for Leucidal)
Optional ingredients
- 1 g lavender essential oil or another essential oil, for fragrance
- 3 drops lactic acid to adjust down the pH, if needed
Instructions
- Make sure all utensils, containers, and work surfaces are fully clean. I like to run heat-resistant utensils and packaging through the dishwasher. You can also clean utensils and work surfaces with a disinfectant spray and wipe them down with a clean cloth before allowing them to dry. This helps sanitize your work environment and ensure a safer lotion.
- Weigh out the aqueous phase ingredients in a small heat-resistant container. (You can also use a double boiler insert.) You should use either distilled water or freshly boiled filtered water to prevent adding any unwanted pathogens to your lotion. You can substitute floral waters or other distillates or hydrosols for the distilled water.
- Weigh out the oil phase ingredients. This includes the oil(s) and/or any butters or waxes you choose to use. It also generally includes the emulsifying wax. (Check your emulsifier to see if it should be added to the oil phase or the aqueous phase.)
- Heat both the water (or aqueous phase ingredients) and the oil phase ingredients to around 70º-75ºC/160º-170ºF. Both phases need to be around the same temperature so that the emulsification process can take place correctly. Make sure the emulsifying wax is completely melted before continuing.
- Add the hot water to the hot oil mixture and whisk the ingredients together. Using an immersion blender will help ensure a more stable emulsion.
- Allow the mixture to cool slightly. As the mixture cools, the liquid will get thicker and more opaque. Whisk the ingredients together again several times throughout the cooling process.
- As it cools, test the pH of your mixture. (You can use inexpensive pH test strips.) You want your lotion to be in a pH range that is skin-friendly. (A pH of 5-6 is a good goal range.) The pH should also be in a range in which your preservative is effective.
- If you need to lower the pH, add a few drops of lactic acid (or of a citric acid solution). Then, test the pH again. While less common, if you need to raise the pH of your lotion, you can use a solution of sodium bicarbonate or sodium hydroxide.
- Once the mixture has cooled (to around 30ºC/85ºF) and thickened slightly, you can add the preservative and any delicate, heat-sensitive ingredients you want to use. Consider adding around 1g of an essential oil for fragrance.
- Mix together all ingredients, and pour the mixture into the final containers.
- Wait until the lotion is fully cooled to room temperature before capping. This is just a precaution to keep condensation from forming inside the container and floating on top of the lotion to prevent mold from forming. In any case, it's a good idea to shake the containers, once capped, to ensure any humidity from possible condensation is incorporated into the rest of the lotion.
- Enjoy your lotion! Store it and use it for up to 3 months. Then, make a fresh batch!
Notes
Weighing ingredients
I find that the best way of weighing multiple ingredients in the same container is to tare the scale between adding ingredients. So, tare the scale with the empty container. Then, add the first ingredient to the container until you reach the required weight. Tare again before adding other ingredients.Emulsifiers
There are a wide variety of emulsifying waxes that you can use to make your homemade lotion! Some of my favorites are Montanov 68 and Olivem 1000. The emulsifier chosen will affect the consistency and texture of your lotion. For more information about emulsifying waxes, check out my guide to emulsifiers.Heat and hold?
Some people advocate using a “heat and hold” method, where you heat both the oil phase and aqueous phase ingredients separately, and hold them at around 70º-75ºC/160º-170ºF for around 20 minutes before bringing them together. Some say it helps with the emulsification process. Others say it helps ensure killing off all possible pathogens. I personally don’t use the “heat and hold” method myself, and until now haven’t had any problems with lotions separating or going bad more quickly. This is a topic that would warrant a full post, but I don’t want to go into it right now, so I’ll leave you with this post with some arguments against it. If you are having problems with lotions separating after several weeks, it is something that you could consider trying.pH
For more information about the proper pH and how to adjust it, read about the importance of pH in cosmetics.Troubleshooting
If you are having issues with the emulsification process, there are several things you can try to make a more stable emulsion.- Use more emulsifying wax. (This will also thicken your lotion.)
- Use a co-emulsifier. (This will also thicken your lotion. Try adding 1-2g of a co-emulsifier like cetyl alcohol or cetearyl alcohol.)
- Use an immersion blender to fully blend the phases together.
- Try the “heat and hold” method.
Packaging
I like to use ‘airless’ containers or silicone tubes because they allow you to dispense the lotion without putting your fingers into a container and contaminating the lotion.Preservatives
I like to use natural preservatives in my product. They don’t preserve the product for years at a time, but should give you a product that keeps for several months. Some of my favorites are Sharomix 705 and Euxyl K903. I have also used other preservatives like Cosgard, Rokonsol, and Leucidal in the past. Use the preservative at the recommended dosage for that preservative. (Most natural preservatives are used at around 0.8-1% of the product by weight. Leucidal needs to be used at a higher dosage, around 3-4%.) For more information about preservatives, check out my guide to natural preservatives.Storage
Natural preservatives give the final product a shelf life of around 3 months. (It should keep longer than that if made with proper hygiene, but without doing microbial testing, it’s best to err on the side of caution with homemade cosmetics!) I make lotion in small batches so that I use it up within 2-3 months. It’s a good idea to date your containers so that you know when you should toss the remaining lotion and make a new batch. (Once you get the hang of it, you can easily make a new batch in less than half an hour, so this isn’t really an issue!)This post was originally published February 24, 2017. It was rewritten, adding more information, new photos, and an updated video in April of 2021.
Thanks for your great website Tracy, I have been inspired to make so many things by how much you simplify the processes. I am really keen to make lotions but have a question. There is mixed information around about how to sanitize containers for products like cleansers, scrubs, moisturizers and lip balms. I don’t want to sell the things I make but would like to give them as gifts. Some sources say that you need to sterilize things in an oven, others say to wash in alcohol or bleach. I am keen to make sure the things I make are safe, but I don’t want to spend hours sterilizing utensils and containers if it is not necessary. What is your advice? Thanks, Mel.
Hi Mel,
Thanks for the sweet comment! 🙂
I understand your concern, especially if you are goign to be giving away your products as gifts.
To be honest, I mostly sanitize rather than worry about full sterilization.
I usually feel safe running something through a dishwasher, and then doing a final rinse in alcohol. The steam in the drying cycle of the dishwasher helps kill of most badies, although most dishwashers won’t completely sterilize your containers. The alcohol finishes drying the containers, all while doing further sanitizing.
Ovens take a bit longer because they use dry heat, so I normally don’t bother with an oven. Obviously if you are using plastic tubes for things like lip balms, etc., then you can’t use an oven anyway.
If you’re really worried about it, there are sanitizing rinses available that are used by home brewers. This is a popular no-rinse sanitizer (That’s an affiliate link). I mention it, but I haven’t used it personally.
You definitely want to keep things as clean and bacteria free as possible, but there are limits to what we can do. There is bacteria everywhere. It floats in the air. It’s going to be impossible to make something completely sterile and have the full process be sterile.
That said, you obviously want to keep things as clean as possible to not give the bad bacteria an edge on the good bacteria in a preservative like Leucidal, for example.
I think people get themselves overly worried sometimes (And I understand, as I’m normally a worrier and overly cautious about a lot of things), but…
it’s like the debate whether you should use different recipients for soap making. Some people feel strongly that you should. I’m of the group that doesn’t understand why. Sure, lye is highly alkaline and can burn you when you are working directly with it just like a strong acid could. The fumes from mixing it with water or other liquids can also be dangerous. On the other hand, lye is used to cure olives and make crusts on pretzels and even sometimes bagels. People think that if a drop of lye is left in the crevice of their bowl or mixer or whatever, that it will kill them if it comes in contact with food, without realizing that they have probably eaten lots of foods that have used lye in their elaboration.
You have to be careful and have respect for these chemicals and ingredients, but on the other hand, not let fear paralyze you and keep you from trying new things.
It’s scarier to think of how many crazy fermented foods I’ve made and tried- luckily unscathed so far. 😉
This is very helpful, thanks Tracy. I agree with your comments about different utensils for soap making. Does the same apply to lotions and creams, assuming you only use oils, waxes and preservatives? I have a small apartment and just don’t have room to store extra things for making lotions.
One more question if you don’t mind, you mention the use of a co-emulsifier, I made a lotion just using emulsifying wax and can’t believe how good the results are. I did buy some cetyl stearyl alcohol. Is there any advantage to using this in lotions? If so, what would be the percentages for the ingredients in the formula?
Thanks again for all the inspiration!
Mel.
I just made my first lotion with olive and sunflower oils, water, witch hazel, Olivem, tea tree and lavender essential oils, and Leucidal. Thank you so much for your guidance! I feel so good knowing what’s going in my lotion. It soaks in well, my skin is soft, not greasy. I LOVE IT, THANK YOU. If my acne clears, you will have god status.
Hi Mossie,
I’m so happy you like it. I love the texture, too, and find I like it better than any of the more expensive creams I’ve bought.
It probably won’t be able to clear your acne, but by making your own, you can control the ingredients and will be able to make a facial cream that will keep you from breaking out more.
Did you see my post for a non-comedogenic moisturizer for acne prone skin?
Olive oil has a comedogenic rating of 2, so it may possibly cause you to break out. Sunflower is a great choice for acne prone skin. 🙂
I go into all of that in more detail in the post with the moisturizer recipe.
Thank you so much for your reply! I will definitely look into your acne prone moisturizer. When I was younger I had tried making my own lotions, and had great results with olive oil which is why I’m trying it here, but I’ll keep an eye out now knowing it’s rating. ????
Hi, Tracy,
I just want to start making my own natural hair shampoos and conditioners. What emulsifier and preservative would you recommend?
Ebun,
Nigeria
Hi Ebun,
I like BTMS a lot for homemade conditioners. I like Rokonsol and Leucidal for nbatural preservatives.
As for shampoos, I’m still working on trying to figure out a good recipe, so I’m not ready to make any recommendations yet for ingredients there.
This is very informative! Thank you!
You’re welcome, Lamya!
Happy to help! 🙂
Please give me the measurements for wax in Tablespoons and the Leucial in drops please. I have all the ingredients and ready to try your lovely recipe but I am stupid I guess and can’t figure out the correct weight measures. Thank you
Hi Janet,

Sorry, I was out most of yesterday and today so I’m just now seeing this.
My recipe plugin allows for switching to grams if that is more helpful for you. When working with things like lotions, because I’m making such small amounts at a time when using natural preservatives, I use a scale that measures down to 2 decimal places. Most kitchen scales won’t be that accurate.
If you plan on making more of your own DIY products, I’d highly recommend getting an accurate scale. They’re super inexpensive!
This is the scale I have (it costs just under $12 right now.)
All of that said, I looked online for an equivalent measurement and found this: 1 Tbsp=4.7g. So, it would be just under a Tbsp. Honestly, I wouldn’t know for sure as I always use weight measurements. Obviously this is going to be dependent upon the size of the beads of wax. If you use more than I do, you’ll end up with a thicker lotion. If you use less, you’ll end up with a thinner one (or it may not emulsify well if you haven’t used enough). It’s not too big of a deal if it isn’t exactly precise, I guess, because you could always re-melt and add more.
As for the Leucidal, my bottle says 22 drops=1g, but it falls very quickly so I never measure it like that. It would obviously depend on the bottle you have too. I guess I’d err on the safe side and add a bit more, just in case, if you’re measuring like that.
I hope that helps.
I am wrecking my brain trying to figure out the correct measurements. Help me here on how many oz on weight kitchen scale is .14 oz. of the wax? I know 16 oz is a lb so is .14 just under? (The decimal point is confusing me I guess.) I figure the Leucidal at .12 oz would be around 3.55 ML because it is liquid but I am really having a time figuring out the oz on the wax…my scale does not seem right. Thanks
Hi Tracy,
I made my very first body lotion with your recipe. I felt like I was doing well, but then it came out too watery :,( . I think it’s because I used fractionated coconut oil for the “30g oil” part. was I supposed to use just regular coconut oil? how about jojoba or almond oil? I am afraid of making it wrong again,,
or Can I just put more emulsifying wax when it’s too watery?
Thank you
Hi Grace,
I just used normal coconut oil, but I wouldn’t think that using fractionated would make it watery. Fractionated isn’t really necessary here, and the extra expense of it is probably better reserved for uses where it will make more of a difference. With all of the water, you don’t really have to worry about this solidifying in winter, so regular coconut oil is fine.
Did you just finish making it? I’d wait at least a day to judge the final consistency. As it finishes cooling, and sets afterwards, it will get more solid.
If, after waiting a day, it’s still too watery, then, yes, I’d think it’s an emulsifying wax issue. Not all emulsifying waxes are made exactly the same. As you add more to the mix, your lotion will be thicker.
You don’t have to trash this batch. You could just remelt it with a little more wax and then add more essential oils and preservatives to be on the safe side. (Most natural preservatives are delicate and may not hold up to high heat).
I hope it works out for you!
Hi, I wonder if 3.5g of leucidal is dry or liquid measurement. Thank you 🙂
Hi Grace,
I have liquid Leucidal. I didn’t even realize that it came in a dry format!?!
Thanks so much for the heads up if that is the case. I’ll have to look into it and specify more clearly on all of my posts that use it! 🙂
I really appreciate your comment!
Hi
I’m using Opthipen Plus in my natural lotions. Would you recommend it? Thank you:)
Hi Delilah,
I wasn’t familiar with Optithen Plus, but after a bit of research, it looks like it would work great. It seems to work well against a broad range of pathogens (both bacteria and molds), unlike earlier versions of Optithen, so you should be good to go with that. It appears to be effective in the pH range of 4-8, but I think most lotions will fall into that range. (It’s never a bad idea to check to make sure!) 😉
Tracy this is so lovely! The video makes it seem less scary – thank you!
Thanks Renee!
Yes, lotion making is really intimidating, until you get started with it, but it’s really super easy!
Once I started making lotion easily and successfully, I immediately started making all sorts of other emulsions like conditioners and other creams, and we’re loving our homemade versions.
I definitely recommend it!
Hi Tracy, any chance you sell the acne moisturizers>?
if so can you email me? [email protected]
Hi Heather,
I wish it were easier, but there is a lot that one needs to do to legally be able to sell cosmetics- especially for me living here in Spain. That’s why I stick to teaching other people to make their own. 😉