

Homemade Natural Root Concealer Stick
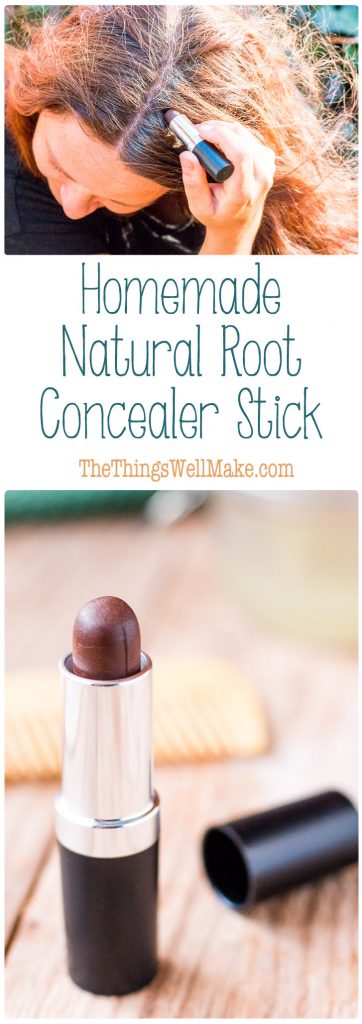
Cover up those gray hairs or dark roots with a simple, easy-to-make, homemade natural root concealer stick which won’t break the bank, at all.
Lately I’ve been dabbling a lot more in the world of natural DIY products. When I started this blog, it was a lot more about fun DIY projects for kids with a few healthy (and other) recipes sprinkled in. As I started trying to get healthier and more in shape, my posts got more focused on healthy alternatives to fun foods with some DIY sprinkled in. My son, for now, likes to help me cook, but doesn’t show my interest in making things, which is part of the reason that my DIY has gotten a lot more adult and focused on simple, green DIY that you can make for your home & body.
Back when I started my blog, I had already thrown out a lot of cosmetics with toxic or questionable ingredients, but I didn’t share much of what I was using because most of the time it was as simple as sleeping with coconut oil on my hair, or rubbing in some jojoba oil on my face. I mean there wasn’t a lot to tell, until my formulas got a bit more sophisticated.
I tried at least 10 different deodorant combinations before I was super excited to find a soothing DIY deodorant formula that 100% works for me! That may have been the turning point for me that gave me enough confidence to start making more and more of my own more complex products. That deodorant has definitely been my favorite natural DIY product that I came up with on my own. I can’t imagine going back to using anything else. But…
Making a Homemade Natural Root Concealer Stick
While this homemade natural root concealer stick isn’t something that I need to use every day, I’m pretty much as excited about it as I was when I came up with my favorite deodorant recipe.
Why?
Because it’s super simple and inexpensive to make, it solves a problem I couldn’t solve with anything I could find around here (toxic or not), and it actually works!
Let’s face it, I’m not in my 20’s anymore (nor am I in my 30’s), and while I don’t feel much different than I did back then, my hair is slowly starting to try to let me know that I am getting a bit older. Not only am I starting to get some gray hairs, but they like to punish me by all showing up exactly where I part my hair! Yes, I could change my part, but I’m sort of set in my ways by now, and since I’ve started dying my hair anyway, it doesn’t really matter…
…Until my roots start showing, of course!
A few years back I had found a root concealer stick at a store in the US, and it worked pretty well to camouflage the slight difference in color between my natural color and my dyed hair. Unfortunately, it had a bunch of crazy ingredients in it, and I haven’t been able to find anything like that around here anyway.
So, the other day, I was working on formulating some homemade eye pencils (and, yes, I will share those recipes with you soon), and when I went to take pictures of how they looked when used, I noticed that my roots were showing and I didn’t look very presentable. I was planning on zooming in on my eyes anyway, so it wasn’t really a big deal, but the idea hit me…
What if I were to take the leftover eyebrow pencil ingredients and rub it on my exposed roots?
So I did.
And it worked! Wonderfully!
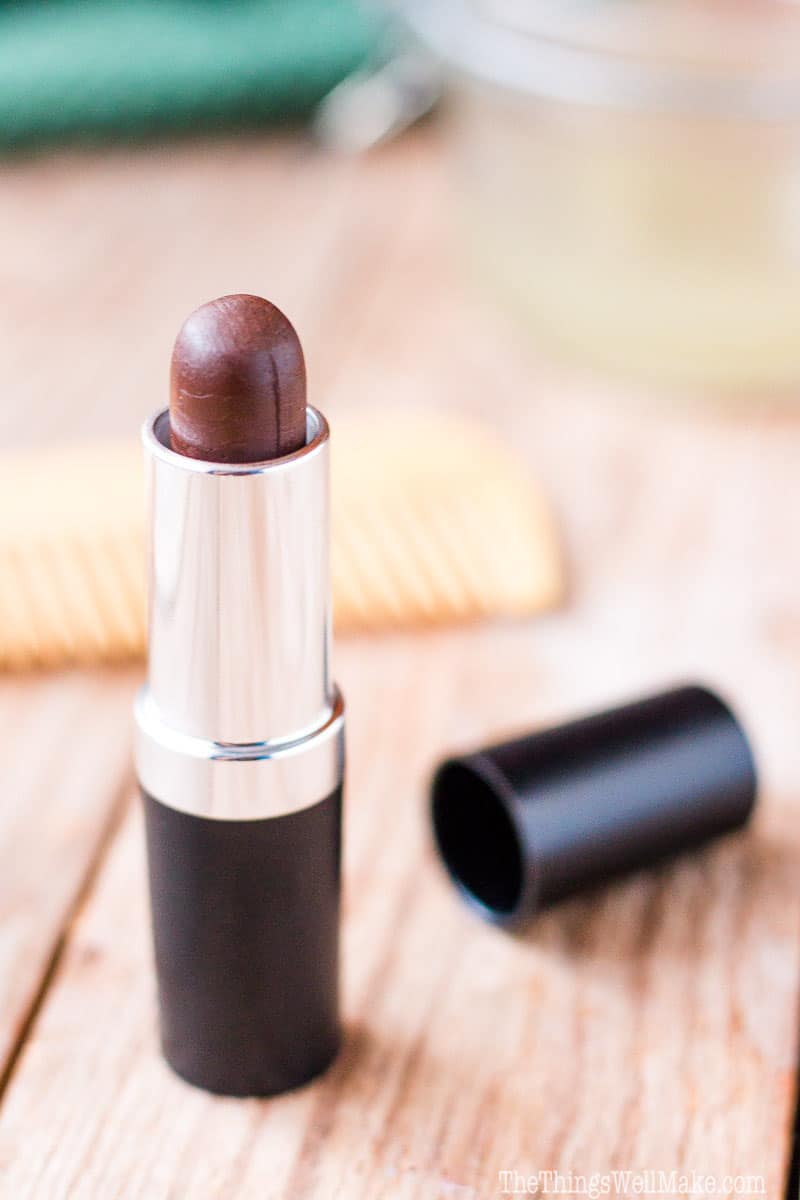
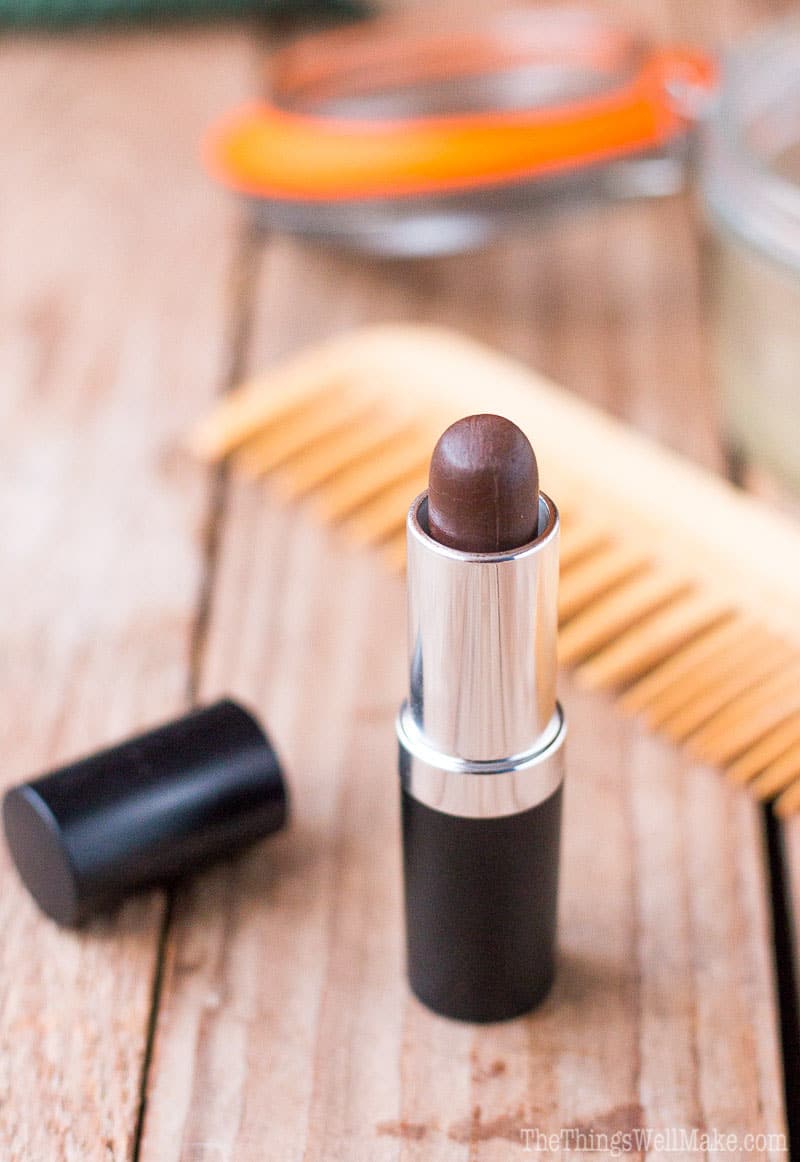
I was super excited, and mixed up a new batch and poured it into a lipstick mold.
I had just bought the lipstick mold to do some experiments with homemade lipstick and concealer stick recipes, but I would have never thought I was going to use it for something for my hair.
I love the professional look the lipstick mold and cases give to this homemade natural concealer stick, but if you don’t have them, and don’t want to buy them, I’m assuming that this will work just as well in easier to find lipgloss cases.
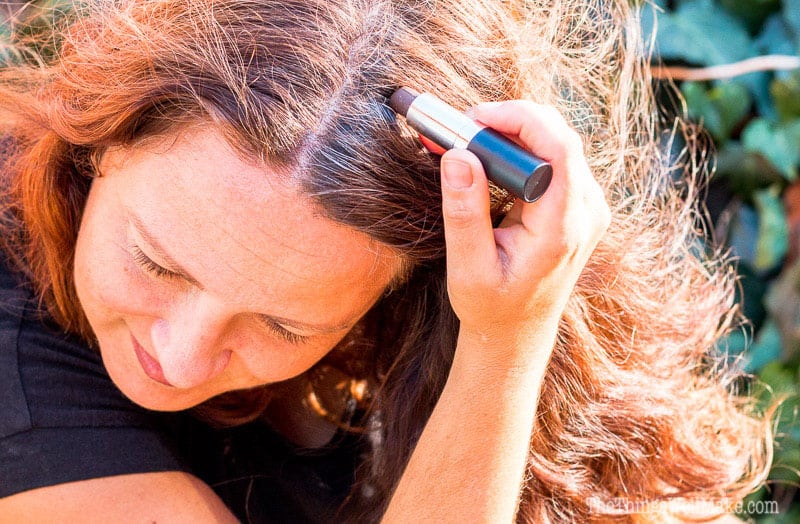
While it may be hard to see, I’ve tried to show you some before and afters both in pictures and in a short video that shows the process of making the concealer stick and how I used it.
I rub the concealer stick lightly over the roots in the morning, and it does a good job of camouflaging them all day without any problems. So, now I can put off touching up my hair for a bit longer.

As for getting the color just right…
I was pretty lucky, and I think my first attempt at getting the color right for me turned out perfectly. I used a 50%-50% mixture of black and brown iron oxides for my pigments. If you have a redder tone to your hair, you can try adding a tiny pinch of red iron oxide, and if your hair is more golden, you can play with a yellow iron oxide pigment instead.
Don’t get too caught up in trying to make something that looks EXACTLY like your hair, though. While this is covering your hair in an opaque enough way to mostly cover your gray hairs and/or darker roots, it blends in enough that it doesn’t stand out if the color is slightly off. Think about it, your roots tend to be a bit darker naturally anyway, and the rest of your hair slowly lightens as it is constantly hit by the sun. Your hair has different tones in different areas, and all of that helps make this stick look very natural when in place.
Watch me make this natural root concealer stick
Luckily, the ingredients for this aren’t that expensive, and you use very small amounts when formulating a stick that should last you for quite a long time. Take your time measuring out your pigments the first time you make this, and write down your personal successful mix formula for your next batch.
Because this recipe uses such small amounts of ingredients, I had to invest in a new scale that weighed smaller amounts much more accurately than my kitchen scale could. Luckily, I found a very inexpensive jeweler’s scale that didn’t break the bank, and I can now use it for making all sorts of homemade makeup.
Are you as excited as I am?
Let’s make a Homemade Natural Root Concealer Stick!
Homemade Natural Root Concealer Stick
Materials
- 3 g shea butter
- 1.5 g jojoba oil
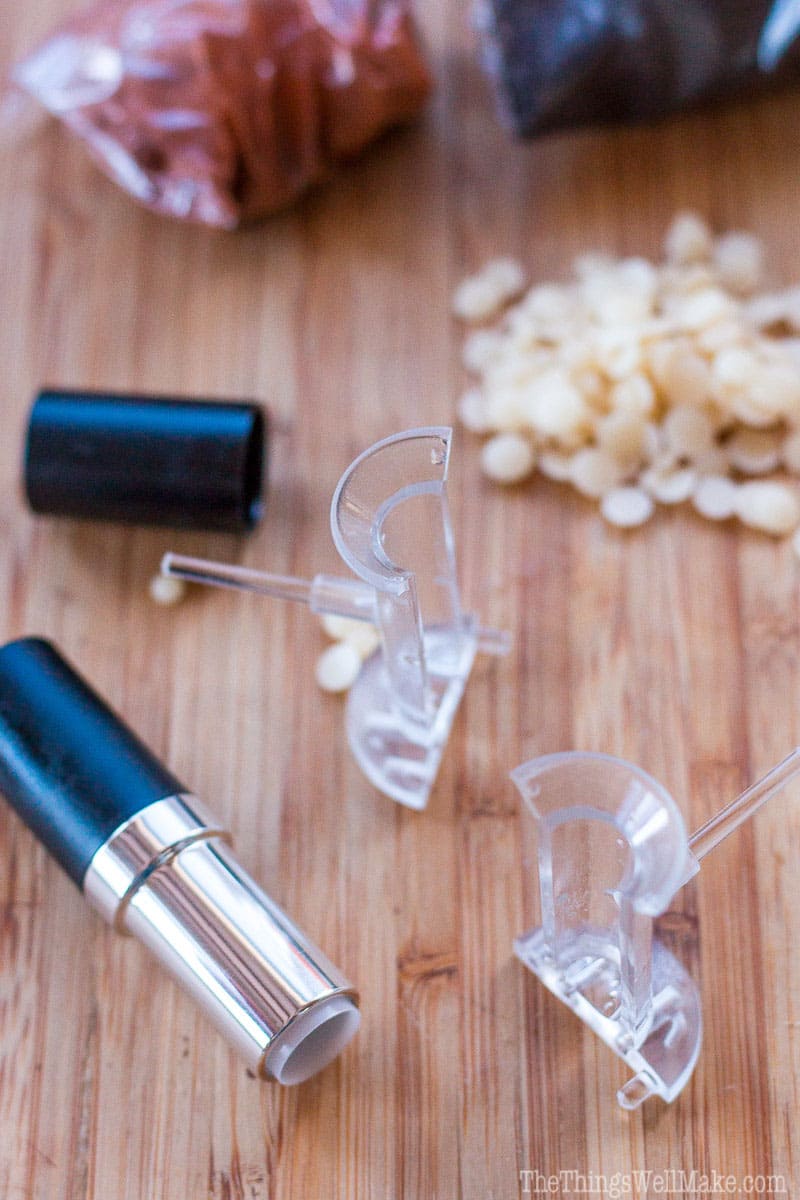
- 1.5 g beeswax
- 1.5 g carnauba wax
- 1.5 g iron oxide I used black and brown, but there’s also red and yellow
- 2 drops vitamin E
Instructions
- Melt together all of the ingredients, except the iron oxide pigments, over a double boiler until melted.
- Combine everything together, stirring well, and slowly adding in the iron oxide pigments until you get a color that works for your hair. In my case, I added around 50% brown and 50% black iron oxide pigments, and it works very well for my color, but you may have to play with using yellow and/or yellow iron oxide pigments too to achieve the right color for you.
- Prepare the lipstick mold, if you’re using it, by putting together both halves, and holding them together with rubber bands.
- Pour the mixture into the prepared lipstick mold (or lipgloss containers) while still very hot. (If you are using lipgloss stick containers, let them cool and you are finished.)
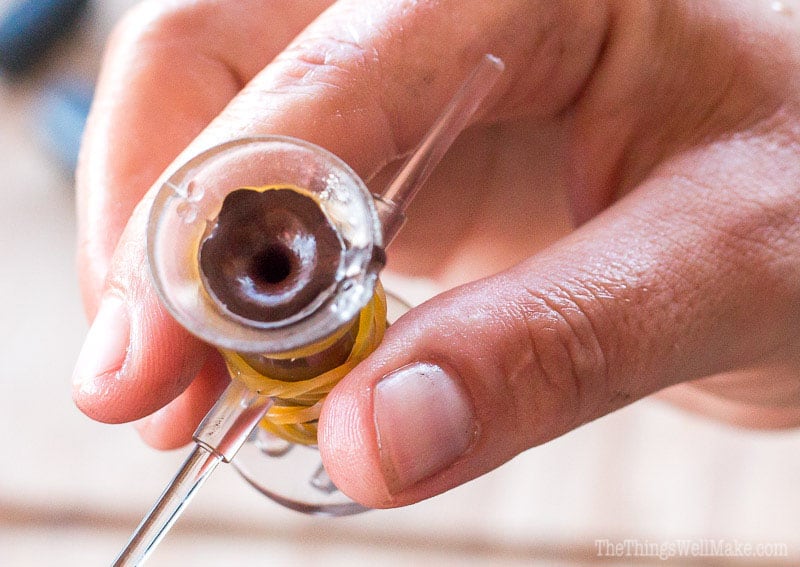
- As the mixture cools, it tends to make a bit of a hole in the center, which is why it’s a good idea to pour in a bit more of the mixture than what you need to get to the top of the stick part of the mold. You’ll be cutting off the excess product anyway.

- To help make the unmolding quicker and easier, you can place your filled lipstick mold in the freezer for a few minutes.
- Take the rubber bands off the lipstick mold, and pull both halves apart. Remove your homemade concealer stick.
- Cut off any excess product from the base of the concealer stick.
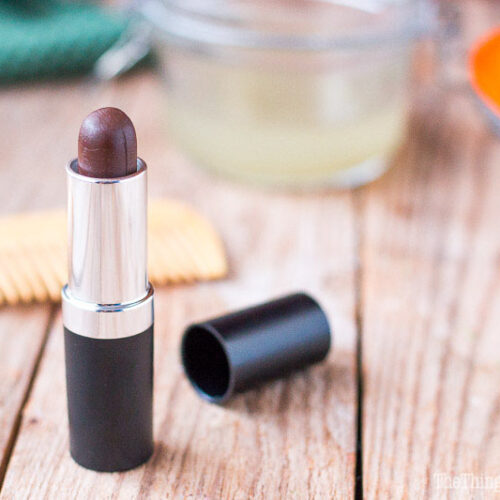
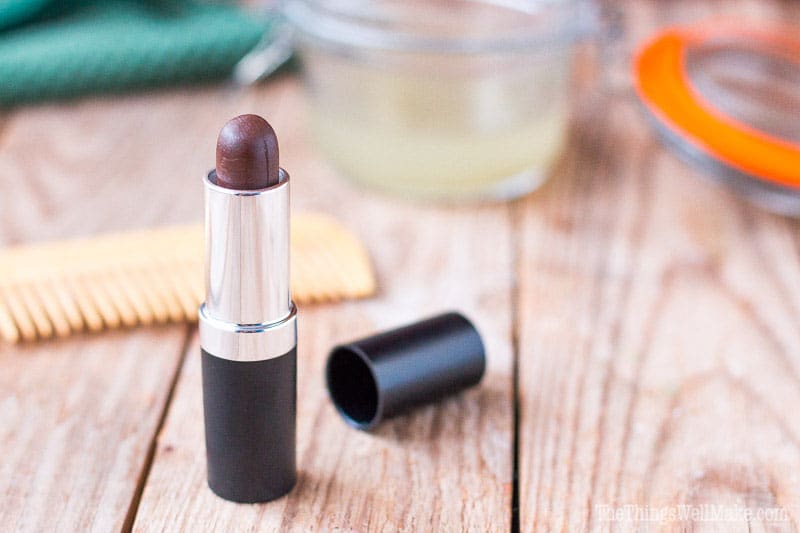
- Carefully push the product into an empty lipstick container, and you’re done! You now have a professional looking homemade natural root concealer stick!
- Lightly rub the concealer stick over the roots of your hair until any dark roots or gray hairs have been camouflaged. You can try rubbing the stick over the hairs in different directions to get them covered equally.


Hello Tracy,
The link to the iron oxide is no longer functioning…maybe the brand you used is no longer offered? Is there any chance you could recommend and link to
another brand? – I’m hesitating guessing which alternative would be right for your lovely recipe. Thank you, Anna
Hi Anna,
I live in Spain, so when I link to items available in the U.S., I usually research a brand that seems good at the time. Unfortunately, those products sometimes disappear or the listings change.
In this case, you can generally use any cosmetic-grade iron oxide. The important part is choosing one that is specifically labeled cosmetic grade rather than just a generic pigment. Cosmetic-grade pigments are tested for safety and heavy metal contamination, which is especially important for products used on the skin.
So if you find a cosmetic-grade iron oxide from a reputable supplier, it should work just fine in the recipe.