

How to Make Kefir at Home

Milk kefir can be made with a variety of milks (from animals or vegetables.) Learn how to make kefir at home and benefit from this probiotic beverage.
I mentioned using kefir in my smoothies the other day. In fact, I love adding it to smoothies like my son’s favorite Popeye smoothie, a great smoothie for kids. I also love making kefir ice cream with it and kefir sour cream! They are delicious.
Some of you, though, may not know what kefir is, or how to make kefir at home.
What is Kefir?
Kefir is a fermented milk product similar to yogurt. It is cultured with kefir grains that inoculate the milk and give it its probiotic qualities.
How is kefir different from yogurt?
The other day, someone asked me about kefir, wondering if it wasn’t really just yogurt? While kefir is very similar to yogurt, and some places may even refer to it as kefir yogurt, they have several differences.
For one, kefir is normally thinner than yogurt. The texture, of course, depends on what you are “kefir-ing.” For example, if you culture a thick cream with kefir grains, you’ll end up with a thick product very similar to sour cream. In general, though, fermenting milk with kefir grains yields a lighter product than yogurt, much like a thick milk or lassi.
Secondly, the cultures in kefir are different from those of yogurt. Kefir is said to have more beneficial bacterial strains in it than yogurt, and it also includes some beneficial yeasts.
Unlike yogurt, which is made at higher temperatures over the period of a few hours, kefir is cultured at room temperature for many hours to several days. You then strain out the kefir grains and begin the process again.

Kefir grains in a stainless steel strainer
What are kefir grains?
If you’ve ever made Kombucha before, you’ll be familiar with the term SCOBY. A SCOBY is a symbiotic culture of bacteria and yeasts. Just like the kombucha “mushroom” (aka. SCOBY), the kefir grains are another type of SCOBY.
The kefir grains look a bit like cauliflower, but are sort of soft and elastic; some may find them to be slightly slimy. The slimy texture is probably due to the kefirans in the grains, a type of polysaccharide that is released by the grains into the kefir.
The grains themselves are composed mostly by a mixture of bacteria, yeasts, and proteins with some lipids and sugars (the kefirans, for example).
Making Kefir for the First Time
If you can get your hand on some milk kefir grains (you can find some through the link), it is much easier to make kefir than yogurt because you don’t need to heat anything up.
When you first get your fresh kefir grains, they may not exactly be at their very best. The grains can become slightly traumatized during their trip in the mail, especially if it takes several days to get to you. They are normally sent without much milk, so they arrive needing something to eat. While the grains are recovering, the first batch or two of kefir that they make can taste a little bit off. That’s why it’s a good idea to make a cycle or two of kefir that you discard before using them to make the kefir you’ll be using. Whether or not you choose to do that, though, is really up to you.
Do your kefir grains need rinsing?
Some people choose to rinse their grains in water at first. It’s a good idea to use distilled water or at least filtered water if you choose to do that because the chlorine in tap water can damage your grains. I don’t normally rinse mine in water and instead just run a quick cycle in milk if I feel like the grains need a good cleaning for some reason or other.
Once you have your grains clean and ready to go, the process is very easy. You only need to put some kefir grains in with your milk in a glass container, and leave it out at room temperature (not in your fridge) for a day or so. The longer you leave it, the sourer it will become. The speed at which you can form your kefir depends upon the temperature where you are making it (the process moves more quickly in warm temperatures) and the ratio of kefir grains to milk.
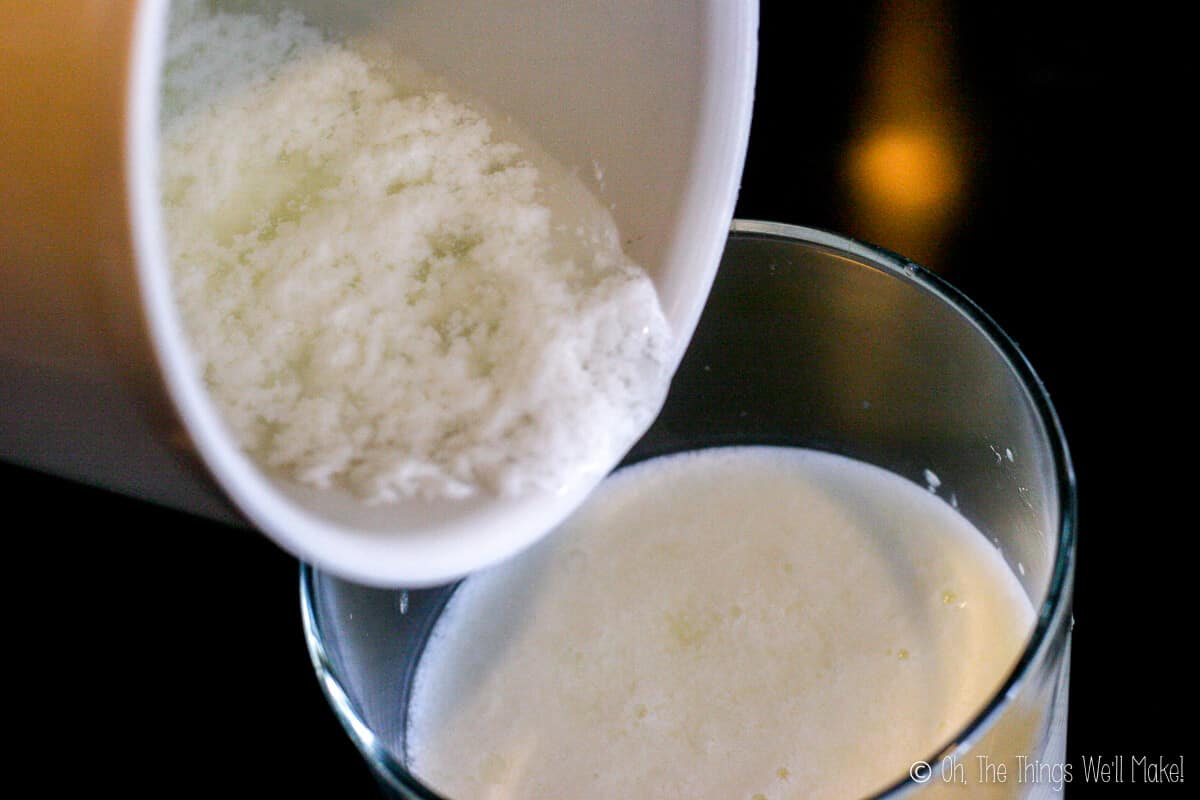
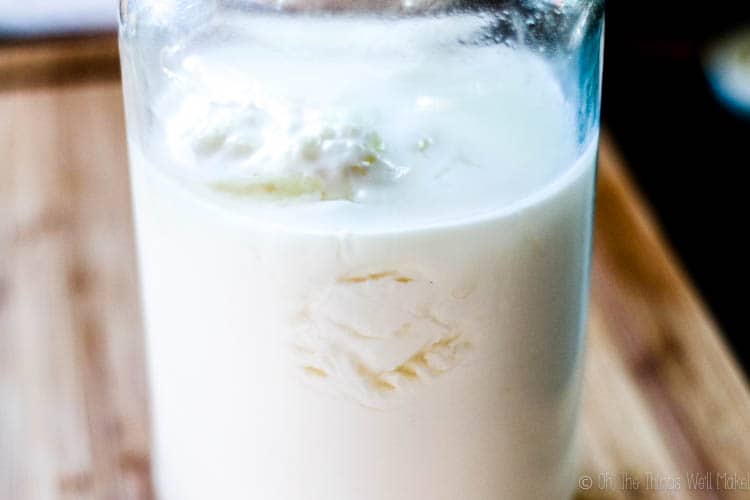
Here you can see how the curds and why have separated. You can stir them back together to get a smooth kefir.
Over the hours, the milk will start to ferment, and you will see the kefir and whey separating. The whey is the yellowish liquid that separates from the kefir, just like the liquid that floats on yogurt. To obtain your kefir, you mix together the kefir and grains and then strain out the grains from the kefir using a plastic or stainless steel strainer. Don’t use strainers made from other types of metal.
Save your kefir grains for your next batch!
It’s as easy as that.
Taking a break from making kefir
To keep the kefir grains alive, you have to keep putting them in new milk.
If you won’t be able to tend to the grains for several days, it is best to put the grains in milk and then put them into the fridge for up to a week or so. If you will be gone for longer, they should either be dried or frozen. To be honest, though, I haven’t really tried either. When I stopped making kefir towards the end of my pregnancy, my grains ended up dying off and I had to buy new ones a few months ago. I’m glad I did, though, as he seems to like kefir, just as he has always loved yogurt. Making kefir is easier and quicker than making yogurt, though, which I used to make him regularly when he was a baby.
How to make Milk Kefir

How to Make Kefir at Home
Ingredients
- 1 Tbsp. milk kefir grains
- 1 cup milk You can also use vegetable milks like coconut milk.
Instructions
- Add the kefir grains to a glass container and pour the milk in with them. Stir them together.
- Cover the container to keep bugs and dust out. You can cover it with a cloth and rubber band. If you instead seal your jar with a tight lid, your kefir will become more carbonated.
- Let your milk ferment with the grains at room temperature for about 24 hours. You can check on your kefir periodically to see if the whey is separating from the milk kefir, and shake the jar if you remember to help the process along.
- When you start to see small pockets of whey, the kefir is probably ready, but you can taste it at the different stages to find the stage that you prefer.

- Stir together your kefir and grains and pour them through a strainer (stainless or plastic) into another glass container to strain out your kefir grains. If your kefir is thick, you can try to help the process along by stirring the kefir and grains in the strainer or tapping the strainer against your container.

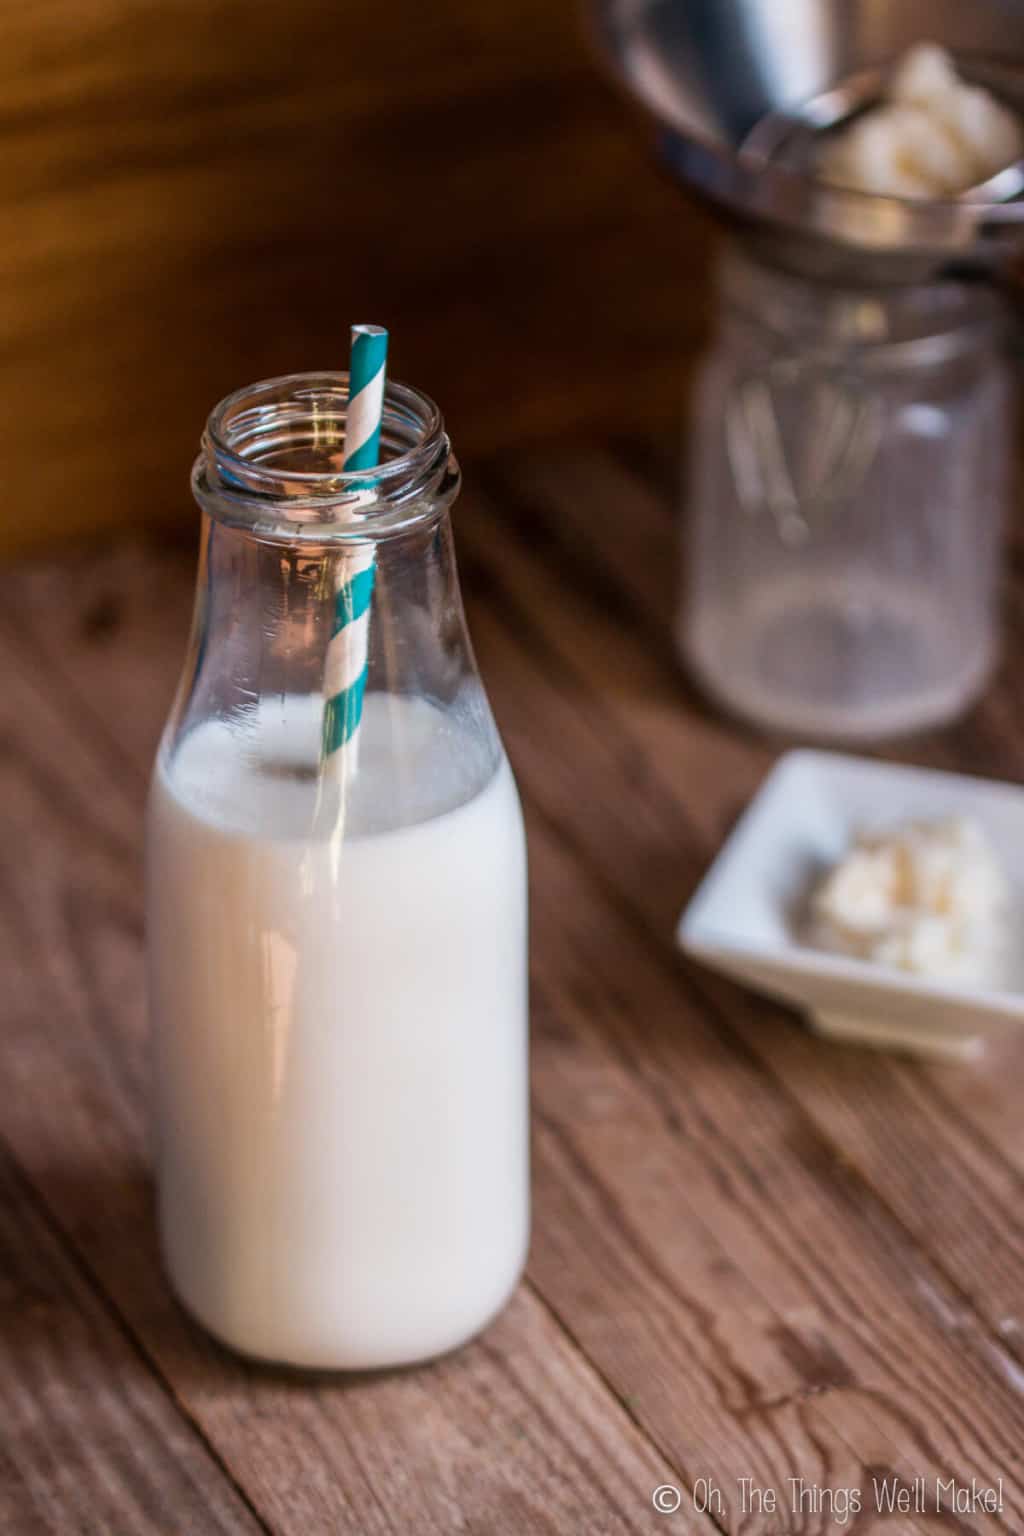
- Put your grains back into their jar and add some more milk to repeat the process. You can now drink your strained kefir or use it in a recipe.
Fermenting non-dairy liquids
Kefir grains can also be used to ferment other types of milk like coconut milk and nut milks. It can even be used to ferment juice. I wrote about making a fermented “hard cider” from fermenting apple juice with kefir grains.
Fermenting juices
Juices fermented with kefir grains become fizzy. The grains can be harmed in the process, though, so it is good to use excess grains just in case. Once you start making kefir often, that shouldn’t be a problem because the kefir grains multiply quickly when cultured in milk.
Is water kefir made with the same grains?
There is another type of kefir grains, known as water kefir grains, that are better adapted to fermenting juices and sugar water. For a while, I was making water kefir regularly, but I fell out of the habit because I got sick of trying to keep so many living things alive; feeding my husband and son, the dogs, the hens and watering the plants inside and outside had me busy enough. Both my husband and I prefer kombucha to water kefir, so making kombucha won out in the end.
If I want to ferment sugar water or juice occasionally, using excess milk kefir grains is a good enough substitute for me.
What can you do with milk kefir?
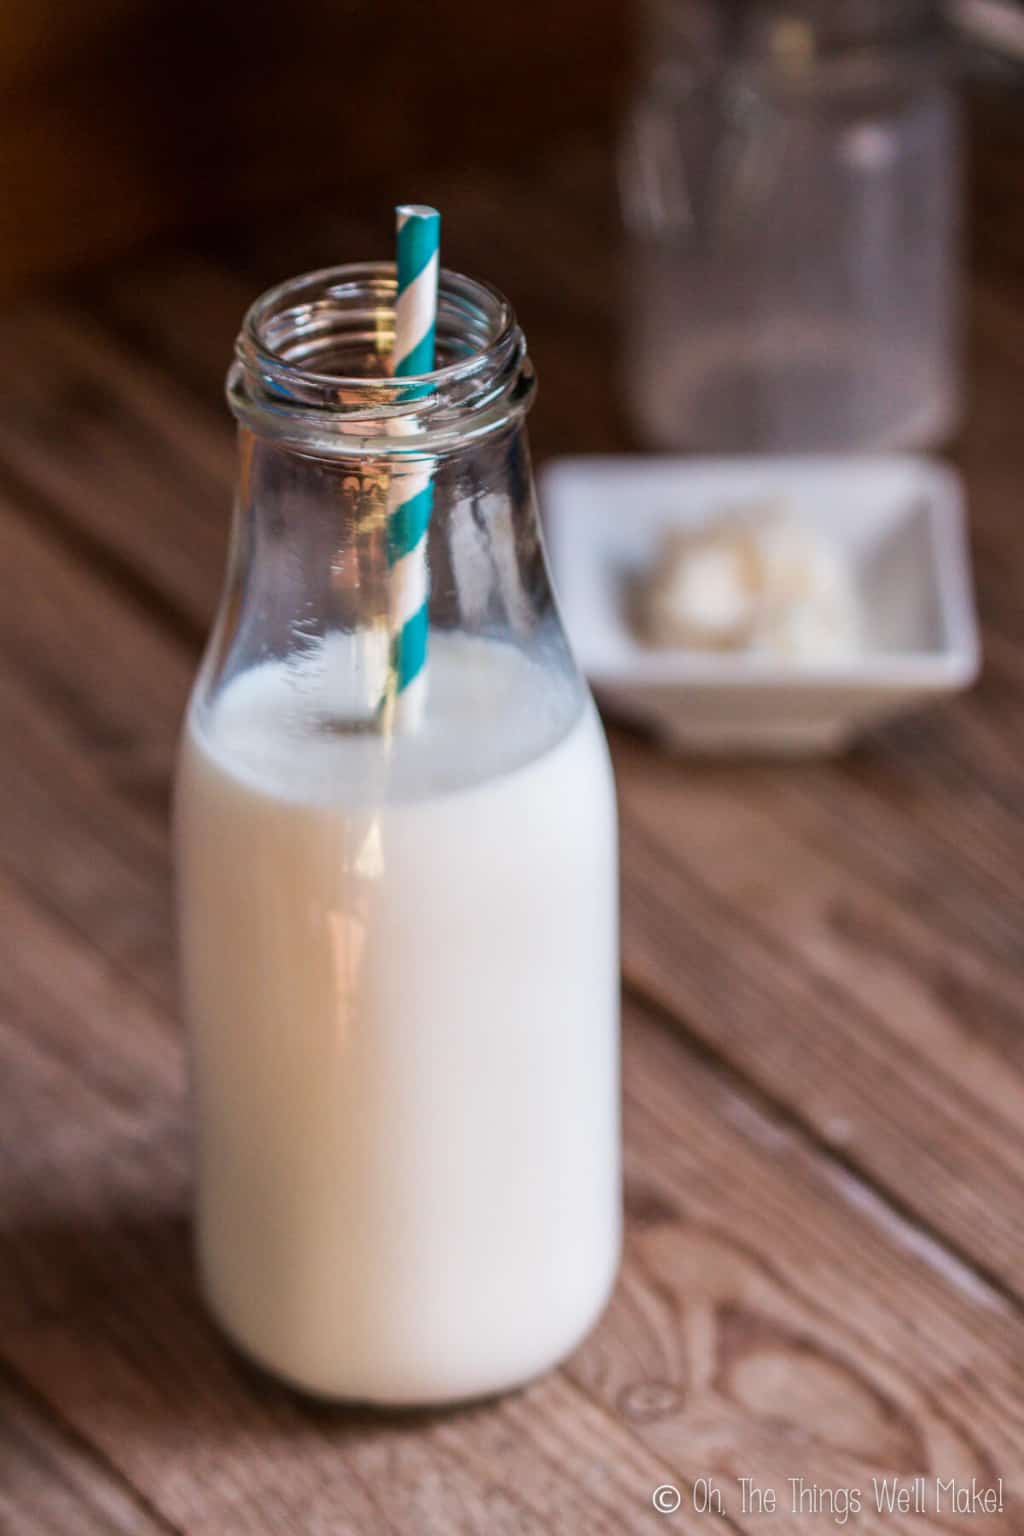
Kefir is perfect for drinking just as it is, but you can also sweeten it or add it to smoothies. (I like making this Popeye smoothie for my son with milk kefir.)
If you strain it with a cloth, you can make a thicker kefir; in fact, you can get it thick enough to make a kefir cream cheese. (I should show you my process someday.) Basically, anything you can do with yogurt, you can do with kefir.
I like to use kefir as a buttermilk substitute or use it to kick start other probiotic fermentations. You can use the whey for fermenting veggies or making homemade probiotic ketchup. For lots of ideas and more information about kefir, check out Dom’s website; it’s pretty comprehensive and dedicated to kefir. I followed some of his ideas to make even a hard cheese out of kefir that was very similar to Parmesan cheese. It was a bit labor intensive, though, so I really only did that once or twice.
If you want to try making frozen kefir, check out my kefir ice cream recipe.


I’m learning to make kefir so there’s a lot to learn but I like what I see on your site I’ll just have to figure where to get kefir grains or seeds or whatever they’re called
Hi Hazel,
You can either get them from a friend or somebody who has too many of them. (There used to be forums online for that sort of thing.)
If not, you can find grains on Amazon or eBay. I’d check the ratings people give when ordering.
This Amazon listing of kefir grains, for example, has a lot of great ratings so it looks promising.