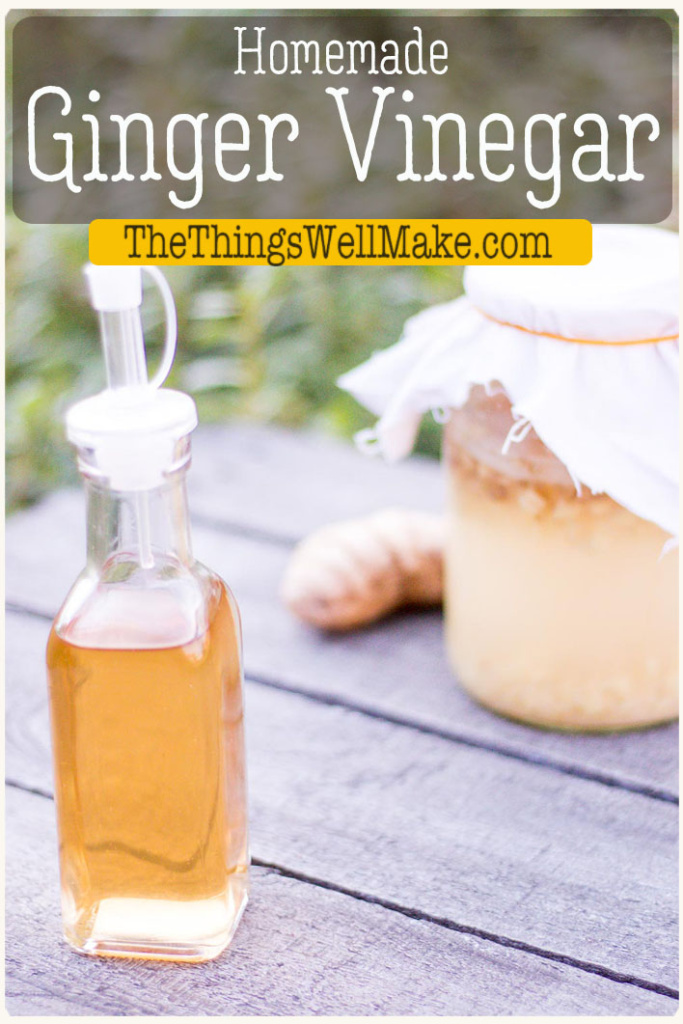
This easy ginger vinegar is mild and fragrant and is perfect for adding to salads and stir-fries. It’s simple to make and is delicious. For those who are looking for a more palatable vinegar, give this ginger vinegar a try!
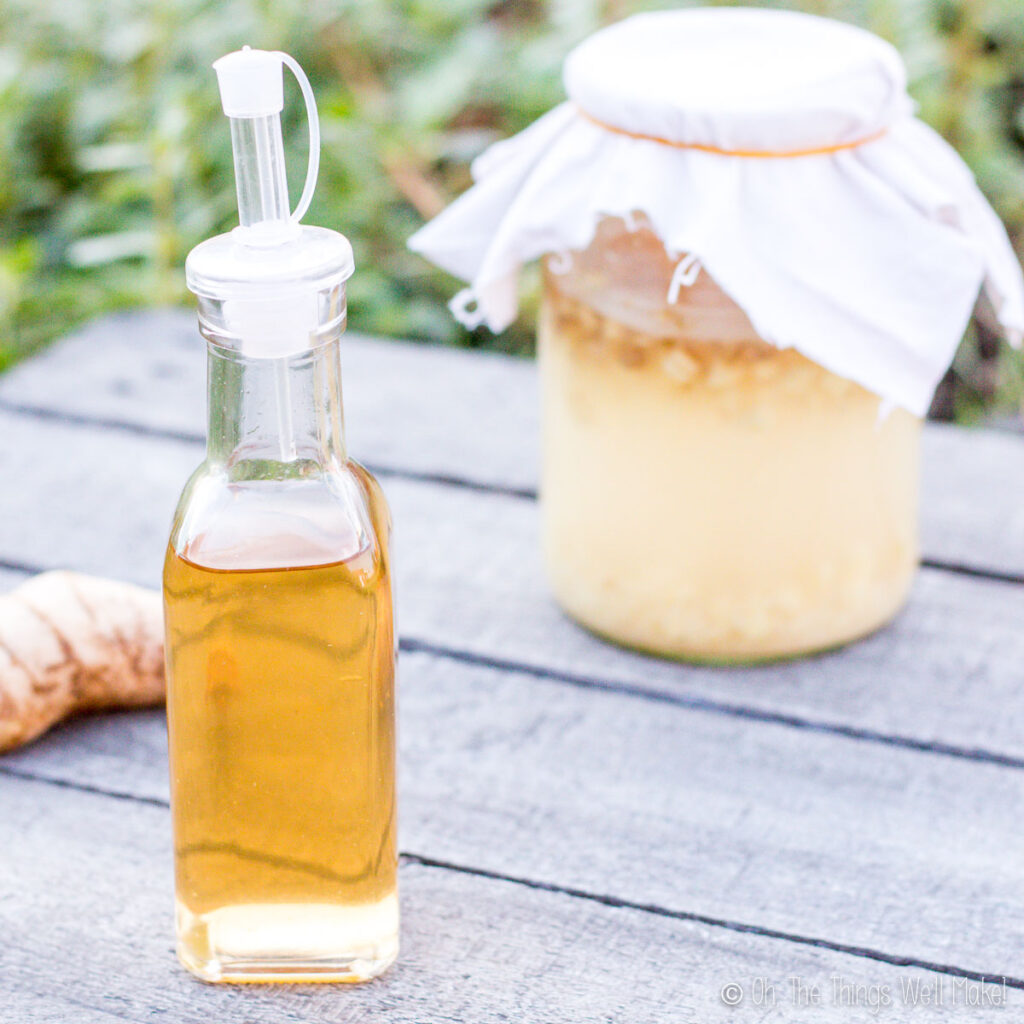
Over the years I have fermented all sorts of things. At any given moment, you’d probably find my kitchen inhabited by a variety of substances in large mason jars covered with cloth. Right now you would find kombucha, soy sauce & miso (hopefully coming soon to the blog), kefir, apple cider vinegar, and, well, ginger vinegar.
Ginger vinegar was one of those things that I made by accident, much like kombucha vinegar and water kefir vinegar. I was experimenting with making a ginger bug and left it unattended for a few too many days. When you forget about these sorts of things and ferment them too long, you normally end up with vinegar. Sometimes the result isn’t very pleasant. I don’t like water kefir vinegar at all. Other times, you luck ut and end up making something wonderful, like this ginger vinegar.
Why make it?
While I made this ginger vinegar by accident the first time, I loved the result so much that I’ve purposely made it numerous times since. Ginger vinegar is absolutely delicious! Unlike some kinds of vinegar that are very strong and unpalatable, ginger vinegar is only mildly acidic. It has a lovely fragrance and flavor.
I especially love using it on salads and in stir-fries. It’s the perfect vinegar for making sweet chicken adobo. (I bet it would also be delicious in a ginger switchel!)
It’s not at all difficult to make, and it’s unlike anything you’d find at the store. While I also love making apple cider vinegar (and sometimes make wine vinegar with leftover wine), I have to say that this is my definite favorite!
Ingredients
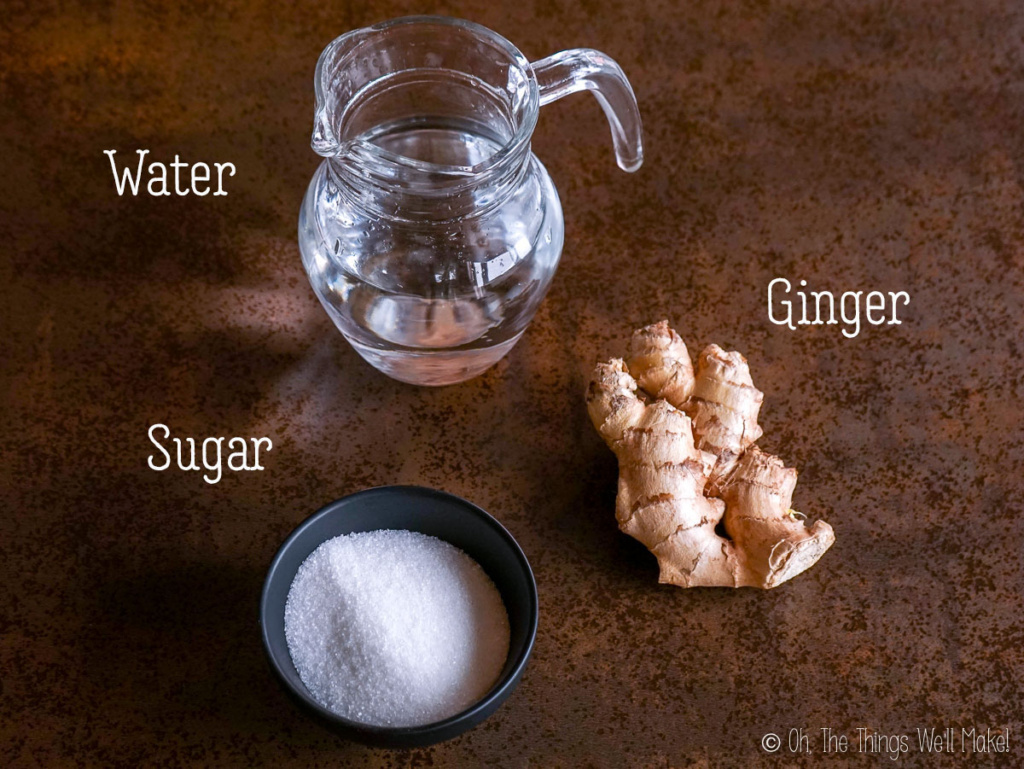
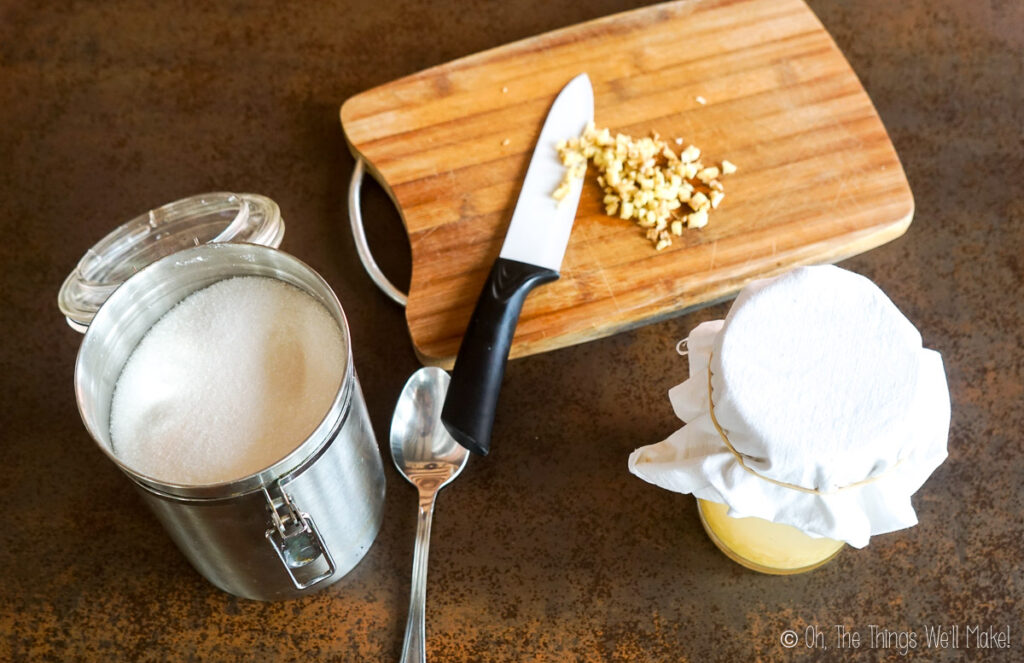
The ingredients for this vinegar are simple. It uses fresh ginger root, filtered water, and sugar.
While I normally prefer using unrefined sugar for most recipes, I generally use white sugar for my ferments. Most of the sugar will get consumed by the fermentation process anyway, so try not to worry about it too much.
It’s important to use fresh ginger root and not dried powdered ginger. If using organic, you can choose to peel it or not. I usually just remove any dark areas or anything that looks like mold. When peeling, I like to leave little bits and pieces of peel that can help introduce local yeasts and bacteria into the ferment.
Procedure
When I first published this post, I showed you how to make a ginger bug and then convert it into vinegar. Since then, I have tried to simplify the process, showing you an easier way to make large quantities of vinegar. I figured that unless you also wanted to make some ginger bug sodas, there was no need to go through the hassle of growing an active ginger bug first.
In the end, the results of each method were quite different, so I figured I’d share both and let you try and choose for yourself. While I like the ginger vinegar that results from an abandoned ginger bug, others may prefer the more pungent ginger obtained in a more traditional vinegar-making process.
What is a ginger bug?
A ginger bug is a ferment made in a similar way to a sourdough starter. It’s made by mixing sugar, minced garlic, and filtered water in a jar and leaving it to ferment. Each day, you add more sugar and ginger to the mixture. With time, the wild yeasts and bacteria in the air feed on the mixture and ferment it into a bubbly, active starter that is usually used to carbonate probiotic sodas.
If you’re interested, I have a post dedicated to making an active ginger bug and making sodas with it.
Ginger bug method
As I mentioned before, the first method begins with making a ginger bug. To make a ginger bug, a mixture of ginger, water, and sugar is fed with more ginger and sugar every day until it gets bubbly. That usually takes around a week, but it depends a lot on the temperature.
Once you have an active ginger bug, you can use it to make sodas or ginger beer.
Ginger bug to vinegar
At that point, you can continue to add ginger and sugar daily (and a bit of water every once in a while) to keep the ginger bug active. Or, you can abandon it, leaving it at room temperature without adding anything new.
With time, the leftover sugar will be consumed, and the mixture will become acidic.
If I intend to make vinegar with my ginger bug, I purposely add more water, sugar, and ginger to the active ginger bug before abandoning it. This allows me to make a bigger batch of vinegar.
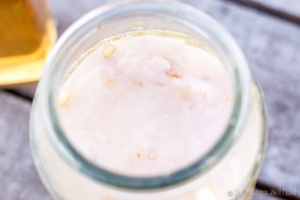
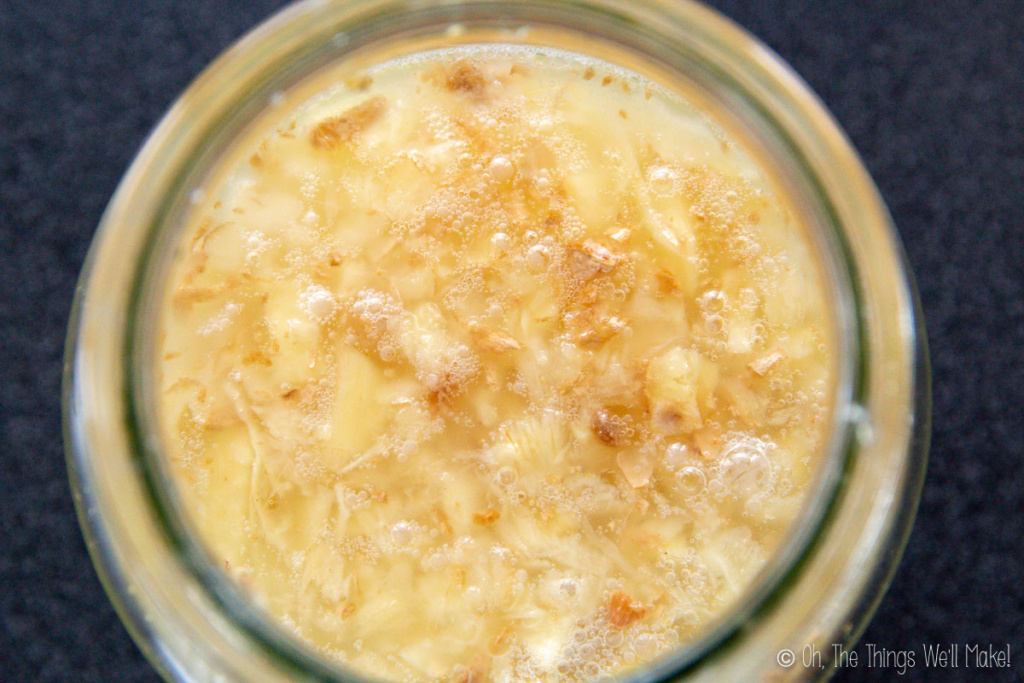
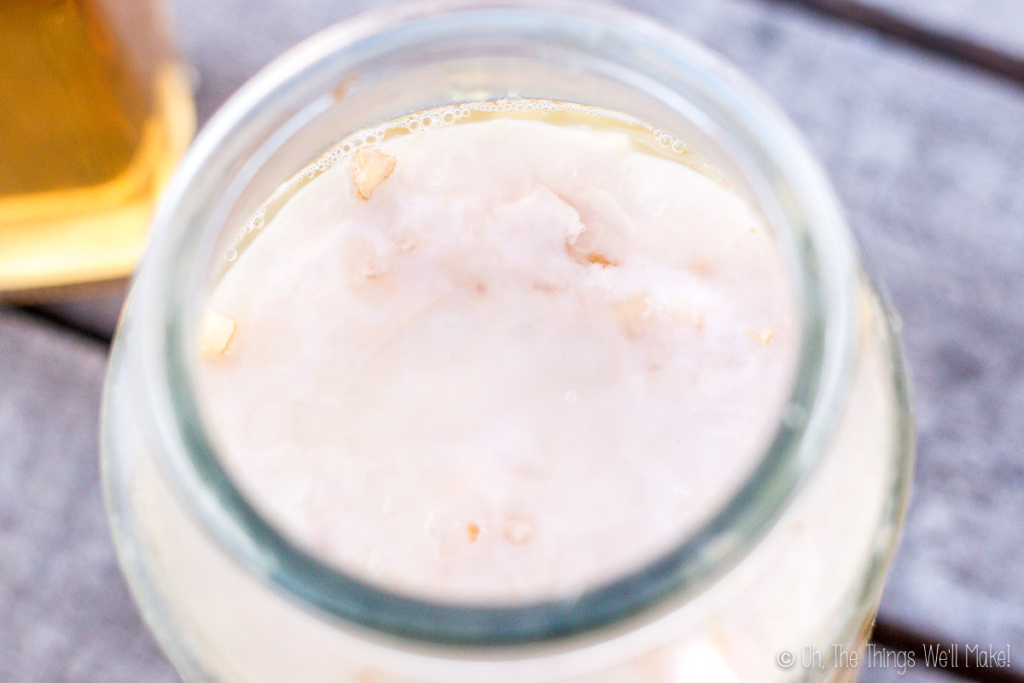
After a week or two (more or less), a white film will form over the top of the liquid. It looks like a kombucha SCOBY, but in this case, it is the vinegar “mother.” Once the mother starts to form, I try not to disturb it too much.
Vinegar and kombucha both form a mass of cellulose and acetic acid bacteria. In the case of vinegar, it’s called a mother. In kombucha it’s called a SCOBY or a symbiotic culture of bacteria and yeasts.
After a couple more weeks, I begin to taste the vinegar for acidity. (I usually pull the mixture up with a straw from the edge, trying not to disturb the vinegar mother if possible.)
At first, the ginger vinegar will be both sweet and acidic. At this point, it’s delicious on spiralized cucumbers for a refreshing cucumber noodle salad!
If you leave it for longer, though, you’ll end up with a more acidic vinegar. Even months later, though, the resulting vinegar made in this way tends to be on the sweeter and less acidic side, much like mild rice vinegar.
New method
While that method is easy enough, I decided to try an even simpler method of making larger batches of ginger vinegar.
In this other method, rather than feed the ginger and sugar mixture each day, we can begin with larger amounts of water, sugar, and ginger and allow them to ferment without adding anything. This is a more traditional way to make vinegar. (It’s how I normally make apple cider vinegar.)
Comparing results
Over the last weeks, I’ve been making both methods simultaneously. I thought that the second method would be faster because the focus is on making vinegar right from the beginning. I was surprised, though, to see that the ginger bug method formed a mother much more quickly.
Only a few days after stopping the feeding of my active ginger bug, the mixture formed a white film that thickened into a thicker mother over just a few days. The other batch of vinegar hadn’t even started to form a mother yet. I guess that adding sugar and ginger daily helps activate the yeasts and bacteria that work to form the vinegar.
Another difference that I noticed is that the finished batches of vinegar tasted different. The vinegar made from a ginger bug was sweeter and milder. It is light and refreshing, with a hint of the flavor of ginger, of course! The other vinegar was more potent. It was more pungent and acidic. In a way, it strangely tasted more like apple cider vinegar.
After trying both methods, I have to say that I prefer the first method. Adding sugar and vinegar daily for around a week isn’t difficult, and it seems to be enough to speed up the vinegar-making process. It also makes a sweeter, milder vinegar that I really like. (I’m now tempted to try a similar method for making apple cider vinegar!)
Filtering and storing the vinegar
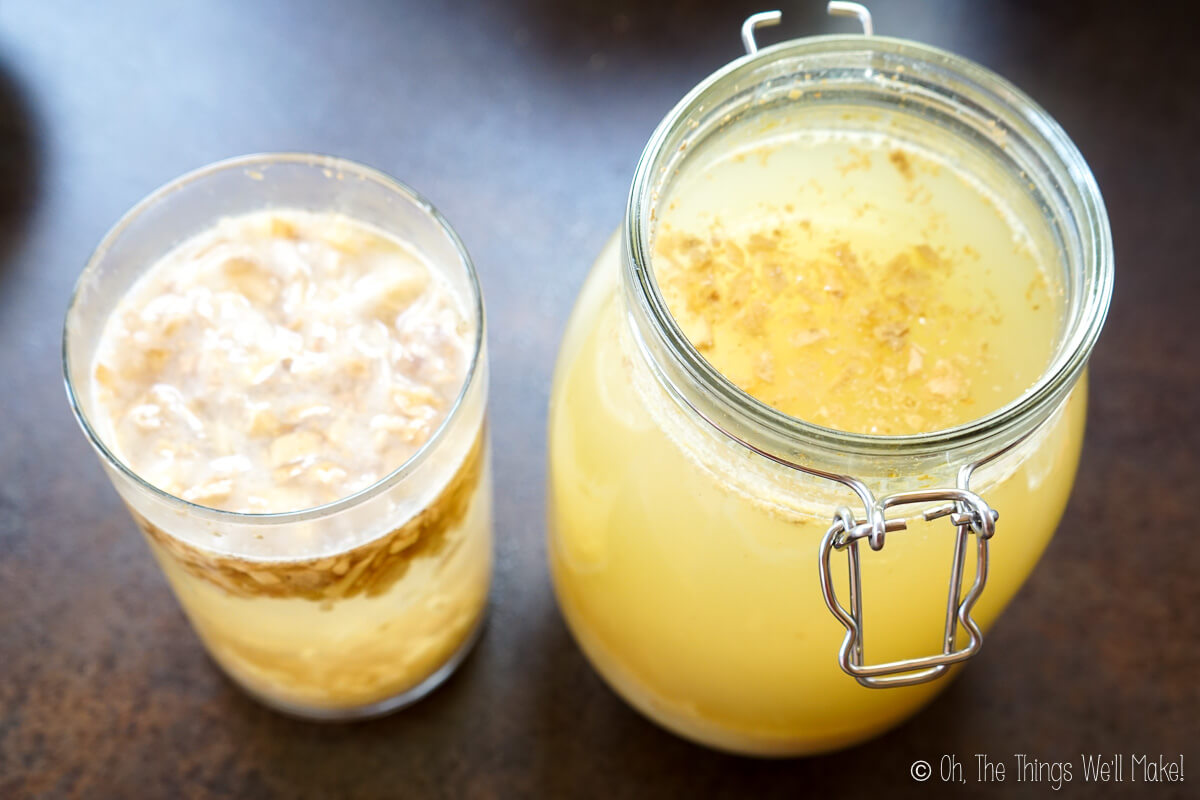
To use your vinegar, you’ll want to filter and bottle it up. Once the mother forms, you can start tasting the vinegar for acidity. Try easing in a straw along the edge to taste the vinegar without disrupting the mother that helps protect it.
Once you are happy with the acidity of the vinegar, stop the vinegar-making process at any time by filtering out the solids and bottling up the vinegar.
Some people prefer to leave it in the fridge to almost completely halt the fermentation process. I don’t find refrigeration necessary and leave mine at room temperature. It does gradually intensify with time.
Making a new batch
To jump-start your next batch, add the mother and a small amount of vinegar from this batch to more water, sugar, and ginger. Continue with either of the methods above.
Another option is to do a sort of continuous vinegar brew by removing small amounts of vinegar and adding in more water, sugar, and ginger to keep the process going. This also keeps the vinegar sweeter and milder.
Video
Easy Ginger Vinegar
Ingredients
- 150 gram ginger root
- 150 gram sugar
- 1 quart filtered water
Instructions
Method 1: Ginger Bug Method
- Add 2 cups of filtered water to a jar with a tablespoon of sugar and a tablespoon of grated or finely minced ginger.
- Mix everything together and cover the jar with a cloth, held in place with a rubber band, to keep bugs and dust out. Leave to rest at room temperature for 24 hours.
- The next day, add in another tablespoon of sugar and another tablespoon of ginger. (You can also add in a little water if you ever see that the mixture is too overrun with ginger.) Once again, mix everything together and cover it with a cloth. Leave it undisturbed for another 24 hours.
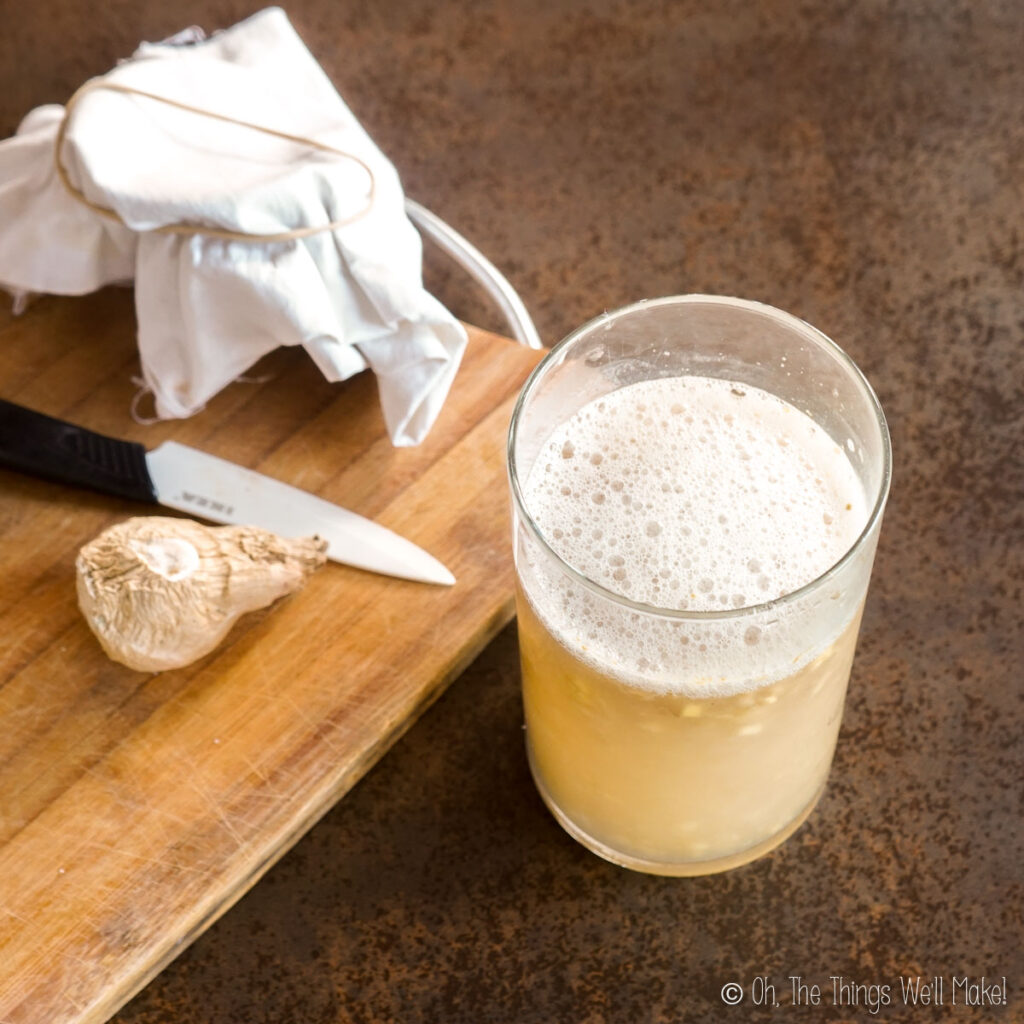
- Repeat the previous step each day until you get an active ginger bug. You can tell that your ginger bug is active and ready when you start to see bubbles forming at the top and a white precipitate falling to the bottom. (This normally takes around 4-8 days.)
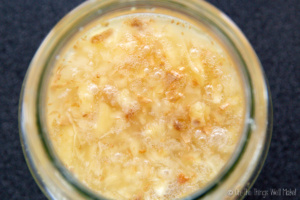
- Once the ginger bug is ready, you can make sodas with it by mixing it with juice or mixes of water, flavoring, and sugar syrup and doing a second ferment in airtight bottles to build up carbonation.
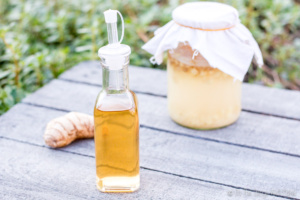
- To make vinegar, add the rest of the ginger, sugar, and water and stop feeding the ginger bug. Cover it with a cloth and allow it to ferment for several weeks. Over the next weeks, it will become more acidic and less sweet. It should also begin to form a cellulose mass on the surface. This is the vinegar mother.
Method 2
- Mix together the sugar, ginger, and water in a large jar. Cover it with a cloth held in place with a rubber band. This helps keep out dust and insects. Leave it alone at room temperature.
- For the first few days, remove the cloth and stir the mixture daily. This helps prevent mold from forming on any ginger that is floating on the surface. After about a week to ten days, when it begins to taste acidic, the mixture can be left alone.
- Leave it to ferment at room temperature for several weeks, until you are happy with the acidity and flavor of the vinegar.
Filtering the vinegar
- Once you are happy with the flavor and acidity of the vinegar, filter out the solids and bottle the ginger. It can be stored at room temperature or in the fridge.
 Español
 How to Make a Ginger Bug
Connie
My vinegar is quite gelatinous. Is this normal?
Tracy Ariza, DDS
Hi Connie,
Not really, but…
I’ve never had that happen with my vinegar, but did have it happen once when making ginger beer. When I looked it up, it didn’t seem very common, but did find someone who said that it had to do with certain bacteria cultures that will thicken the mixture. They weren’t toxic, but we’re unpleasant.
I’d suggest starting over and trying to ensure you aren’t fermenting it around other cultures and maybe using a starter of some sort like a yeast or other vinegar to ensure you don’t get strange cultures forming.
Greg
I Love Fermenting and will definitely make this. My question is how do you store the MOTHER to save for future uses?
Tracy Ariza, DDS
Hi Greg,
If you want to save it, you’d ideally store it in vinegar. It will likely continue to grow, though.
You can also try freezing it. That might work!
Donna Reeves
I have been feeding my jar with ginger and sugar for about 11 days. I haven’t seen any bubbles. The liquid taste like ginger ale. I would like to make vinegar but without bubbles I wonder if it is alive.
After 8 days I added about a tablespoon of apple cider vinegar with mother. I was hoping to give it the idea of making vinegar. Still no bubbles 3 days later. Are the bubbles hard to see? Maybe I am missing them somehow.
Tracy Ariza, DDS
Hi Donna,
If your intent is only to make vinegar, then the bubbles aren’t important. That’s for making the ginger bug itself. This is another post that I would like to update to explain that part better. If you aren’t making both- then what I would do is to stop feeding it, keep it covered with a cloth, and leave it alone for a couple of weeks. In all likelihood, you’ll be surprised with a tasty vinegar.
When I wrote this, it was because I knew of people who had ginger bugs that had gone too far- and I wanted to show them that not all is lost- that the ginger vinegar is delicious. I often make only the vinegar too.
These days, I mostly only add some water, sugar, and vinegar in larger quantities and don’t touch it other than to mix it the first few days to make sure the ginger stays submerged under the surface so it doesn’t get moldy.
I hope that helps until I can better update this.
Joyce
What to do with all the ginger scobys and all the ginger pieces in my continuous brew of vinegar that I have had for a while?
Tracy Ariza, DDS
Hi Joyce!
That’s a great question. You really have to experiment and find what works for you. I have a dog and hens and I like to feed them my SCOBYs and vinegar mothers. They seem to enjoy them. Whatever my dog doesn’t like, my hens seem to like. hahaha
They are edible and some people like to eat them too. I’ve tried them, and they aren’t bad, but not really my cup of tea either. Speaking of tea, maybe you could add some of the ginger pieces to a tea. (Yes, it might be a bit too acidic, so I’m not sure how it would work. Maybe rinsing them would help?)
I bet the ginger pieces would be good in a soup like egg drop soup, in a stir fry, or something like my chicken adobo.