

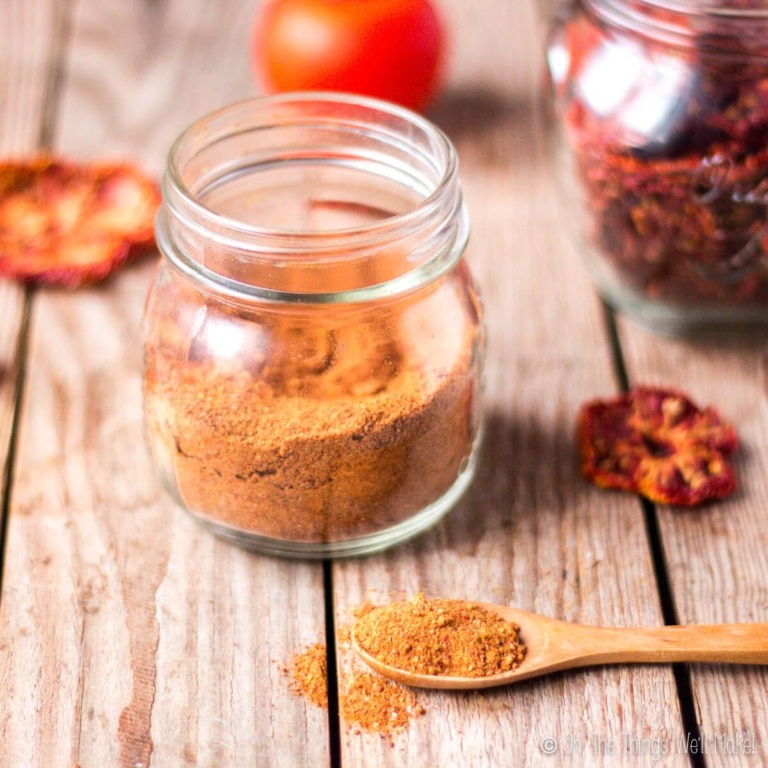
Delicious Ginger Vinegar

This easy ginger vinegar is mild and fragrant and is perfect for adding to salads and stir-fries. It’s simple to make and is delicious. For those who are looking for a more palatable vinegar, give this ginger vinegar a try!

Over the years I have fermented all sorts of things. At any given moment, you’d probably find my kitchen inhabited by a variety of substances in large mason jars covered with cloth. Right now you would find kombucha, soy sauce & miso (hopefully coming soon to the blog), kefir, apple cider vinegar, and, well, ginger vinegar.
Ginger vinegar was one of those things that I made by accident, much like kombucha vinegar and water kefir vinegar. I was experimenting with making a ginger bug and left it unattended for a few too many days. When you forget about these sorts of things and ferment them too long, you normally end up with vinegar. Sometimes the result isn’t very pleasant. I don’t like water kefir vinegar at all. Other times, you luck ut and end up making something wonderful, like this ginger vinegar.
Why make it?
While I made this ginger vinegar by accident the first time, I loved the result so much that I’ve purposely made it numerous times since. Ginger vinegar is absolutely delicious! Unlike some kinds of vinegar that are very strong and unpalatable, ginger vinegar is only mildly acidic. It has a lovely fragrance and flavor.
I especially love using it on salads and in stir-fries. It’s the perfect vinegar for making sweet chicken adobo. (I bet it would also be delicious in a ginger switchel!)
It’s not at all difficult to make, and it’s unlike anything you’d find at the store. While I also love making apple cider vinegar (and sometimes make wine vinegar with leftover wine), I have to say that this is my definite favorite!
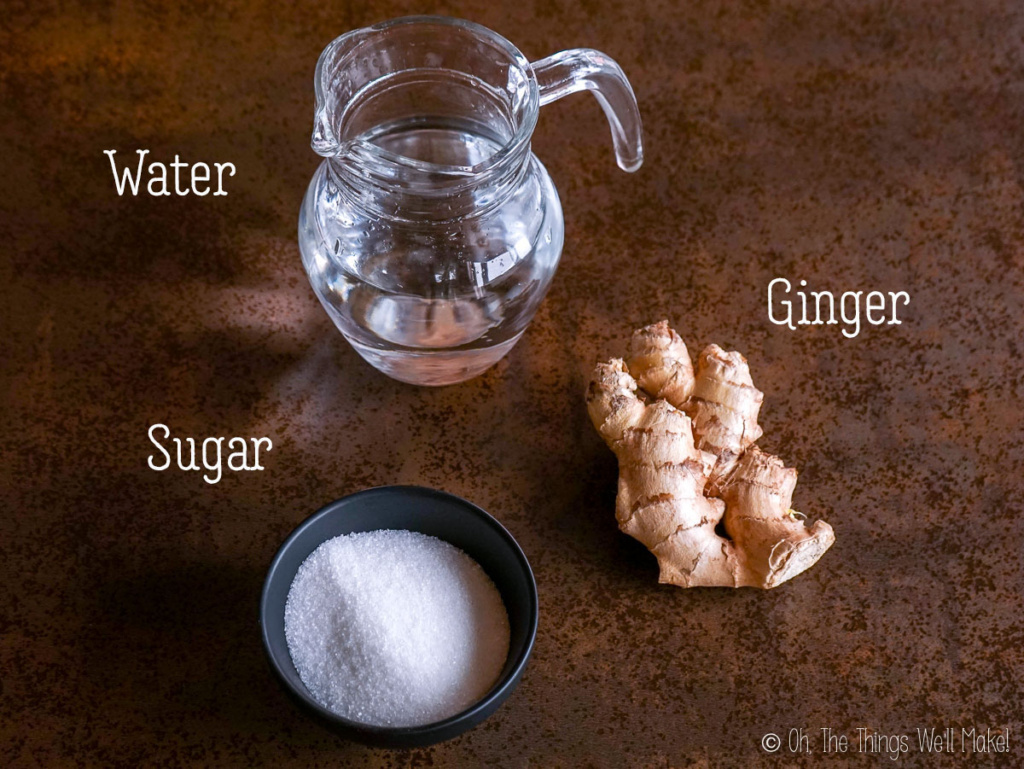
Ingredients
The ingredients for this vinegar are simple. It uses fresh ginger root, filtered water, and sugar.
While I normally prefer using unrefined sugar for most recipes, I generally use white sugar for my ferments. Most of the sugar will get consumed by the fermentation process anyway, so try not to worry about it too much.
It’s important to use fresh ginger root and not dried powdered ginger. If using organic, you can choose to peel it or not. I usually just remove any dark areas or anything that looks like mold. When peeling, I like to leave little bits and pieces of peel that can help introduce local yeasts and bacteria into the ferment.
Procedure
When I first published this post, I showed you how to make a ginger bug and then convert it into vinegar. Since then, I have tried to simplify the process, showing you an easier way to make large quantities of vinegar. I figured that unless you also wanted to make some ginger bug sodas, there was no need to go through the hassle of growing an active ginger bug first.
In the end, the results of each method were quite different, so I figured I’d share both and let you try and choose for yourself. While I like the ginger vinegar that results from an abandoned ginger bug, others may prefer the more pungent ginger obtained in a more traditional vinegar-making process.
What is a ginger bug?
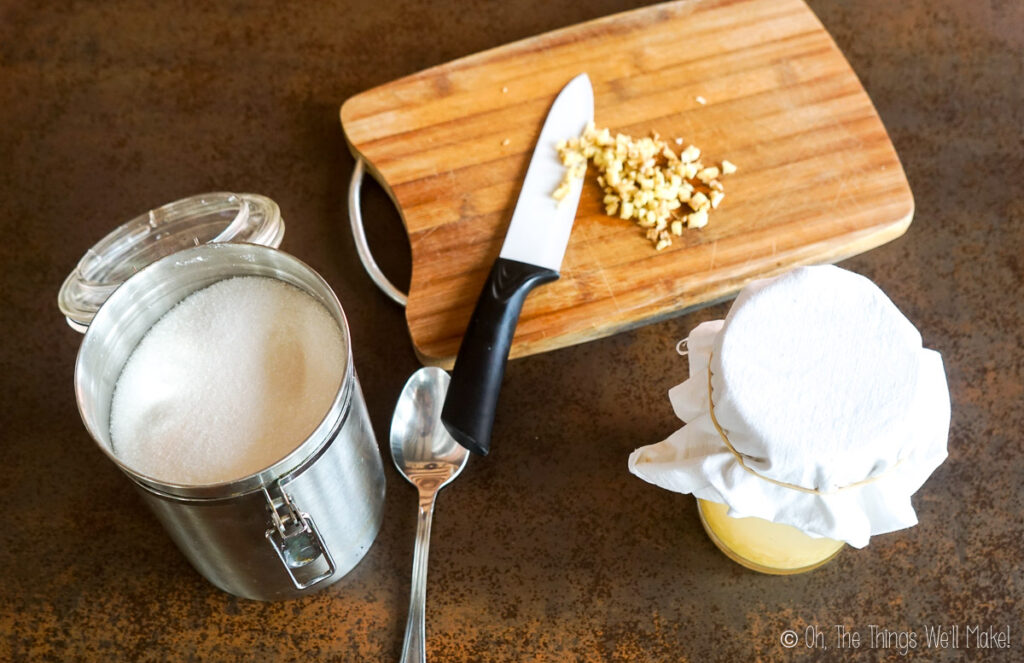
A ginger bug is a ferment made in a similar way to a sourdough starter. It’s made by mixing sugar, grated (or chopped) ginger, and filtered water in a jar and leaving it to ferment. Each day, you add more sugar and ginger to the mixture. With time, the wild yeasts and bacteria in the air feed on the mixture and ferment it into a bubbly, active starter that is usually used to carbonate probiotic sodas.
If you’re interested, I have a post dedicated to making an active ginger bug and making sodas with it.
Ginger bug method
As I mentioned before, the first method begins with making a ginger bug. To make a ginger bug, a mixture of ginger, water, and sugar is fed with more ginger and sugar every day until it gets bubbly. That usually takes around a week, but it depends a lot on the temperature.
Once you have an active ginger bug, you can use it to make sodas or ginger beer.
Ginger bug to vinegar
At that point, you can continue to add ginger and sugar daily (and a bit of water every once in a while) to keep the ginger bug active. Or, you can abandon it, leaving it at room temperature without adding anything new.
With time, the leftover sugar will be consumed, and the mixture will become acidic.
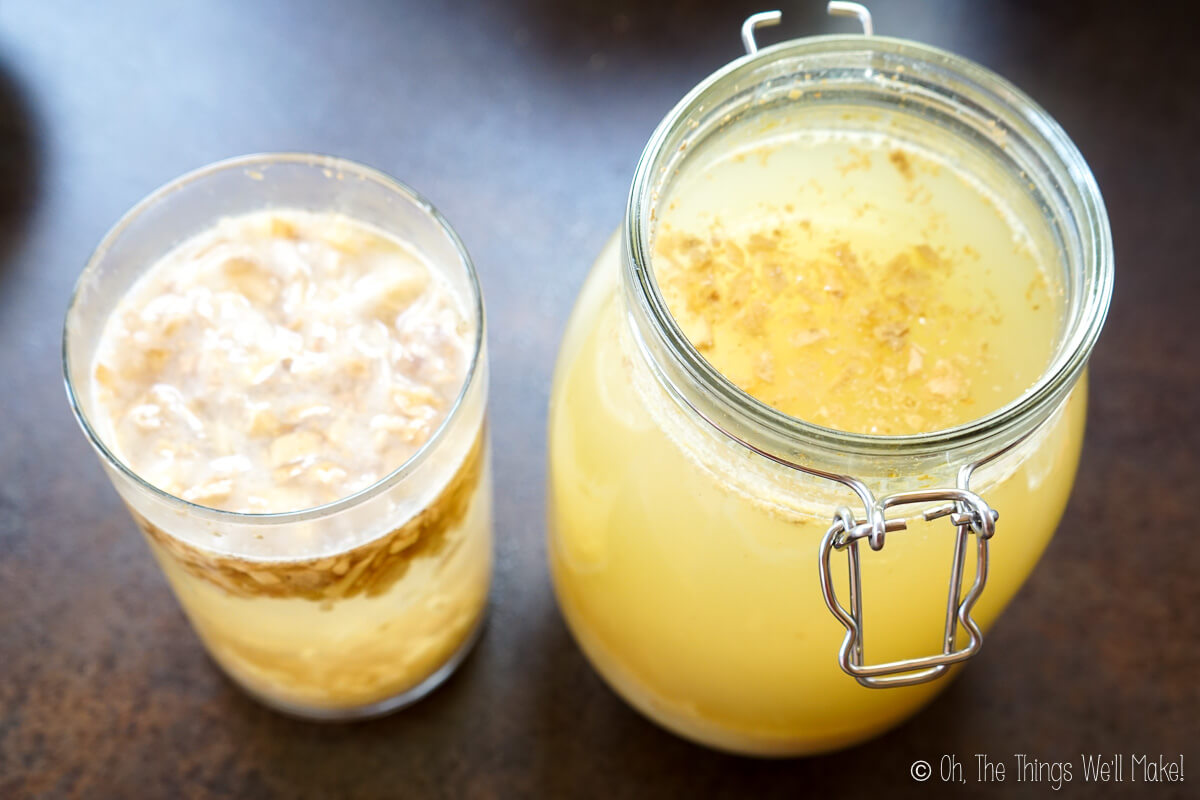
If I intend to make vinegar with my ginger bug, I purposely add more water, sugar, and ginger to the active ginger bug before abandoning it. This allows me to make a bigger batch of vinegar.

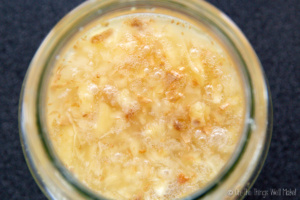
After a week or two (more or less), a white film will form over the top of the liquid. It looks like a kombucha SCOBY, but in this case, it is the vinegar “mother.” Once the mother starts to form, I try not to disturb it too much.
Vinegar and kombucha both form a mass of cellulose and acetic acid bacteria. In the case of vinegar, it’s called a mother. In kombucha it’s called a SCOBY or a symbiotic culture of bacteria and yeasts.
After a couple more weeks, I begin to taste the vinegar for acidity. (I usually pull the mixture up with a straw from the edge, trying not to disturb the vinegar mother if possible.)
At first, the ginger vinegar will be both sweet and acidic. At this point, it’s delicious on spiralized cucumbers for a refreshing cucumber noodle salad!
If you leave it for longer, though, you’ll end up with a more acidic vinegar. Even months later, though, the resulting vinegar made in this way tends to be on the sweeter and less acidic side, much like mild rice vinegar.

New method
While that method is easy enough, I decided to try an even simpler method of making larger batches of ginger vinegar.
In this other method, rather than feed the ginger and sugar mixture each day, we can begin with larger amounts of water, sugar, and ginger and allow them to ferment without adding anything. This is a more traditional way to make vinegar. (It’s how I normally make apple cider vinegar.)
Comparing results
Over the last weeks, I’ve been making both methods simultaneously. I thought that the second method would be faster because the focus is on making vinegar right from the beginning. I was surprised, though, to see that the ginger bug method formed a mother much more quickly.
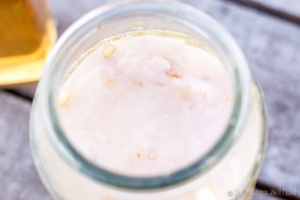
Only a few days after stopping the feeding of my active ginger bug, the mixture formed a white film that thickened into a thicker mother over just a few days. The other batch of vinegar hadn’t even started to form a mother yet. I guess that adding sugar and ginger daily helps activate the yeasts and bacteria that work to form the vinegar.
Another difference that I noticed is that the finished batches of vinegar tasted different. The vinegar made from a ginger bug was sweeter and milder. It is light and refreshing, with a hint of the flavor of ginger, of course! The other vinegar was more potent. It was more pungent and acidic. In a way, it strangely tasted more like apple cider vinegar.
After trying both methods, I have to say that I prefer the first method. Adding sugar and vinegar daily for around a week isn’t difficult, and it seems to be enough to speed up the vinegar-making process. It also makes a sweeter, milder vinegar that I really like. (I’m now tempted to try a similar method for making apple cider vinegar!)
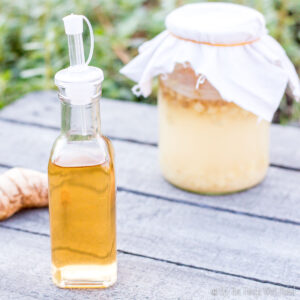
Filtering and storing the vinegar
To use your vinegar, you’ll want to filter and bottle it up. Once the mother forms, you can start tasting the vinegar for acidity. Try easing in a straw along the edge to taste the vinegar without disrupting the mother that helps protect it.
Once you are happy with the acidity of the vinegar, stop the vinegar-making process at any time by filtering out the solids and bottling up the vinegar.
Some people prefer to leave it in the fridge to almost completely halt the fermentation process. I don’t find refrigeration necessary and leave mine at room temperature. It does gradually intensify with time.
Making a new batch
To jump-start your next batch, add the mother and a small amount of vinegar from this batch to more water, sugar, and ginger. Continue with either of the methods above.
Another option is to do a sort of continuous vinegar brew by removing small amounts of vinegar and adding in more water, sugar, and ginger to keep the process going. This also keeps the vinegar sweeter and milder.
Video
Easy Ginger Vinegar
Ingredients
- 150 gram ginger root
- 150 gram sugar
- 1 quart filtered water
Instructions
Method 1: Ginger Bug Method
- Add 2 cups of filtered water to a jar with a tablespoon of sugar and a tablespoon of grated or finely minced ginger.
- Mix everything together and cover the jar with a cloth, held in place with a rubber band, to keep bugs and dust out. Leave to rest at room temperature for 24 hours.
- The next day, add in another tablespoon of sugar and another tablespoon of ginger. (You can also add in a little water if you ever see that the mixture is too overrun with ginger.) Once again, mix everything together and cover it with a cloth. Leave it undisturbed for another 24 hours.
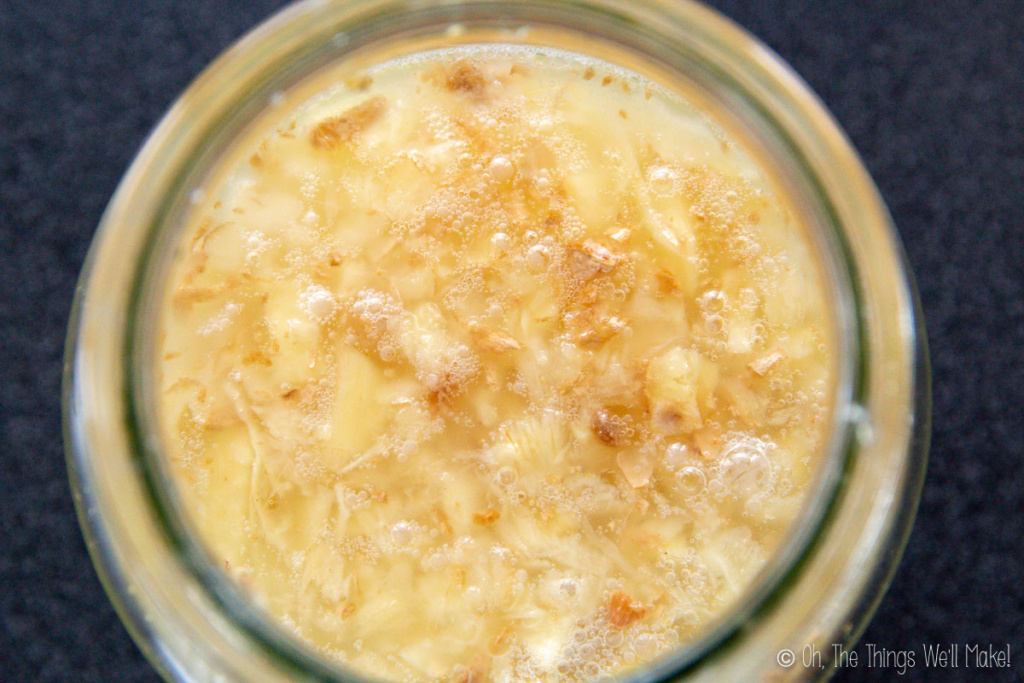
- Repeat the previous step each day until you get an active ginger bug. You can tell that your ginger bug is active and ready when you start to see bubbles forming at the top and a white precipitate falling to the bottom. (This normally takes around 4-8 days.)
- Once the ginger bug is ready, you can make sodas with it by mixing it with juice or mixes of water, flavoring, and sugar syrup and doing a second ferment in airtight bottles to build up carbonation.
- To make vinegar, add the rest of the ginger, sugar, and water and stop feeding the ginger bug. Cover it with a cloth and allow it to ferment for several weeks. Over the next weeks, it will become more acidic and less sweet. It should also begin to form a cellulose mass on the surface. This is the vinegar mother.
Method 2
- Mix together the sugar, ginger, and water in a large jar. Cover it with a cloth held in place with a rubber band. This helps keep out dust and insects. Leave it alone at room temperature.
- For the first few days, remove the cloth and stir the mixture daily. This helps prevent mold from forming on any ginger that is floating on the surface. After about a week to ten days, when it begins to taste acidic, the mixture can be left alone.
- Leave it to ferment at room temperature for several weeks, until you are happy with the acidity and flavor of the vinegar.
Filtering the vinegar
- Once you are happy with the flavor and acidity of the vinegar, filter out the solids and bottle the ginger. It can be stored at room temperature or in the fridge.


is it ok to ginger bug become pink?
Hi Arthur,
It sounds like it may have some sort of fungus. I’m not sure though. I guess, though, that when in doubt, it’s best to throw it out and start over.
Thank you for the great information! I have a question. I also have various things fermenting around my house at any given time. I am worried that they will contaminate each other. Is that even a valid concern?
In your experience how far should they be kept from one another? For example I am currently brewing two continuous Kombucha brews, a sourdough starter and two ginger bugs. They are about 15ft apart from each other. Is that sufficient in your opinion? Thank you in advance!
Shelly
Hi Shelly,
Yes, of course, it’s a valid concern. I guess it’s especially valid if you have bought a specific strain of something. On the other hand, if you start a vinegar and sourdough starter with wild yeasts, I’m not sure how much of a difference it would make as they originally came from the same air, you know. (I can’t be sure of that, but it’s the way I think.)
Anyway, I have numerous items fermenting in my kitchen too. I have ginger and apple cider vinegars on the ledge of the extractor above my stove. I have kombucha a few feet away on my kitchen counter. I have homemade soy sauce brewing above my refrigerator in the pantry.
In the end, I haven’t noticed any negative effects from their proximity.
The SCOBY of the kombucha and the specific strains of the soy sauce are really the only bought strains. My thought is that kombucha strains probably wouldn’t negatively affect a vinegar, for example. They may just add more beneficial strains or do nothing at all.
I can’t imagine it would negatively affect the soy sauce either, except for maybe altering the flavor somehow (something I haven’t personally noticed.)
Anyway, yes, I’ve heard to be careful about the cross-contamination, but my guess has been that it is normally stated to be overly cautious- and I would think it would be mostly in order to prevent changes in flavor. I can’t imagine it would otherwise do anything bad to the other cultures. (You can use the liquid of a variety of fermented foods to ferment things like vegan cheese or make fermented ketchup.)
For something like this, I’m not as concerned because it’s easy enough to make a new batch. If you’re concerned about “ruining” your SCOBY’s I’d suggest having an extra somewhere else anyway, to always have a spare in case anything goes wrong. But, honestly, mine are all pretty close and I’ve never noticed anything bad come from it.
I found your post based on my own experiences making fermented ginger soda. I store my sodas in the home brewing beer bottles with the rubber stopper. However, this means the soda will go flat after a week or so when in the fridge. The cool thing about fermented soda though is I can usually put it on the counter for a day and BOOM it’s carbonated again. One time I just kept forgetting to drink my soda and after a few rounds of this attempt to re-carbonate on the counter the soda tasted like vinegar. So basically I didn’t do anything you did. I just let my soda sit on the counter and consume all of its sugars and voila! Vinegar. It never occurred to me to actually use it! I tossed it 🙁
Hi Anna,
Yes, it has happened to me with so many things- accidental kombucha vinegar, water kefir vinegar, etc.
This one is my favorite, though. It’s so delicious- so much so that I purposely make it often. You can just make a big batch and leave it to ferment too.
I use it in my Asian stir fries and LOVE it.
I know this is an older post, but I tried this and mine never formed a mother. It sat for a year and is now very yeasty and alcoholic. Is there anything you can do to encourage the growth of a mother so vinegar occurs instead of alcohol?
Hi Jodi,
Hmmmm- I’m not sure why that happened to you. You normally get an alcohol at first- which then gets converted into vinegar. Every time I’ve done this, though, mine gets converted pretty quickly.
This is going to be a guess- but this is what I would do to try to fix it.
To lower the yeast/alcohol content, add more water and more sugar. Then, make sure it’s getting enough oxygen. That’s important! so, see if you can use a container with a wider mouth and/or use a very thin cloth that allows for more airflow.
Maybe I’ll start a new batch this week so I can make a video and can try this again to see if I can come up with new tips and tricks to better update the post.
I always really loved this vinegar. It’s my favorite. (I also make pineapple and apple vinegar but like this one best!)
hi.
Thank you for this recipe.
I do have a few questions, hope you don’t mind.
1) I started my bug about a week ago and fed it every day sugar and ginger. I did not feed it today, and when I checked on it tonight, all the bubbles were gone. Is that normal?
I did taste it today and it is a pleasant mild ginger ale taste.
If this is normal (the bubbles which stopped) what will happen next? I assume that is will turn into vinegar now?
Then when the mother formed, can I use that for more batches?
Do I only feed it sugar or ginger as well?
How long does the process take using the mother?
And would the vinegar taste the same? Same strength if left for the same amount of time?
I will probably have more questions as the process goes on.
Thanks!
Hi MB,
No problem! I’m happy to answer all of your questions as best I can!
Yes, it’s totally normal for it to stop bubbling. If you want to keep it as an active ginger bug, you’d need to keep it bubbling and active by adding more water, ginger, and sugar, removing the excess as needed. Once you no longer care to work on keeping it up, you can let it “die off” and turn into vinegar. 🙂
It will probably taste like ginger ale in the in between stages. It may also start to taste like ginger beer- as if it had a bit of alcohol in it. That’s all perfectly normal and part of the fermentation process.
To be honest, I’ve never really known what to do with the mother. It’s a pretty quick process to make the vinegar even without it, so I’m not sure how much it speeds up the process if at all. Throwing the mother from a successful batch in with a new batch may help inoculate it with good bacteria and yeasts to help ensure that you will end up with a great vinegar, and, yes, it may speed things up a bit, but I’m not really sure by how much. Maybe I should experiment with a couple of fresh batches: one with a mother and one without. I think that’s the only way I’d really be able to know.
I find that the vinegar ends up getting to a certain acidity, and then basically continues to taste the same, no matter how long you leave it. I occasionally add a bit more vinegar, sugar, and water, just to give it more ingredients to work with and make more vinegar as I use it up. I think of it as sort of like a continuous kombucha brew.
I hope that mostly answers your questions. What I know has all been learned from experimentation. I never really found anybody else who was making the same vinegar when I did a search way back when. Now that I’ve been making it for years, though, I guess I should be able to help out with most questions or issues you may have along the way. 🙂
Thanks!
Hi, do you turn the bug into vinegar in a closed jar (anaerobic) or with only a cloth on?
I let it turn into vinegar with only a cloth on.
If you find it evaporates too quickly, you can add a little water, and can even add a bit more ginger and sugar every once in awhile.
I figure the air will help the mother grow and live better. 🙂
I also don’t want to end up with a carbonated product in the end. (You can make a soda that way, though, with a much shorter fermentation time!)
I had a continuous brew ginger bug going. I stopped drinking it for a short time as I was trying to cut sugar. So, I also ended up making ginger bug vinegar. I mix it with water for a refreshing drink.
Hi Wilma,
That sounds like a great idea! It’s a light flavored vinegar, so I’m sure it would be great for making a switchel type beverage!
For how long it can be stored in the fridge not to rotten?
Hi Robert,
I keep mine out of the fridge, and occasionally add more sugar water and ginger (as I use it), straining out some of the old ginger when too much begins to accumulate in the jar. I’ve kept it that way for many many months, if not years, now. The pH of the vinegar is so low that pathogens don’t really grow in it, and if you keep occasionally adding in more sugar water and new ginger, not only will you help make up for whatever you use up, but you’ll keep it active. I hope that makes sense.
I haven’t tried straining it and placing it in the fridge, because I tend to use it and want to keep it going, but I imagine it would keep for a long time because of its low pH.
What do you do with the vinegar “mother”? Can you use it to ferment something else?
Good question!
I haven’t tried using it to ferment anything else. I’ve just been accumulating them and just letting them all live in a big jar of vinegar. I’d assume that you could do the same sort of things that you can di with kombucha SCOBY’s- including eating them or giving them to any animals you may have. I say that without having tried it, though. 🙂
Maybe I’ll look into it and see if I can find good ideas for excess “mothers.”
This is a great post. It’s on my bucket list to try! thanks for linking up to Simply Natural Saturdays.
Thanks, Jessica.
I love it when accidents turn out wonderfully. 🙂