

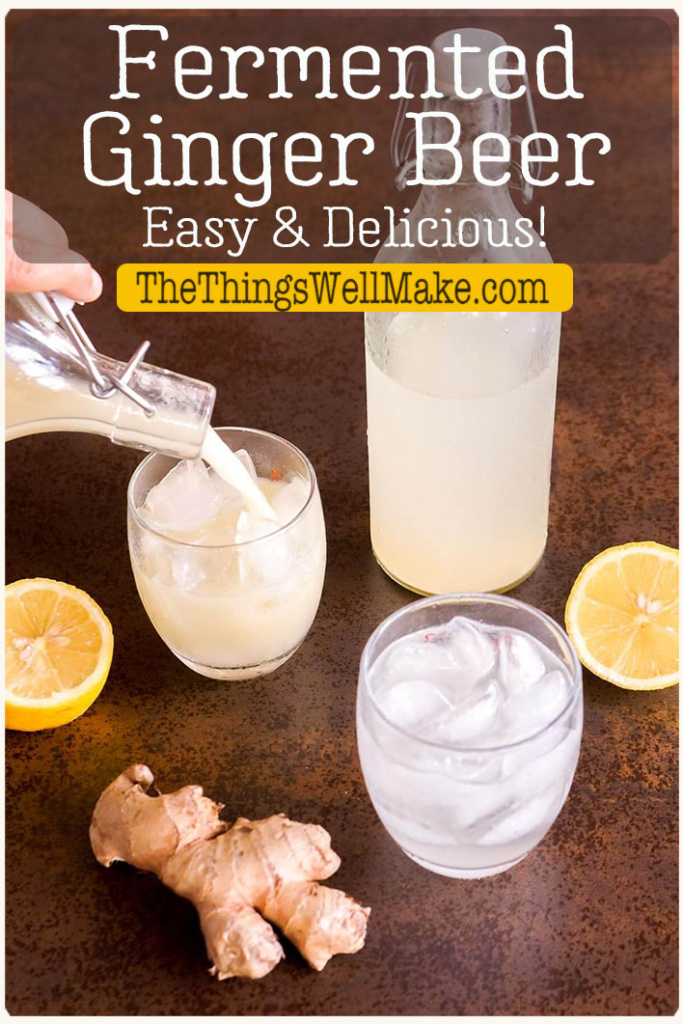
Fermented Ginger Beer
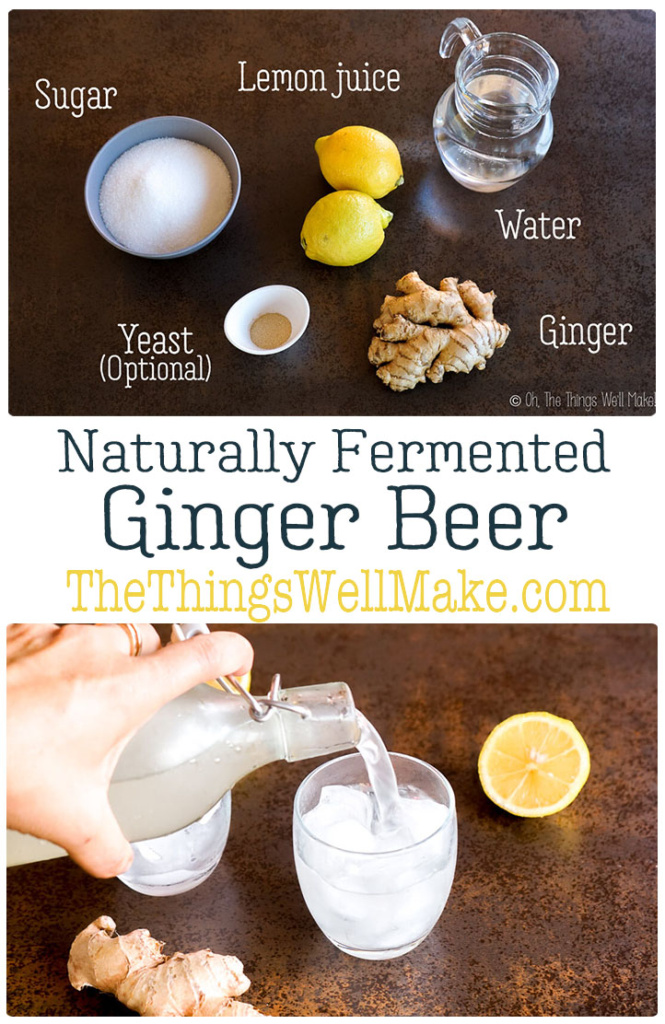
Refreshing and naturally carbonated, fermented ginger beer is a delicious addition to mixed drinks like the Moscow Mule or Dark n’ Stormy. It is also flavorful enough to enjoy on its own.
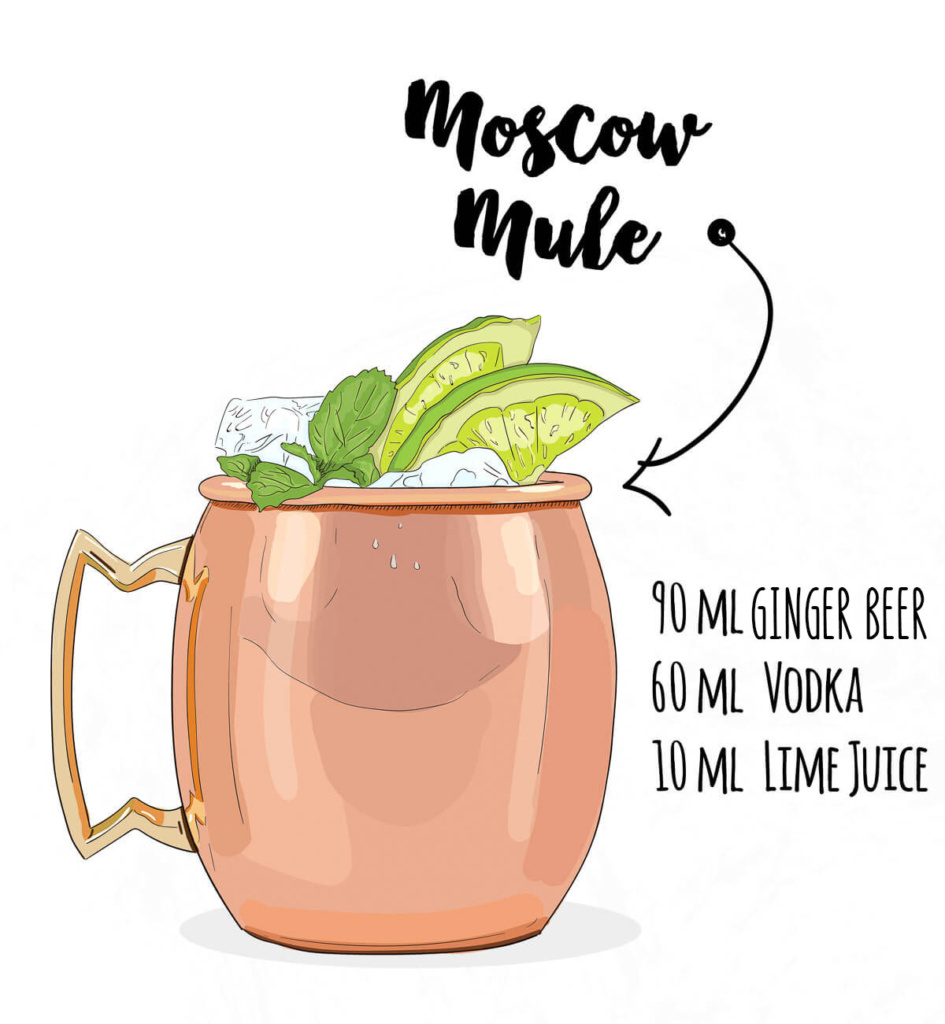
Several years ago, we went on an all-inclusive cruise where I tried a variety of new mixed drinks. For the first time, I tried a Moscow Mule and I loved it. For those who aren’t familiar with the Moscow Mule, it’s a cocktail made with vodka, ginger beer, and lime juice.
When I got home, I wanted to try mixing up my own Moscow Mule so I bought some ginger beer. When it arrived, though, I wasn’t exactly thrilled by the ingredient list. I didn’t love the flavor of the particular brand I had bought either.
What is ginger beer?
Ginger beer is a “spicy” beverage that was traditionally made by fermenting ginger, sugar, and water. Nowadays, it is generally made more like ginger ale and carbonation is added to a sweet ginger-flavored mixture that likely is a combination of natural and artificial flavorings.
Ginger ale vs. ginger beer
While they are made similarly, ginger beer is usually much spicier than ginger ale. While not always, it also tends to be a bit darker in color. When I make homemade versions, I call my non-fermented ginger drinks ginger ale and call the fermented one ginger beer.
Why make it?
Ginger beer is a delicious beverage that you can sip on its own like a soft drink or use as mixer with liquor in cocktails.
When you make it from scratch, you use real ginger and lemons rather than artificial or “natural flavors” and citric acid in commercial ginger beers. By using a natural fermentation process, you end up with a self-preserving beverage, packed with beneficial bacteria and yeasts, that doesn’t need preservatives.
The fresh ginger and beneficial bacteria and yeasts in homemade ginger beer make it a healthier drink that may even have health benefits, especially for the digestive system. Ginger is known to help ease digestion and nausea and is known for its antioxidant, anti-inflammatory, antiemetic, and gastroprotective activities.
Apart from all of that, I think the flavor and aroma beats the artificial stuff. Plus, by making it yourself, you can adjust the sweetness and spiciness to suit your taste!
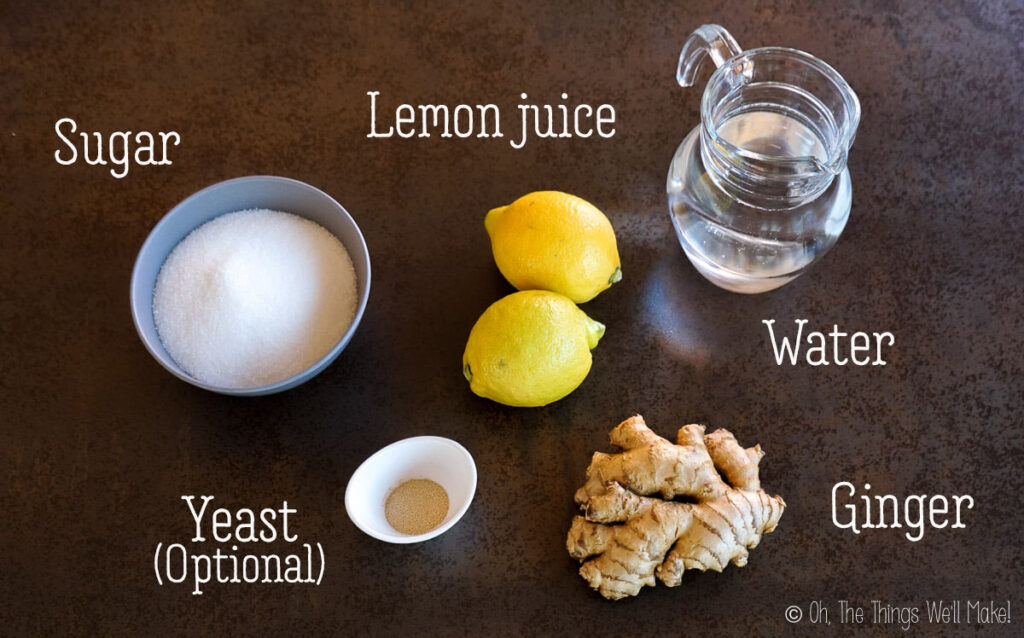
Ingredients
Ginger beer uses only a few simple ingredients: ginger, sugar, filtered (non-chlorinated) water, and, optionally, lemon or lime juice. To jump-start the process on your first batch, you can also use a tiny bit of yeast. (Active dried yeast works well.) Even better, begin with a small amount of active ginger bug.
While choosing the ingredients isn’t difficult, there are a few things to keep in mind. It’s important to use fresh ginger root and not dried ginger powder. As for the sugar, while I normally prefer using unrefined sugar in most of my recipes, I generally use plain white granulated sugar for my ferments like this one.
I normally add some lemon or lime juice to my ginger beer but, when I found myself without any on hand, have also made it without. It’s actually quite good either way. While the lemon juice is mostly added for flavor, it also helps lower the pH of the mixture. A lower pH can help prevent a slimy consistency from a ferment gone slightly wrong.
Procedure
The process is just as simple (and forgiving) as the ingredients. Over the years, I have experimented with different ways of making it. While I normally begin by making a ginger-flavored syrup and ferment that, I do occasionally ferment some minced ginger directly. Some people prefer fermenting the ginger in order to be able to use raw ginger.
In the end, either method works well and I haven’t noticed much of a difference in the finished product.
Making a ginger syrup
In the first method, the one I use most often these days, you first make a ginger syrup of water, sugar, and freshly grated ginger. For ease, I mince the ginger in a food processor. While you can peel the ginger first, it isn’t really necessary (especially when using organic). Just clean the roots thoroughly and remove any areas that may have mold.
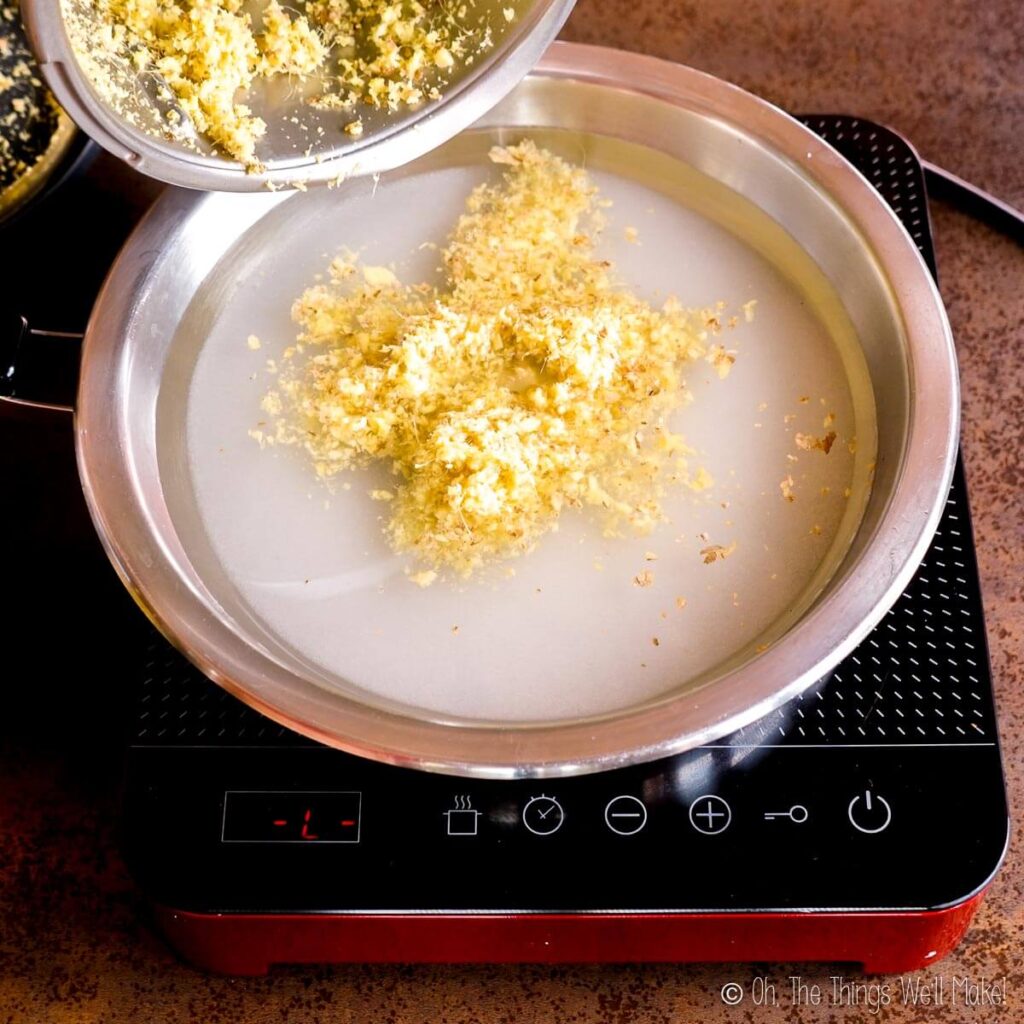
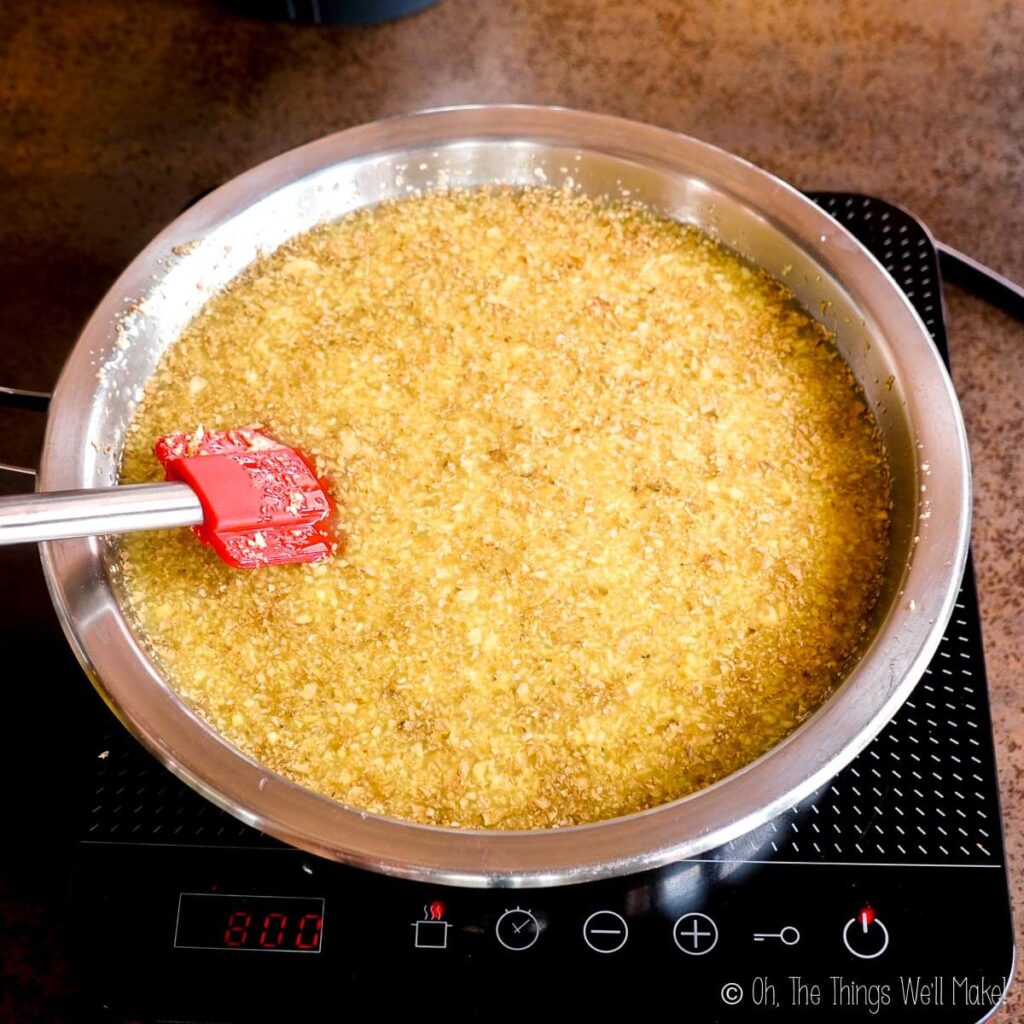
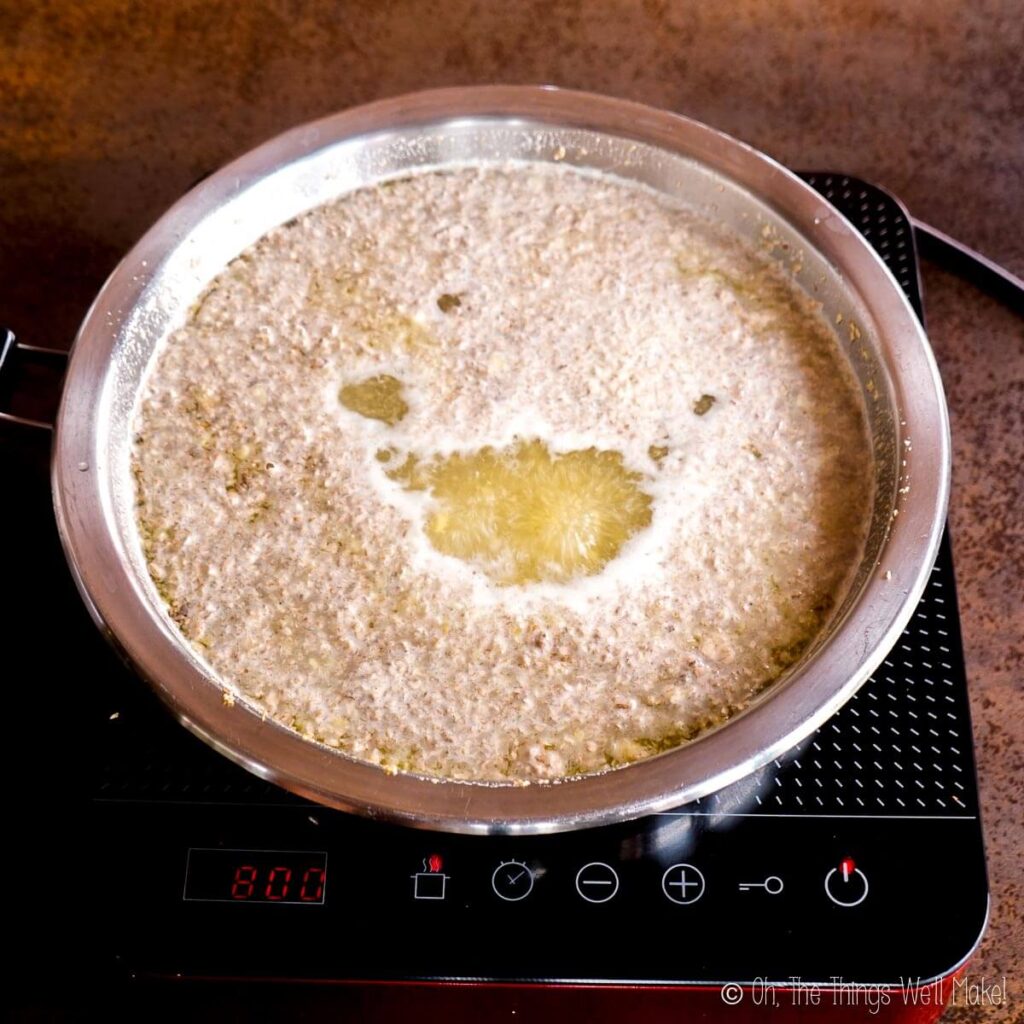
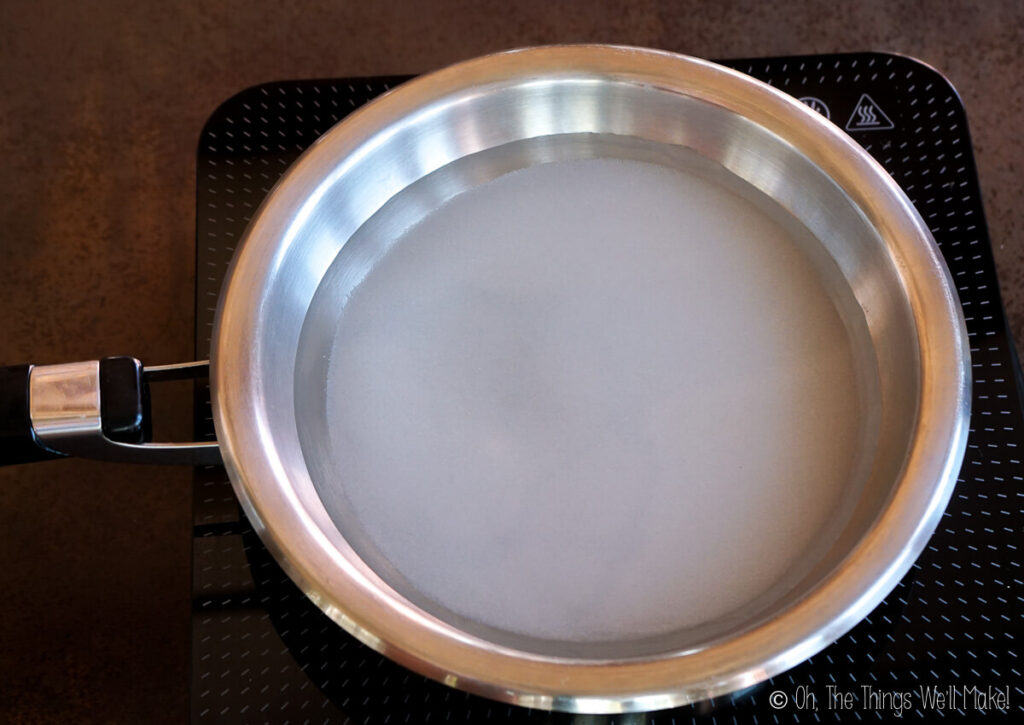
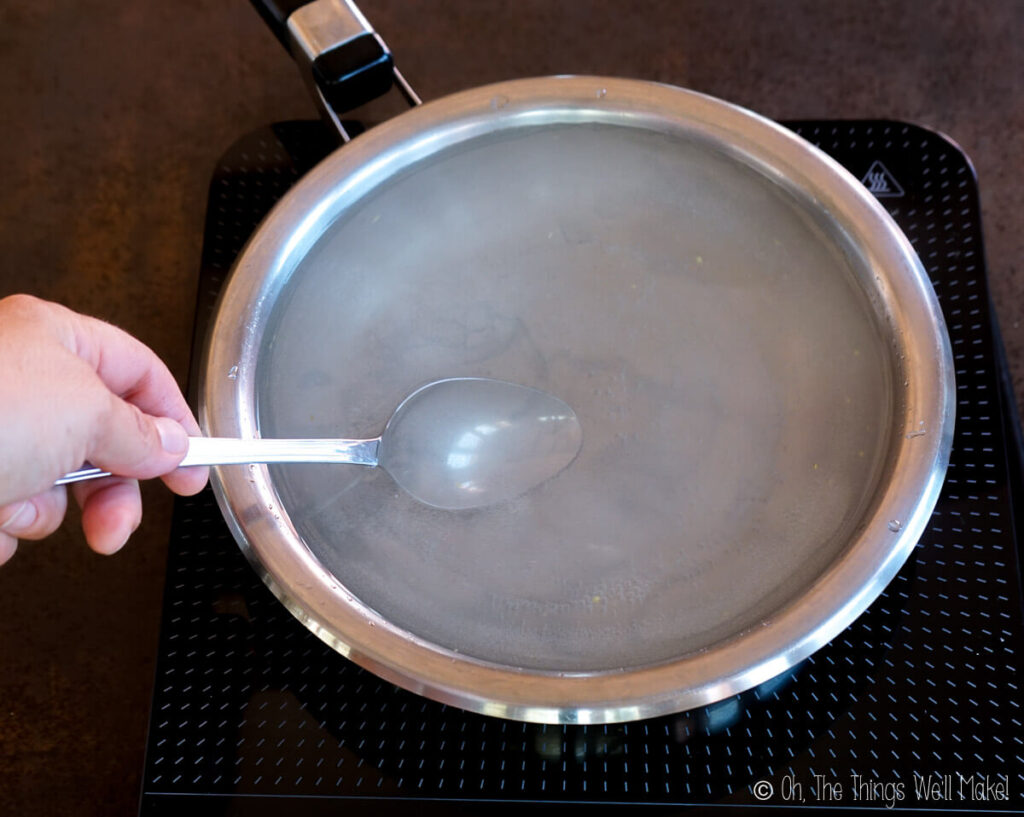
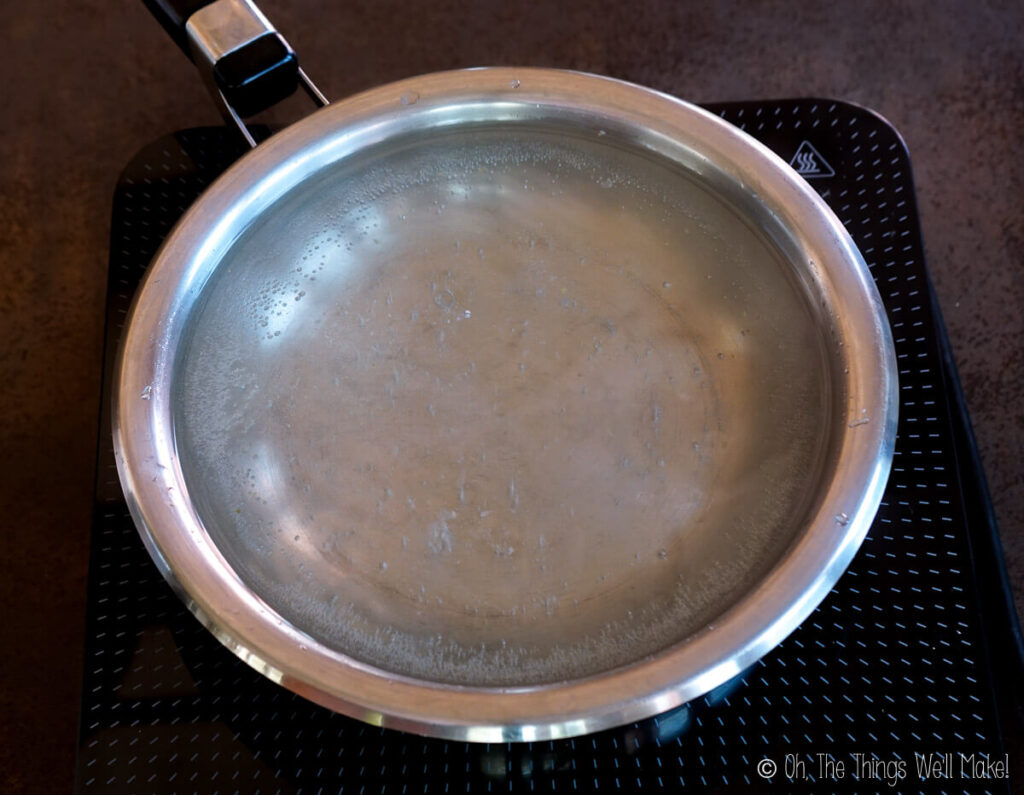
Meanwhile, begin to make a sugar syrup by combining equal parts water and sugar in a saucepan and heating them over medium heat. Add the minced ginger to the sugar syrup and simmer for around 5 minutes. Then, remove the mixture from the heat source and allow it to cool to room temperature.
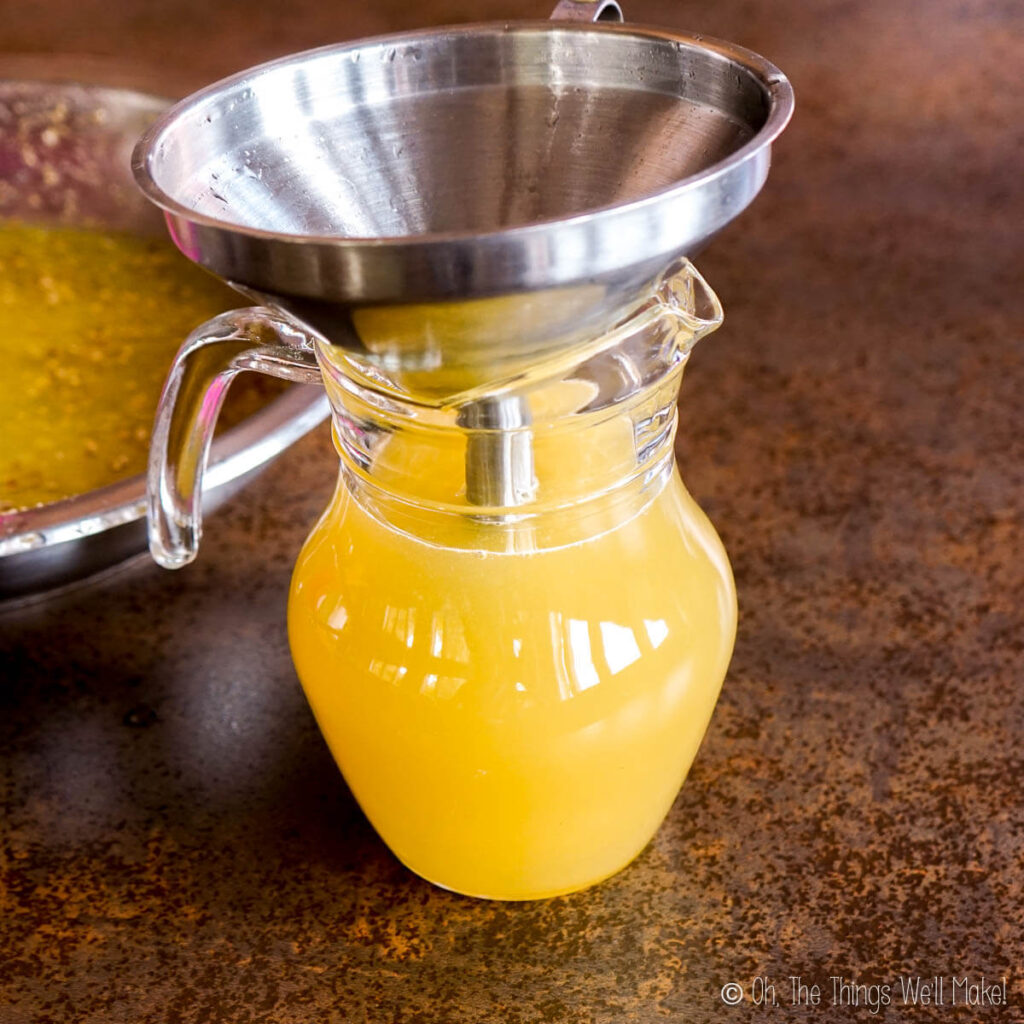
Once cool, strain out the ginger to obtain a delicious ginger syrup. While we’ll be fermenting this ginger syrup to make our ginger beer, you can also combine it with soda water to make a delicious homemade ginger ale.
Consider saving the strained ginger to make a homemade ginger vinegar! I generally add the ginger to batches of ginger vinegar that are already brewing, allowing them to help feed and flavor the vinegar.
Sugar syrup method
If you’d prefer to ferment the ginger with the rest of the ingredients, you can make the sugar syrup without the ginger and add both to the ferment separately. Make a plain sugar syrup by heating equal parts of sugar and water over medium heat until it comes to a boil. Continue to simmer it until the sugar has dissolved.
Preparing for fermentation
Once you have your ginger or sugar syrup ready, it’s time to combine it with the rest of the ingredients. Pour the syrup into a bottle or a large jar that can be well-sealed. An airtight seal is important so that the ginger beer can develop carbonation during the fermentation process. I love using bottles with swing-top caps.
I prefer using glass bottles to plastic for health reasons. That said, keep in mind that the finished beverage will develop a lot of carbonation. When using glass, the bottle could explode if left unattended for too long. To prevent issues when using glass, use high-quality glass bottles. Also, periodically “burp” the bottles by opening the cap and allowing air to escape. Once your ginger beer obtains the desired amount of carbonation, place it in the fridge to slow the fermentation process.
Next, add the lemon juice. If you are using the plain sugar syrup and not the strained ginger syrup, add some minced ginger. It can be kind of tricky to add the minced ginger to a bottle with a narrow opening but once you add the water to a funnel filled with minced ginger, it generally goes into the bottle quite easily. Fill the rest of the bottle with filtered water. To jump-start the fermentation process, add some yeast, an active ginger bug, or some of the sediment from your previous batch of ginger beer. (More details below.)
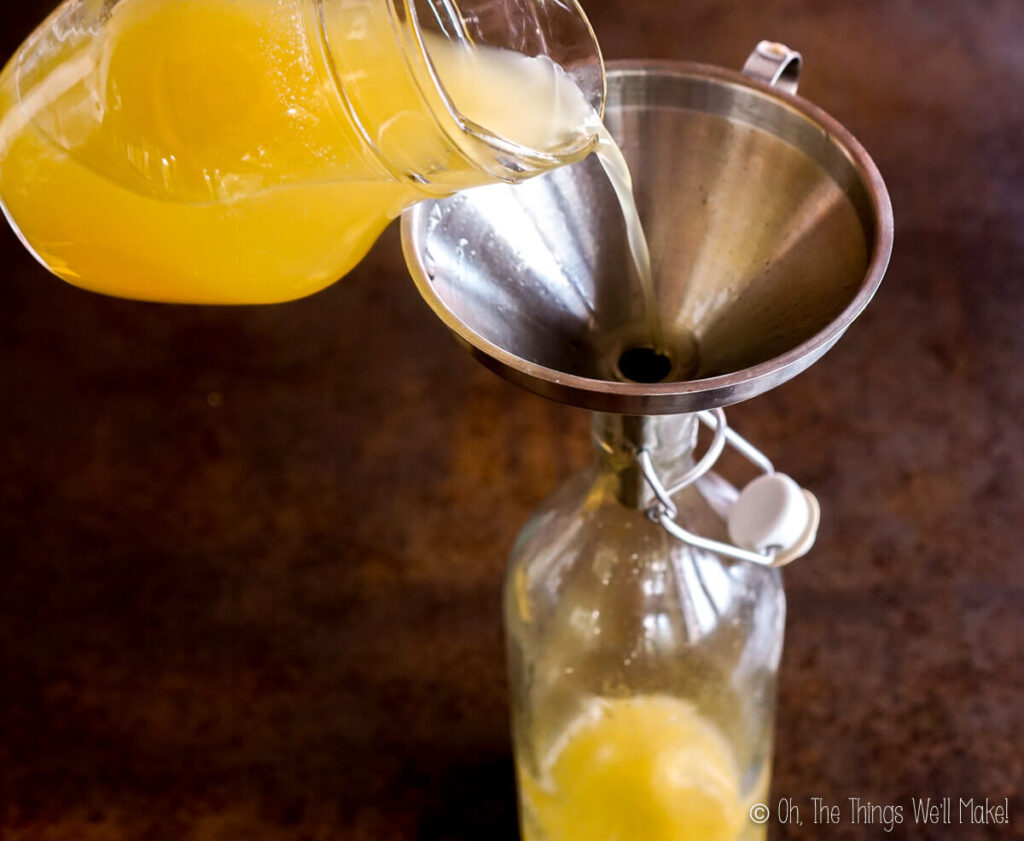
Add ginger syrup. 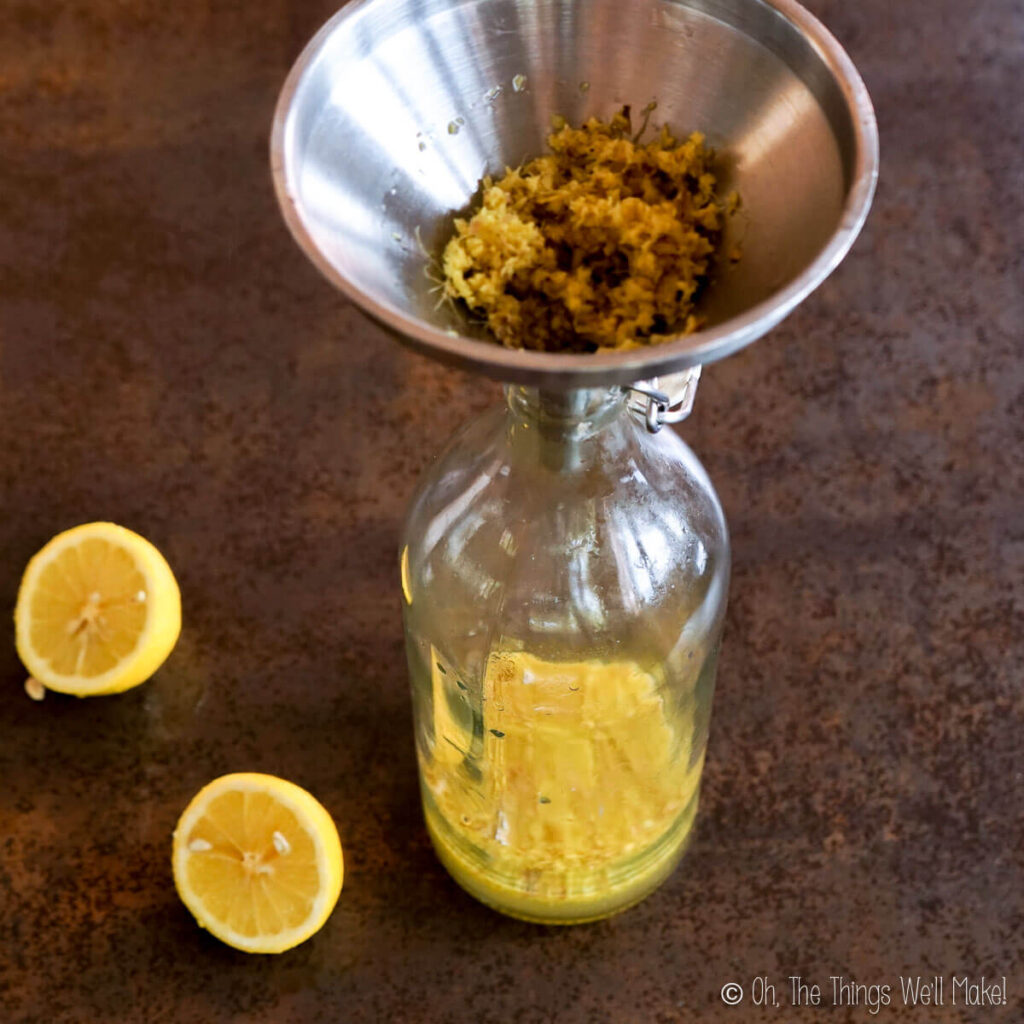
Or add sugar syrup and minced ginger. 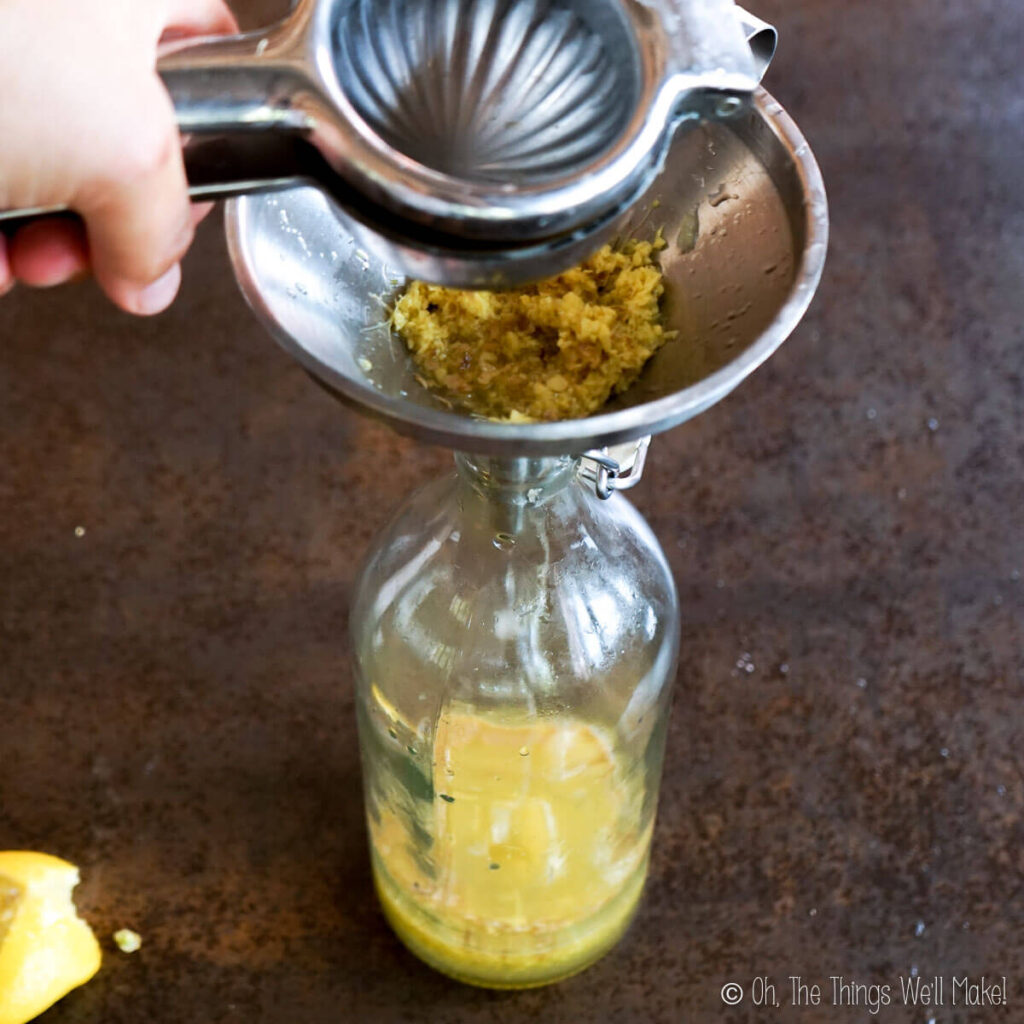
Add lemon juice. 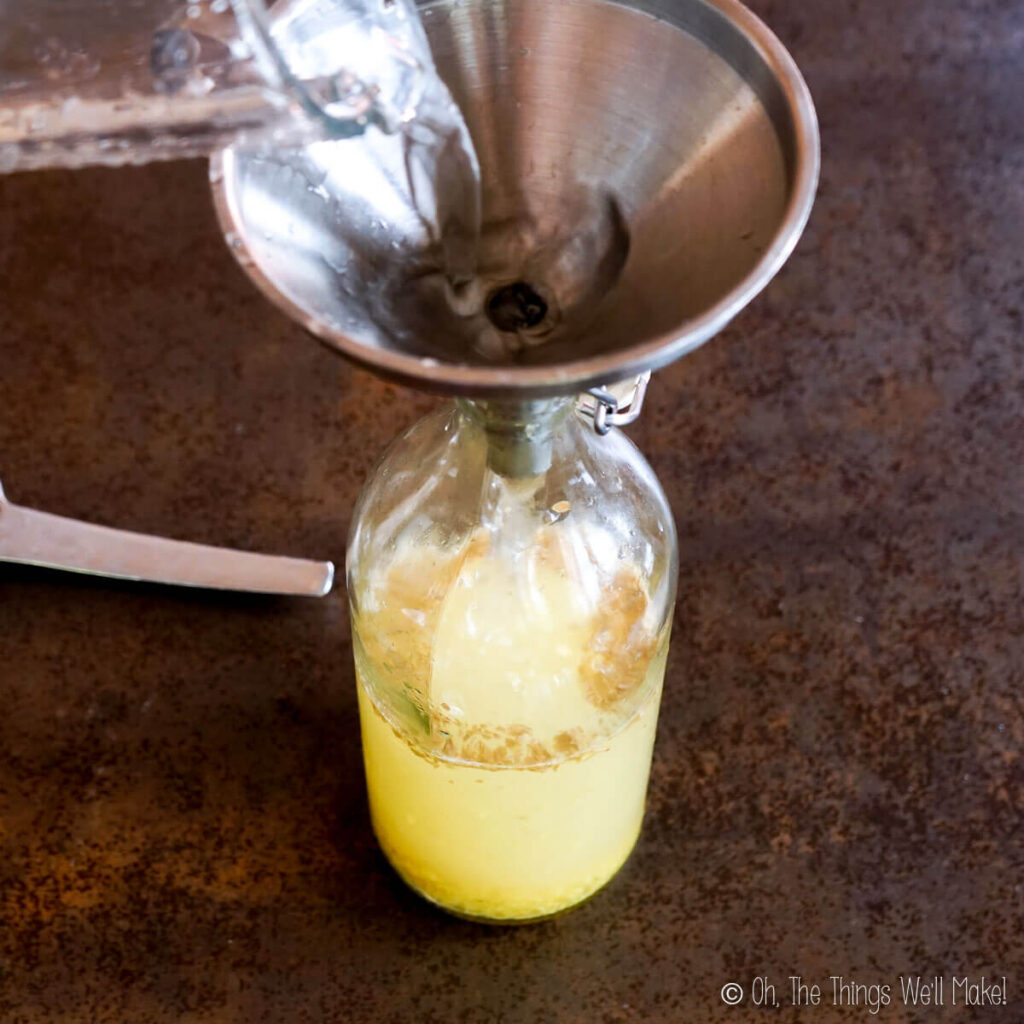
Add filtered water. 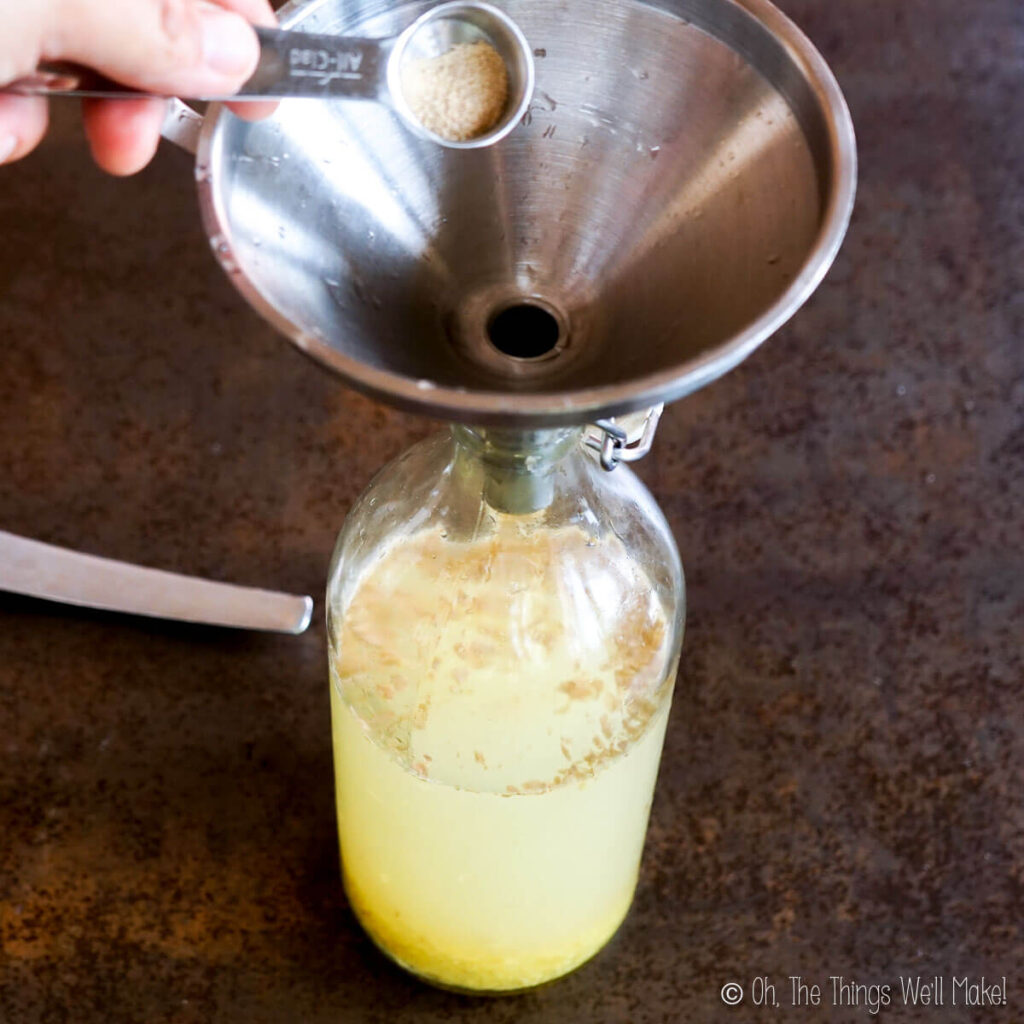
Add yeast.
Fermenting the ginger beer
Once you have combined all of the ingredients, it’s time to ferment the ginger beer. This is the easiest part of the process, but also the one that takes the most patience.
Seal the bottles and allow them to ferment at room temperature for several days until they have developed the desired amount of carbonation. If this is your first batch, it will likely take up to 7 to 10 days, maybe even longer if the room temperature is on the cool side. If jump-starting your ferment with an active ginger bug or the yeast sediment from a previous batch of ginger beer, the fermentation process normally takes much less time. In fact, if it’s fermenting in a warm environment, it might be ready in as little as a few hours!
The fermentation time greatly depends on what you use to jump-start your batch and the temperature. A warm environment will greatly reduce the fermentation time.
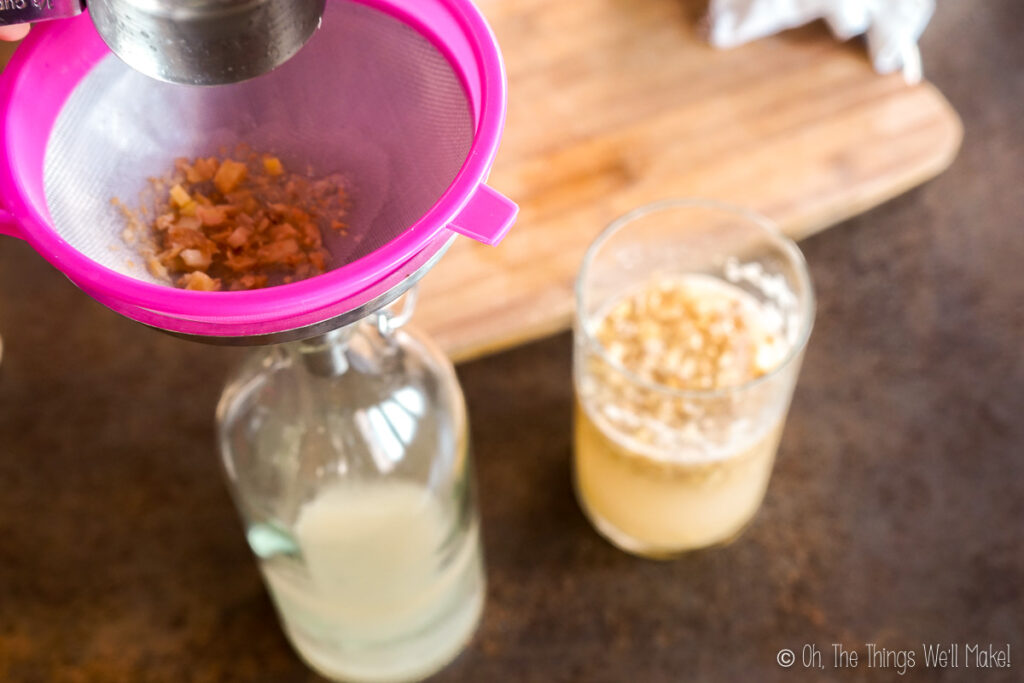
Periodically check the bottles by opening them and looking for carbonation. Once you start to see gas forming, check the bottles more often as the bottles could explode if too much gas builds up. At the first signs of gas formation, it’s also the ideal time to strain out the minced ginger if you added it to your bottles. Strain the ginger beer into clean bottles and allow them to finish the fermentation process.
Storage
Once the ginger beer has developed the desired amount of gas, immediately store the bottles in the refrigerator. The cold temperature of the fridge will greatly slow the fermentation process.
Fermented ginger beer keeps quite well in the fridge, at least for several weeks, probably much longer. (We’ve always used ours up within a few weeks so I’m not sure how it changes long-term.) The flavor may mellow slightly and it may lose sweetness with time.
While it’s generally safe once moved to the fridge, it’s not a bad idea to occasionally “burp” the bottles of ginger beer if using glass bottles.
Ways to jump-start the fermentation process
Adding a healthy, active yeast will help speed up the process of making ginger beer. It also helps ensure a successful ferment without any mold or other undesirable microorganisms.
There are several ways to provide a healthy, active yeast that will speed up your ferment.
Ginger bug
Ideally, if you aren’t in a hurry, taking the time to make an active ginger bug is the best way to ferment your first batch of ginger beer. A ginger bug is made by naturally fermenting sugar, mixed ginger, and water over the course of several days. It can then be used to ferment juices or other sweetened drinks to make healthy sodas. It can also be used, of course, to quickly ferment your ginger beer. (Learn more about how to make a ginger bug.)
Store-bought yeast
If you’re in a hurry, you can save a bit of time by using store-bought yeast instead. I’ve used active dry yeast before and it works quite well. Any sort of yeast meant for fermenting beverages like cider or wine yeast should also work. While I haven’t personally tried it, brewer’s yeast would also likely work well in a pinch.
Yeast sediment
For subsequent batches, the best way to jump-start your ferment is to save some of the ginger beer from your previous batch and add it to the next batch. Generally, yeast sediment will fall to the bottom of the homemade ginger beer. The ginger beer itself is generally quite clear, but If you shake the bottle, you incorporate those yeasts and make a cloudy beverage.
I prefer to serve the ginger beer clear and leave the sediment on the bottom for jump-starting my next batch.
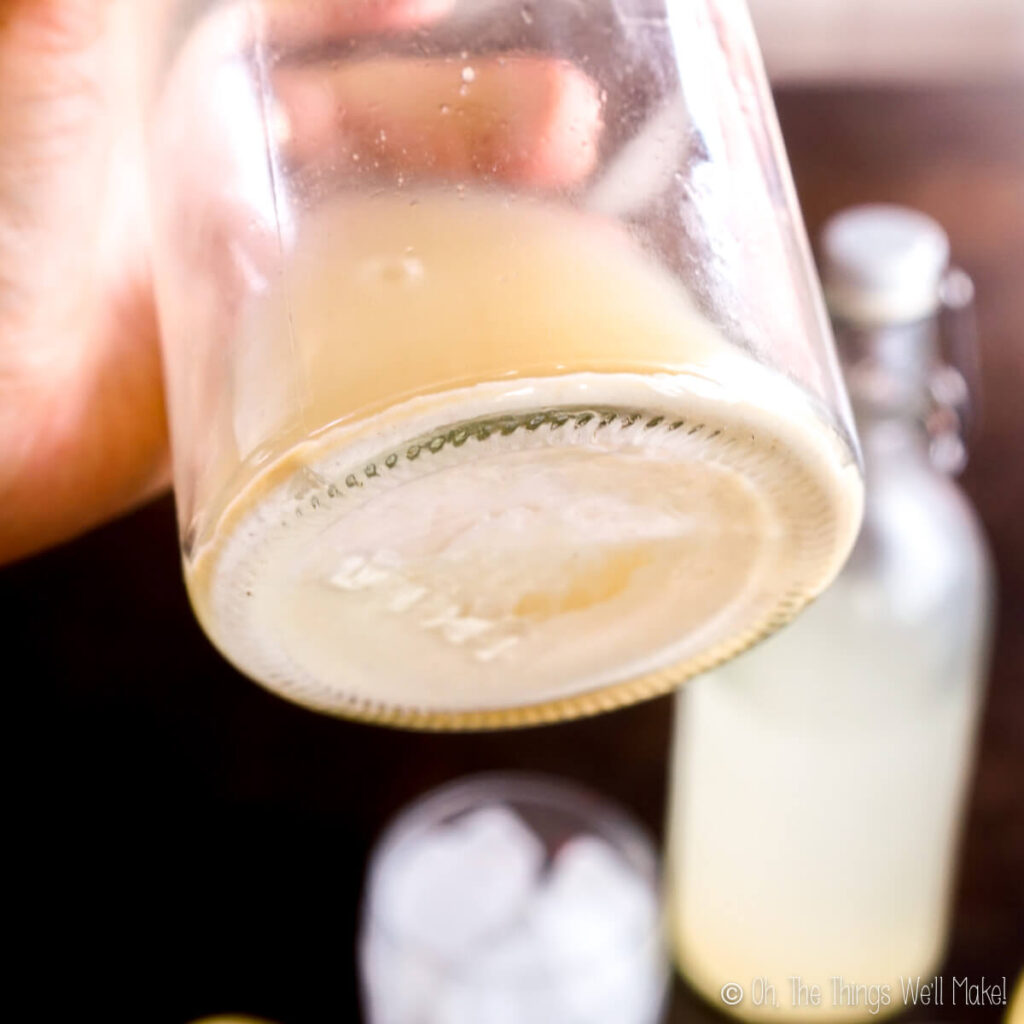
Yeast sediment 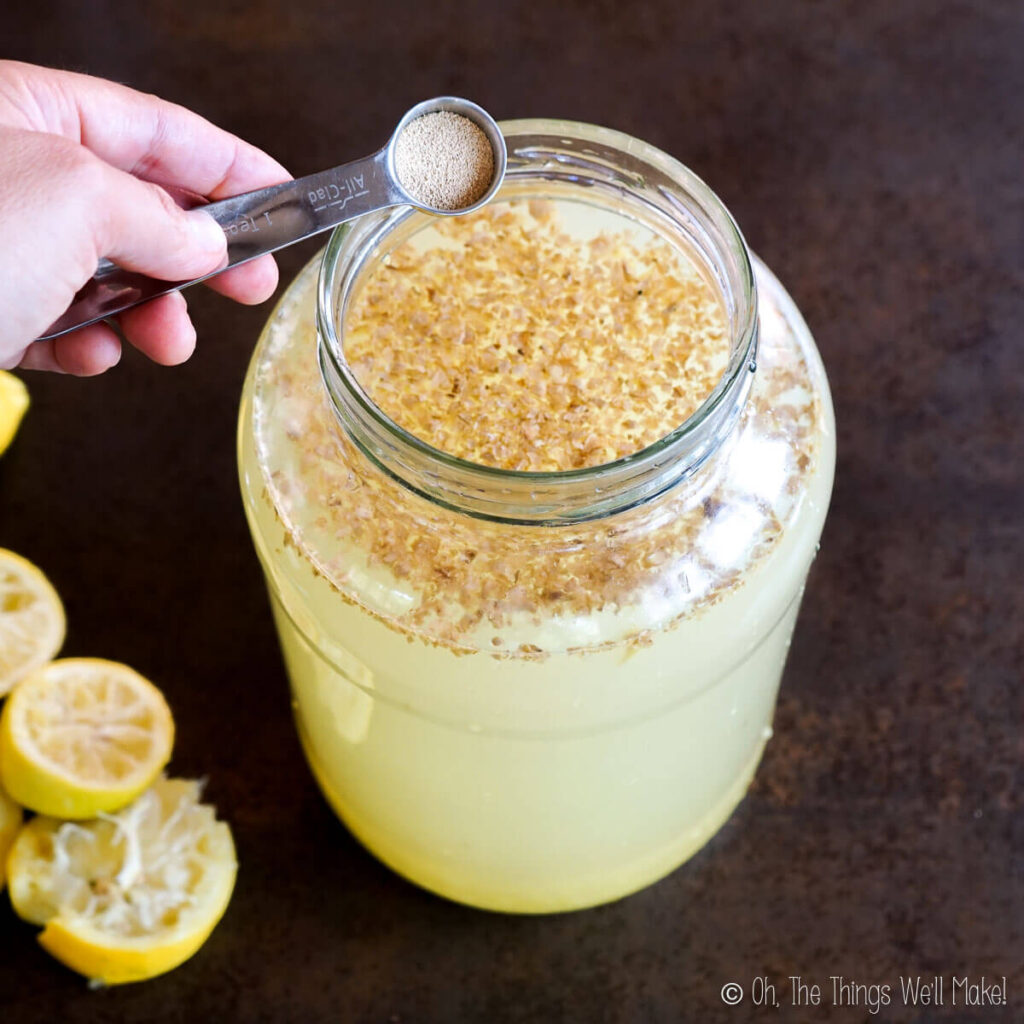
Active dry yeast 
Active ginger bug
Is ginger beer alcoholic?
Because this is a naturally fermented beverage like kombucha, yes, it will develop a small amount of alcohol. The amount of alcohol that develops will vary from batch to batch depending on the amount of sugar used, the type of yeast used, and the fermentation time.
From my research, my best guess is that ginger beer will generally have less than 1% of alcohol when first made. Over time, the alcohol content may increase to 2-3%. If using yeasts meant for fermenting alcohol, you may be able to get a higher alcohol percentage.
Which method is best?
By now, I’ve made ginger beer in a number of ways and find that it is generally quite delicious no matter which method is used. I decided to share the two ways that I most often make ginger beer. Feel free to try the various methods and choose what works best for you.
Some people prefer to ferment the ginger root with the other ingredients to be able to use raw ginger. The idea is to preserve the beneficial properties of the ginger root (and also to incorporate the beneficial bacteria and yeasts in the ginger into the ferment).
When I fermented the ginger root directly with the other ingredients, I thought the finished ginger beer seemed a bit strong. In fact, I wasn’t sure that I liked it as much. Over several days in the fridge, though, the finished ginger beer mellowed out quite a bit and ended up tasting more like the other batches made with a ginger syrup.
Another way to incorporate raw ginger (and likely preserve more of its beneficial properties) is to juice the ginger root and add the ginger juice with the sugar and water to each bottle. By using this method, you wouldn’t need to strain the bottles partway through the process.
Troubleshooting
If you are having issues getting a clear, bubbly ginger beer, it is likely due to one of the ingredients or the temperature where you are fermenting it.
Not developing gas
If the gas doesn’t develop, it may just need a bit more time. My first batch took over a week to develop carbonation even in warm temperatures with the addition of active dry yeast. Once I was able to use either an active ginger bug or the yeast sediment from a previous batch of ginger beer, the fermentation process went much more quickly. Now, it generally takes me around 3 days to make the ginger beer the way I like it.
If you find that it is taking too long to ferment, though, it may be that you are trying to make it in an area that is too cold. The ferment needs warmth in order to thrive.
It could also be a problem with the water you are using. It’s important to use filtered water (or non-chlorinated water) so that the chlorine and other chemicals don’t interfere with the fermentation process. Using sweeteners other than white sugar may also interfere with the process.
Slimy or thick ginger beer
While I haven’t experienced this when making ginger beer, I did have this issue once when making homemade apple cider vinegar. From my research, I decided it was possibly due to a number of issues. In the case of apple cider vinegar, I often use peels from the apples of our apple tree. Homegrown apple peels tend to have large amounts of pectin which can thicken the vinegar.
In the case of ginger beer, though, I’ve read that it can be a problem with the pH. If the pH isn’t low enough, the ferment can favor some microorganisms that can give the ginger beer an unusual texture. Depending on the microorganism, the flavor and texture can vary somewhat. (This may be more of an issue with ginger beer made with a ginger beer plant, though.)
Cocktails made with ginger beer
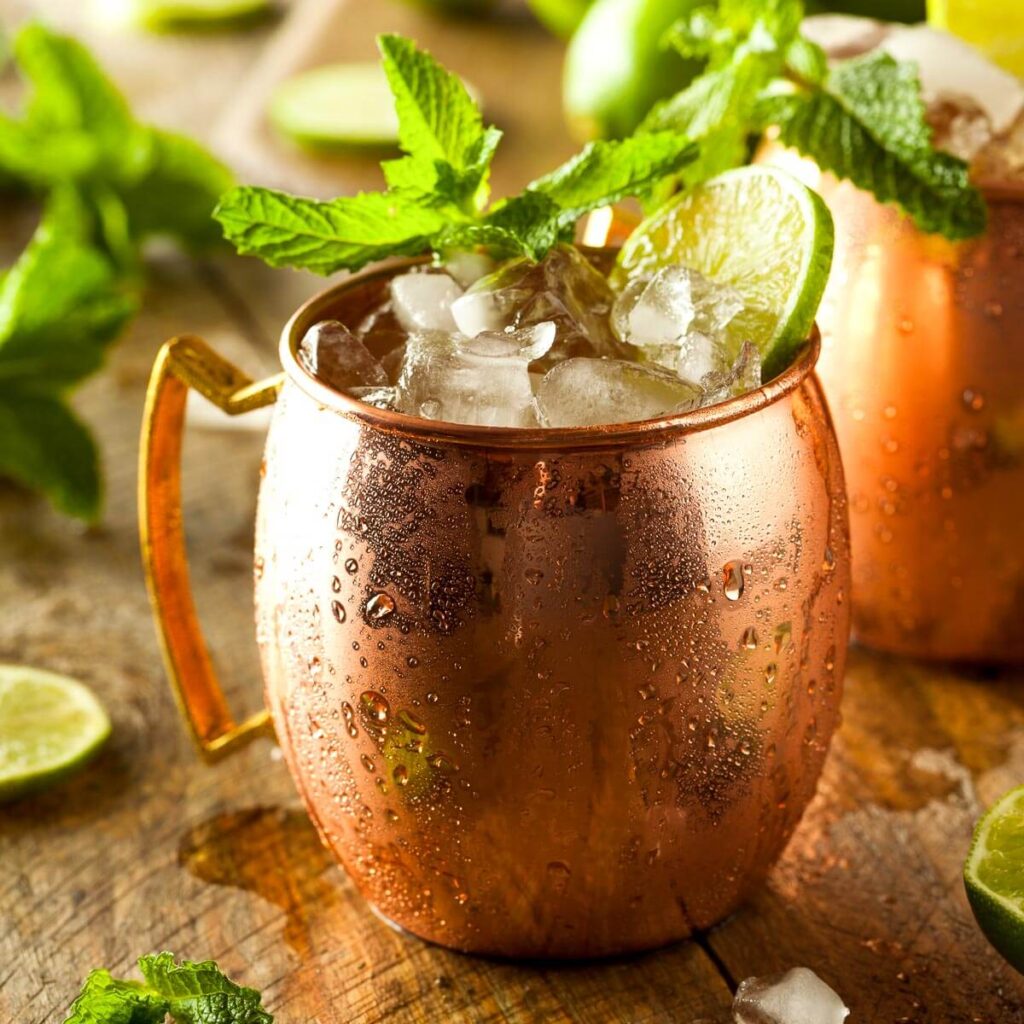
While I find it delicious on its own or even watered down with a tiny bit of soda water, ginger beer is often commonly used in some cocktails. The most popular drink made with ginger beer is probably the Moscow Mule. The Moscow Mule, made with ginger beer and vodka, is generally served in a copper mug.
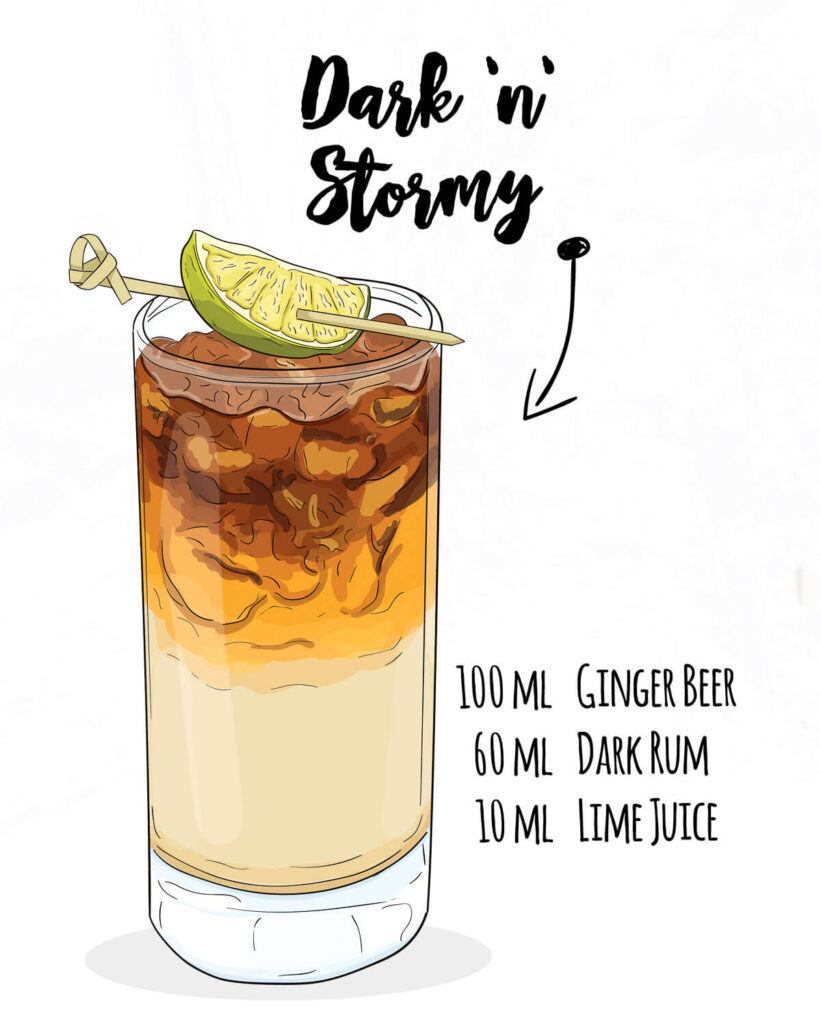
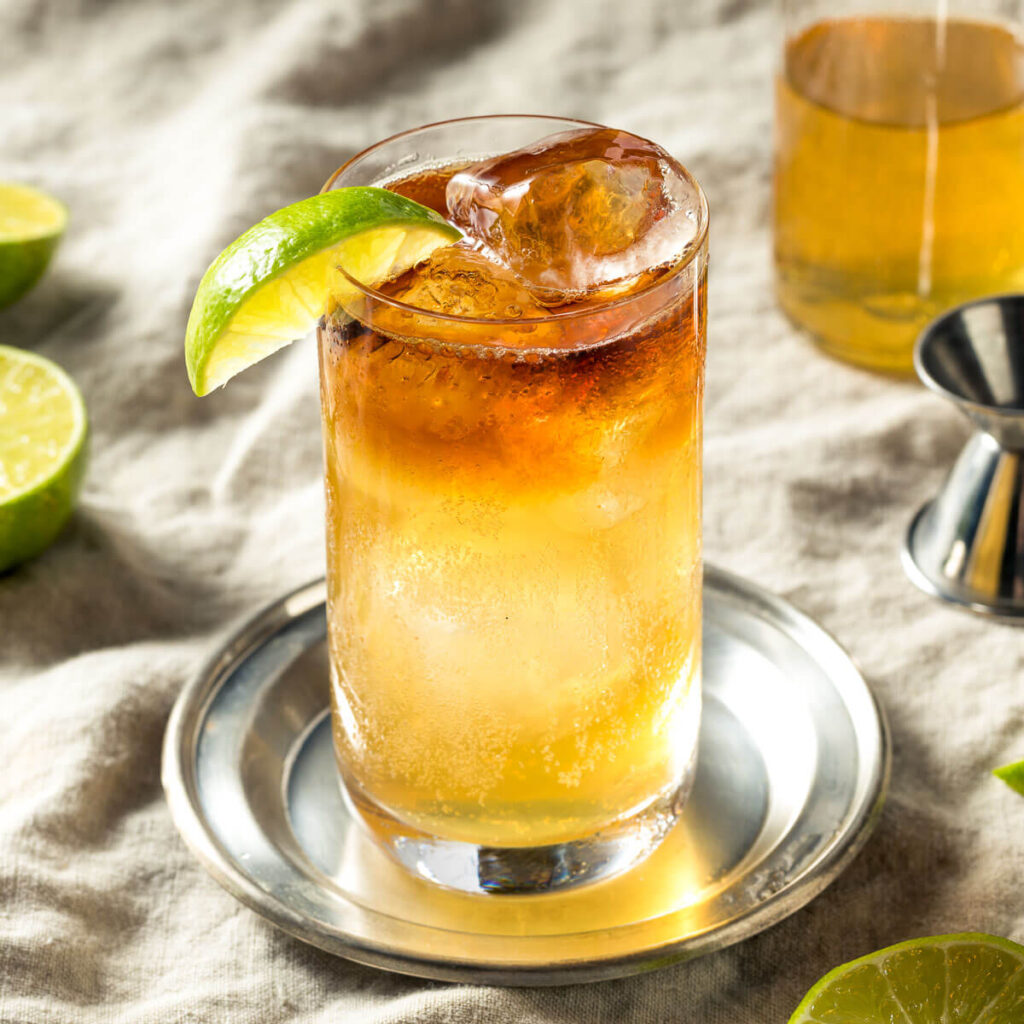
For those who prefer rum, another popular ginger beer cocktail is the Dark ‘n’ Stomy made with ginger beer and dark rum.
If you prefer gin, a similar cocktail can also be made with gin instead. I’ve seen it called either a Foghorn or a Light ‘n’ Stormy.
Video

Fermented ginger beer
Ingredients
- 2 cups sugar
- 150 grams ginger root
- ½ teaspoon active dry yeast or ⅓ cup of active ginger bug or ginger beer
- 4 liters water
- 2 large lemons (4 small)
Instructions
Make the ginger syrup
- Clean and mince the ginger root. Remove any mold or dark, dry areas. You can optionally peel the ginger, but it isn't necessary. The ginger can be minced quickly and easily by processing in a food processor.
- Meanwhile, combine 2 cups of sugar with 2 cups of water in a saucepan. Heat over medium heat until the water begins to simmer. Stir until the sugar has fully dissolved.
- Add the minced ginger and simmer for around 5 minutes. Then, remove the saucepan from the heat source. Allow the mixture to cool completely.
- Once cool, strain out the ginger from the sugar syrup. This can be done with a strainer. You can also use a cloth or a nut milk bag to fully extract the liquid from the minced ginger.
Ferment the ginger beer
- Add around a half cup of ginger syrup to each 1 liter bottle. (You can use a little more for a sweeter, more carbonated ginger beer or a little less for one that is less sweet. Between ⅓-½ cup is a good range.)
- Add the juice of a small lemon or half of a large lemon to each bottle.
- To jump-start the ginger beer, add around an eighth of a teaspoon of active dry yeast to each bottle. You can also use a third of a cup of active ginger bug or of ginger beer from a previously made batch (preferably with the yeast sediment from the bottom of the bottle).
- Fill the rest of the bottle with water and cap each bottle. (The cap should be airtight to allow carbonation to build up.)
- Leave to ferment at room temperature. Check the ginger beer each day by opening the bottle and checking for gas.
Storage
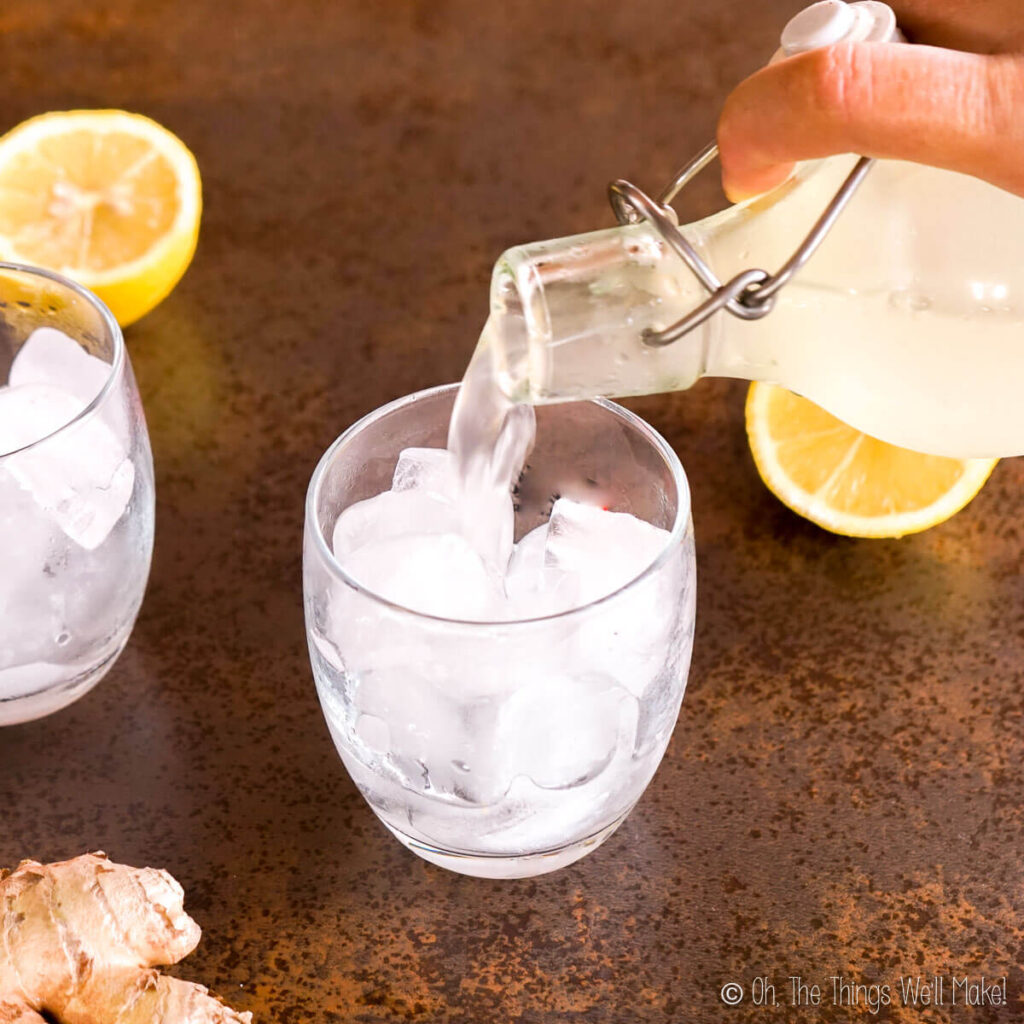
- Once the ginger beer has achieved the desired level of carbonation, store the bottles in the refrigerator. The cool temperatures of the fridge slow the fermentation process.
- You can serve the ginger beer immediately, or keep stored in the refrigerator. If using glass bottles, "burp" the bottles occasionally by opening them and allowing excess gas to escape. This prevents the bottles from exploding. With time, the ginger beer will mellow in flavor. It may also lose some of its sweetness as the ginger beer continues to ferment.


Hey!
I’ve done a simple “ginger beer” version from your recipe with only a chopped ginger, some sugar, water and a couple of spoons ginger bug (very active). Now I’m beginning to wonder if I should have added some lemon. Its all bubbly and smells good. But.. would it be considered safer if I threw the batch away and made a new one with lemon? I don’t quite understand how important lemon is.. The pH seems (I haven’t tested it, but from taste) quite low in the gingerbug, which tastes marvelous!
Hi Emmy,
I wouldn’t worry about it. I often don’t use any lemon at all and quite like it that way. I think the beneficial bacteria that grow in the ferment are enough to keep it safe. If it’s bubbly and smells good, I think you’re fine. If it has an unpleasant scent, then I’d toss it and start over. In these hot summer months, I don’t even need the ginger bug, it ferments pretty quickly on its own!
Hello Tracy,
Please did you get my email on ginger/garlic gin making tutorials enquiry?
Please I hope to hear from you. Thanks in anticipation of your response.
Kind regards,
Frederick Johnson.
Hi Frederick,
I didn’t receive it, but sent you an email.
Hi thank you can you send me more of a ginger recipe.
Hello Tracy,
Hope you’re good. Thanks for the ginger beer making recipe. I think it will taste nice like you said.
Please I’ll like to know if you can also make a ginger gin or the like. Maybe one with some little amount of garlic in its recipe. If yes, please can you share the knowledge with me? Perhaps privately as not many might be interested in it.
I appreciate your lessons. Thank you.
Kind regards,
Frederick Johnson.
I would imagin that it would be quite easy to infuse ginger (and some garlic) in gin directly just as I did with coffee in my homemade coffee liqueur or lemon peels in my homemade limoncello.