

How to Make Salami Roses
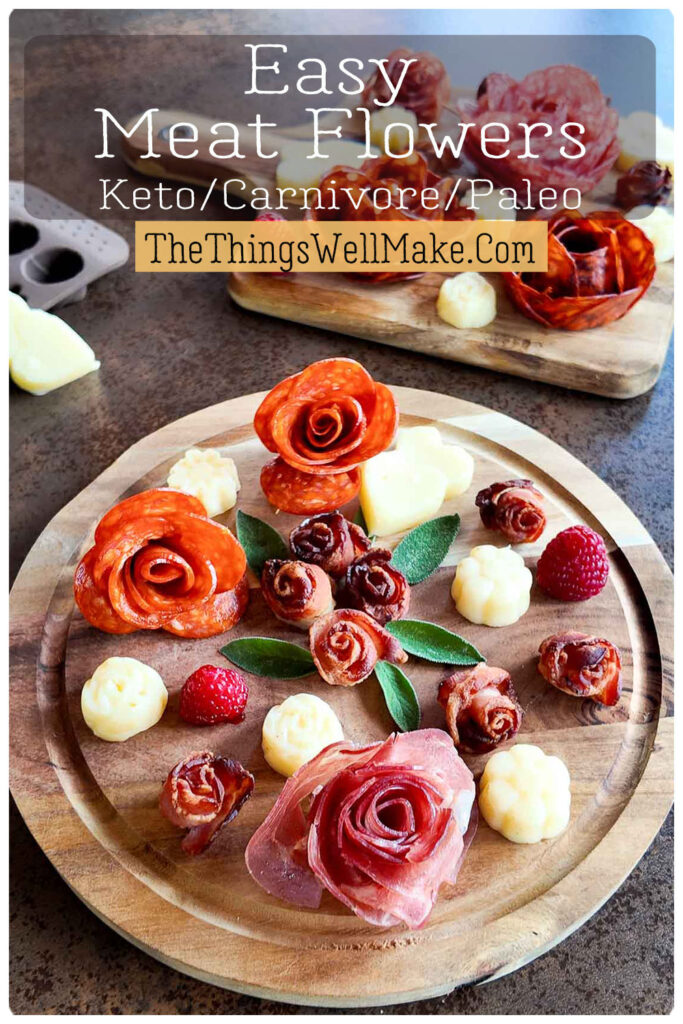
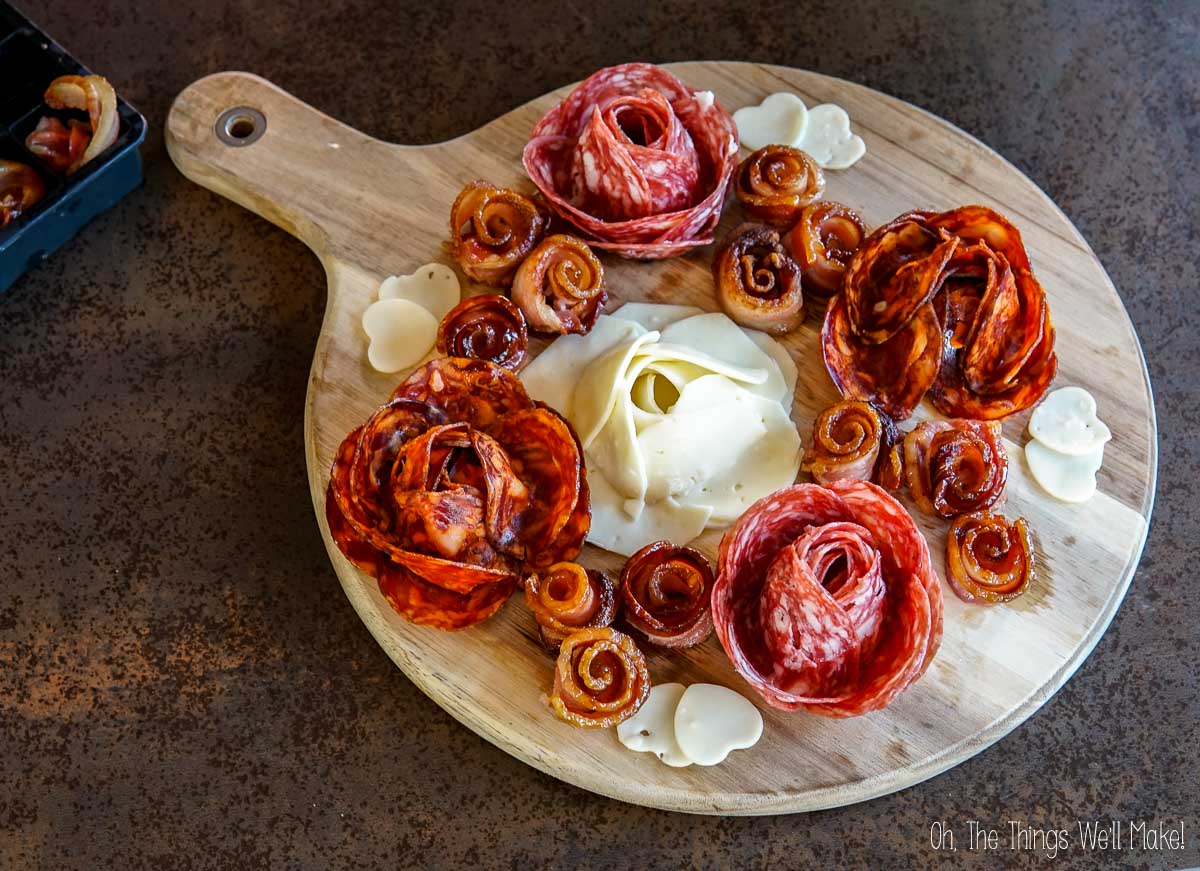
Give your Valentine’s Day charcuterie board a beautiful twist by making salami roses! These edible blooms are surprisingly easy to create and add the perfect romantic touch.
A couple of years ago, I taught you to make a fun Valentine’s Day charcuterie board with bacon roses and various meats and cheeses. It was simple enough for quickly throwing together a small charcuterie board for two people.
Since then, though, I’ve come up with some more ideas to make your charcuterie board even better. One way is to cut cheese or mold cheese into shapes that fit the theme of your spread. Another way, though, is to add sliced meat roses using deli meats like salami or chorizo.
What you’ll need:
- Thinly sliced salami, pepperoni or chorizo (about 10–15 slices per rose)
- A small glass (like a shot glass) or toothpicks, depending on the method you choose

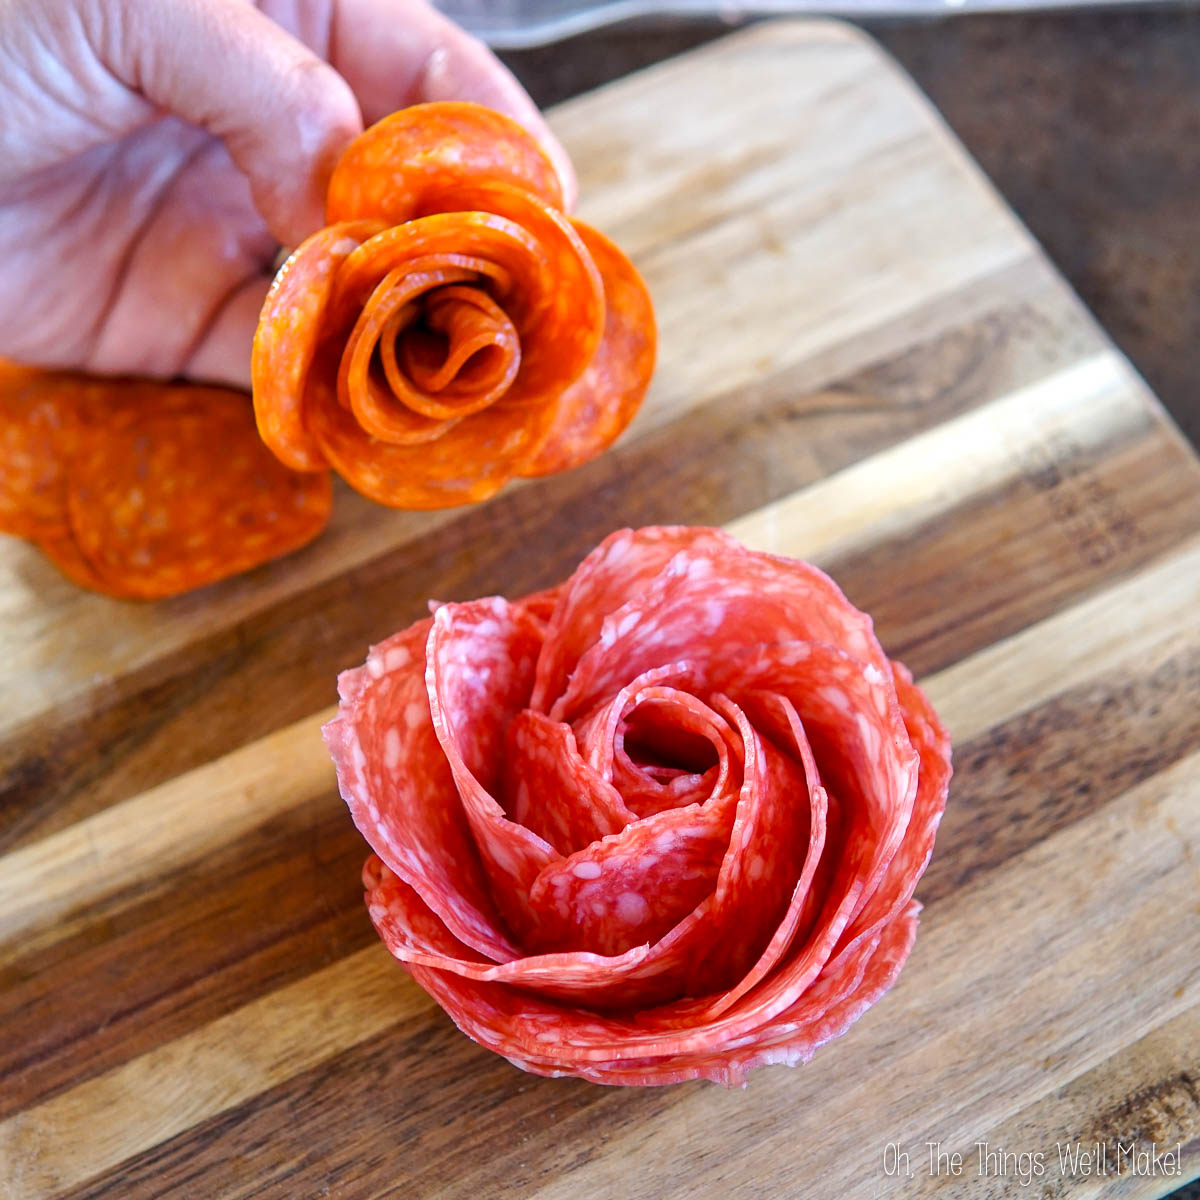
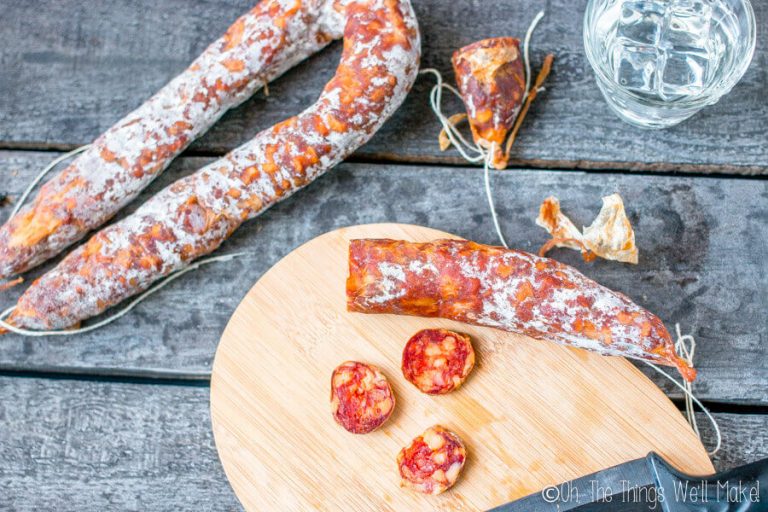
The key to making perfect deli meat roses is choosing the right type of meat. Choose round, thin slices of cured sausages like salami, pepperoni, or chorizo. Avoid greasy or overly soft meats that don’t hold their structure well. Genoa salami, soppressata, pepperoni, or hard Spanish chorizo are great choices since they generally hold their shape well.
Buying the meat pre-sliced will save you time and ensure that your meats are all of equal thickness. You want the meat to be sliced thin enough to be able to fold over without breaking, but not so thin that it doesn’t hold its shape.
Feel free to experiment with whatever meats or cheeses you have. I’ve tried different hams and cheeses with some success and some failures. Cooked ham slices generally didn’t hold the shape very well and resulted in limp flowers that easily fell apart.
Some people have had success at making cheese roses with a similar method using soft, pliable cheeses, but I haven’t had a lot of success with it. Most cheeses I’ve tried have broken in half when I folded the circles. If you’re set on making cheese roses, try to find especially pliable cheeses. Some people have success by rolling circular cheese slices and securing the roses with a toothpick to make a different style flower.
Avoid greasy or overly soft meats, as they won’t hold their structure as well.
Step-by-step instructions:
There are two main ways that I have used to make salami roses.
Method 1: Shot glass salami rose
The easiest way uses a shot glass to help form the flower. This method is the easiest and doesn’t need any toothpicks, but the resulting rose isn’t as realistic-looking (imo). It does make a flat flower, though, that sits perfectly on your charcuterie board or plate.
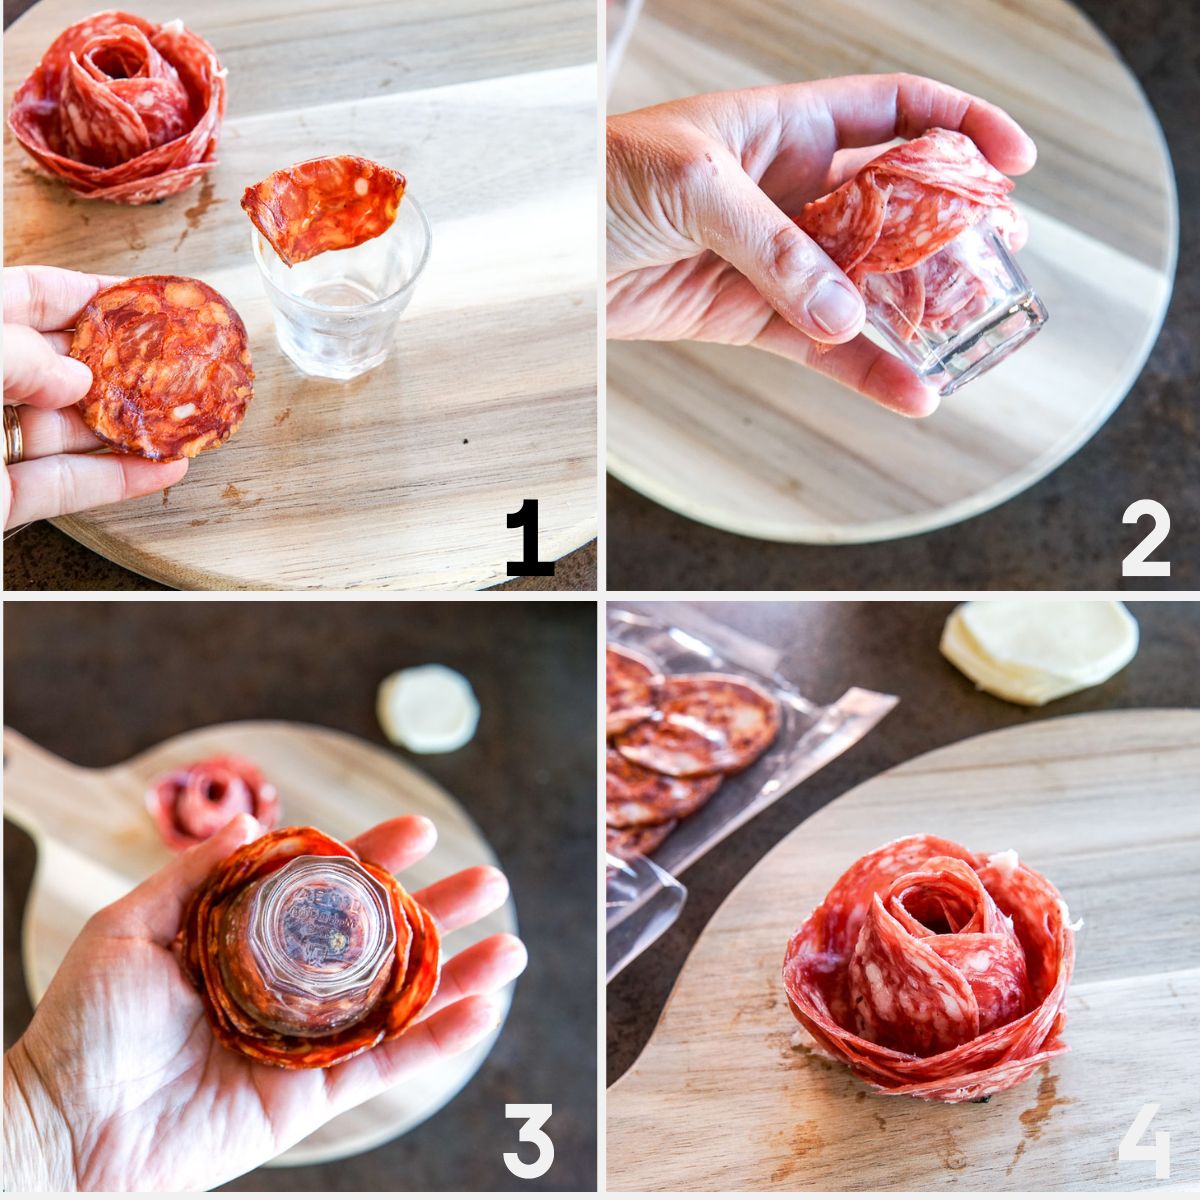
- First, we’ll layer the meat slices. Place a slice of salami or chorizo on the rim of the glass so that half of it is inside and half is hanging out.
- Continue adding slices around the rim, slightly overlapping each piece. Once you have about 10–15 slices layered around the glass, gently press them down to secure their shape.
- Turn the glass upside down onto your charcuterie board or hand.
- Carefully remove the glass—your salami rose should hold its shape!
To fill the space between the center and outer petals of your rose, cut some meat slices in half and layer them in that space. You can slip one of the edges under some of the rose petals to help keep them in place.
If the diameter of your chosen glass is wide, the center of the flower will have an open area. This is especially true when using smaller sliced meats. You can try to fix that by using a glass with a smaller diameter, using larger slices of meat, or using more slices of meat. On the other hand, you can use that to your advantage to fill the open space with cream cheese or other spreads.
Method 2: Free-form rolled salami rose
The second method results in a more realistic-looking rose, but takes a little more creativity as you’ll be shaping the flower by hand. You’ll also need toothpicks to hold the finished flower together. Another downside is that the flower may not lie flat on the display tray. You can use this to your advantage, though, by displaying different heights and textures in your charcuterie board.
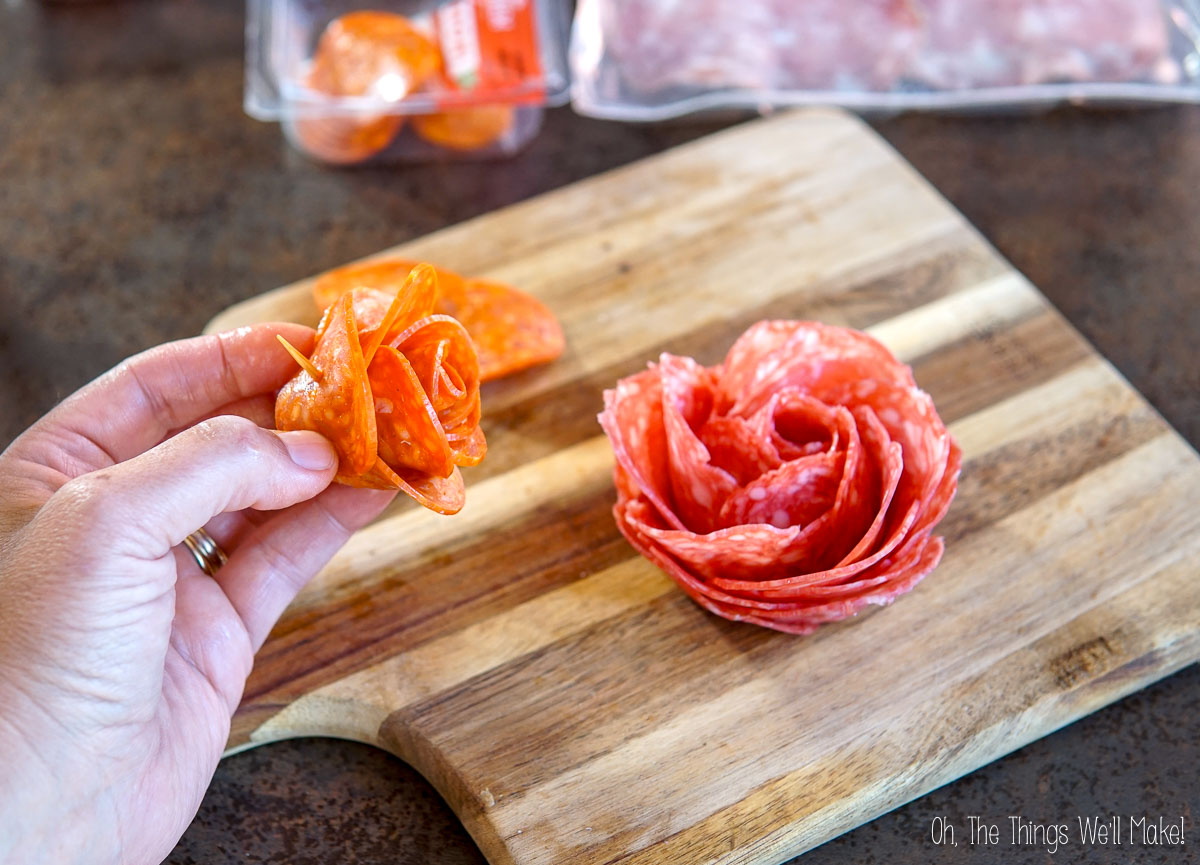
- First, we’ll form the center of the rose. Roll a slice of salami or chorizo into a triangular roll to form the center of the flower.
- While holding the rolled slice, place another slice over the seam of the first slice.
- Continue adding slices around the previous ones, slightly overlapping each piece. You can even fold the edges over slightly to make the “petals” look more realistic.
- After you’ve used enough slices to make a rose shape that you like, grab two toothpicks. Cross them through the bottom of the flower to hold it together.
- Cut off excess toothpick ends so they don’t stick out too far from the flower. If you have a lot of extra meat below the toothpicks, you can also use some kitchen shears to trim it off.
Expert tips:
- Use a firm but flexible meat. If your chorizo or salami is too stiff, let it sit at room temperature for a few minutes before shaping it. If it’s too soft, chill it for a short time so it holds better.
- Experiment with different-sized glasses. If the diameter of your chosen glass is wide, the center of the flower will have a large open area. This is especially true when using smaller, sliced meats. To fix that, use a glass with a smaller diameter, larger meat slices, or more slices of meat. On the other hand, you can use that to your advantage to fill the open space with cream cheese or other spreads.
- Layer for realism – Overlapping the slices properly is key to achieving that petal-like effect. Don’t skimp on layering if you want a fuller rose!
FAQs
Yes! You can make them a few hours or a day in advance and store them in the fridge. Just make sure to keep them covered so they don’t dry out.
If your meat slices are too soft, chill them for about 10–15 minutes before arranging them. If they’re too stiff, let them warm up slightly so they’re more flexible.
Absolutely! Feel free to experiment with a variety of deli meats. Keep in mind, though, that firmer meats like salami or chorizo hold their shape best. Some people have success making roses out of cheese too, but you’ll need a soft and pliable cheese that doesn’t break when you fold it. (Easier said than done!)
Nope! A simple glass like a shot glass is all you need to shape the roses. You can also shape the roses without a cup, but you’ll need toothpicks to hold the formed flower together.
Video

How to Make Salami Roses
Equipment
- A small glass a shot glass works well
- toothpicks
Ingredients
- 15 slices salami thinly sliced in circles, can use other meats
Instructions
Method 1: Shot glass salami rose
- Place a slice of salami or chorizo on the rim of the glass so that half of it is inside and half is hanging out.
- Continue adding slices around the rim, slightly overlapping each piece. The more slices you add, the fuller your rose will be!
- Once you have about 10–15 slices layered around the glass, gently press them down to secure their shape.
- Turn the glass upside down onto your charcuterie board and carefully remove the glass—your salami rose should hold its shape!
- To fill the space between the center and outer petals of your rose, cut some meat slices in half and layer them in that space. You can slip one of the edges under some of the rose petals to help keep them in place.
Method 2: Free-form rolled salami rose
- First, to form the center of the rose, roll a slice of salami or chorizo into a triangular roll to form the center of the flower.
- While holding the rolled slice, place another slice over the seam of the first slice.
- Continue adding slices around the previous ones, slightly overlapping each piece. You can even fold the edges over slightly to make the “petals” look more realistic.
- After you’ve used enough slices to make a rose shape that you like, grab two toothpicks. Cross them through the bottom of the flower to hold it together.
- Cut off excess toothpick ends so they don’t stick out too far from the flower. If you have a lot of extra meat below the toothpicks, you can also use some kitchen shears to trim it off.
Notes
The methods
- The easiest way uses a shot glass to help form the flower. This method is the easiest and doesn’t need any toothpicks, but the resulting rose isn’t as realistic-looking (imo). It does make a flat flower, though, that sits perfectly on your charcuterie board or plate.
- The second method results in a more realistic-looking rose, but takes a little more creativity as you’ll be shaping the flower by hand. You’ll also need toothpicks to hold the finished flower together. Another downside is that the flower may not lie flat on the display tray. You can use this to your advantage, though, by displaying different heights and textures in your charcuterie board.
Expert tips
- For the best roses, choose round, thin slices of cured sausages like salami, pepperoni, or chorizo. Avoid greasy or overly soft meats that don’t hold their structure well. It should be firm, but pliable. Genoa salami, soppressata, pepperoni, or hard Spanish chorizo are great choices since they generally hold their shape well.
- Buy the meat pre-sliced to save time and have slices of equal thickness.
- If your chorizo or salami is too stiff, let it sit at room temperature for a few minutes before shaping it. If it’s too soft, chill it for a short time so it holds better.
- A wider glass will create a larger, more open rose with an open center. When using a wider glass, use bigger or more slices of meat to help fill the flower. You could also add a spread like cream cheese to the open center of the flower for a different look.
- Use cheese? I haven’t had a lot of success with making roses with cheese as most cheeses have broken when I tried to shape them. Some people have made cheese flowers successfully by rolling circular cheese slices and securing the roses with a toothpick like in method 2 above. Heating the cheese may make it pliable enough to form flowers better.
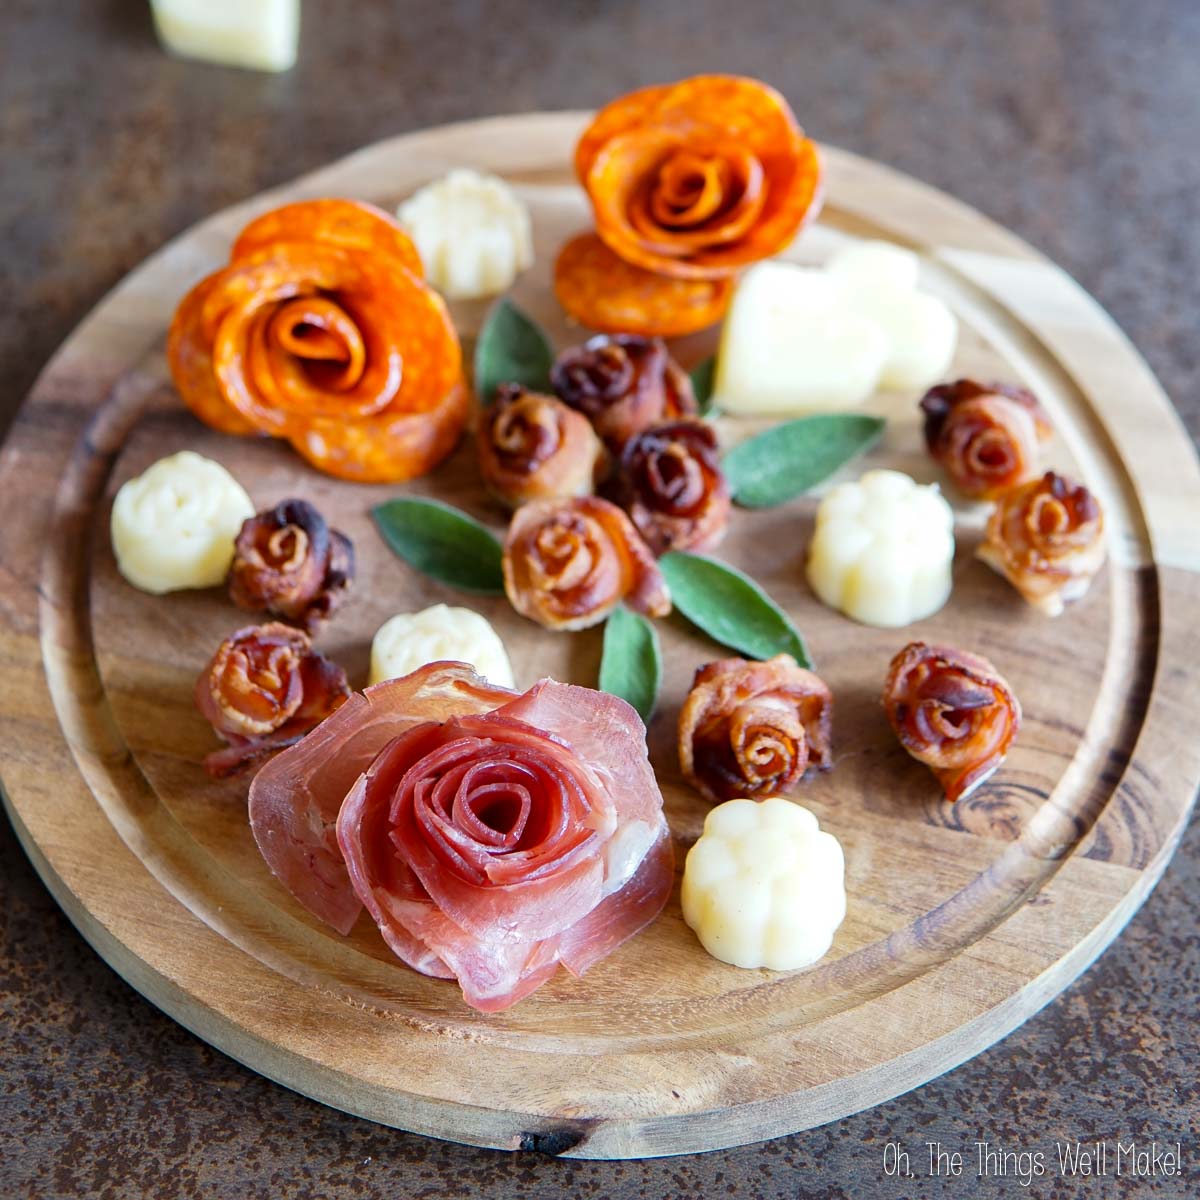
- Make a Valentine’s Day charcuterie board – Serve your roses with cheese and other meats. Consider using bacon roses and chocolate-covered strawberry hearts for an ideal Valentine’s Day charcuterie board. You can fill in the spaces with nuts and berries or other treats like small chocolate truffles.
I really love this thank you so much for sharing!
Thank you for sharing! This is so creative and easy to make!
I had so much fun making these! If you enjoyed this tutorial, I’d really appreciate it if you could leave a rating here!
Thanks!