Fun to Make Holiday Gelatin Postage Stamps (Lick and Stick)
Kids love making these holiday postage stamps using a homemade gelatin glue. They’re so impressed that they can make their own lick-and-stick “stickers” that this is a great activity for Halloween, Christmas, Valentine’s Day, or any rainy day!
Over the last few months, I’ve updated many posts. In October, I was making gummy eyeballs and gummy worms for Halloween. Now that Valentine’s day is coming up, I’ve been making rose-flavored heart-shaped gummy treats.
What do they all have in common?
Apart from being fun recipes, they use lots of nourishing gelatin.
Once you are done making them, though, there’s always the “problem” of the remaining gelatin in your pan. No matter how well you clean the pan, the tiniest little bit of fruity gelatin remains.
I have a fun solution for you, though.
You can make use of that gelatin, and do a fun activity with kids (or adults, I won’t judge!), and make some fun gelatin postage stamps.
Remembering lick-and-stick postage stamps
I know what you are thinking. Maybe this dates me a lot. Should I be afraid to admit that I still remember a time when all postage stamps were of the lick-and-stick variety?
A lot of people hated lick-and-stick stamps. They looked for ingenious ways to use a wet sponge to avoid having to lick the glue. They were ecstatic, I’m sure, when the peel-and-stick postage stamps became available.
I, on the other hand, was always fascinated by lick-and-stick stamps when I was a kid. My son loves playing with stickers, so I figured that once he figured out how these worked, he would love this too.
I was right!
Making Homemade Stamps
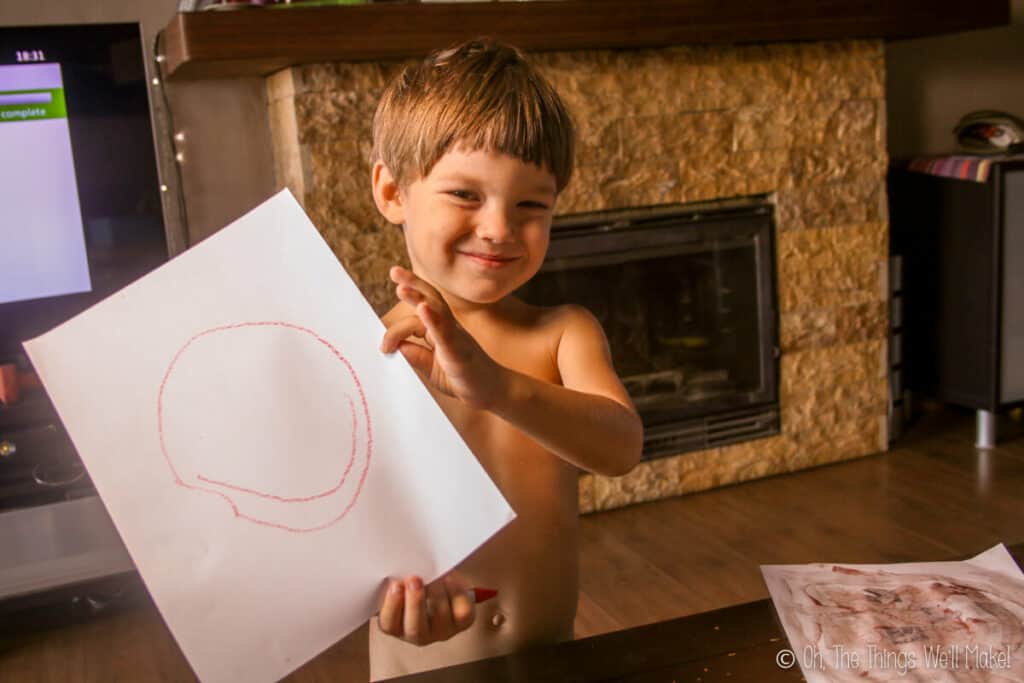
The first time we made these, my son was quite young. (This post was originally published in 2014, and these pics were of my son at the time.)
At first, the concept wasn’t very clear to him. I told him to make tiny drawings, and he made a huge one instead. He was impressed with his creation, despite it not being exactly what I wanted.
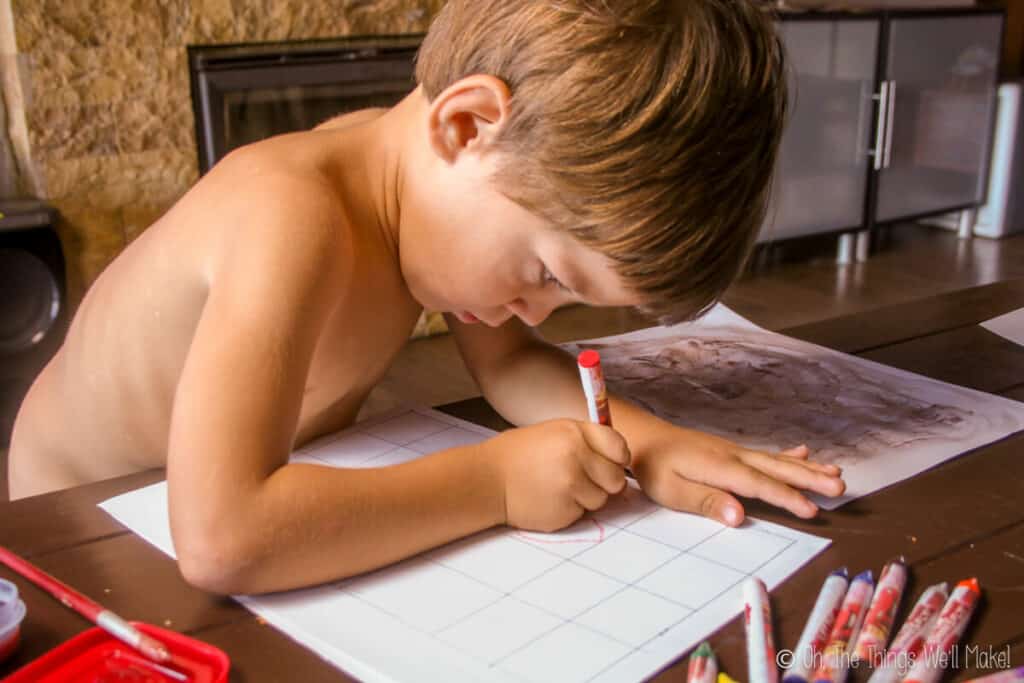
Designing the stamps
I later drew out a grid with squares and rectangles the size of large stamps and had my son fill in the grid with small drawings. This is a great activity for building dexterity because young children often have a difficult time making small drawings.
While you can print out or draw a grid for kids to use to make their own stamps, you can also save yourself time by printing out ready-made stamps. There are lots of free printables for stamps available on the internet. (I’ve given you some and linked to some below.)
We usually use a combination of the two methods.
Painting on the gelatin”glue”
To make the stamps adhere in a lick-and-stick manner, we’ll be painting on a gelatin solution and allowing it to dry. You can water down the gelatin mixture left in your pan after making gummy treats, or you can use my gelatin glue recipe below.
When we first made stamps, I told my son to paint the gelatin “glue” on the back of our stamps. Instead, he tried making circles and faces with the gelatin. He didn’t understand that I wanted him to cover the entire sheet.
So, as you can imagine, I had to help him out a little bit at first. Keep that in mind when working with small children.

Adhering the stamps
Once the glue has dried, you can cut your stamps and start using them just as you would lick-and-stick postage stamps.
When my son saw me lick the first stamp, he made a sort of grossed out face and didn’t want to try it. I thought my fun craft had flopped!
Once he saw how mine stuck to the paper like a sticker, though, he wanted to try it himself; again; and again; and again. 😉

I’d have to say it was a total success!
Over the years, we’ve made more stamps. It does, after all, give us one more excuse to make some yummy, healthy gummy treats!
Adapting to different age groups
Younger kids will need help making the stamps. It’s easier to print out stamps rather than have them design and color their own. That said, having them try making their own stamps is a great exercise for them to fine-tune their drawing skills. Consider making a larger grid for larger stamps as young children have a hard time making small drawings.
Older kids can do more of the process themselves. They may actually quite enjoy designing and drawing out their stamps. Depending on their age, they may even be able to design their own stamps for printing out.
Now that my son has gotten older, he is able to cut out his own stamps. That, in itself, is great practice for small hands. Even now, he is fascinated with the whole process and really impressed that we were able to make our own “stickers!” (Have we gotten to the age already that kids no longer understand the concept of stamps?!?!?!)
Watch us make these stamps
Gelatin Glue Recipe (and How to Instructions)

Gelatin Glue for Lick-and-Stick Postage Stamps
Materials
- 1 Tbsp. gelatin
- 2 tsp. fruit juice or cold water
- 2 tsp. boiling water
- sweetener optional, to taste
Instructions
Make the lick-and-stick glue
- In a small bowl, mix together the unflavored gelatin with one teaspoon of either cold water or fruit juice. I used pomegranate juice to give it a slight pink color and a hint of flavor.
- Allow the gelatin to “bloom” (swell and absorb the liquid). Meanwhile, heat up a tiny bit of water.
- Add the hot water to the gelatin mixture and stir constantly until the gelatin dissolves. If you can’t get it all to dissolve, you may have to heat up the mixture over a double boiler or in the microwave. (You don’t need to heat it much, just enough to help dissolve the gelatin.)
- If you are instead using leftover gelatin from another recipe, add a tiny bit of water to the pan with the remaining gelatin mixture, and dissolve as much of it into the water as you can. I used a spatula to get as much of it out of the pan and into a small container as I could.
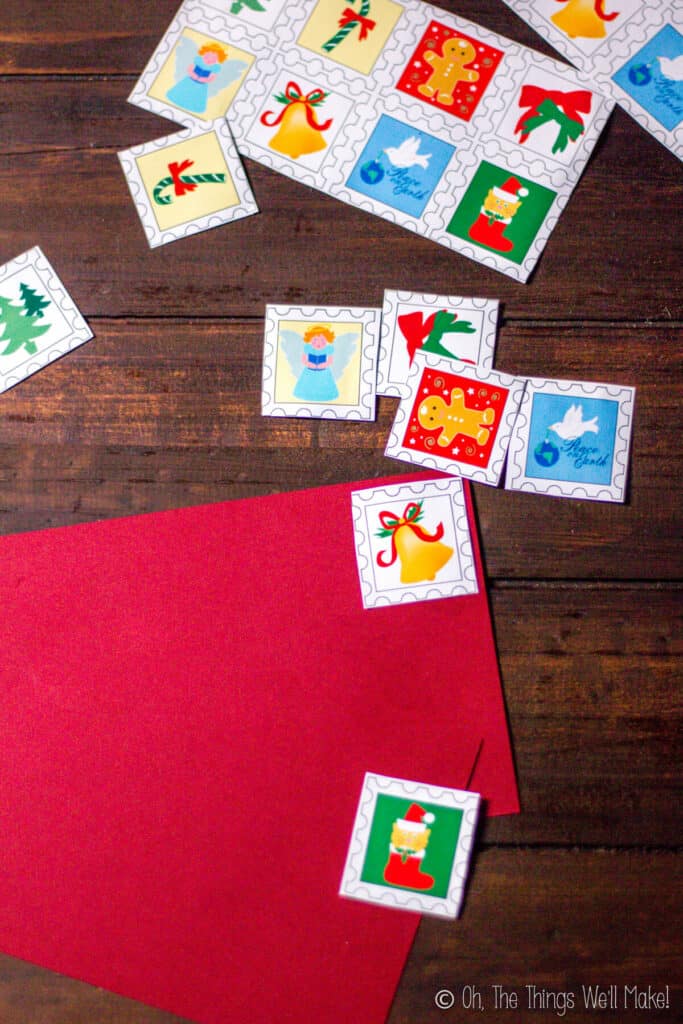
Make your postage stamps (or stickers)
- Either print out a sheet of fun postage stamps or make your own by drawing a grid and making small drawings within the grid marks. We made several sheets of each. Cut off the excess blank space around the stamps.
- Paint the entire back of your sheet(s) of stamps with your gelatin glue. I’d suggest using either a pastry brush or a paintbrush that you have reserved only for use with food.
- Set aside to dry. We left ours alone overnight.
- The next day, cut out your stamps. If your child is old enough, it’s great practice to have them cut the stamps with your supervision!
- Your lick-n-stick stamps are ready to use. Lick & stick, of course!
Notes
Free Holiday stamp printables
If you don’t want to spend a lot of time designing and drawing your own stamps, you can print out some ready-made ones. It’s much easier, especially for younger children. Plus, it allows for more “professional-looking” stamps.
I have provided some links to some of the stamps we used in the past and have included some free printable stamps here too.
How to print out these stamps
To print out at use the stamps I’ve provided below, right-click on the photo of the stamps. You should see an option to save the image.
Save the image to wherever you want on your computer and then open it in a photo editor. A photo editor will allow you to resize the image to the paper you want to use.
If you’d prefer to print directly from the browser, choose the “open image in a new tab” instead. Go to the tab with the open photo of the stamps. Once there, go to the “file” tab at the top left of your screen and choose “print”. From there, configure the page as needed.
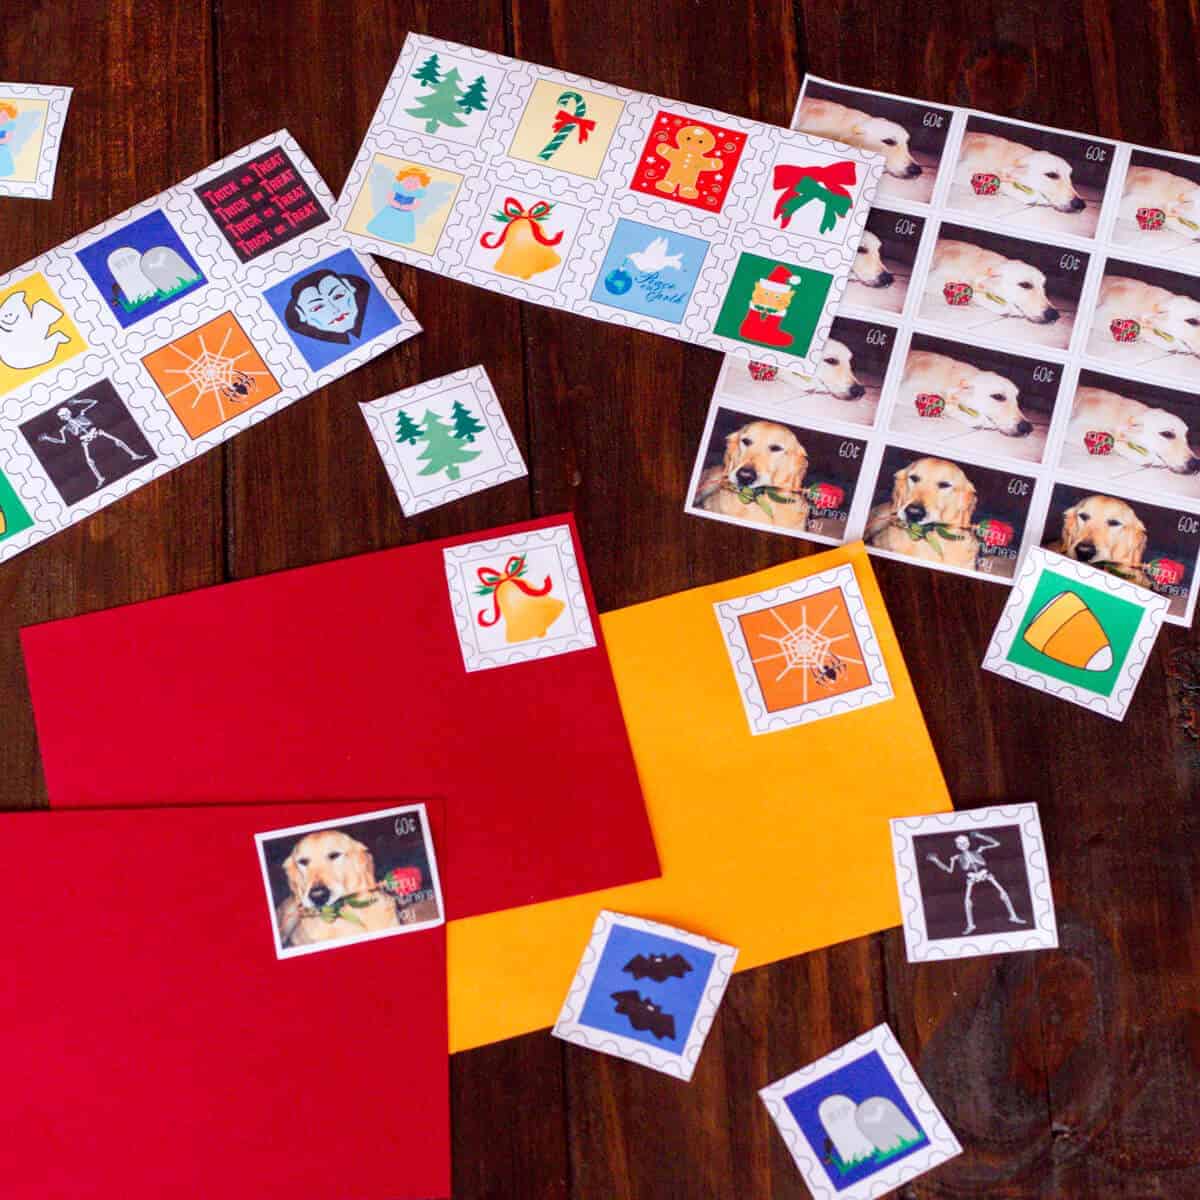
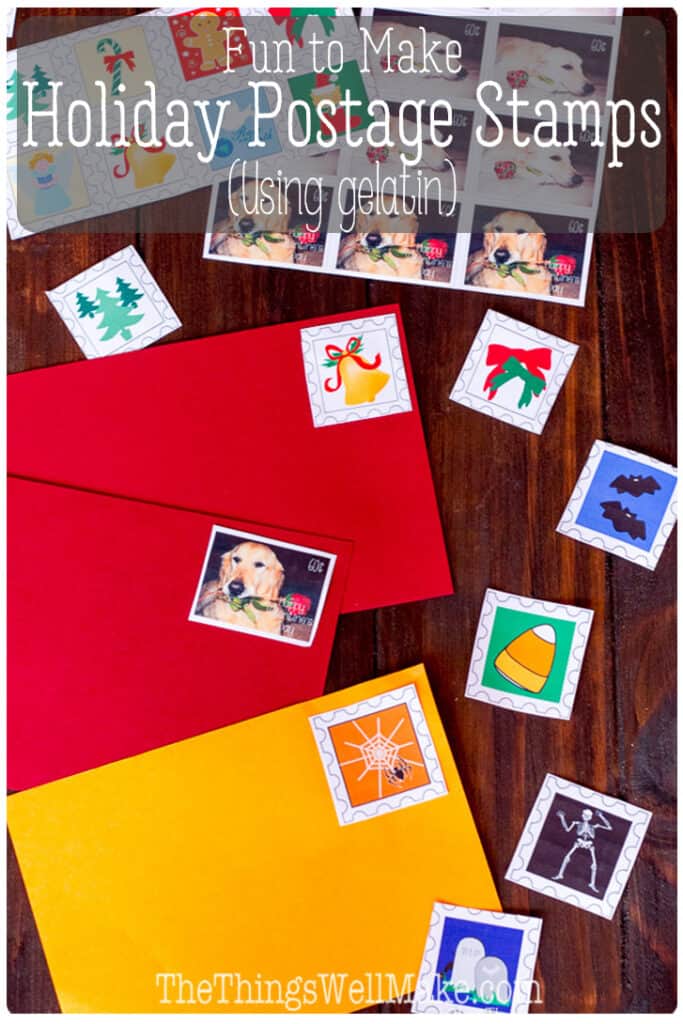
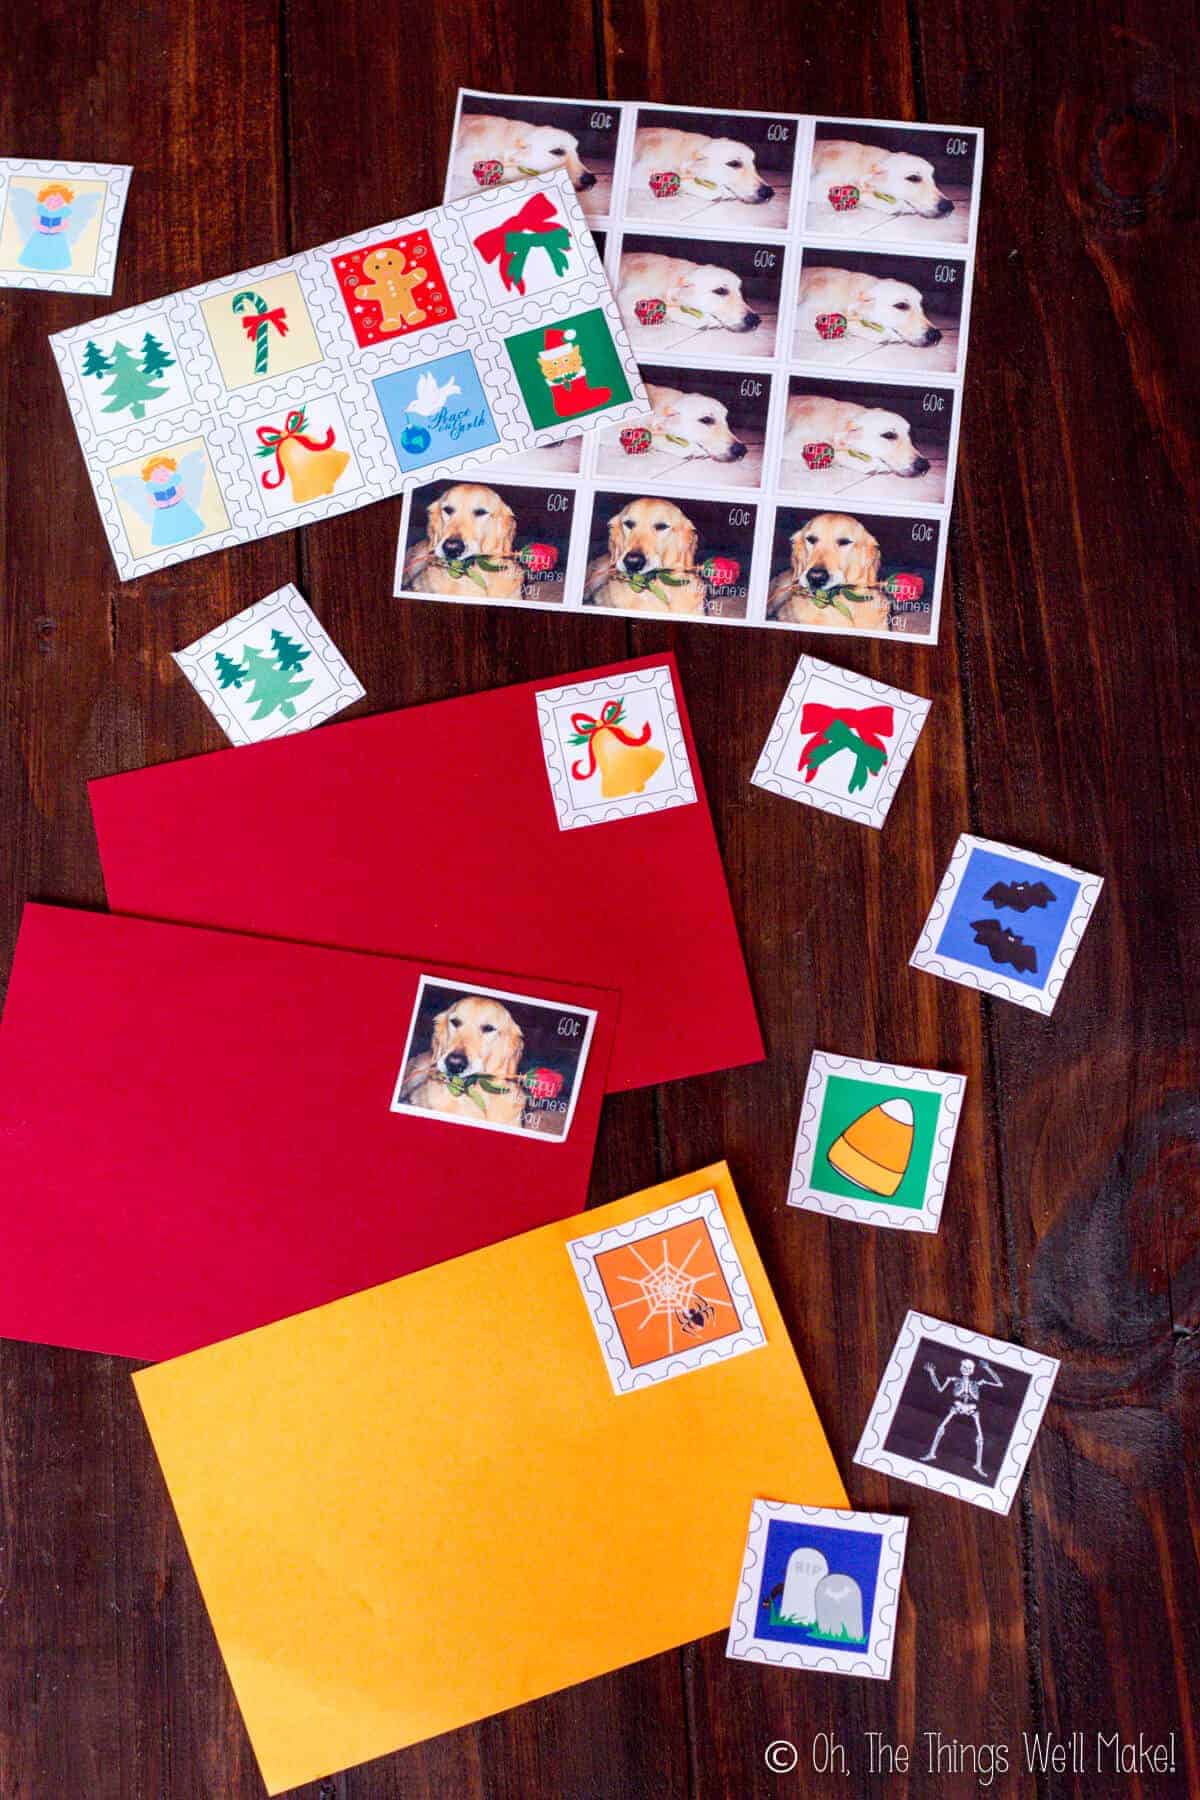
Valentine’s Day Stamps
Making stamps for Valentine’s Day is fun because they’re perfect for adorning your valentines before sending them off to Valentine’s Day post poxes.

When I first wrote this post, I couldn’t find any cute sheets of Valentine’s Day postage stamps to print out.
I really liked the idea of making stamps for “sending” Valentines, though. When I was a kid we made mailboxes in school and used those to receive our valentines from our friends.
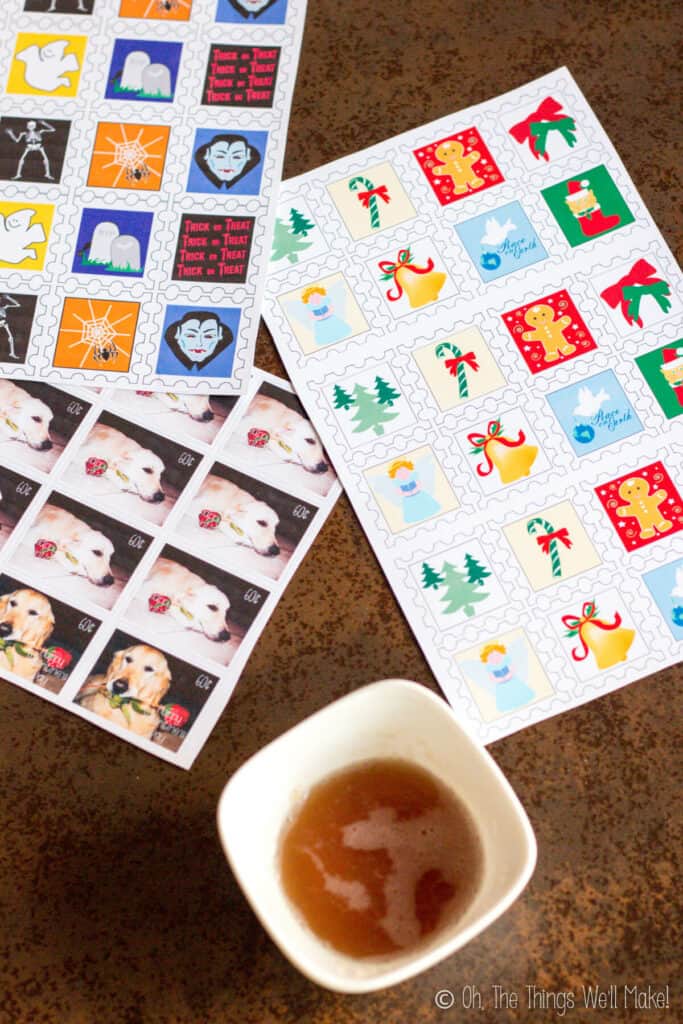
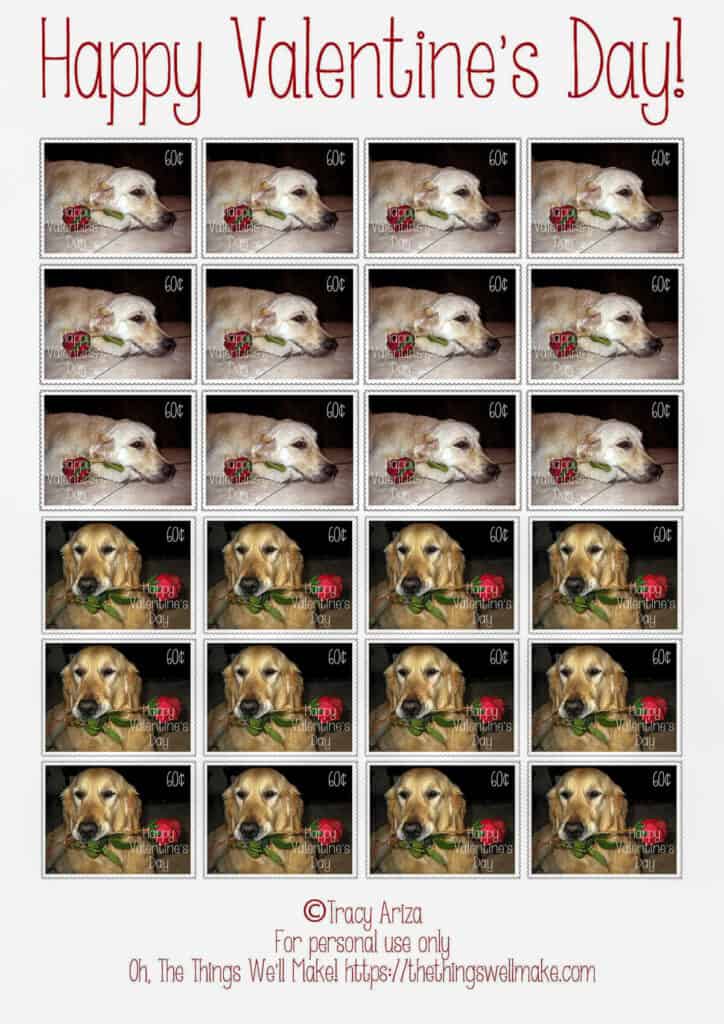
So, I decided to make my own for fun. I used a couple of pictures of my golden retrievers. (Sadly, they are no longer with us, but I love having these lovely photos to remember them!)
I made a printable sheet for you to use if you like. In retrospect, I would have made the lettering in black on one of the stamps, but I think they’re still cute if you’d like to use them!
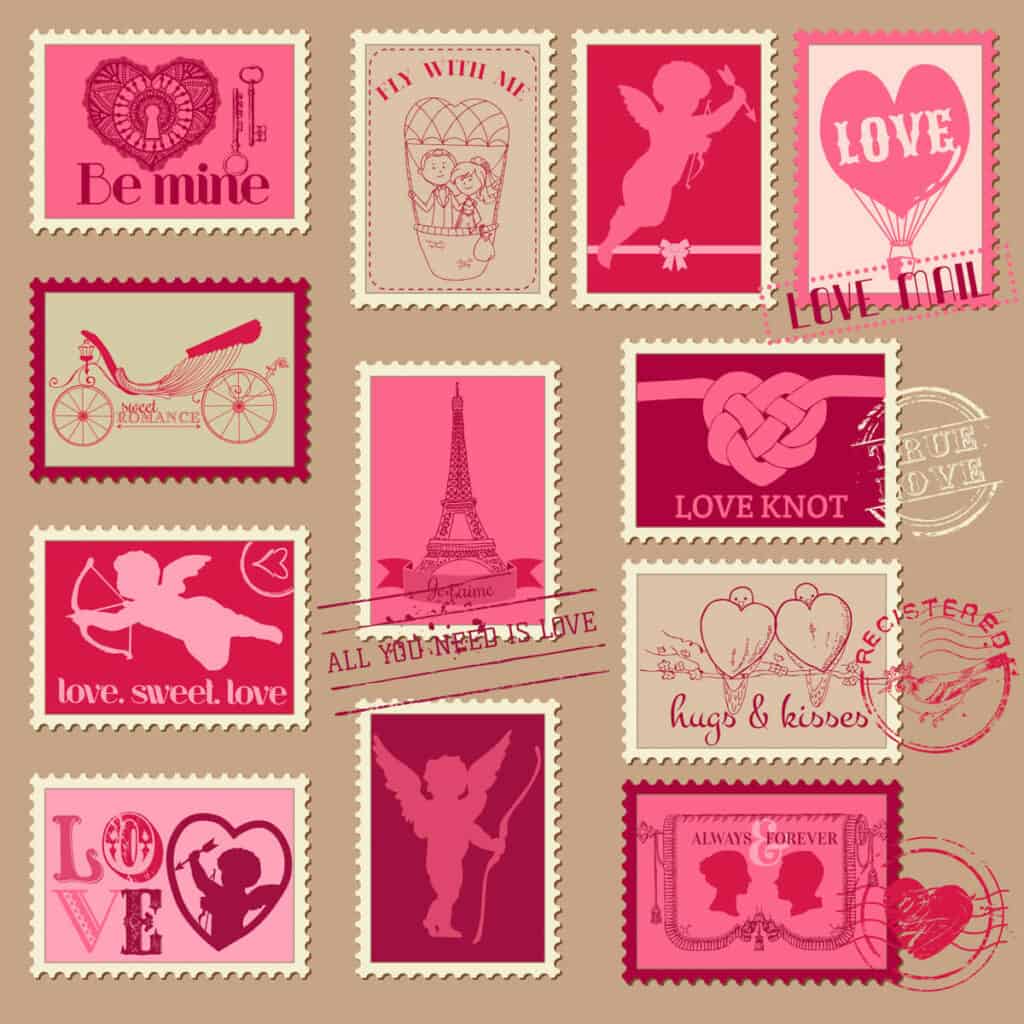
I have since found these other Valentine’s Day stamps that you are also free to print and use.
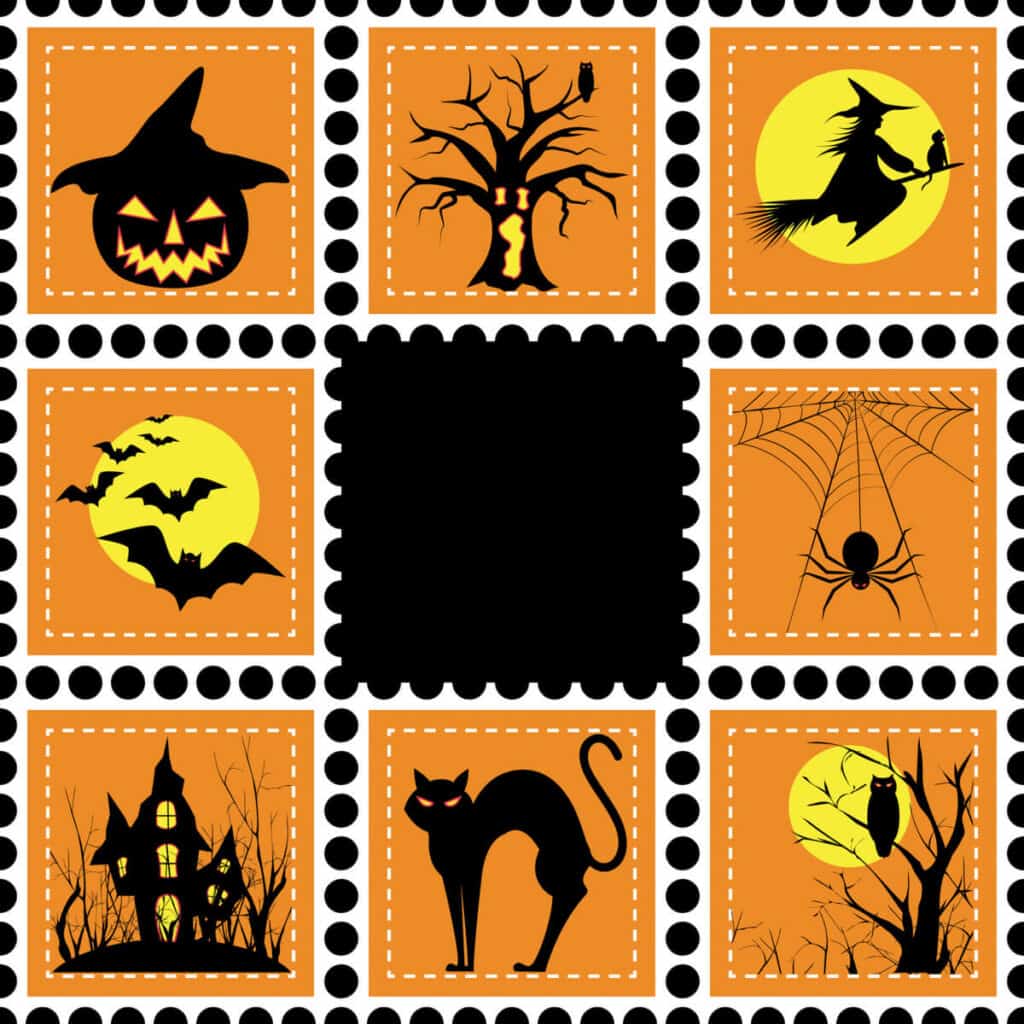
Halloween postage stamps
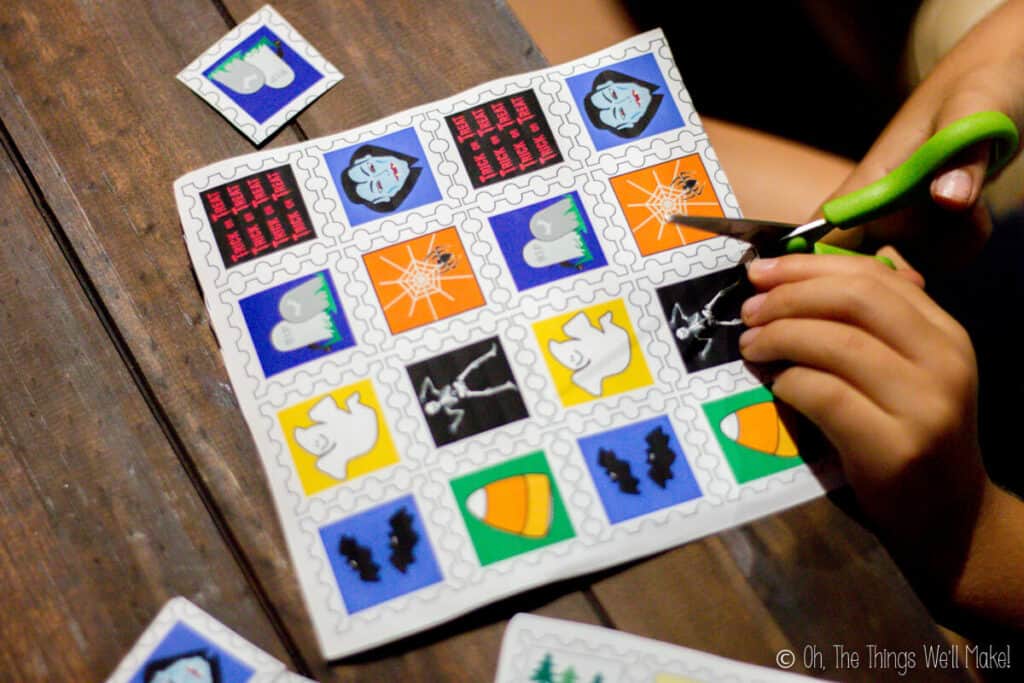
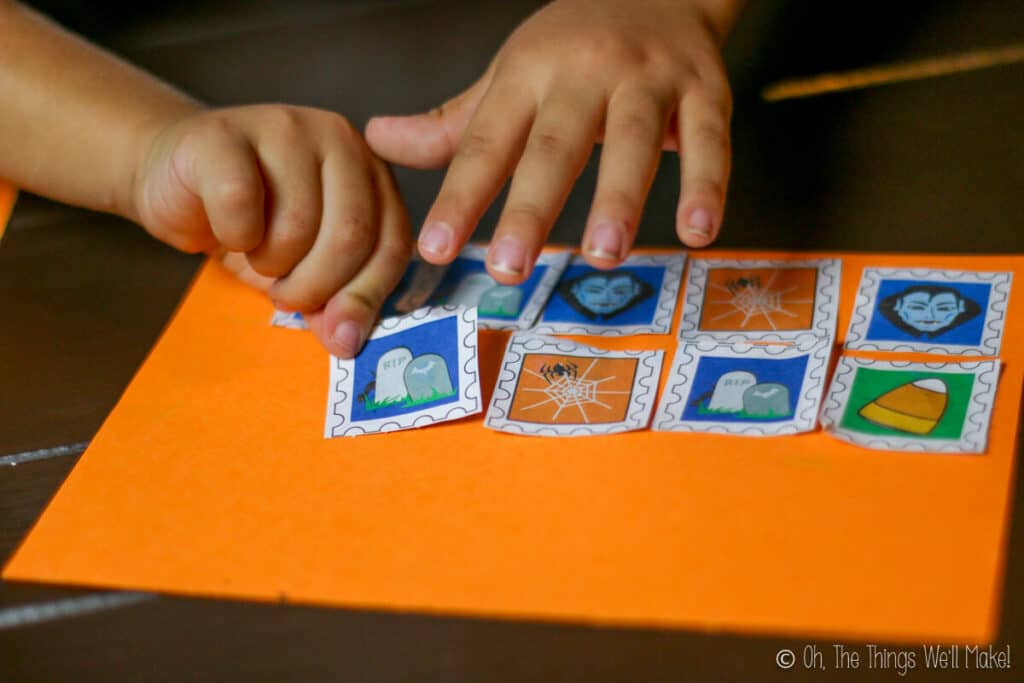
The very first time we made stamps, it was around Halloween. I searched for Halloween stamps and found these super cute Halloween printable stamps. They’re the ones that you see in the pictures. Just click on the link and you can print out your own for this activity!

Since then, I found these other Halloween stamps that you can also use.
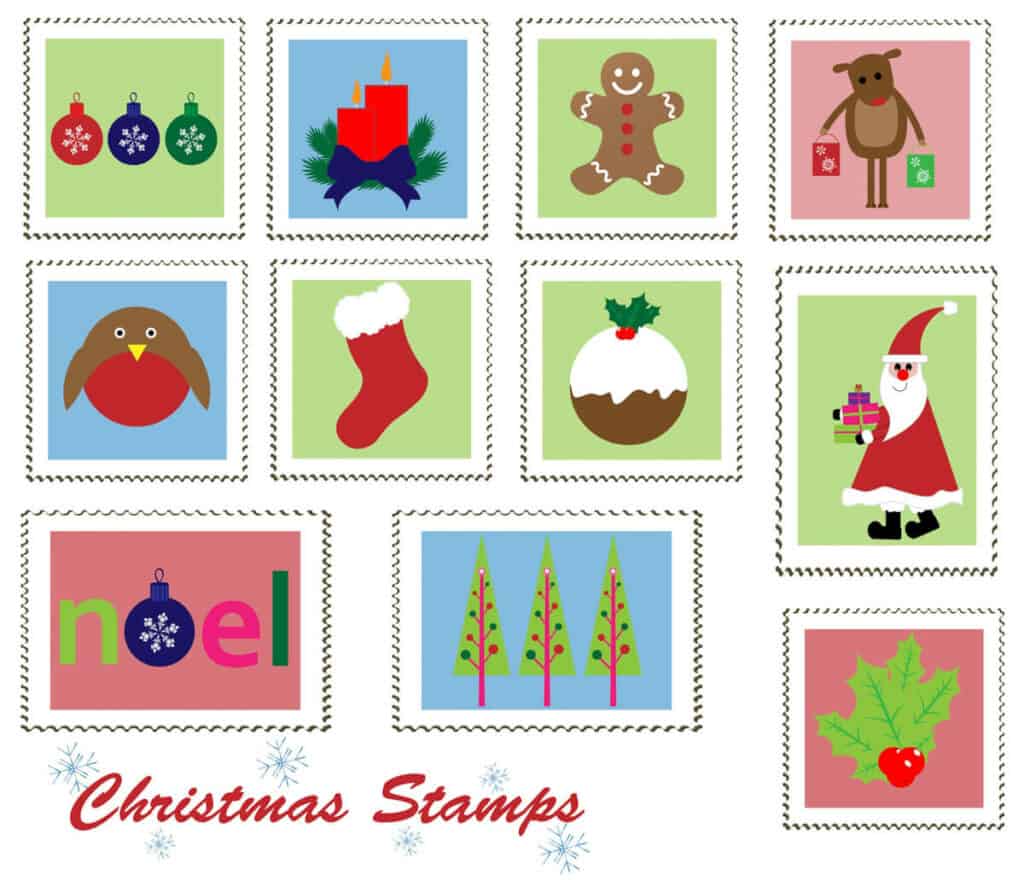
Christmas postage stamps
The next time we made our own postage stamps, it was Christmas time. I was looking for something fun to put on the envelopes of the Christmas cards that didn’t need to be mailed. Luckily, the same site that had cute Halloween stamp printables also had a sheet of Christmas postage stamps!
If you prefer, you may also use either of these Christmas stamp sheets.

Easter
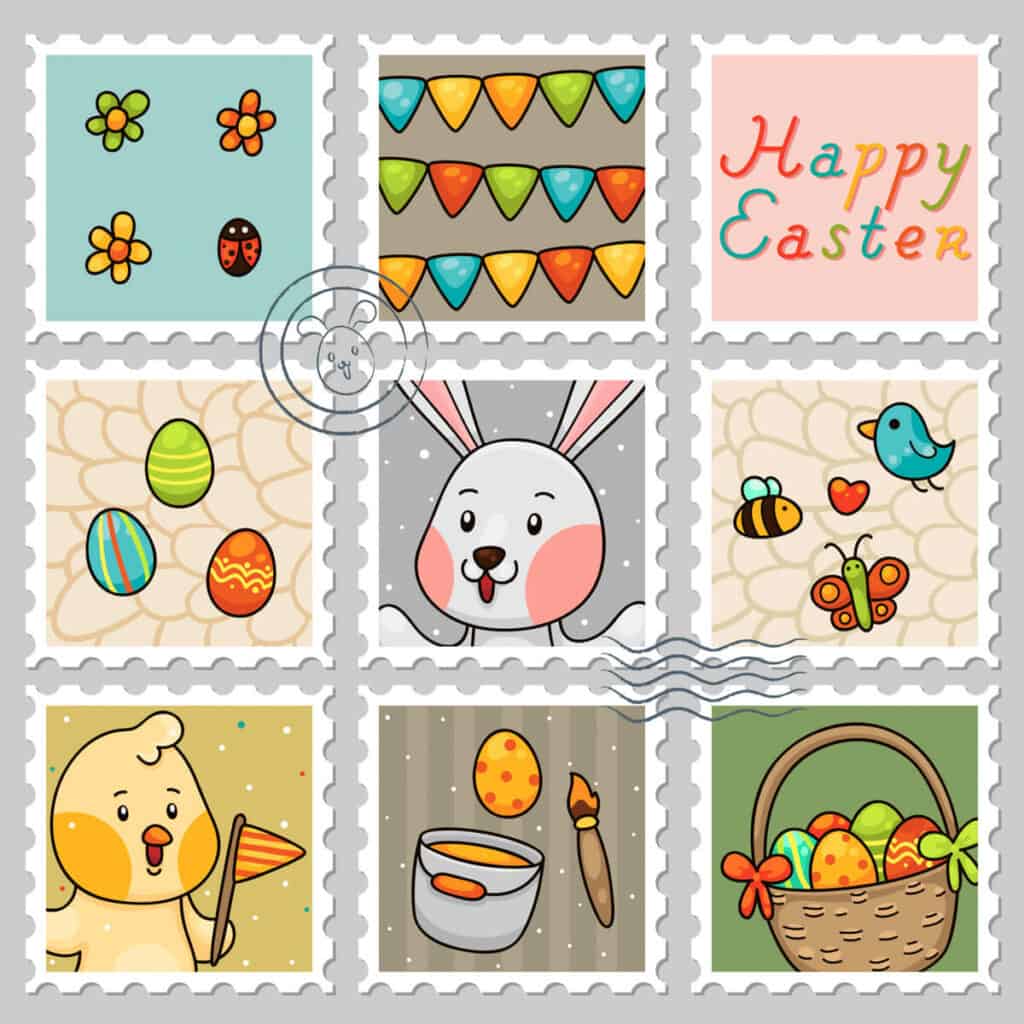
Since then, I decided to add a couple more sheets of stamps you can print out and use.
These Easter-themed stamps would be perfect for writing the Easter bunny or for decorating a letter from the Easter bunny. They’re the perfect craft to make while decorating Easter eggs.
Mother’s Day
Whether or not you use these for Mother’s Day, these cute mom-themed stamps are also a lot of fun. Unfortunately, some of these have “Your text here” so you need to do a bit more editing before printing. That said, it also gives you more of an opportunity to personalize them.
This post was originally published on October 17, 2014. It was rewritten and republished in January of 2020, adding more photos, new printable stamps, link to a video, etc.