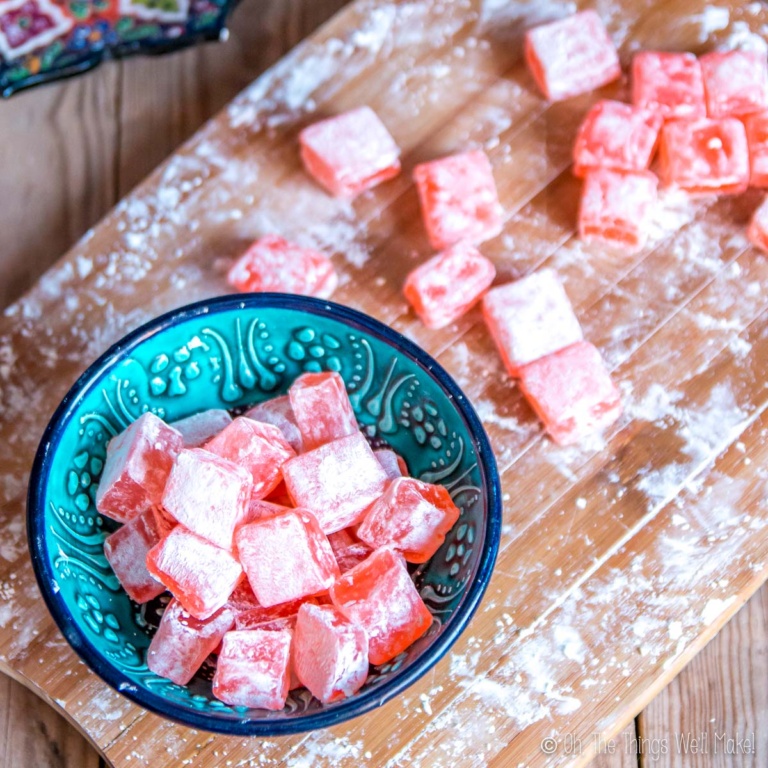
Homemade Gummies (With Fun Variations)
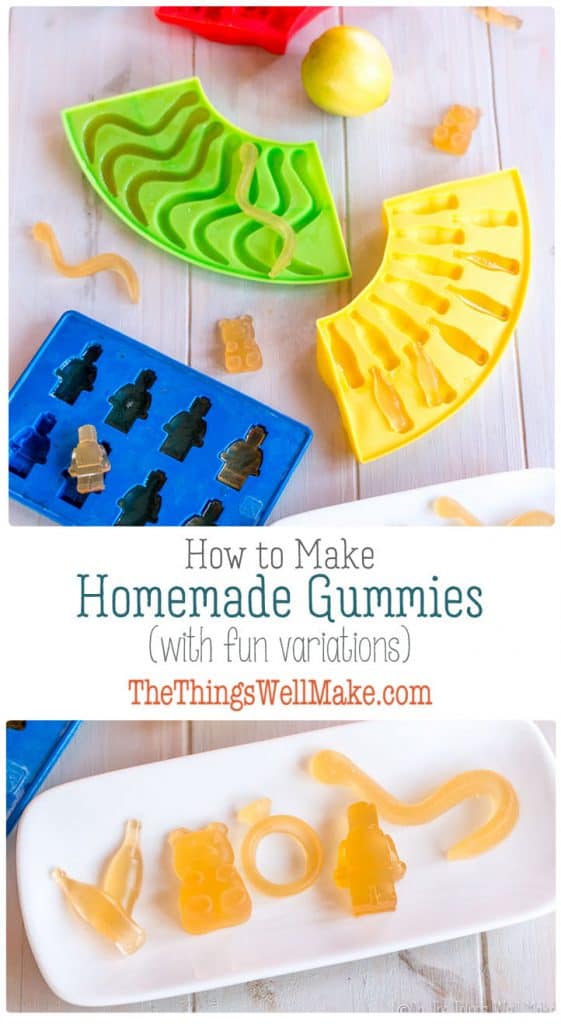
Making homemade gummies using healthy fruits, juices, non-dairy milks, or even kombucha is a fun activity for kids and a healthy alternative to commercial candies for people of any age.
With Halloween coming up, I looked through some of my older Halloween posts to update them and make them a bit more presentable. You see, when I first started blogging, my photography skills weren’t quite what I thought they were.
Worse yet, though, I realized that I had two Halloween gummy treat recipes up, but neither had an actual “recipe” up. Those posts consisted of me being “me” when I’m cooking at home – telling you to add a dash of gelatin to a bit of juice until it dissolves and calling that a recipe. Sorry about that! I’ve definitely improved along the way, and realize that people are actually looking for measurements when going to a blog for a recipe. Little by little, I’m re-making recipes so I can update photos and make sure the recipes turn out well consistently as written.
If you want to see those updated posts…
These are my spooktacular gummy eyeballs!
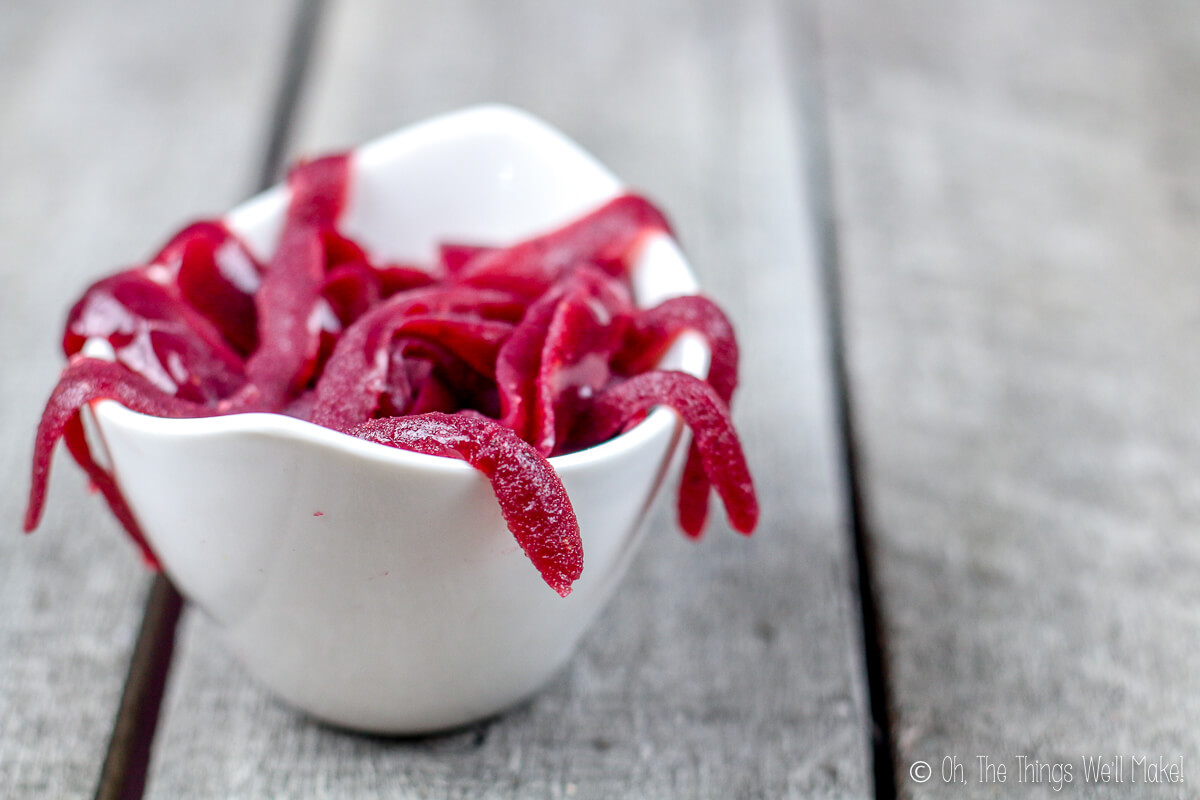
And these are my gummy leeches.
What are gummies made of?
Traditional gummies or gummy treats are made with a mixture of sugar, cornstarch (or another starch), glucose syrup and/or corn syrup, citric acid, and gelatin, along with artificial colorings and flavors. They sometimes also add oils and waxes to give them their texture.
Why make your own gummy treats?
Not only is it fun to make gummies in any shape or flavor that your heart may desire, but you can also avoid some of the questionable ingredients in the commercial candies (like corn syrup, artificial colorings, and flavors) for healthier alternatives.
The only disadvantage is that our gummies won’t last as long as the shelf-stable candies, so they should be stored in the fridge and eaten within a week or so, depending on the type of gummy treat you’ve made.
How long will homemade gummies last?
Well, if you make a tasty variety, they probably won’t last long.
I guess I should ask how long they’ll keep. 😉
First, you should be storing these gelatin based gummy treats in the fridge. If you have them wrapped well or stored in an airtight container, they won’t dry out, but they may develop mold more quickly. Those that are stored in a sealed container keep their shape and texture, but they normally eventually develop mold (perhaps in a week or so?). Those left unwrapped in the fridge start to dry out and get chewier with time. When stored that way, they may not even go “bad,” but may take on unpleasant scents and flavors from the air. They also eventually get a bit too chewy for eating comfortably. (Don’t ask me how I know. I may or may not have lost a few in the back of my fridge before.) 🙂
It’s hard to give a guideline, though, because not only does the storage method affect how long they’ll keep, but the ingredients in your gummies greatly affects their shelf life too. Gummies made with milks like coconut milk tend to start to mold more quickly than those made with fruit juices. Those with extra sugar tend to last a bit longer too.
If you add something like citric acid to your gummy treats, not only will they be more sour than usual, but the lowered pH should also help extend their shelf life a bit.
Ingredients for homemade gummies
The great thing about making your own homemade gummies is that you are only bound by your own creativity (or lack of it).
Choosing the base of your gummy treat
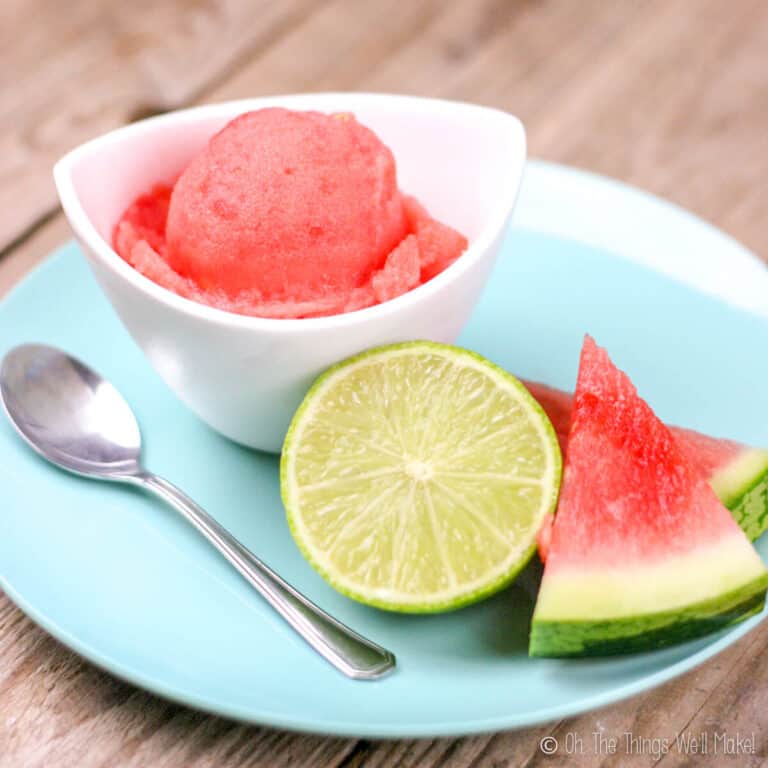
Making your own gummies is not just about the wide assortment of fun molds that allow you to make super cute shaped treats, but it’s also about the wide variety of flavors you can make. You can use real fruit, fruit juices, milks, kombucha, or even veggies! Yes, it may sound weird, but juicing vegetables like carrots can make a wonderful base for a healthy gummy snack!
Looking for a probiotic treat? Why not use some homemade kombucha or water kefir?
As you can see, there is no limit to the number of flavors that can be made.
Gelatin and its health benefits
Gelatin isn’t just a fun ingredient for making Jell-o like gelatin desserts or gelatin popsicles that don’t drip, but it’s actually quite healthy for you, especially if you buy a brand that comes from grass-fed animals like this gelatin.
Gelatin, with its collagen and protein, may improve the appearance of your skin, nails, and hair. It may also help your digestive health, and achy joints.
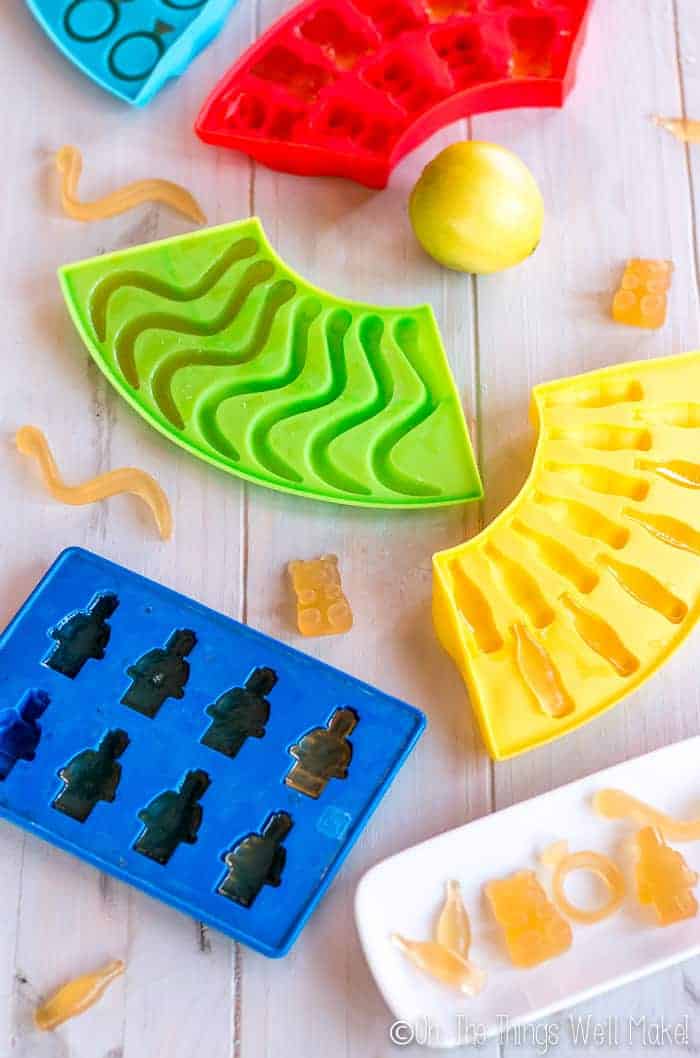
Fun variations for homemade gummies

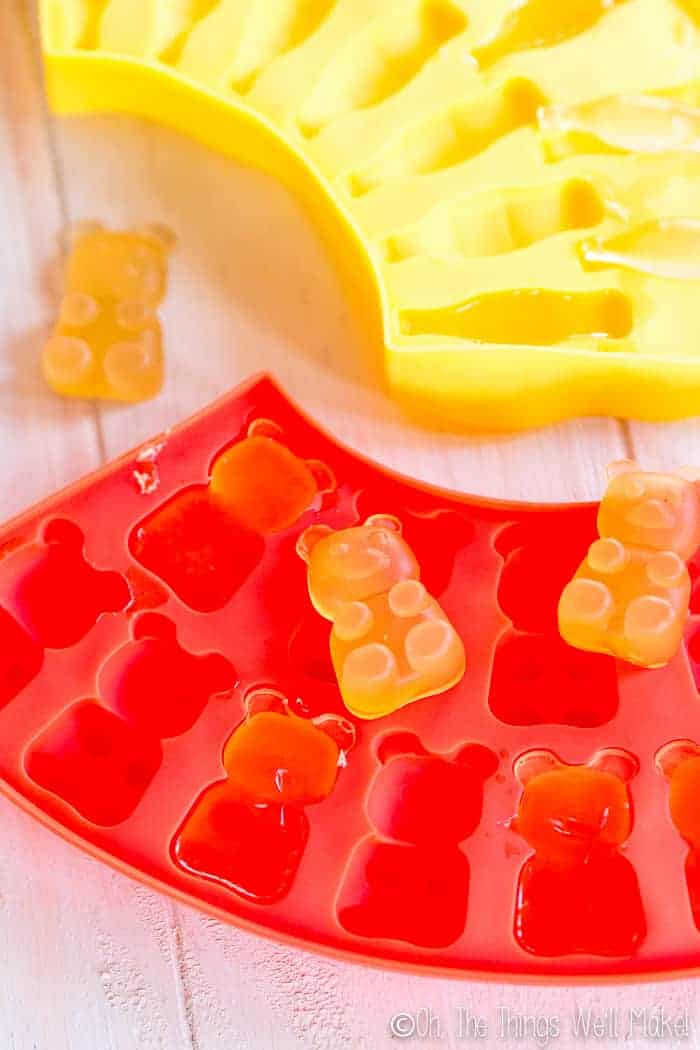
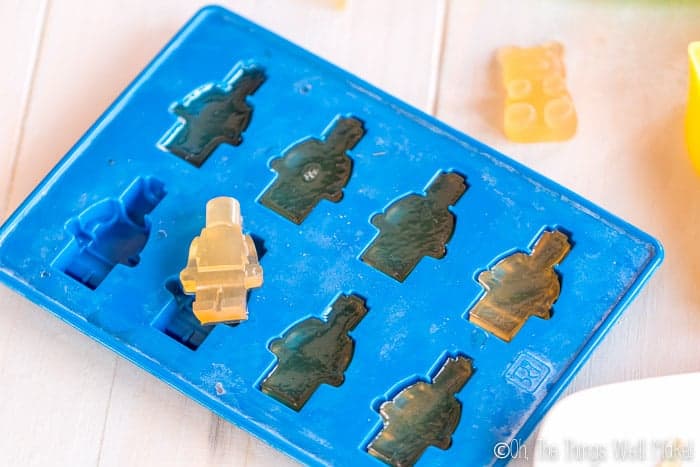
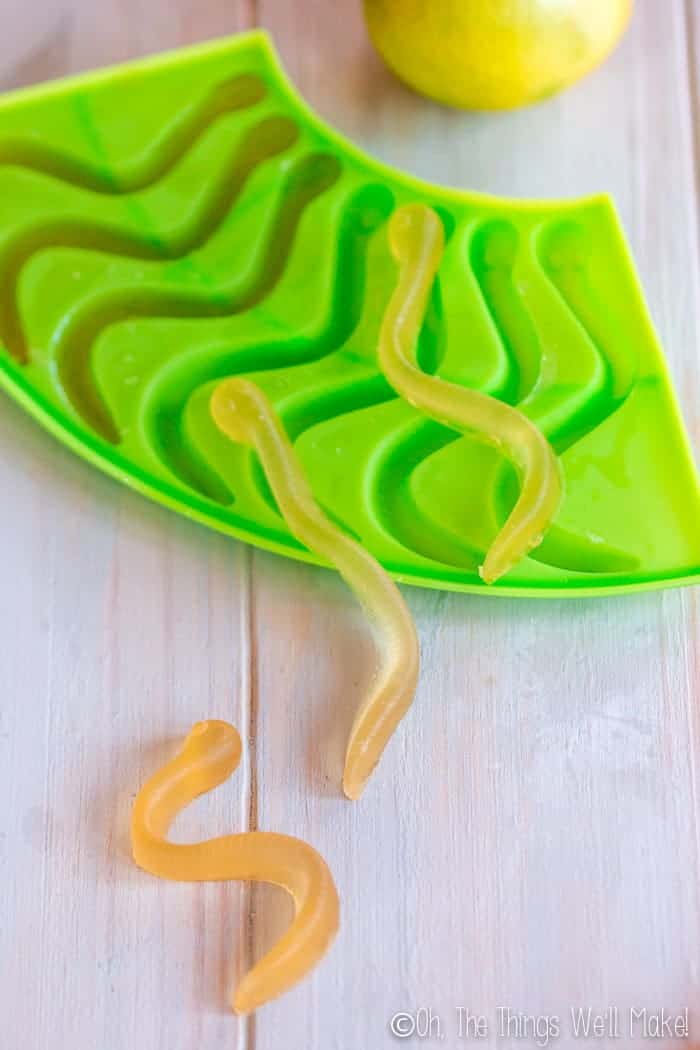
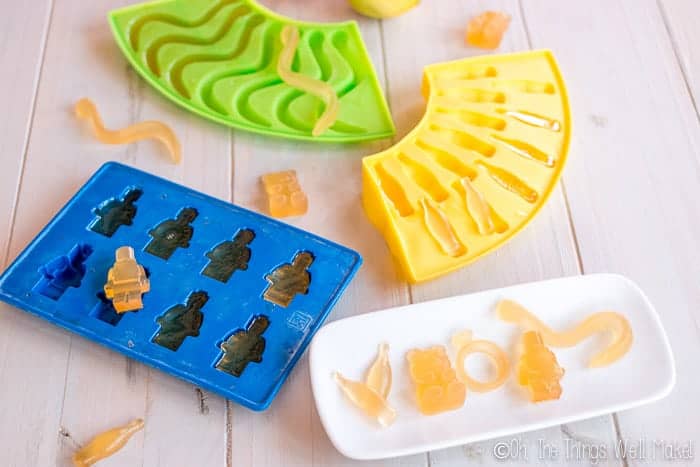
There are lots of great molds for making your own homemade candies. I found a fun “candy factory” at a local store. My son had been eyeing it for months, but I didn’t want to buy it because I thought it was overpriced and bulky. When it went on a major sale, though, I ended up buying it for its super cute silicone molds at a bargain price.The candy factory has a central unit that heats up and gives you a place to melt your gelatin. It’s surrounded by an area that you fill with ice, over which you place your silicone molds. This allows the candy to cool and harden without needing to place the molds in the fridge. It’s a fun idea for kids because they can see the whole process of making the gummies right before their eyes.
You definitely don’t need a special “machine” to heat up the gelatin, though. You can use any silicone trays and can heat the gelatin in a saucepan on the stove. There are tons of cute gummy molds on Amazon for sale.

You can really use any silicone molds, though. Many, like the set shown above, are available for sale as candy, chocolate, or even soap molds.
How to make homemade Gummies
DIY Gummy Treats
Makes approximately 60 homemade gummies, depending on the size of the molds used.
Ingredients
Instructions
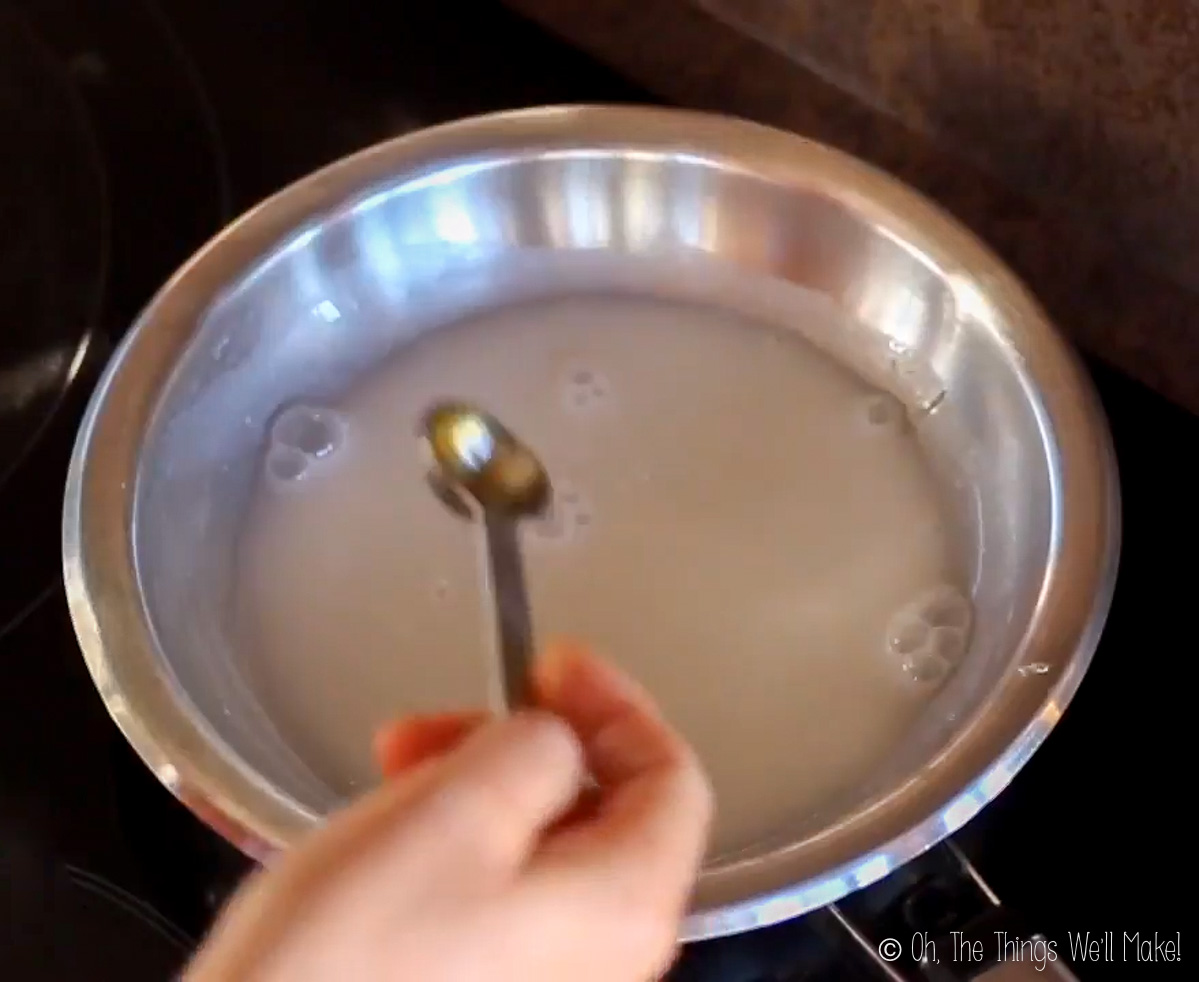
- Mix together 1 cup of the juice (or other liquid) with the 5 Tbsp. of gelatin and allow the gelatin to rest for several minutes. This will allow the gelatin to “bloom,” meaning that it will absorb the liquid and expand. This will make it much easier to dissolve the gelatin later.
- Begin warming the other half of the juice in a small saucepan over the stove.
- Stir the hydrated gelatin mixture into the saucepan with the rest of the juice, and stir the mixture over low heat until the gelatin fully dissolves.
- Pour the gelatin mixture into your candy molds. Using a syringe or dropper makes the job easier and less messy, but you can also carefully pour or spoon the mixture into the molds.
- Place the molds over ice or place them in the fridge until the gelatin has set.
- Carefully remove the candies from the molds.
- You can now serve and eat them immediately or store them in the fridge for later.