

Healthier Homemade Gummy Worms (And Leeches)
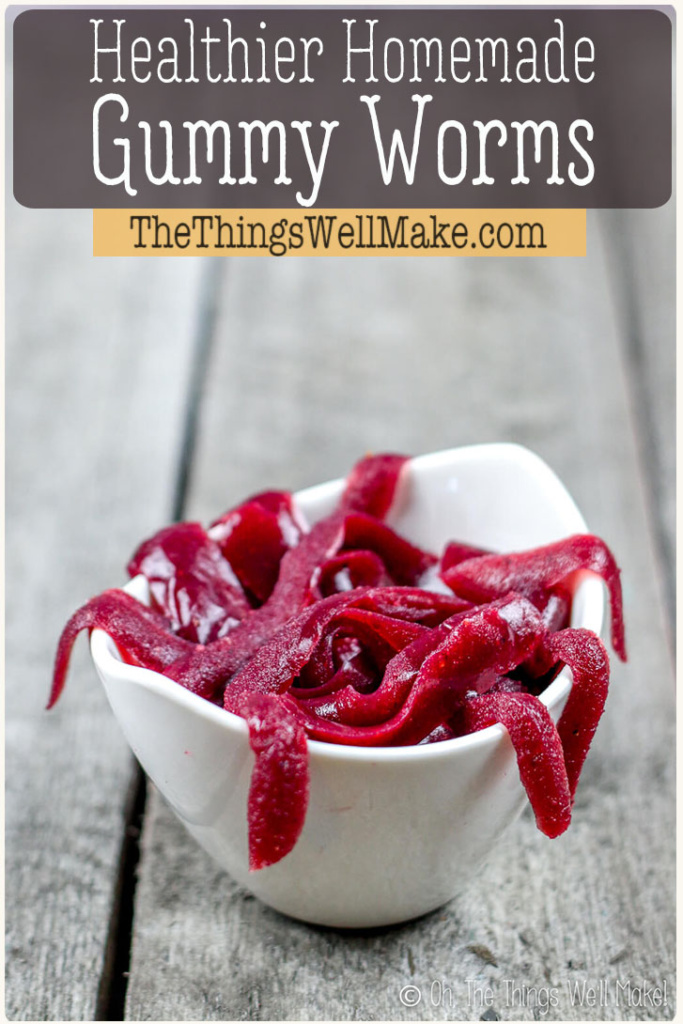
Fun for kids of all ages, Make your own healthier homemade gummy worms (or gummy leeches), even if you don’t have any candy molds.

Many years ago, I began my journey into trying to make gummy worms. I had seen a tutorial for how to make gummy worms using straws. Although the finished gummy worms were very cool-looking, I didn’t like the fact that they were made with gelatin, with artificial colors and flavors, and chocolate milk. I was determined to make a healthier version that would be just as cool.
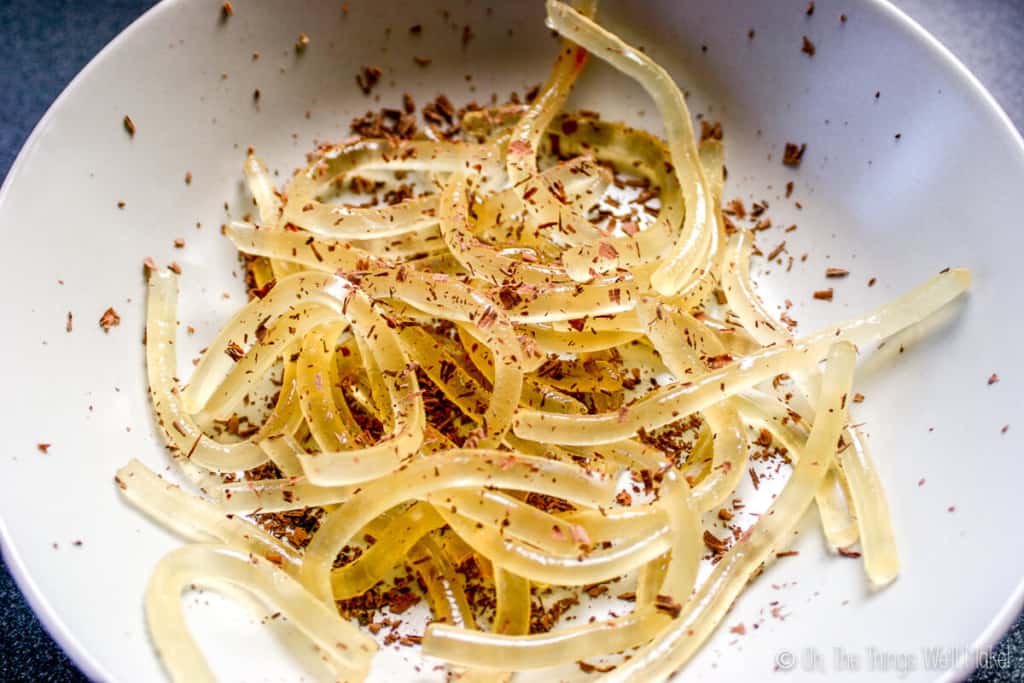
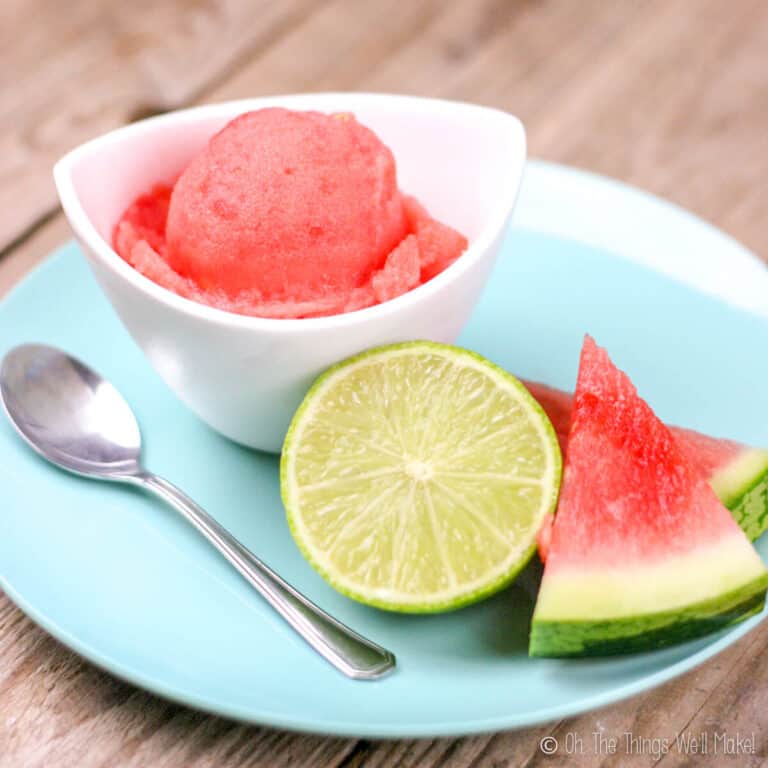
My first attempt at making gummy worms for the blog: lime gummy worms in grated chocolate “dirt.”
As I was writing up my post, a friend posted a similar recipe using a similar method. (Her blog is no longer online.) We both had used lime juice and both had the idea of photographing our worms in chocolate “dirt”!
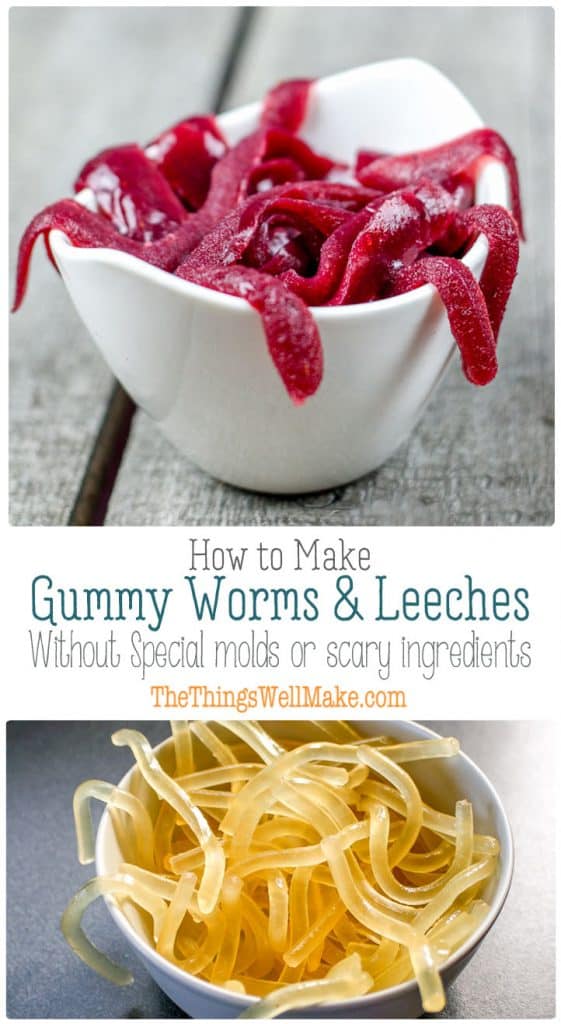
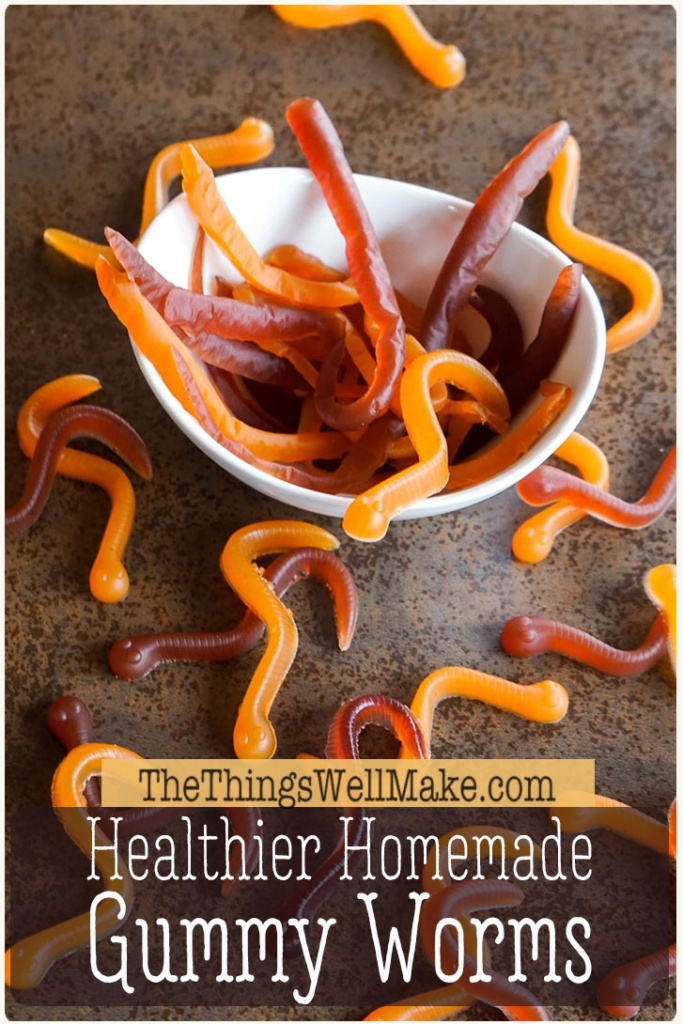
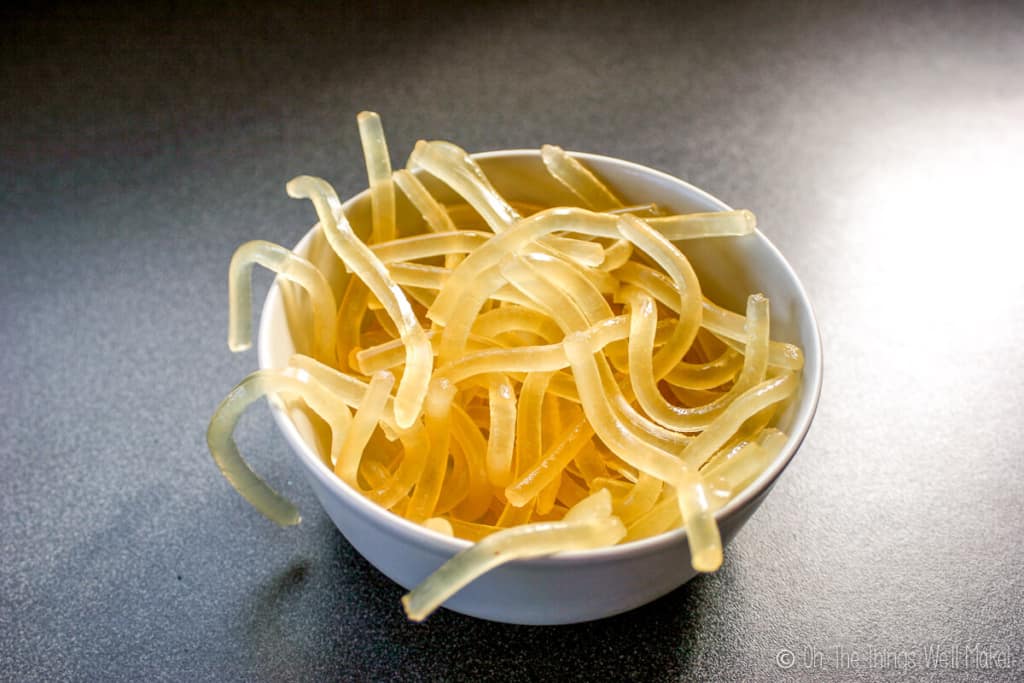
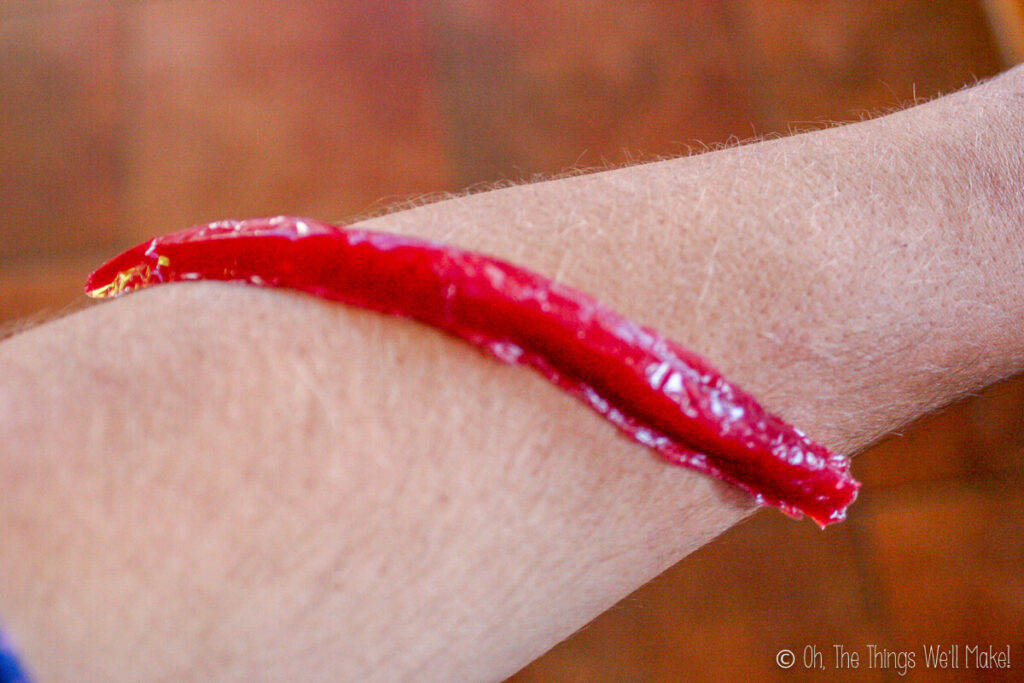
Not wanting to look like a copycat, I decided to come up with a new method and new idea. In the end, I’m happy it happened because I really love how easy it is to make gummy worms without needing specialized molds or any other special equipment. Depending on how thick you make them, you can either end up with gummy worms or gummy leeches. Ha!
Ingredients
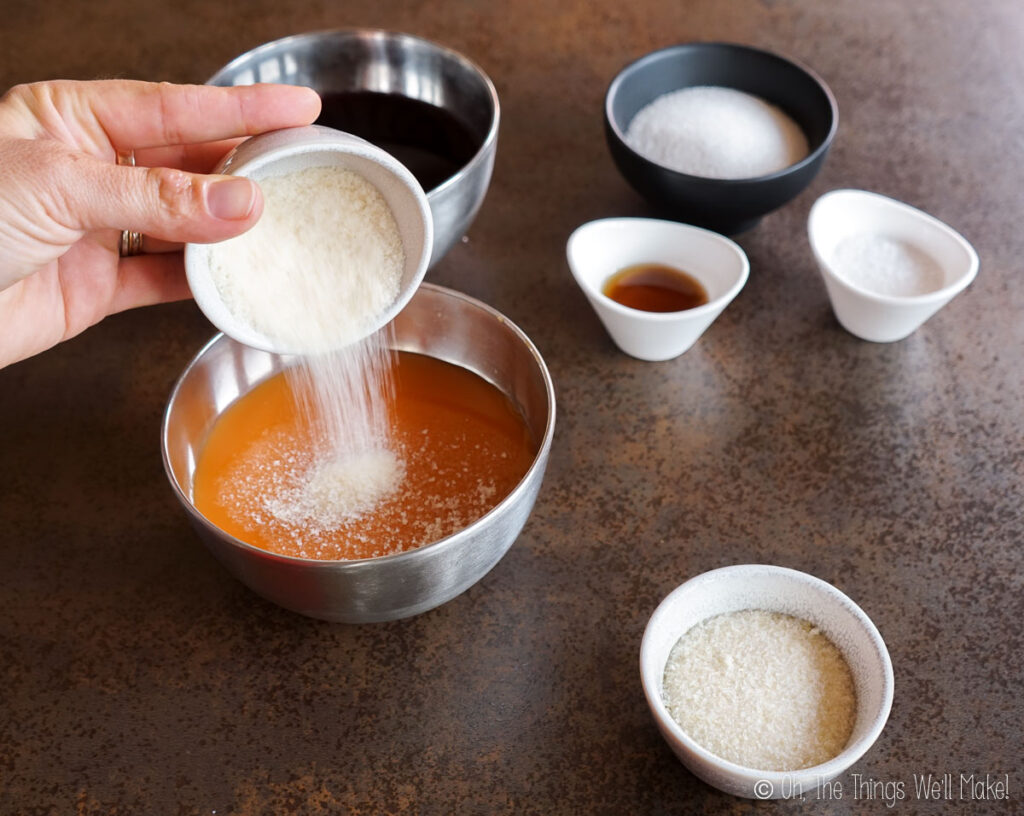
Making your own healthy gummy worms is simple and only uses a few ingredients: fruit juice, unflavored gelatin, and, optionally, some sort of sweetener if the chosen juice isn’t very sweet.
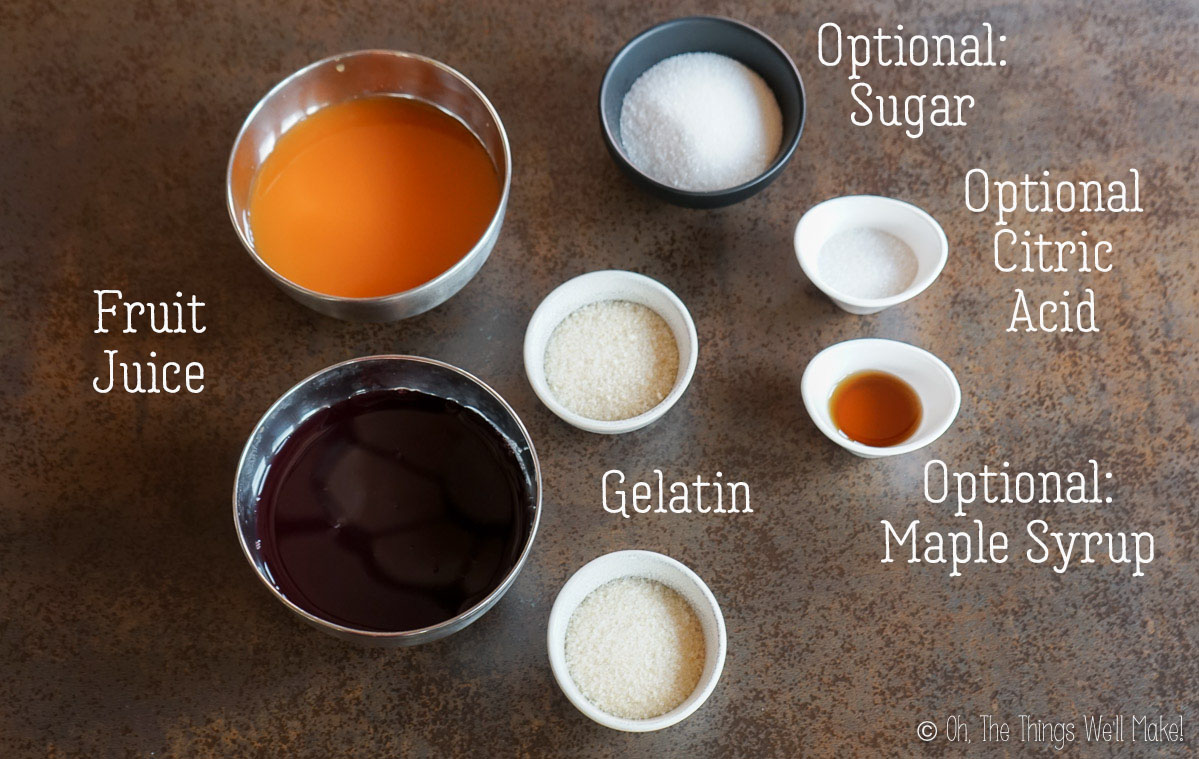
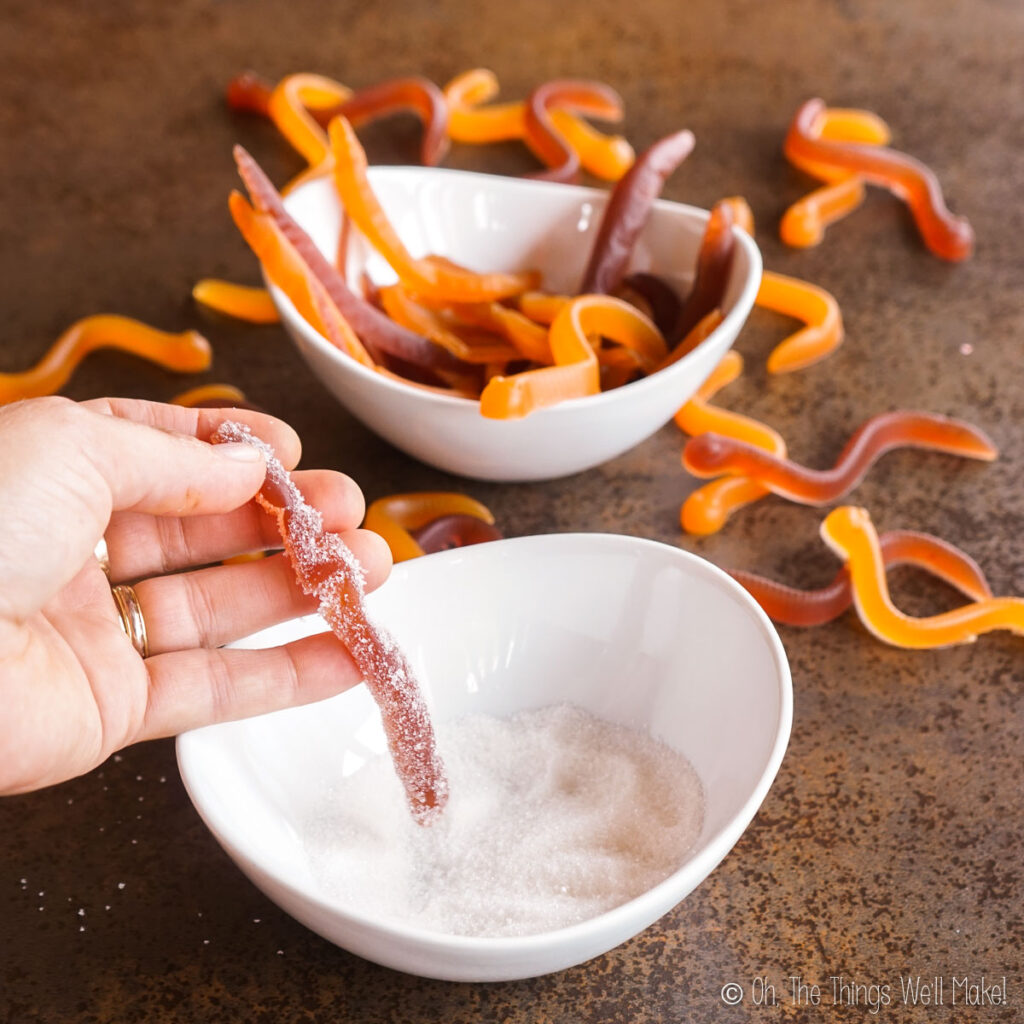
If you want to make opaque-looking worms, you can optionally add some milk (even coconut milk) or whipping cream to your gummy treats. For sour gummies, you can also add some citric acid to the juice. Or, you can coat them with a mixture of sugar and citric acid, but, unfortunately, the coated worms don’t store well, so you’d need to coat them right before eating them.
Procedure
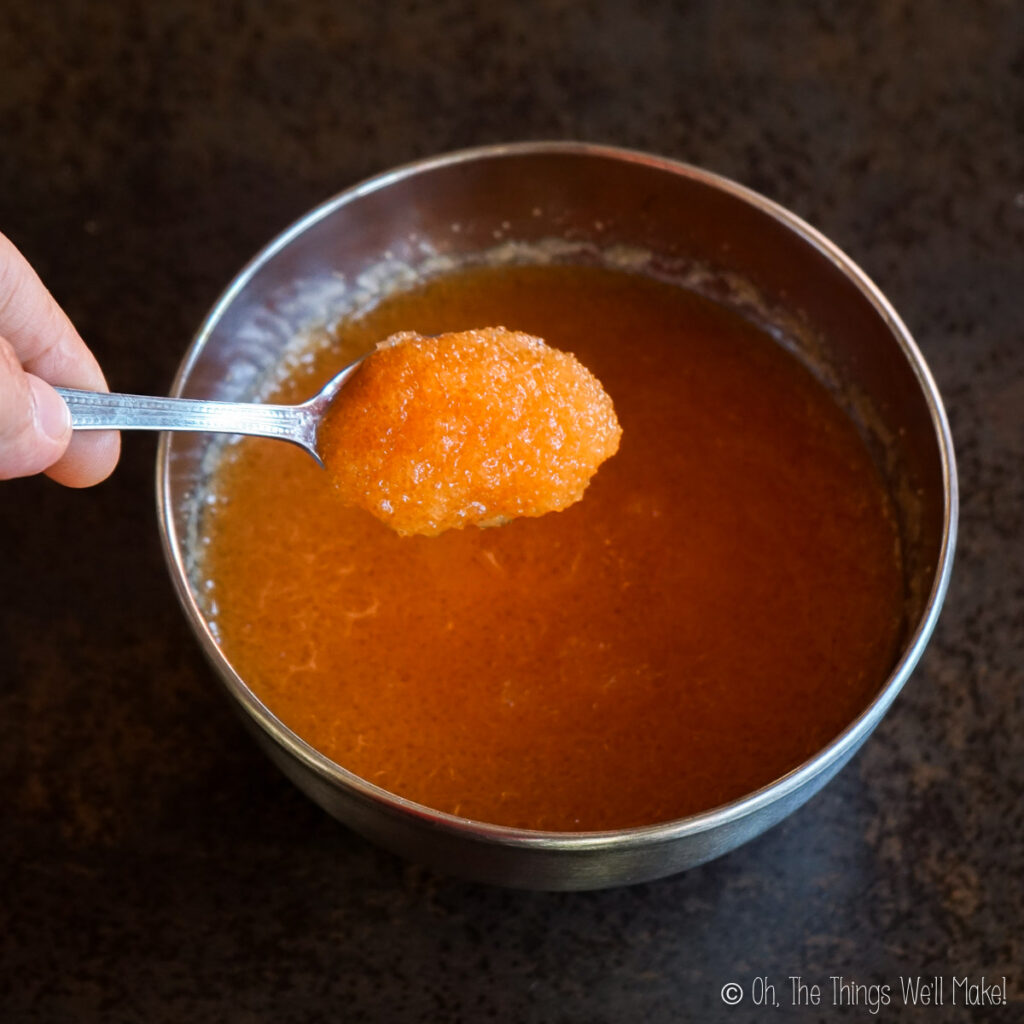
To make gummy worms, we’ll first make a gelatin mixture by mixing the gelatin with the juice. Allow the gelatin to soften in the cool liquid. As the gelatin “blooms,” it swells up and absorbs the liquid. This will make it easier to dissolve when we heat it.

Once the gelatin blooms, add it to a small saucepan and cook it over medium-low heat until the gelatin has completely dissolved. Immediately, pour it into your prepared molds and allow it to set.
While there is enough gelatin in the mixture to generally allow these to set up at room temperature, placing them in the fridge will allow them to set more completely and makes them easier to remove from the molds.
Making molds for gummy worms
The first time I tried to make gummy worms, I was using leftover berry gelatin from my homemade gummy eyeballs.
Using straws
One of the most popular ways to make gummy worms is to use straws, but…
What didn’t work
To make realistic-looking earthworms, you can supposedly pull apart flexible straws to make worms with a patterned section. I found it very difficult to fill up the straws, though.
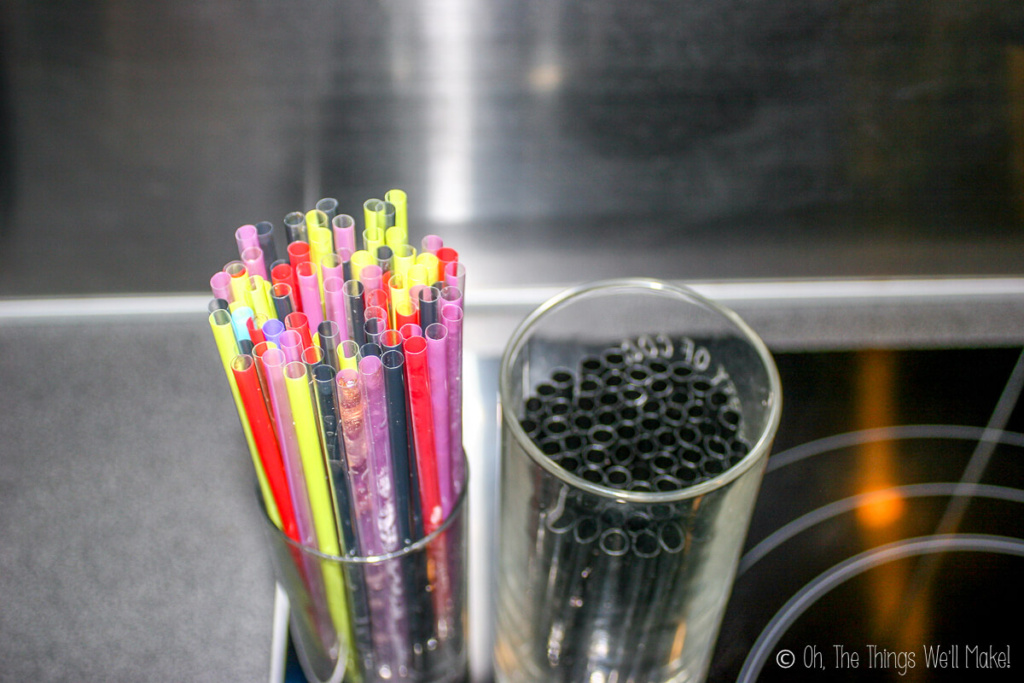
I saw a tutorial that said to pour some gelatin in the bottom of a glass filled with straws. Then, you were supposed to place the glass in the fridge to set the gelatin before filling up the straws with the rest of the gelatin.
While it sounded easy enough, I couldn’t get the gelatin to go all the way down the straws when trying to fill them. Because the straws are so thin, it seems that the air didn’t have room to escape while filling them. I tried again with some wider, shorter straws, but I still had the same problem: short worms that were only as long as the height of the gelatin on the first pour. (Perhaps I should have tried filling the straws with a syringe. That may have worked better.)
What did work
I decided that the only way to truly make the straw method work was to fill the entire straw-filled glass with gelatin. To make this work, use a taller, thin glass and pack in the straws to avoid waste.
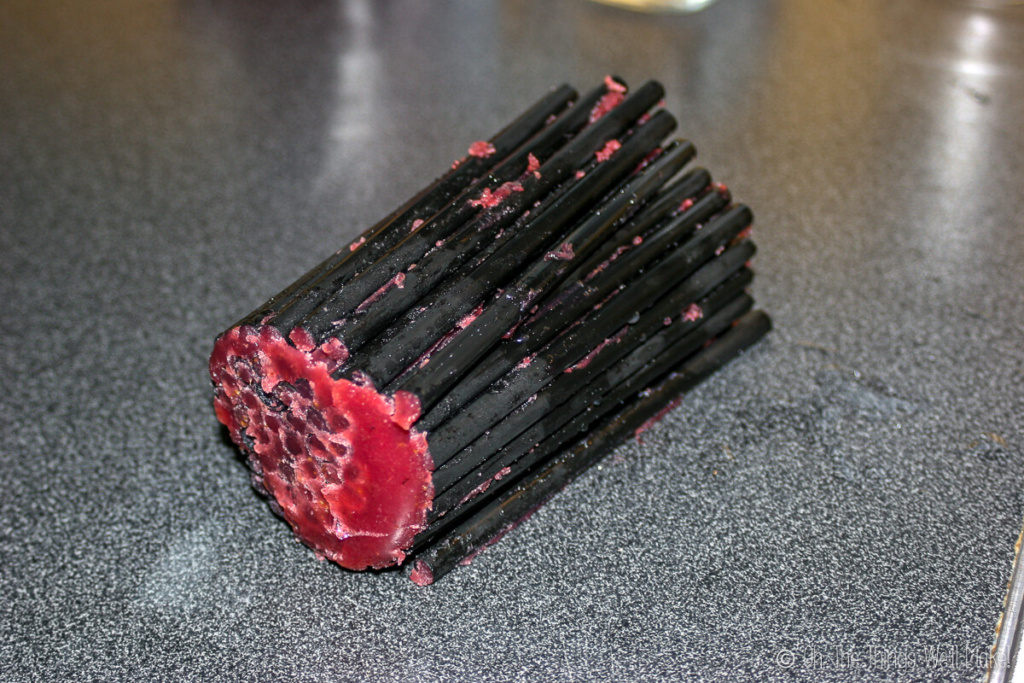
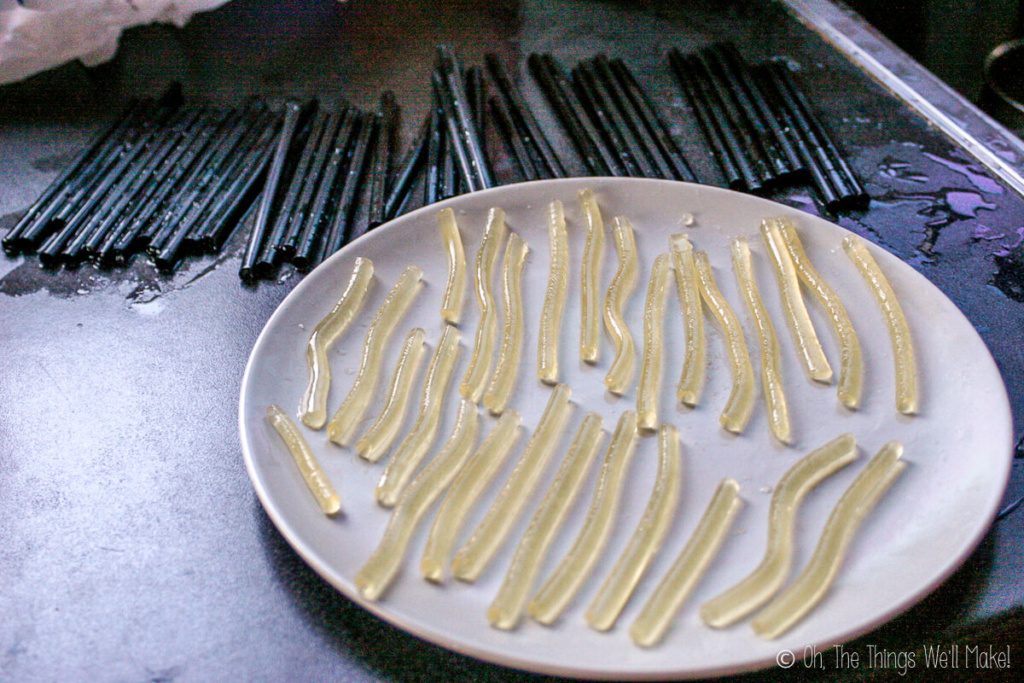
To get the gelatin out of the straws, run them under warm water, not letting the water get into the straw. (That quickly turns them into mush.) Then, push them out by pulling the straw through your fingers while gently pinching it together. While it isn’t difficult, this process does generate a lot of gelatin “waste” around the straws. While you can eat it, it’s messier and not as quick and easy as I’d like.
Using a grill
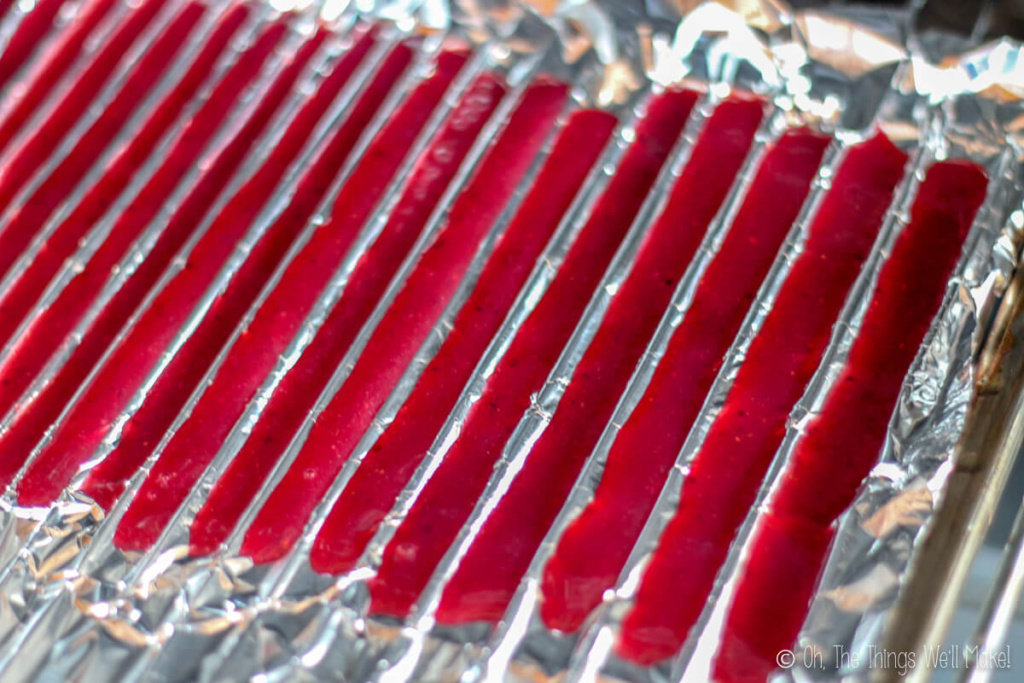
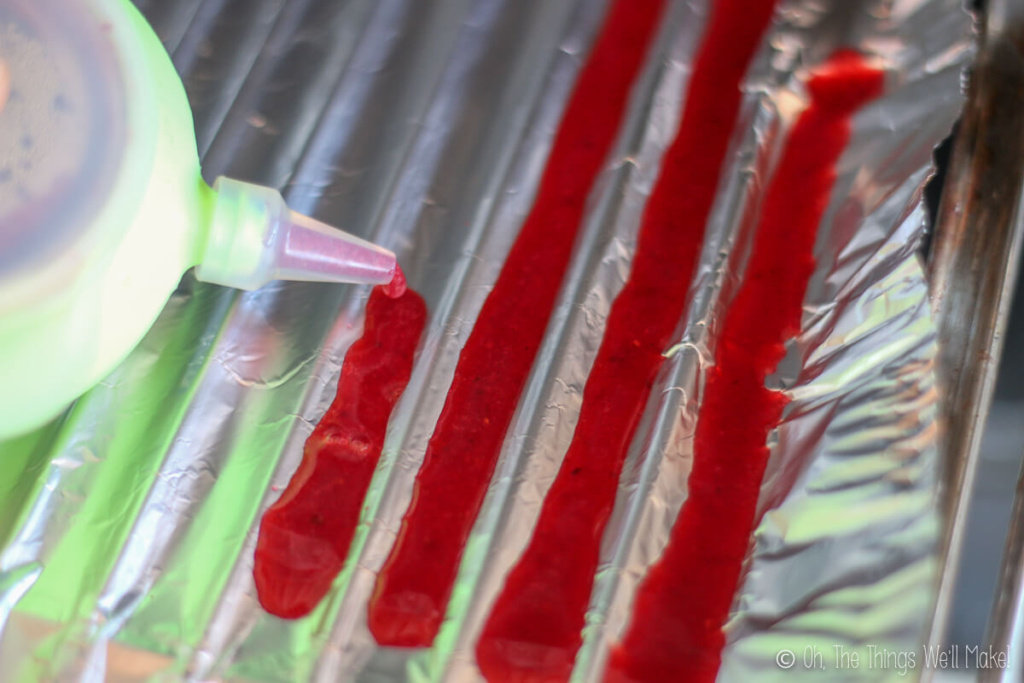
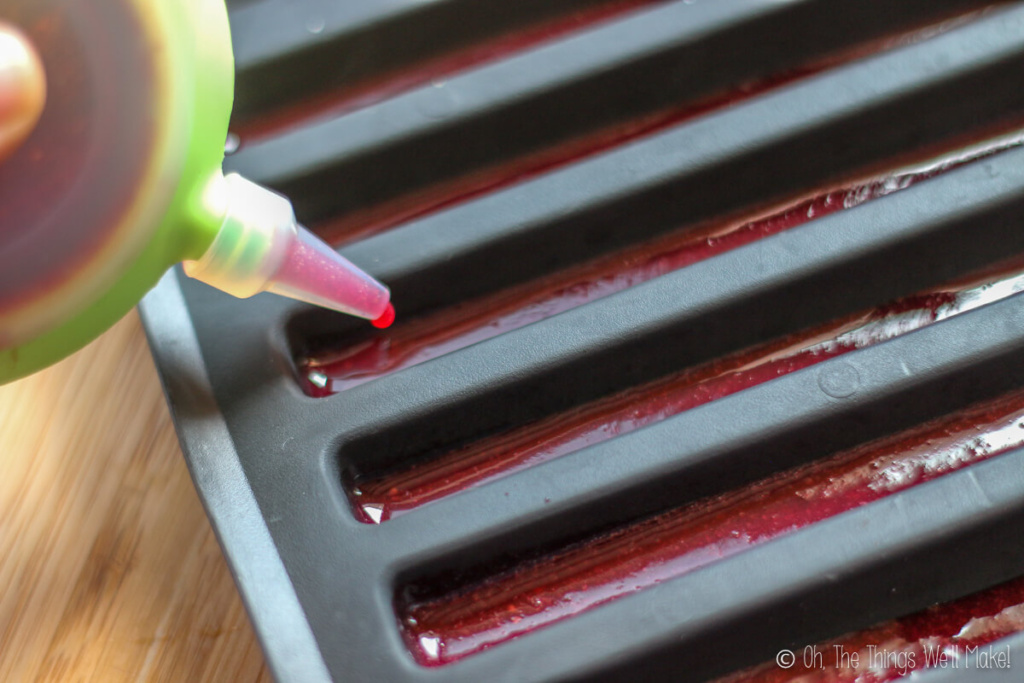
To make a “mold” of sorts using the grill of your oven, you can take a sheet of aluminum foil or parchment paper and gently press the sheet down into the spaces between the grates on the grill. To keep each trench deep enough, hold the paper down in the last trench formed while pushing the sheet down into the next opening.
Once the mold is formed, pour the gelatin mixture into the trenches formed. It really couldn’t be quicker or easier!
Because the grill of my oven is too big for my fridge, I allowed the gelatin to set on my kitchen counter for around 30 minutes. Once the gelatin had mostly set, I pulled the foil/paper from the grill and placed it into the fridge so that the worms/leeches would fully set.
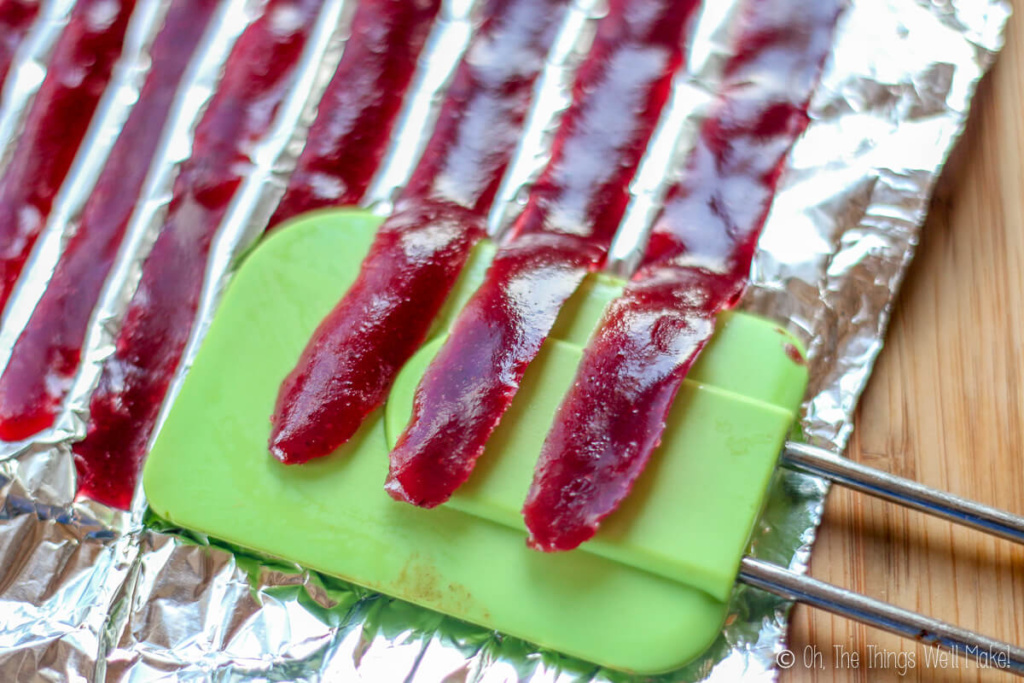
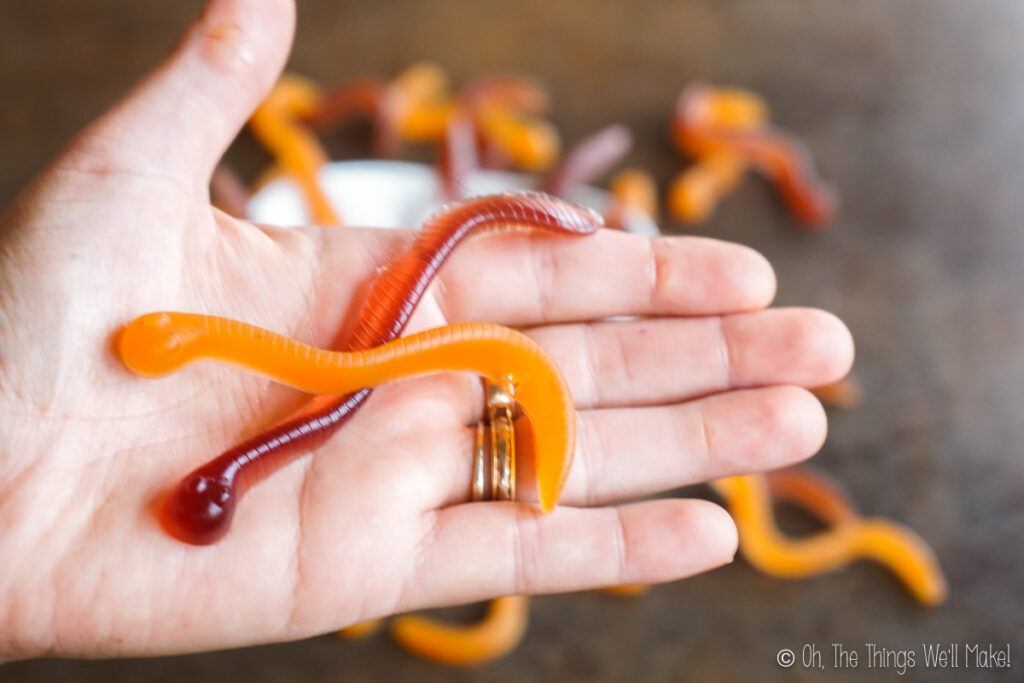
If you make them thick enough, they are very easy to peel off from the foil. If you have made them thinner, though, or want to work more quickly, a spatula can help you to peel your worms/leeches off quickly and easily without breaking them!
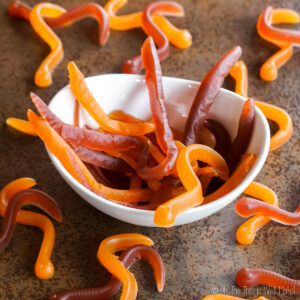
I decided to call the thickest ones “gummy leeches” because they are wide, rounded on the top, and flat on the bottom.
If you haven’t carefully poured the gelatin into each space without touching the area between worms (like me the first time), you will end up with a little bit of gelatin “flange.” While you may consider that a “mistake”, it can actually help make them look more like leeches!
If you don’t like that look, trim off the flange with kitchen scissors. That will round them out and make them look a bit more like worms.
Gummy worms using a silicone mold
The most obvious way to make some cute-looking gummy worms is to use gummy worm molds. I finally ended up buying some because my son was eyeing a “gummy candy factory” at a local store for quite a while. It must not have been very popular here because they drastically reduced the price to only a few Euros, and I happily bought it because the molds themselves would normally cost me more than that.
Gummy worm molds make the cutest, easiest worms, of course.

My first attempt at making gummy worms with silicone molds wasn’t as successful. I used a silicone mold made for making long ice cubes for water bottles. While it was very easy, the results weren’t very credible. (Perhaps they would have looked better if I hadn’t filled the molds quite so far.)
Storage
Homemade gummy worms are best stored in the fridge so that they will keep longer. Storing them in a well-sealed container will keep them soft and pliable, but as the moisture is retained, they won’t keep as long that way. If stored without a lid, the gummies
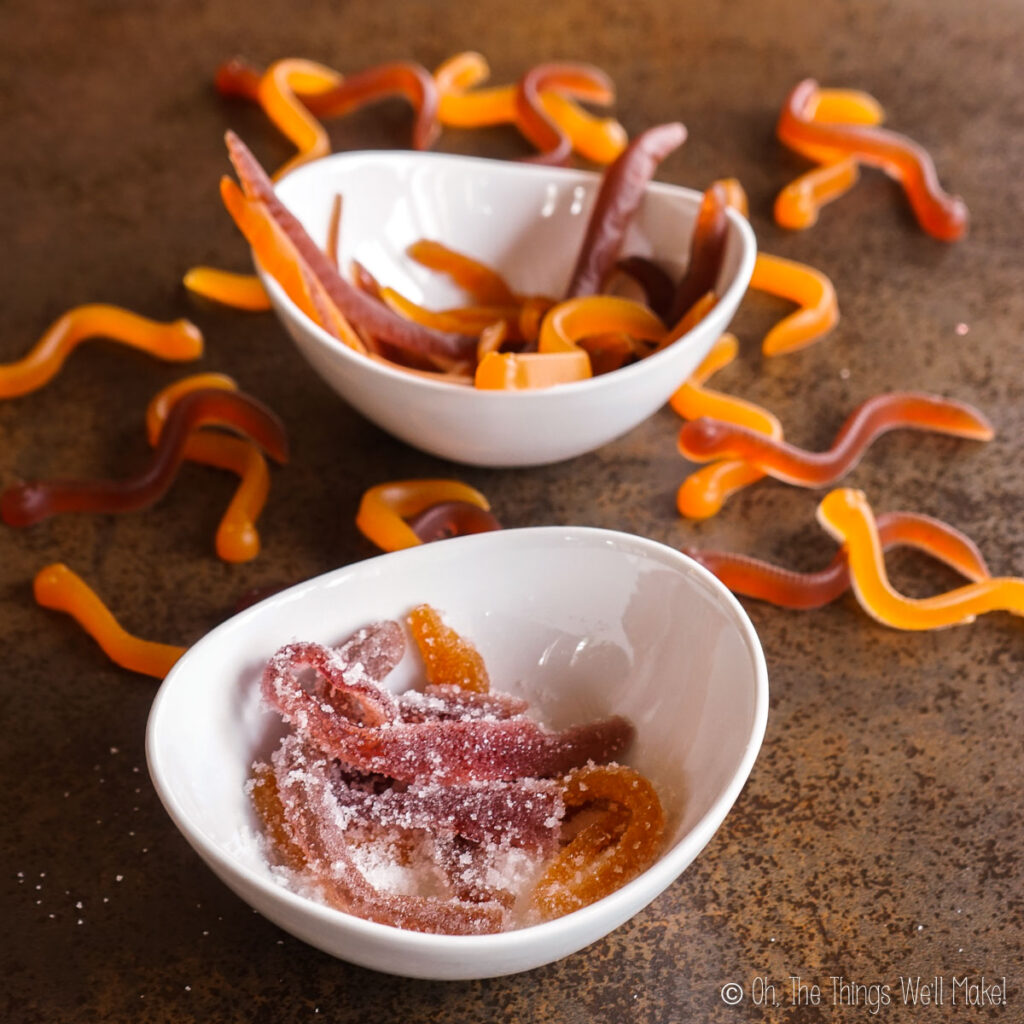
Making sour gummy worms
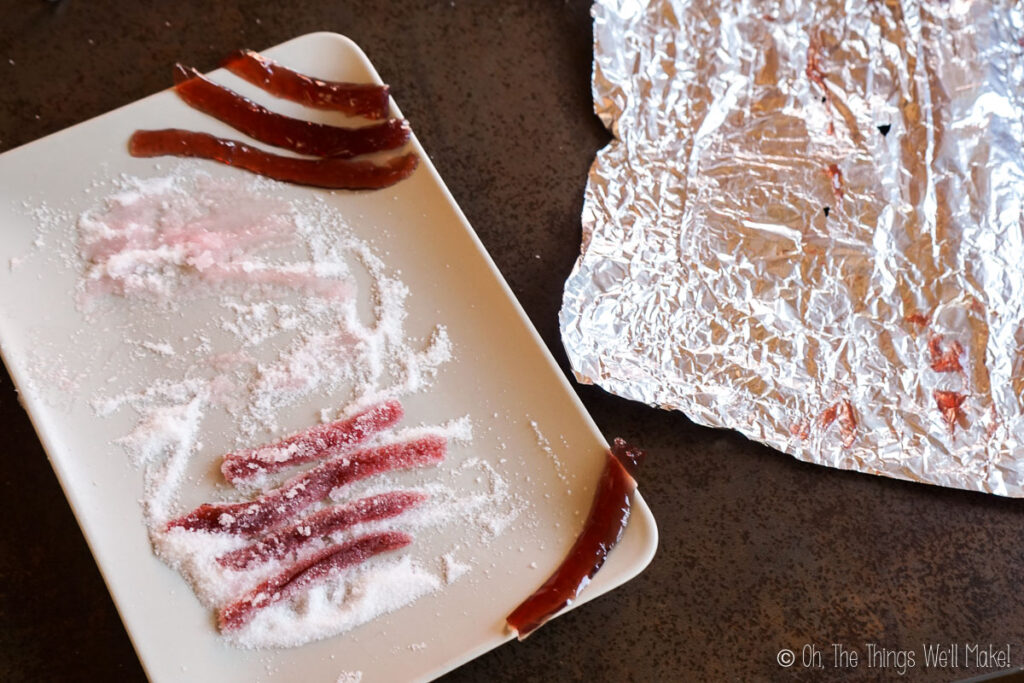
I thought that making sour gummy worms would be as simple as mixing some citric acid with sugar and coating the homemade gummy worms. Unfortunately, I soon found that the citric acid mixture draws moisture from the gummy worms, making them wet and slimy.
To prevent that problem, there are several things you can do.
The easiest solution is to coat the gummy worms just as you are about to eat them. That may not always be practical, though.
For those who want gummy worms that don’t sweat, there is another option. First, reduce the moisture in the gummy worms slightly by allowing them to dry out in the fridge uncovered for a day or two. Then, coat them with a sugar mixture with very little citric acid. (A good measure is to use around a fourth of a teaspoon of citric acid for every 4 tablespoons of sugar.) This should allow you to coat your homemade gummy worms without them forming a puddle of syrup.
Video
DIY Gummy Worms
Ingredients
Instructions
Prepare gelatin mixture
- Mix together 1 cup of the juice with the gelatin and allow the gelatin to rest for several minutes. This will allow the gelatin to "bloom," meaning that it will absorb the liquid and expand. This will make it much easier to dissolve the gelatin later.
- Add the wet gelatin mixture to the saucepan with the remaining juice. Stir the mixture gently on low heat until the gelatin completely dissolves.
- Prepare whatever gummy worm or leech "molds" that you want to use. Either use silicone candy molds, or try one of the other methods below.
Straw "molds"
- To make gummy worms with straws, fill a tall, narrow glass with tightly packed straws. Fill the straws with the gelatin mixture.
Grill "mold"
- Place a sheet of aluminum foil or parchment paper over the grill of your oven. Press the foil or paper into the spaces between the bars of the grill. It's easiest if you begin on one side and carefully work your way to the other side.
Fill molds
- Pour the gelatin mixture into your candy molds. Using a syringe or dropper makes the job easier and less messy, but you can also carefully pour or spoon the mixture into the molds.
- Place the molds over ice or place them in the fridge until the gelatin has set. If using the grill method, and the grill doesn't fit in your fridge, you can allow the gelatin to mostly set at room temperature and then move the worms to the fridge to fully set them.
- Carefully remove the candies from the molds.
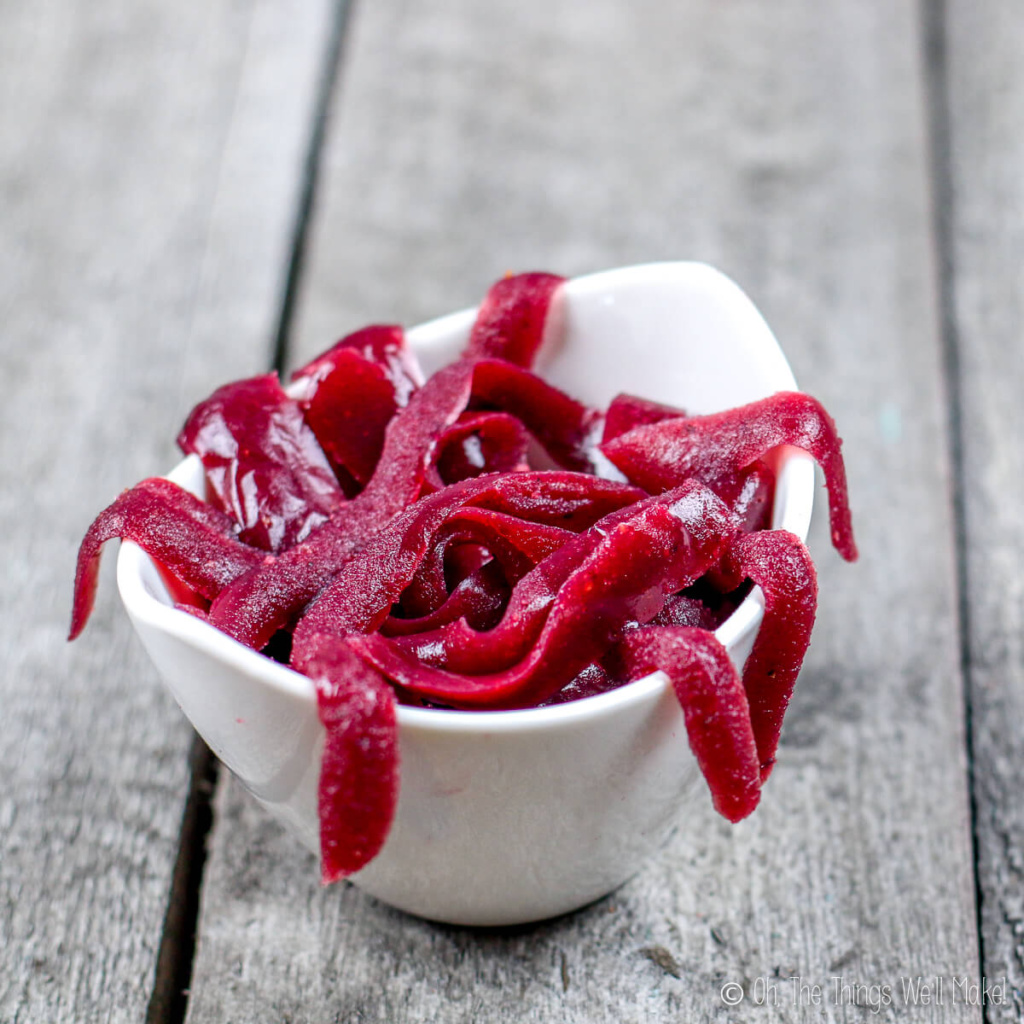
- You can now serve and eat them immediately or store them in the fridge for later.
Notes
This post was originally published on October 21, 2013. It was republished adding new photos, a clearer recipe, and video.

Can these be kept on the counter? if so how long? Also this is a great recipe super easy to follow, they turned out awesome!
Hi Daria,
Yes, they should be fine on the counter for a day or two. Because they’re made with gelatin and don’t contain preservatives, they’ll last longer if stored in the refrigerator, where they usually keep for about a week.
I’m glad they turned out well for you!
recipe says 2 cups of juice but instructions only call for 1. when does the second cup get added?
Hi TJ-
Sorry about that- I updated the recipe. Just mix it with the gelatin mixture in the pan!