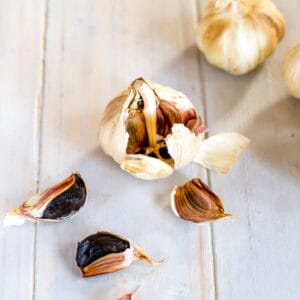
Smooth and sweet, black garlic is the result of properly aging regular garlic over constant heat. Through the process, it is no longer pungent and crunchy, but instead softens and mellows. Packed with antioxidants, this easy to eat, exotic treat is the perfect addition to a healthy diet.
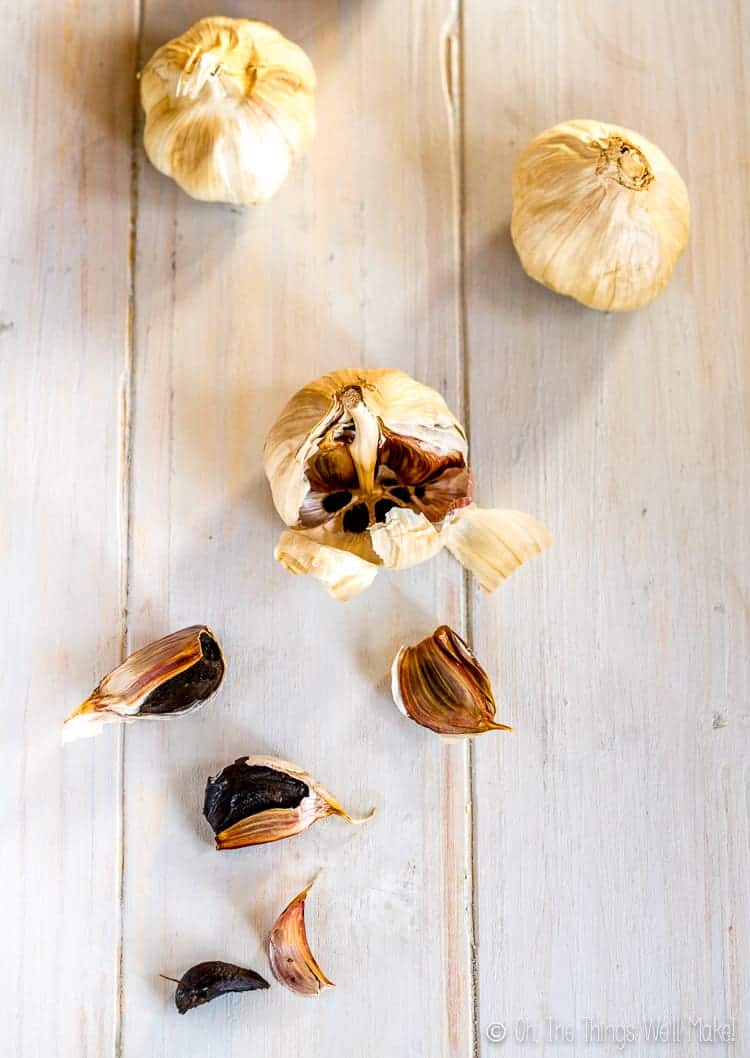
What is black garlic?
Black garlic begins as regular, white garlic. It is slowly transformed in a low heat environment over the course of several weeks. During that time, the garlic cloves change their color, texture, and flavor. The resulting black cloves were first used in Asian cuisine (attributed specifically to Korea), but they have now become popular all over the world.
Black garlic is also sometimes referred to as aged garlic or aged black garlic.
Is it fermented?
Black garlic is normally said to be fermented over the course of 1-2 months. That said, many argue that the garlic isn’t actually fermented at all and that the change in color, flavor, and texture is the result of the Maillard reaction.
What is the Maillard reaction?
The Maillard reaction is a process that is normally initiated by heat and in which there is a chemical reaction between the amino acids and sugars of food resulting in the browning of that food. You can see the Maillard reaction in action in bread crusts, grilled meats, toasted marshmallows, the crispy outer layer of french fries, etc.
What is fermentation?
Fermentation is basically the breaking down of one substance into another by microbes such as bacteria or yeasts.
Black garlic is aged in a warm, humid environment, and the normally pungent enzymes of the white garlic are broken down through the process. The breaking down of the garlic takes place over a long period of time (just like many fermented processes) making it different from the more instant Maillard reactions like toasting a marshmallow.
Which is it?
From what I have researched, I will agree that the browning of the black garlic should be attributed to the Maillard reaction, which is really the main process going on here. Whether or not it can also simultaneously be said to be fermented, I don’t know for sure. One, of course, doesn’t necessarily have to be independent of the other.
What it probably comes down to is if any microorganisms are involved in the breakdown process or not.
I’ve also seen it said that the temperatures involved in making black garlic are too high for a true fermentation process to occur.
We’re probably just seeing an enzymatic breakdown that is taking place simultaneously with the Maillard reaction.
It is, at the very least, quite similar to a fermentation process, but probably isn’t a true fermentation. I guess I’ll leave the precise distinction to those who are more knowledgeable about the specifics of each process. (I’m all ears to those who want to comment and give their opinion on the matter.)
What does it taste like?
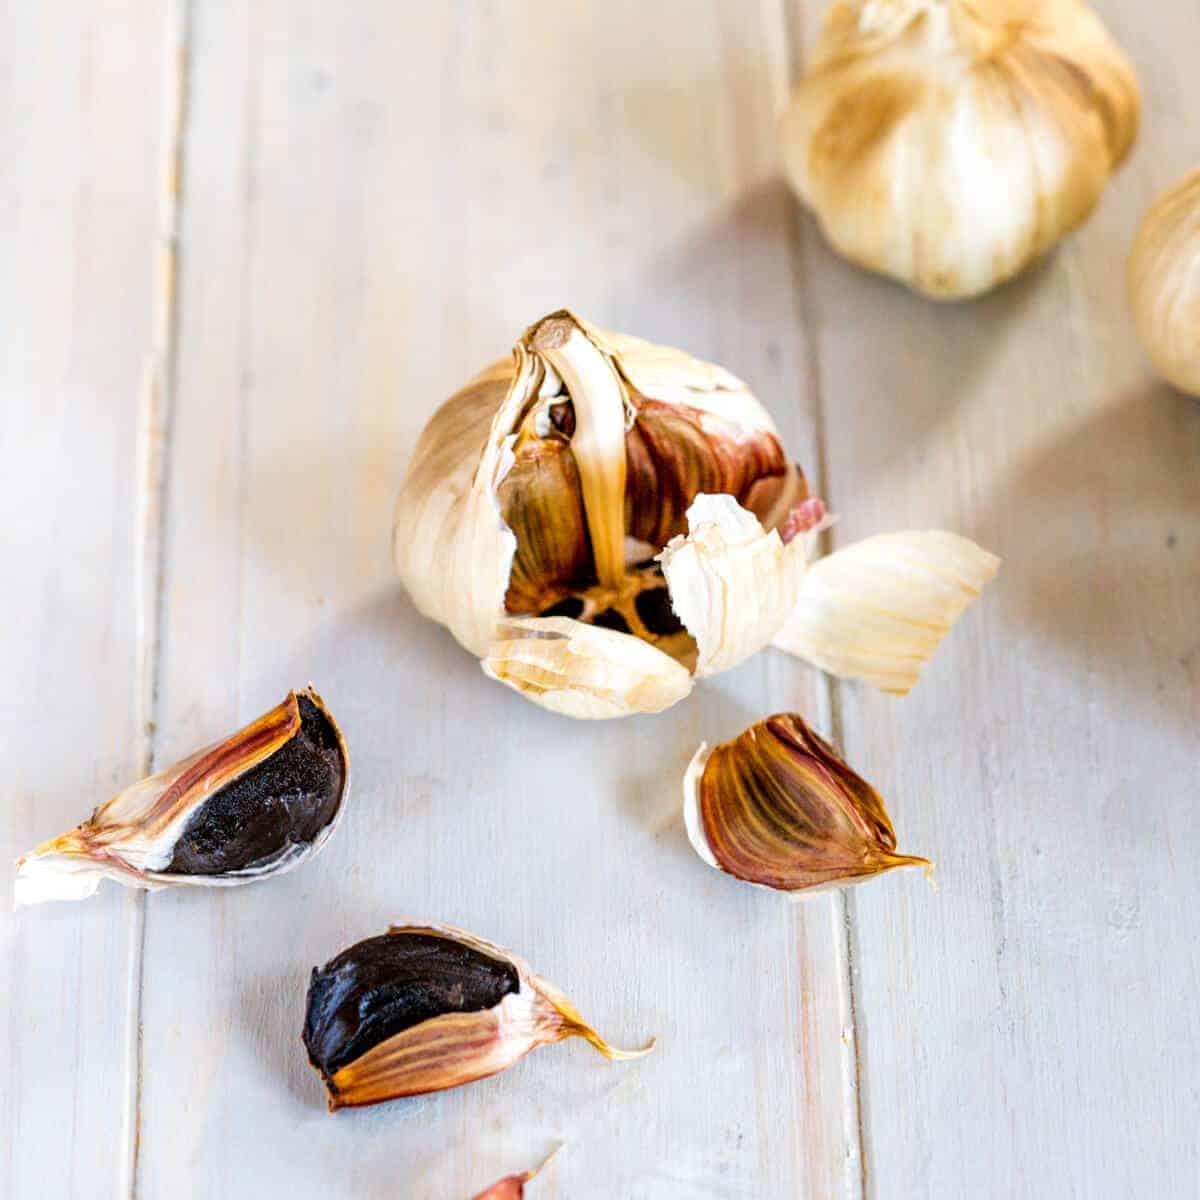
When I tried black garlic for the first time, it really surprised me. I was expecting something strong and pungent like regular garlic, and, instead, found a smooth, sweet treat reminiscent of a balsamic vinegar reduction.
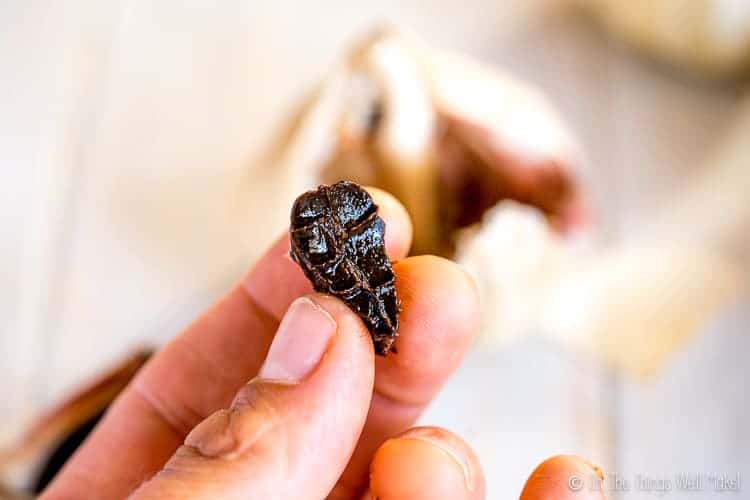
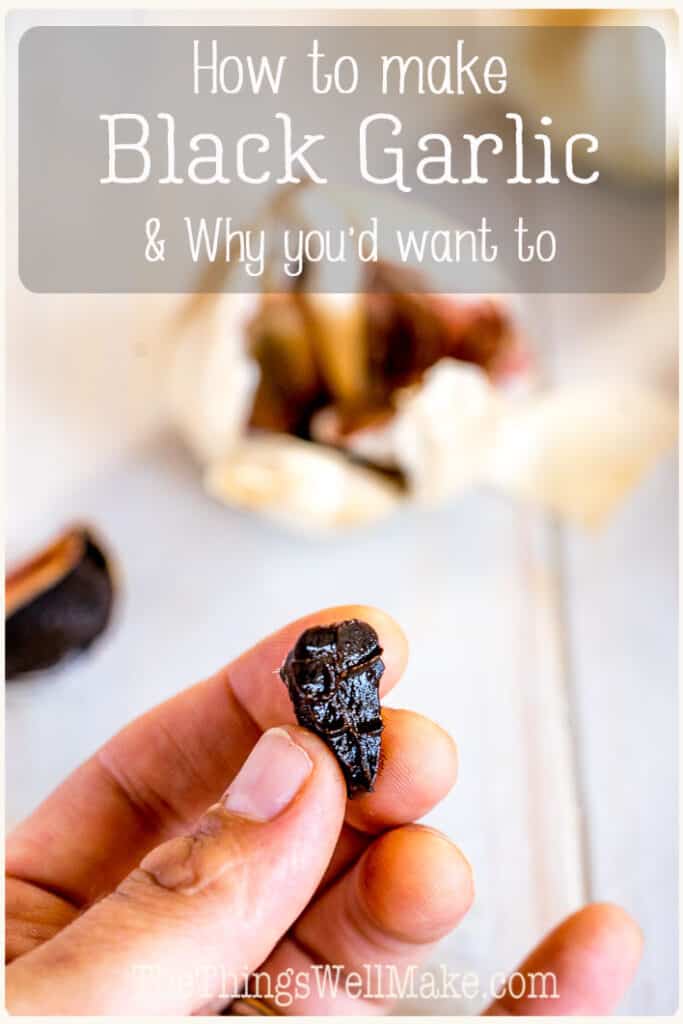
The texture also completely changes from something that is slightly crunchy when raw to something that is soft and smooth. It’s also somewhat chewy or even jelly-like.
Some people compare black garlic to tamarind. While it isn’t as tangy as the tropical fruit, black garlic does have that sort of appearance and texture and it may share some of its flavor profile.
It’s hard to describe, but I feel like I’m eating some sort of exotic creamy gummy treat or something whenever I bite into a black garlic clove.
Is black garlic better than white?
Whether or not one is better than the other depends on your goals and is also really a matter of preference. They are quite different and some people are going to favor one over the other. I quite like both of them and would choose one over the other depending on the particular recipe I wanted to make.
Sometimes, you want the sharp, pungent flavor of raw garlic. Sometimes, roasted garlic is preferable. Other times, a recipe can be transformed by the sweet, complex flavor of black garlic.
The nice thing about black garlic is that it is much easier to eat as a stand-alone food than white, raw garlic.
So, if you are looking for the health benefits of garlic, but have a hard time taking in enough of it, black garlic is quite pleasant to eat as is. In fact, it can be almost addicting, and you may find yourself wanting to eat several cloves at once.
Is it healthier than white garlic?
Not only is black garlic easier to eat, but it may provide more benefits than eating raw white garlic. While both types of garlic have allicin, black garlic has higher amounts of S-Ally-Cysteine which is easily absorbed by the body and is thought to provide many of garlic’s health benefits.
Black garlic is also said to have around twice as many antioxidants as white garlic. On the other hand, black garlic extract was found to be less anti-inflammatory than white garlic.
Health benefits
Black garlic, like its lighter counterpart, has been shown to have numerous health benefits.
It may be antimicrobial (fighting both bacteria and fungi). It may also help normalize blood sugar, help protect the heart, and even help defend against cancer. Black garlic is also thought to be anti-inflammatory and may help boost your immune system. Some say that it may even help with weight loss.
How much black garlic should you eat?
The suggested dosage for general well-being is said to be anywhere from around 2g per day to just over 10g daily. A clove of black garlic normally weighs somewhere between 1g and 5g. So, one to two cloves per day is probably a good goal to shoot for.
Why make it?
Not only is black garlic delicious and healthy, but it also tends to be on the expensive side. While I can buy several heads of garlic for around a Euro here in Spain, I’ve never seen a head of black garlic on sale for less than 3 Euros (and that was the sale price).
When I first bought it, I really loved black garlic. I stopped buying it, though, because it was so expensive. While I would sometimes buy it when I found it on sale, I reserved it as an occasional special treat.
Little did I know that it would be so simple and easy to make my own black garlic at home. I can choose the size of garlic I want and the quality (like if I want to splurge on organic or not- which I, of course, do), and I save a lot of money.
Possible ways to make it
When I first saw black garlic in the supermarkets here a couple of years ago, I was intrigued and wanted to make my own.
Almost immediately I did a search for how to make black garlic at home, but at the time, there wasn’t a lot of information about it.
I did find someone online making it in a slow cooker. I wanted to link to them, but I couldn’t find it anymore.
Their setup included extra equipment that I wasn’t ready to invest in. It used a thermostat hooked up to a switch that would turn the slow cooker on and off to keep the temperature stable. They also constantly checked on the humidity and insulated the slow cooker on the outside.
At the time, I didn’t want to spend the money on extras to try to make something that I wasn’t even sure would turn out.
Another thing that initially turned me off from the idea was an article claiming that black garlic made at home could never compare to that sold in stores. It stressed the importance of keeping the temperature and humidity completely stable and in a very exact environment.
Slow cooker method
I have seen people claim to have successfully made black garlic using the lowest heat settings of their slow cookers. They cook the garlic on the “keep warm” setting for several weeks.
The problem with that method is that even at that lowest heat setting some slow cookers would be running too hot. Running a slow cooker for a minimum of 3 weeks also worries me for both the safety and expense.
Rice cooker method
With time, I saw more and more people making black garlic successfully at home. The first non-slow cooker option I saw was for making black garlic in a rice cooker.
Just as with the slow cooker, if you want to try making black garlic in a rice cooker, you’ll want to use the “keep warm” setting. You need to keep the heads of garlic at that setting for a few weeks.
(No matter what method you choose, it’s a good idea to start periodically checking on the progress of the garlic after around 10 days to get an idea for the best time to stop.)
Proofer method
When shopping for kitchen appliances, I found another option. I found a proofer that advertised making black garlic as one of its many uses.
What is a proofer?
A proofer is a sort of chamber that holds a particular heat and humidity for an extended period of time.
Other uses for proofers
It’s usually used to hold unbaked bread in the optimum environment for rising. They aren’t only handy for the fermentation of bread dough by yeast, though.
Proofers are also ideal for keeping other ferments at ideal temperatures. They’re ideal for making your own yogurt or sauerkraut. Next time I make my own soy sauce, I plan on using our proofer to ensure that I am growing the koji in the right temperature range. That ensures that only the correct fungus, aspergillus oryzae, is growing.
Proofers can even be used to temper chocolate or as a slow cooker that allows for cooking at a precise temperature. Using it as a slow cooker is great because you can use your own stainless steel pans inside it. Stainless steel isn’t as fragile as the typical ceramic pot found in slow cookers and doesn’t have the same toxicity concerns as the ceramic glaze.
Energy efficiency
The great thing about the proofer I bought is that it uses very little electricity.
Unlike my pressure cooker that runs at 1000watts (although, to be fair, using it in “rice cooker mode” at the “keep warm” setting probably wouldn’t be using nearly that much), my proofer only uses 200 watts.
If the proofer was on 100% of the time, it would consume 0.2kW/hour. Because it normally is only running 30% of the time while maintaining a specific temperature, though, it really only uses about .06 kW/h. That’s around the same amount as a 60W light bulb. (Remember those?) 😉
Using a black garlic fermenter
With the growing popularity of black garlic, more and more people are looking for safe, easy, and cost-effective ways to make their own. So, it isn’t surprising that numerous types of black garlic “fermenters” have also made their way onto the market.
Black garlic fermenters are small appliances that look like rice cookers, but that are made specifically for making black garlic at home quickly and easily.
Which method is best?
While I prefer making black garlic in a proofer, I’ll share the pros and cons of the most popular methods.
Slow cooker/Rice cooker
To make black garlic in your slow cooker or rice cooker, use the “keep warm” setting (if your slow cooker has it). If your appliance doesn’t have a “keep warm” setting, use the lowest heat setting.
Pros: They are common appliances that many of us already have at home so no need to buy a new appliance that will cost you money and take up space.
Cons: Tends to use more electricity throughout the process, making it less cost-effective with time, especially if you live in an area with expensive electricity. Your slow cooker or rice cooker will be in use for weeks at a time, leaving it unusable for other recipes.
For testing out the process/making black garlic very occasionally, it may be worthwhile starting out with either a slow cooker or rice cooker if you have one before investing in something else.
Black garlic fermenter
Pros: This is said to be the quickest method (normally estimating a “fermentation time” of around 12 days). Because it’s made specifically for making black garlic, these appliances normally do a pretty good job.
They also tend to run pretty economically. This black garlic fermenter quotes using 2.16kW per day which isn’t bad, especially considering it can make 20-30 garlic heads at once.
Cons: Because it’s made specifically for making black garlic, this appliance isn’t really made to do anything else. Unless you are constantly making black garlic, it can be a waste of money and can take up space unnecessarily.
Also, most have a non-stick coating on the insert that goes inside them.
I chose against buying and testing out a black garlic fermenter because I couldn’t find any with a stainless steel insert. I didn’t want to make room for an appliance only meant for making black garlic either.
Proofer
Pros: A proofer only uses a minimal amount of electricity to keep the temperature stable making it very economical to run. (I calculated 1.4 kW per day for the proofer I use, based on their estimates per hour.)
It’s very good at keeping temperatures stable. It also folds up small so it doesn’t take up a lot of room when not in use.
Cons: The appliance itself isn’t cheap. If you don’t make bread or other ferments or won’t use it for making yogurt or tempering chocolate, you may end up with an expensive appliance that doesn’t get used often.
This is the method I use.
We were considering buying a proofer anyway. I like that it uses the least amount of electricity. I also love the way the proofer I bought folds up small for easy storage. (It’s like storing a tray.)
Because I can use my stainless steel pans inside the proofer, I can avoid the possible toxicity of non-stick coatings.
Storage
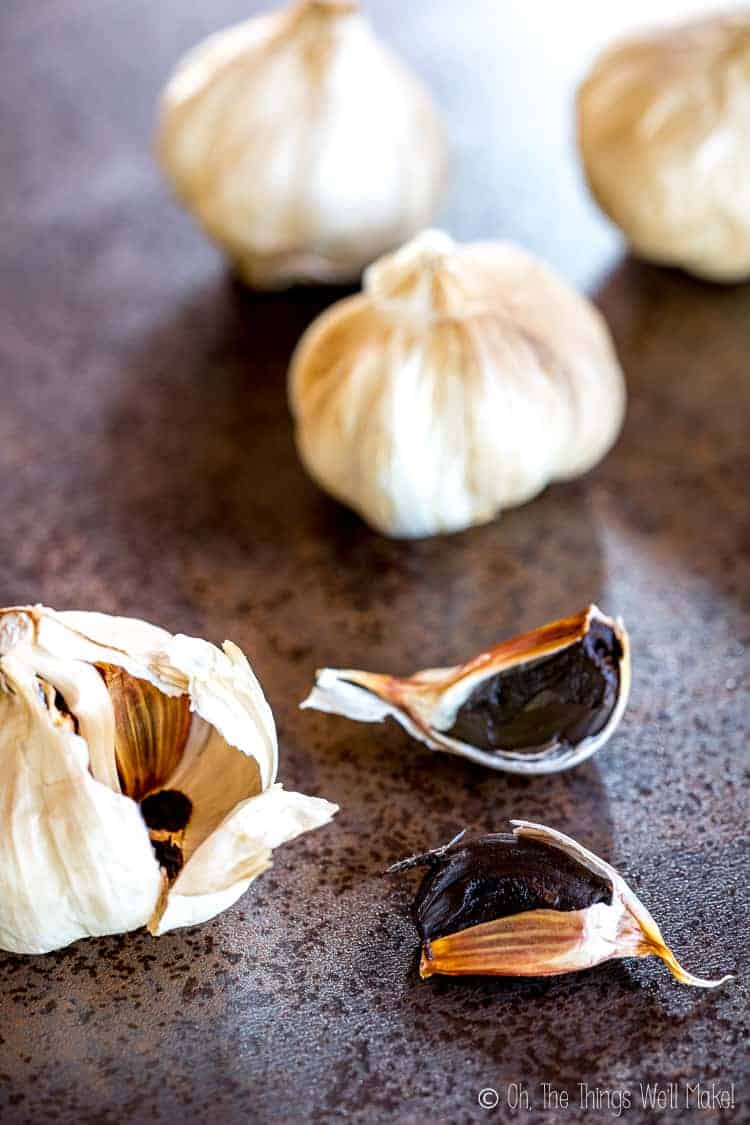
Once aged, I like to keep the garlic wrapped up and placed in the fridge. You can also choose to peel open the garlic cloves and store them in a sealed container.
Either way, if stored at room temperature, black garlic is said to keep for up to a month. It likely will keep longer than that. It’s just a lot more likely to dry out and not be at its best after that amount of time.
In the fridge, it can keep for somewhere between 3 to 6 months. To store longer, you can wrap them and freeze them for up to a year.
Video
Black Garlic
Equiment
- proofer
- black garlic fermenter
- rice cooker
Ingredients
- 12 heads garlic
Instructions
- If the garlic is fresh from your garden, make sure to clean and trim all garlic heads. If bought from the supermarket, it is likely clean and ready to go.
- Wrap the garlic heads in parchment or freezer paper. Then, to help keep them sealed, you can wrap them again with aluminum foil over the paper.
- Place the wrapped garlic heads inside a stainless steel pot (if using the proofer method), or into your slow cooker or rice cooker. If using a black garlic fermenter, follow the instructions that came with your particular fermenter.
- If using a proofer, place the stainless steel pot into the proofer and set it to 60ºC/140ºF. If using a rice cooker or slow cooker, cover with the lid and set to "keep warm" setting.
- It's a good idea to mark your starting date somewhere on the outside of your cooking appliance. (Yes, you can see we live a Spanglish lifestyle.) ?

- After a few weeks, you can begin checking on the garlic. Open a clove to check on the color and texture. You want to keep cooking until the cloves are dark brown to black.If yours are still lighter than that, re-wrap the garlic and cook for several more days/weeks. If you feel that it isn't cooking fast enough, you can slightly increase the temperature, keeping it within the range of 60-75ºC/140-170ºF
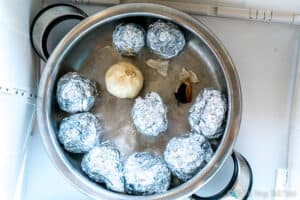
- Once finished, you can remove the garlic and store wrapped, or you can peel the cloves and store them peeled in a sealed container.
 Español



 DIY Conditioner Bar
Sandra
Hi Tracy
Awesome Article!
Why do you suppose all the commercially sold black garlic out there brag/boast their black garlic is fermented for 90 days? When in fact we can do this at home in about 12 days.
Thank you
Tracy Ariza, DDS
Hi Sandra,
Thank you so much!
Interesting! I haven’t seen that claim here in Spain. I imagine that the longer it ferments with a lower heat, the softer and sweeter it would be, though. I suppose there will always be bragging rights about how long something takes because you can charge more for something that is fermenting or curing or aging for longer. Time is money, so they say. 😏