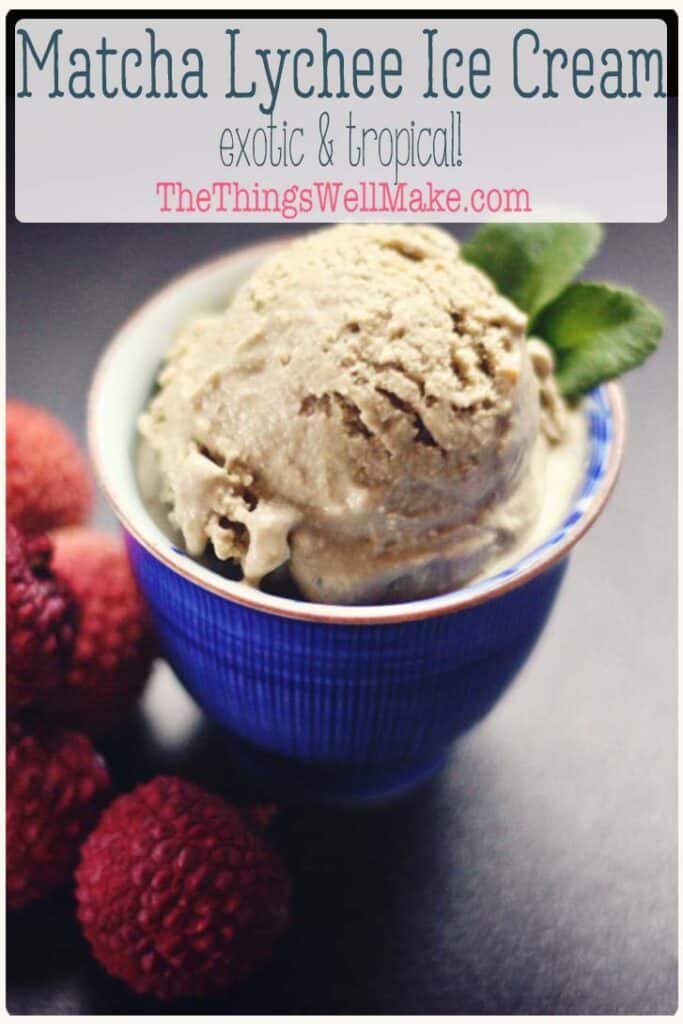
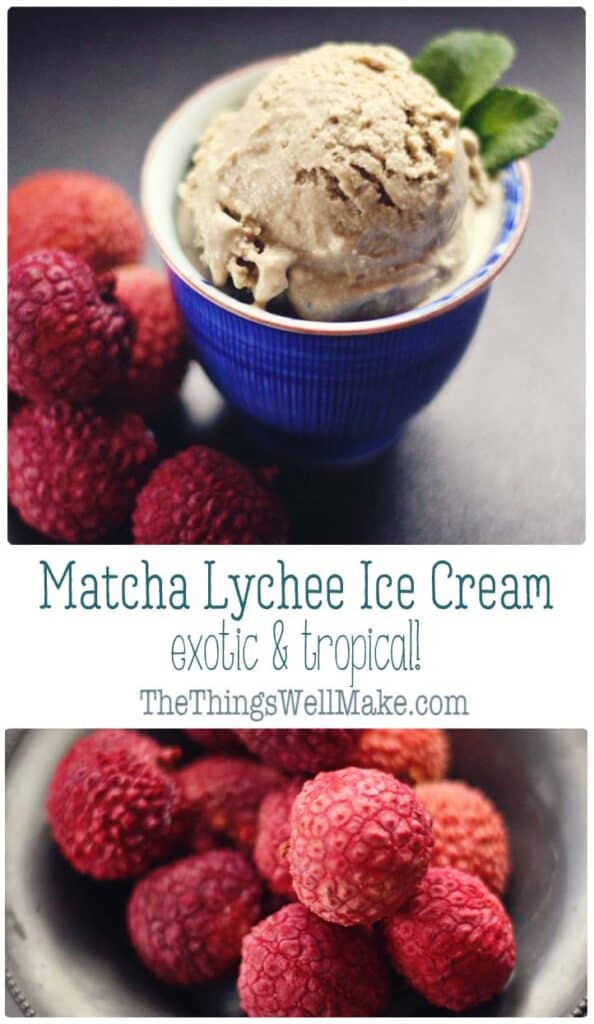
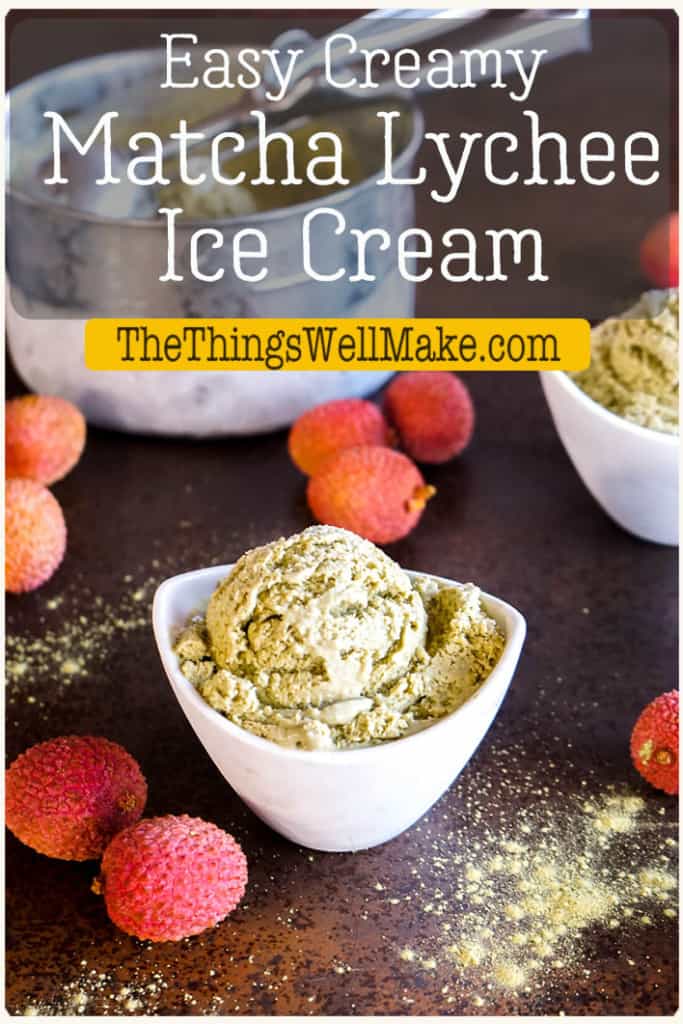
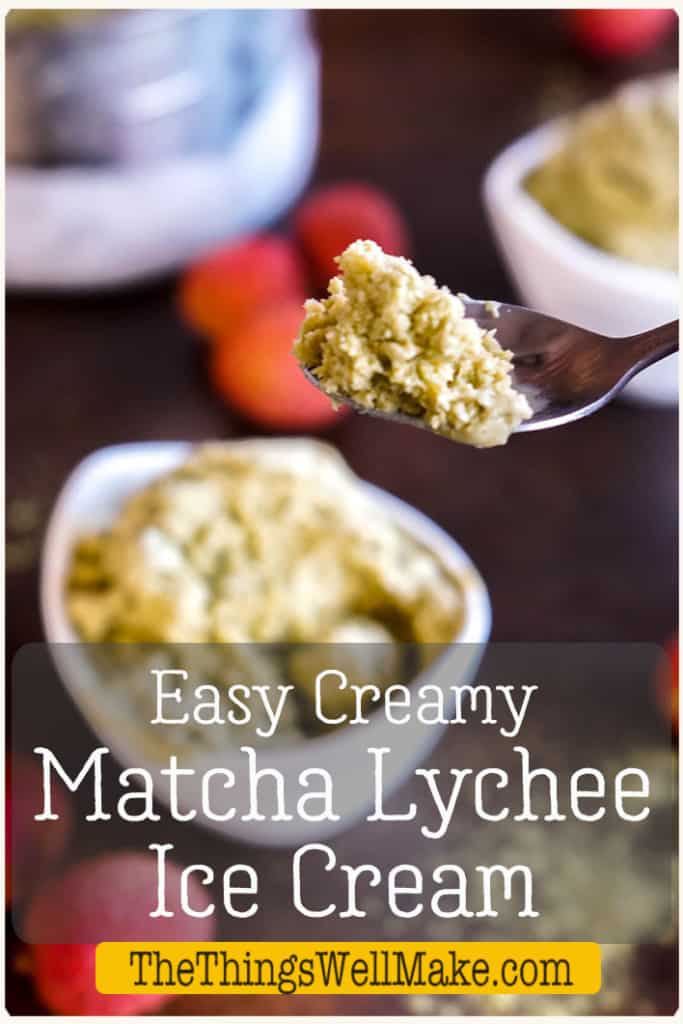
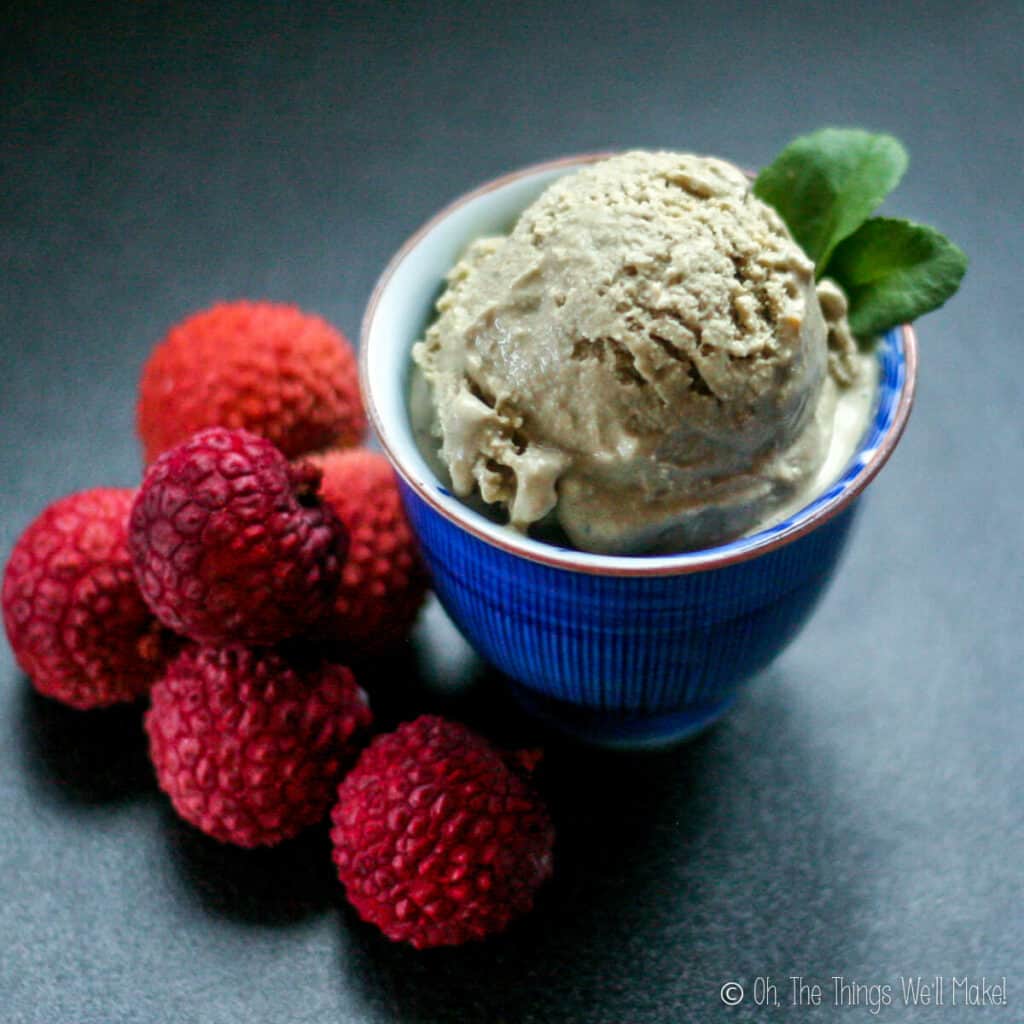
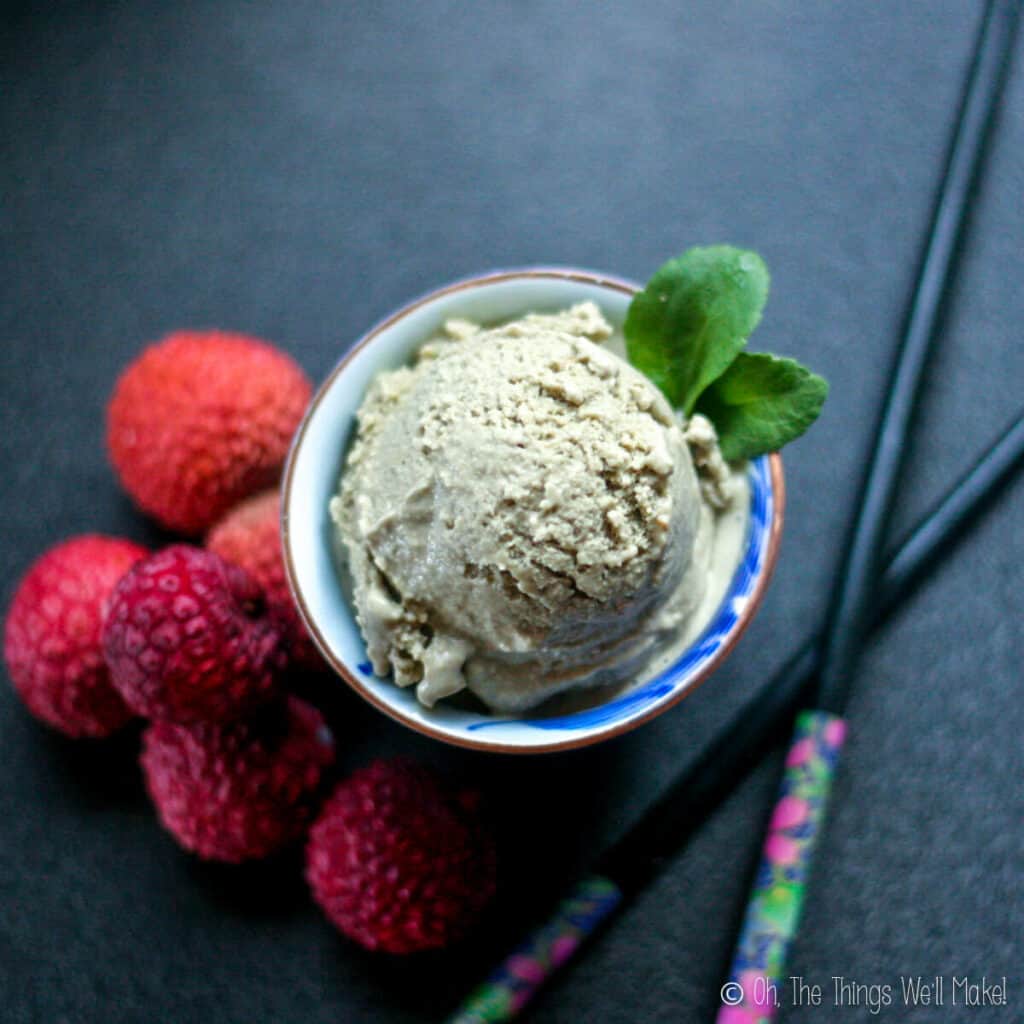
Exotically delicious, this matcha lychee ice cream is smooth and creamy and sure to please.
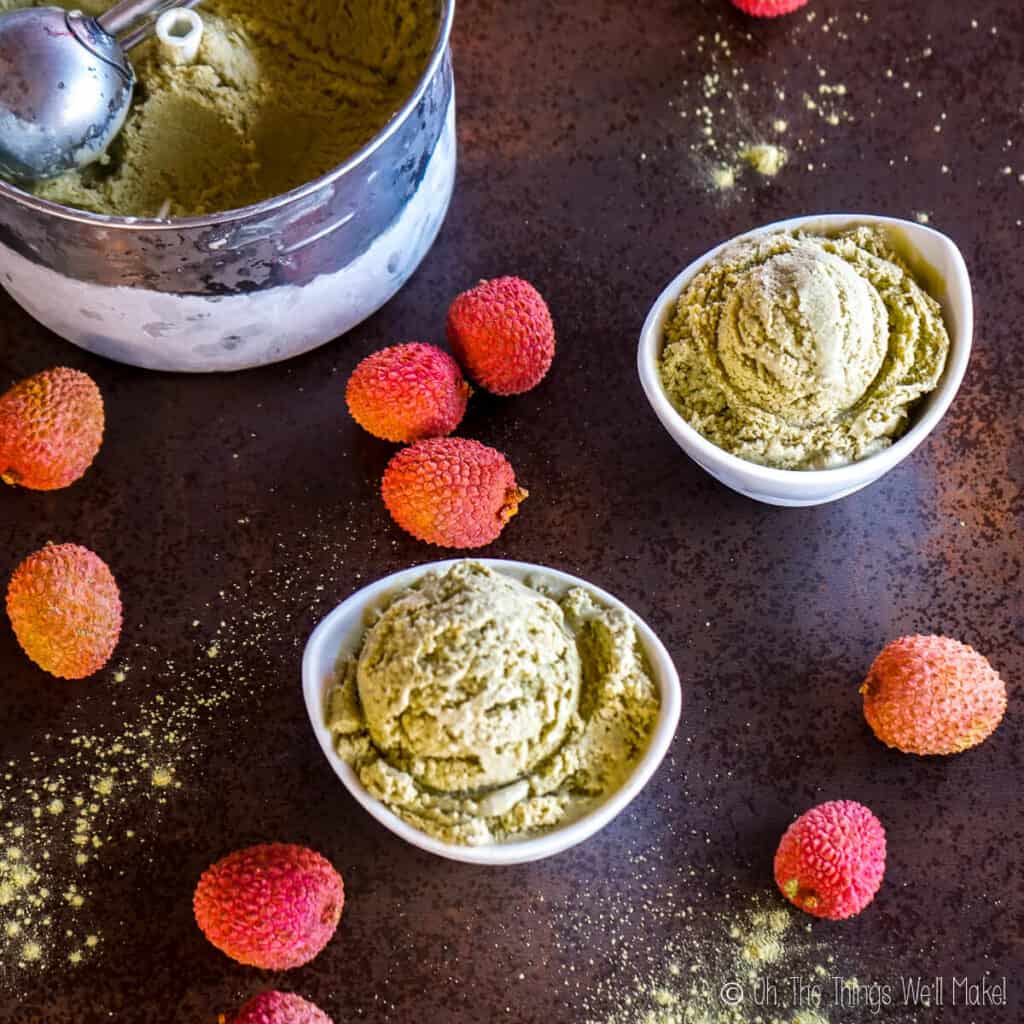
I have always loved exotic and tropical fruits like lychees and coconuts. I also love ice cream and green tea. So, why not combine all of my favorite things into something new and exotic?
This homemade matcha lychee ice cream turned out absolutely delicious!
Ingredients
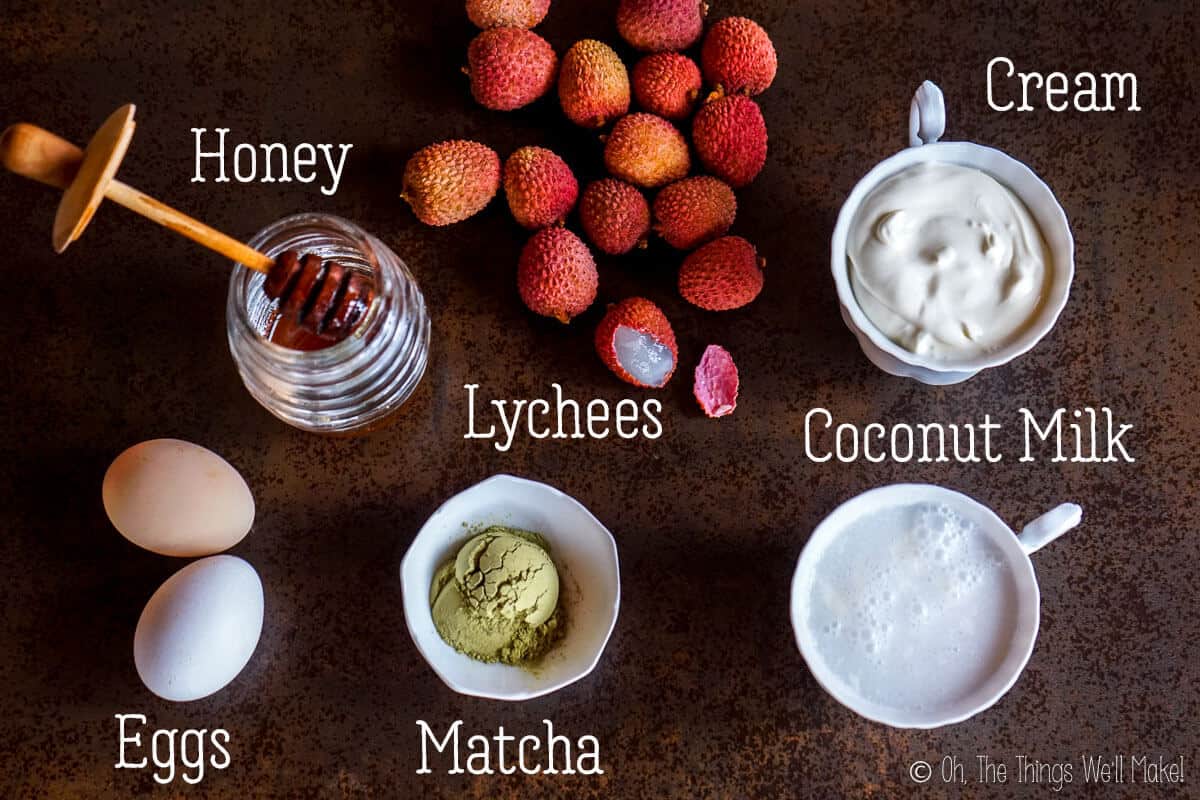
This ice cream uses coconut milk and regular cream. This is a perfect use for homemade coconut milk if you have any on hand!
You can also use regular milk and cream if you like, or coconut milk and cream too, depending on you dietary needs and/or preferences.
Sweetener
I chose honey for this recipe not only because I prefer unrefined, natural sweeteners, but because it combines well with lychees and green tea. That said, you can switch out the honey for a different sweetener.
I used a little less than 1/2 cup of honey, and found it quite sweet, but I don’t like things very sweet. It’s probably an ideal amount for most people. Feel free to adapt the quantity to your personal taste, though, by tasting the mixture before freezing it. (Keep in mind that some sweetness is often lost when frozen.)
Matcha
For those who are unfamiliar with matcha, it is a green tea powder obtained from finely grinding up the highest quality green tea leaves. Matcha is used in Japanese tea ceremonies and can be made into tea, lattes, or, of course, ice cream.
I like to drink matcha daily, and often combine it with my morning lemon water to make a superfood wake me up drink!
Lychees
Lychees are an Asian fruit with a rough skin. They have a sweet, white pulp under that skin, similar to a grape. The taste is also somewhat similar to a grape, but most people describe it as being more of a “perfumed” flavor. I love the fruit, and we even have a young lychee tree at home that is just finally starting to give us fruit in early summer.
Lychees also freeze very well with the skin on. You can peel them and eat them frozen, the perfect natural “sorbet”.
While I prefer fresh, you can also use packaged coconut milk and/or lychees!
Procedure
Making this ice cream is simple and quick!
First, prepare the lychees by peeling them and removing the large seed from the center of each fruit. If you want to have pieces of lychee in the ice cream, set aside a few pieces to chop finely and add to the creamy ice cream.
B
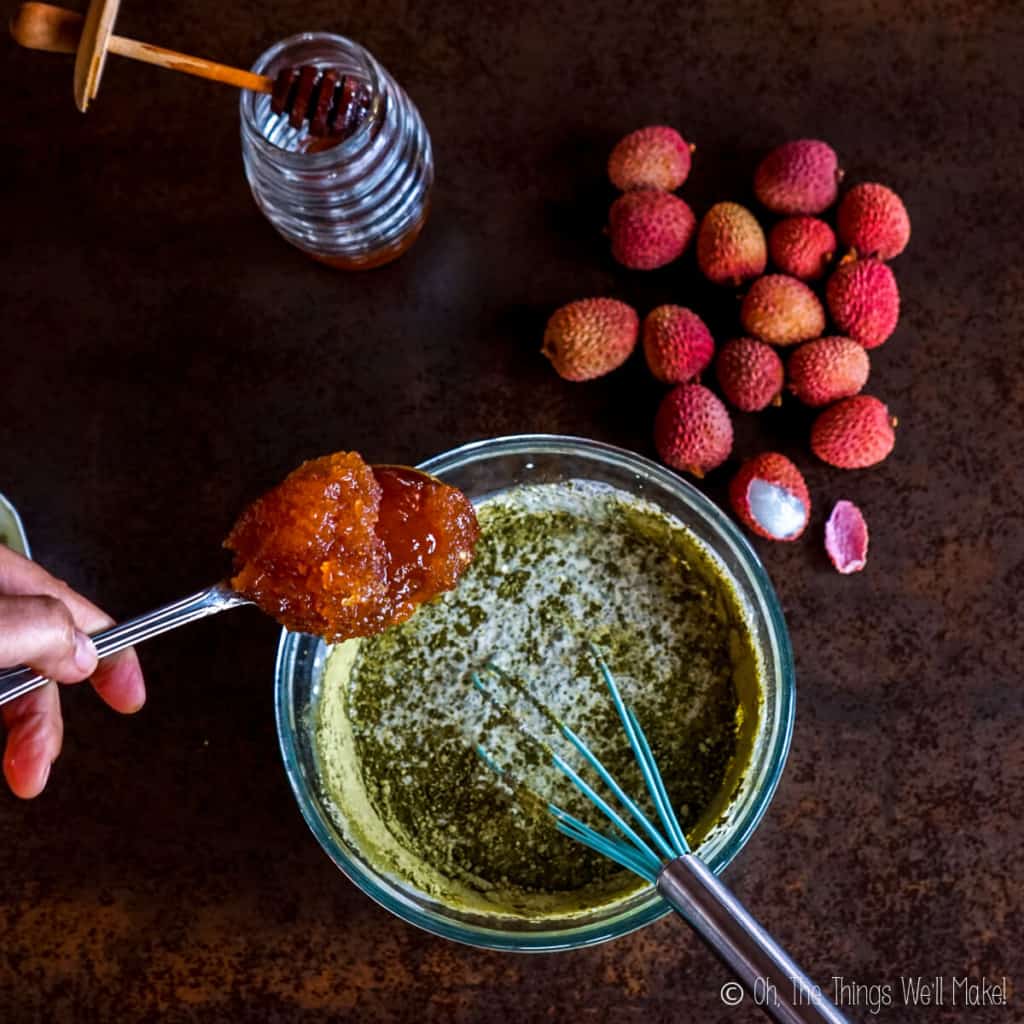
Whisk together the rest of the ingredients. Then use a blender to blend in the rest of the lychees until all of the ingredients are well combined and the mixture is smooth and creamy.
Once smooth, you can optionally add in some finely chopped lychee pieces, stirring them into the ice cream base.
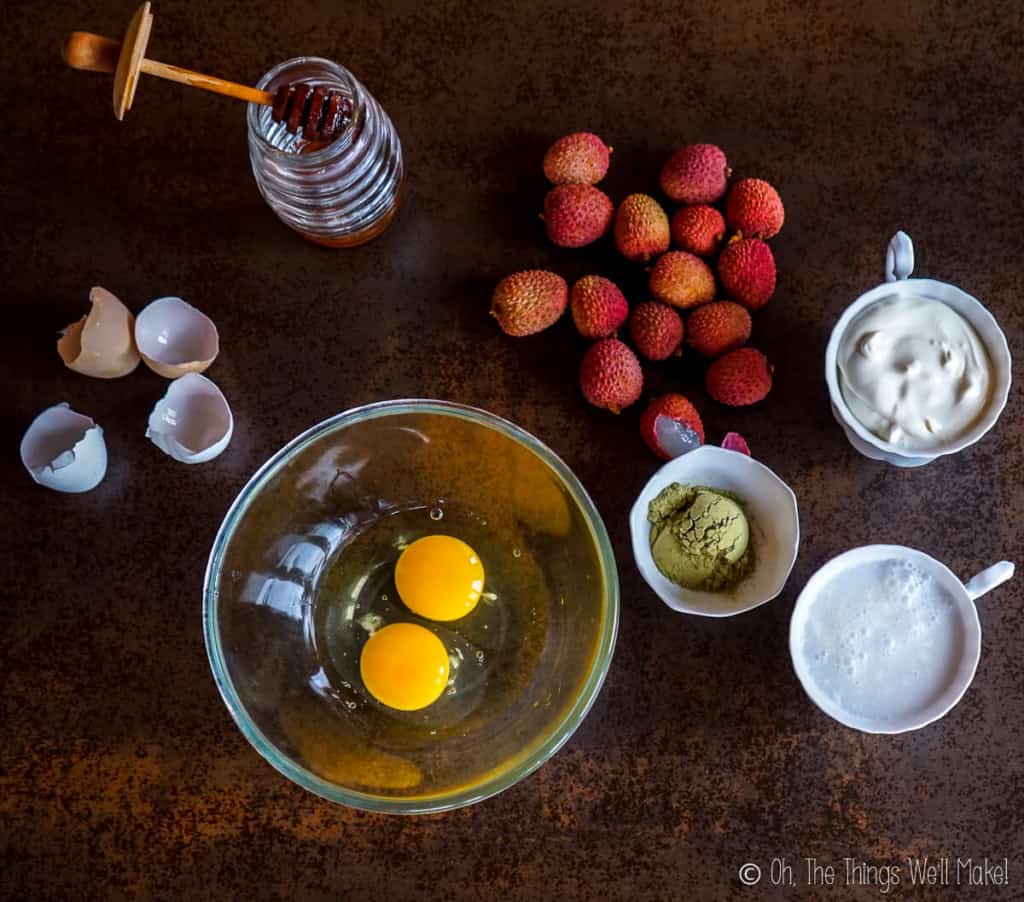
Add the eggs. 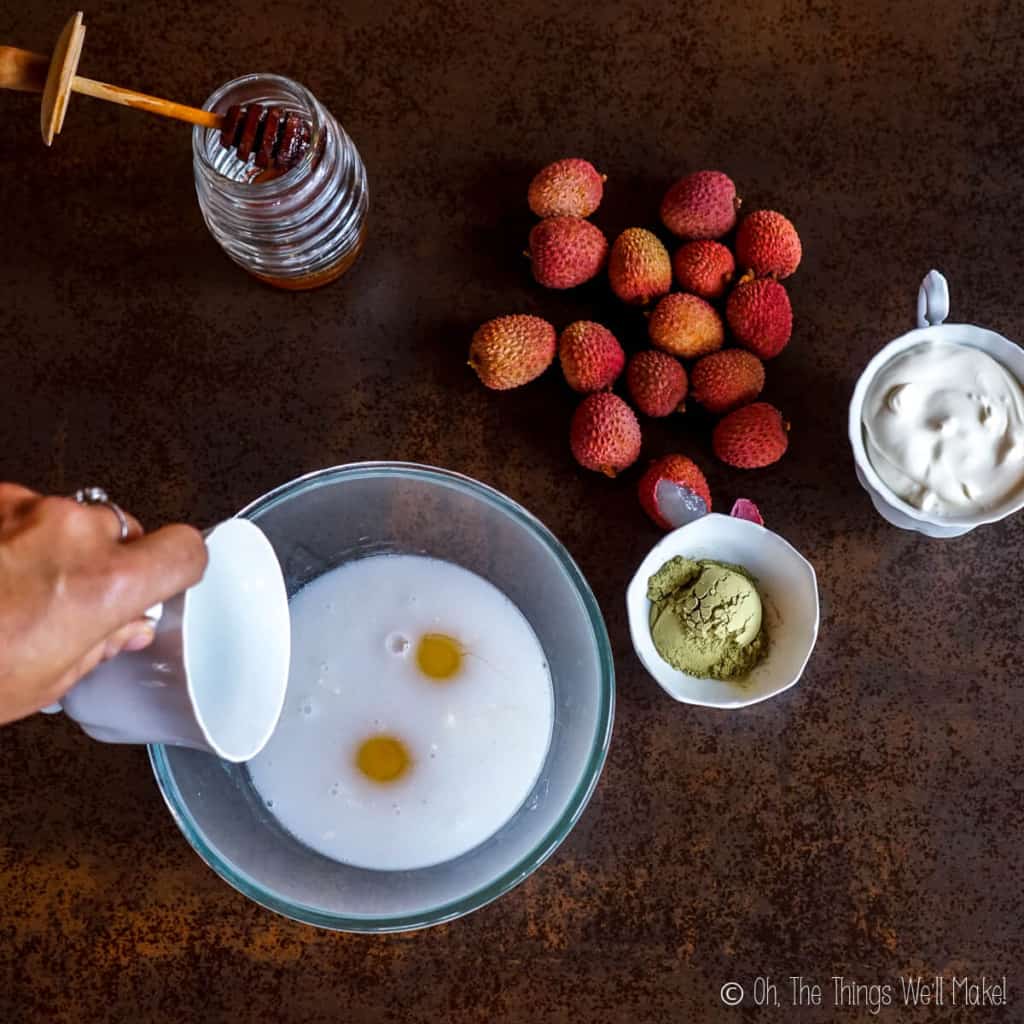
Add the coconut milk. 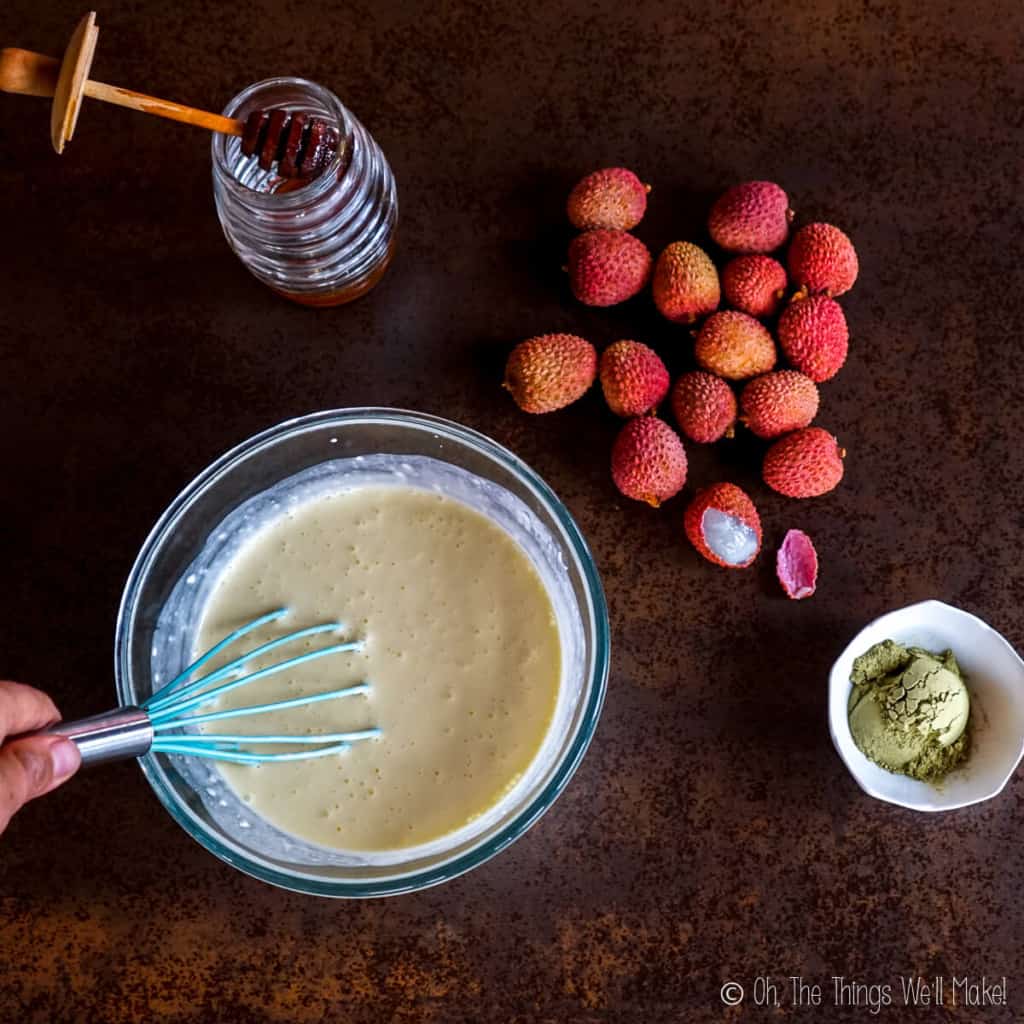
Whisk together with the cream. 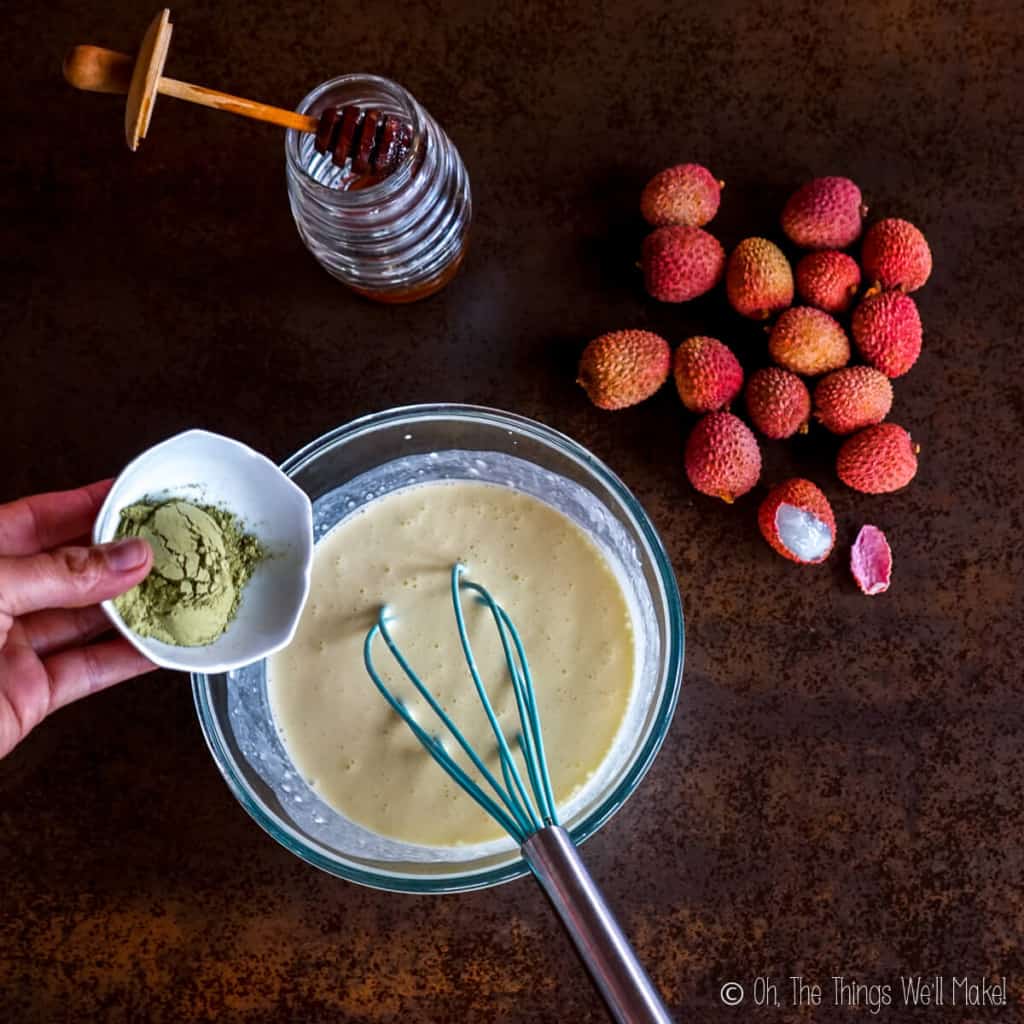
Add the matcha powder.
How to pasteurize eggs
While the risk of salmonella poisoning is low, there is some risk when consuming raw eggs. To avoid issues, you can pasteurize your raw eggs before using them in recipes.
To pasteurize eggs, place them in a pot and cover them with water. Heat the pan until the water reaches 138-140ºF/59-60ºC. Keep the water at that temperature for at least 3 minutes. (If eggs are very large, do it for 5 minutes.)
Don’t allow the temperature to get much hotter than that or you will end up cooking your eggs!
After the time has passed, remove the eggs from the hot water and cool them by rinsing with cool water. You can use them immediately or store them in the fridge until needed.
Freezing the ice cream
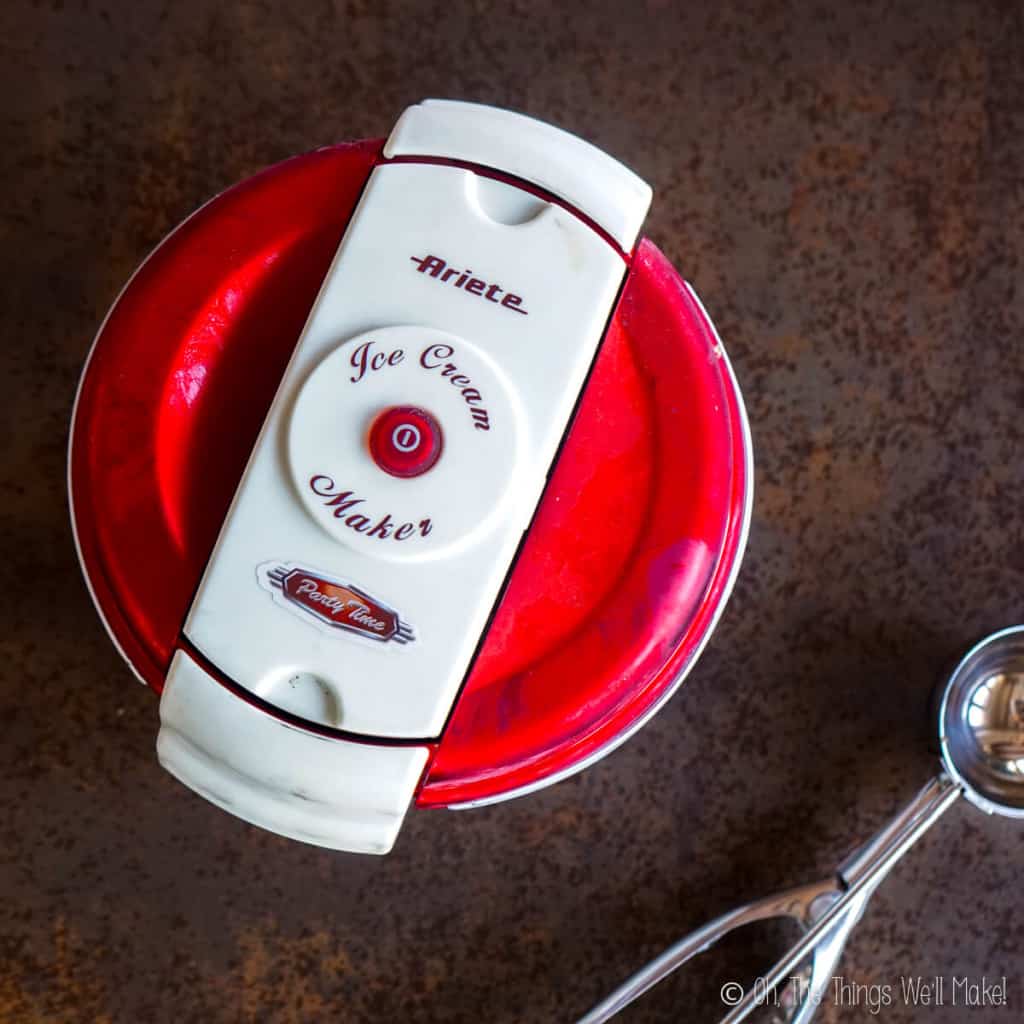
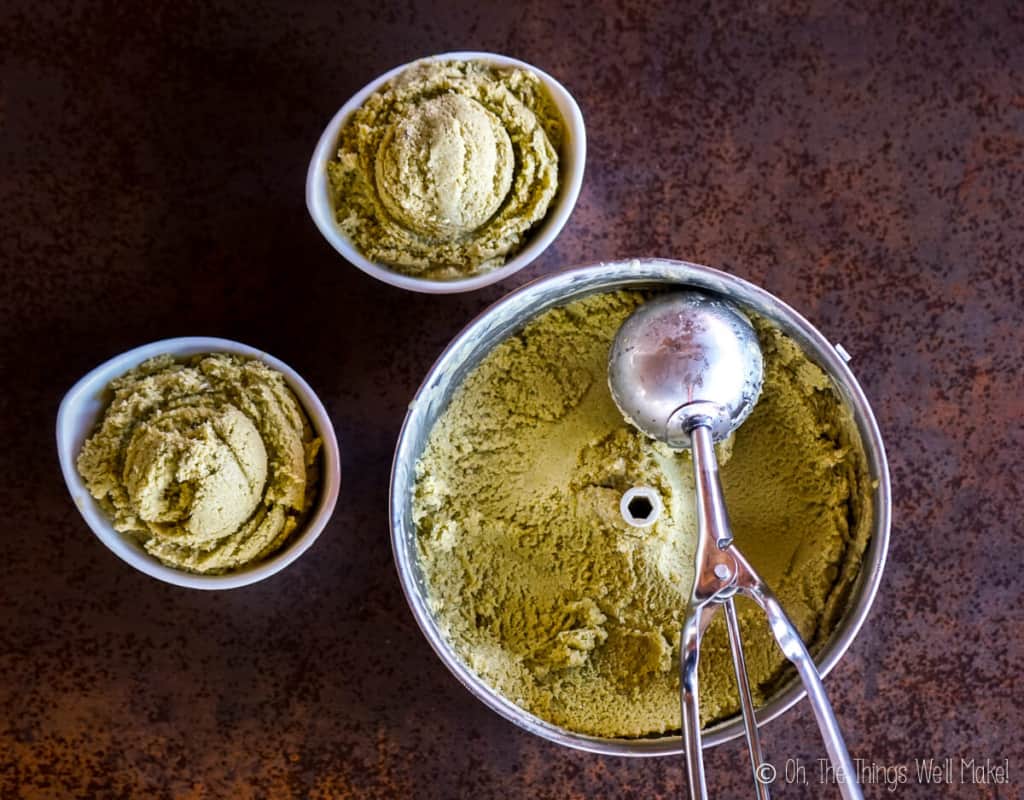
To make this ice cream, I used an ice cream maker.
There are several types of ice cream makers available. Some have a bowl that you pre-freeze in your freezer before adding in the ice cream mixture. You plug them in while the ice cream is made before your eyes quite quickly.
There are also ice cream makers that are a bit more pricey and heavier, but that have their own cold compressors and don’t need a freezer.
I found this cute ice cream maker here in Spain that is battery operated and churns right in the freezer. It takes up very little space. I wanted to link to it for you, but unfortunately, I couldn’t find it outside of Spain.
If the ingredients were at room temperature, refrigerate the mixture so that it is cold before pouring it into the ice cream maker.
Once you’ve poured the mixture into your ice cream maker, process it until you have ice cream.
Depending on the type of ice cream maker you have, you may need to place the finished ice cream in the freezer to help firm it a bit more. (Or, you can serve it immediately with more of a soft-serve texture.)
Making a no-churn ice cream
If you don’t have an ice cream maker, you can still make this ice cream in your freezer. The eggs and higher fat content of the cream make this ice cream quite creamy so it’s perfect as a no-churn ice cream.
Ice cream made in an ice cream maker is churned to break up ice crystals that form as the ice cream freezes. That helps make a creamier ice cream.
To mimic the action of an ice cream maker, you can stir the ice cream as you freeze it. Normally, the ice cream will freeze more where it contacts the container and the center will take the longest to freeze. By occasionally breaking up the frozen areas and mixing them into the rest of the cream as it freezes, you can get very close to ice cream maker creaminess without one.
Serving suggestions
For a fun presentation, serve in a homemade waffle cone or bowl.
This would also be delicious with a homemade magic shell topping! (I might even try with white chocolate for this one!)
Video

Matcha Lychee Ice Cream
Ingredients
- 1 cups coconut milk perfect use for homemade coconut milk!
- 1 cup heavy cream
- 2 eggs
- 1/2 cup honey or other sweetener, adjust to taste.
- 2 Tbsp. matcha
- 12 lychees
Instructions
- Peel the lychees and remove the seeds. If you want to have some lychee pieces in the ice cream, reserve 2-3 lychees for adding later.
- Blend together he rest of the ingredients, adding the honey or other sweetener to taste. Blend in the majority of the lychees until the mixture is smooth and creamy.
- If you have reserseved some lychees, finelly chop them and hand stir the pieces into the cream mixture.
- If your ingredients were at room temperature, refrigerate the mixture until it is cold before adding it to your ice cream maker. (If using a no-churn method, this step isn't necessary.)
- Pour the cold ice cream mixture into your ice cream maker, and process according to the directions for your model until you have ice cream.
- Depending on you rice cream maker, you may need to place the finished ice cream into the freezer for a short time to help firm it up (or serve immediately with a soft-serve texture).
For no-churn ice cream
- Add the mixture to a freeze-safe container and place in the freezer. For best results, occasionally break up frozen bits, mixing them into the rest of the mixture. This ensures a creamier ice cream.
Notes
How to pasteurize eggs
While the risk of salmonella poisoning is low, there is some risk when consuming raw eggs. To avoid issues, you can pasteurize your raw eggs before using them in recipes. To pasteurize eggs, place them in a pot and cover them with water. Heat the pan until the water reaches 138-140ºF/59-60ºC. Keep the water at that temperature for at least 3 minutes. (If eggs are very large, do it for 5 minutes.) Don’t allow the temperature to get much hotter than that or you will end up cooking your eggs! After the time has passed, remove the eggs from the hot water and cool them by rinsing them with cool water. You can use them immediately or store them in the fridge until needed.This post was originally published on October 27, 2013. It was rewritten, adding clearer instructions, more photos, and video in June of 2021.
 Español
 Easy, Beginner DIY Liquid Castile Soap Recipe
Leave a Reply