

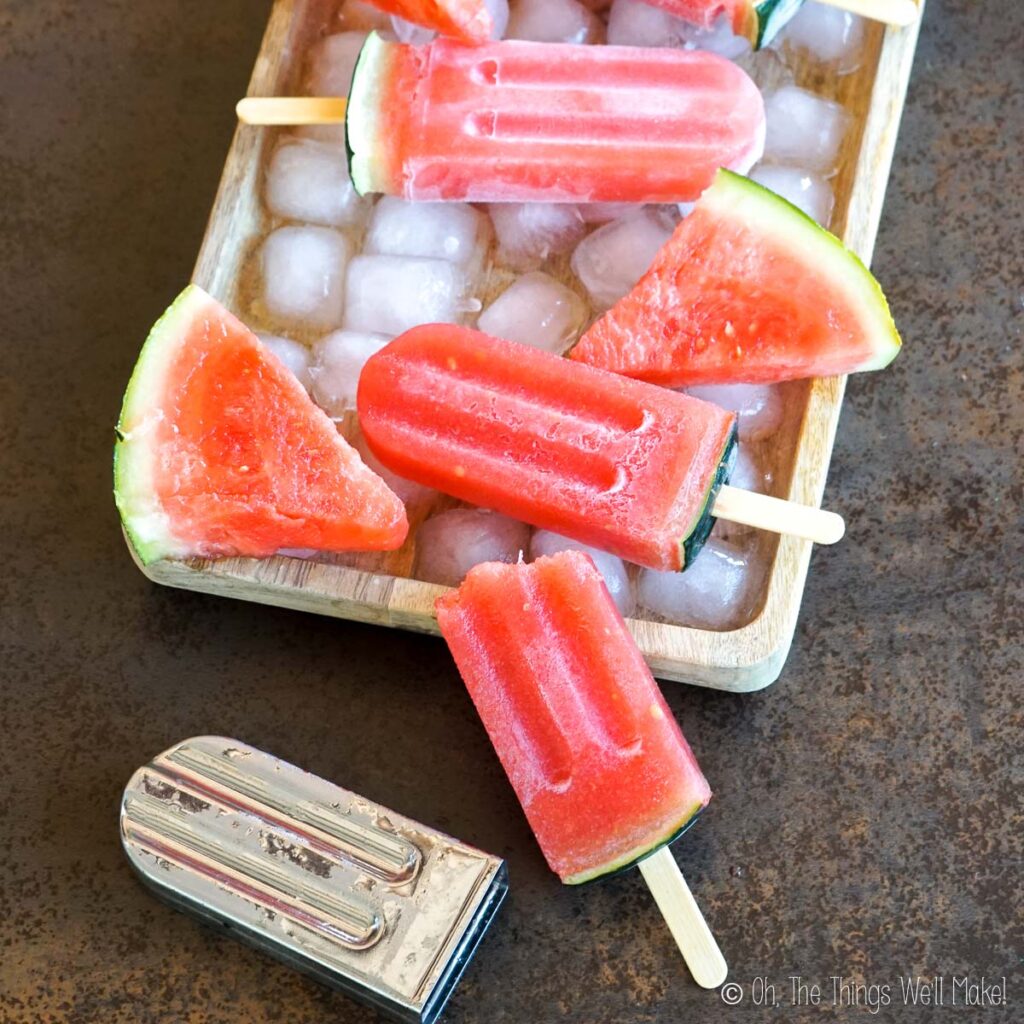
Watermelon Gelatin Popsicles (Healthy Jello Pops)
These delicious, healthy watermelon gelatin popsicles are fun to make and provide a healthy dose of collagen and protein. Plus, they have a great texture and don’t drip!

Here on the blog, I’ve already shown you how to make a healthy gelatin dessert using fresh fruit and fruit juices. While that is already delicious, I’ve decided to take them one step further and make them into fun gelatin popsicles!
When I was a kid, the Jell-O brand made what was known as “Jell-O Gelatin Pops.” They appeared in the mid 80’s, and, to my dismay, weren’t around for very long. I used to love them. Despite the fact that they were marketed as being made with real fruit, I imagine they also included some artificial flavors and/or colors. Even if not, they were a bit too sweet.
When they stopped selling them, I resorted to making my own. At the time, I was convinced that fat and calories were “the enemy”, so I made my own “healthy” version with Jello-O Lite which is sweetened with artificial sweeteners. (It also includes a dose of artificial colors and flavorings.)
Since then, I’ve adapted the recipe to make a real-food, healthier version of one of my favorite childhood treats!
Why make gelatin popsicles?
You absolutely need to try these…
Great texture
Gelatin changes the consistency of the popsicle in a way that I can’t really describe. Some people describe them as “creamy,” but they aren’t really creamy in the same way that ice cream is. On the other hand, they are smoother and softer than an icy popsicle made from juice or fruit puree alone.
Relatively healthy
If you use a healthy gelatin such as gelatin obtained from grass-fed, humanely raised animals, then you are also adding a healthy dose of collagen and protein to the popsicles.
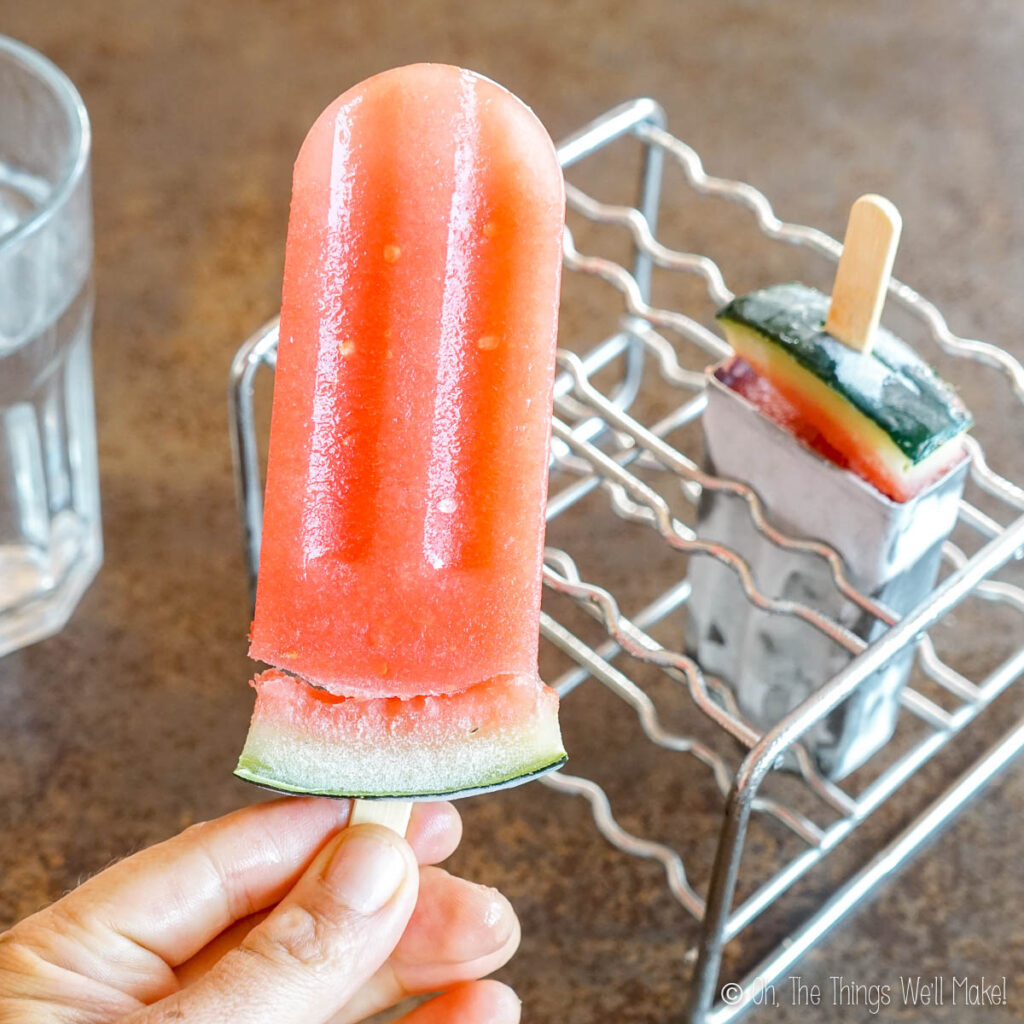
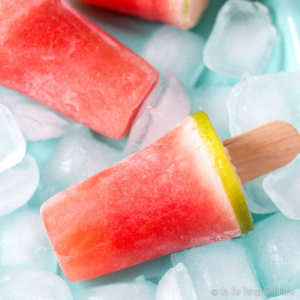
No drip
Not only is the texture great, but I love that they don’t drip in the same way as other popsicles! That makes them perfect for kids. As they start to melt, rather than turn into juice that drips off the popsicle, they start turning into gelatin on a stick!
Ingredients
These popsicles can be made with only two ingredients: watermelon and gelatin.
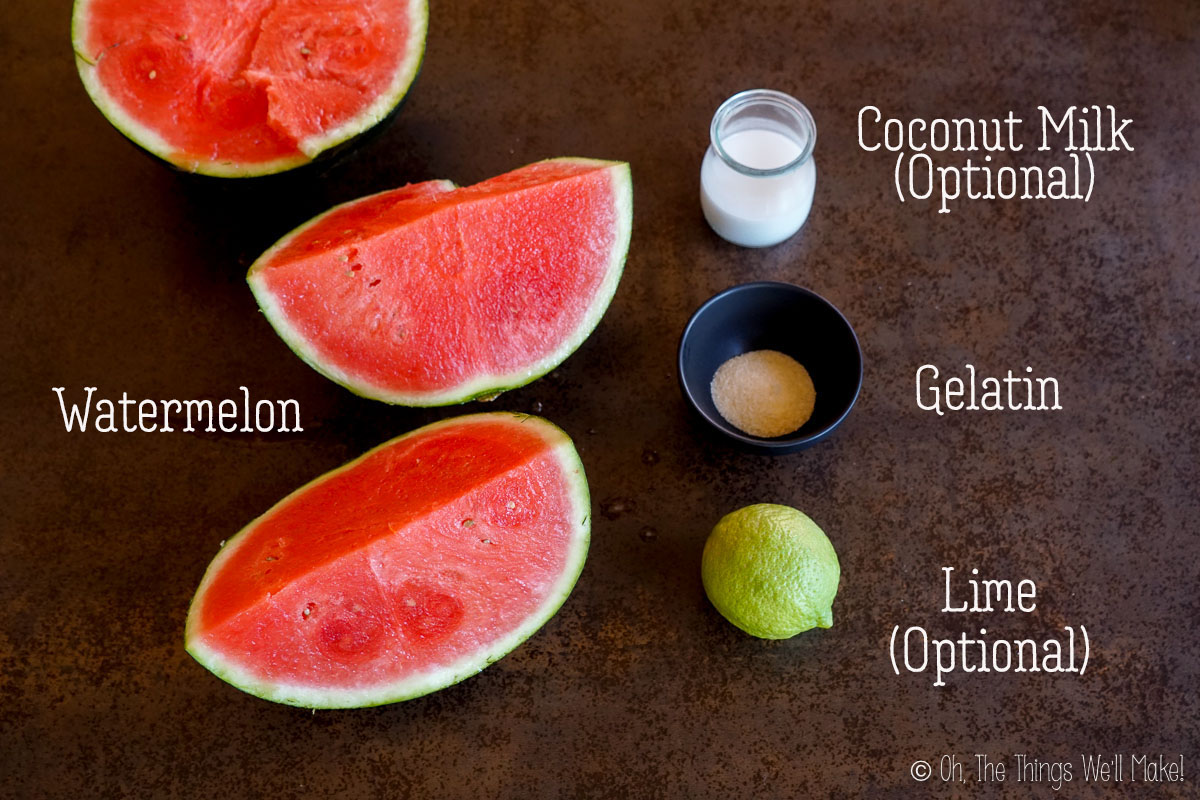
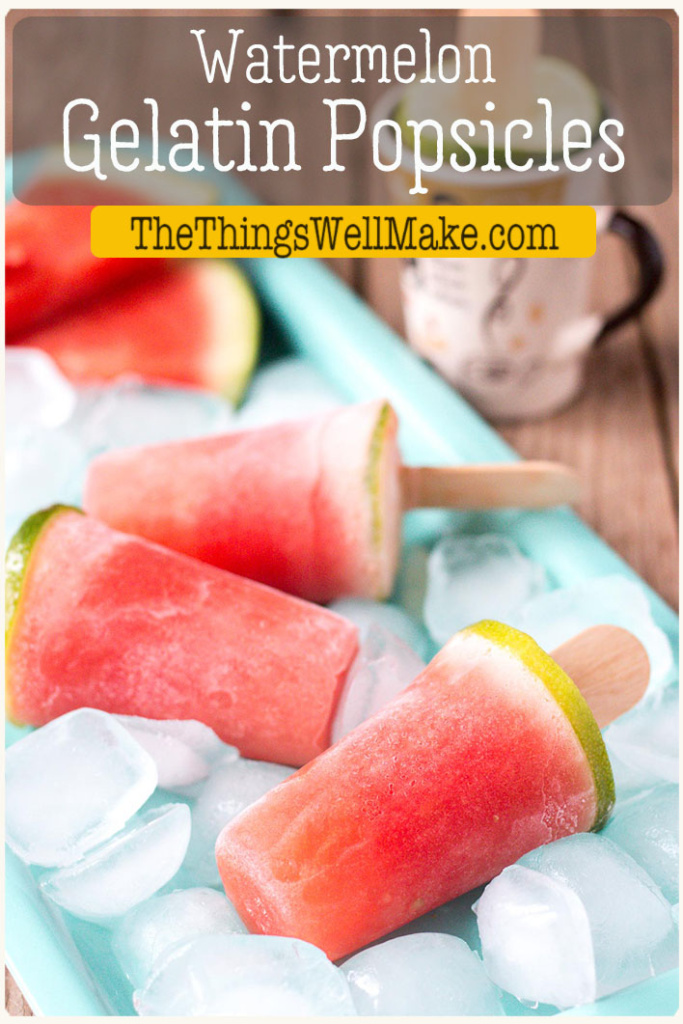
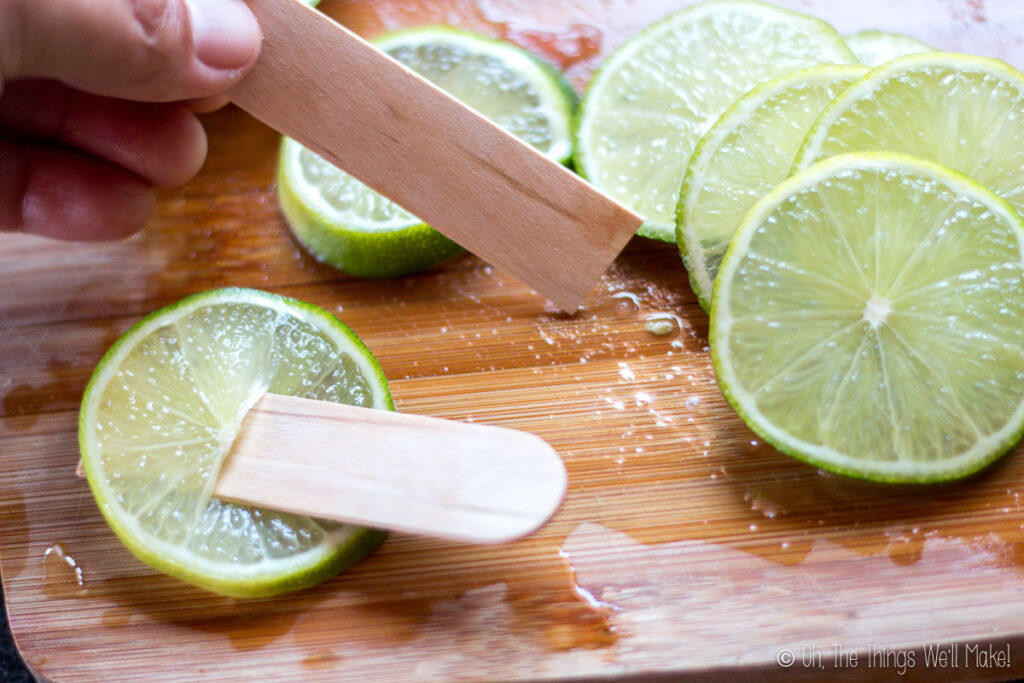
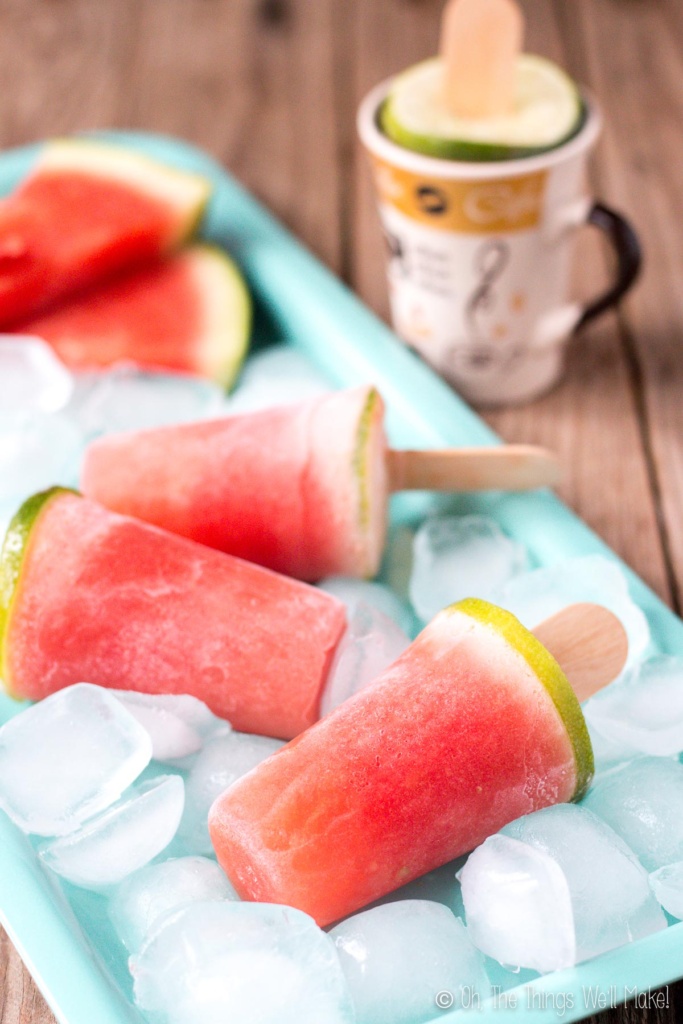
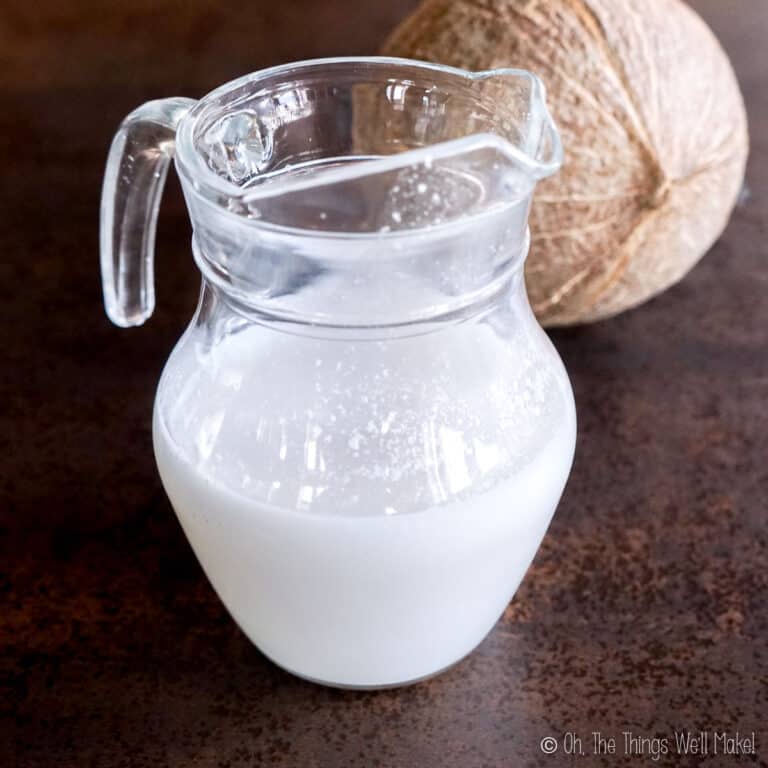
The first time I made these, I used lime slices to make what looks like the green rind of the watermelon. To add a white layer between the green of the lime and the pink of the watermelon, I also added a dash of coconut milk to the top of the popsicles before adding the lime slice.
I’ve since tried using the actual rind of the watermelon to make a fun presentation with only the watermelon and gelatin and absolutely love it. So, you really only need the watermelon and the gelatin for these.
You could also sweeten this with some sugar or another sweetener, but I find that with watermelon, the popsicles are sweet enough without it.
Procedure
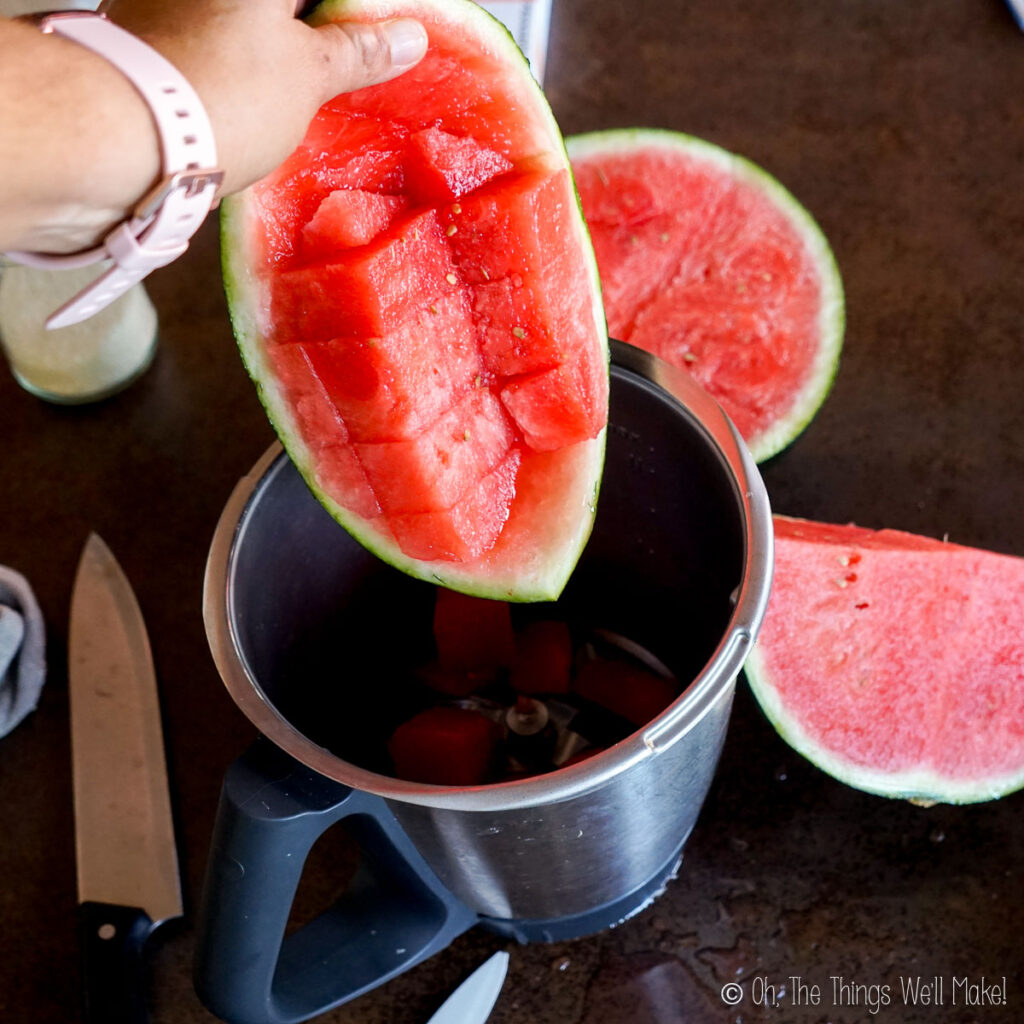
First, cube the watermelon and liquefy it in a blender.
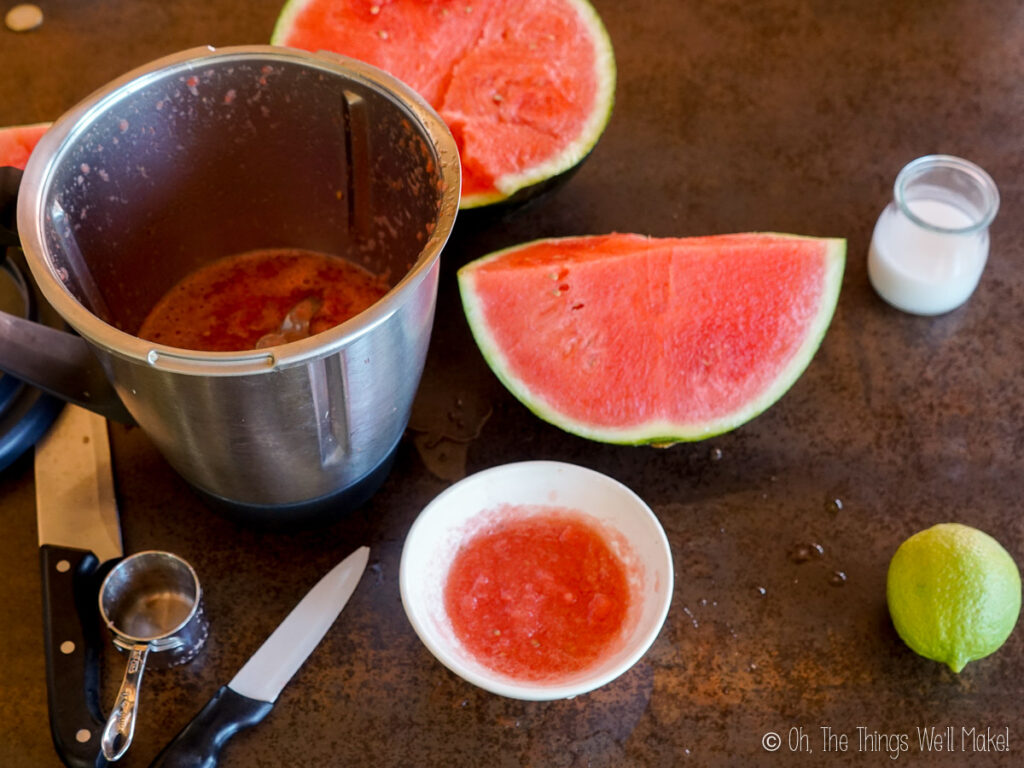
Once the watermelon has been liquefied, you can begin to soften the gelatin in some of the watermelon juice. Softening the gelatin will help it expand and more easily dissolve, meaning you won’t need to cook it as long to dissolve the gelatin. That helps keep the fresh watermelon flavor in the finished popsicles!
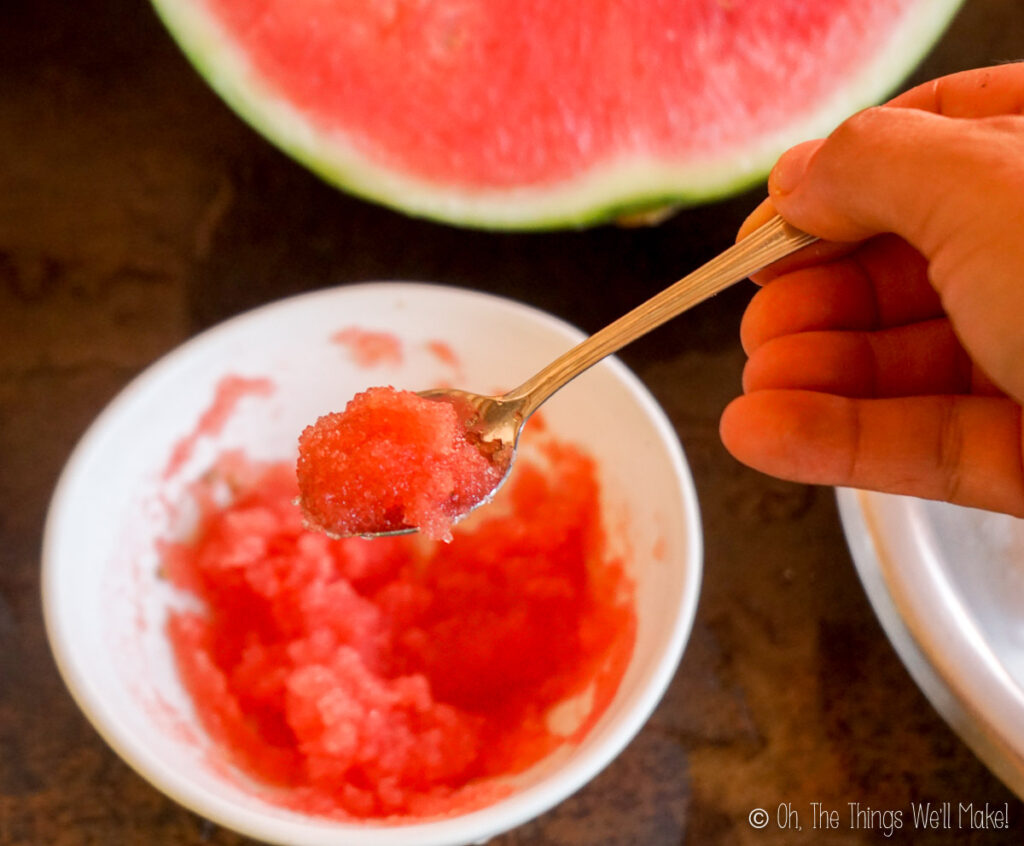
Bloomed gelatin
Once the gelatin has bloomed (softened and swelled), you can mix it with more of the watermelon juice and cook it in a saucepan over low heat while stirring until the gelatin is dissolved.
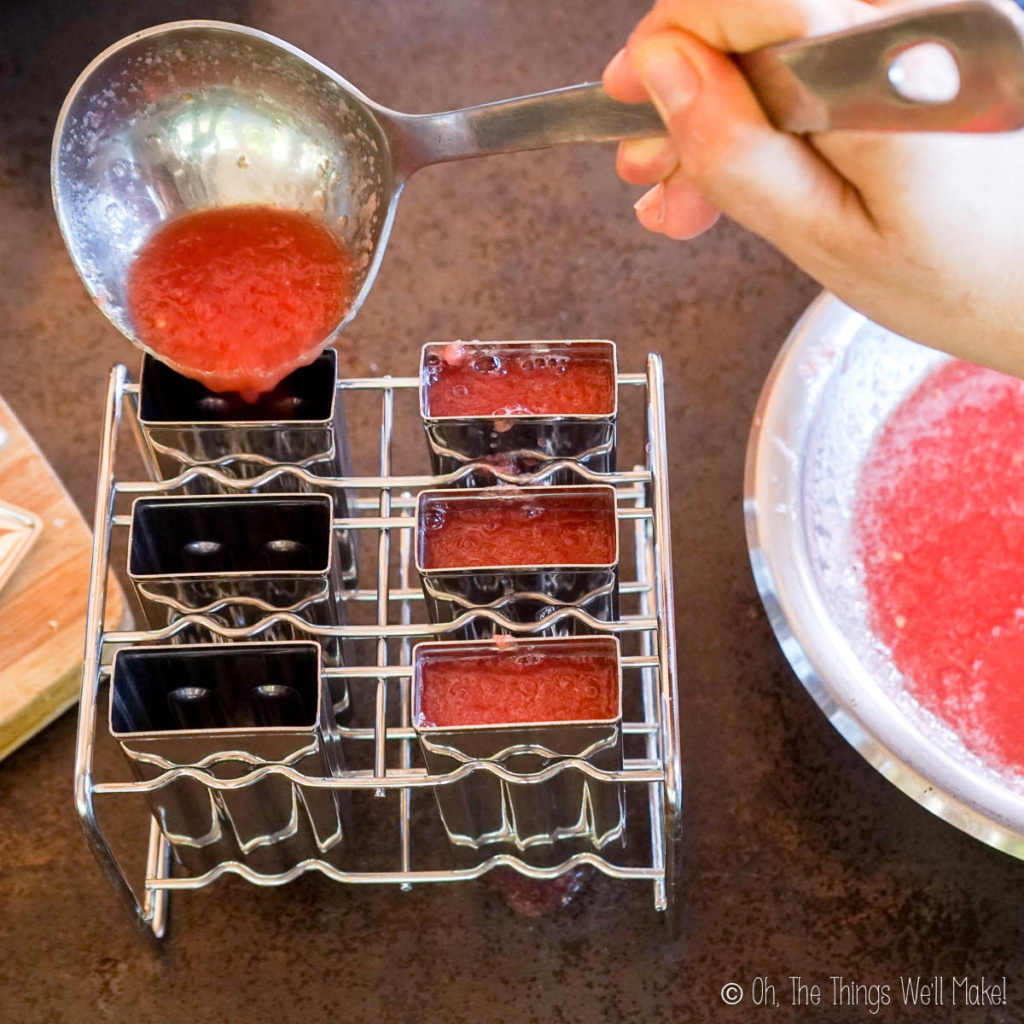
Remove the pan from the heat and stir in the remaining watermelon juice to help cool it. Then, pour it into molds.

Popsicles that look like watermelons
To get super cute-looking popsicles, adding some green to the bottom of the popsicle makes it look like a slice of watermelon.
The first time I made these, I used round coffee cups as my molds and used lime slices to add a touch of green to the popsicles. To add some white between the watermelon and the “rind,” I poured a dash of coconut milk on top of the watermelon gelatin before adding the lime slice and freezing. (If you do it after allowing the watermelon mixture to gel first, you’ll end up with layers rather than an ombre look like mine.)

While I think they turned out really cute, the lime slice imparted a bitter flavor to the coconut milk layer. With that in mind, it may be smarter to add the lime slice after the popsicle has frozen, or to try my newer method.
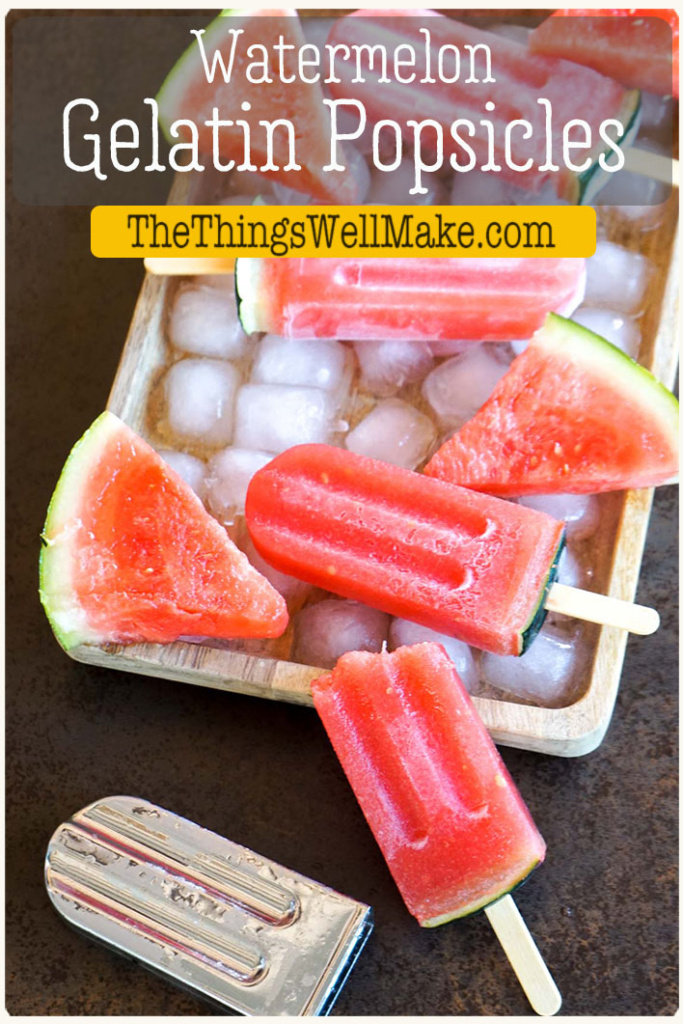
This year, I used more classically shaped molds for my popsicles and decided to use the actual rind to hold the sticks in place. My stainless steel popsicles molds come with steel plates with holes in them for placing the sticks. I decided to replace those with pieces of watermelon rind cut to size.
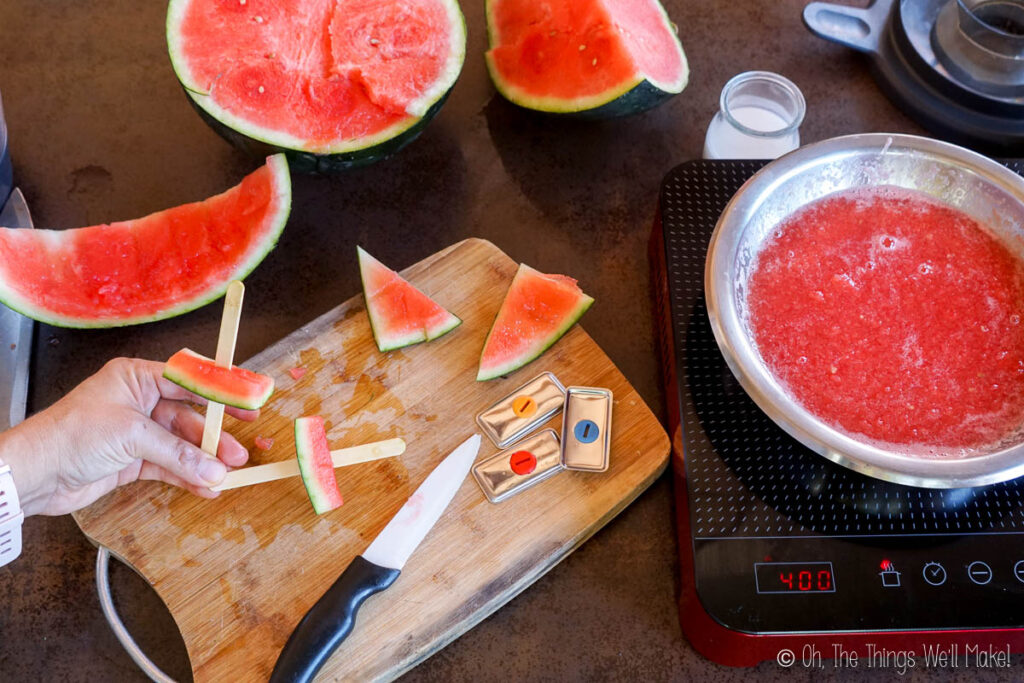
As an experiment, I cut some of the rinds slightly larger than the top of the molds, and others so that they fit within the molds. I assumed that the expansion of the watermelon mixture as it froze would result in all of the popsicles turning out well.
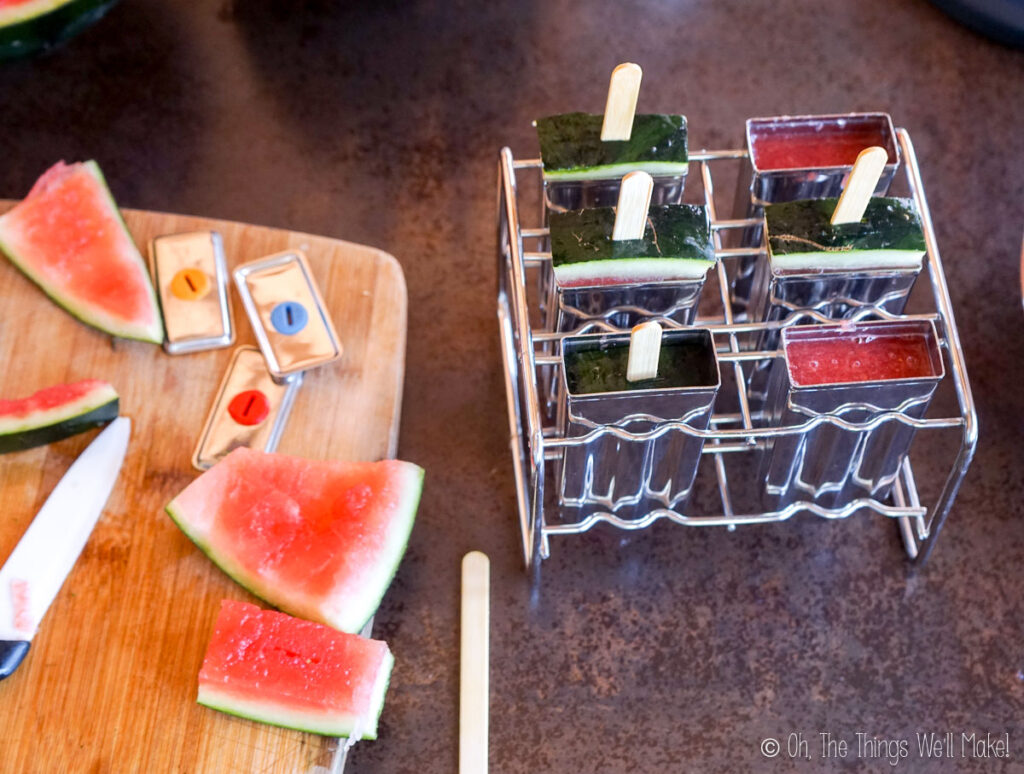
In the end, though, the ones that didn’t fit within the mold separated from the rest of the popsicle and didn’t look as good as the others. So, I suggest cutting the rinds to fit within the molds.
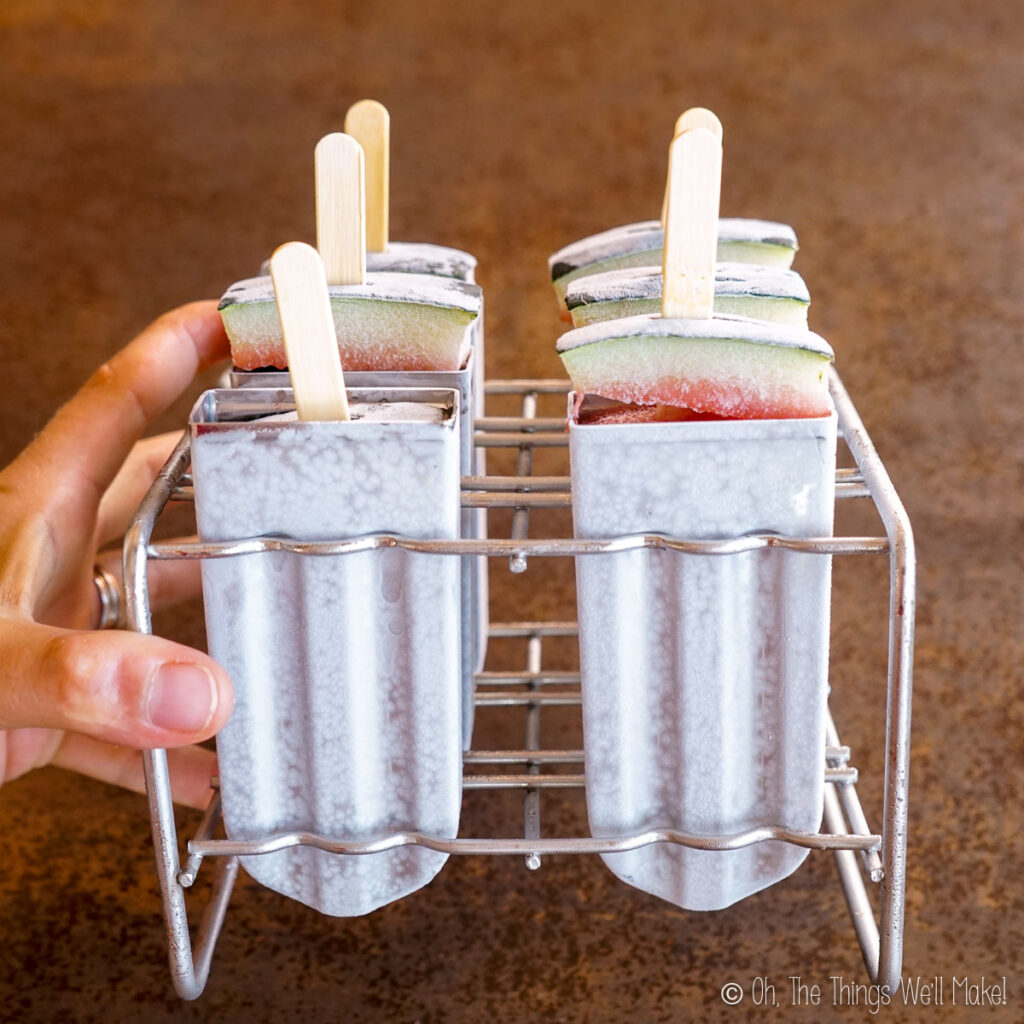
When I use smaller pieces that fit within the molds, the rinds floated on the surface of the gelatin mixture. So, I didn’t have an issue with them falling down into the molds. As the popsicles freeze, the rinds rise up as needed.
If you’re having issues with the rinds sinking, you can place the molds in the fridge and allow the mixture to gel before adding the rinds with the sticks.
Other gelatin popsicles
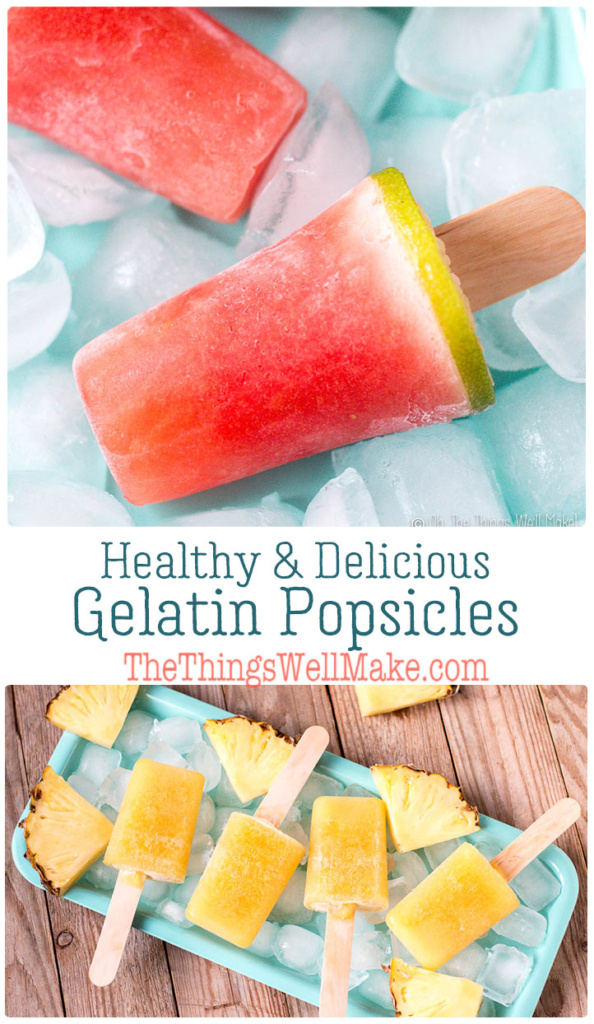
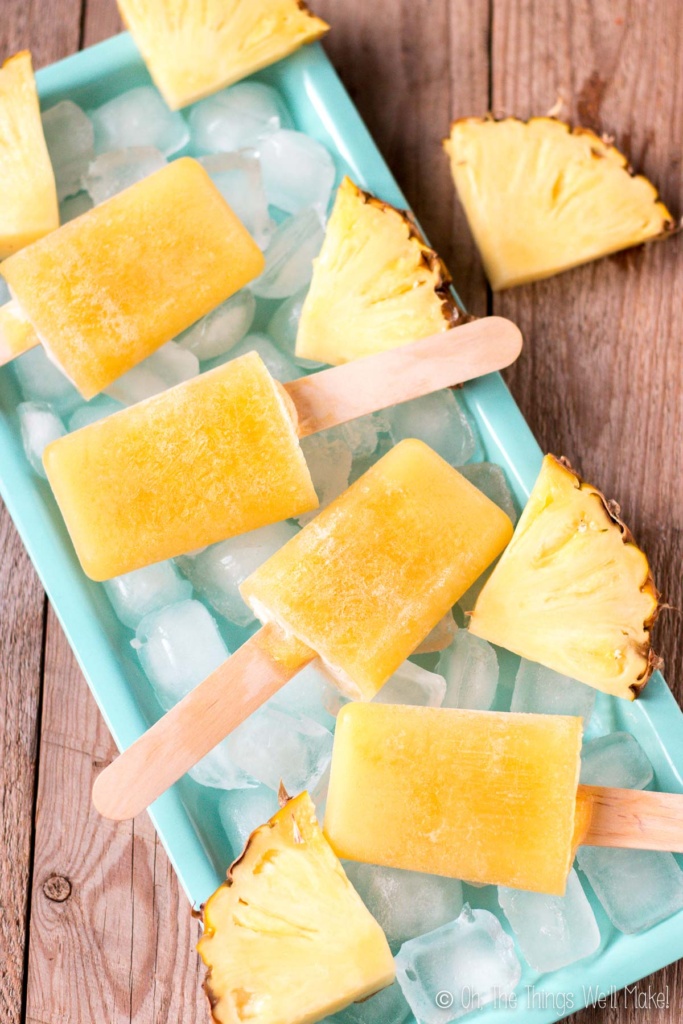
I absolutely love gelatin popsicles and have made different flavors using different fruits. My favorites are watermelon and pineapple jello pops made with pineapple juice. (I bet the pineapple popsicles would be cute using the pineapple skin to hold the sticks too!)
Apart from using different fruits, you can also add some cream to the mixture to make creamier popsicles. (They say that the original Jell-O popsicles were made with Cool Whip.)
Next time, I may even try adding some homemade yogurt or kefir to gelatin popsicles made with strawberry purée. I think they may taste a bit like strawberry cheesecake!
Getting the gelatin to gel
What I love most about these is their texture when made with a high concentration of gelatin. It almost reminds me of licorice, something that I have always loved, but don’t allow myself to eat very often. They are softer and less icy than fruit pops made from fruit juice or fruit purée alone.
To get that texture (and the no-drip benefit), you need the gelatin to gel.
Fresh fruits that don’t gel
Unfortunately, not all fresh fruits will make a purée that will gel the gelatin. Like fresh (or frozen) pineapple, some fruits have proteolytic enzymes that affect the collagen structure, which is what makes gelatin gel. They are the same enzymes that make pineapple a great natural meat tenderizer!
On the other hand, store-bought fruit juices generally gel without issues. That is because store-bought juices are usually pasteurized, and the pasteurization process breaks down the enzymes. That allows the collagen structure to form into a gelled gelatin.
Fruits with proteolytic enzymes
- Pineapple
- kiwi
- mango
- figs
- papaya
- ginger
- guava
- pawpaw
If you only want to add a healthy dose of collagen and protein to your fruit popsicles, then it really doesn’t matter which fruits or juices you use and if they have been pasteurized or not. On the other hand, if you want the texture that a gelled gelatin gives the popsicles, use fruits without proteolytic enzymes that disrupt the gelling process.
To make healthy gelatin pops using other fruit juices or purees, refer to my post on making a healthy gelatin dessert for more tips and tricks on getting the various fruits and juices to gel.
Video
Watermelon Gelatin Popsicles
Ingredients
- 2 cups watermelon puree
- 1 Tablespoon gelatin
- ¼ cup coconut milk optional – for decoration
- lime, kiwi, or green melon slices optional – for decoration
Instructions
- Cut watermelon into small chunks (without rinds or seeds). Blend them in a blender until you've obtained around two cups of juice/puree.
- Soften (bloom) the gelatin by adding it to a bowl with a ¼-½ cup of watermelon juice/puree.
- Meanwhile, in a saucepan, heat around ½ cup of the watermelon puree over low to medium heat. As it starts to get warm, add in the softened gelatin and continue to cook and stir until the gelatin is dissolved.
- Remove the saucepan from the heat, and stir in the remaining watermelon puree to help cool the mixture.
- Pour into molds and freeze. If the gelatin mixture is still pretty warm after adding the remaining cold watermelon puree, allow it to cool to room temperature before placing the molds into the freezer.
- If you want an easy way to hold up the popsicles sticks in the molds, you can first gel the gelatin in the fridge. That allows you to place your sticks right where you want them! The gelatin will hold them in the right place while freezing.
- Another option is to cut pieces of watermelon rinds to the size of the top of the molds and pierce them with the popsicle sticks. The rind pieces will hold the sticks in place and will make cute-looking popsicles. (If using round molds, you can use lime slices instead.)
- Optionally pour a dash of coconut milk on top of the watermelon gelatin before adding the lime slices or watermelon rinds to get the look of the white flesh of the watermelon along the rind. (If you allow the watermelon puree to gel first, you'll end up with layers rather than an ombre look.)
- Freeze the popsicles for several hours until frozen solid.
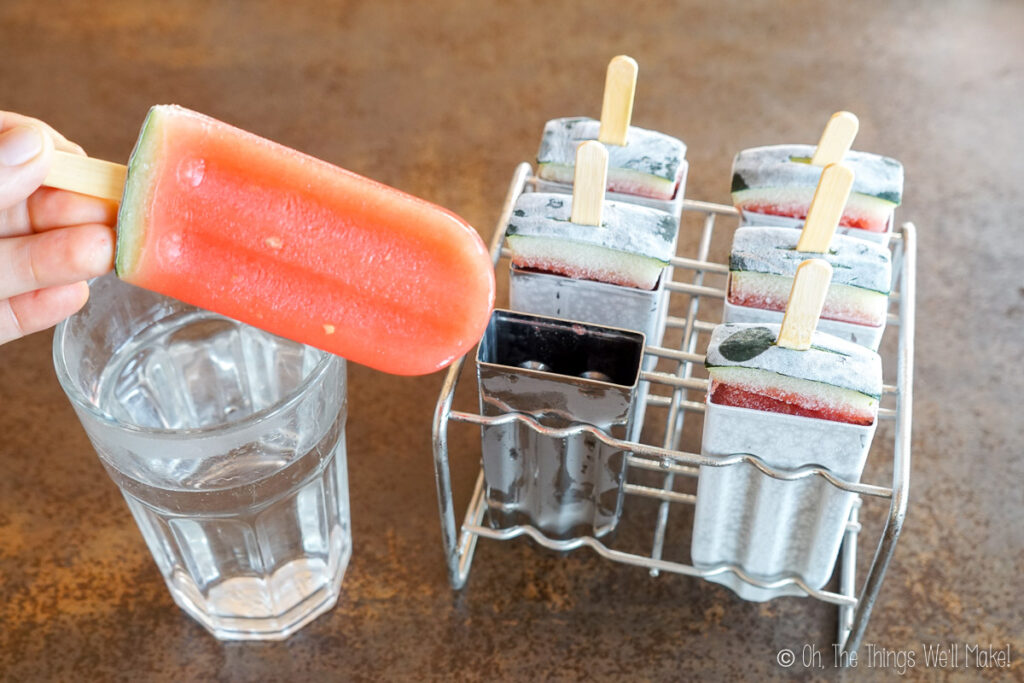
- Remove from the molds and serve. If you are having a hard time getting the gelatin popsicles out of the molds, you can run them under warm running water for a few seconds before pulling them out.


I’m just looking through this, but man, I’m not sure I’ve ever seen such a thorough, helpful, detailed and highly explanatory recipe work so many suggestions and options. You are amazing! I found this looking for old Jell-O Gelatin Pops recipes, but man these watermelon pops look phenomenal! I’ll save this page and look through your site more. This is what I’ve read about the original pops recipe… my favorite snack from my childhood along with Fruit Wrinkles!
“My wife used to work for the company and luckily knew the recipe through word of mouth. Make the package of gelatin according to directions, raspberry my fave, then mix in 1/2-2/3 cup Cool Whip until well blended. Freeze in paper ccups or molds. Makes 6-8 I make these all the time and pretty much taste like the original ones. Only thing missing would be the icy coating they used to have. I can still remember that first snap 🙂 oh and the pudding pops are the same recipe. We made those last week and oh boy are they amazing. Both very close to original. (For pudding pop the stovetop is ideal but instant will be also close)”
AND
“I found that if you dip them in water then refreeze them you can get them closer to that crunch that the originals had.”
Hi Gretchen,
Thank you so much! I’m really glad you found the post helpful. Those old Jell-O pops and pudding pops were such a fun childhood treat. I’ve heard similar versions of that recipe before with gelatin and whipped topping, and it does seem to get pretty close to the texture of the originals. The idea of dipping them in water to get that icy coating is interesting too.
If you try it out, I’d love to hear how it turns out! And I’m happy you found the watermelon popsicles too. 🙂
I made it! It’s in the freezer now. My popsicle mold makes 10 one third cup popsicles so I increased the quantities. I learned that one pound (or about 455 grams) of watermelon makes about 2 cups of NutriBullet puree. If I can update after unmolding, I will.
Hi Brenda,
Thanks so much for letting me know. The measurements will really help me when I go to update this recipe. I’m slowly going through all of them to try to be more precise in measurements and make sure they all have nutritional information.
I hope you enjoy them. I love them. 🙂
HI-will this work with any juice or must it be 2 cups of puree?
thanks
Hi Niko,
Yes, it should also work with most juices. (If they have been pasteurized, it should work with all of them.)
Some raw juices, like juicing a fresh pineapple- have enzymes that prevent the gelatin from gelling. It would still freeze, of course, but would end up slightly different than if it could gel. On the other hand, using most store-bought pineapple juices will work fine to make a gelatin and therefore a good gelatin popsicle.
I hope that makes sense.
Would this work with root beer?
Hi Jenn,
I’ve never tried it personally, but I don’t see why not! ?
Have you used pectin instead of gelatin? If so do you have a recipe.
Also, do you know how to make a low cal fudgicle that stays somewhat soft after freezing? Will gelatin work with milk and chocolate, or only with fruit. I have been making popsicles with erythritol instead of sugar. It works quite well but like the gelatin it needs to be dissolved in hot water first. Erythritol freezes at a lower temperature than sugar so it also softens the popsicle a bit more than sugar.
I’ve never tried with pectin, but, yes, you can definitely use the gelatin with milks and chocolate. I used it with coconut milk in my gummy eyes for Halloween.
What if I don’t have gelatin powder????????
I have crystals but I don’t have any gelatin powder.
Hello,
I’ve never seen gelatin crystals, but it should work the same way. You may want to let it sit in juice for longer just to make sure it fully dissolves easily. (You can also use gelatin sheets.)