

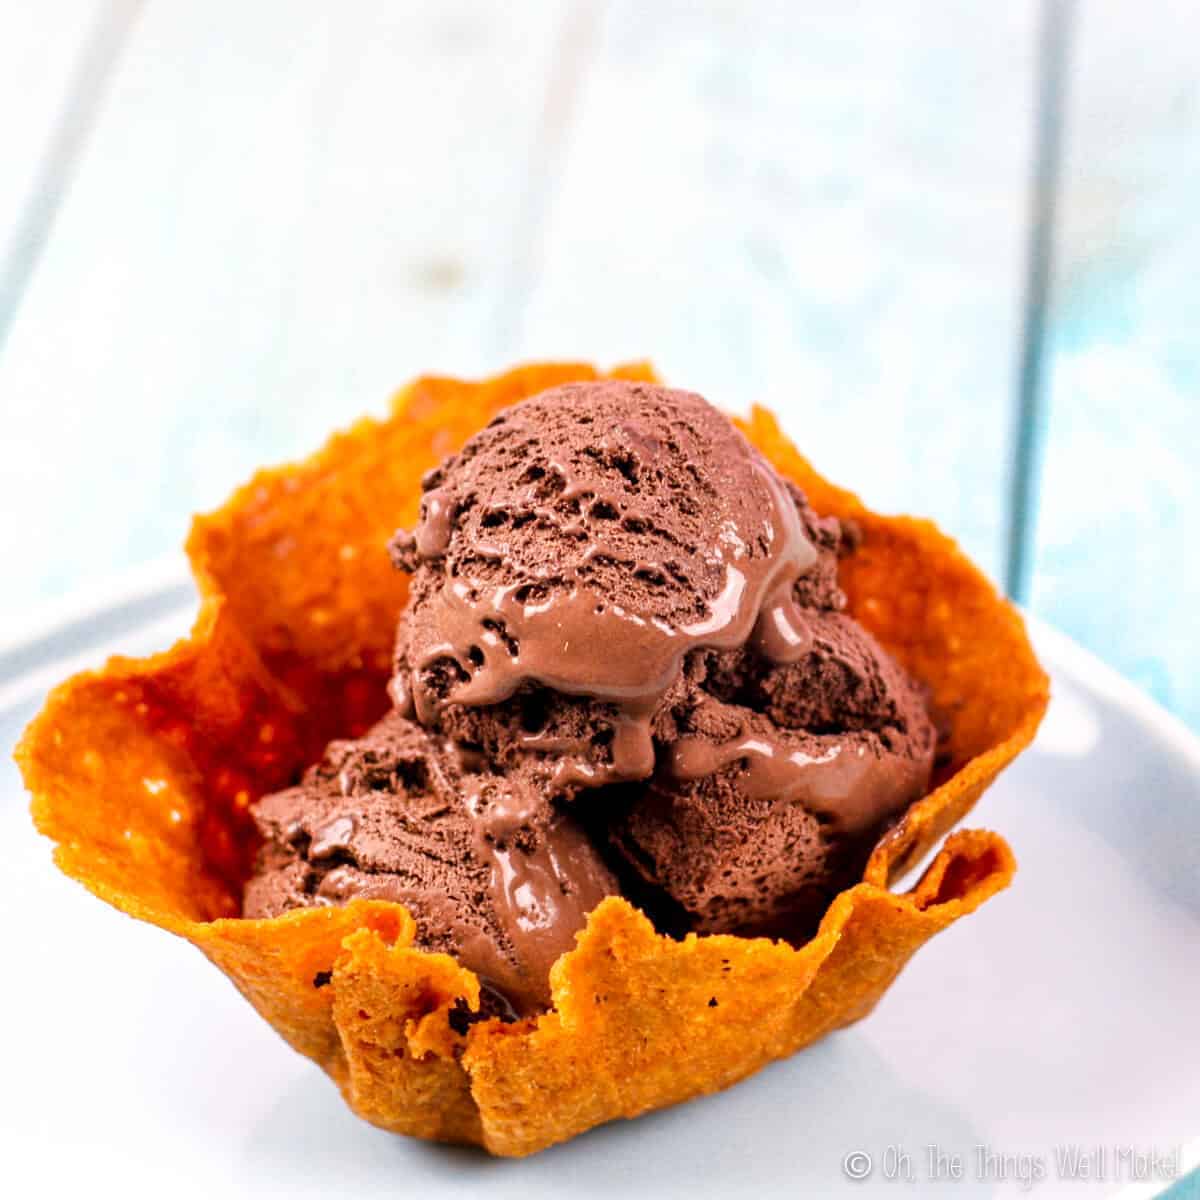
Homemade Waffle Cones and Bowls
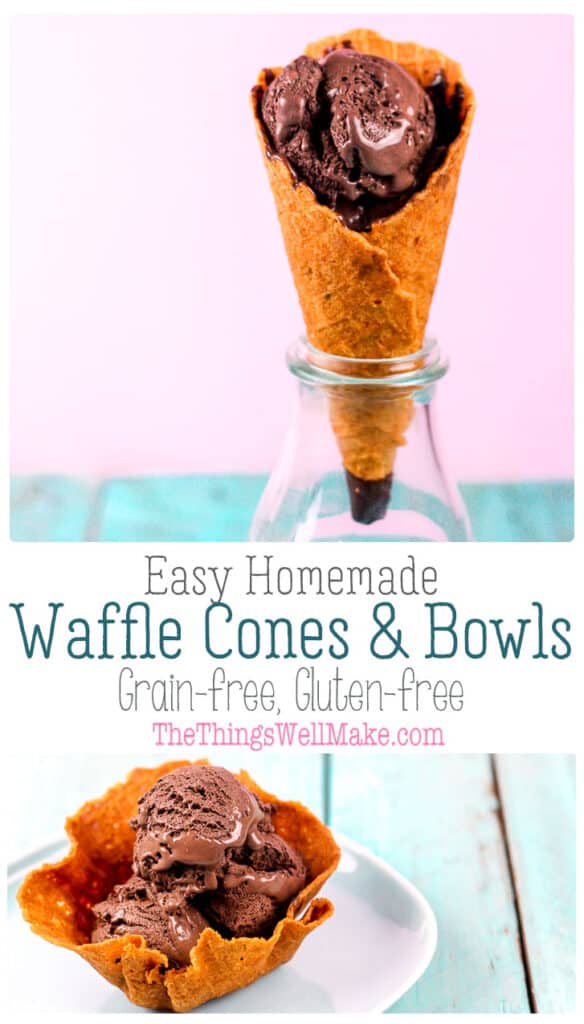
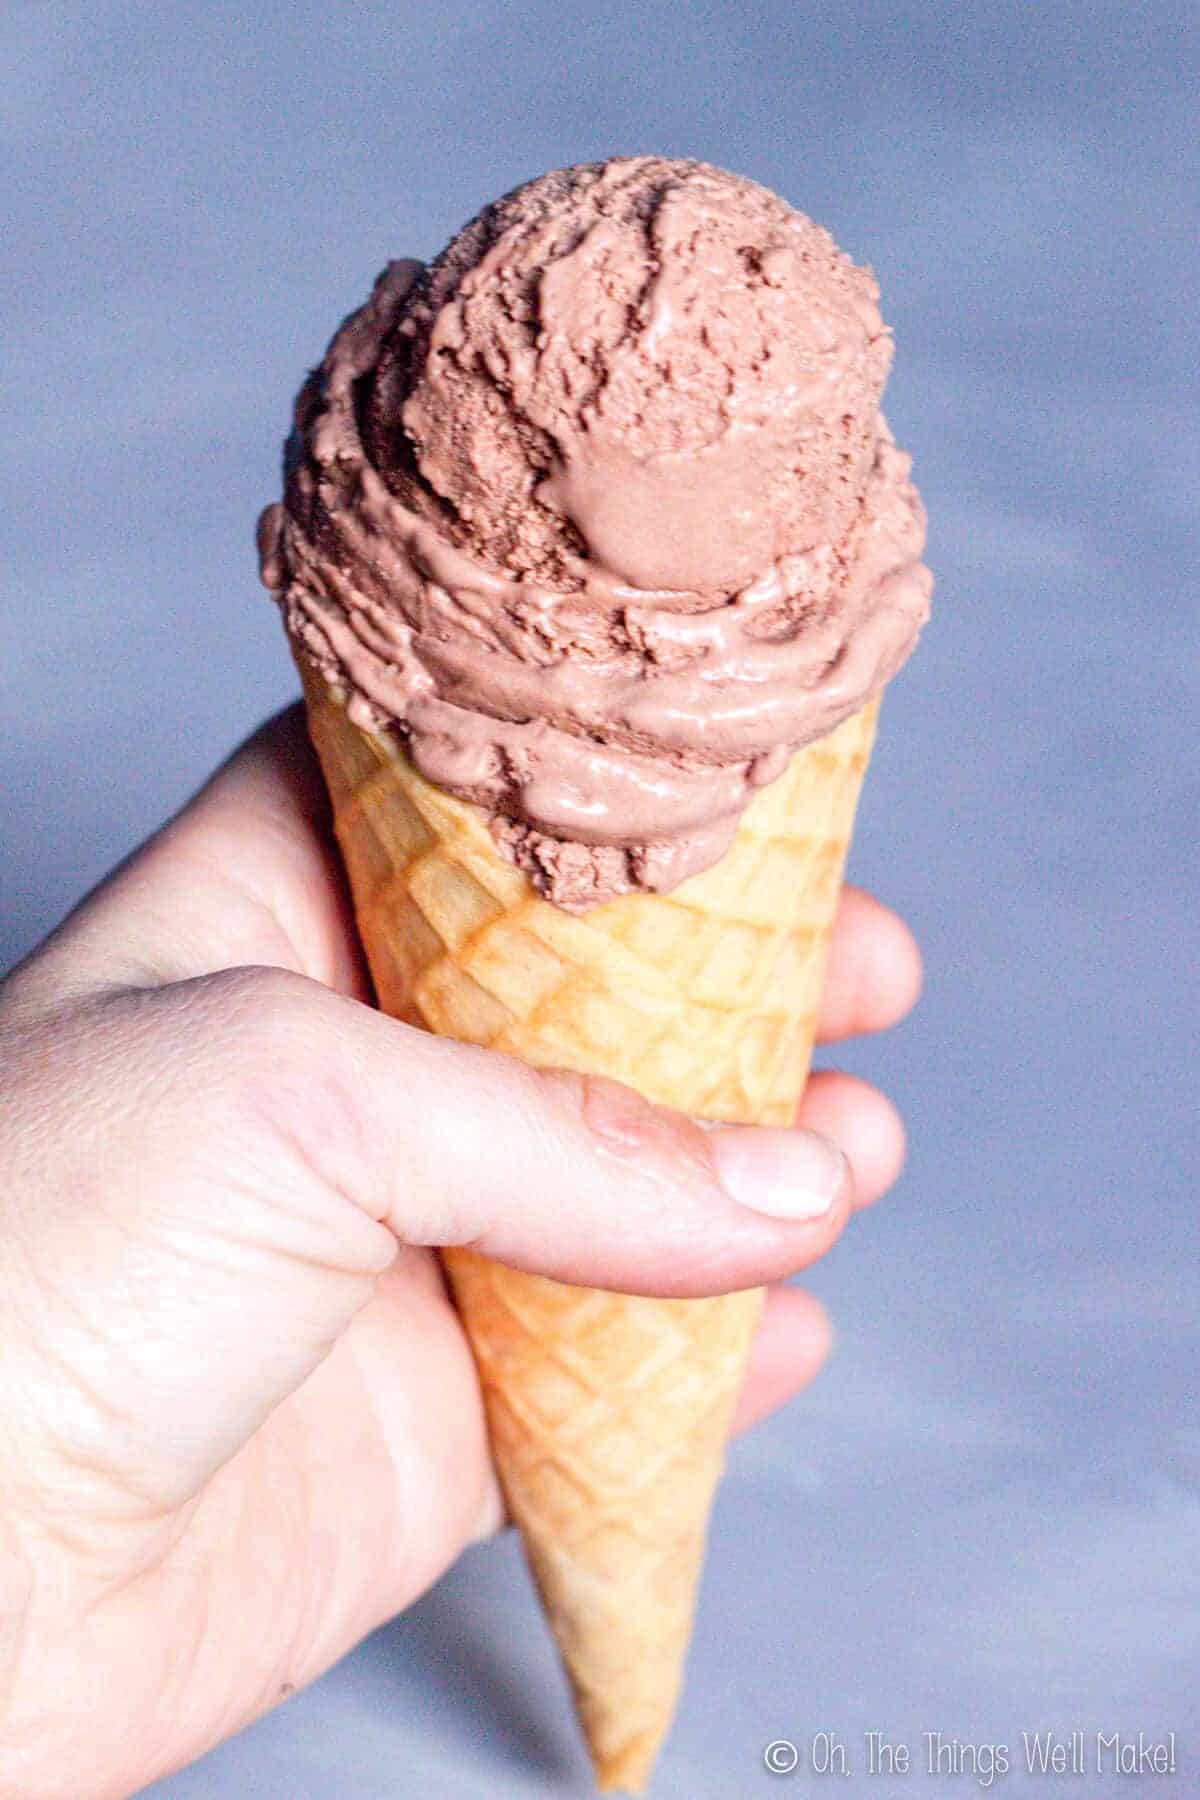
Fun and easy to make, these delicious grain-free waffle cones and bowls are the perfect accompaniment to ice cream or frozen yogurt. They’re perfect for parties and kids love being able to make them.

This time of year, in the heat of the summer, there isn’t much that appeals to me more than frozen desserts. And what could be more fun for serving your ice cream and sorbets than a homemade waffle cone or bowl?
While it seems like it would be complicated to make, it really is much easier and quicker than you probably imagine.
Why make these?
They are absolutely delicious and better than the waffle cones that you’d buy at the store. (Plus, you can save yourself a bit of money by making them yourself.)
This recipe is super versatile. It’s basically the same recipe I used for making homemade fortune cookies. Kids really love making their own ice cream cones, and they are so impressed with the final results.
I also love that these are completely grain-free. The recipe is also easy to adapt to make it completely dairy-free. As always, by making them yourself, you maintain control of the ingredients.
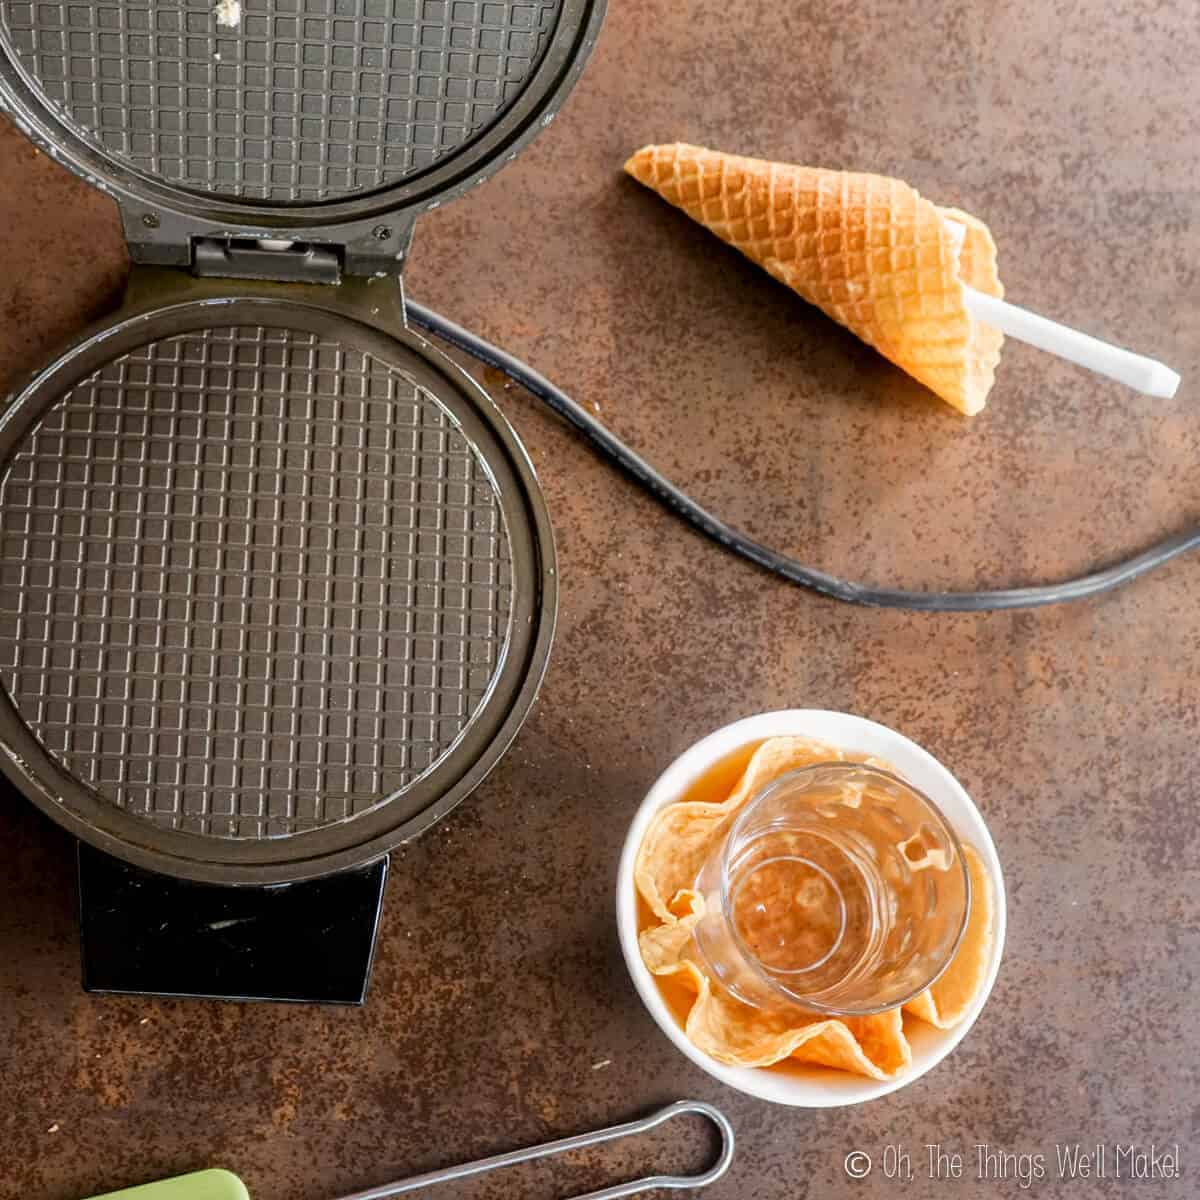
Choosing a waffle iron
I use the same inexpensive waffle cone iron for making both my homemade fortune cookies and these cones and bowls. The waffle needs to be very thin, not like the ones used for making Belgian waffles. Waffle cone irons are really a type of pizzelle iron which can also be used to make fine, crispy cookies.
Those looking for a waffle iron without a non-stick coating could consider a cast aluminum pizzelle iron instead. They are more expensive than the average waffle cone iron, though. If I made these more often, I’d definitely invest in the pizzelle iron.
Don’t want to invest in an iron?
Some people make their own homemade ice cream cones with a panini grill. Others make them in either a skillet or an oven. You can see some ideas for how to make them in my post about making fortune cookies as the process is basically the same.
I will say that the waffle cone iron makes it much easier because it presses your mixture into just the right thickness for perfect ice cream cones. It also cooks them evenly all over and on both sides. This recipe consistently works well using my iron.
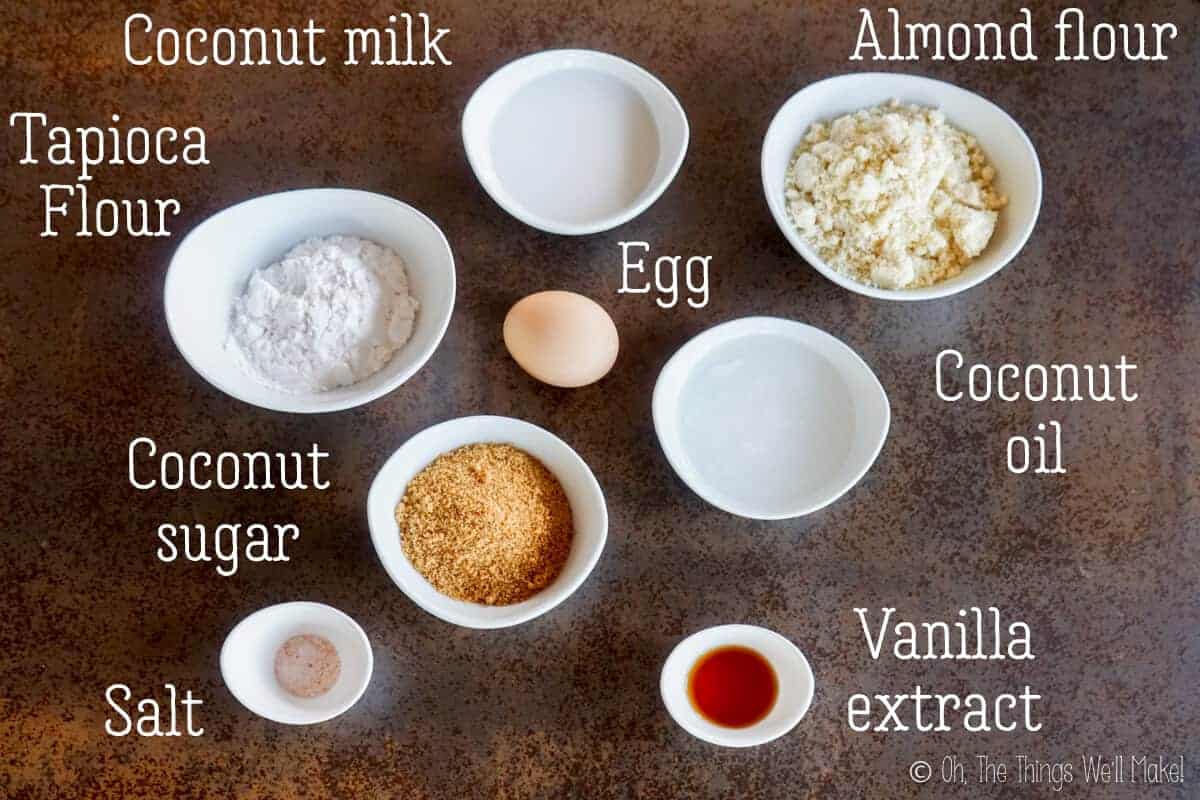
Ingredients
When I first made this recipe, I was experimenting with eliminating gluten from my diet. Luckily, it didn’t take too much experimentation to find a combination of grain-free ingredients that worked perfectly for making nice and crispy cones and bowls.
This recipe originally used the same ingredients as my homemade fortune cookies, but I have since changed it to give you a dairy-free option. If you want to use cream and butter instead of coconut milk and coconut oil, click on the link and follow that recipe (using these instructions). The resulting cones are pretty much identical in flavor and texture.
For the sweetener, I used coconut sugar, but I have also used other types of granulated sugar without any problems. Organic demerara sugar or panela are also favorites of mine.
I also love using a homemade vanilla extract.
Preparation
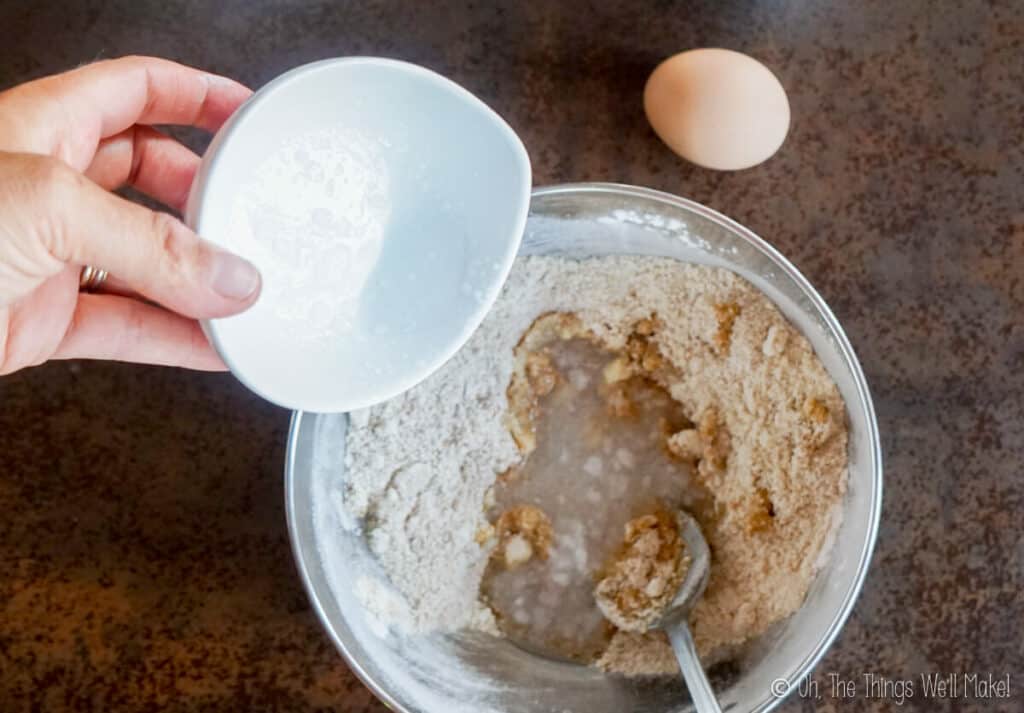
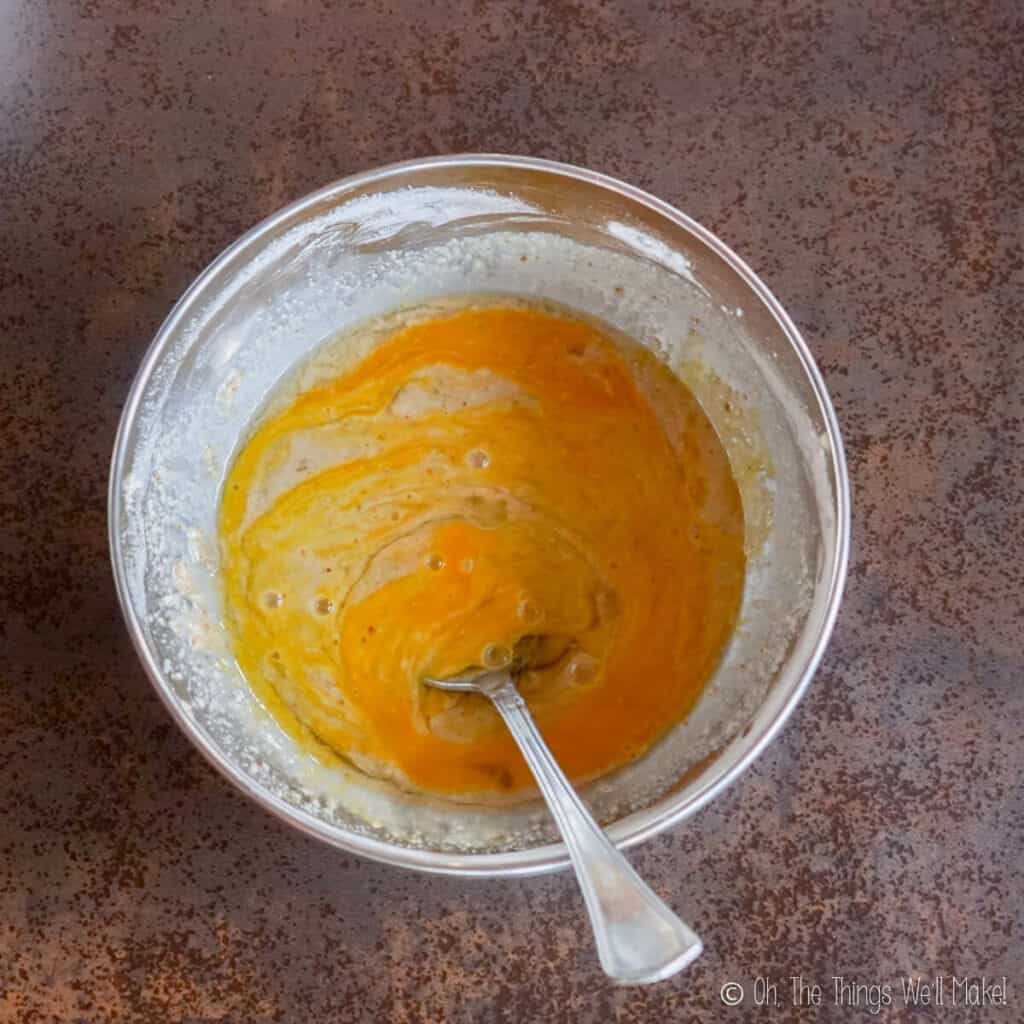
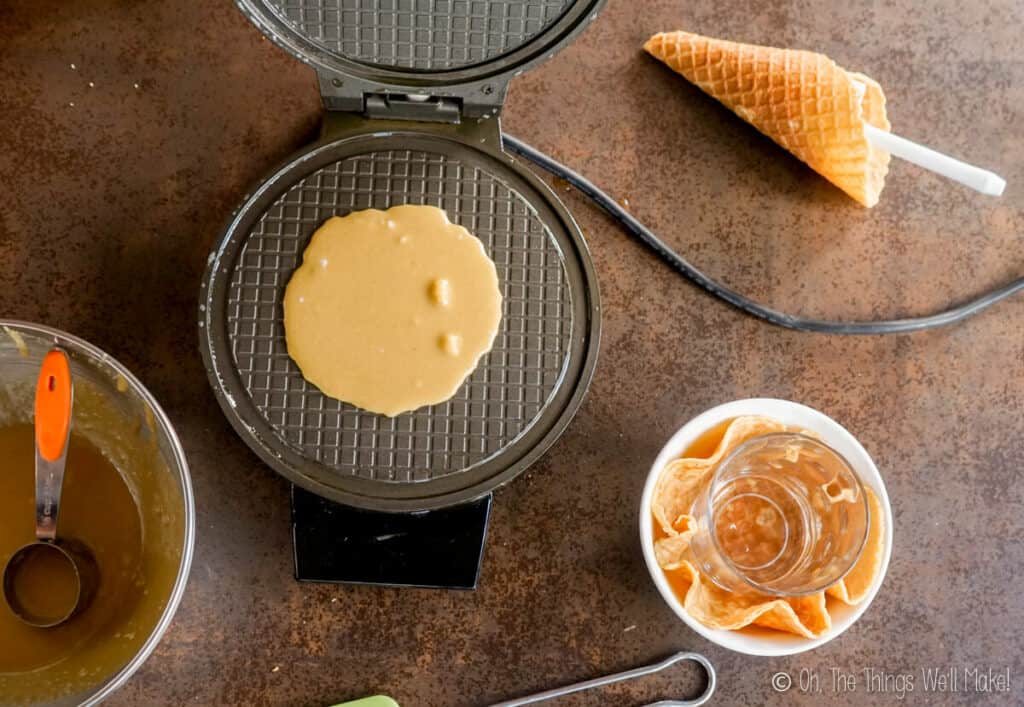
In order to make either waffle cones or bowls, we first have to make a crispy thin cookie. Making the cookie is as simple as combining all of the ingredients into a batter, and then cooking it.
The cookie can be cooked in a pizzelle or waffle cone iron, or by cooking a thin layer of batter in a skillet or on a baking tray in the oven.
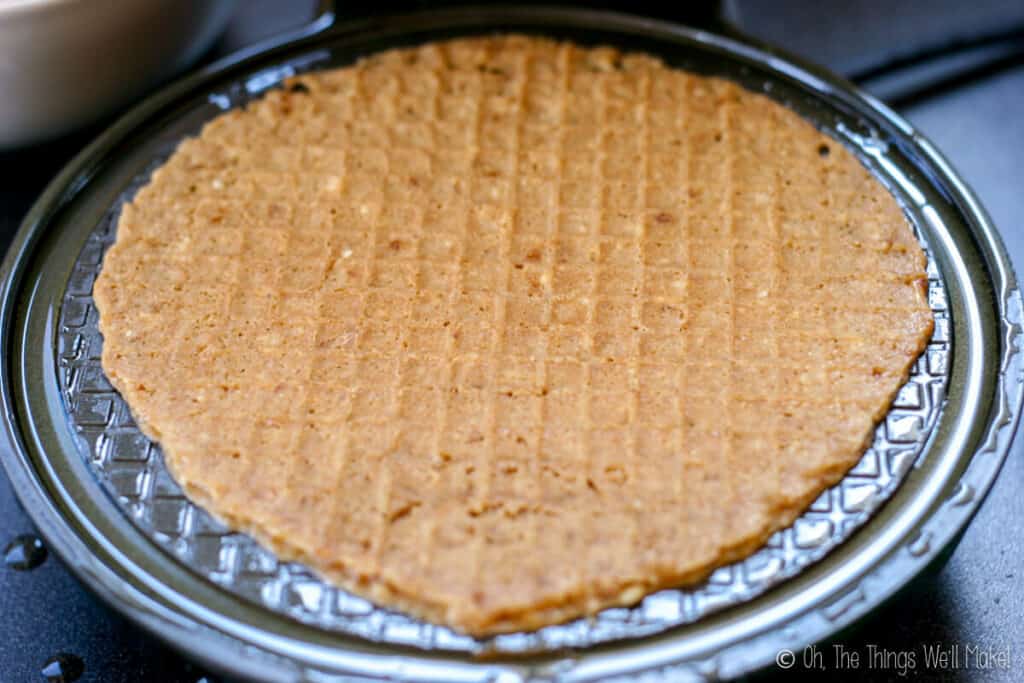
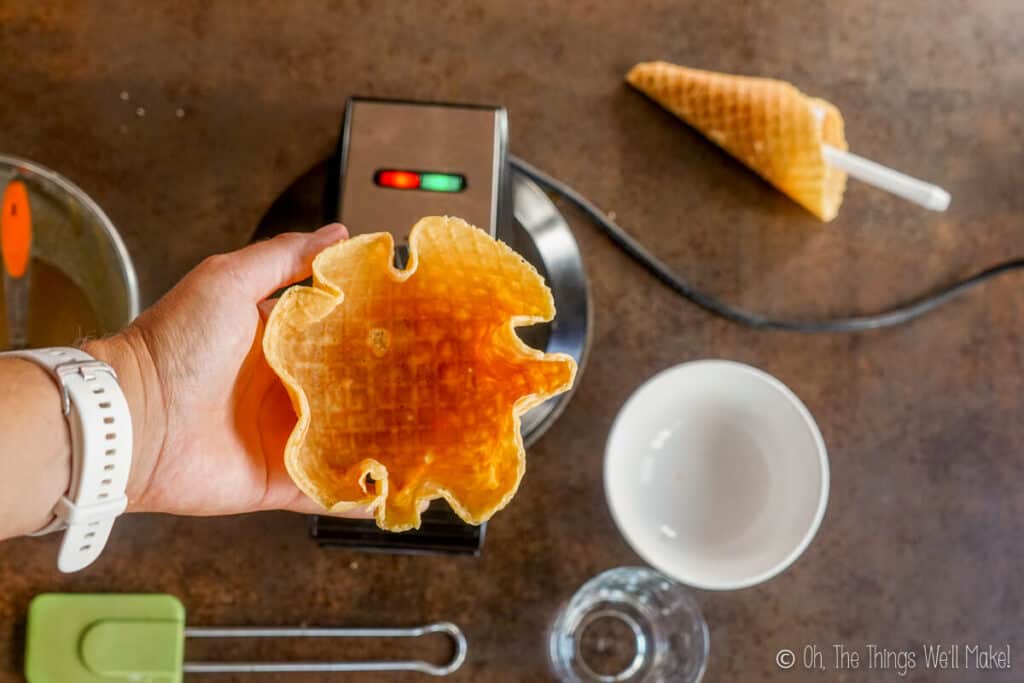
Whichever method used, the cookie needs to be cooked long enough to become golden brown. If not cooked for long enough, the waffle won’t harden when it cools.
While warm, the waffle is flexible and can be molded into its final shape. As soon as it cools, it hardens into a crispy cone or bowl.
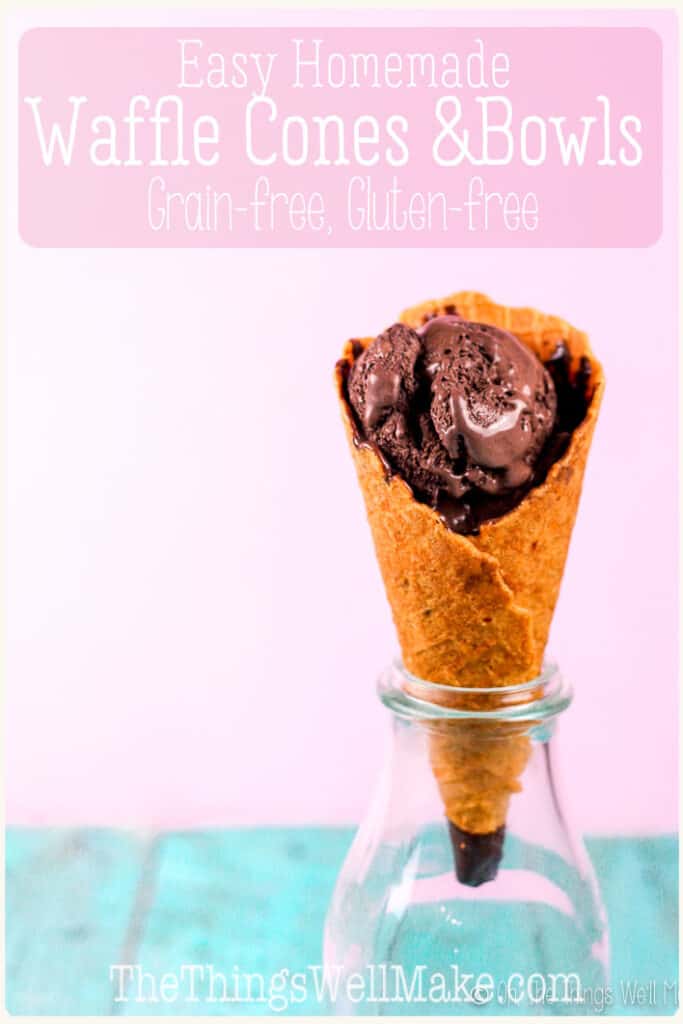
Making waffle cones
Probably the most popular way to serve ice cream in a waffle is in a waffle cone. It’s also very simple to make.
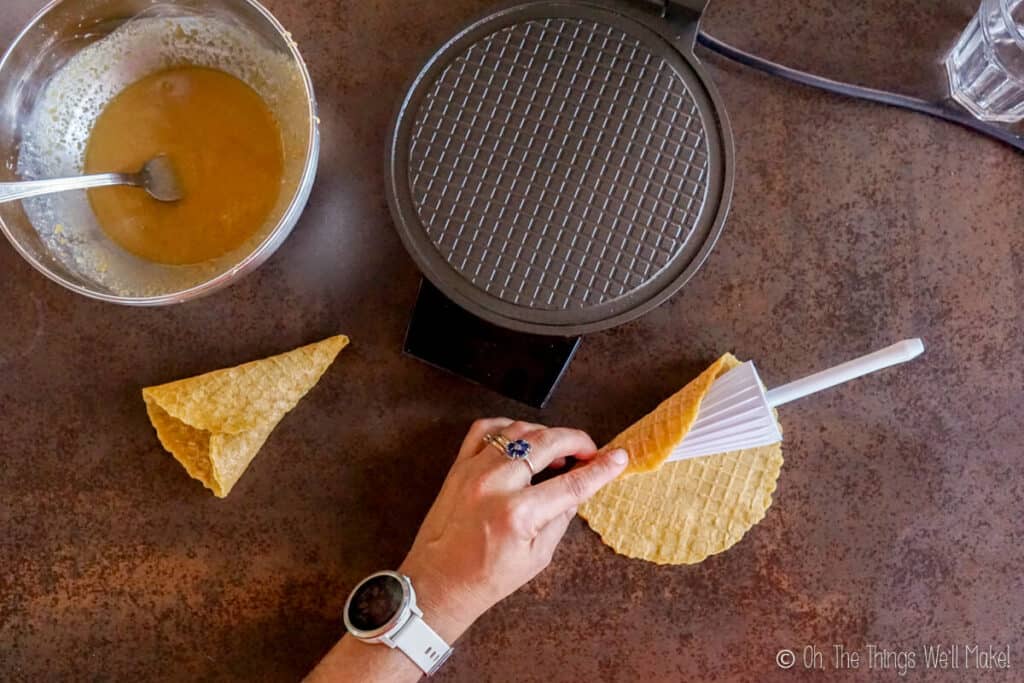
Basically, all you need to do is to wrap the cookie around a cone former. Normally, waffle cone irons come with one, but you can make a makeshift one out of cardboard or another material.
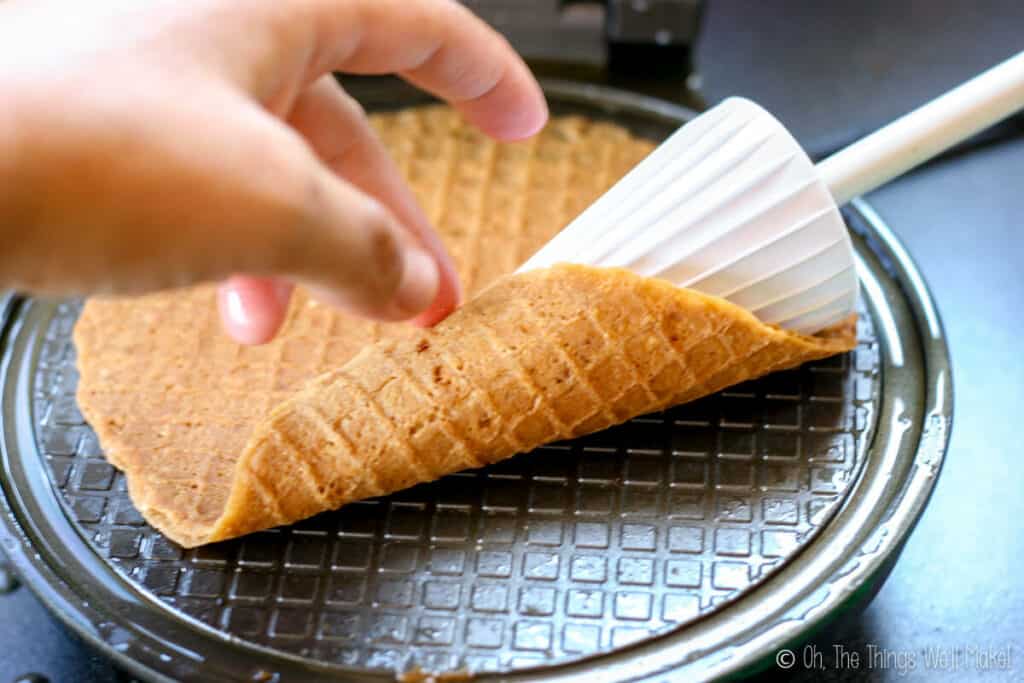
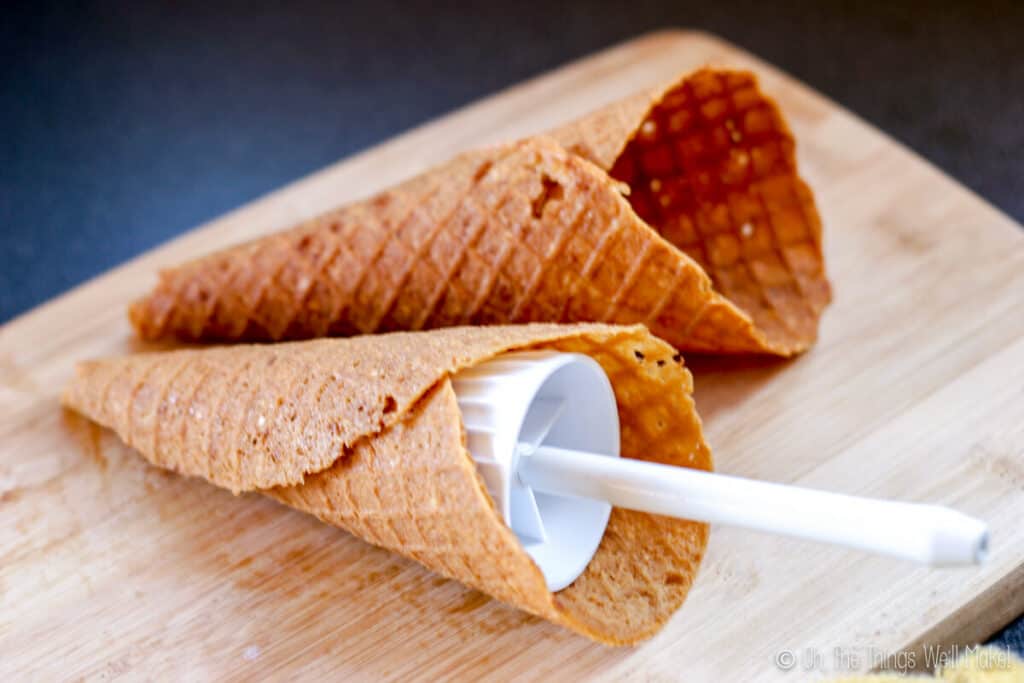
Take the point of the former and place it along the bottom edge on one side. Then roll the waffle over and around it. Keep in on the former while you make another waffle. That will give it time to cool and harden.
Once cooled, remove the finished cone. It can be used immediately!
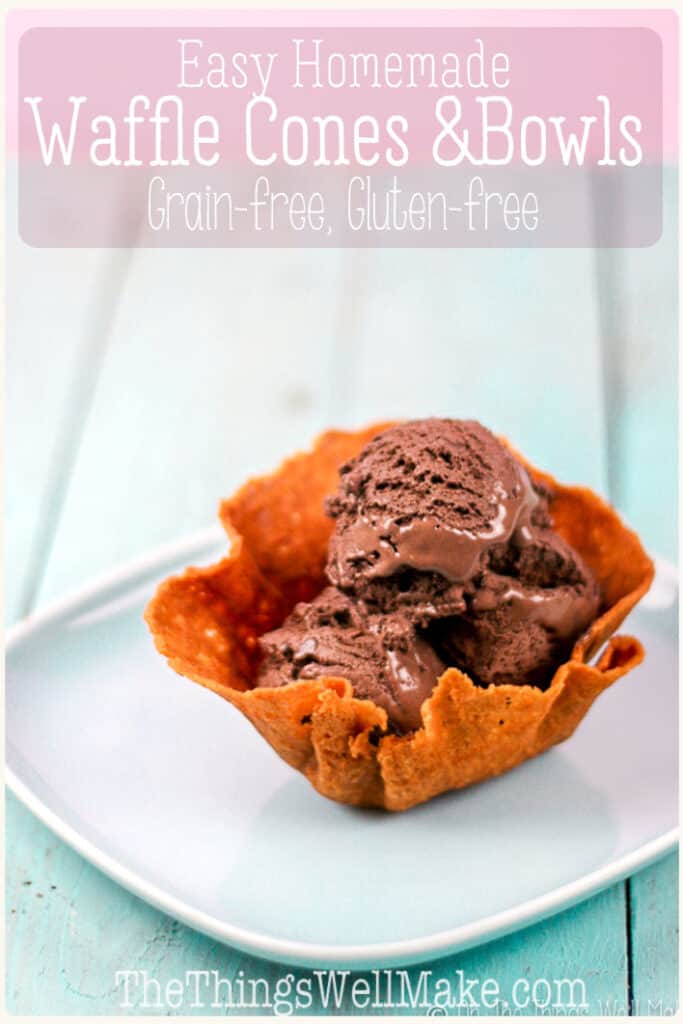
Making waffle bowls
Making waffle bowls is just as simple as making cones, and you don’t need any sort of specialized equipment.
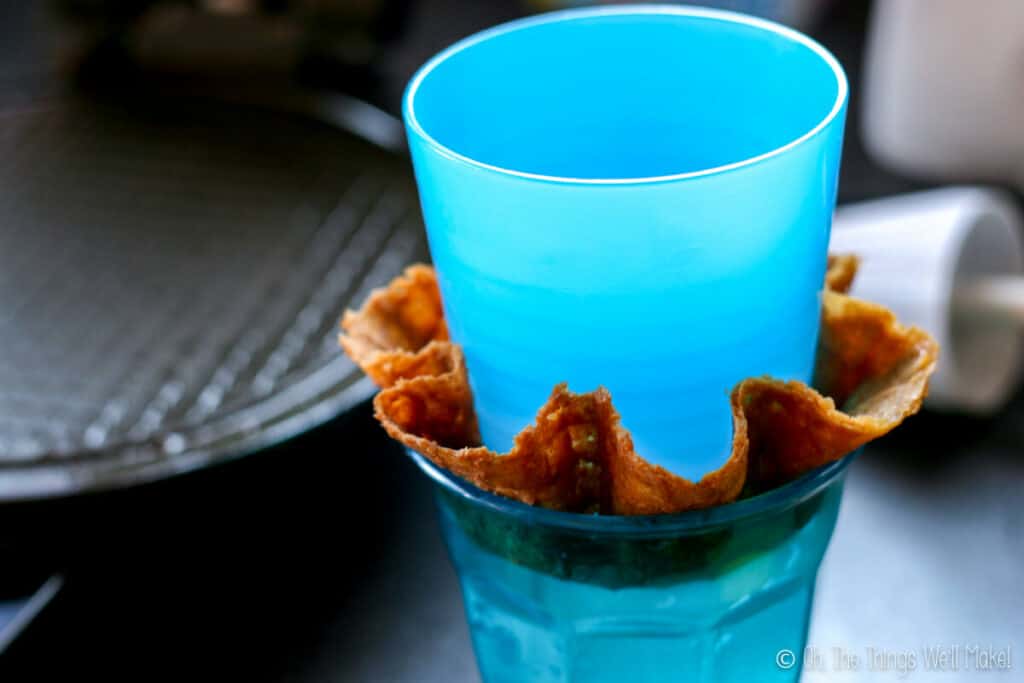
Once you have cooked the waffle to a golden brown, place it over a small bowl. Then, use the bottom of a small glass to push the waffle into a bowl shape. If it doesn’t form evenly into a bowl, carefully try to adjust the shape with your fingers.
I find that it looks best to try to evenly make curvy waves all the way around the edges. Don’t worry about trying to get it perfect, though.
Expert tips
There are a few ways that you can ensure you achieve beautiful results.
First, the most important thing is to make sure that the cookie is cooked enough. You want to get a golden brown color. If it isn’t cooked long enough, the waffle won’t crisp when it cools and it won’t hold its shape. (There are ways to fix the mistakes…)
Another tip is to sift the flours to get smoother results. You can see in the video that I left some lumps, and while I was able to make decent looking cones and bowls, you can also see some of the lumps in the finished product. When I have gotten rid of the lumps, I’ve had much better results.
Troubleshooting
There are ways to fix some of problems that can arise when making homemade ice cream cones.
Soft cones
If your homemade cones don’t hold their shape, they probably weren’t cooked for long enough. It’s important to make sure that the cookies begin to brown before trying to mold them into shape. It’s possible to fix this problem, though.
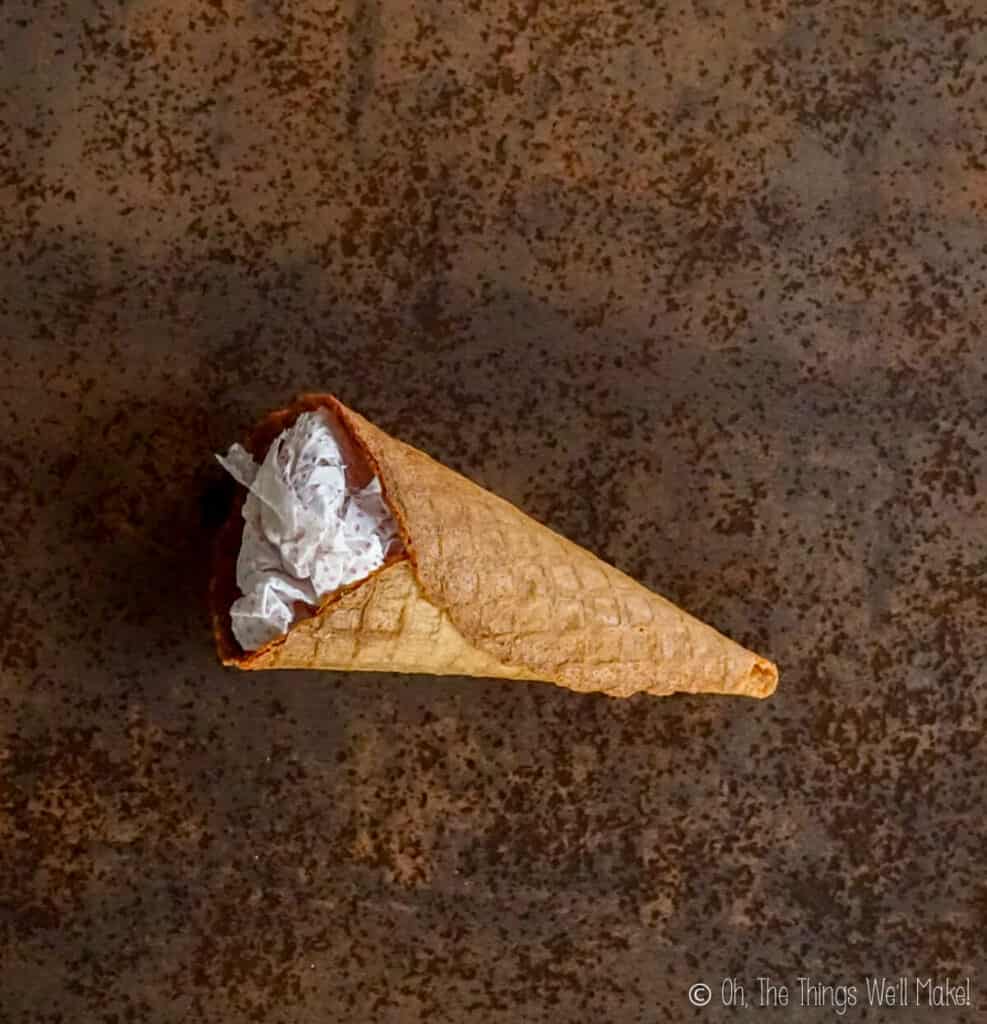
To fix a soft ice cream cone, roll it into a cone shape over some wadded up paper. Then bake it in an oven until golden brown. When you remove it from the oven, allow it to cool in the same position. It should harden into a crispy cone!
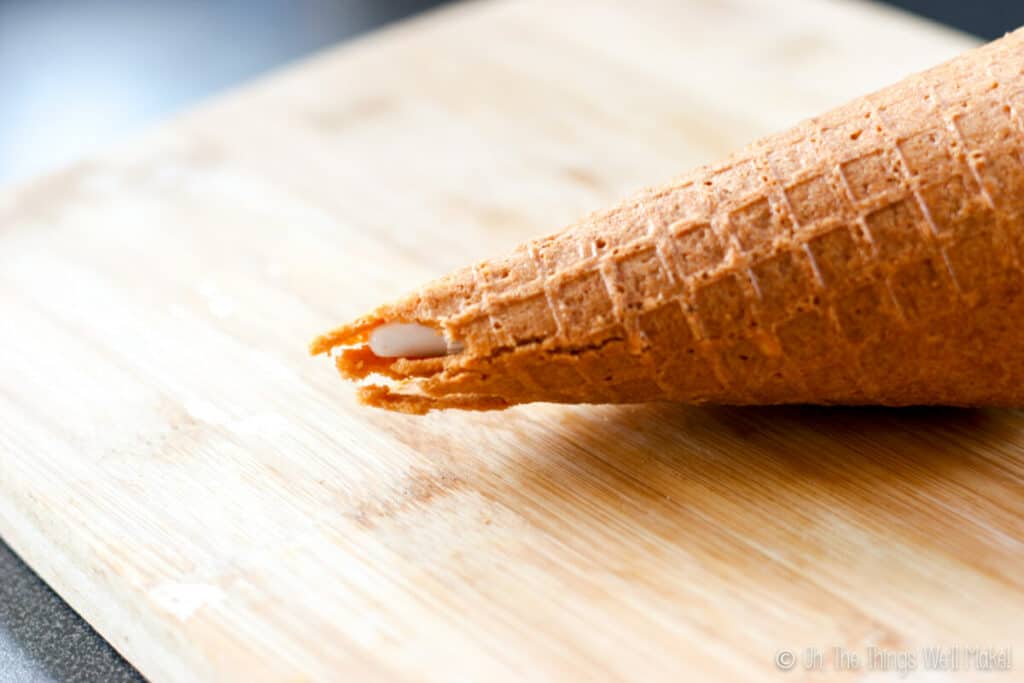
Open tips
Another problem that may arise is that you are left with an open tip on your waffle cones. This can happen when either you haven’t rolled it up tight enough or when the bottom cracks open. It’s a problem because the melted ice cream drips out of the bottom of the cones.
My favorite solution is to dip the tips of the cones in melted chocolate!
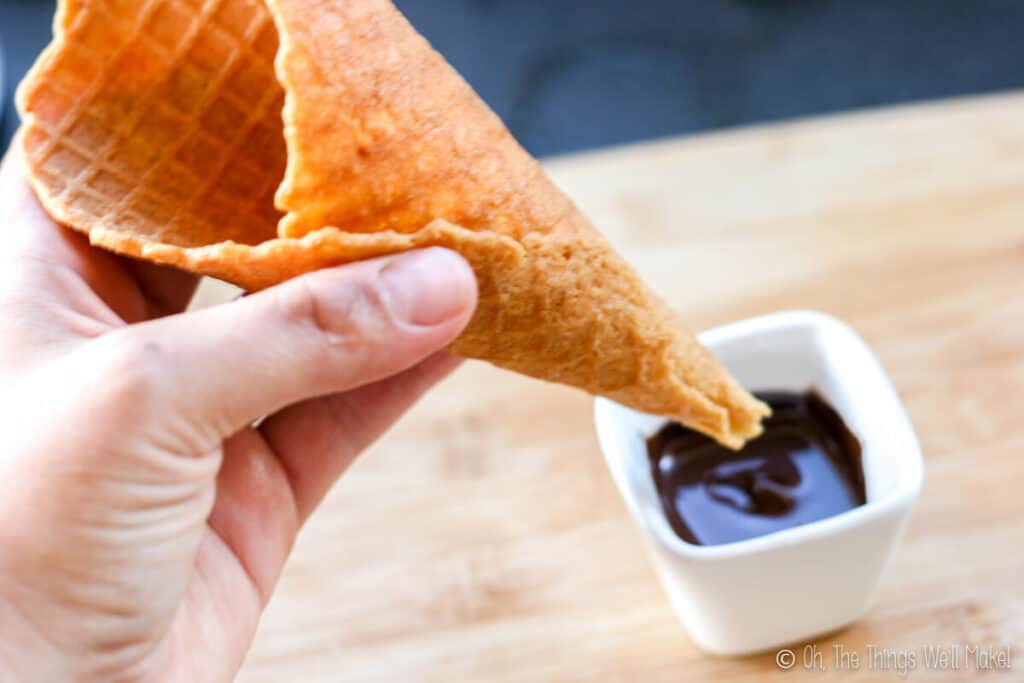
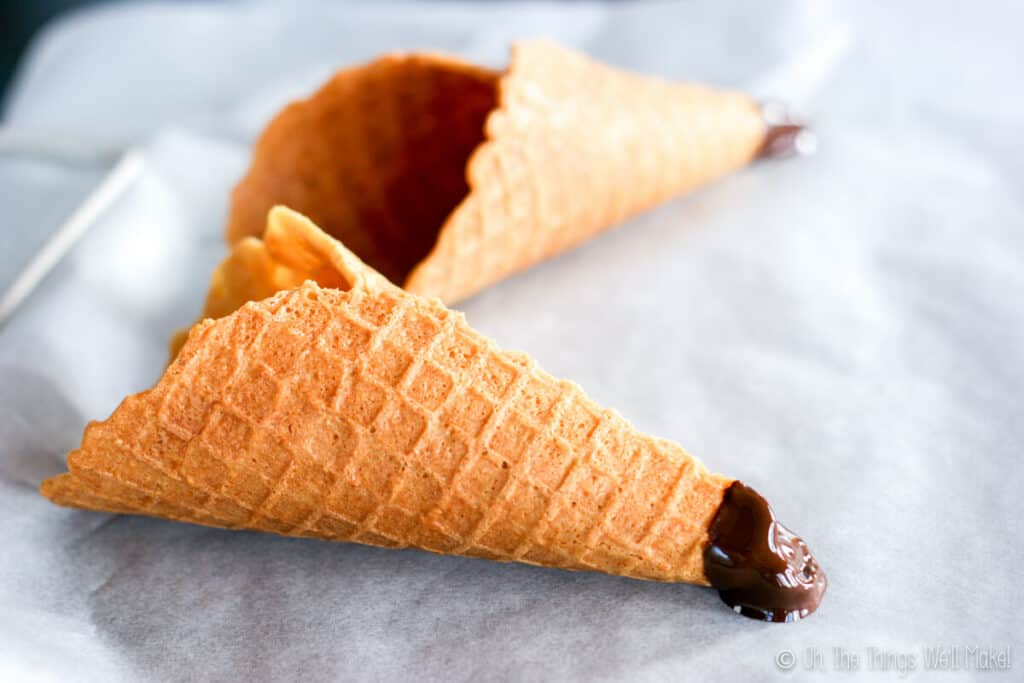

Melt a small amount of chocolate in a small bowl in the microwave or over a double boiler. Dip the tips of the cones into the melted chocolate. Place the dipped cones over a tray lined with parchment paper. Once the chocolate has cooled and hardened, you can fill the cones with ice cream without them leaking.
Serving ideas
There are a lot of frozen dessert ideas on the blog that would be perfect for serving in these homemade waffle cones and bowls.
For those who are looking for a more traditional type ice cream, I have a recipe for a frozen kefir ice cream and a matcha lychee ice cream.
If you prefer dairy-free ice cream, I have recipes for a watermelon ice cream, a pineapple ice cream, and a mint chocolate chip “nice cream” made with fresh mint, avocado, and bananas. All of those options are “paleo” and vegan.
For those who prefer sorbets, I have a recipe for an easy watermelon sorbet and a low-sugar mojito sorbet made with fresh spearmint and cucumbers.

Storage
For best keeping, store leftover cones and bowls in an airtight container. Plastic bags with a zipper-type seal work well. The most important thing is to keep them away from excess moisture or they will get soggy and lose the crispness that makes them so delicious.
You may be able to save cones that were left out and lost crispness by baking them in the oven again.
As long as the finished waffles were well cooked and are crispy, they should keep well for several weeks. With time, though, they will lose freshness.
Freezing them
Another fun idea is to drizzle some melted chocolate into the inside of the cones and, once solidified, to fill the cones with ice cream. You could then have some pre-filled cones stored in your freezer for quick and easy serving. It’s a good idea for having ice cream ready for a party.
To keep them tasting fresh, wrap them in parchment paper and store in a freezer bag or another protective covering. They will lose freshness with time, so try to use them relatively soon.
Video

Grain Free Ice Cream Cones
Ingredients
- 2/3 cup almond flour
- 1/3 cup tapioca flour
- 1 egg
- 1/4 tsp. salt
- 1/4 cup coconut sugar
- 1 tsp. vanilla extract
- 4 Tbsp. coconut oil softened or melted
- 1/4 cup coconut milk
Instructions
- Preheat a waffle cone iron or pizzelle iron.
- Combine all of the ingredients together until well combined
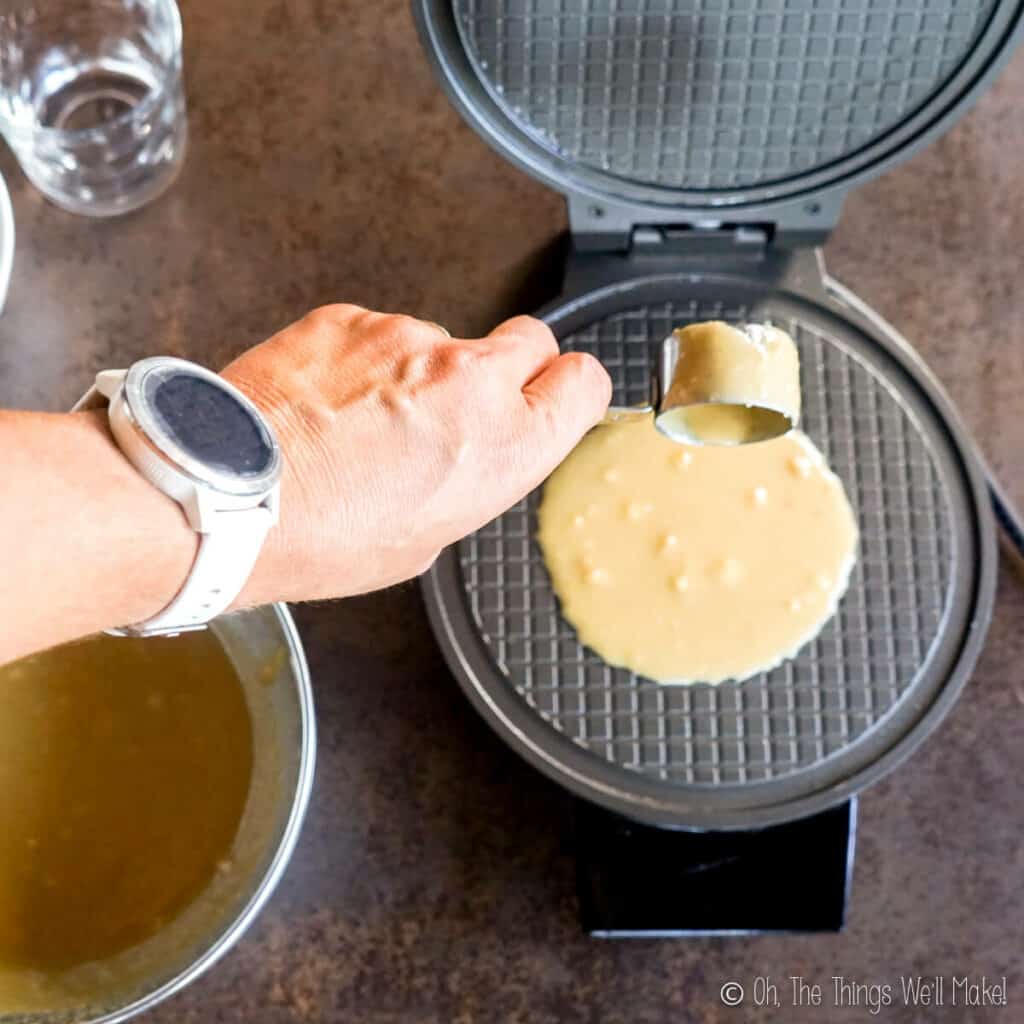
- Spoon a small amount of the mix onto the hot iron, and close. I used a heaping 1/4 cup measuring cup full of the mixture for larger sized cones and bowls. Experiment with your iron, to see how much to use for the size cones you want to make.
- Close the iron and wait at least a minute or two before opening it to peek at how your cones are looking.
- After a couple of minutes, open the iron and check for doneness. Keep cooking the waffle until it starts to brown. If you remove it from the iron too soon, the cone will not hold its shape.
For waffle cones
- Remove the browned cookie from the iron, and immediately, while still hot, roll into a cone shape. You can use a special cone shaper, or make your own cone shaper from thin cardboard or some other material. The cookie will start to harden as is cools, so if you wait too long, it will become too brittle to form.
For waffle bowls
- If you want to make waffle bowls rather than cones, place the cookie into a cup or small bowl with the approximate width you want your bowls to have. While still hot, carefully press a smaller cup into it to help shape it. You can adjust the shape gently while the waffle is still hot.
Serving
- Keep your cookie in position until it cools. (Meanwhile, you can begin to cook another cookie.) Once cool, it will have hardened and will hold its shape.
- You may not serve the cones and bowls immediately or store them in a well-sealed airtight container.
Notes

This post was originally published on August 3, 2014. It was rewritten with clearer instructions, new photos, and video in June of 2020. The recipe was also made dairy-free as the original ingredients can be found, for those who want them, in the fortune cookie recipe.


Genius! I’ve never even thought of making my own waffle cones! Is there anything you can’t make from scratch Tracy ?! ?
Looking forward to trying these… Just need to borrow my MIL’s pizzelle iron! Thank you!
I hope you enjoy them, Erin! I had a lot of fun making them.
I think I may need to make them again with my son soon as he’s now showing more interest in helping me in the kitchen. 🙂