Homemade Coconut Butter
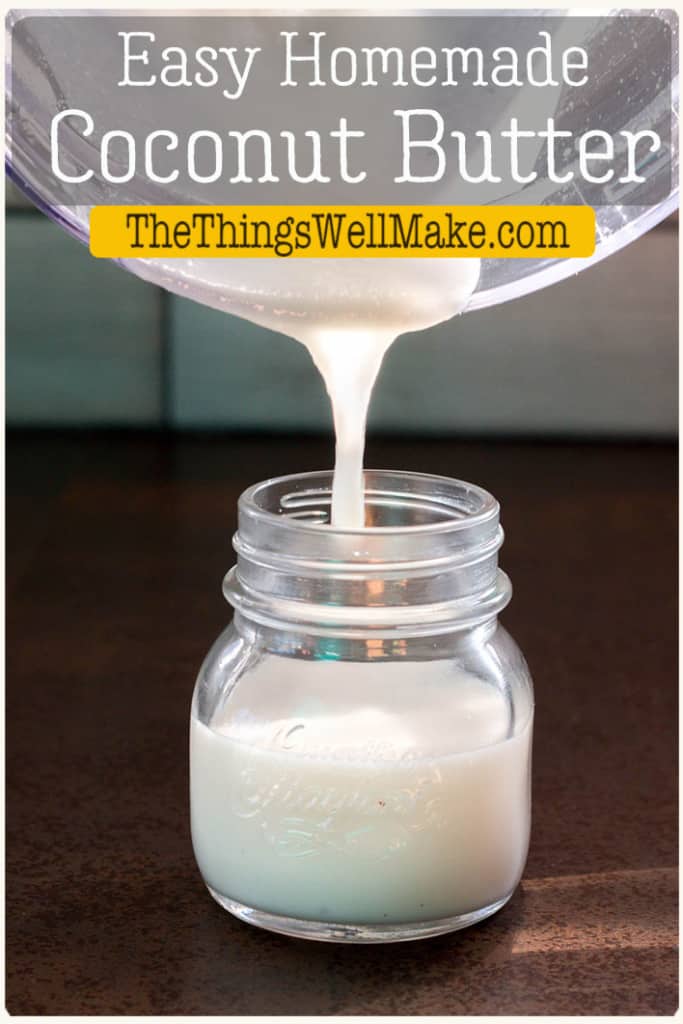
Delicious as a spread or right off the spoon, homemade coconut butter is simple to make and great for using in a wide variety of recipes.

What is coconut butter?
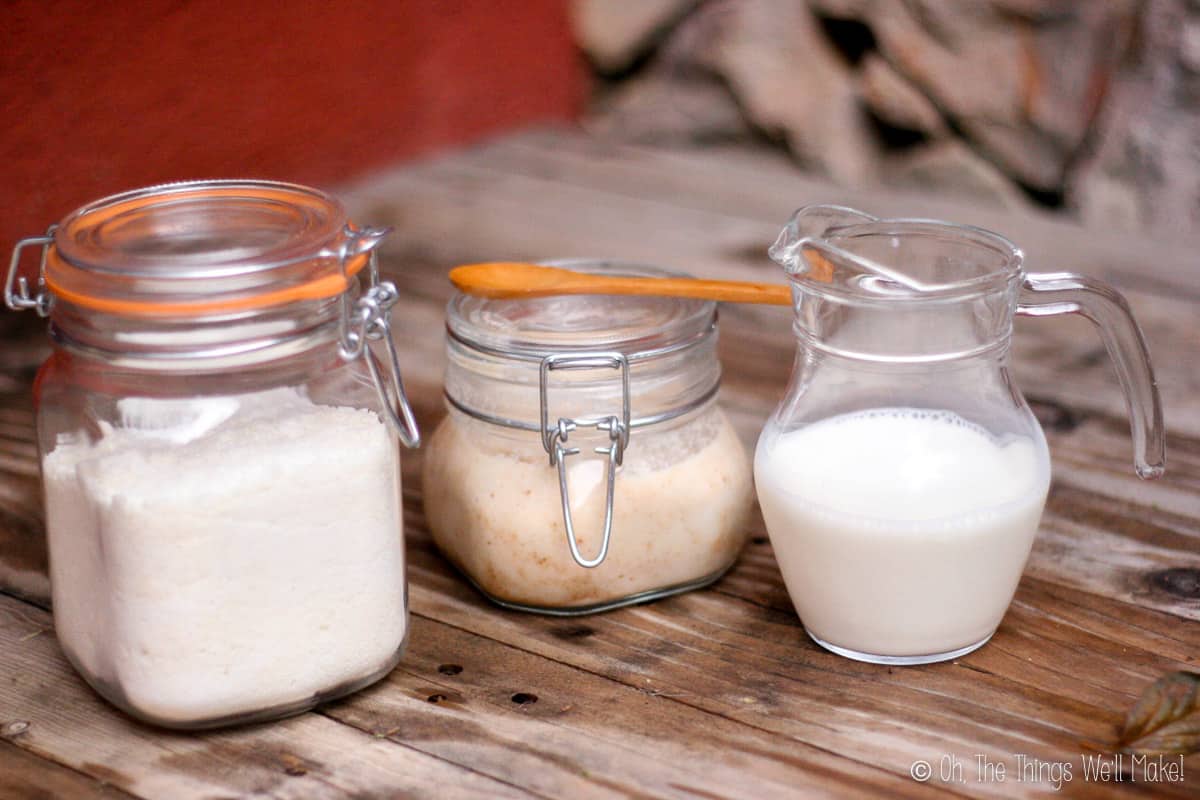
Coconut butter is a cream made from pureeing dried coconut. It is a whole food that includes the fat and fiber of the coconut.
Years ago, I mistakenly thought that “coconut butter” was just another name for coconut oil when solid. (Below 76ºF/24.4ºC, coconut oil solidifies from a transparent liquid to a white, opaque solid.)
I later saw coconut butter at a store, though, and bought it. That’s how I found that coconut butter and coconut oil are really two different, wonderful things!
Coconut oil vs. coconut butter
When solid, coconut oil looks a lot like coconut butter. It’s quite different from coconut butter, though, because it only includes the fat of the coconut, separated from the coconut fiber. It is white as a solid, but it is a clear, transparent liquid when the temperatures are warm enough.
On the other hand, Coconut butter has coconut pulp in it. So, even when temperatures are high, it is white and more like a white almond butter, definitely not a transparent liquid.
Effects of temperature
In the summer heat, coconut butter will be easier to use. It softens into a nut butter consistency. It may also separate and have a thin layer of coconut oil floating on top.
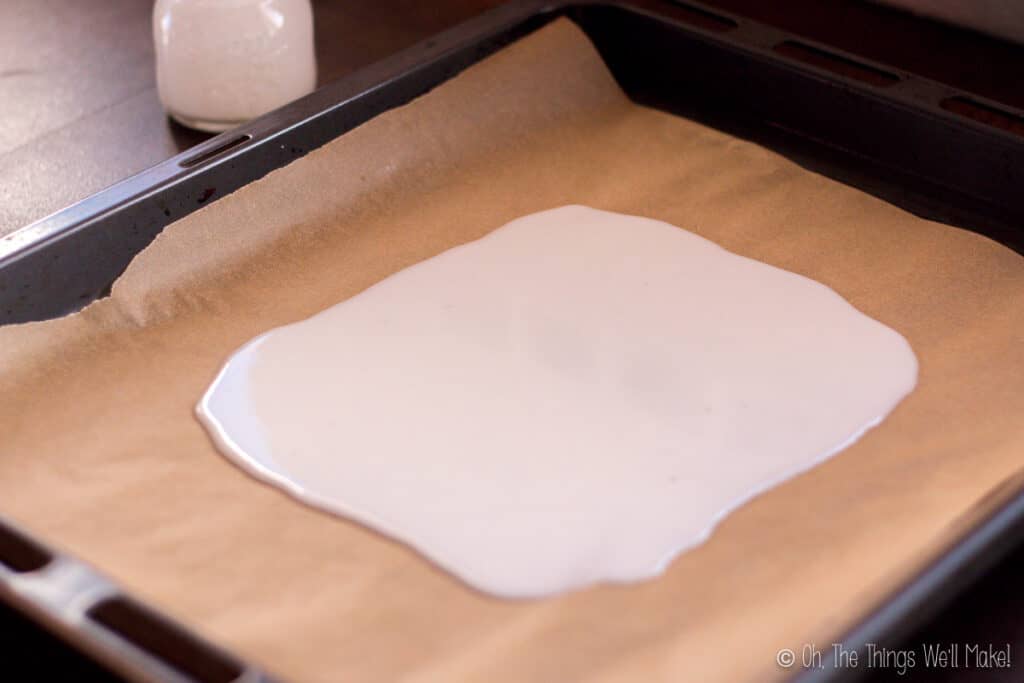
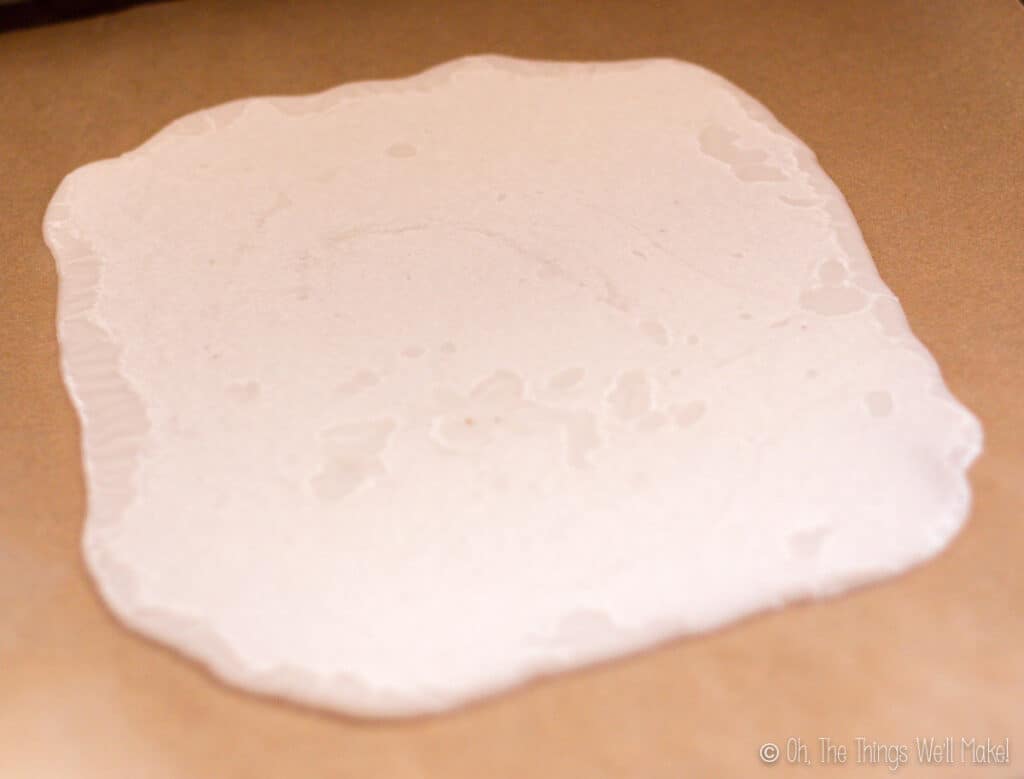
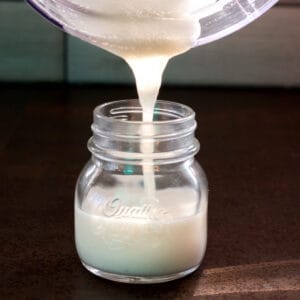
In the cold of the winter, it’s a lot harder to use coconut butter because it becomes almost rock solid! That’s why you want to pour the homemade coconut butter into a storage container right away after making it. You don’t want it to solidify in your food processor to it will be almost impossible to remove later on.
For easy use in the winter, you can pour the coconut butter over a lined baking sheet. When the coconut butter solidifies, you can easily break it into small pieces for easier storage.
Another great idea is to pour it into silicone candy trays, making little coconut butter “truffles.”
Ingredients
Coconut butter is one of those simple recipes that only uses one ingredient, dried coconut. (Some people do choose to add a pinch of salt or some flavoring. For long-term keeping, though, I recommend not adding any liquid ingredients as any water added can lead to microbial growth.)
You can use coconut chips or dessicated shredded coconut. I’d suggest using unsweetened coconut for the best (and healthiest results).
If you have a fresh coconut, you can use that, but you have to dry the coconut pieces into dried coconut chips or shredded coconut first. Make sure they are completely dried before making the coconut butter as any residual water in the coconut can lead to mold and/or bacterial growth in the finished butter. (Read my tips for choosing a good coconut and how to open it.)
Procedure
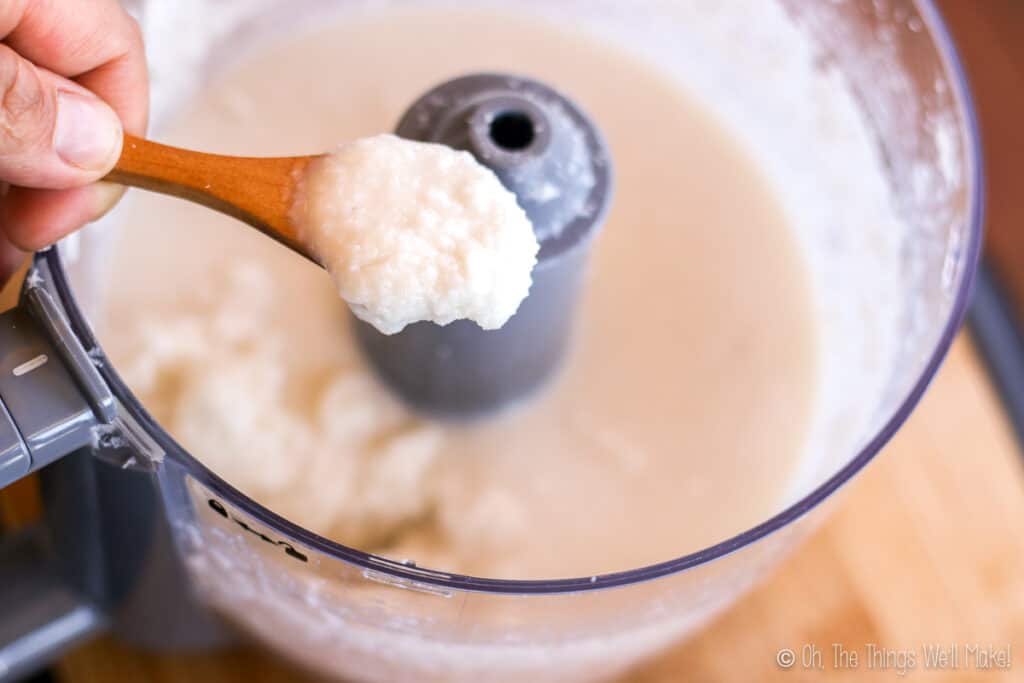
While making coconut butter is quite simple, it does take a little patience. Shredded coconut seems way too dry to turn into something so creamy without needing to add anything else. If you blend it for long enough, though, it will eventually turn into coconut butter!
Add the shredded coconut (or coconut chips) to a food processor and process until smooth. Depending upon the strength of your food processor, this can be a quick and easy process or a long one that doesn’t appear to be working.
If you are having problems getting your coconut butter to form, stop every minute or so and scrape down the sides. By moving the coconut to the bottom of the food processor, you allow the blades of the food processor to reach all of the coconut mixture.
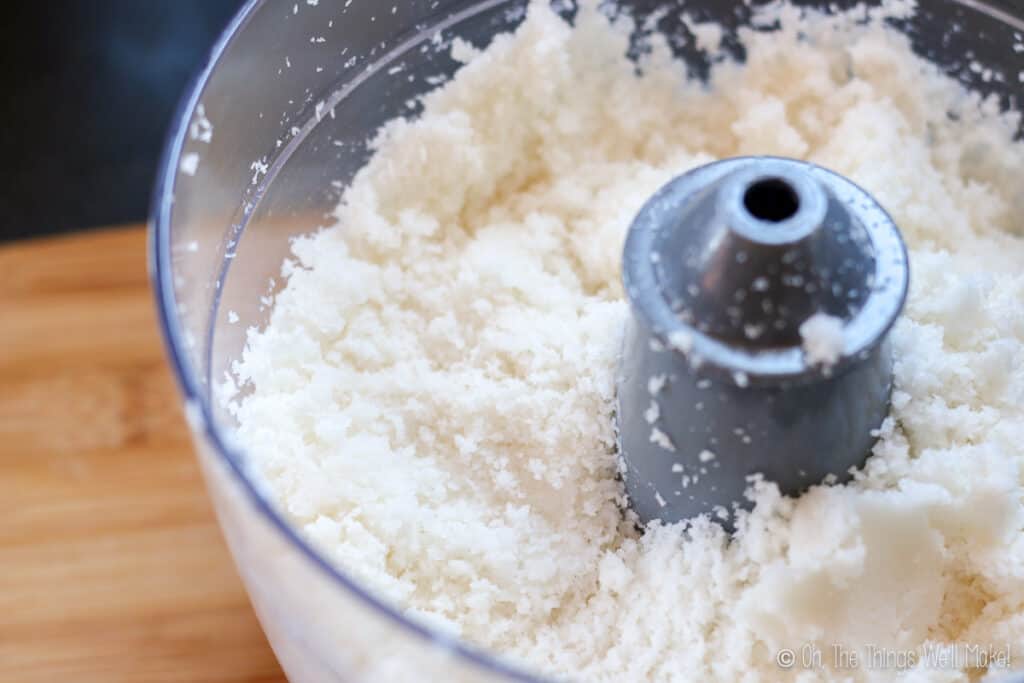
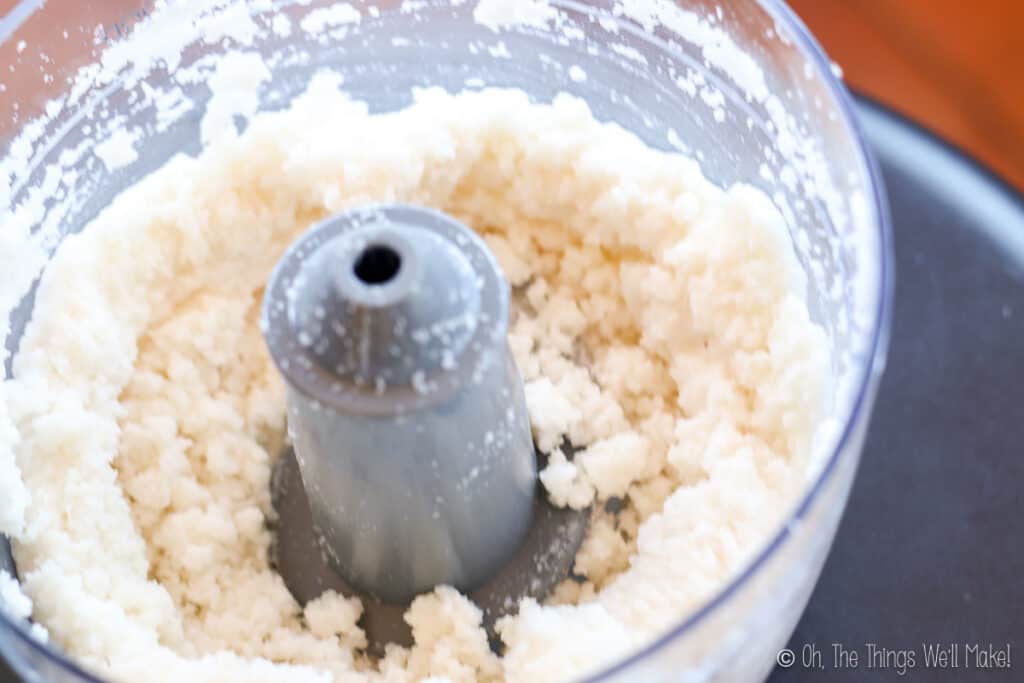
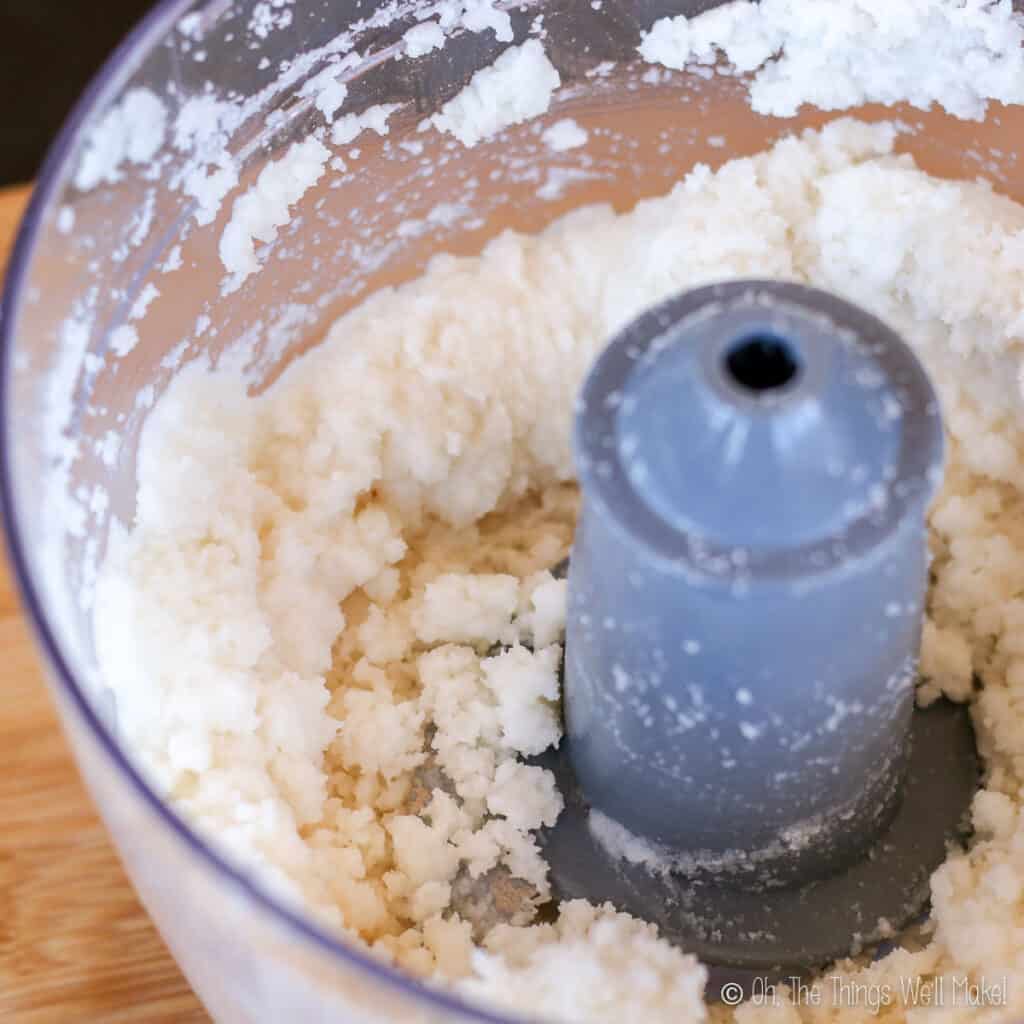
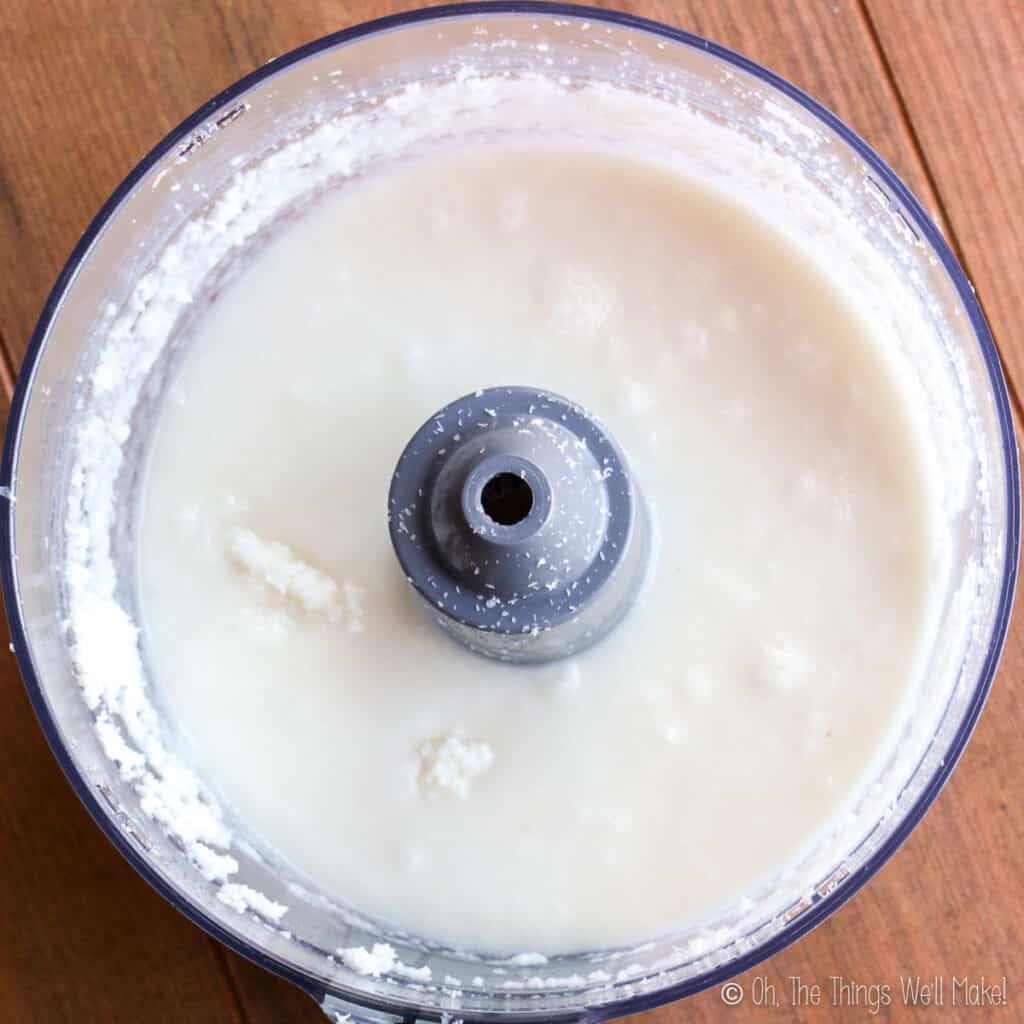
At first, you will notice the coconut getting a little bit clumpy. Keep processing, and it will start to release its oils.
Once some of the liquid from the oil is released, it makes it easier for your food processor to work the rest of it. Keep processing until you get the consistency you like.
Expert tips
It’s best made in a powerful food processor or a blender that is specially made for making nut butters. (Most blenders, because of their shape, don’t work well for making nut butters or coconut butter.) If using a high potency blender, you may have to stop and push the coconut down from the sides more often so they reach the blades efficiently.
My old food processor actually took much less time to make coconut butter than a newer one I bought that should have been more powerful. It turns out that the blades were much lower on the older one, so they kept moving the coconut better. That made the process much faster and easier.
It isn’t just about the choice of food processor, though. It’s important that the level of the dried coconut stays well above the level of the blades. So, if the blades of your food processor are on the high side, it may be best to add more coconut to your food processor to be able to make a creamy coconut butter more easily.
If you find that you aren’t able to get the coconut to release its oils and make the coconut butter with your food processor, you can also add a tad of coconut oil to help move the process along more quickly.
Variations
Coconut butter is delicious on its own, but there are a few ways that you can change things up slightly.
Toasted coconut butter
The simplest change is to make the coconut butter with toasted coconut chips. The result is a delicious toasted coconut butter.

Chocolate coconut butter
For chocolate lovers, blend the coconut with chocolate chips and/or cocoa butter. (Chocolate chips or pieces will result in a harder, more solid coconut butter.)
Flavoring with essential oils
Because this is a fat-based product, I wouldn’t suggest using water or alcohol based extracts for flavoring. On the other hand, oil-based flavorings work really well. I’ve made mint and lemon flavored coconut butter with food-safe lemon and mint essential oils.
Warning
Do your own research when it comes to using essential oils! This is particularly true when children will be using/consuming them. (Peppermint is one of the oils that is not recommended for use with young children.)
I only use food-grade essential oils in recipes meant to be ingested. Make sure that you choose a trustworthy brand meant for consumption when using them in this way. Also, be conscious not to use too much.
Adding sweeteners
To sweeten the coconut butter, you can blend it with granulated sugar or another granulated sweetener like erythritol.
While you can add liquid sweeteners like honey or maple syrup, you risk greatly reducing the shelf life of the coconut butter. (Any liquid added to the recipe can make it prone to microbial growth and going bad.) I’d also suggest storing it in the fridge after the addition of any liquids. (Keep in mind that storing in the fridge can be problematic because the coconut butter gets hard.)
Uses for coconut butter
While it can be used as a spread or dip, it can also be incorporated into other recipes.
I used coconut butter in my recipe for coconut flan.
It’s also the base recipe I used for making coconut date balls, an allergy-friendly treat using dates to sweeten the coconut butter.
Storage
As long as you used perfectly dried coconut and didn’t add any water-based liquids to your coconut butter, it will keep for a very long time. (I’ve kept it for months at a time without issues.) The expiration date of your coconut will give you an idea of how long it will keep.
It can be kept at room temperature (preferably in a dark place), but keep in mind that in cooler temperatures, it will solidify.
Video
Coconut Butter From Scratch
Equipment
- Food Processor
Instructions
- Add the shredded coconut (or coconut chips) to a food processor and process until smooth, scraping down the sides, as needed, so that the blades of the food processor can reach all of the coconut mixture.
- At first, you will notice the coconut getting a little bit clumpy. Keep processing, and it will start to release its oils. Once some of the liquid from the oil is released, it makes it easier for your food processor to work the rest of it. Keep processing until you get the consistency you like.
Notes
Tips
Depending upon the strength of your food processor, this can be a quick and easy process or a long one that doesn’t appear to be working. Be patient! For food processors with higher blades, you may need to use more coconut and/or stop and scrape down the sides more often to efficiently process the coconut.Storage
As long as the coconut was completely dried and no water-based liquids have been added, coconut butter keeps for several months. At cooler temperatures, coconut butter will solidify. Pour the recently made coconut butter into the storage container immediately after making it to avoid it hardening within the food processor as it cools. (The movement of the blades warms it while making it.) When it’s cooler, consider pouring the finished coconut butter over a baking sheet lined with parchment paper or silicone so that it hardens into a thin layer that can be broken into pieces for easy use. (You can also pour into candy molds.) In the summer, it will stay creamy, so you can leave it at room temperature for easy spreading and other uses.Variations
- Add essential oils like lemon or mint for flavoring. (Only food-safe, and use small quantities.)
- Add cocoa powder or chocolate chips during processing to make chocolate coconut butter. (Coconut butter made with chocolate chips will be slightly harder.)
- You can add sweeteners if you like. Avoid liquid sweeteners for the longest shelf life.
This recipe was originally published on the blog on June 20, 2013 along with how to make homemade coconut milk and coconut flour. It was separated into a new post of its own, adding new photos and video in June of 2021.