

How to Make Pesto Sauce & How to Store it
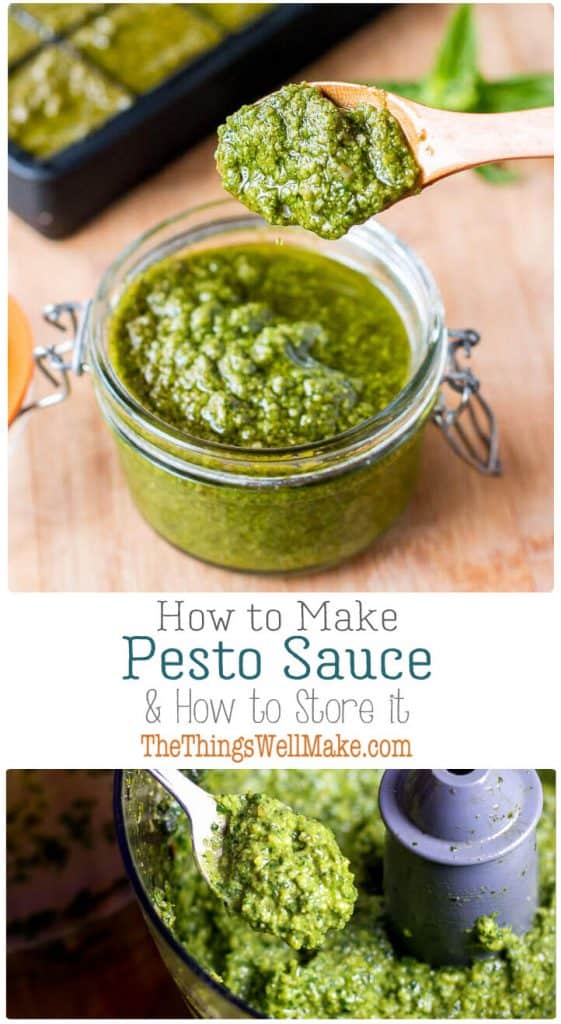
Our favorite no-cook sauce is easy to make and full of flavor. I’ll show you how to make pesto sauce and how to store it.
This is one of those recipes that I can’t believe I haven’t shared yet. It’s been on my “to do” list for years now.
Why?
It’s my son’s absolute favorite sauce! He loves it so much that I make some sort of pesto dish weekly. His favorite dish is what he likes to call “pasta cheese.”
You’d probably think that “pasta cheese” is some sort of macaroni and cheese dish that I make for him, but in actuality, my son hates macaroni and cheese. His refined 6-year old taste craves chicken and pasta tossed with pesto sauce. 🙂
Why, then, does he call it “pasta cheese”?
He loves Parmesan cheese so much that he has me grate some fresh Parmesan onto his pasta at least 3 times throughout the meal. It ends up being cheese with pasta rather than pasta with cheese. (OK, not really, but he likes it a lot!)
It’s funny because he doesn’t like very many cheeses, but seems to really love the strong, nutty flavor of Parmesan. I think that’s one of the reasons he loves pesto sauce so much. It combines two of his favorite flavors, Parmesan cheese, and basil.
Classic pesto sauce with basil
First, let’s study the classic pesto sauce.
The classic pesto sauce is a no-cook sauce made from fresh basil, olive oil, garlic, roasted pine nuts, and Parmesan cheese (Parmigiano Reggiano and/or Pecorino Fiore Sardo). Purists will continue to use those ingredients, and make the sauce with a mortar and pestle.
You begin with fresh cloves of garlic that are thrown into the mortar, using the pestle to mash it into a paste. Some people lightly pre-roast the garlic to give it a milder flavor. Others, like me, like to leave it raw. You then begin to slowly add in the other ingredients, crushing them as you go, leaving the oil for last.
While it is said that making pesto sauce with a mortar and pestle gives for a smoother, less gritty, sauce that better clings to pasta, most of us no longer have the time and patience to make pesto sauce the classic way. That’s why we’ve made some modern adaptations for those who want to enjoy the fresh taste of homemade pesto without spending hours in the kitchen, and without completely breaking your budget.
Should you only use Pine nuts in pesto?
I have to admit that I am obsessed with pine nuts. I absolutely love them, and even like to snack on them plain.
Lately, though, pine nuts are pretty pricey.
It isn’t enough that a high-quality extra virgin olive oil and a nice Parmesan cheese are already ingredients that can eat into your budget. Pine nuts seem to make the price of pesto skyrocket. That’s why a lot of people choose to use other nuts instead.
At first, I started substituting the pine nuts for walnuts. Since then, I’ve tried and loved everything from almonds to sunflower seeds. They all add a nutty flavor and texture to the homemade pesto sauce.
Should you pre-roast the nuts?
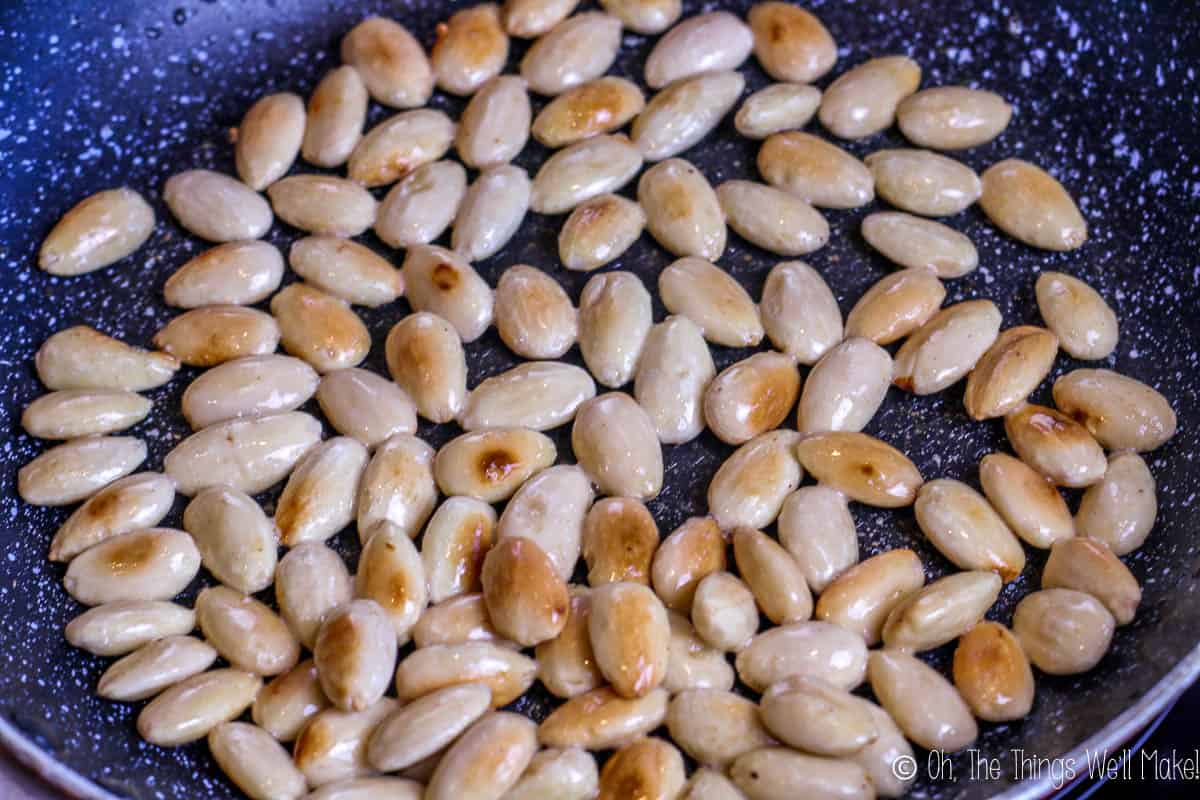
When I first started making pesto, years ago, I used to religiously toast the nuts before adding them into my sauce.
There’s a trick to roasting the nuts before using them, though. You want to slowly brown them over the stove, moving them constantly so they don’t burn. You also want to allow them to completely cool before you start grinding them or they can turn into a bit of a paste.
So, yes, I always pre-roasted the nuts, and I was sure that made a huge difference in the flavor of my pesto sauce.
Until one day…
I forgot!
And guess what? Nobody noticed the difference.
I’ve tried both ways since that fateful day, and you know what? You have to be specifically looking for the flavor of roasted nuts to maybe notice the most subtle difference!
Most days I no longer pre-roast any of the ingredients before adding them. (Some people also pre-roast the garlic to give it a mellower flavor.)
You, of course, are free to make it either way.
Can you make pesto sauce in a food processor or blender?
Pesto is traditionally made by carefully mashing the garlic and basil and other ingredients in a mortar with a pestle, while slowly drizzling in the olive oil.
Doing it by hand helps give you the control to make the best possible pesto sauce, filled with lots of love and the perfect texture.
Pesto made with mortar and pestle (Oh my! I almost wrote mortar and pesto!), takes more than just a lot of love and patience, though, it also takes some time. That’s why so many people, like me, have resorted to using either a blender or food processor instead.
Watch how to make Pesto Sauce

Is food processor pesto bitter?
Some people insist that food processor pesto is bitter. To be honest, I’ve never had that issue.
It is said that if you do end up with a bitter pesto that was made in the food processor, it was likely because you over processed the olive oil. This is, of course, only hearsay on my part, as I’ve personally never noticed the issue. I use an immersion blender with olive oil when I make my homemade aioli too, but haven’t had the problem with either recipe. Neither recipe calls for hours of blending, though. I think the key here is not to over-process the pesto. You want it to have a bit of texture anyway. To be on the safe side, you can add the oil as needed, adding the most at the end of the recipe making process.
The main difference between pesto made in the food processor from pesto made in the mortar and pestle is really the texture. Traditional pesto has been pounded and ground rather than shredded by blades. Because of the difference in methodology, the basil leaves have a different texture in the sauce.
Pesto made in the mortar and pestle coats the pasta better and looks prettier.
I’m normally serving the pesto on pasta to a six-year-old who really doesn’t seem to care about those sorts of things. My husband and I usually serve our pesto on zucchini noodles instead, and with all of the green, I don’t really see much of a difference either. What it comes down to… If I were to make pesto sauce for a fancy dinner, I might consider making the sauce by hand. I’d serve it on homemade pasta (which is something that I actually did make pretty much all of the time before a transitioned to more paleo-friendly zoodles). For my huge batches made for weekly rations of pesto, though, it just isn’t worth it for me!
Homemade Pesto Sauce Recipe
Pesto Sauce Recipe
Ingredients
- 6 cups basil leaves
- 6 cloves garlic
- 2 cups extra virgin olive oil
- 5.3 oz parmesan cheese
- 1 cup mixed nuts walnuts, almonds, sunflower seeds, and/or pine nuts
- salt to taste
Instructions
- Peel and cut the garlic into pieces. (This is just to help the process. It will be fully minced in the food processor.)
- Add the cheese, cut into chunks, to the food processor, and process it until it becomes a coarse powder.
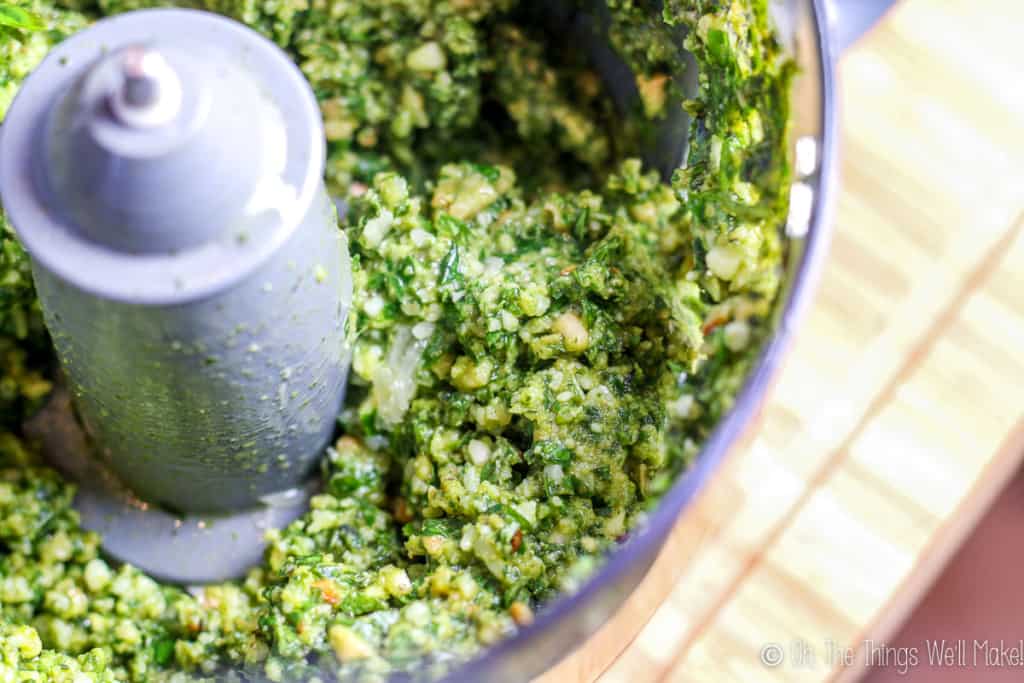
- Add the garlic, nuts, basil, and some olive oil (in that order), and begin to process the ingredients. If you are using a regular blender or an immersion blender, you will probably need more oil to get things going. Process until all of the ingredients are well combined.

- Taste the pesto for salt. I like to wait until it is made before adding the salt because the parmesan cheese is quite salty itself, and it’s easy to add too much too quickly. Add salt to taste, and process the sauce until it reaches the desired texture.
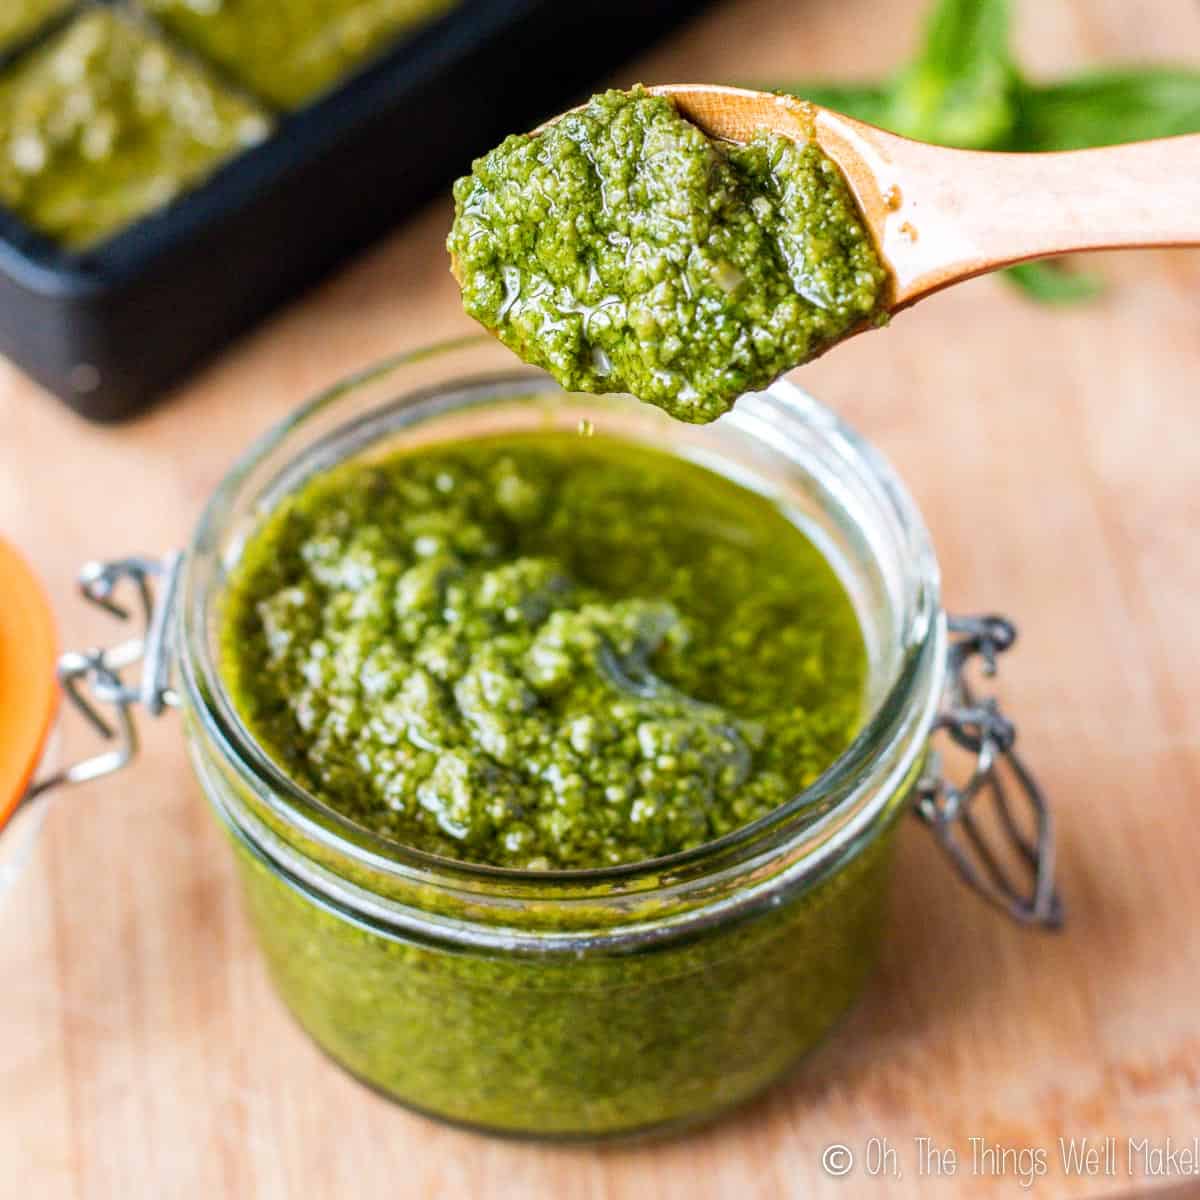
- Serve immediately, or freeze for later!
Notes
- Nutrition facts based on using walnuts for the nuts.
- Nutrition size is calculated for 1 ounce, which is one cube of the tovolo trays. We usually use 4 cubes for 3 people, so you may end up using more, especially if you like a lot of sauce on your pasta.
How to store homemade pesto sauce
Because I grow my own basil, towards the end of summer I’m always harvesting my basil plants and making big batches of pesto sauce to use throughout the rest of the year.
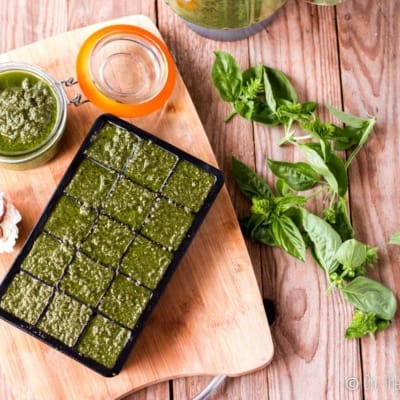
Freezing homemade pesto sauce
My favorite way to store homemade pesto sauce is to freeze it.
Should you freeze with or without the cheese?
I’ve often seen the advice that you should freeze the pesto sauce without the cheese, and add the cheese later after you’ve thawed it.
Certain cheeses, like some of the softer cheeses or cream cheese, don’t freeze very well. I think that’s the main reason that some people choose to make their pesto sauce without the cheese and add it later.
Parmesan cheese, though, is a hard, aged cheese that actually freezes well.
I personally always freeze my pesto sauce with the cheese already in it and have never had any problems doing things that way. It freezes beautifully and thaws to a perfect flavor and texture. If you prefer to add the cheese later, though, that’s always an option. It may save the tiniest bit of freezer space, I guess, but I really don’t see any other reason as to why you would want to freeze the pesto without the cheese.
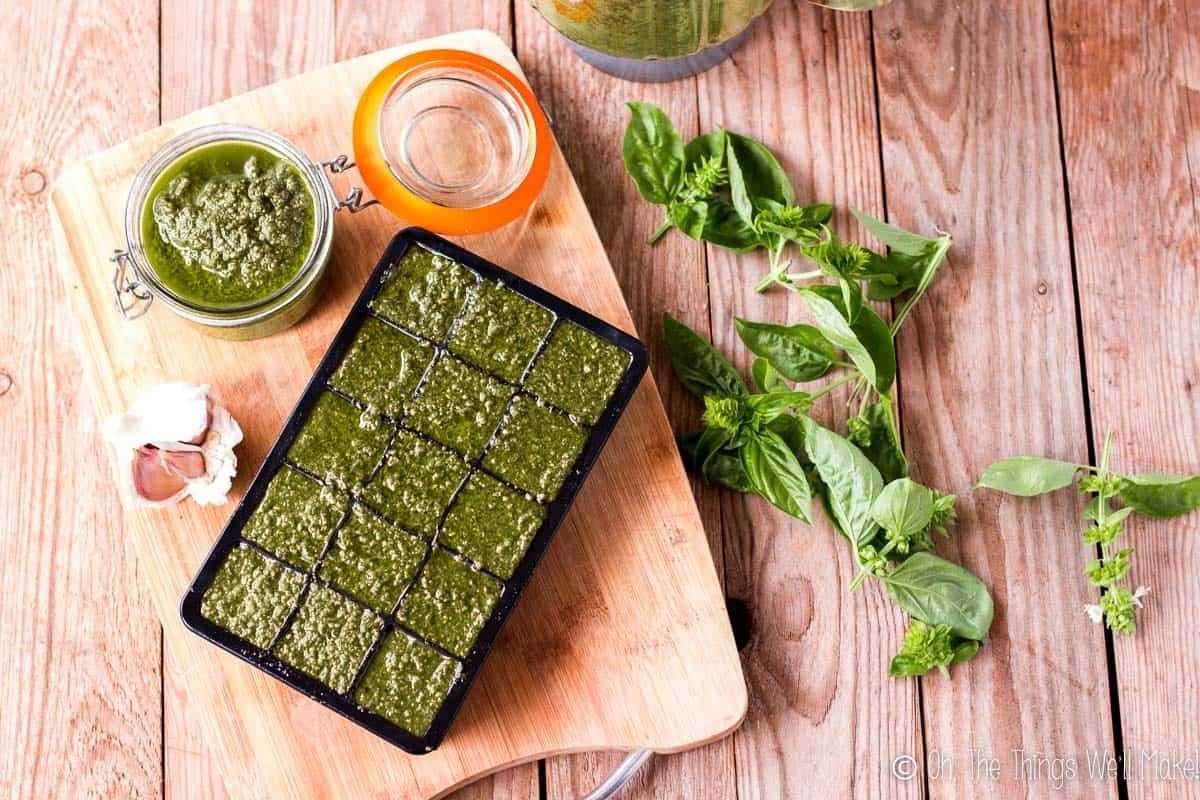
My favorite ice cube trays
If you’ve been following my blog for a while, you’ve probably already seen how much I love using some Tovolo ice cube trays that make perfectly cubic ice cubes. I used to use other shaped ice cube trays, but I found I was wasting a lot of space in my freezer. Since I like to freeze a lot of my pre-made foods like homemade pumpkin puree or smoothie cubes (or baby food), saving space is really important to me.
It’s not even all about space, when making perfectly cubed ice cubes, you can easily stack the cubes in a bag, and they stand up on their own. I fill each draw with several baggies full of cubes and am able to easily shuffle through and find what I need, just like I would at a file cabinet. Plus, the cubes are exactly 1 ounce, which is a good size for this sort of recipe. We use 4 cubes for the 3 of us, and there are usually leftovers of whatever pasta or zucchini noodles we are using.
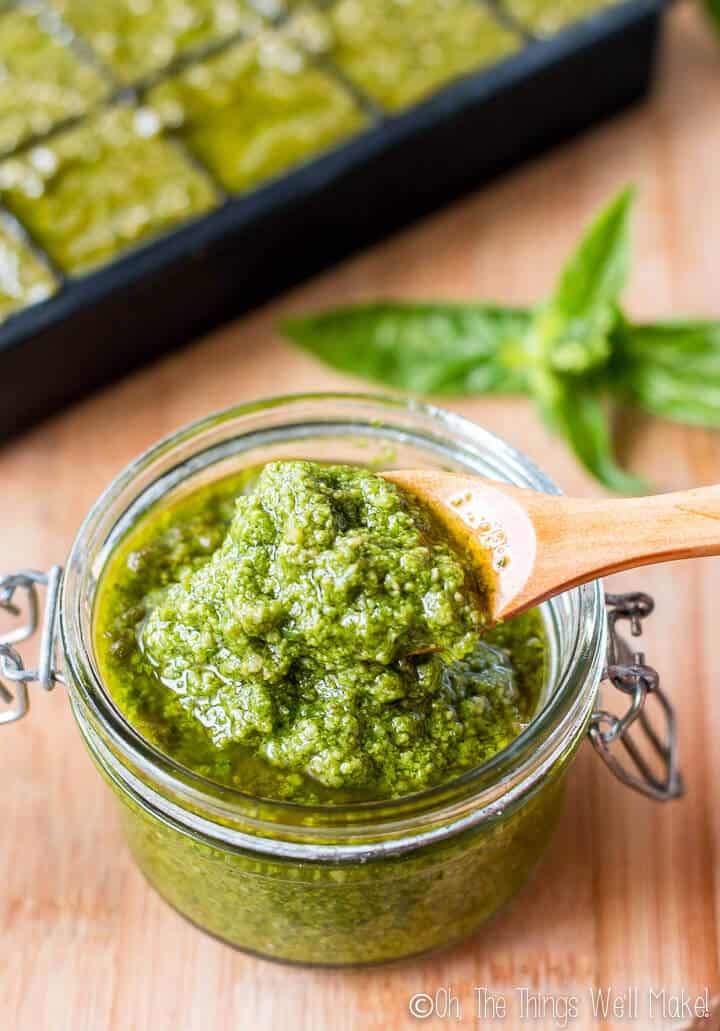
Keeping the pesto sauce green
When trying to conserve pesto sauce, you’ll notice that it will turn brown after a while, especially when not covered. You can prevent this by freezing as soon as you can after making it and covering the trays with some wax or parchment paper. If you are careful to keep air from getting to the sauce, which is what oxidizes it and allows it to turn brown, you should end up with a perfectly green frozen pesto sauce.
Defrosting the pesto sauce
Because pesto sauce is typically a raw sauce, I don’t like to cook my sauce to defrost it. There are a couple of ways to get around this.
If you’re a better planner that I am, the ideal thing to do is to defrost the sauce in the fridge for several hours before you need it. If you keep it covered, it shouldn’t brown during that time, and if it does brown, it should only be a thin layer on the outside which, when mixed in with the rest, won’t be noticed as the sauce will be green when combined.
As I tend to forget, I usually take out several cubes (I use around 3-4 for my family of 3, and add a bit more olive oil to it to thin it out), right when I’m starting to make dinner. I place the pesto cubes in a bowl right next to a pot of boiling pasta or cooking chicken. That helps them thaw more quickly. As they begin to melt, I cut the cubes into smaller pieces to help them defrost more quickly.
In the end, if there are a few tiny pieces of frozen pesto left, I just throw them in with the hot, strained pasta, or in with some hot, cooked chicken pieces, to finish defrosting them.


I used this recipe last year and am going to use it again! I actually froze mine in cupcake holders with a 1/2 cup in each holder. My favorite recipes call for a 1/2 cup so it works perfectly. Stored in ziplock bags after freezing each then to the deep freezer. Also I used walnuts and it’s delicious!! Thank you 🙂
That’s wonderful to hear Ashley! Freezing in ½ cup portions is such a smart idea and the walnut version is delicious.
Thanks so much for sharing.
I made about 6 batches to freeze yesterday and to share amongst my daughters. It is amazing, well worth the effort. I also made some using half basil, and half carrot greens, also turned out perfectly.
Awesome! I’m glad you liked it!
I made this today and put it in jars. And then into the freezer. I used just pinenuts and I toasted them before I made the pesto. It tasted pretty good when I tasted it. Oh, by the way, I grew my own basil. I had a pretty good crop and it was starting to get cold so I knew I needed to harvest it.
Thanks for sharing, Connie! Homegrown basil makes the freshest pesto. It’s my son’s absolute favorite sauce too!
Excellent recipe and Ute extras on how to freeze and keep from turning brown were right on.
Thank you,
Carol
Thanks, Carol!
You don’t say when to add in Basil but I am assuming step 2
Hi Michelle,
Sorry about that! I just fixed the instructions to add them in!
Thanks for catching that for me!
I’m curious in how long is the refrigerator life.And how would I ship it out of state( my Godmother like when I make things.
Hi Ceejay,
I’m not sure about the fridge life. We usually use it right away. We do save uneaten pasta covered in pesto for a few days in the fridge and it seems to keep well. The sauce itself will turn brown when exposed to air, so I’d suggest storing it in a small container and covering it well so that air doesn’t get to it. You could consider pouring a layer of olive oil over it to keep the air away.
As for shipping, that’s a lot more difficult. I have never tried “canning” it, so I don’t know how well that would work. Otherwise, I wouldn’t have any suggestions. I think freshly made is so much better and that’s why I personally make it at home. Freezing gives the best flavor for storing, but that’s not practical for shipping, of course.
Awesome thankyou. I’ve made pesto only twice and this was helpful in many ways, including the ice cube freezing, the prevention of browning, and the cheeses and nuts info. Thanks!
Hi Rachel,
I’m so happy to help! We go through a lot of pesto here at my house. My son is obsessed. 🙂
if you added the juice of 1 lemon to this amount of basil (approximately 3 Tablespoons of juice), itd never go brown wether frozen or fresh or stored in airtight jar in fridge for a week. Add the zest too for a nice tangy bite.
Your pesto has zero acid to prevent browning, which is odd as its traditional for flavour, to avoid browning and to extend shelf life both fresh or frozen.
You could experiment with vinegars as well, a nice light White Wine vinegar would be more mellow than lemon or more robust vinegars and serve the same purpose.
Thanks for the tips, Kat!