

How to Make Lye Cured Olives – A Step by Step Tutorial

Lye cured olives are a traditional snack made by soaking whole green olives in a lye solution and then brining them for flavor and preservation. Learn how easy it is to lye cure olives at home (and why you’d want to).

Here, in my region of Spain, it’s common to find olive trees. In autumn, the olives ripen and are perfect for harvesting. Fresh olives can’t be eaten directly off the tree, though. (Well, they can be, but they are very bitter and unpleasant to eat.) So, olives need to be cured to remove the bitterness. You can then flavor them and preserve them with a brine solution and/or vinegar.
Olives are generally a healthy snack and are delicious! By making them yourself, you can choose how to flavor them and the degree of bitterness you want the olives to have.
Why lye cure olives?
The art of curing olives in a lye solution has existed for many years. Traditionally, ashes were used as an alkali to more quickly cure the olives (just as they were used to make the first bars of soap). Here in Spain, some people continue to use ashes for curing their olives.
Olives that are fresh off the tree are quite bitter, so they must be cured to remove the bitterness and make them more palatable. While this can be done by soaking the olives in water, curing whole olives in that way would take a very long time.
Water-cured olives are generally smashed or sliced before soaking in water to reduce the cure time. (It still generally takes around a week to remove the bitterness.) Whole olives would take much, much longer. By curing the olives in lye, the cure time for whole olives is greatly reduced. Lye curing also is more effective at removing bitterness. While I actually like the olives to retain some of their bitterness, many people (like my son) prefer the milder tasting lye cured olives.
If you have a lot of olives, I’d suggest giving both methods a shot. Lye cure some of them and water or salt-cure the rest of the olives.
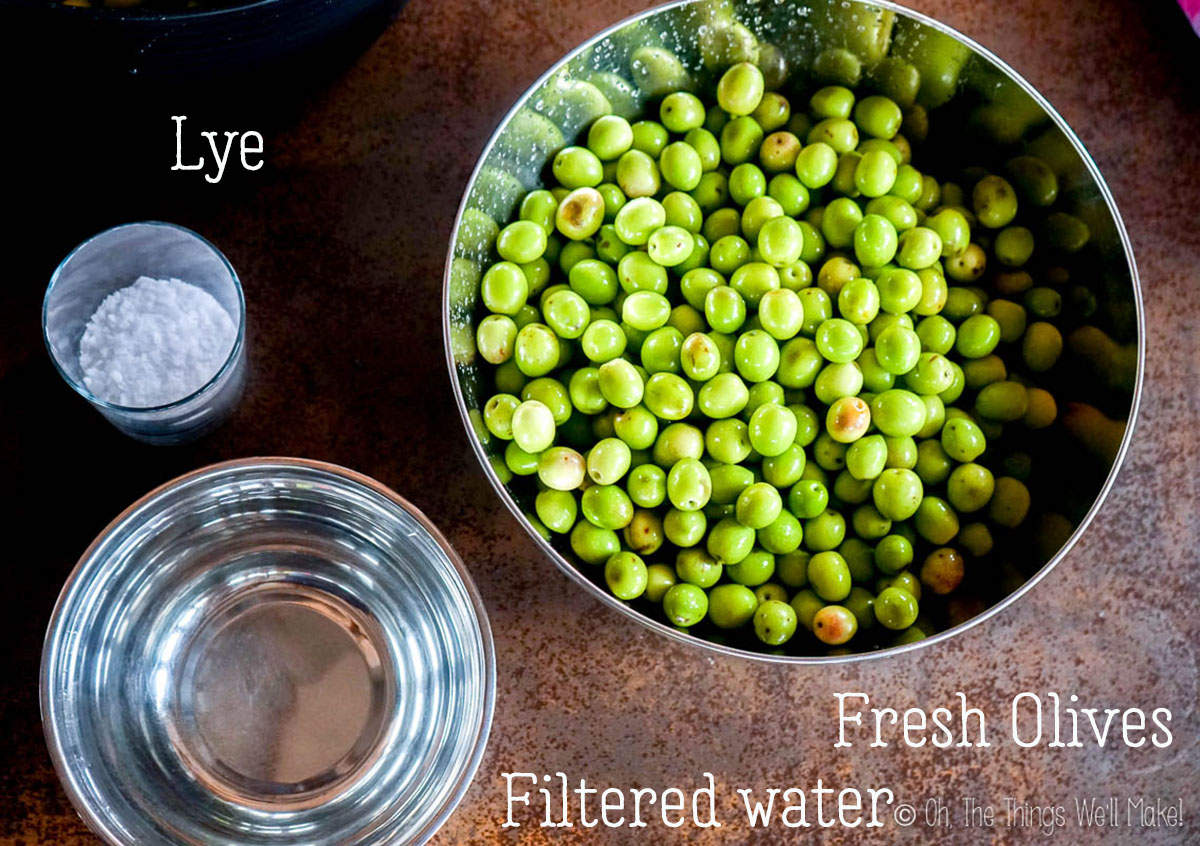
Ingredients
To make lye cured olives, you’ll need a batch of green ripe olives. (Common olives to use are manzanilla olives or mission olives.)
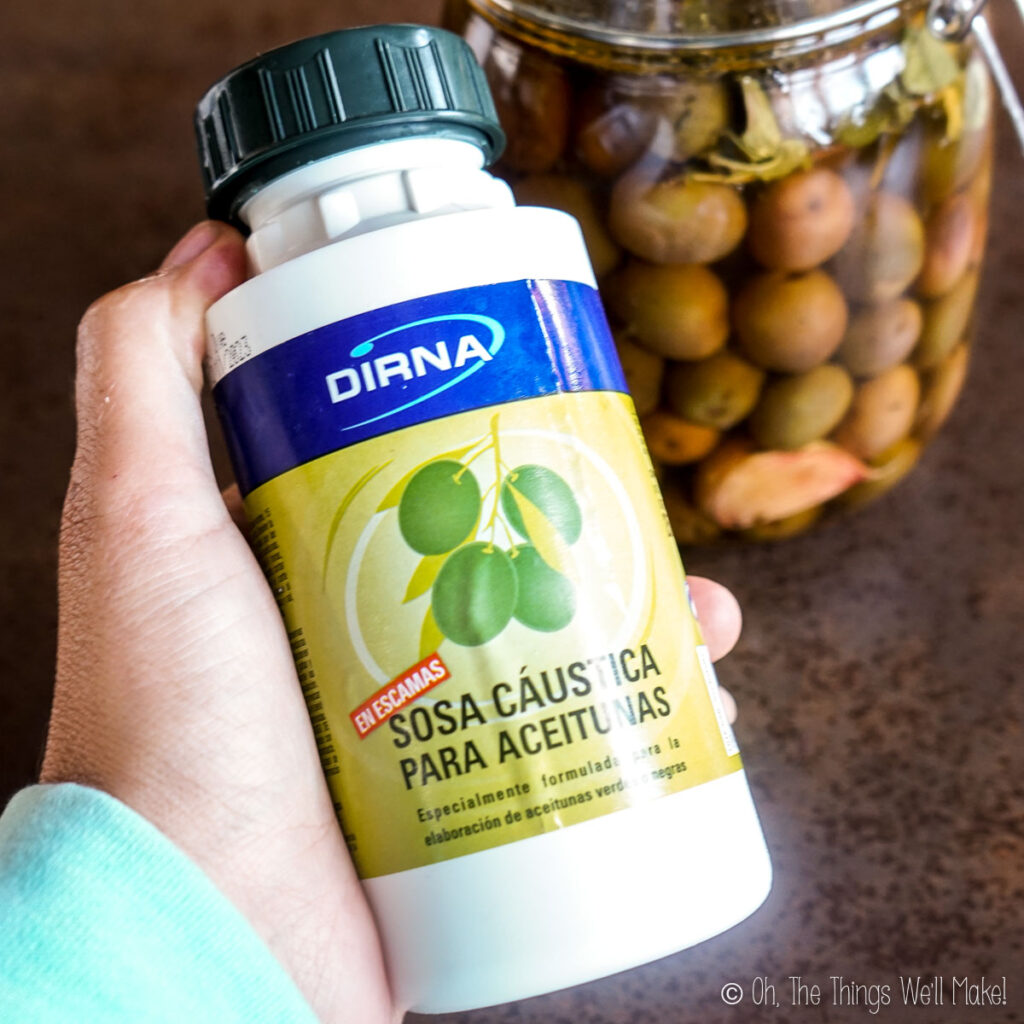
You’ll also need some lye (also known as caustic soda, sodium hydroxide, or NaOH). While some people successfully cure their olives with lye found in the cleaning section and sold as drain cleaner, I prefer to use food-grade lye. (If you do use lye from the cleaning section, make sure that it only includes lye and no other chemical additives.)
Apart from the lye and the olives, you’ll need some filtered (unchlorinated) water. You’ll also need some salt for brining the olives after curing them in lye. This will add flavor and will help preserve the olives.
For added flavor, you can optionally add some herbs, spices, garlic, and/or vinegar. You should also have some olive oil on hand to pour over the surface of the brined olives to keep them from being exposed to air. (This will prevent mold formation.)
Black olives can be made in the same way, but using a less concentrated lye solution. Rather than dissolving up to 30 grams of lye for every liter of water, try using 15 grams instead!
Procedure
Lye curing olives is simple. First, we’ll soak the olives in a lye solution. Then, we’ll remove the lye will by soaking the olives in water. Once cured, we’ll flavor and preserve the olives in a brine solution.
Preparing the olives
Rinse the olives and remove the stems and leaves. Also, remove any olives that are damaged or have any obvious holes in them. Holes in the olives are a sign that the olives have been infested with the larva of the olive fly. While it’s probably harmless to eat them, most people would find it unpleasant. Some olives with brown staining may also be affected even if they don’t have any obvious holes in them.
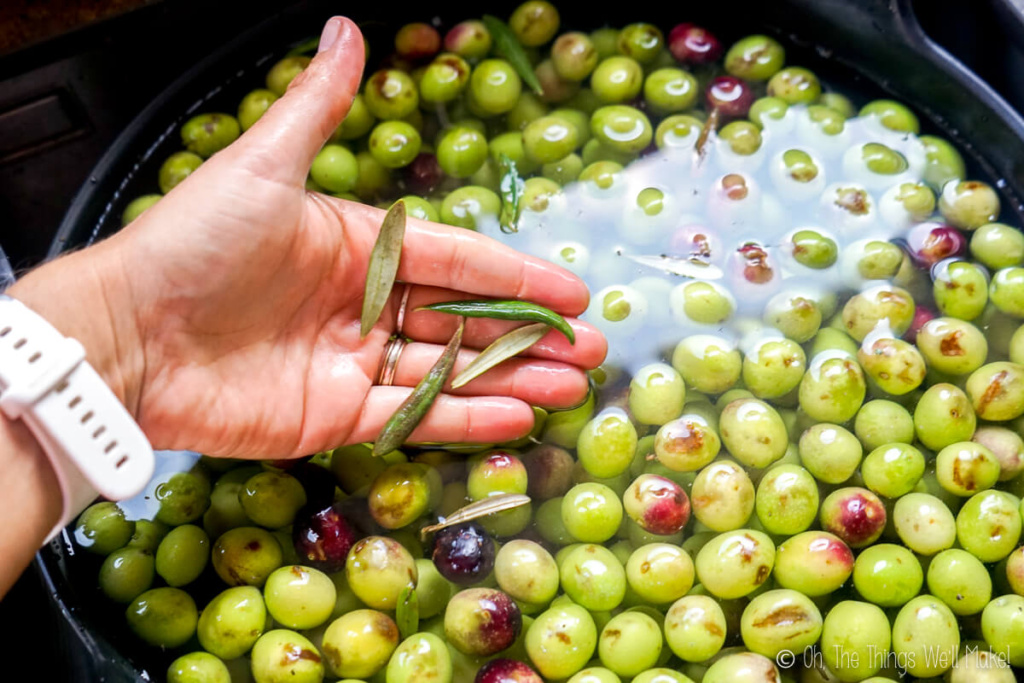
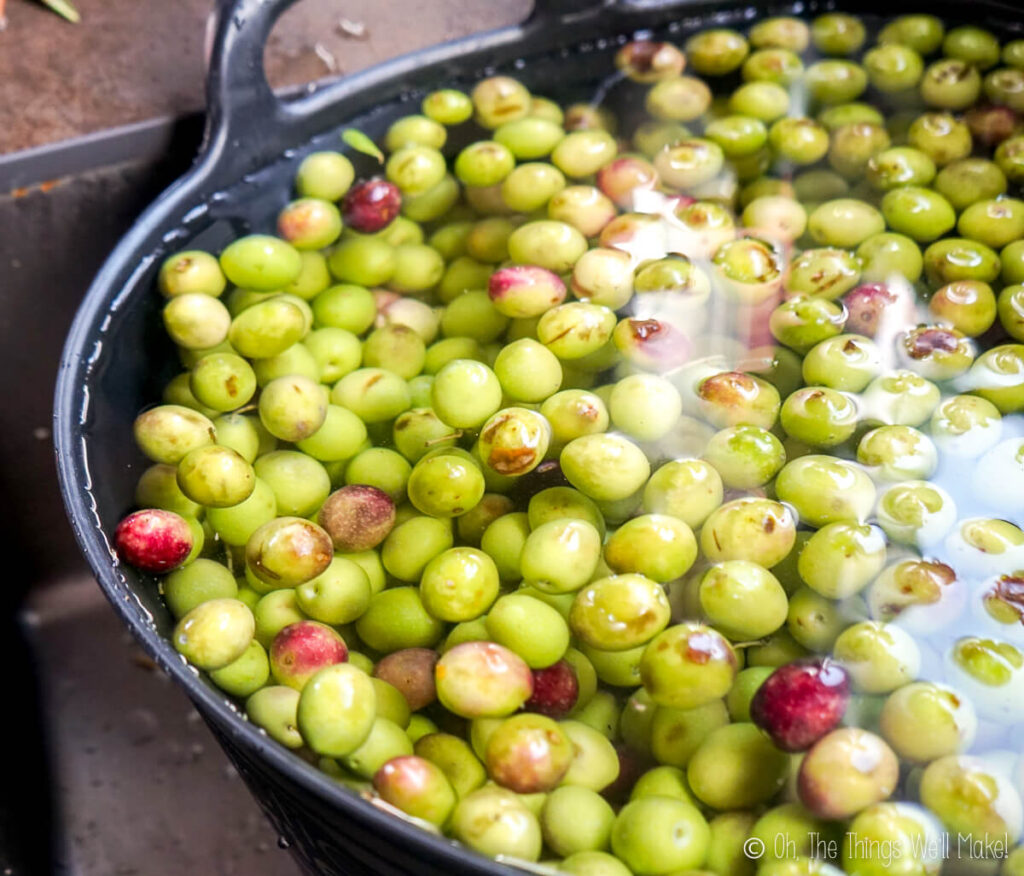
To help you in the process of choosing the best olives, try soaking the olives in water. Olives affected by the fly are more likely to float to the surface.
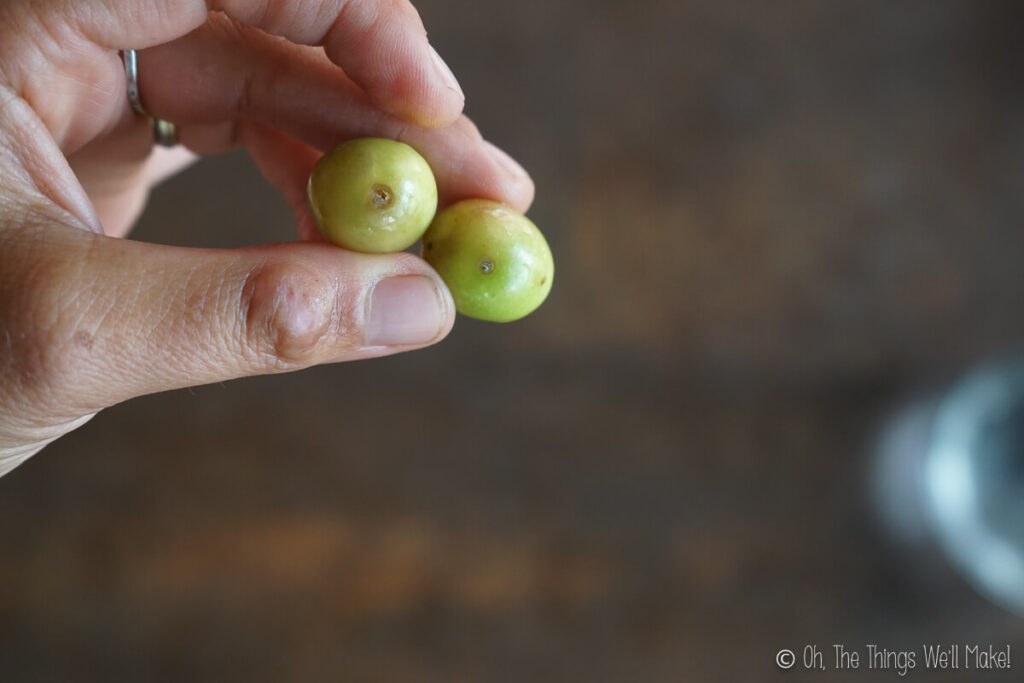
Obvious holes 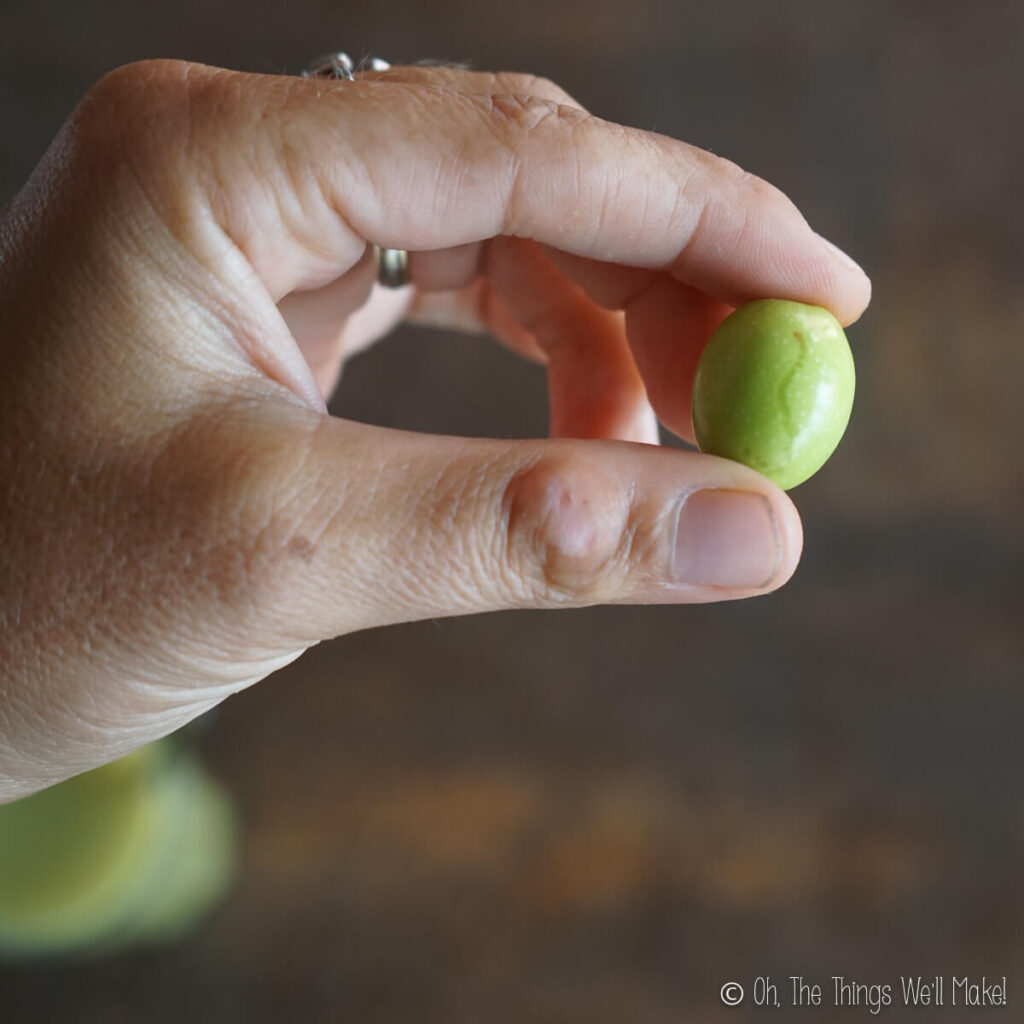
Track marks without an obvious hole 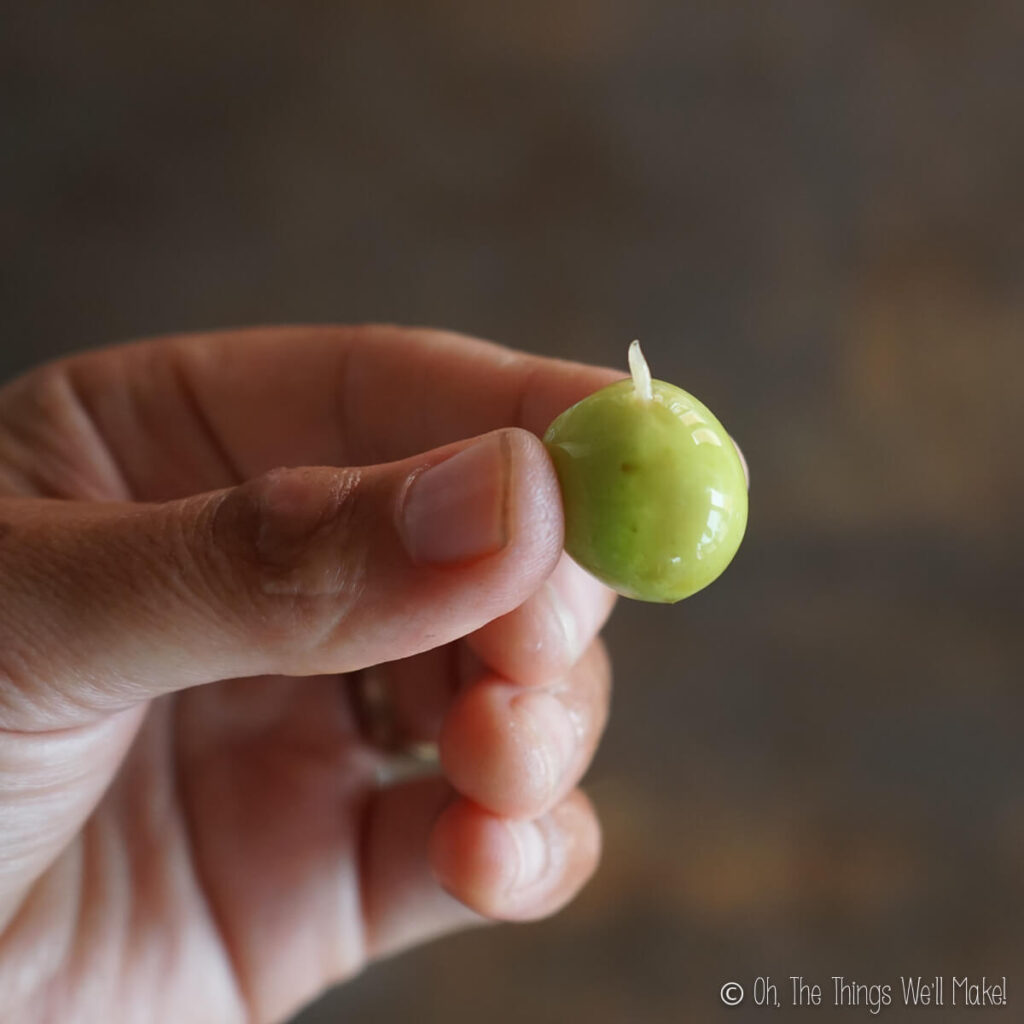
When soaked, the larva may come out. 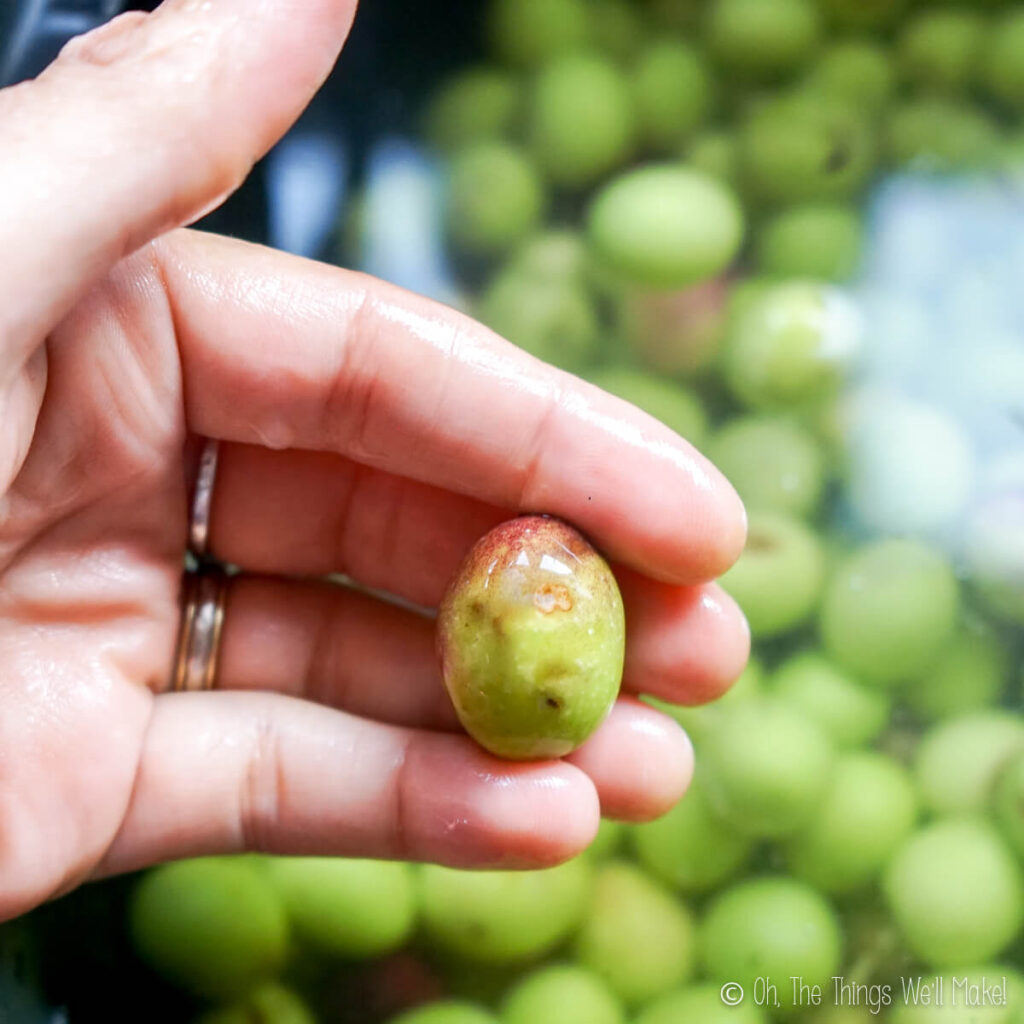
Brown interior staining
Mixing the lye solution
This is the part of the process where you need to be the most careful. While lye has been used for many years, it is a highly caustic and can burn your skin. As a precaution, it’s best to wear long sleeves, long pants, and gloves while mixing the lye solution. You should also wear safety glasses to keep any splashes from reaching your eyes.
To mix the lye solution, pour the lye into a container with some cold water. It’s best to work outside or in a well-ventilated area.
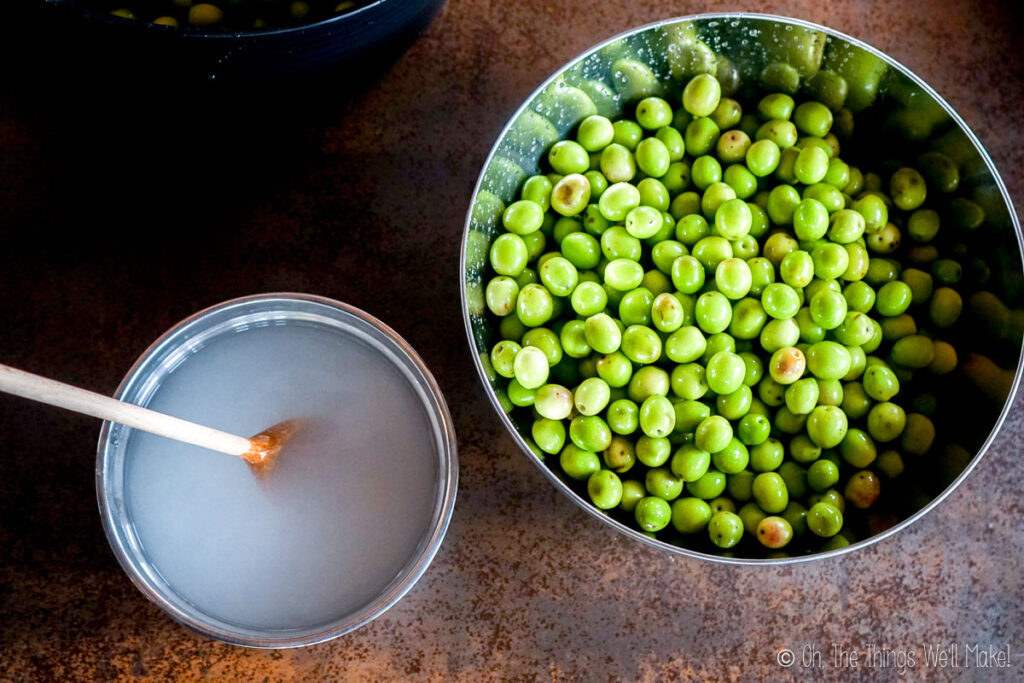
Never pour the water into the container with the lye! (It can have “explosive” results.) I used to mix the lye solution in heavy-duty glass containers, but have since heard of glass cracking from the heat given off in the chemical reaction between the lye and the water. Despite never having issues myself, I now mix the lye solution in stainless steel bowls instead. You can also use a plastic container if you prefer. Avoid using other metals (especially aluminum) as they can react negatively with the lye giving off toxic fumes.
Once you’ve poured the lye into the water, stir with a plastic, wooden, or stainless steel utensil until the lye has fully dissolved. (Lye may darken or otherwise discolor wood.) Heat will be given off during the reaction. That’s normal. Allow the mixture to cool in an area where it won’t be accessed by animals or children.
The lye treatment
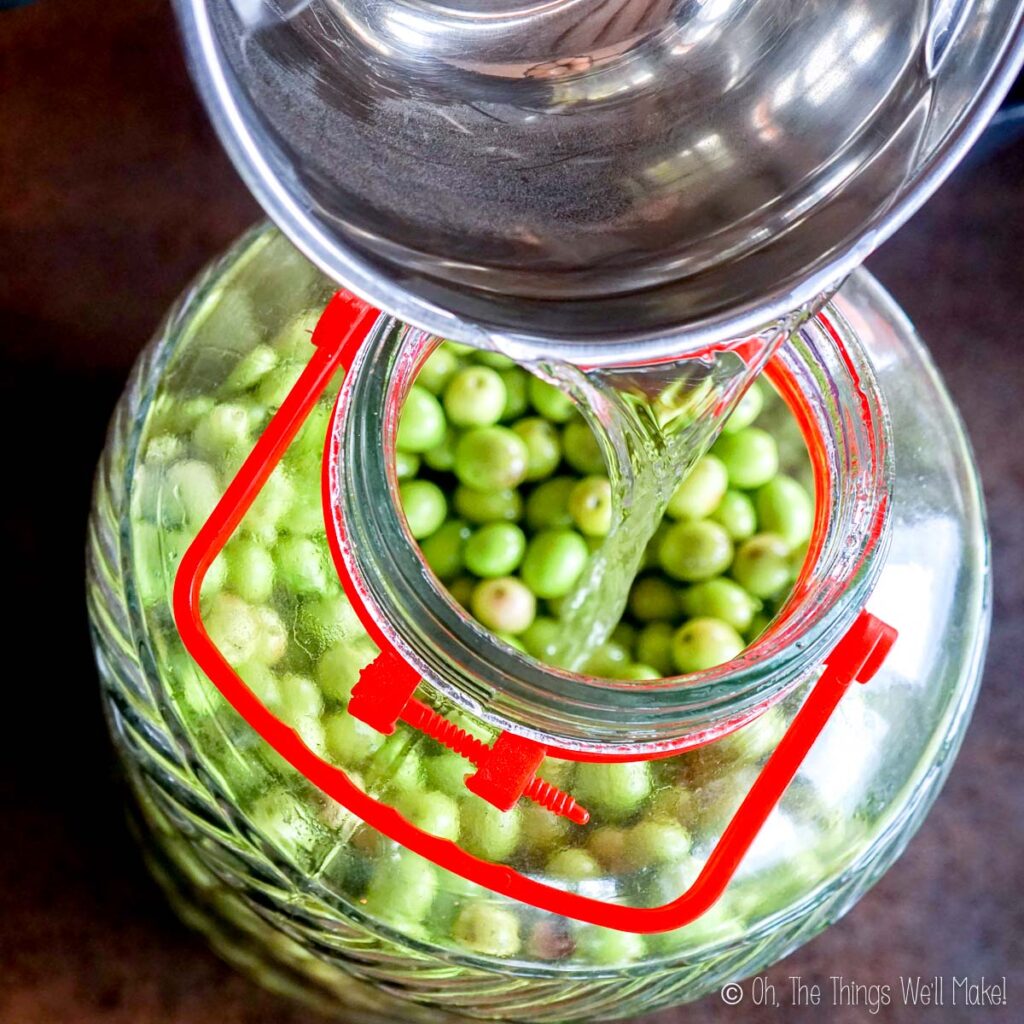
Once the lye has cooled, you can cure your olives with it. Add the clean, whole olives to a large glass jar or a food-grade plastic container. Cover them with the cooled lye solution. (Make sure they are fully covered.) Allow them to soak for around 6 hours.
After 6 hours, you can begin to check the olives for lye penetration. To check the olives, remove one and rinse it. Then cut into the olive, down to the pit, with a sharp knife. Olive flesh that has been penetrated by the lye solution will turn more golden in color. If the lye hasn’t reached the center of the olives, continue to soak the olives in the lye solution, checking again every hour or two.
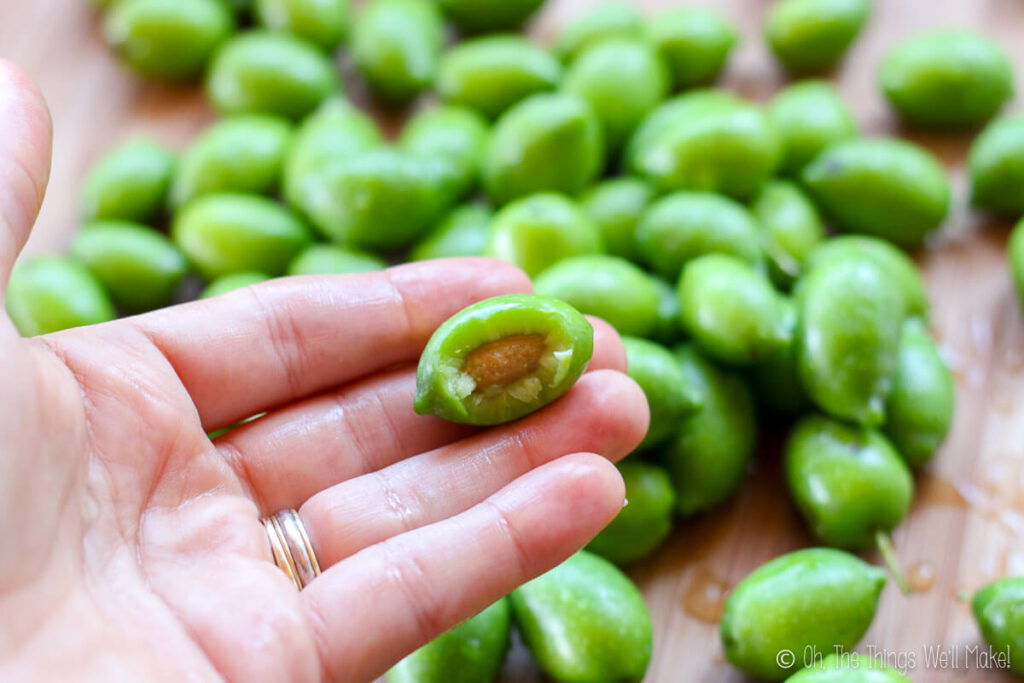
Green olive 
Lye treated olive
Some people soak the olives for much longer periods of time, up to 36 hours. Others soak for around 24 hours and then drain off the lye solution, replacing it with a fresh lye solution. I haven’t found either to be necessary with regular-sized olives. The lye I bought was sold specifically for curing olives and came with the 6-hour recommendation. It has always been enough time for me. (I also use their recommended concentration of 30 grams of lye for every liter of water or just slightly less than that if using riper olives that are darkening in color.)
Removing the lye
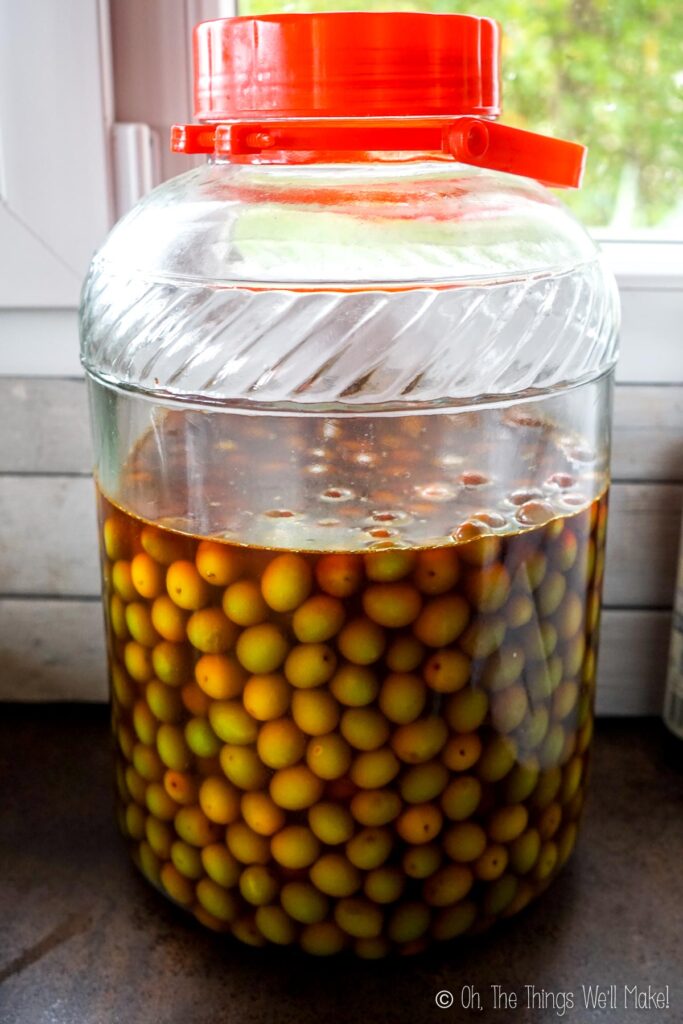
Once the lye has reached the pit of the olives, it’s time to pour off the lye solution and rinse the olives. To remove the lye in the olives, you’ll need to soak them in fresh water for several days. Each day, change the water several times. The water should be a dark, golden color.
As the lye is removed from the olives, the soaking water should become much clearer in color. When you notice that the water is almost colorless, you can begin to taste the olives. Try biting into one to check for lye flavor. (Lye in olives will have a soapy flavor.)
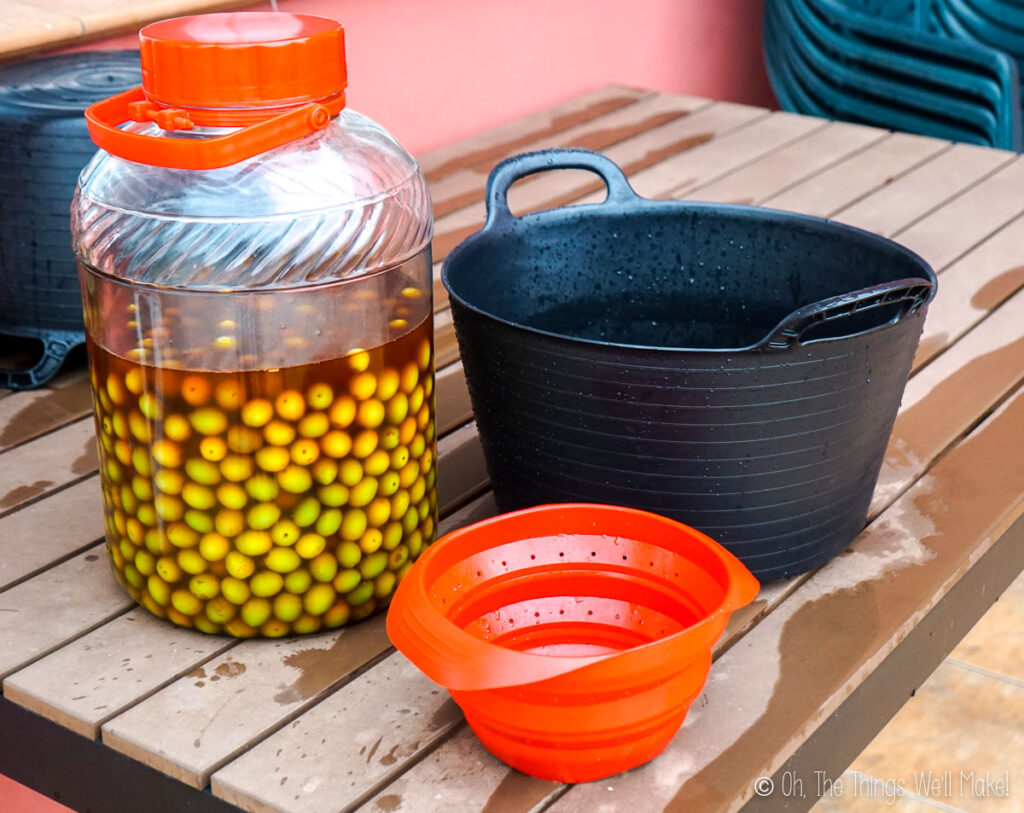
Olives in the lye solution 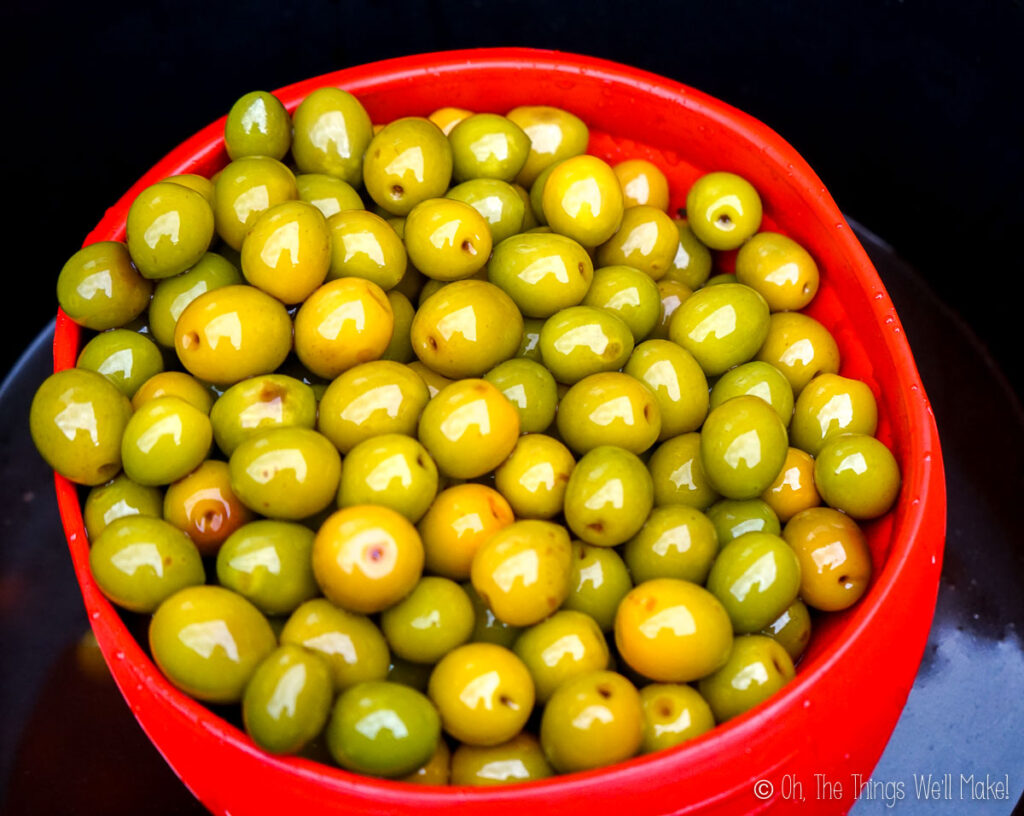
Lye treated olives after removing the lye solution. 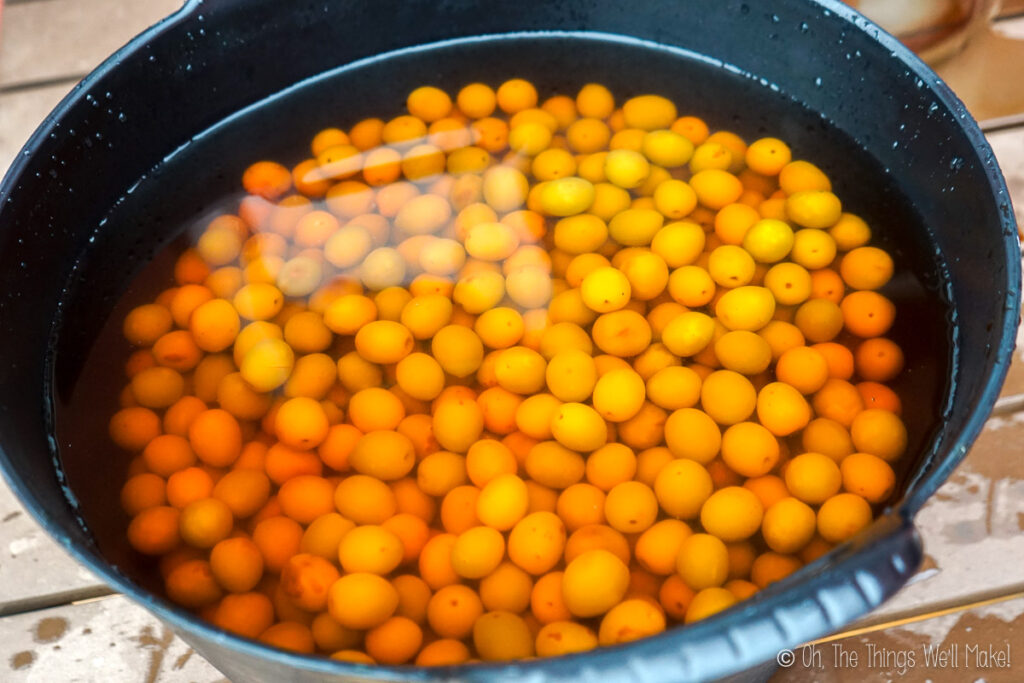
Lye treated olives in fresh water 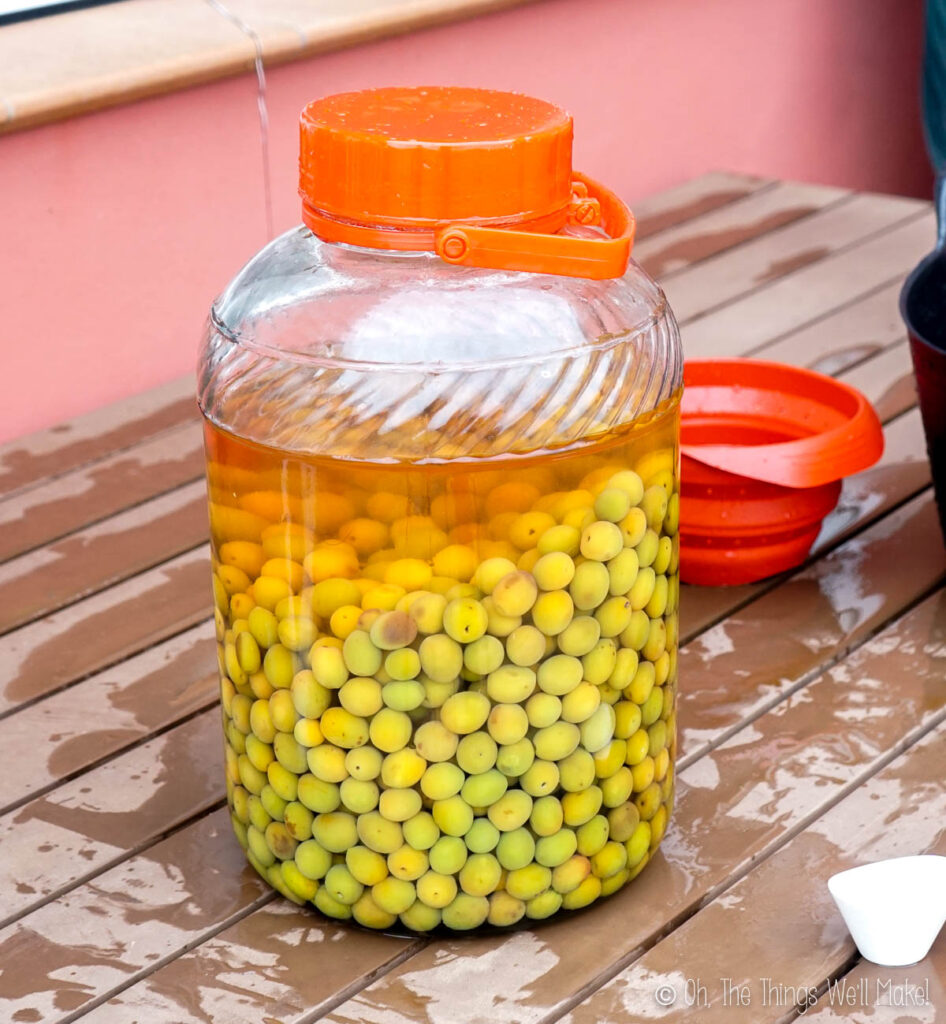
Soaking the lye treated olives in water.
Continue to soak the olives until they no longer have obvious traces of lye.
Once you’ve begun to treat the olives, try to keep them completely covered in water or the lye solution. Olives that are exposed to the air for prolonged periods of time will darken in color. It won’t otherwise affect their flavor, though.
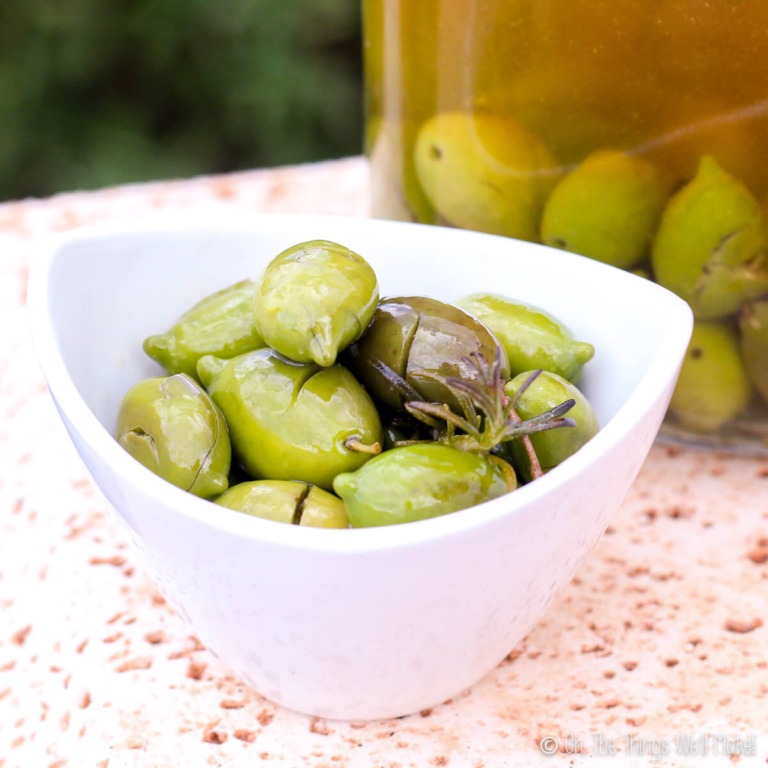
Preserving and flavoring the olives
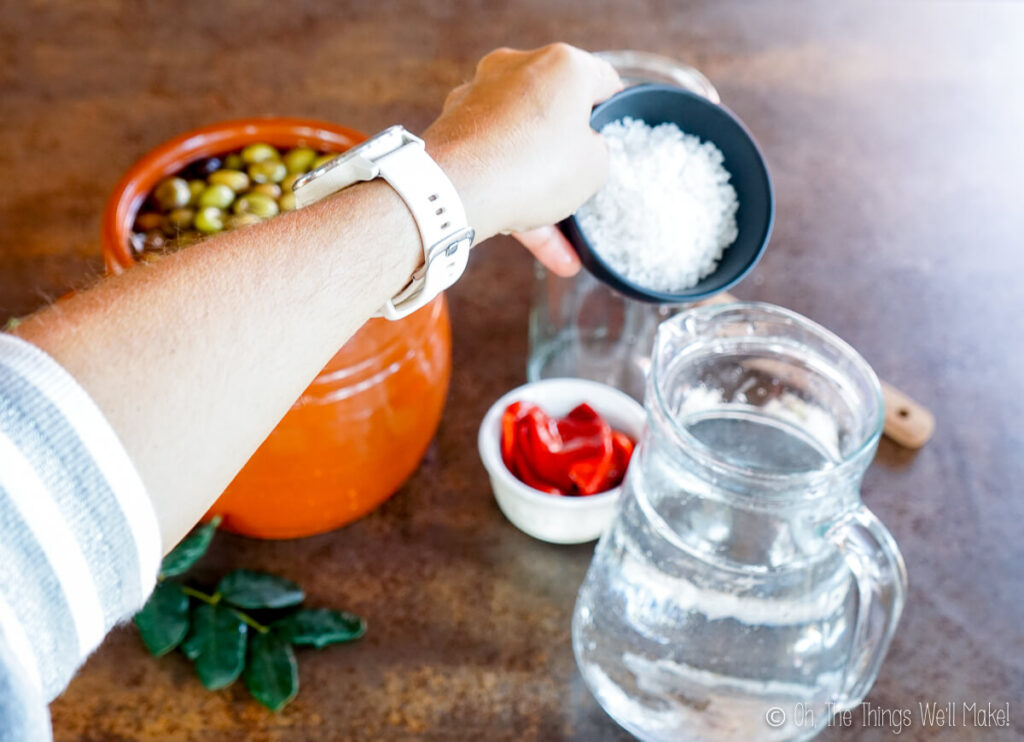
Once you’ve removed all traces of lye, it’s time to flavor and preserve the olives. This can be done by pouring a salt brine solution over them.
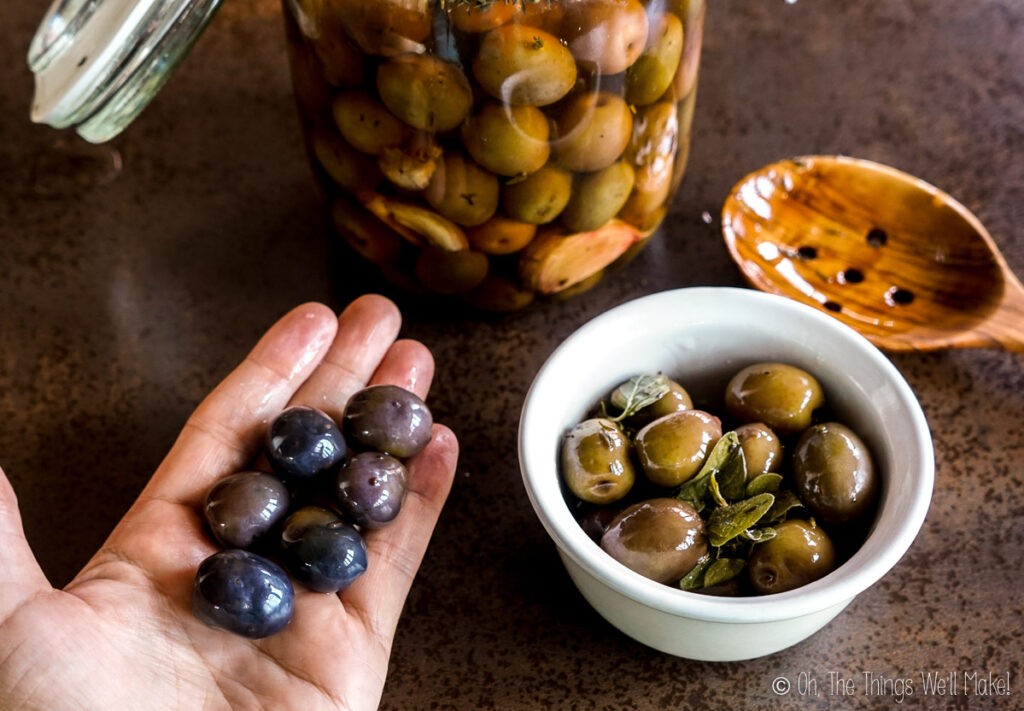
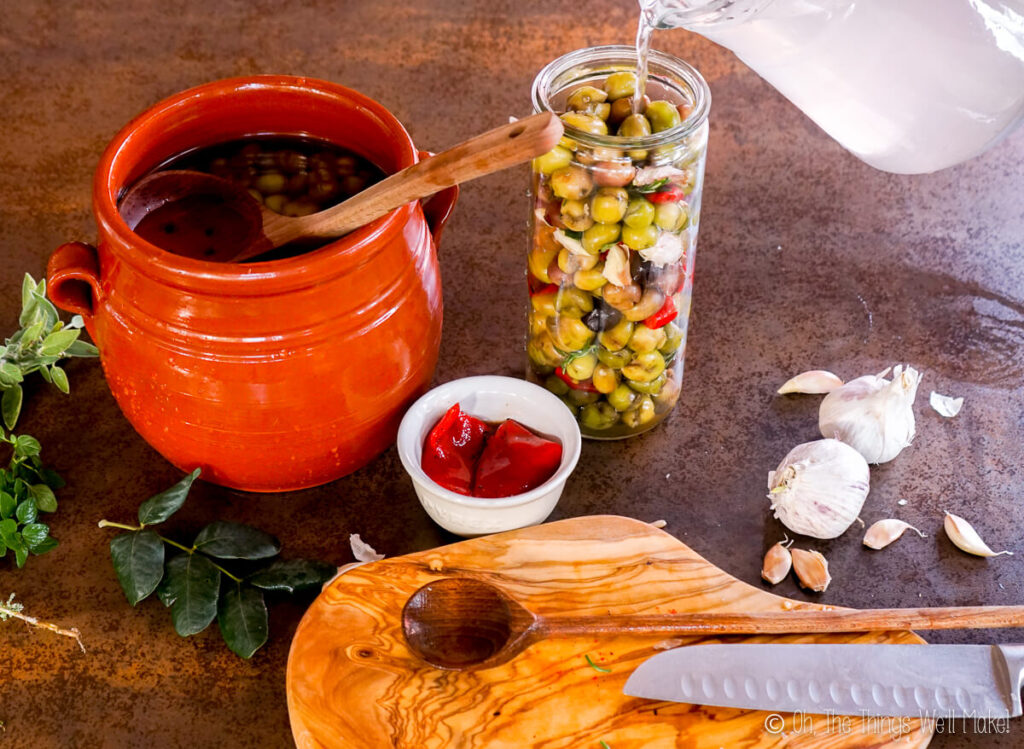
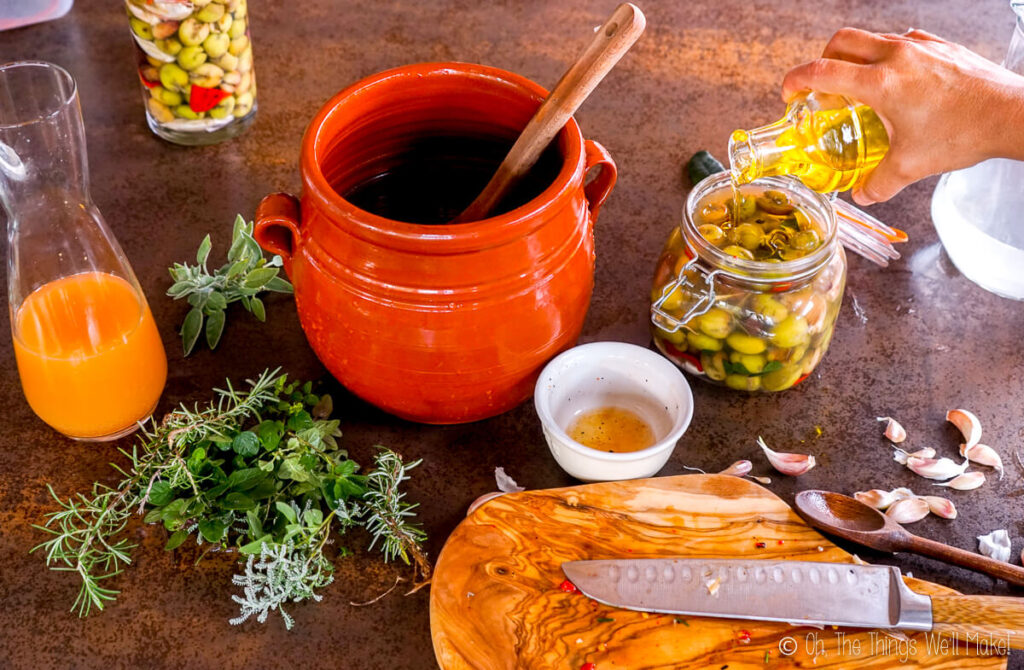
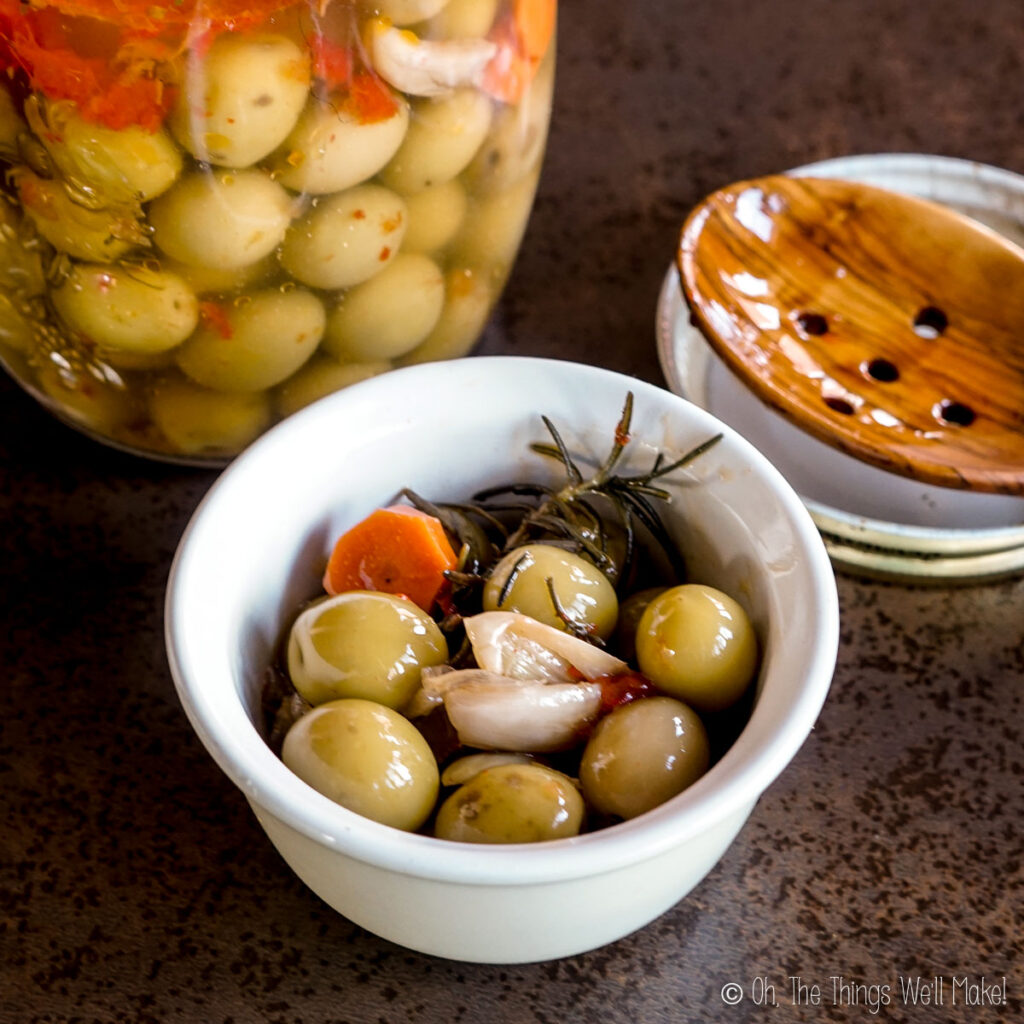
Place the olives in glass jars (or another food-safe storage container). Optionally, layer them with smashed garlic cloves and/or herbs like rosemary or thyme. Adding a bay leaf also adds flavor. Another option is to add paprika (sweet, spicy, or smoked) and/or lemon zest. I also often add homemade roasted red peppers. There really is no limit to the possibilities for flavoring the olives.
Cover the olives with the brine solution and then cover the brine with a layer of olive oil. (You can also add a dash or two of vinegar for an acidic flavor. That goes especially well with lye-cured olives.)
Make sure all of the olives and herbs are covered with the oil as those that are exposed to the air can develop mold. Seal the jars with a lid and store the olives in a cool dark place (or the refrigerator) for several days. Once you are happy with the flavor of your olives, you can serve them.
Serving the olives
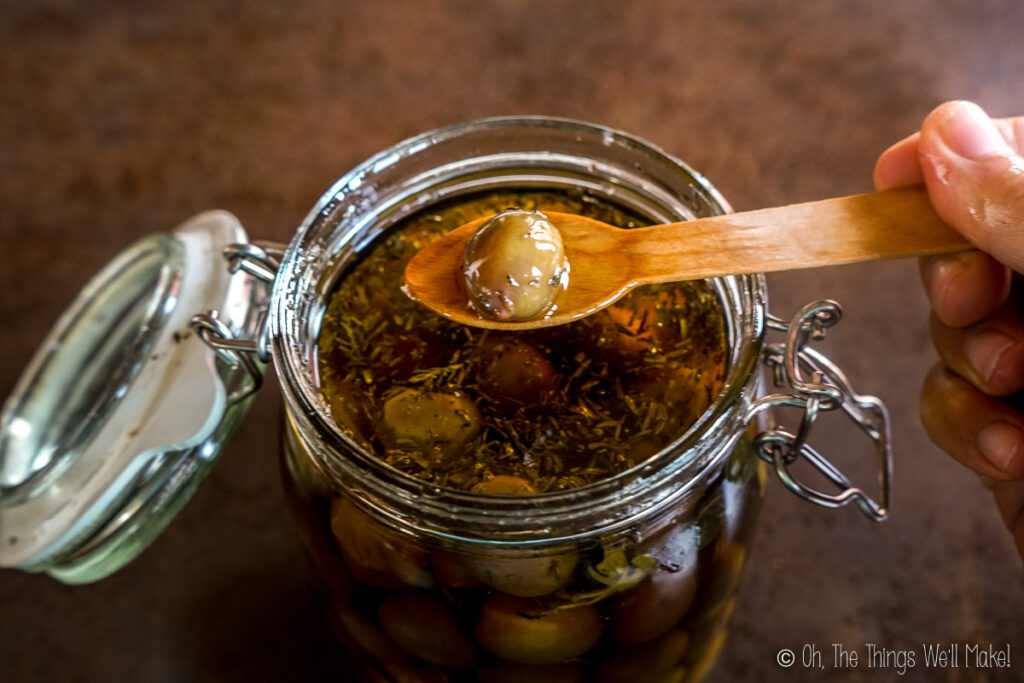
It’s best to remove the olives that you want to serve with a wooden or plastic utensil. (They say that using your hands or metal utensils can lead to the softening of the olives. whether or not that’s true, I’ve always opted to err on the side of caution.)
Once you’ve removed the olives, make sure that the remaining olives are covered in brine and oil before storing them again.
Storage
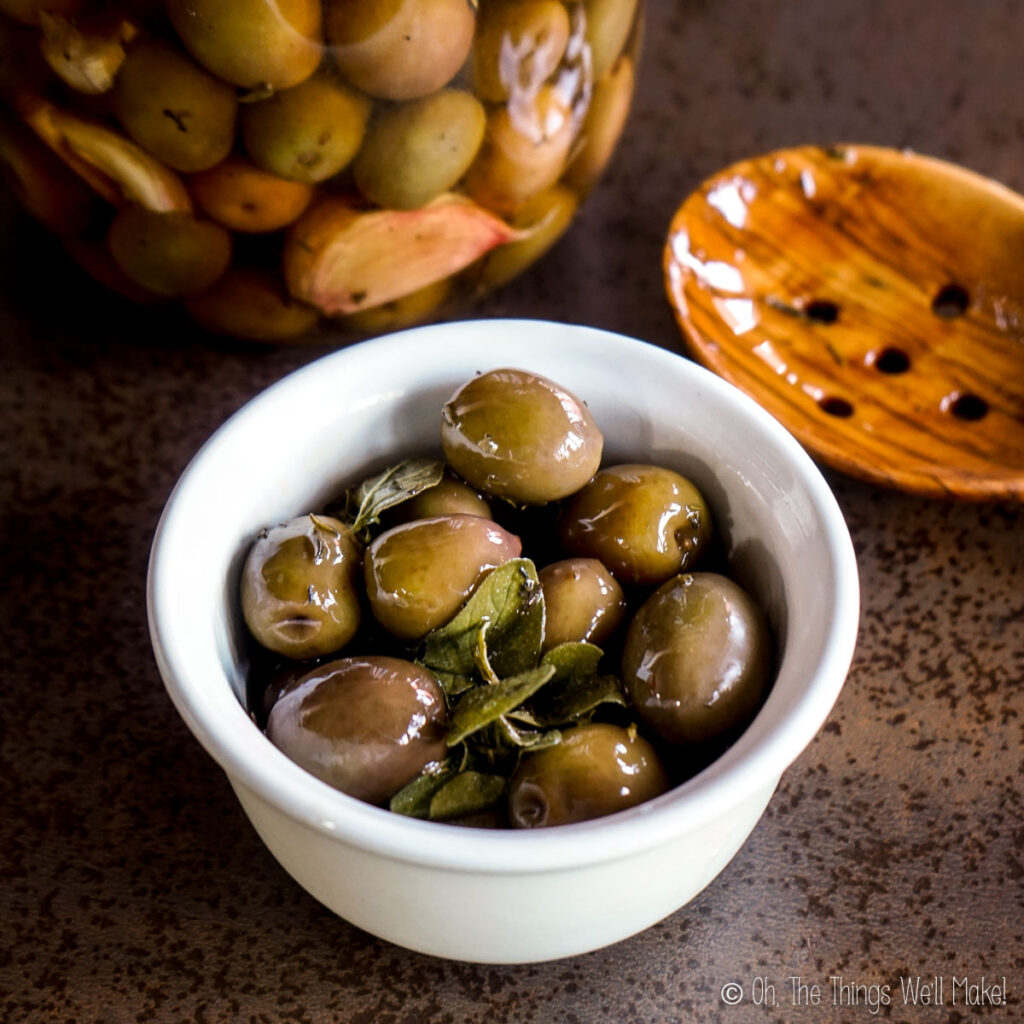
Lye cured olives should be stored in well-sealed containers, covered in brine and oil, in a cool, dark place (or the refrigerator). While they should keep well for more than a year, they will progressively get softer and softer with time. They are at their best during the first months after curing them. Because of lye curing process reduces the phenols in the olives, lye-cured olives generally keep well for a shorter time than natural olives made with a water curing method.
Video

Lye Cured Olives
Ingredients
For lye curing the olives
- 1 kilogram green ripe olives Common olives to use are manzanilla olives or mission olives.
- 30 grams lye also known as caustic soda, sodium hydroxide, or NaOH
- 1 liter filtered unchlorinated water
For brining and flavoring the olives
- 55 grams salt
- 1 liter filtered unchlorinated water
- herbs optional, for flavor
- olive oil to cover the brine
Instructions
Preparing the olives
- Rinse the olives and remove the stems and leaves. Also, remove any olives that are damaged or have any obvious holes in them.
- To help you in the process of choosing the best olives, try soaking the olives in water. Olives affected by the fly are more likely to float on the surface.
Mixing the lye solution
- To mix the lye solution, pour the lye into cold water in a stainless steel or plastic container. Never pour the water into the container with the lye! (It can have "explosive" results.)
- Once you've poured the lye into the water, stir with a plastic, wooden, or stainless steel utensil until the lye has fully dissolved. Heat will be given off during the reaction and the mixture will become cloudy. That's normal. Allow the mixture to cool in an area where it won't be accessed by animals or children.
The lye treatment
- Add the clean, whole olives to a large glass jar, ceramic jug, or a food-grade plastic container. Cover them with the cooled lye solution. (Make sure they are fully covered.) Allow them to soak for around 6 hours.
- After 6 hours, begin to check the olives for lye penetration. To check them, remove one and rinse it. Then cut into it, down to the pit, with a sharp knife. Olive flesh that has been penetrated by the lye solution will turn golden in color. If the lye hasn't reached the pit, continue to soak the olives in the lye solution, checking again every hour or two. Stop soaking them when the lye has reached the pit (or has nearly reached it).
Removing the lye
- Pour off the lye solution and rinse the olives. Then soak the olives in fresh water for several days, changing the water several times daily. The water will likely be a dark, golden color.
- As the lye is removed, the soaking water should become much clearer in color. At that point, begin to taste the olives. Try biting into one to check for lye flavor. (Lye in olives will have a soapy flavor.)
- Continue to soak the olives until they no longer have traces of lye.
Preserving and flavoring the olives
- Mix the brine solution by combining the salt and water until the salt has fully dissolved.
- Place the olives in glass jars (or another food-safe storage container). Optionally, layer them with smashed garlic cloves and/or herbs. (You can also add a dash or two of vinegar for an acidic flavor.)
- Cover the olives with the brine solution and then cover the brine with a layer of olive oil.
- Make sure all of the olives and herbs are covered with the oil as those that are exposed to the air can develop mold. Seal the jars with a lid and store the olives in a cool dark place (or the refrigerator) for several days. Once you are happy with the flavor of your olives, you can serve them.
Serving the olives
- It’s best to remove olives with a wooden or plastic utensil. (They say that using your hands or metal utensils can lead to the softening of the olives.) Make sure that the remaining olives are covered in oil before storing them again.

How do you store salt cure olives?
Store them in a cool, dark, dry place ideally. You can store them in the fridge if you have space and they may keep harder for longer. If not, with time, they will stay good but will get softer. (Eventually that will happen no matter what you do if you take too long to eat them.) I’ve eaten them over a year later (stored at room temperature) without issues.
In the United States, we do not use the metric system of measure. It would be nice if you gave measures by quarts and pounds.
If you click on the convert units button under the ingredients, it should convert them for you.
Since this is mostly by weight, most scales will allow you to switch from grams to ounces easily. (Lye should be weighed and not measured by volume to get the amount accurate.)
how do you dispose the lye?
I just pour it down the drain. It is generally used in higher concentrations as a drain cleaner.