Easy Roasted Red Peppers
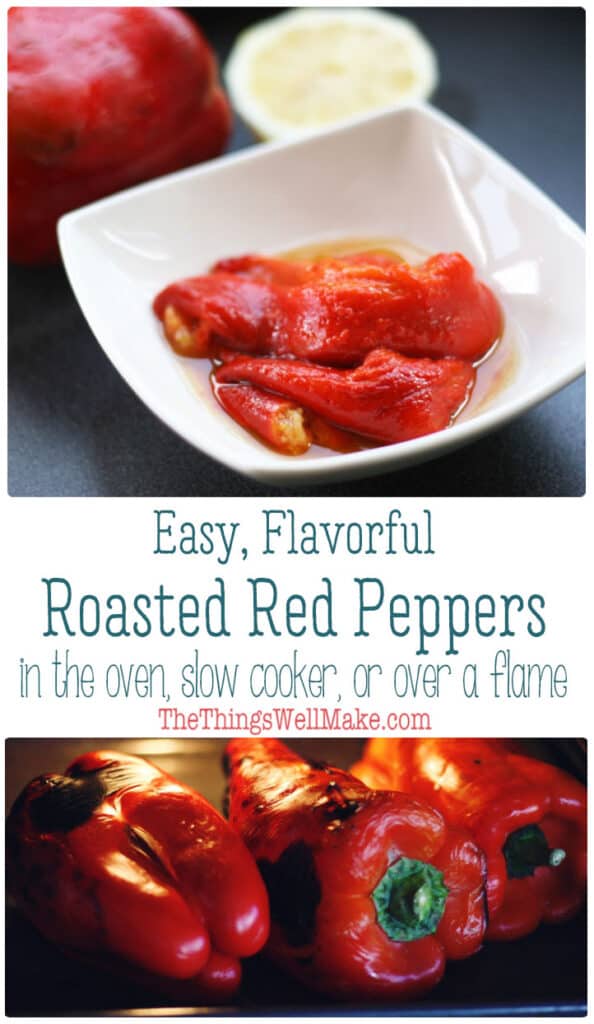
Looking for a healthy way to add flavor? Roasted red peppers are quick and easy to make. They’re packed with vitamins and antioxidants, and make a delicious addition to all sorts of dishes.
Until I arrived here in Spain, I hadn’t learned to appreciate the deliciousness of roasted red peppers. Here they are commonly made and featured in many popular dishes. The roasting process brings out their subtle sweetness which pairs well with so many foods.
Why make them?
While you could buy them in a jar, why would you want to? They’re so easy to roast yourself. Not only can you save money and excess packaging waste, but nothing compares to the texture and flavor of freshly roasted.
I love them so much that I make some almost every week.
How to use them
Roasted red peppers are super versatile. They can be used whole (in strips) or made into a purée. The purée can be served alone as a dip or spread or can be incorporated into other purées.
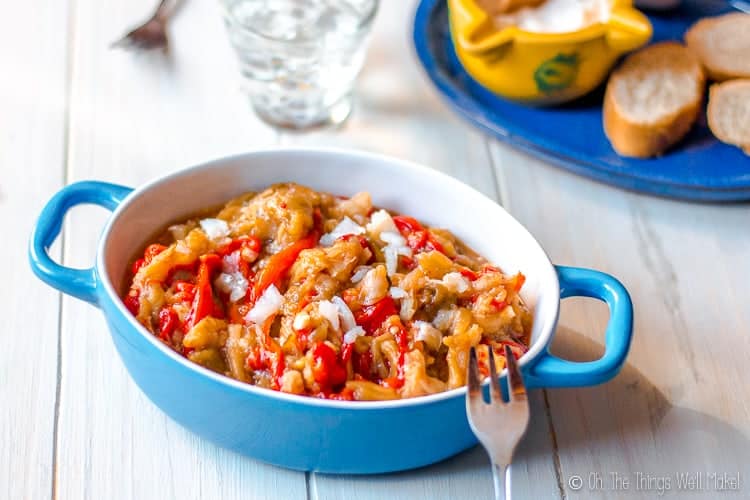
In Spain, they’re served atop cocas (a cheeseless sort of “pizza” that is typical to my region), in traditional vegetable side dishes like espencat or esgarraet (a roasted vegetable dish with eggplants and red peppers), and are a common addition to bocadillos (sandwiches served on baguette-style bread).
As a garnish or topping
Served in whole pieces or strips, they can be used to garnish and add flavor to all sorts of foods. I especially love adding strips of roasted red peppers with roasted eggplant on hamburgers and sandwiches. You must try it! The combination is divine.
Try them in/on:
- Pizzas
- Sandwiches
- Hamburgers
- Salads- both green leaf salads and mayonnaise-based salads like potato salad
- Atop bread or crackers (bruschetta-style)
- As a vegetable garnish alone or with other roasted veggies
Roasted Red Pepper Purée
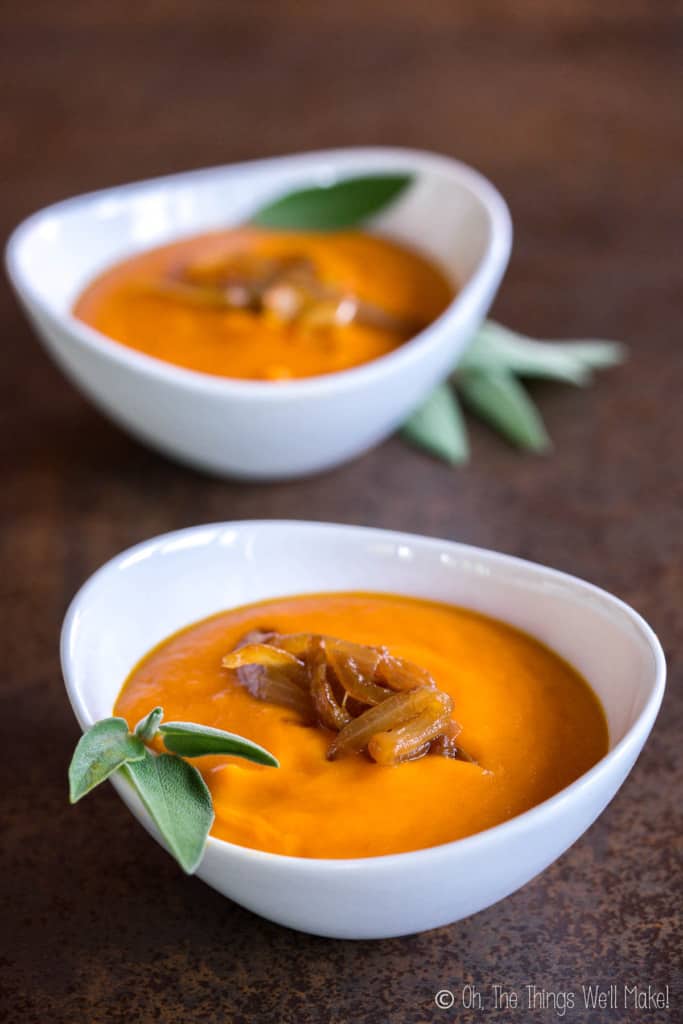
Once roasted, you can process them into a purée in a food processor (with a bit of olive oil) until smooth. Adding a roasted red pepper purée to soups and dips adds color and sweetness. The purée can also be used as a spread or garnish in a number of dishes.
Try using as/enhancing the flavor of the following with roasted red pepper purée:
- Creamy vegetable soups (Like my roasted pumpkin soup)
- Hummus (or raw zucchini hummus)
- Vegetable dips
- Cream cheese or other spreads
- Salad dressings
- Spreads for bread or crackers (Alone or in other spreads)
- Sauces
Or use it alone as a sauce or to garnish plates (It pairs well with meat and seafood.)
Which type of red peppers should you use?
Most commonly, red bell peppers are used to make these, but you can also use other sweet pepper varieties. Italian peppers and small piquillo style peppers also work well.
Those peppers that have thin skins can be used, but they will be harder to peel.
Preparation
Roasting red peppers is easy and can be done in a number of ways.
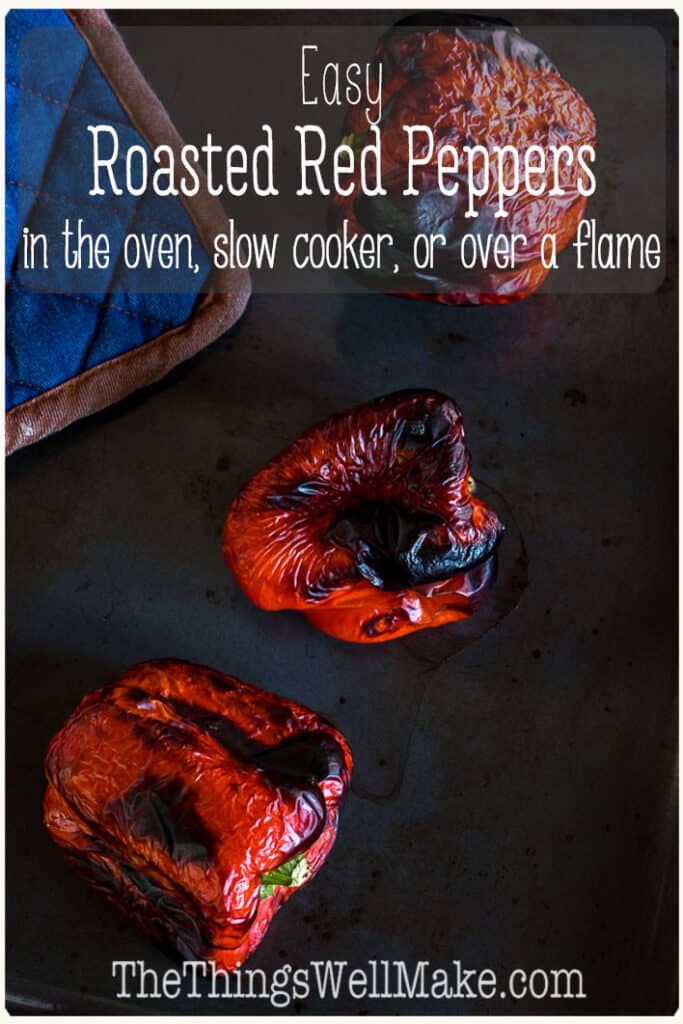
Broiling/Roasting in the oven
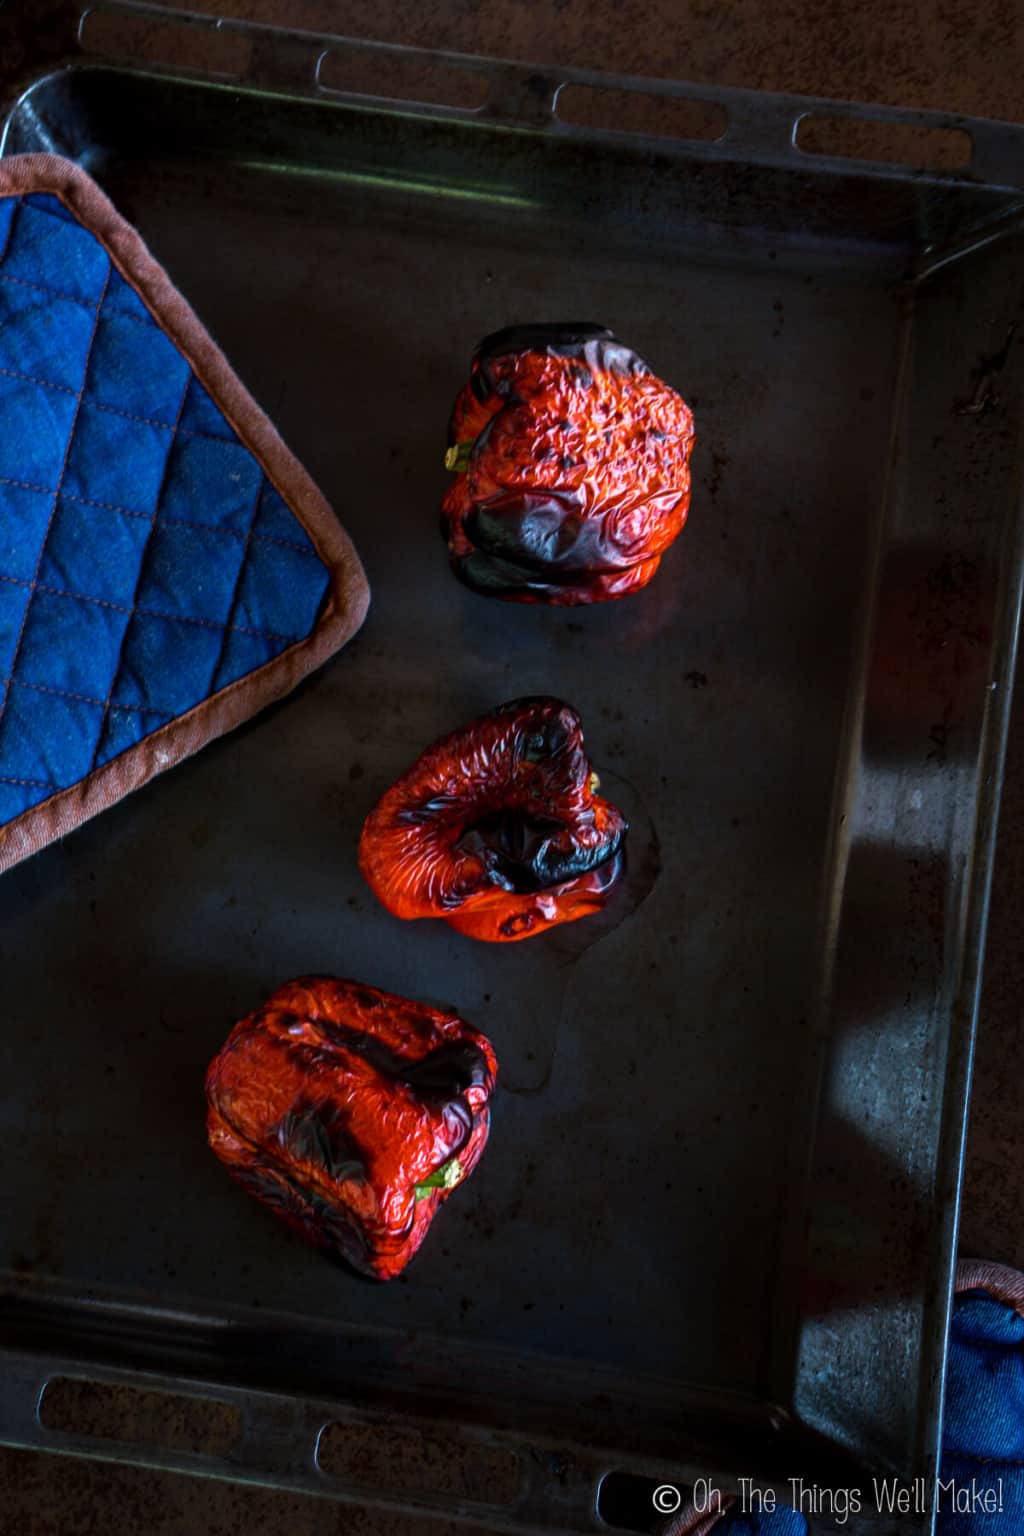
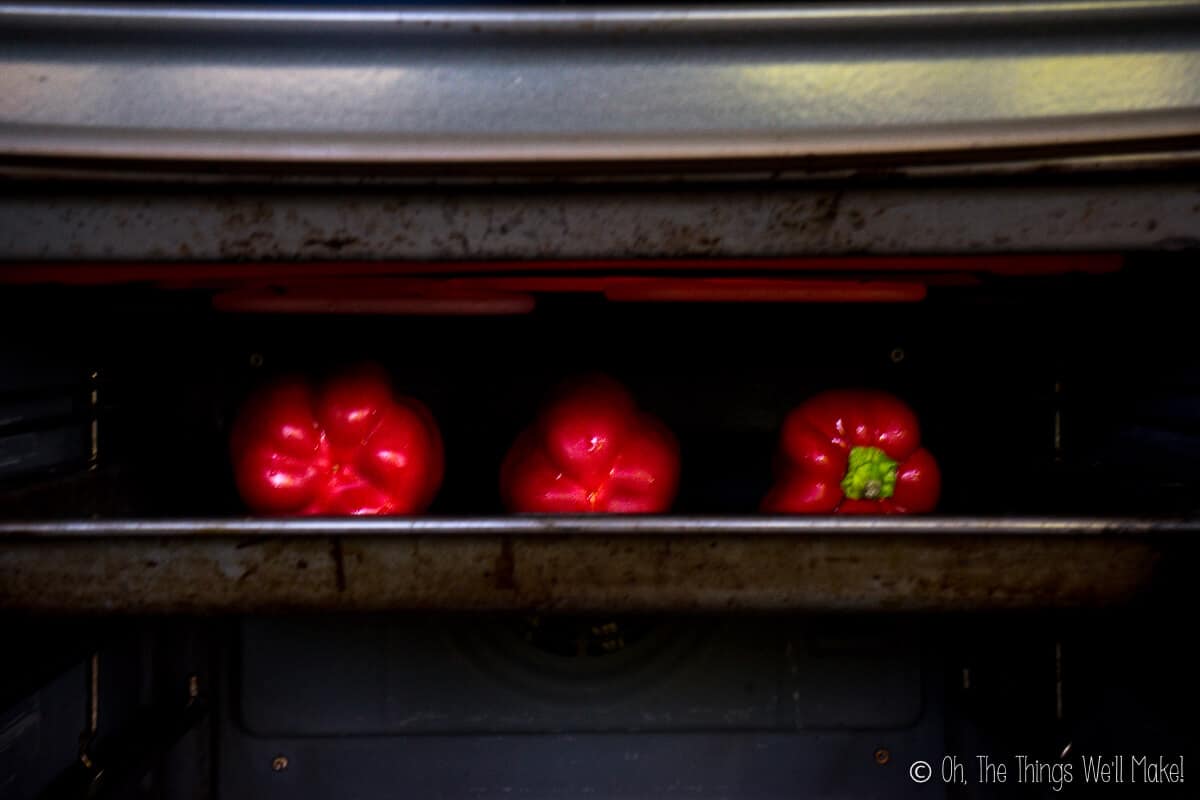
Broiling in the oven is my favorite method as it is very quick and easy. To easily roast and peel your red peppers, rinse them well, and then place them sideways on a baking sheet and cook them underneath your broiler.
If you’ll be keeping a close eye on them, you can place them around 2 inches under the broiler as shown above. As the skin begins to blister and char, rotate the peppers until they are pretty evenly charred all over.
If you won’t be able to keep as close of an eye on your peppers, you can slow roast them in the oven at around 200ºC/390ºF instead. You’ll want to place the tray around 6 inches from the top of the oven and bake for 20-30 minutes.
Once the peppers have browned, flip them over and bake for another 20 minutes or so.
Grill/Open flame
Red peppers can also be charbroiled over a flame such as a BBQ grill, a fireplace, a gas stove, or a campfire. With this method, you’ll want to charbroil each pepper individually.
To charbroil the peppers, hold them over the flam, taking care not to burn yourself. You can use metal tongs or long skewers to hold the peppers over the flame.
Once you’ve charred the area of the pepper over the flame, rotate the pepper to expose an uncooked area. Continue to roast and rotate until the peppers have charred evenly all over.
Slow Cooker
Red peppers can also be slowly roasted in a slow cooker at the high heat setting. Cook them for around 2 and a half hours. Then, turn the heat off and allow the red peppers to cool, covered, inside.
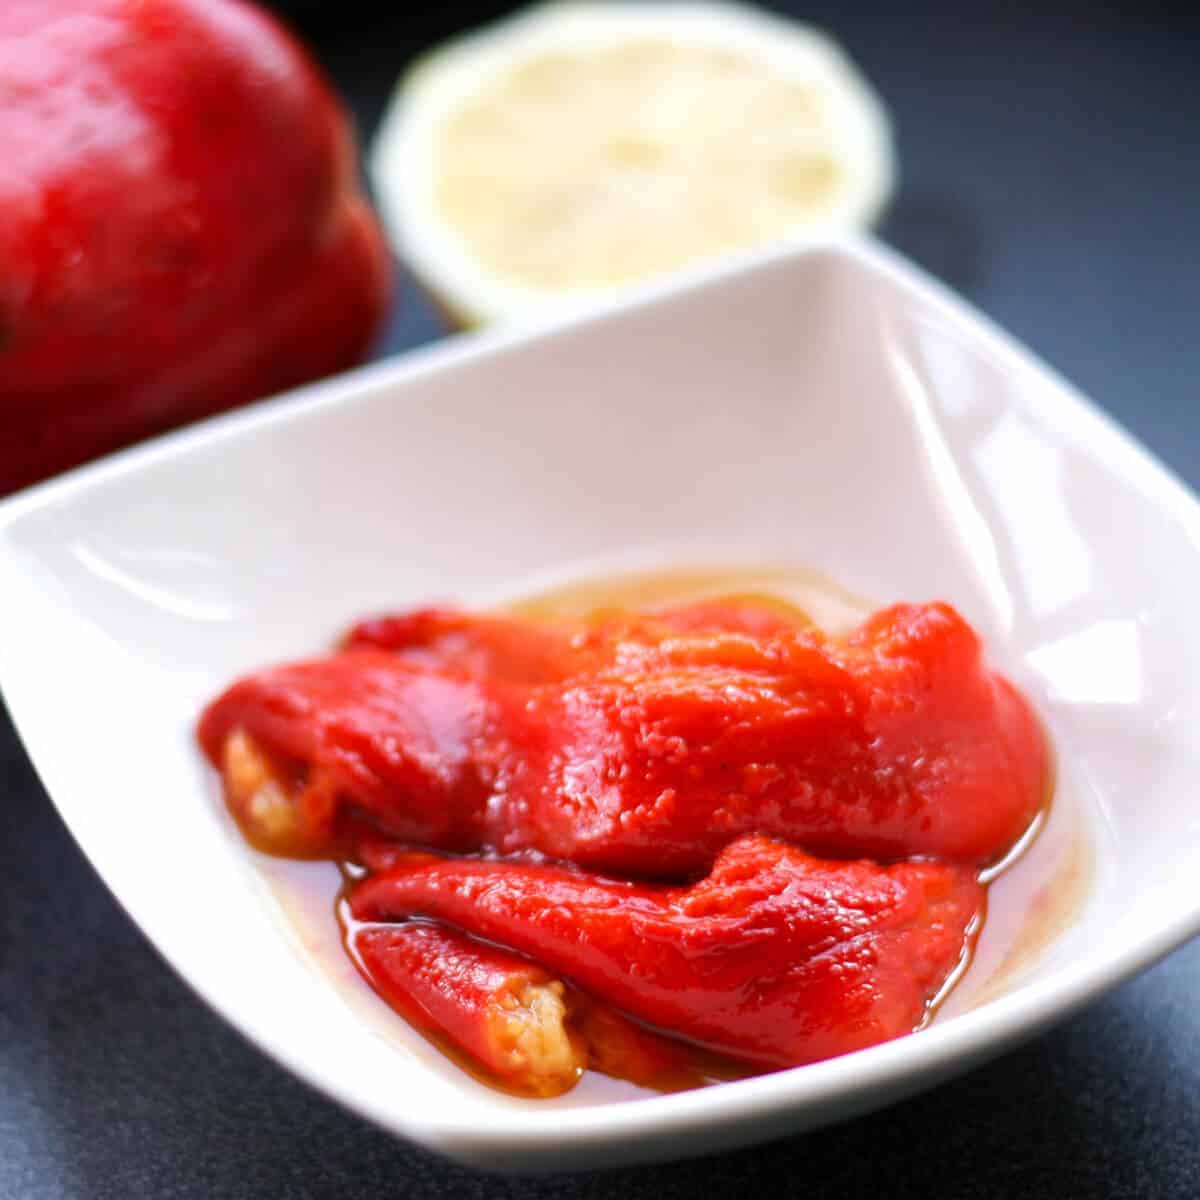
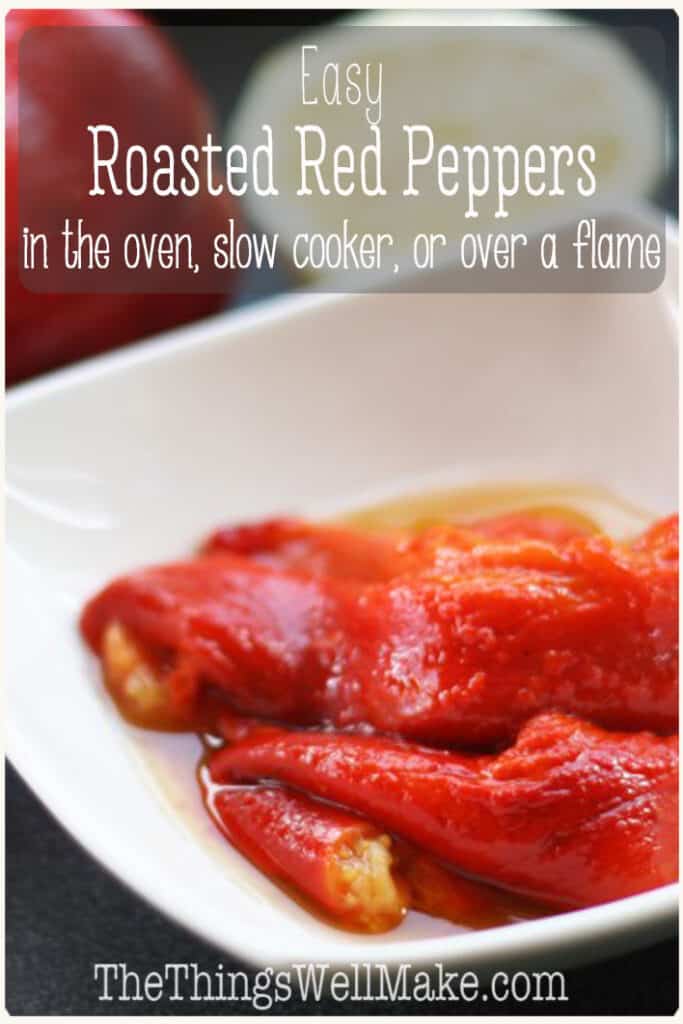
Removing the stems, skin, and seeds
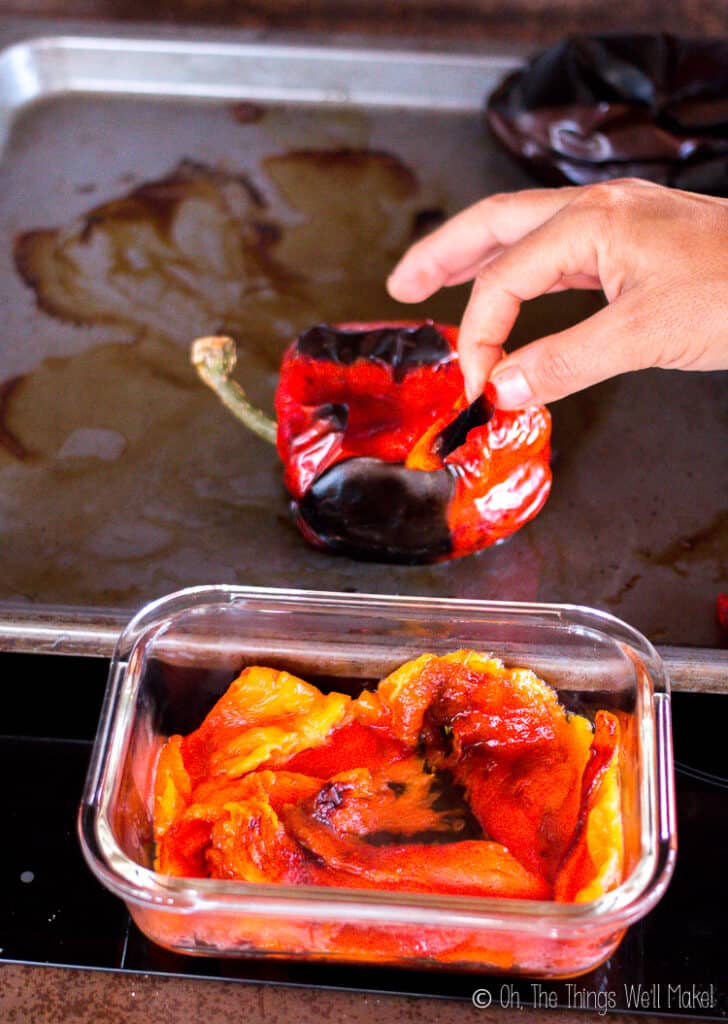
Once cooled, you’ll want to remove the stems, skin, and seeds of the red peppers. If they have blistered and charred pretty evenly all over, or if you’ve slow roasted them in a slow cooker, they should be easy to peel once cool.
To make for easier peeling, though, you can also place them in a heat-safe container and allow them to cool, covered, inside. This helps steam them, making the skins easier to remove.
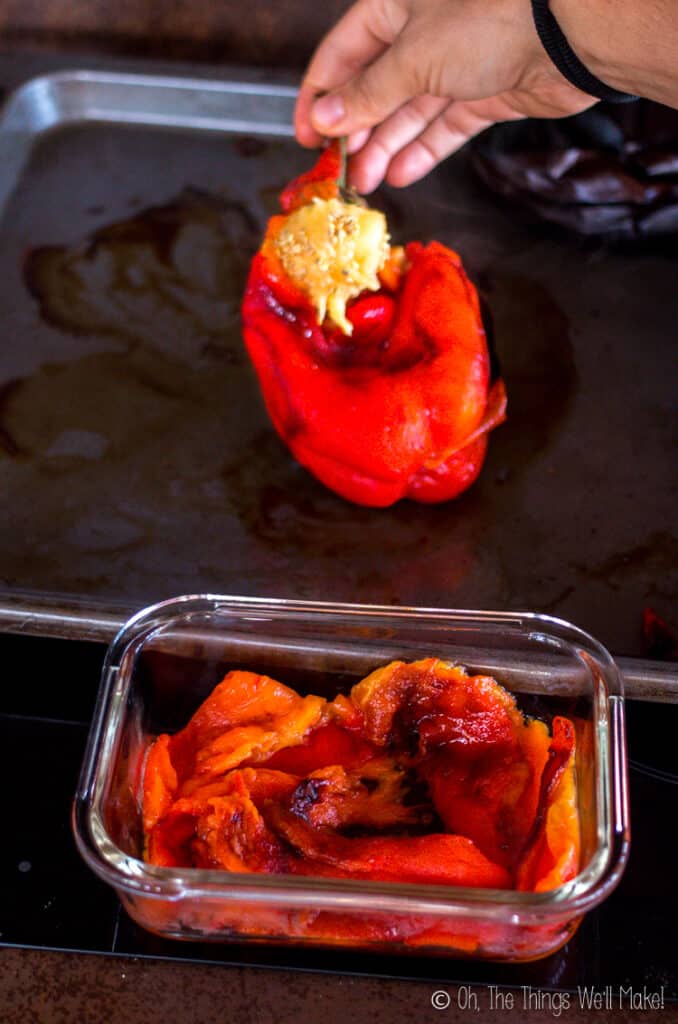
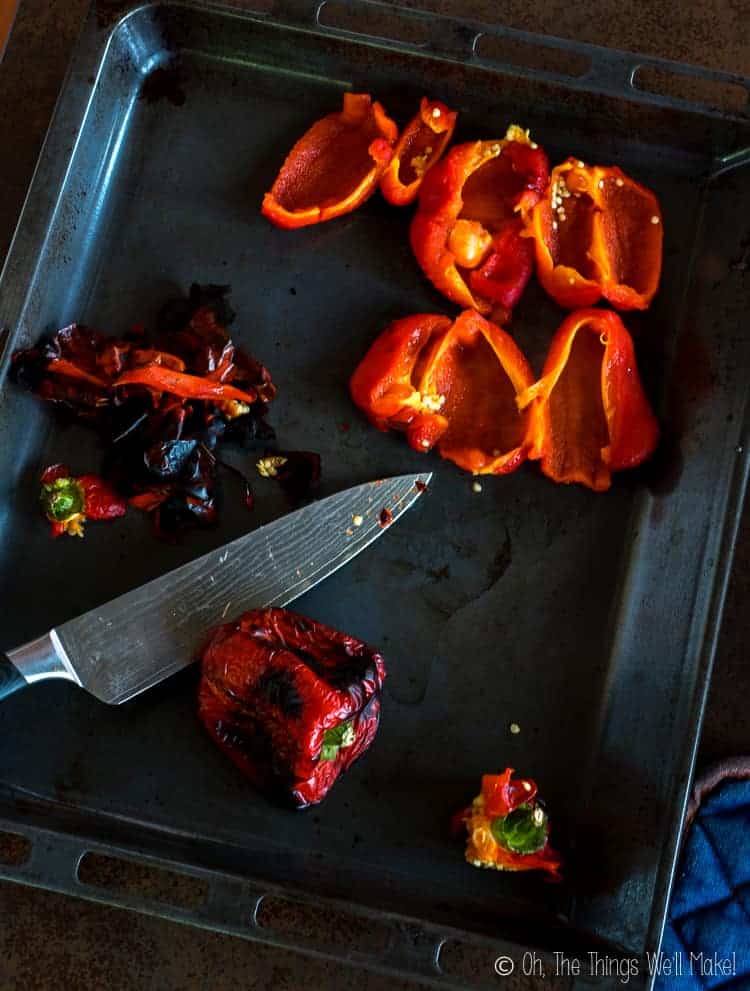
Once you’ve finished peeling them, Use a small knife to cut around the stem to release it from the rest of the pepper. Pull the stem (with attached seeds) from the pepper. This step removes most of the seeds from the peppers.
Cut down the pepper on one side from top to bottom. Pull apart the red pepper to expose the inside. You can now remove any remaining seeds inside.
Serve immediately, or store for later.
Storage
If you have leftovers, store them in the fridge or freezer for later. Some people also conserve them in vinegar or brine solutions.
In the refrigerator
Roasted red peppers can be stored in a covered container in the refrigerator for up to around 5 days.
For longer-term storage, up to around 7-9 days, cover them with olive oil (in a covered container) and store them in the refrigerator. You can add extra flavor by adding minced or sliced garlic to the olive oil.
In the freezer
To ensure you always have them on hand, freeze strips of roasted peppers for up to 6 months.
To keep them from sticking together when freezing, place the strips on a tray covered with parchment paper. Once frozen, remove them from the tray, and store them in a well-sealed freezer bag.
Watch me roast them

Easy Roasted Red Peppers
Equipment
- Oven, flame, or slow cooker.
- Heat-safe container with lid. (For cooling charbroiled peppers, to make removal of the skin easier)
Ingredients
- 4 red bell peppers
Instructions
- Prepare the red peppers by rinsing them and drying them.
Broiling Method
- Pre-heat your oven broiler. (Temperatures will vary from oven to oven.)
- Place the clean, whole red peppers sideways on a baking tray. You can prepare the baking tray with parchment paper first, if you like.
- Place the pan several inches under the broiler. If you'll be keeping a close eye on them, you keep them closer to the broiler (around 2-3 inches away). If not, you'll want to keep them at least 4-5 inches from the broiler.
- As the skin begins to blister and blacken, turn the peppers to expose an area that isn't charbroiled yet.
- Continue to broil the peppers, turning as needed, until all sides of the peppers are blackened.
- Allow the peppers to cool slightly. (For easier peeling, place the peppers in a covered container while they cool. This allows steam to build up and helps release the skin.)
- Carefully remove the stem, skin, and seeds. Areas that haven't blistered and blackened may be more difficult to remove. You can use a paring knife to scrape off any small bits of the remaining skin.
Slow roasting Method
- Pre-heat the oven to around 390ºF/200ºC.
- Place the clean, whole peppers sideways on a prepared baking tray.
- Place the pan in the oven with the peppers at least 6 inches from the top.
- Bake for around 20-30 minutes, until the peppers begin to brown.
- Flip the peppers over, and return the tray to the oven. Bake for another 20 minutes.
- Turn the oven off, and open the door to allow the peppers to slowly cool.
- Once cooled, carefully remove the stem, skin, and seeds.
Slow cooker Method
- Place your peppers in a slow cooker. You can optionally add some olive oil to the bottom of the slow cooker first, to help prevent sticking.
- Cook at the high setting for around 2.5 hours.
- Turn the slow cooker off and allow the peppers to slowly cool inside the covered slow cooker.
- Once cooled, carefully remove the stems, skin, and seeds.
Grill/Flame Method
- Using metal tongs, hold a pepper over a flame. (You can use a gas stove, fireplace, campfire, or BBQ grill.)
- Allow the skin of the pepper to blister and char.
- Turn the pepper to char an uncooked area, continuing to rotate and cook until the entire pepper is blackened.
- Place the charred pepper into a heat-safe container, and cover it.
- Continue with the other peppers, adding them all into the container once charbroiled.
- Allow the peppers to cool (covered).
- Once cool, remove the stems. Carefully peel off the skin and scrape off the seeds.
Notes
- If you are having a hard time peeling the cooked peppers, you can heat them up and place them in a covered container while cooling so that steam builds up inside. This helps release the skin, making it easier to remove.
- Roasted red peppers are great for serving on pizzas and breads or in sandwiches of all sorts (including hamburgers).
- They make the perfect garnish for salads and meat or seafood dishes.
- Puréed (with a bit of olive oil, if you like), it can be used on its own or incorporated into soups, dips, and spreads.
- Store covered for up to 5 days in the fridge.
- Longer-term storage can be done in olive oil in the fridge for up to 10 days. (You can add some garlic to the oil for more flavor).
- Strips of roasted red pepper can be frozen to always have some on hand.
Roasting other vegetables
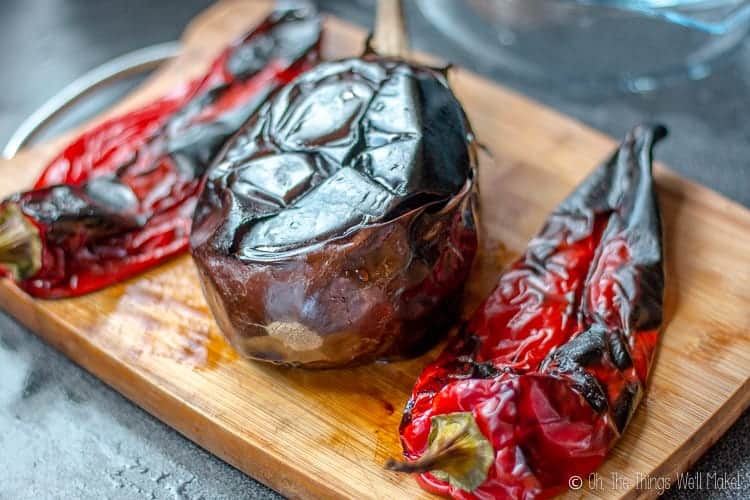
Red peppers aren’t the only vegetables whose flavor is enhanced by char-roasting and removing their skin, you can roast other veggies in the same way.
Try using the same method to roast…
- Bell peppers of other colors
- Other peppers like Italian style peppers and banana peppers
- Eggplant
- Some squash varieties
Roasted eggplant can be used to make baba ganoush, a healthy Mediterranean eggplant dip with flavors similar to hummus.
This post was originally published on May 22, 2014. It was completely rewritten and updated with new photos, cooking methods, video, and recipe card in October of 2019.