

Easy Homemade Tomato Paste Recipe
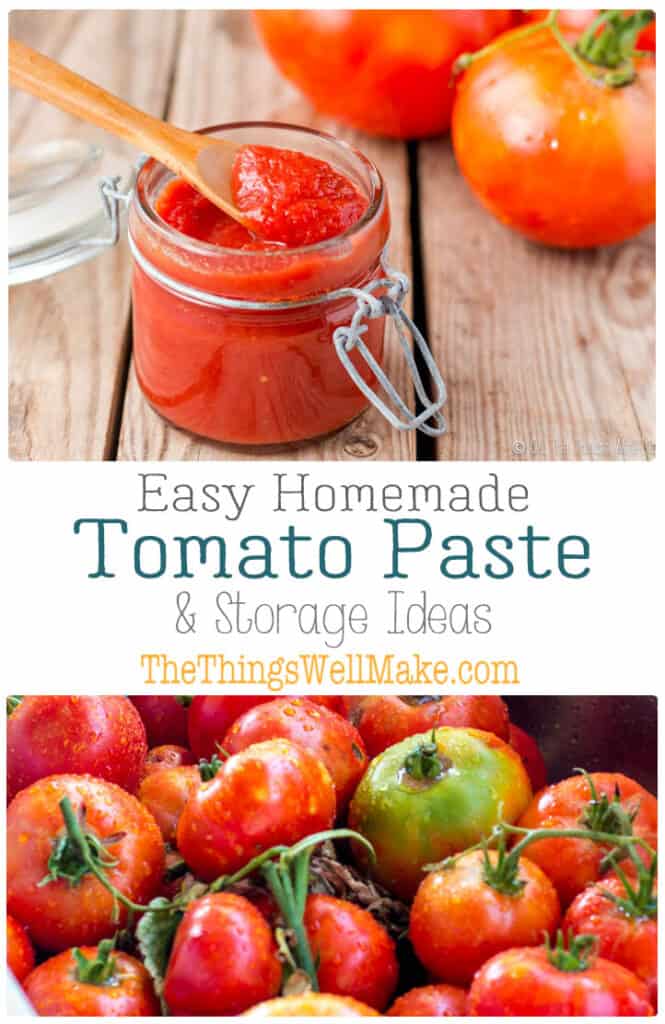
Make your own tomato paste from fresh tomatoes—on the stove, in the oven, or in a slow cooker. Easy, rich, and perfect for preserving summer’s harvest.
Every summer, I end up with more tomatoes than I know what to do with. After making plenty of sauces and soups, I usually turn to one of my favorite ways to preserve the rest: homemade tomato paste.
Thick, rich, and naturally sweet, it’s the secret ingredient that deepens flavor in almost any recipe. The best part? You don’t need any special gear or canning tools. You can whip it up right on your stovetop, toss it in the oven, or even let a slow cooker do its thing!
Once you’ve made your own, you’ll never want to buy the store-bought kind again.
🍅 Quick Summary
Homemade Tomato Paste (3 Ways)
- Best tomatoes: Roma or paste varieties. They’re meaty with less water.
- Steps: Blend → strain → simmer slowly until thick.
- Cooking methods: Stovetop (fastest), slow cooker (hands-off), or oven (caramelized flavor).
- Storage: Keep in the fridge for up to a week, or freeze in cube trays for easy portions.
- Bonus tip: Skip oil if you plan to freeze—it keeps better that way.
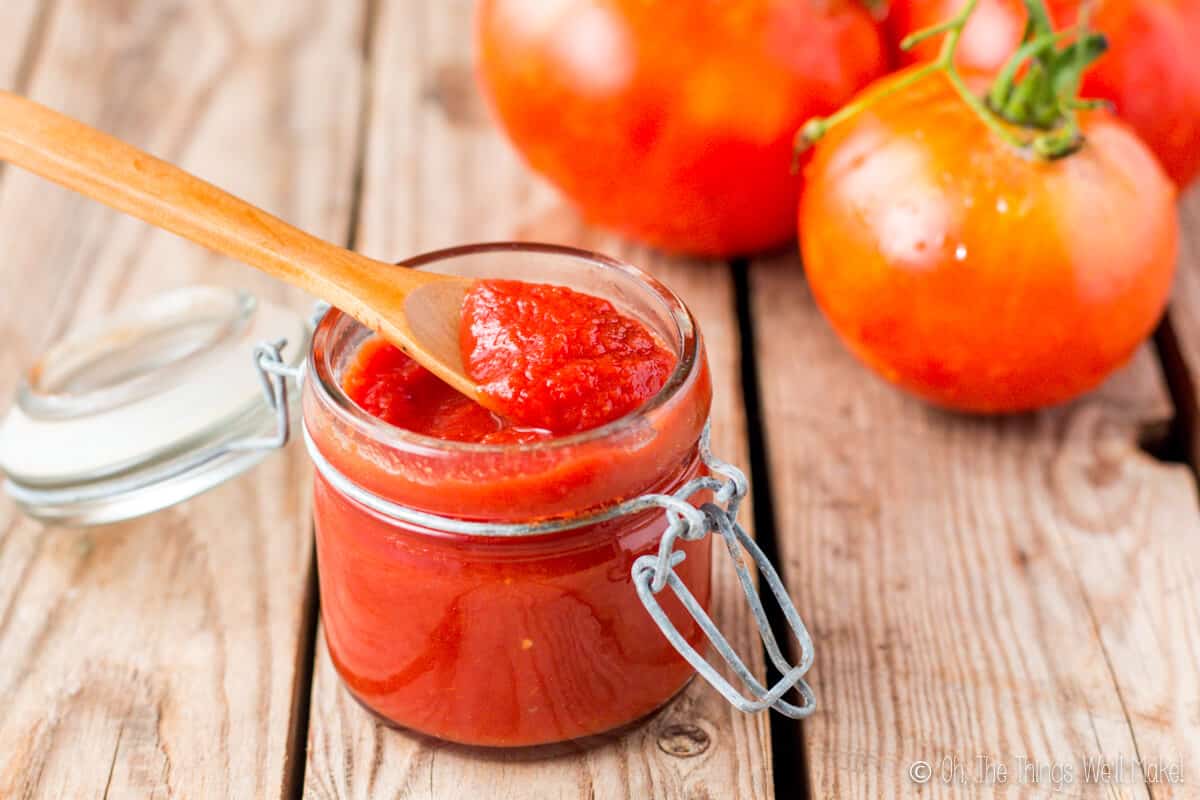
What is tomato paste?
Tomato paste is simply tomatoes that have been cooked down and reduced until thick, smooth, and deeply flavored. It’s more concentrated than tomato sauce, so a little goes a long way in soups, sauces, and stews. In some areas of the world, it’s sun-dried until very little water is left in the mixture.
Why make it?
Making tomato paste is one of my favorite ways to use and conserve excess tomatoes. Tomato paste is very concentrated, so you can easily reduce a lot of tomatoes into a small space. You can then freeze it, can it, or even make it into fermented ketchup, which also keeps surprisingly well.
Making your own tomato paste at home is a great way to enjoy fresh flavors without any additives or packaging waste. Plus, you’ve got a few different options for how to do it: you can cook it on the stovetop, roast it in the oven, or even use a slow cooker. It’s super simple!
Ingredients
As you can probably guess, the main ingredient in tomato paste is tomatoes. Whether or not you add other ingredients is totally up to you. Some people add olive oil, others add peppers (such as bell peppers or Italian peppers). Whether or not you add salt is also up to you.
I prefer to keep tomato paste simple and add other ingredients as needed when cooking.
Which tomatoes make the best tomato paste?
You can really use any tomatoes you have on hand, but some work better than others.
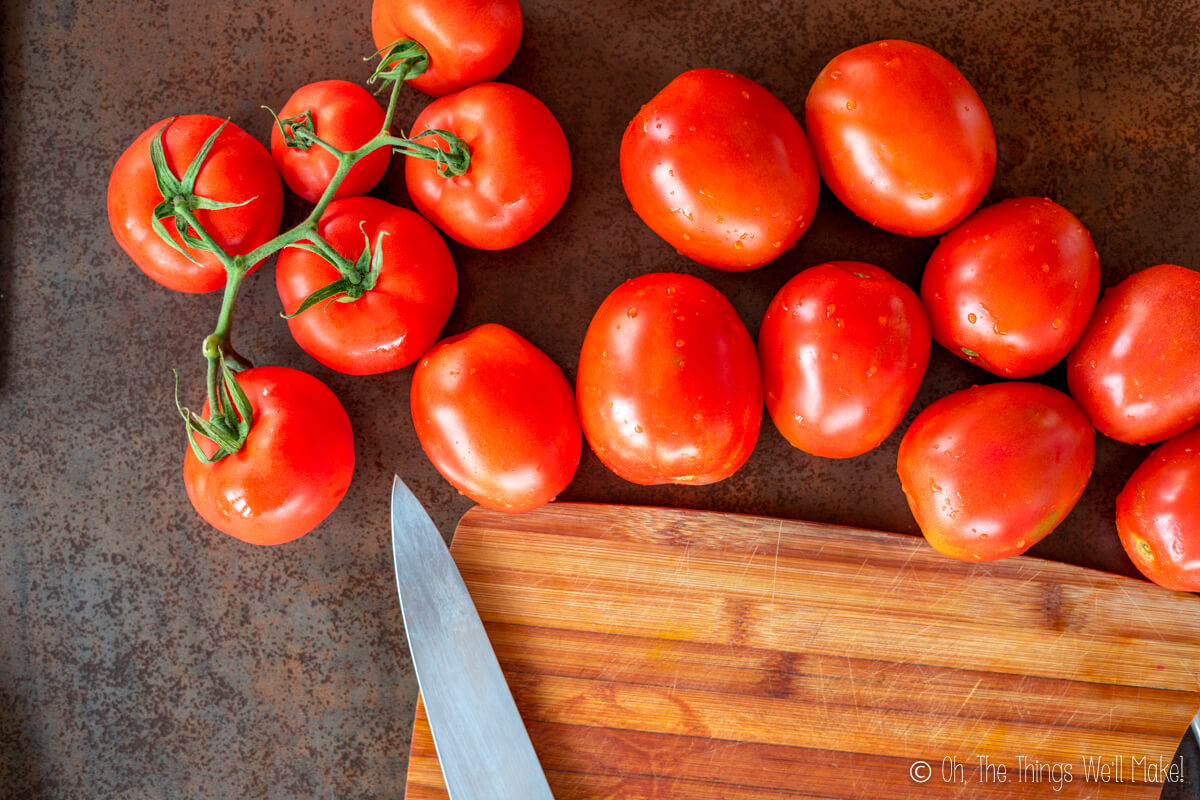
I like to use Roma tomatoes or other “paste” varieties because they have thicker flesh, fewer seeds, and less water. That means they cook down faster and make a thicker, richer paste.
If you’re using regular tomatoes from the garden or the market, that’s perfectly fine too. You’ll just need to cook them a bit longer to get the same texture.
Most of the best sauce tomatoes are taller and more oval-shaped rather than round, so they’re easy to spot when you’re choosing which ones to use.
Materials
You don’t need any special equipment to make tomato paste, but having the right tools can make the process faster and less messy. Here are a few things that help:
- Blender or food processor – to quickly purée the tomatoes.
- Fine-mesh strainer or food mill – makes it easy to separate the skins and seeds from the pulp while keeping the texture nice and smooth.
- Large pot or slow cooker – depending on which cooking method you prefer.
- Silicone spatula – perfect for stirring and scraping as the paste thickens.
- Ice cube trays – Large cube trays are perfect for freezing bigger portions, while smaller cube trays work well for single servings or recipes that only need a spoonful or two at a time.
- Freezer-safe bags or containers – to store the cubes neatly in the freezer.
- (Optional) Dehydrator or oven-safe trays – if you want to try a sun-dried-style tomato paste.
How to make it!
There are lots of ways to make tomato paste, and everyone seems to have their favorite. Some people peel and seed the tomatoes first, while others throw everything into the pot and strain later. I’ve tried both and have found a simple method that saves time and works beautifully.
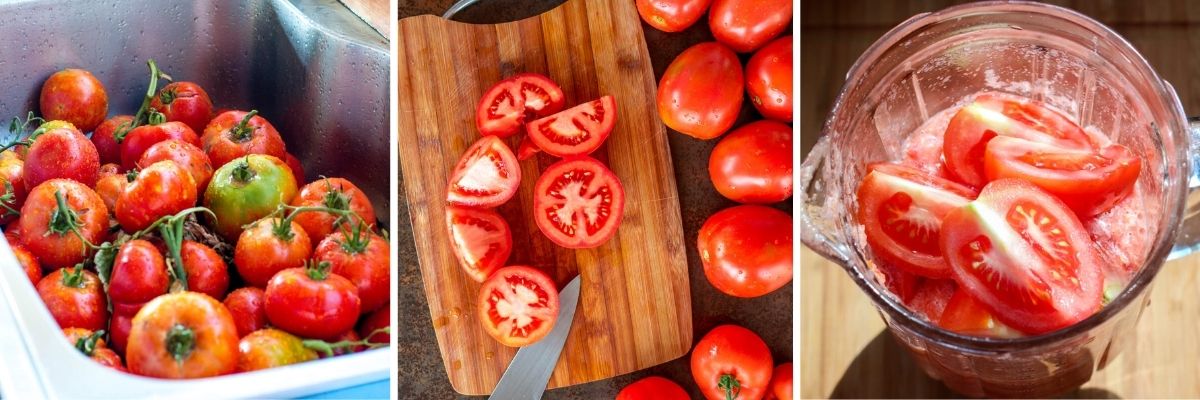
Step 1: Prep and blend
Rinse the tomatoes well, remove the stems, and cut them into chunks. I like to blend them first instead of peeling. It’s much faster!
Fill your blender with the tomato pieces and blend until smooth.
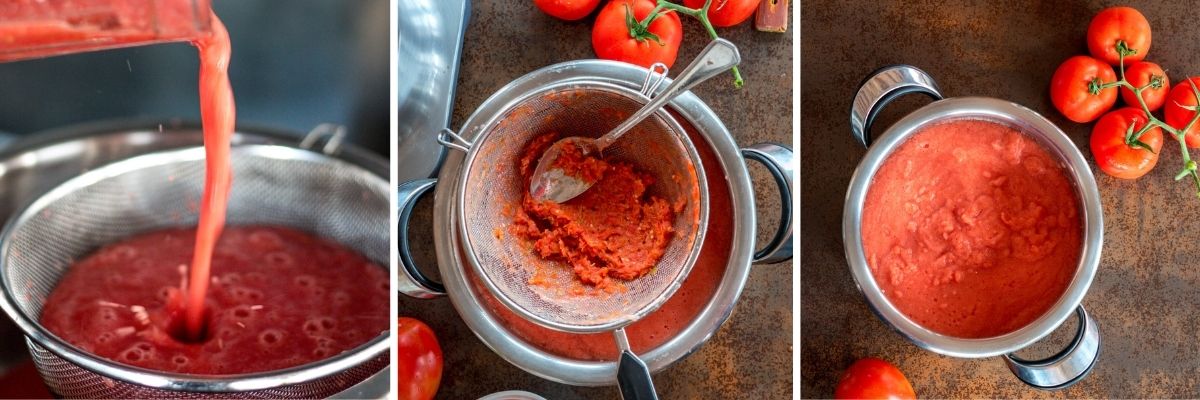
Step 2: Strain the skins and seeds
Pour the blended tomatoes through a mesh strainer or food mill set over a large pot. Use a spoon or silicone spatula to press the mixture through until only the seeds and skins remain. This gives you a smooth sauce that will cook down evenly.
If you prefer, you can skip the blender and run the tomatoes directly through a food mill instead.
(At this point, you can also blend in some red peppers or other vegetables if you’d like a sweeter or more complex flavor.)
Should you leave the skins and seeds?
Some people like to cook the sauce with the skins and seeds still in, then strain everything at the end. The idea is that the natural pectin in the skins helps the paste thicken faster.
That may be true, but I’ve found that leaving them in can sometimes make the sauce a little bitter. Personally, I prefer a smoother, cleaner flavor. I prefer to strain out the skins and seeds before cooking and just start with the smooth purée instead. It gives me great texture and flavor every time.
You can always try both ways to see which flavor you prefer. There’s no single “right” method here.
Cooking Methods
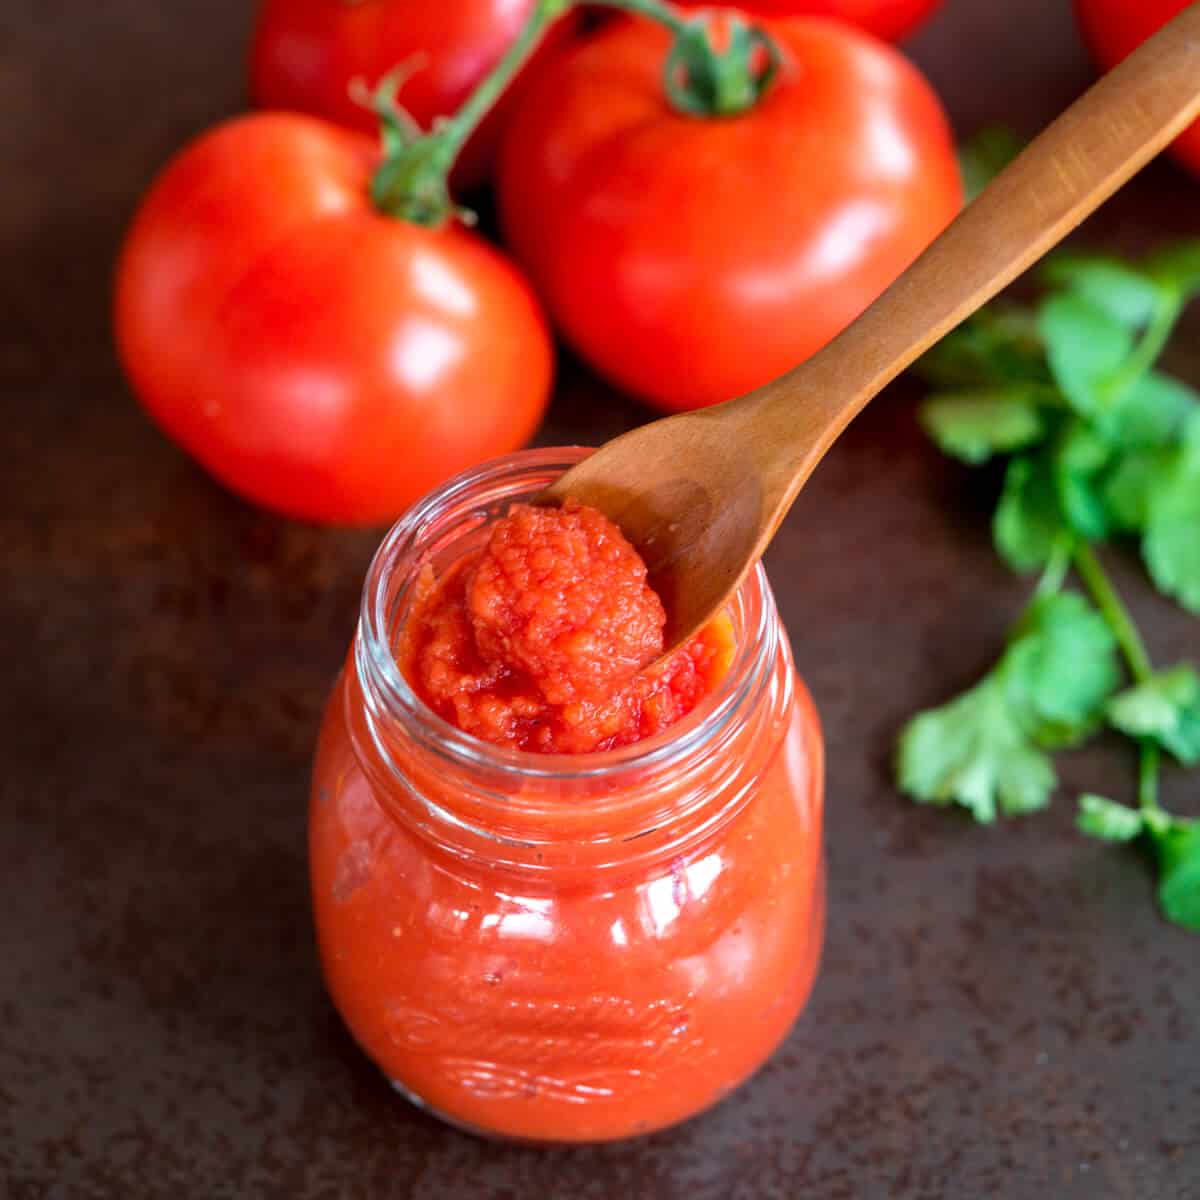
Once you’ve got your strained tomato purée, it’s time to cook it down. The goal is simple: evaporate the water until you’re left with a thick, rich paste.
You can do this on the stovetop, in the oven, or in a slow cooker. Each has its perks.
Stovetop method
This is the most traditional (and my favorite) method.
Pour the tomato purée into a wide pan or pot and cook it slowly over low heat, stirring now and then as it thickens. As the water cooks off, the paste will darken and become richer in flavor.
It’s important to keep the heat low. Once it starts getting thick, it can burn easily. Toward the end, stir often and stay nearby. You can always switch to the oven or slow cooker later if you want to finish it with less supervision.
Slow cooker method
If you’d rather not stand over the stove, a slow cooker works really well. Pour in the purée and cook on low with the lid off so the water can evaporate.
As it thickens, switch to “keep warm” or stir every now and then to make sure it doesn’t stick to the bottom. A silicone spatula is great for scraping the sides and corners of the crock.
Oven method
Some people make their tomato paste entirely in the oven, but I like to use it to finish thickening the paste after reducing it on the stove. It’s also a great option if you want that slightly caramelized flavor without having to stir constantly.
Spread the tomato purée onto a clean, rimmed baking pan (or dehydrator trays, if you have a food dehydrator). Set the oven to one of its lowest temperature settings, around 200–225°F (90–110°C). If possible, turn on the convection fan to help the moisture evaporate.
Some people like to leave the oven door cracked open to let out steam, but I haven’t found that necessary. Just scrape and stir the paste every so often with a spatula, making sure it’s not sticking to the pan.
Thickening the paste in the oven or slow cooker takes a bit longer, but it’s much easier to prevent burning, and you don’t need to watch it constantly. Just keep an eye on it toward the end. The thicker it gets, the quicker it can scorch.
Storage and Shelf Life
Tomato paste keeps much longer than tomato sauce because most of the water has been cooked off. How long it lasts depends on how thick and concentrated your batch is.
If your paste still has a bit of liquid, it’ll usually keep for about a week in the fridge. A thicker, concentrated paste can last two to three weeks, especially if you top it with a thin layer of olive oil. You can also prolong the shelf life by removing any air around it using a vacuum sealer.
Since it’s hard to know how well a particular batch will keep, I prefer to freeze any tomato paste that I won’t be using within a week.
Freezing tomato paste
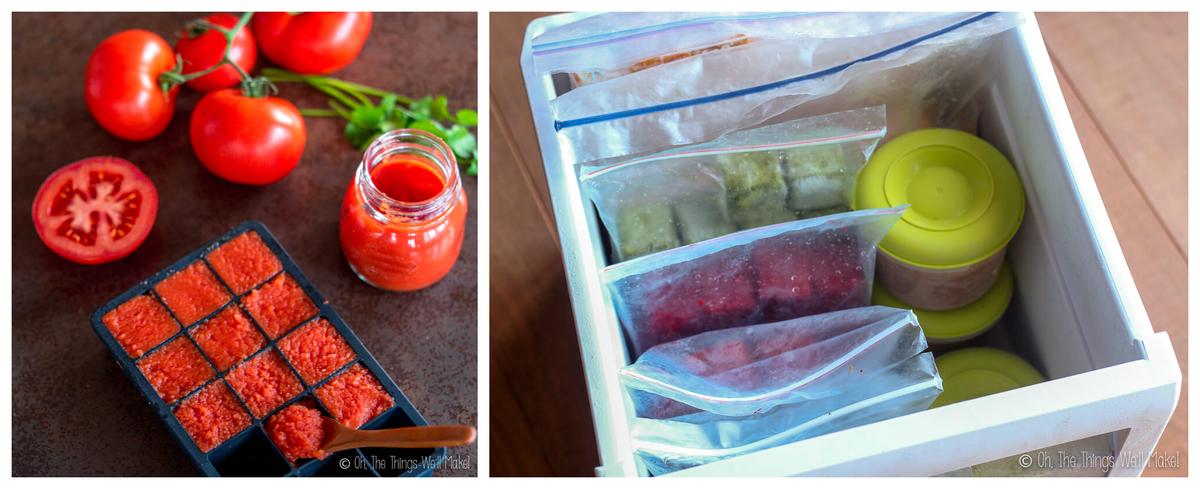
Freeze the paste in small portions so you can use just what you need. I love using perfectly cube-shaped ice cube trays (the same kind I use for pumpkin purée, baby food, or homemade pesto).
The beauty of using perfectly square cubes is that they fit together neatly in freezer bags. There’s no wasted space! The bags stack nicely in the freezer drawers, so you can easily flip through them like files in a cabinet to find exactly what you’re looking for. It saves a ton of space and keeps everything organized.
Canning
If you prefer canning, it’s possible to safely can tomato paste as long as it’s acidic enough. You may need to add a bit of lemon juice or citric acid to each jar before sealing. This helps prevent the growth of bacteria like Clostridium botulinum, which causes botulism.
I don’t personally can tomato paste often since freezing works so well, but it’s a great option if you want something shelf-stable.
Since I don’t have a lot of experience with canning, you may prefer reading how to can homemade tomato sauce and tomato paste here.
How to Use Tomato Paste
Tomato paste is one of those ingredients that instantly deepens flavor in almost anything. A spoonful or two adds richness to soups, sauces, and stews without watering them down.
It’s also great for homemade condiments. Try it in my fermented ketchup or my barbecue sauce.
At home, my son’s favorite way to use it is to mix some into cooked ground beef with garlic, cumin, and a pinch of salt, then serve it in tortillas for quick tacos. It gives just enough tomato flavor without making the filling too saucy.
Easy Homemade Barbecue Sauce Recipe

Easy, Homemade Fermented Ketchup: Fermented Foods at Every Meal

Expert Tips
- Use ripe, meaty tomatoes like Roma or San Marzano for a thicker, more flavorful paste.
- Cook low and slow. That’s the secret to rich flavor and a deep red color.
- The paste thickens as it cools, so stop cooking when it’s just a little softer than you want.
- Skip the oil if you plan to freeze it. Oil can shorten the freezer life slightly.
- For faster cooking, scoop out the seedy sections before blending. (They have the most water!)
FAQs
In the fridge, about a week if it’s not too thick. A very concentrated paste can last two to three weeks in the refrigerator. For long-term storage, freeze it in cubes. It’ll last up to a year.
Yes, though they’re more watery and a bit sweeter, so they’ll take longer to reduce.
You can, but the paste will be less smooth and sometimes slightly bitter from the skins and seeds.
Video

Easy Homemade Tomato Paste Recipe
Ingredients
- 8 lbs. tomatoes
- 1.5 tbsp extra virgin olive oil (Optional)
Instructions
Prep and Blend
- Rinse the tomatoes well, remove the stems, and cut into chunks.
- If you want to add red peppers or other vegetables, now is the time to do it.
- Blend until smooth.
Strain
- To strain out the seeds and skin, place a mesh strainer or food mill over a large pot on the stove (or over the crock of a slow cooker pot). Pour the tomato sauce into the strainer. Use a spoon or a spatula to press the tomato sauce through the strainer into the pot below.
- Repeat with the remaining tomatoes.
Cook (Choose One Method)
Stovetop
- Simmer over low heat, stirring often as it thickens. Reduce heat near the end to prevent burning.
Slow cooker
- Cook on Low with the lid off, stirring occasionally, until thick and rich.
In the oven
- Spread on a rimmed baking sheet and bake at 200–225°F (90–110°C). Stir every so often until it reaches the desired consistency.
Store or Freeze
- Transfer the paste to clean jars or freeze in ice cube trays. Once frozen, move cubes to freezer bags for long-term storage.
Notes
- Making your own tomato paste takes a bit of time, but it’s totally worth it. You can use it in soups, sauces, or to season ground beef for homemade tacos.
- Yield: about 18 ounces, depending on the tomato variety and how much you reduce it.
- Keep in the fridge for 7–10 days, or longer if it’s very concentrated.
- For longer storage, freeze up to a year or can using proper acidification (add a bit of lemon juice or citric acid if needed).
- For best freezer organization, use square ice cube trays—the cubes fit perfectly in bags and save a ton of space!
- Optional: For extra sweetness, blend in a few chunks of red pepper or onion with the tomatoes before blending. Or, for a deeper flavor, sauté them briefly in olive oil before adding them to the purée.
This post was originally published on Nov. 11, 2016. It was rewritten, adding new photos and clearer instructions in October, 2025.


Does it has to be cooked? why not only dehydration to get the condensation, paste. Because cooking loses Vitamin C. Multiple time re-juicing may release more lycopene than heating as heating degrades some lycopenes. I fount this online: “Heat treatments can cause degradation in tomatoes of lycopene which has important antioxidant effects”. quoted from: https://pubmed.ncbi.nlm.nih.gov/29781297
Hi Rahman,
You’re right that heating can reduce vitamin C, but it also helps make lycopene more bioavailable, meaning our bodies absorb it better. You can definitely dry the blended tomatoes instead if you prefer a raw version — it just gives a different texture and flavor than the cooked paste.
I made this last night after work. I put my tomatoes in my Blendtec blender and hit the juicer button. I didn’t need to cut them unless they were a little too big to go in whole. Then strained that through a fine sieve. Worked beautifully! I cooked them on my stove. When it was done, I took my mini cupcake tin and put a tablespoon of the paste in each cup and froze them. Tonight I will be wrapping each one up. Thank you for the inspiration!
Awesome, Cherie!
I’m so happy the process went well for you!
Making it now ! Looks great so far. I am not sure, when you would add the olive oil if you wanted to add it ?
I would add it after having reduced the sauce mostly, towards the end of the cooking process!
Thanks so much! I have made this over and over again this summer. I just got another half bushel of Romas tomatoes. I’m going to make it again now, what a great recipe!
So far so good. It is thickening up after 9 hours in the slow cooker. As to canning tomatoes, that is exactly what I intend to do with the paste when done. I’ve been canning tomatoes for years. You can do a boiling water bath for 35 minutes but a pressure canner is a better method, 10 minutes at 10 lbs. (I’ve been using an electric one for a few years now and it works fine.)
Thanks!
bless you sis for this wonderful job that you’re doing. It has help me a lot in my kitchen.
If you want just tomato paste, without the seeds, start with tomatoe puree that has been made by running the raw, cleaned, and maybe sliced tomatoes run through a juice machine. The juice machine works surprisingly great on tomatoes. With a half bushel of tomatoes juiced, I add a whole green pepper (cored), and a whole onion (skinned of course), also run through the juice machine. Boil the puree for a half hour and add a tsp of pure lemon juice per quart (necessary). Then can it. Or continue boiling it down to a puree, then can it – your choice. You can add some sugar and any other spices if you prefer, prior to canning.
When you’re done with juicing the tomatoes, don’t discard the remains! If you also own a dehydrator, put the remains in the dehydrator until dry (seeds, onion, and green pepper remains and all). When dehydrated, put the dried remains in a blender and grind until a powder is made. Store the dried mixture in appropriate containers (we just use canning jars) and use as a zest in anything that can use tomatoes.
Great tips, thank you!
“Easy” is true for this great-tasting recipe, but I am even lazier than easy. A little internet research led me to discover the timings for cooking tomatoes in the instant pot. The instructions said “water not needed,” because tomatoes are so juicy, but I didn’t want to risk that. I started with 1/2 the recipe above. I threw the cherry tomatoes into a small stainless steel mixing bowl, poured 1 cup water into the inner pot, and put the tomato filled bowl on a rack in the instant pot. I set the pot for 8 min. pressure cooking, and when the timer went off, I let it release naturally. Then I ran the tomatoes through a food mill. The sieved tomatoes went directly into the inner pot, this time without water, I set the slow cooker function for 4 hrs. with no lid. Perfect – only the food mill, the smaller bowl and the inner pot needed washing. I suppose if you had a larger bowl for the tomatoes, or more tomatoes, the slow cooking could take longer, so you might want to watch for proper thickness.
Thanks, Jane, for the tips!