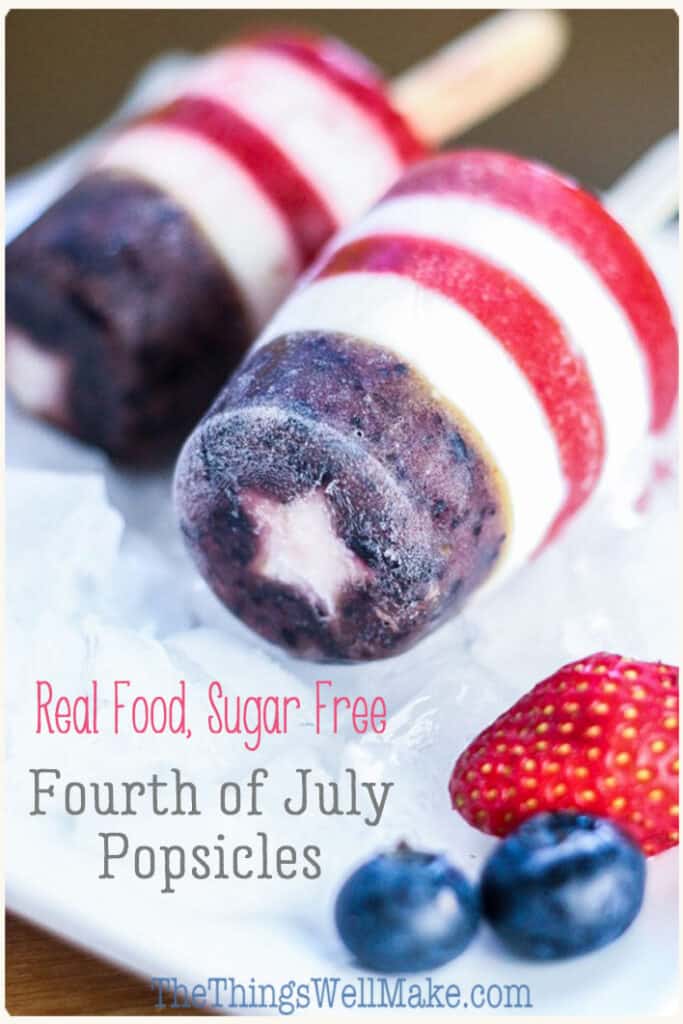
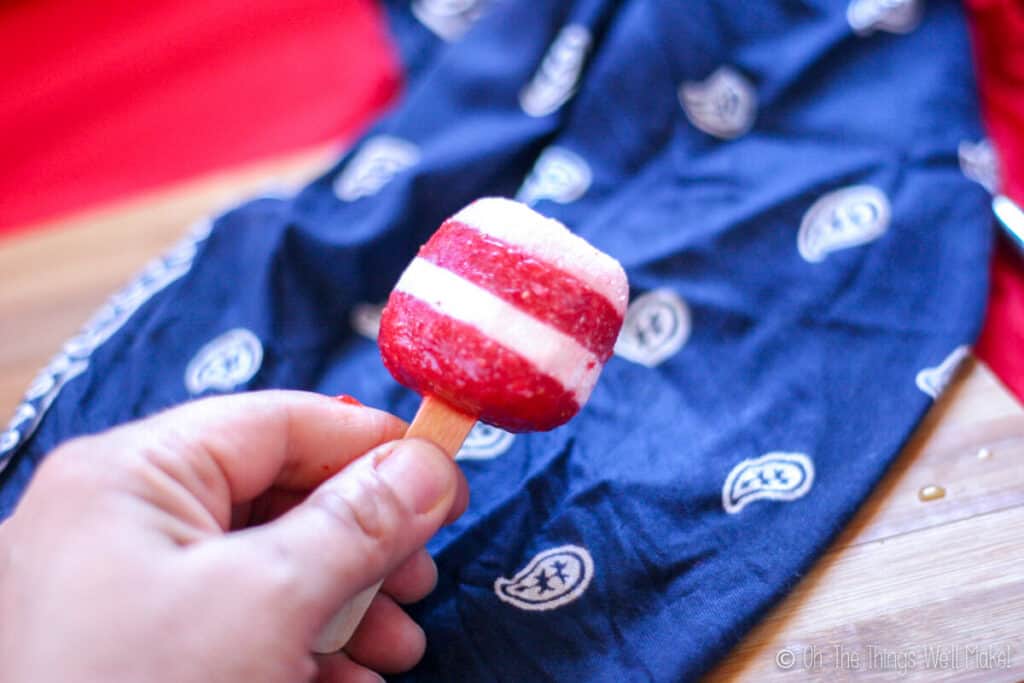
These naturally red, white, and blue patriotic popsicles are healthy and easy to make. They’re perfect for celebrating the fourth of July or any time you want to show off your patriotism.
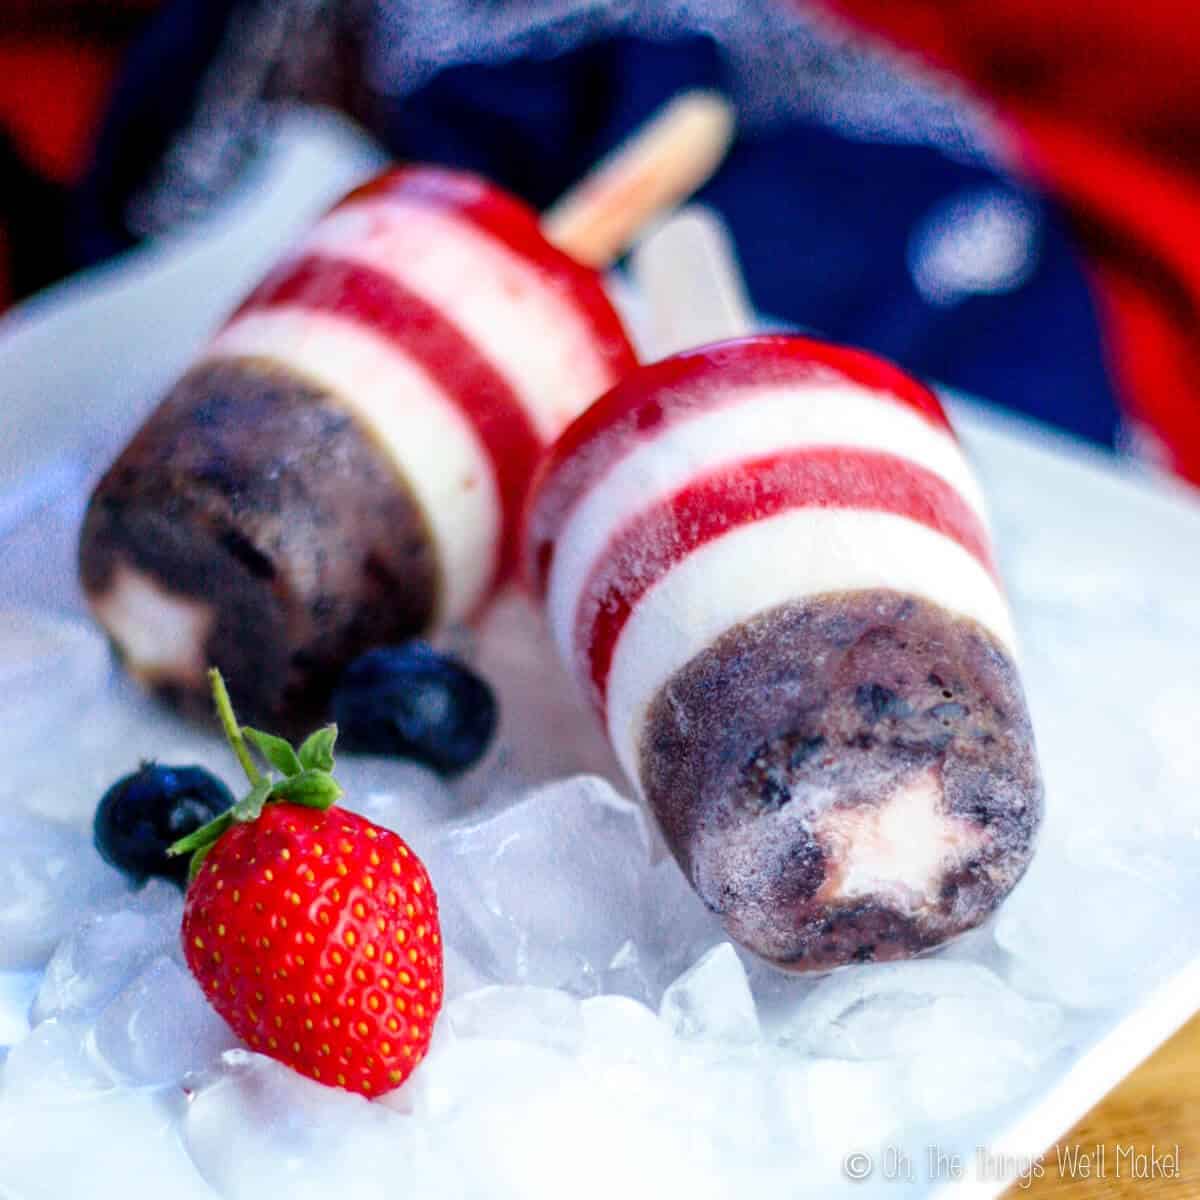
With the coming of July, comes a beloved American holiday, Independence Day (aka. the Fourth of July).
When I first made these popsicles for the blog, we were in the midst of a FIFA World Cup celebration. Spain had already been eliminated that year, but the US team was still in the competition. (That was quite unusual after Spain had won the last 2 major cups.)
With my German and French neighbors waving their countries’ flags in support of their teams, I also wanted to do something in support of my homeland.
So, the patriotic popsicles were born!
Red, white, and blue ingredients
I decided to use real food ingredients to make healthy popsicles. Over the years, I have made these in a variety of ways, with a variety of fruits and other ingredients. Check out the different ways you can achieve the perfect red, white, and blue for your popsicles…
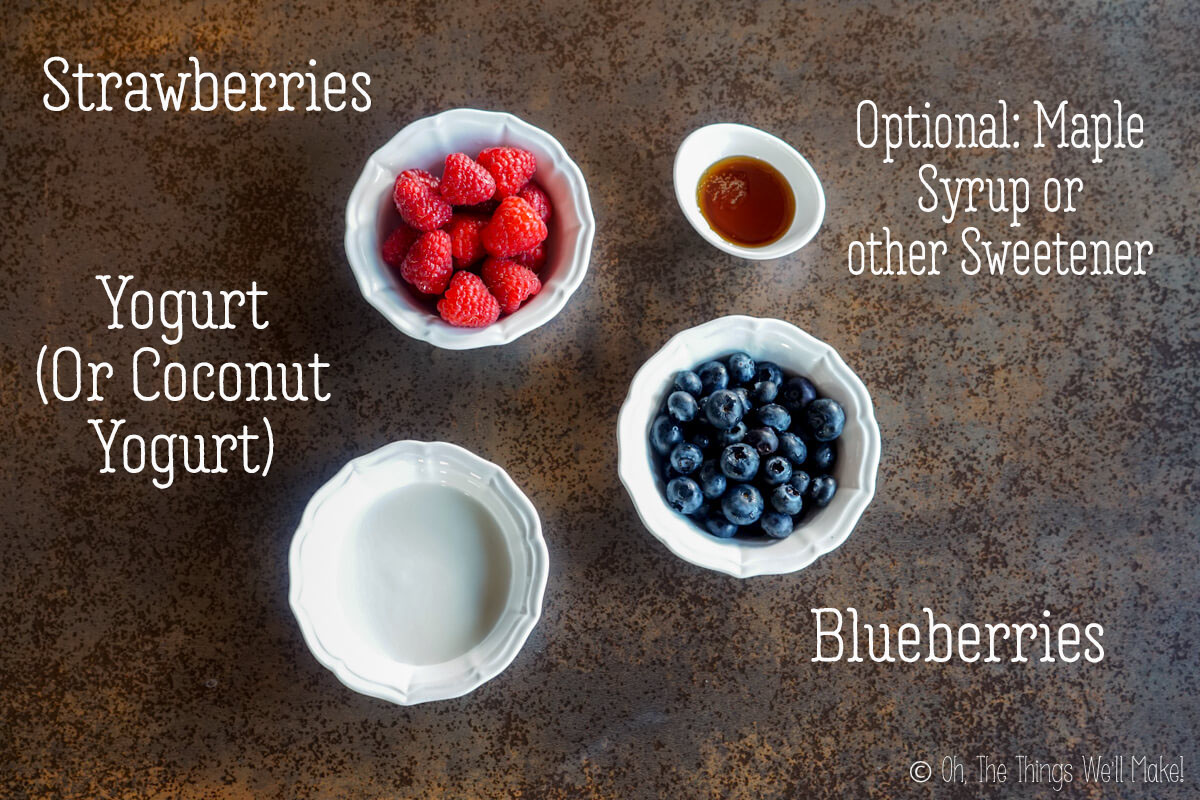
The red stripes
When I first made these, I opted to use fresh strawberries to make a beautiful red pureé for my popsicles.
While I love the shade of red achieved by using strawberries, other red fruits also work well. Last year, when I couldn’t find fresh strawberries at the store, I chose to use raspberries. They were delicious and just as pretty!
If you can’t find fresh berries, you can also use frozen. (That’s what I used this year!)
The white stars and stripes
For the white parts, I chose to use some homemade yogurt. Milk kefir also works well.
If you want to make dairy-free vegan popsicles, try using vegan yogurt. Coconut yogurt is a great option. You can also just use coconut cream or even homemade coconut milk.
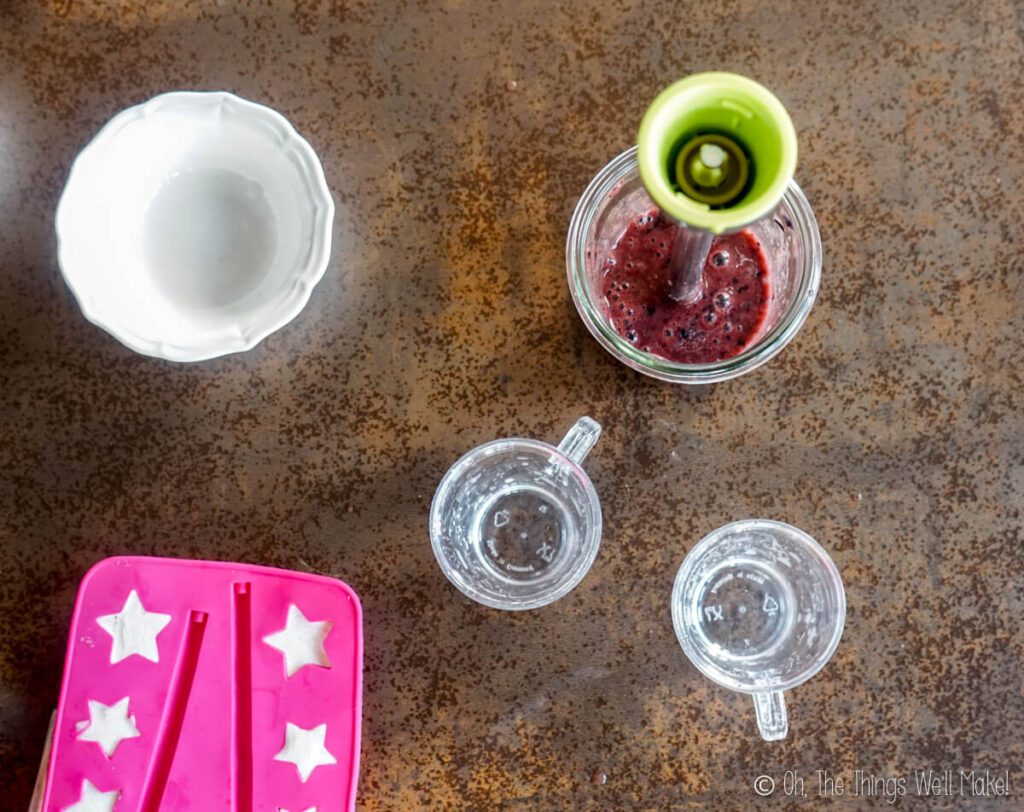
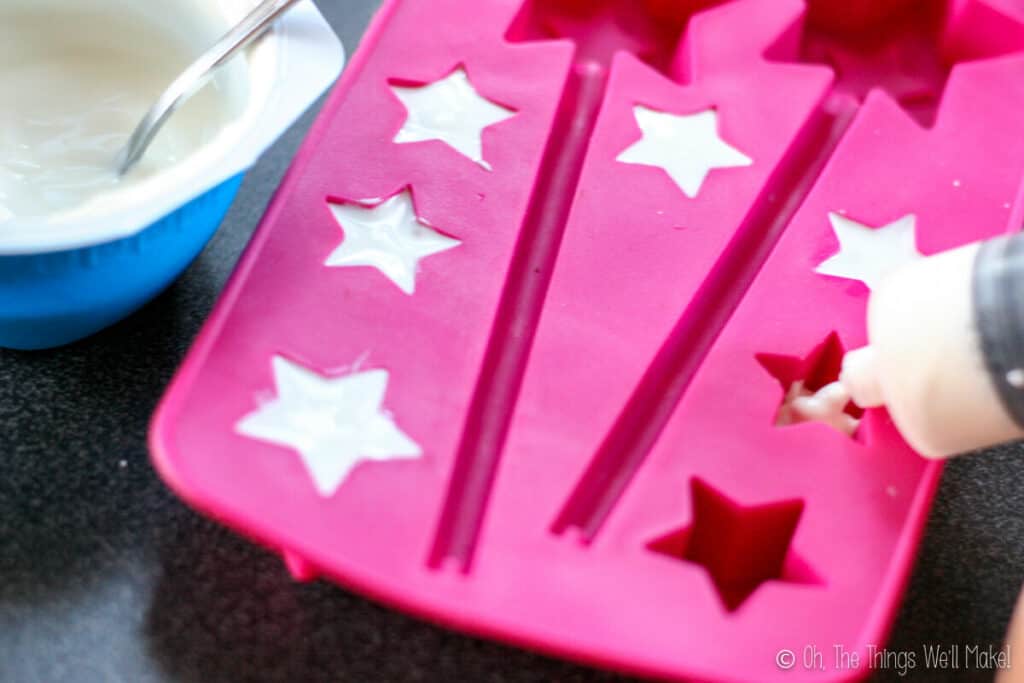
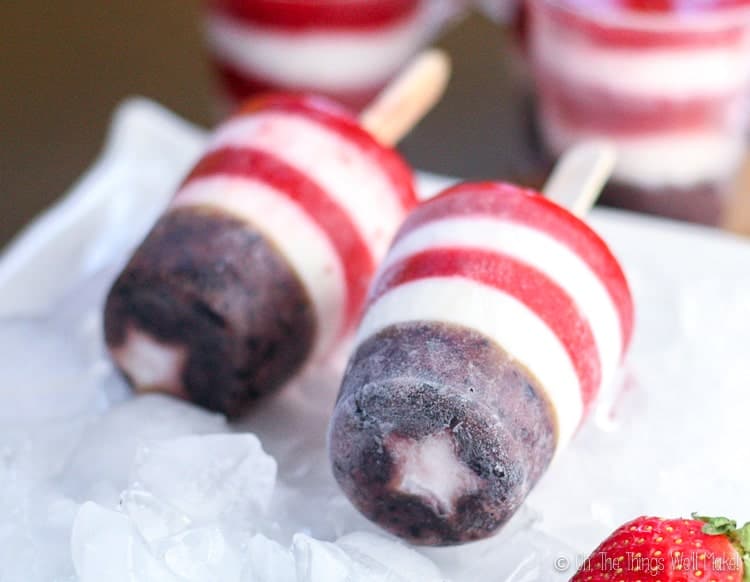
For the stars, I used a star-shaped ice cube tray filled with yogurt. If you don’t have star-shaped trays, though, try cutting stars out of thin slices of apple or pear. (Star-shaped cookie cutters make it easier, but you can use a knife too!)
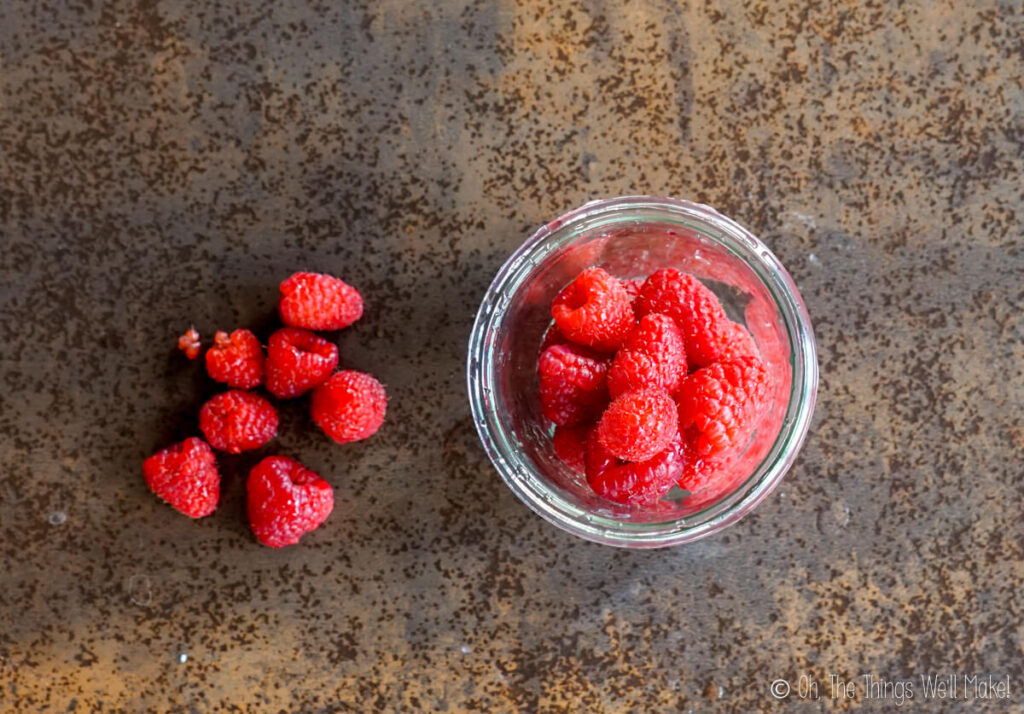
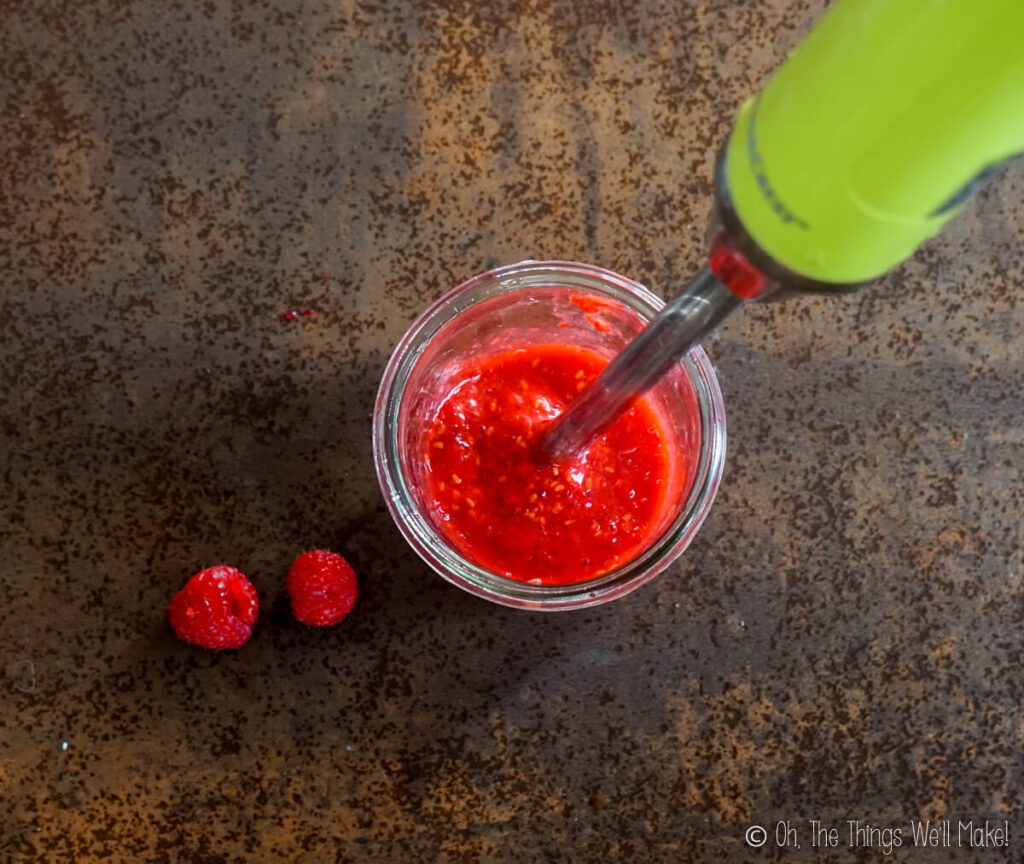
This time I used respberries.
The blue section
For the blue section, I used a blueberry puree. I wasn’t sure they’d actually be blue enough for the blue section, but I think the color turned out well in the end.
If you want a brighter blue, consider adding some butterfly pea flower powder to the puree (also sometimes called blue matcha). You can also try one of the other blue natural colorings from my homemade food coloring post. (In the end, though, I didn’t notice much of a difference when I added it.)
Choose the molds
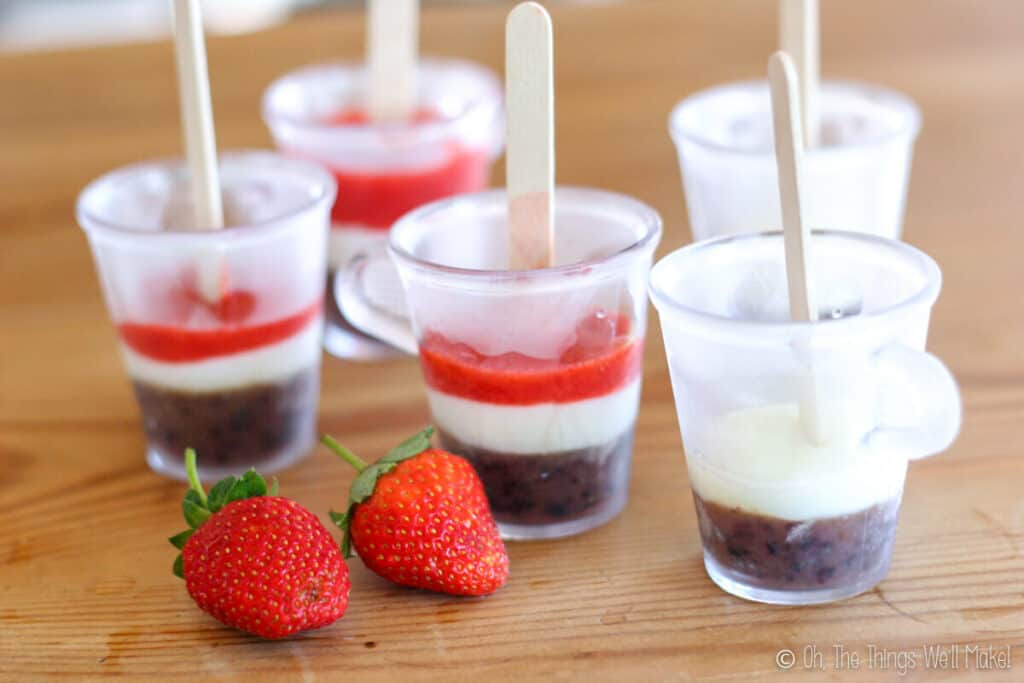
First choose a suitable mold. If you want to add a white star to the bottom of your popsicles, like mine, you’ll need to find something with a flat bottom.
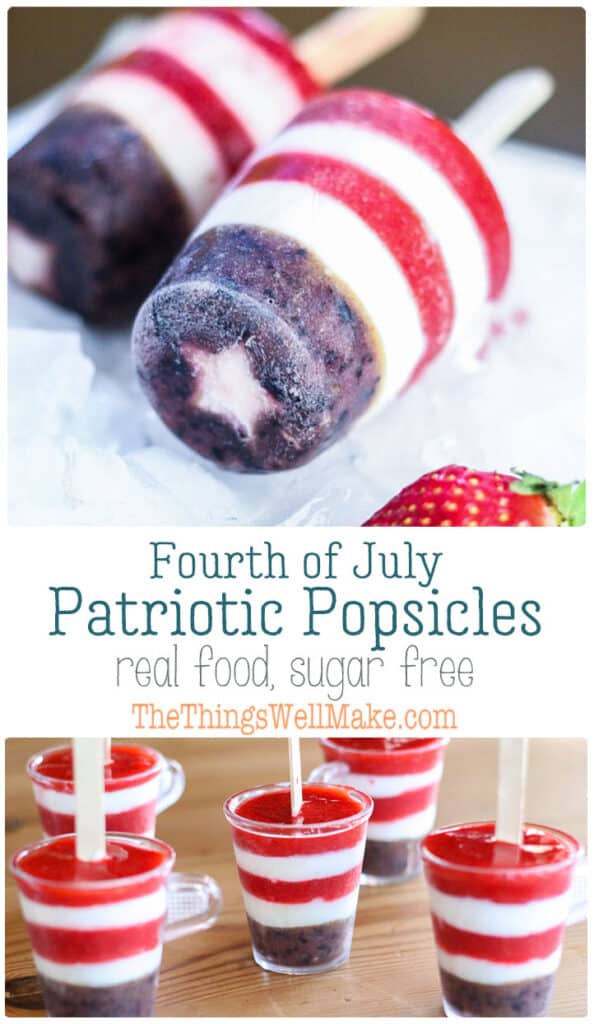
I used a set of small, plastic coffee cups that they’d given me when we bought our coffee maker. I’ve also done this with disposable cups I had left over from a birthday party. They worked well too.
Make the popsicles
First, you need to make the white stars. You can either freeze yogurt or coconut cream in star-shaped ice cube trays, or cut out stars from slices of pear or apple.
While it’s freezing, prepare the blueberry puree.
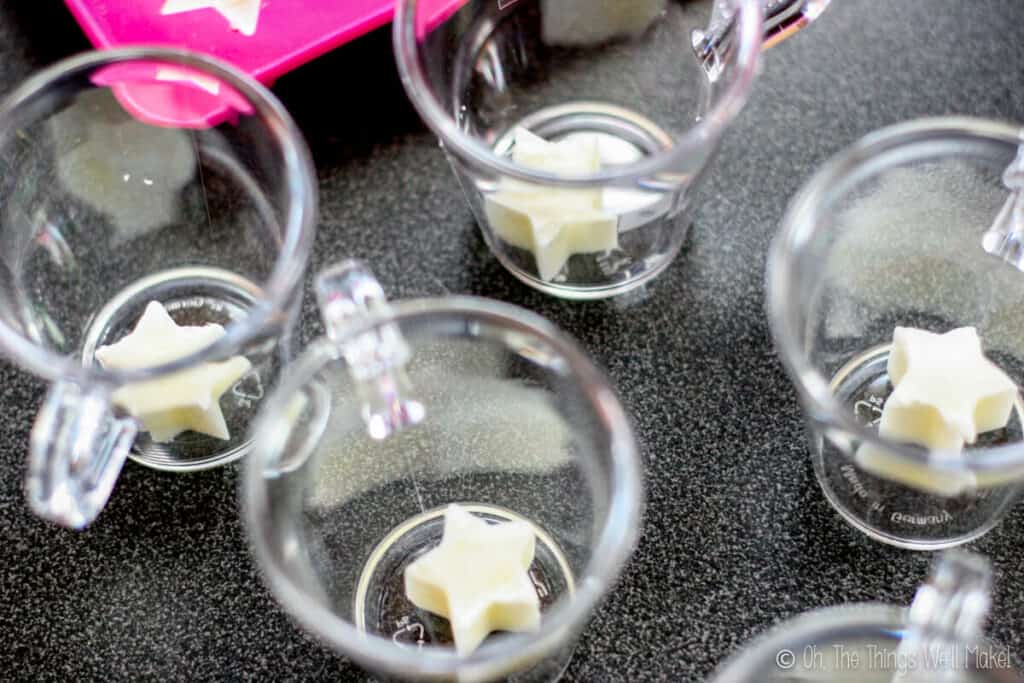
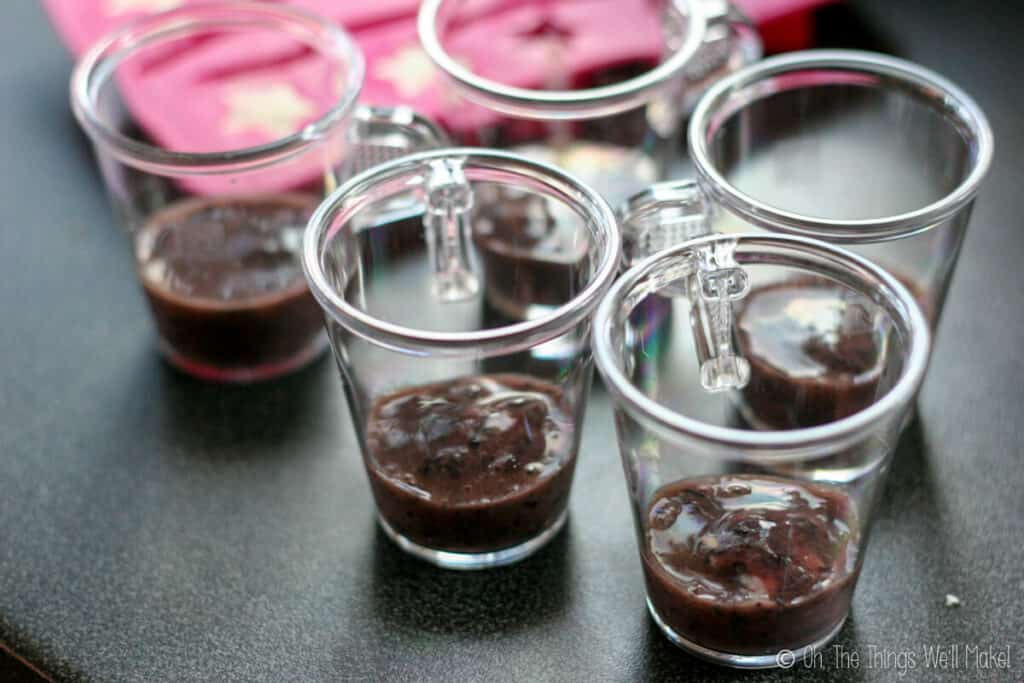
When the stars have frozen, remove them from the ice cube tray and place one in the bottom of each mold. Pour the blueberry puree over them, and place the molds in the freezer.
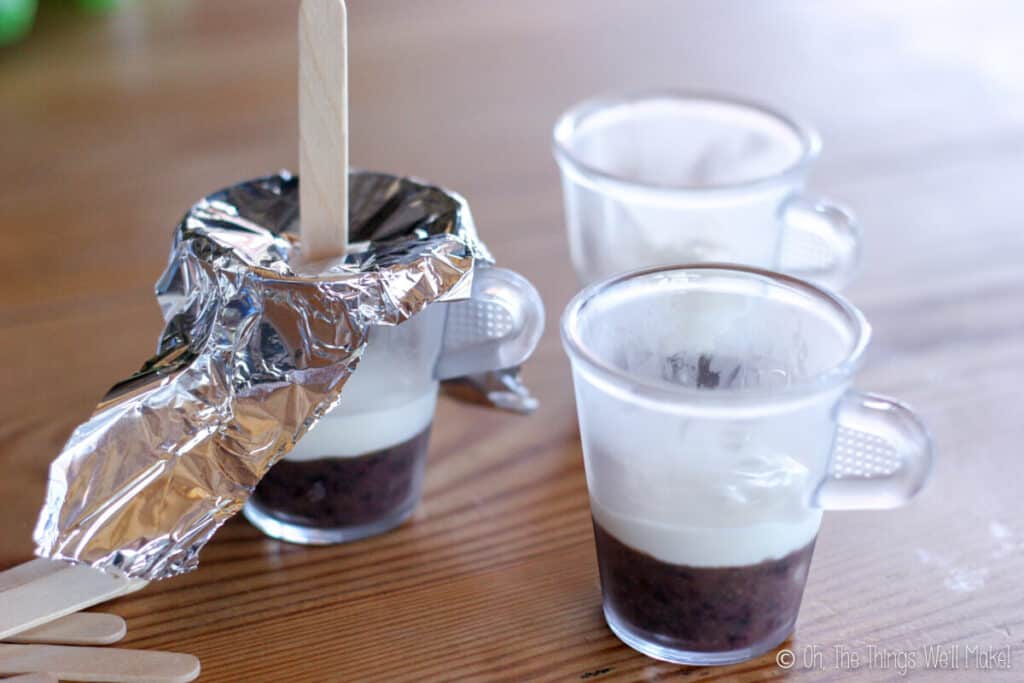
When the blueberry puree has frozen solid enough to hold its shape, pour a thin layer of yogurt over it. You can choose to use sweetened or unsweetened yogurt.
If you try to add the yogurt too quickly, some of the blueberry juice may run up the edge which can ruin the look of the white stripes.
Adding the popsicle sticks
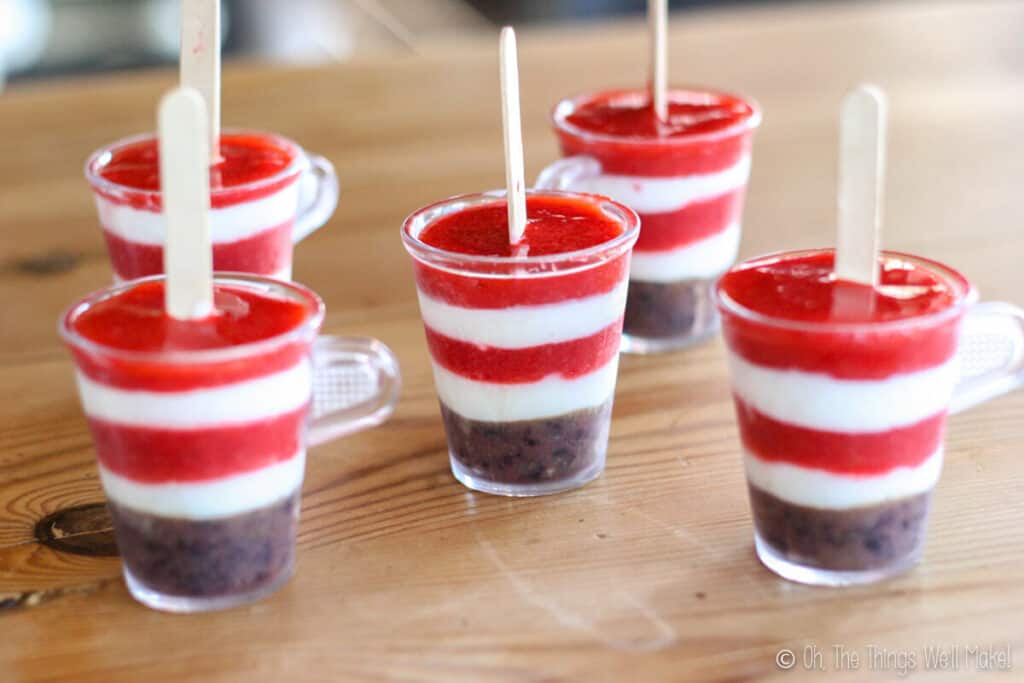
Now is also the best time to add popsicle sticks. They can be stabilized in the center with some aluminum foil. To keep the popsicle sticks straight up in the center of the cup, cover the cups with the foil and poked the popsicle stick through a hole made in the center of the foil. Make sure the sticks go into the layer of greek yogurt.
Once you freeze the yogurt, the sticks should stay up on their own.
While the yogurt is freezing, prepare a strawberry puree by blending some strawberries (or raspberries) with a blender. You can sweeten the puree if you like by adding a sweetener of choice. (We normally leave ours unsweetened.)
When the yogurt has frozen enough to stabilize the popsicle sticks in place, pour a thin layer of strawberry puree over the frozen layer of yogurt. Place in the freezer again.
To finish up the stripes. Add another layer of yogurt and another layer of red berry puree, freezing between additions. Freeze until completely solid after you’ve added the final layer.
Removing the popsicles
Once fully frozen, your popsicles are ready to be served!
To remove them from the molds more easily, run some warm water over the sides of the molds. Gently twist, until you can easily remove the popsicles.
Adjusting them to taste
Just as you can switch up what you use for the various colors of the popsicles, you can also make other adjustments to have these suit your taste.
For example, I didn’t use any sweeteners for my popsicles, but I realize that most people are going to want a sweeter patriotic treat. If you have a sweet tooth, you will definitely want to add a sweetener, especially in the yogurt and strawberry layers. My husband felt they needed a little more sweetness, so he ended up drizzling some of my homemade “magic shell” over his. I think it’s a weird combination, but he loves chocolate on just about anything.
If you want these popsicles to be sweeter, you can sweeten them with honey, maple syrup, stevia, or another sweetener of your choice.
Keep in mind that frozen foods taste less sweet, so make them slightly more sweet than how you’d want to eat them unfrozen.
Also, I chose to make only 4 stripes, but you can keep layering the white and red layers as many times as you like! (It will, of course, depend on the size of the molds you are using too. )
Tips and tricks
To ensure clean borders between each layer, fully freeze the current later before adding the next one.
In order to fully appreciate the white stars on the bottom of the popsicles, make sure to use cups or molds with completely flat bottoms.
If, when you remove the popsicles from the molds, the white star is somewhat covered by blueberry purée, you can easily expose the stars by slicing off a thin layer off the bottom of the popsicles. (See how I did it at the end of my video.)
Video
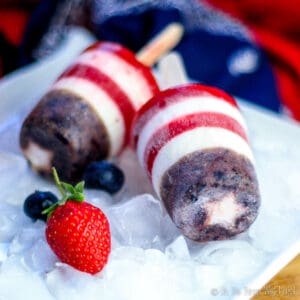
Red, White, and Blue Patriotic Popsicles
Ingredients
- 1 cup greek yogurt (or coconut milk, coconut cream, or coconut yogurt.)
- 1/2 cup blueberries
- 1 cup strawberries
- honey, maple syrup, or other sweetener optional, to taste
Instructions
- To begin, make your white stars by making white, star-shaped “ice cubes” out of the greek yogurt. You can use coconut milk, coconut cream, or coconut yogurt instead to make these vegan and paleo. You can also sweeten the yogurt first if you want these to be sweeter. You can see that I used a syringe to easily fill the compartments without making a big mess.
- Meanwhile, make a puree with your blueberries. You can add a little honey or another sweetener as needed.
- Add a white star to the bottom of a flat bottomed popsicle mold. I used small cups with a flat bottom.
- Immediately cover them with your blueberry puree and freeze again.
- Once frozen, add a layer of yogurt or coconut. Place the popsicle stick into the yogurt layer. I used some aluminum foil to hold the stick up, and then placed them into the freezer to freeze the stick in place.
- Puree the strawberries; you can, again, optionally sweeten the puree with honey or another sweetener if you prefer.
- When your yogurt layer is frozen, cover it with a layer of strawberry puree and freeze again.
- Follow the process with one more layer of yogurt and one more layer of strawberry puree.
- When you are ready to serve them, you can ease the popsicles out gently by warming the sides of your cups with warm water while you gently pull on the stick.
Notes
Tips and tricks
For clear borders between layers, make sure the previous layer is fully frozen before adding the next layer. To expose the white star in the bottom of the popsicles if they have been covered with blueberry purée, slice off a thin layer off the bottom.This post was originally published on July 1st, 2014. It was republished in July of 2021, adding new photos, video, and more tips and tricks.
 Español
 Mint Chocolate Chip Ice Cream (Paleo, Vegan Nice Cream)
custom paper
Looks great! I wish I would have enough time for it! But I surely could use more easy recipes you’ve added here.
Farha - faskitchen
Just an amazing and creative idea.. Love it.. What not to love about these popsicle in the summer heat
Tracy Ariza
Thanks so much! Yes, I love popsicles. (And sorbets, and ice cream…) 😉
Anne
Oh, the stars are cute – what a great idea! Those came out beautifully.
And I’m delighted to find someone else who thinks the fruit is sweet enough.
Tracy Ariza
Thanks, Anne!
Yes, I not only find the fruit sweet enough, but I’m also crazy enough to find the unsweetened yogurt sweet enough too! hahaha 😉
Dave @ place4papers
A very patriotic desert. One of the most inspiring ones I’ve seen in my whole life. It’s great that sports and patriotism go hand in hand. May championships unite even more herats and families this year!
Aubrey @ Homegrown & Healthy
I need that star mold, those are adorable!! That is such a good idea, lots of ideas for kids party snacks now 😀