

How to Make Beef Bone Broth
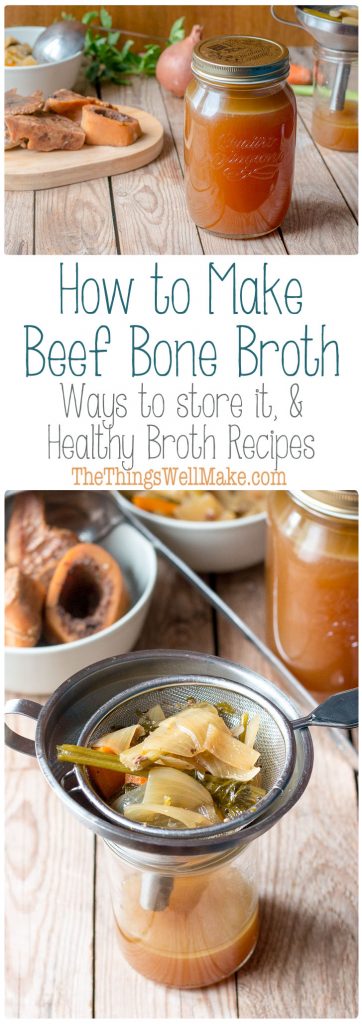
Nourishing and good for you, bone broth is simple to make and is the base of many healthy broth recipes. Today, I’ll show you how to make beef bone broth, storage ideas, and how to use it.
I’ve been making bone broth for some time now. I love making both beef and chicken broth, and sometimes make a combination of the two. Several years ago I showed you how I make a great turkey stock using the the leftover bones, skin, and cartilage of my Thanksgiving turkey. I still save the bones and skin of my roasted chickens and turkeys for making a simple soup, and making a turkey rice soup is still, by far, my favorite way to use eat my leftover turkey bits.
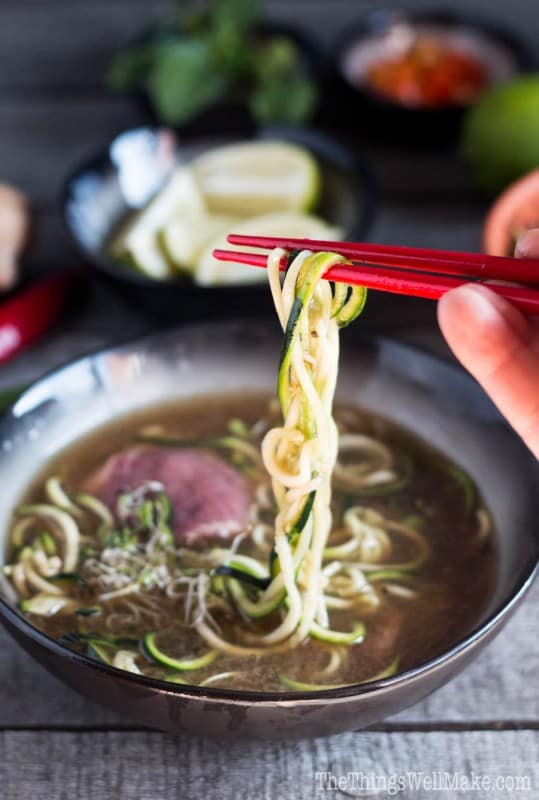
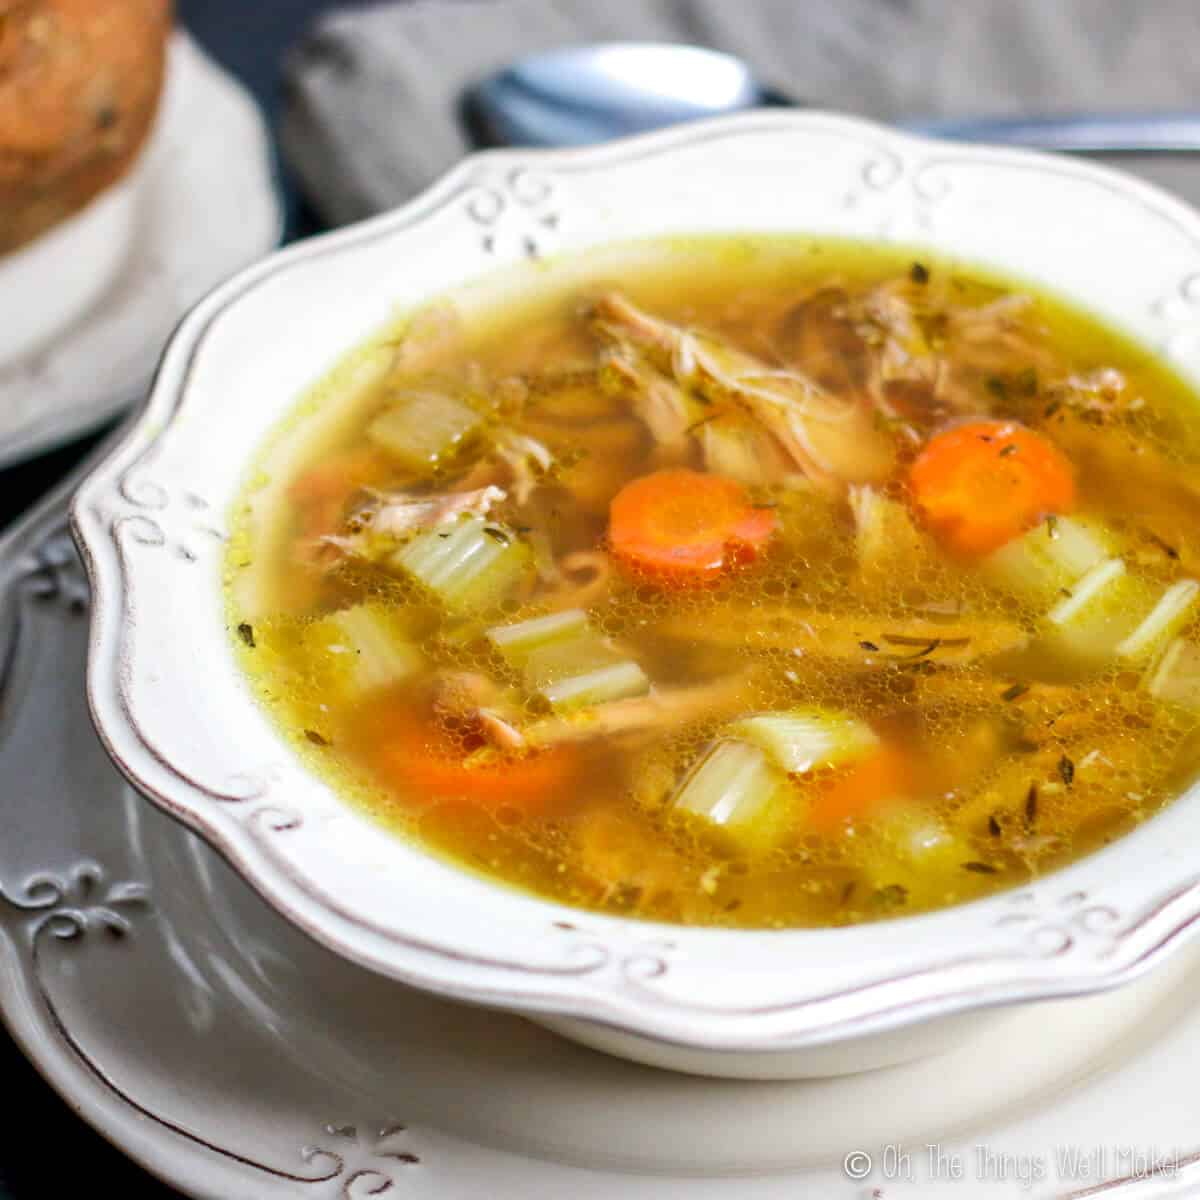
That said, I think my favorite type of bone broth is either beef bone broth or a combination of both beef and chicken bone broth. I mostly already explained the process of making homemade beef bone broth when I shared my recipe for paleo pho made with zucchini noodles. How to make beef bone broth from scratch, though, really warrants its own separate post. So many of my healthy soup recipes either use a homemade chicken stock (that can be made as I did in my Thanksgiving leftover soup post) or a beef bone broth, so I think this is the perfect opportunity to share how to make it from scratch.
Not only does it taste good and work wonderfully as the base for healthy soup recipes, but there are numerous health benefits associated with drinking bone broth. I’ve gotten into the habit of making it from scratch, but I do have to admit that the process is time-consuming. If you’re in a hurry, you can cash in quickly on the perks of bone broth by using a premade, ready to heat bone broth instead.
Benefits of Bone Broth
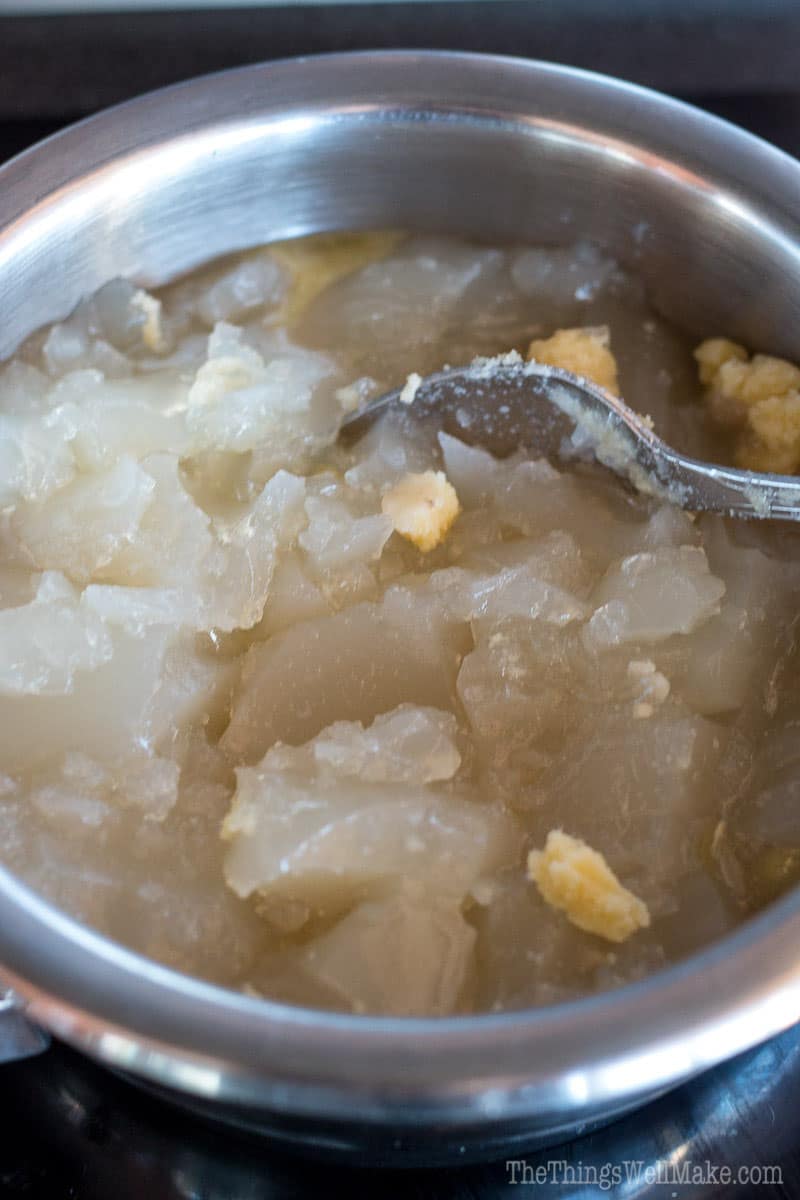
Bone broth has become very popular lately because of its health benefits. A lot of the time, you’ll be able to see the gelatin that forms when the broth is chilled in the fridge. This natural gelatin is a structured formation of the collagen proteins that you have extracted from the bones.
Improves joint health: Bone broth contains a lot of collagen, the protein that makes up bones, tendons, ligaments and other flexible tissues.
Digestive healing: The glycine and glutamine – both amino acids found in large quantities in bone broth – this maintains the integrity of the intestinal wall which helps heal leaky gut syndrome.
Liver detox: Bone broth is rich in glutathione and uric acid, which detox your liver.
How to Make Beef Bone Broth
This recipe was provided to me by the Kettle and Fire, a company that makes and sells bone broth for those who don’t want to do it themselves or to have some on hand for any time you need it at the last minute. I feel comfortable recommending their product because it is made with only bones from 100% grass-fed, pasture-raised cattle that are hormone and antibiotic free. You can read more about their broth here.
For those who want to try out their broth, you can use my discount code, THINGSWEMAKE15, to get 15% off of your first order!
How to Make Beef Bone Broth
Ingredients
- 3 pounds mixed beef bones or more, (short ribs, oxtails, knuckles, and neck bones)
- 1 tablespoon olive oil
- 2 carrot medium sized
- 3 celery stalks
- 2 yellow onions medium sized
- 2 tablespoons apple cider vinegar
- 1 bay leaf
Instructions
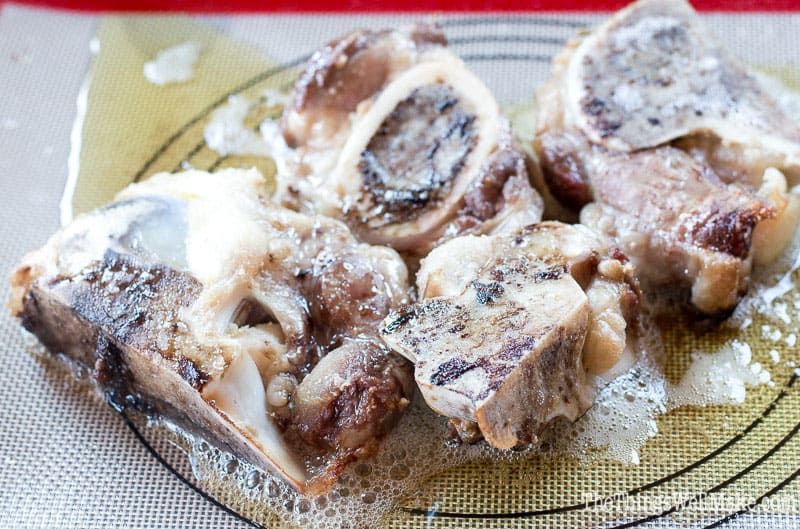
- Prepare the bones: Heat the oven to 400 degrees. Place the bones on a baking tray and drizzle with olive oil.
- Roast the bones: Place the tray in the oven, roasting for 30 minutes. Turn the bones, then roast for another 30 minutes.

- Prepare the vegetables: Chop the carrots, celery, and onions roughly. You’ll discard these later, so you don’t need to be precise.
- Combine broth ingredients: Place the roasted bones, chopped vegetables, bay leaf, and cider vinegar in a large stock pot. Cover with water so that the ingredients are under at least 2 inches of liquid. At this point, you can also add in any other flavoring ingredients that you want in the broth.
- Cook the broth: Heat the broth over high heat until it comes to a rapid simmer, then reduce the heat to low. Cover the broth and let it simmer on low for 12 to 24 hours. Skim off the foam on top periodically. You may have to add water occasionally to make sure the ingredients stay covered.

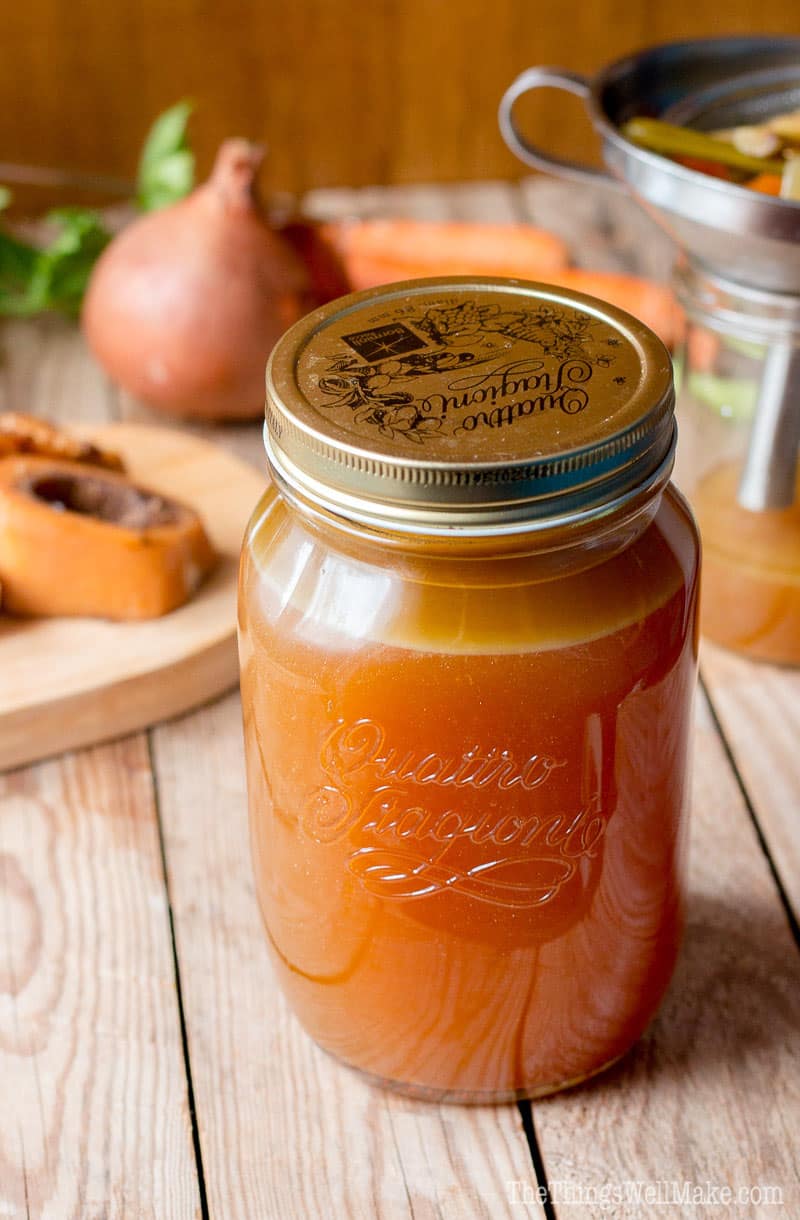
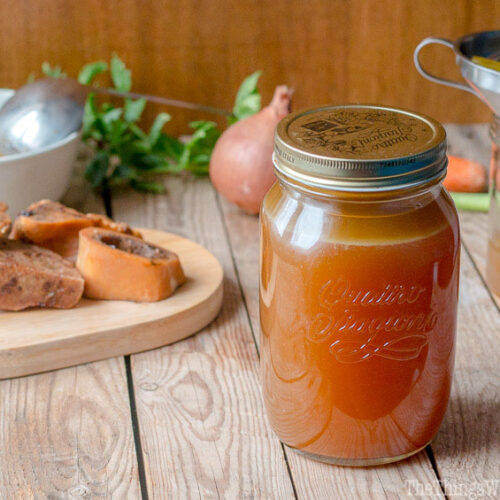
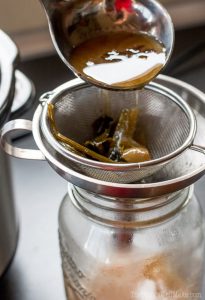
- Strain and cool the broth: After the broth has darkened to a rich brown color, remove it from the heat and strain through a fine-mesh sieve. Place the broth in a large container and let it cool to room temperature. Once cooled, place it in the fridge to chill. Scrape off any solidified fat that rises to the top before using.
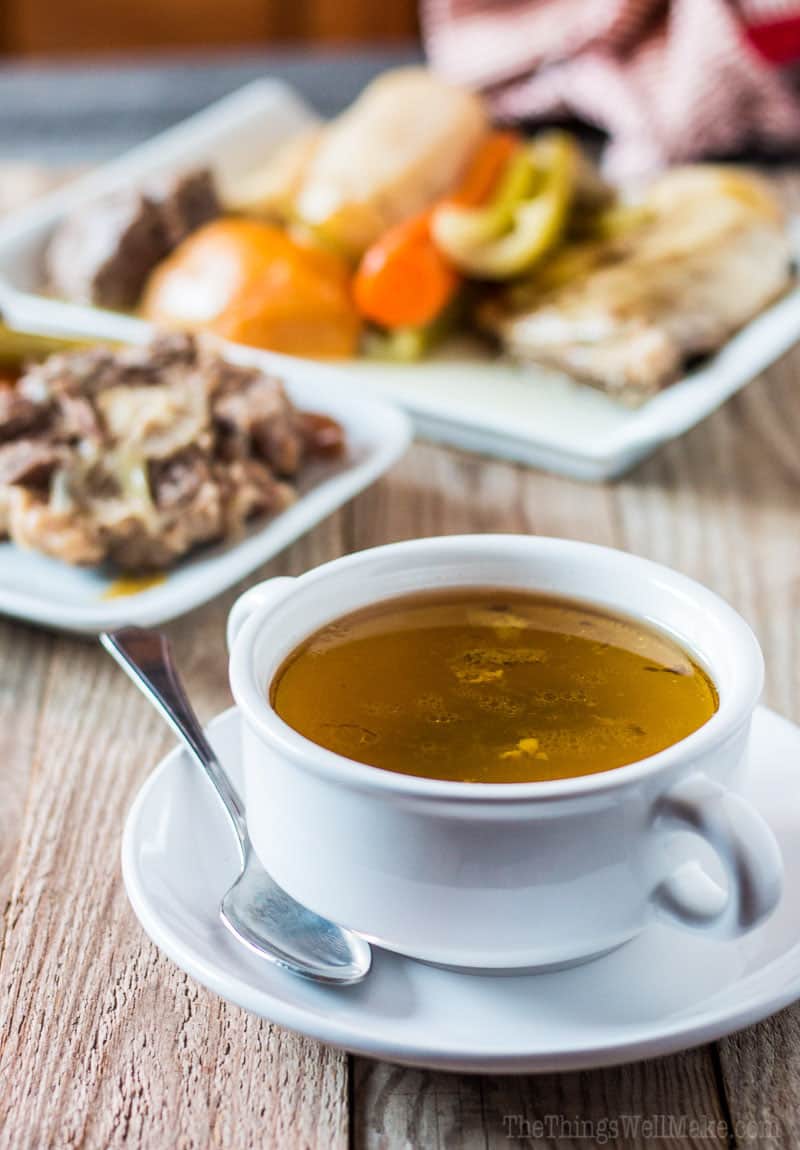
- Reheating bone broth: Reheat your bone broth for a steaming cup you can sip on its own, or use it as a powerful ingredient in your favorite recipes.
Notes
Storing Homemade Bone Broth:
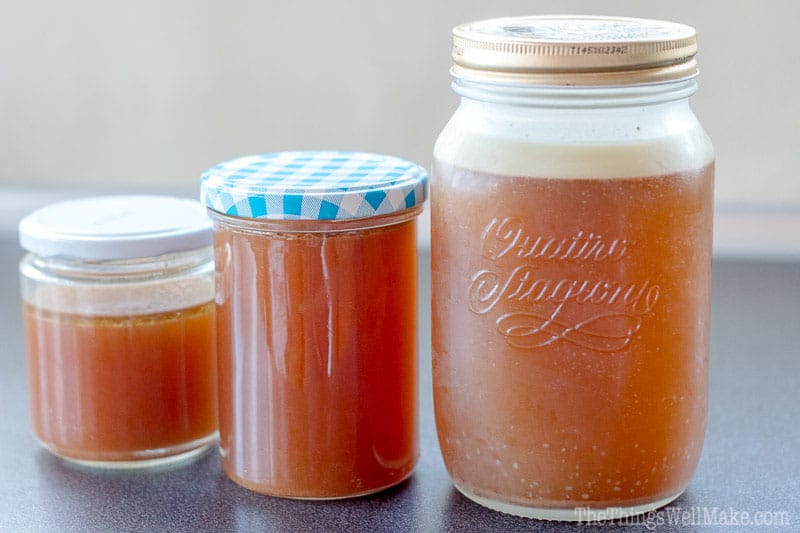
Because you do have to invest a bit of time when you make bone broth, I like to make large batches of broth each time. That means I usually end up with more broth than what I’ll use in a couple of days.
You’ll notice when you place a jar of bone broth in the fridge, that a layer of fat will harden on top of the broth. I never remove this layer, but instead keep it to help keep the broth underneath fresh for longer. Even if you do nothing else, leaving this layer on top of your broth will help keep the broth underneath fresh for at least a week or more. That said, I usually take things one step further to make sure I’ll have broth that will last longer.
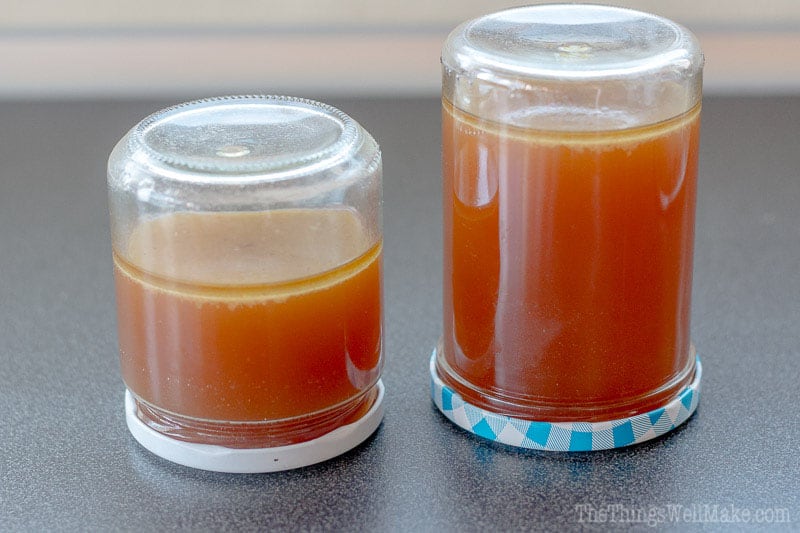
When I make bone broth, I strain it into jars when it is still very, very hot. I then cap the jars immediately, and flip them over to make sure that they are well sealed. If the broth leaks out, I either switch jars, or know to use that jar of broth within the next week.
I let the jars cool upside down, and then flip them back over and place them in the fridge. Most of the jars will end up with a vacuum seal that will help keep the broth fresh much, much longer. This method of canning isn’t really a “proper” way of doing things, but it is how many people do it here in my region of Spain. Even though the broth has a vacuum seal, I like to keep it in the fridge to store it. I have successfully stored homemade bone broth this way for over a month without issues. Some jars, though, will lose their seal, and many of those will start to have the fat layer on top that begins to go rancid.
Always check on the way the broth smells and looks before using it, and always err on the side of caution! When in doubt, throw it out. That said, it’s usually pretty obvious when broth has been compromised. The fat layer will start to liquify or change color/scent.
Reusing Bones for New Batches
I usually save old bones for new batches of bone broth; most of the time I save them in the freezer until I’m ready to add them to a new batch. Up until now, though, I had never made a batch of bone broth using only already used bones.
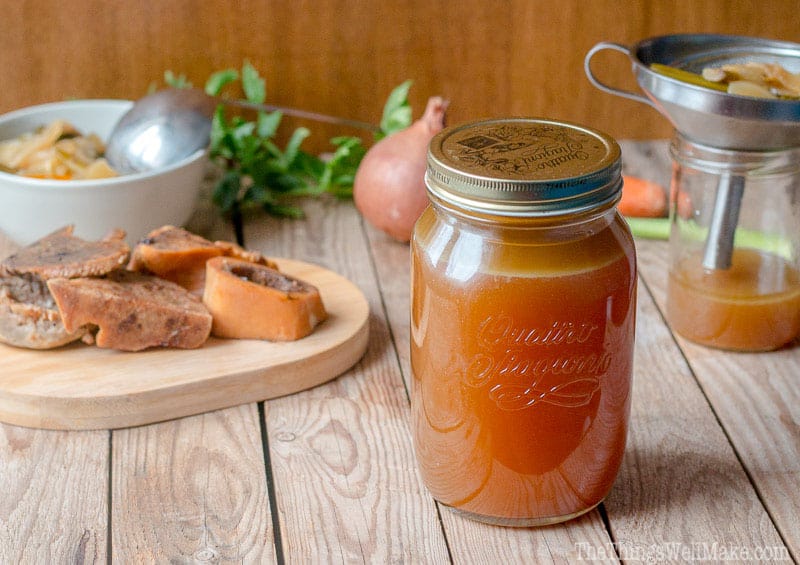
The other day, though, I decided to give it a try to see how it would work and I was pleasantly surprised! I thought I’d end up with a watered down broth, but I actually made a batch that I probably wouldn’t be able to distinguish from the first batch. In the picture above you can see the broth from my first batch out of the fridge on the right. You’ll see that the fat layer has solidified on top of the broth. It also looks lighter in color because of the condensation on the jar, but they were really comparable in color.
The concentration is also affected, of course, by how much water has evaporated and how long you have let the bones simmer. From now on I will likely reuse the bones at least one more time before discarding (aka. giving the crumbly ones to my dog). 🙂
Healthy Bone Broth Recipes:
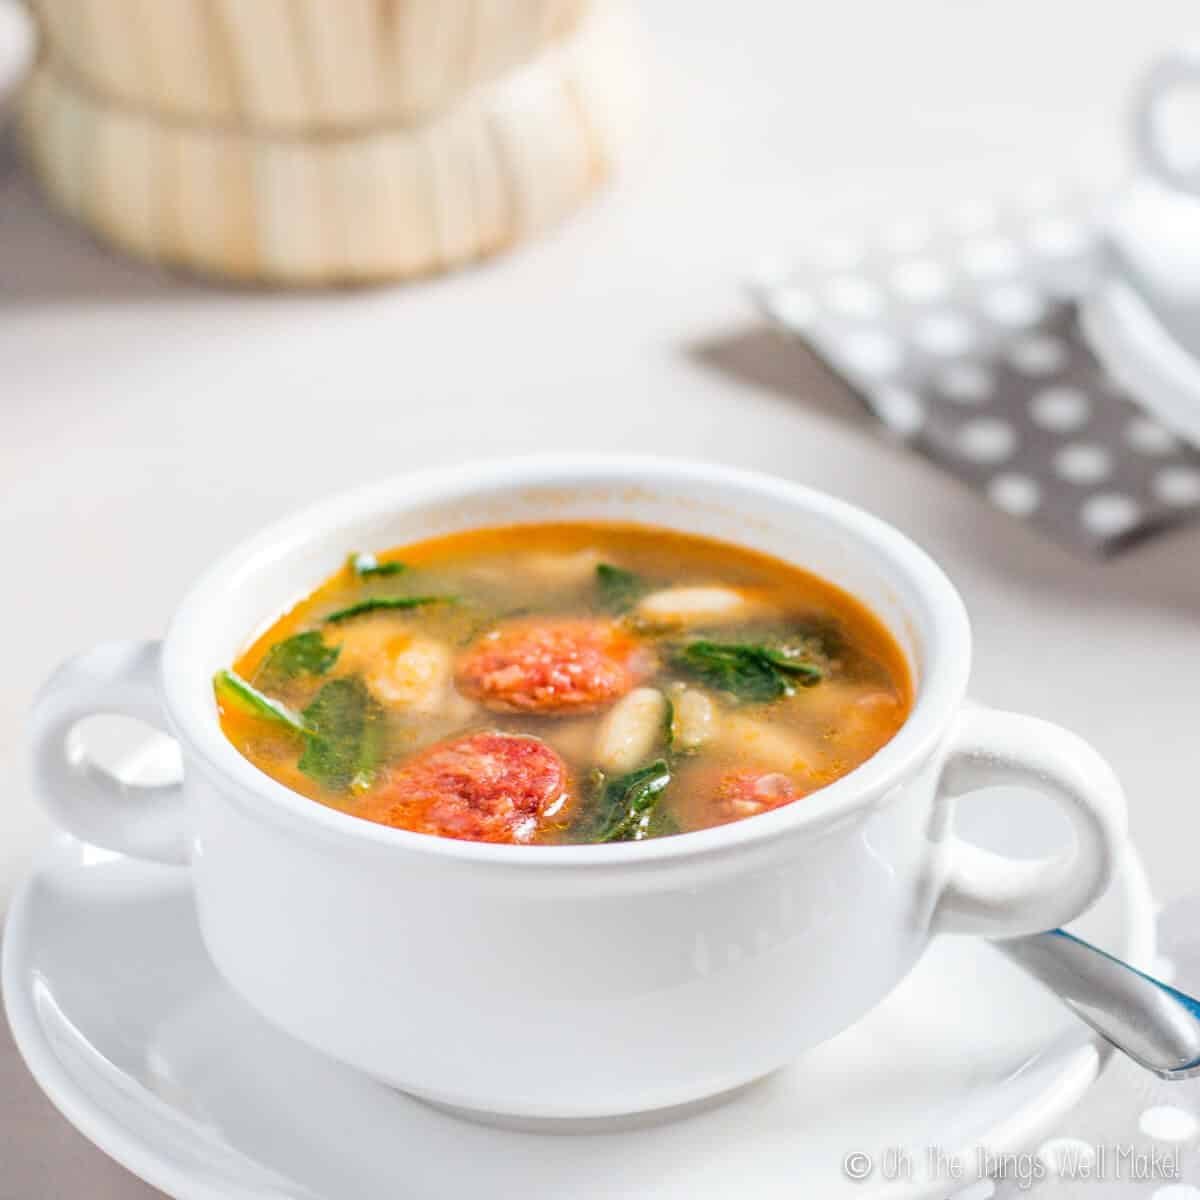
Once you have your bone broth ready, you can drink it as is, or you can use it as the base of some other great recipes:


Can I freeze the broth for longer storage?
Yes, of course! I freeze often.
I’d recommend getting something like stainless steel bowls with lids for freezing. The bowl shape makes it easy to remove from the container if you need to use the frozen broth quickly. (I generally avoid plastics, and glass can be tricky to freeze and unfreeze without breaking. Bottles and jars make it impossible to remove the broth while frozen still.)
I made some bone broth overnight in my slow cooker using beef neck bones. Afterwards I picked the bones clean of the meat and there was a goodly amount, and as I suppose most of the flavor went into the broth, what would be a good use for the meat?
Hi Bill,
That’s a great question. I’m not too picky, so I often add it back into my soups. If it’s really bland, though, you can add it into omelettes and croquettes or that sort of thing. If it’s really really bad, I normally give it to my dog or hens. They don’t seem to mind. 😉
No matter what, it never goes to waste here.
Hi – I just made this for the first time. I had some soup bones from when we got 1/4 cow and the butcher gave us these as part of our order. My question is should the broth seem oily? Is there something I should have done? Thanks!
Hi Amy,
The oils from the bone, tendons, cartilage, marrow, etc. will be released into the broth. Yes, that’s normal! You are free to remove some or most of the fat if you like and prefer it that way. The oil floats on top, so you can either skim some of it off, or you can place the broth in the fridge and the fat layer will solidify on top of the rest of the broth. You can then break/peel it off.
I hope that helps!
Strain the broth at least twice when finished cooking. Then refrigerate until layer of fat forms on top. Either skim it off or leave it in the jar as a kind of seal to keep broth fresh longer. Sometimes I put the broth in the freezer as it seems to solidify more of the fat.
Thanks for sharing. I love bone broth but can’t make my own. I always end up not liking my recipe. I hope I can make yours one of these days. I’m now drinking Au Bon Broth which is perfect for me. I love its taste and flavor and how it is organic.
Hi Soleil,
I think it’s important to do what’s best for you in each case. I like being able to make my own because I can’t find any decent brands of broth here in Spain, and I find it super easy to make my own. There are other things that I sometimes make and sometimes buy if it’s more convenient. I’m glad you found something you like in this case! 🙂