

Homemade Moisturizer for Oily, Acne Prone Skin
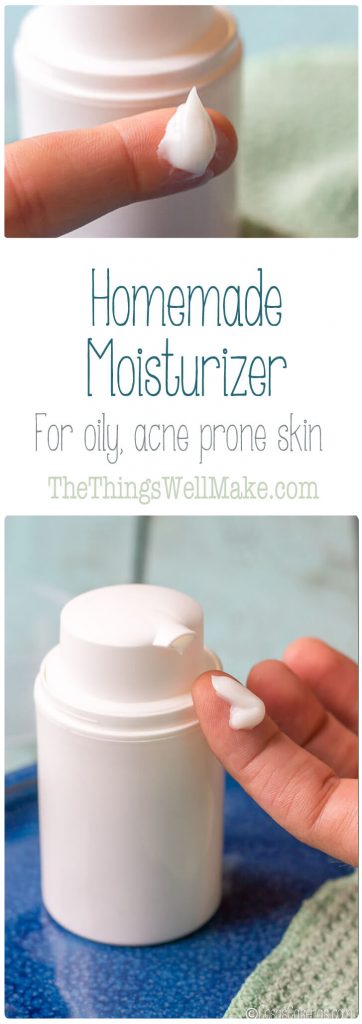
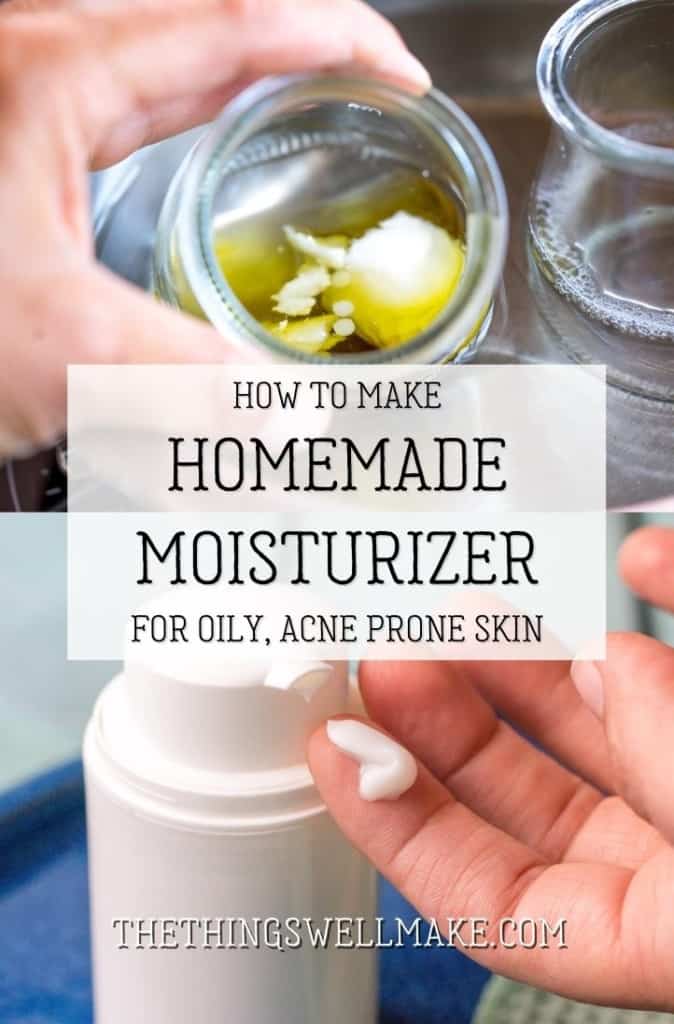
Making your own facial moisturizer isn’t difficult, and it can save you a lot of money. Learn to make a homemade moisturizer for oily, acne prone skin, and customize it to suit your skin.
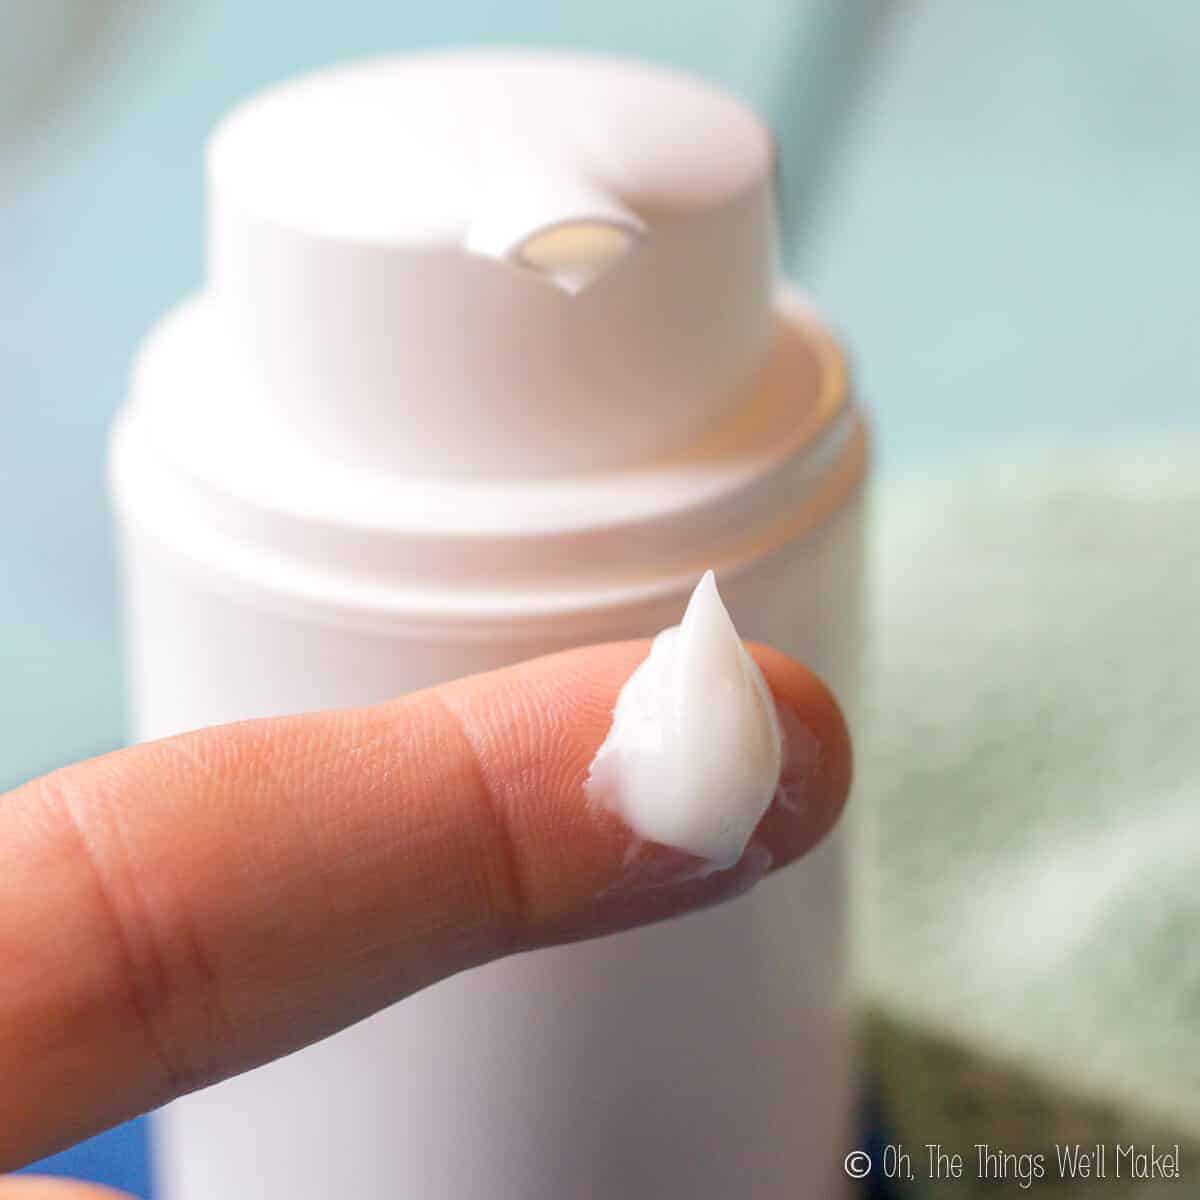
For the last 30 years or so, I’ve struggled with oily, acne prone skin. When I was 13 years old, it wasn’t that unusual. I could blame it on the hormonal changes of adolescence. When I hit 20, I was excited that it was finally time for my skin to clear up, but it didn’t; nor did it when I hit 30, or 40!
To be honest, I’ve always avoided wearing any type of facial moisturizer because I was afraid that it would make my skin break out more than it already was.
As I’ve gotten older, though, I have new concerns. I want to use some sort of moisturizer to prevent age lines and wrinkles. While my homemade hyaluronic acid serum does seem to work quite well to help my skin stay youthful, I wanted to make myself a moisturizer to use with my serum.
Why make your own moisturizer?
Making your own moisturizer may sound intimidating, but it’s actually very easy. If you can bake a cake or make aioli, you should have no issues making your own lotions and moisturizers.
Of course, just because you can do something, doesn’t always mean you should. In this case, though, there are many benefits to making your own facial moisturizer.
Customize it to suit your skin
In this article, I’ll be sharing some of my favorite oils and other ingredients for oily and acne prone skin. These oils have worked well for me, and I think they are a great starting point for making your own moisturizer if you have acne prone skin.
While non-comedogenic oils are generally less problematic for most people with acne-prone skin, not all non-comedogenic oils work well for all people. Some people may have sensitivities to certain oils. Being able to customize a moisturizer to suit your needs can be life-changing for people with sensitive skin.
It’s not just about the oils, though. You can also avoid perfumes, parabens, and other problematic ingredients.
Save money
Not only do you gain the ability to choose what goes into your moisturizer, but you can also save money. Moisturizers tend to be quite expensive despite the fact that normally over 50% of the product is water! Once you’ve invested in a good emulsifier and preservative, you can use it for multiple batches of moisturizers and other products.
Ingredients
A moisturizer has 4 basic ingredients: oils, water, and emulsifier, and a preservative.
I have decided to use a variety of oils to add a variety of skin benefits to this moisturizer. That said, you could simplify the recipe, using only one or two of the oils that I have used.
I have also added rose water as part of the water phase of the recipe for its lovely fragrance and its skin-soothing properties. Feel free to only use water, though. You can always add some essential oils for fragrance when you add in the preservative.
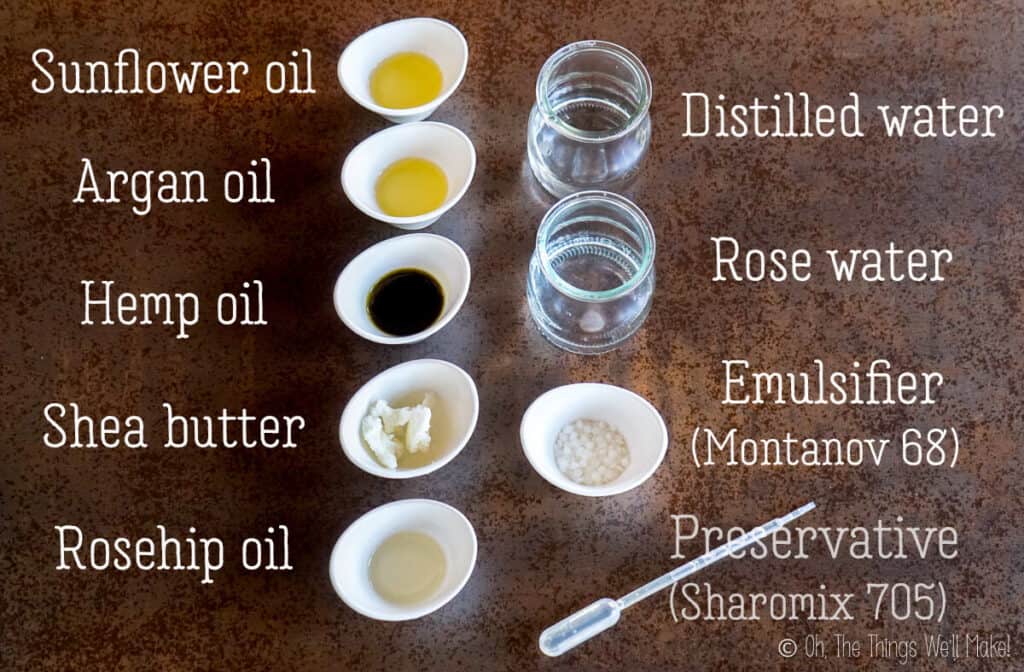
The best oils for oily and acne prone skin
After a bit of research, I realized that not all oils will cause breakouts. Nor will they all make your skin feel oily. In fact, some oils can actually help balance the oils in your skin. That makes them beneficial for someone like me with oily or combination skin.
When making your own homemade moisturizer, it’s important to use the best oils for your skin type! Today, I’ll cover some non-comedogenic oils that I use in my homemade moisturizer.
While you can use my recipe as written, you can use your own combination of oils. (Just make sure to keep the total oil weight the same.)
Hemp seed oil
Hemp seed oil may be my favorite oil for people with oily and/or acne prone skin!
Not only does it have a comedogenic rating of ZERO, but it is known to help balance the oils in your skin. It may also help clear up blackheads and small pimples. It does all of that while helping reduce dry patches, inflammation, redness, and fine lines!
It’s a definite must have in any homemade lotion for oily and acne prone skin.
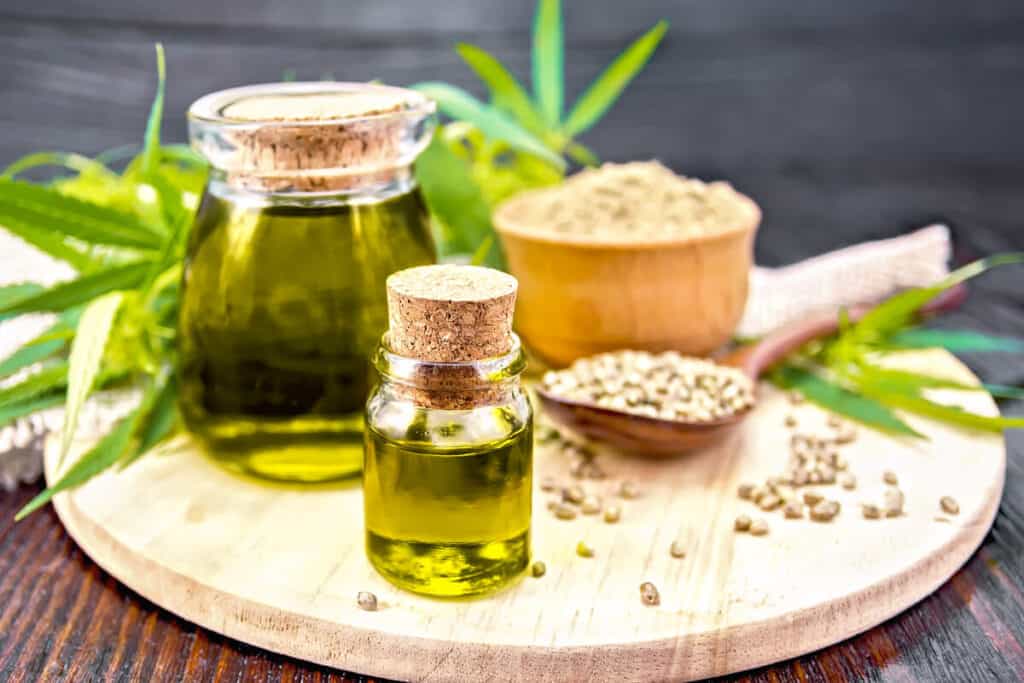
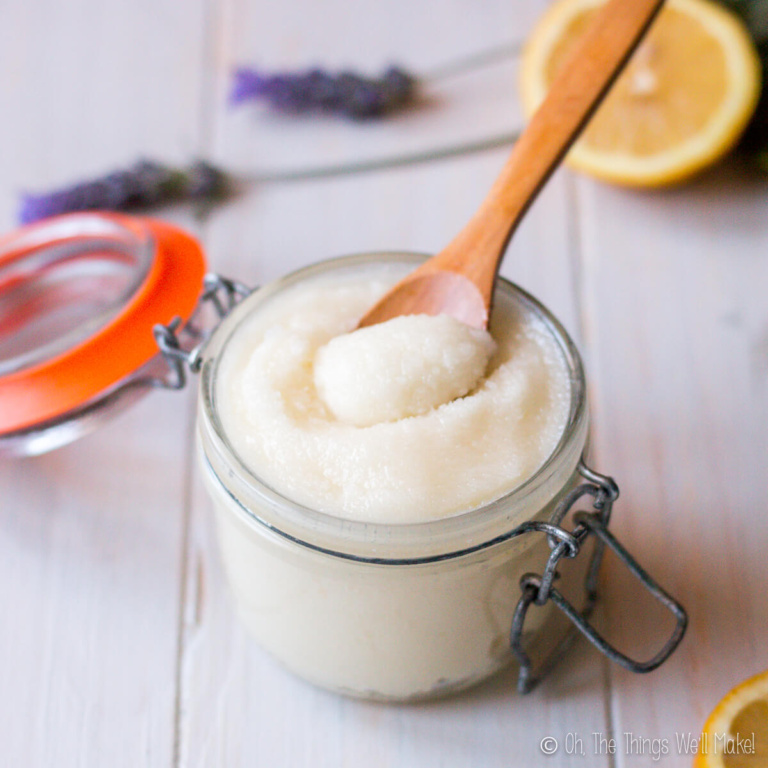
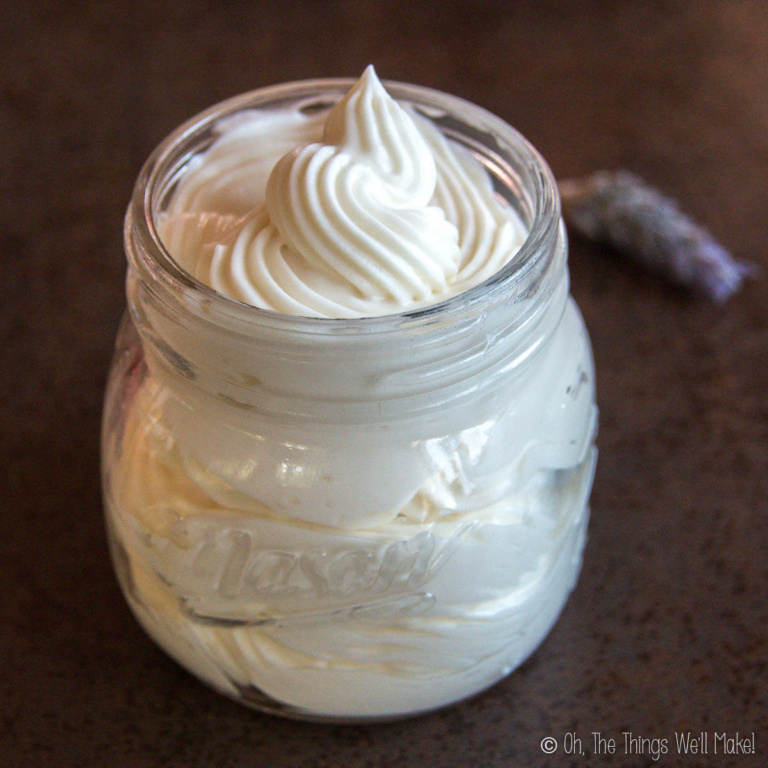
You may notice that in some of my photos, my homemade moisturizer is a bright white color. In others, it’s more of a pale yellow. This is due to using different hemp oils from different suppliers. When using a light-colored hemp oil, the moisturizer is very light in color or even bright white. When using a dark green hemp oil, the moisturizer is darker in color.
Some hemp oils may also add a scent that can be overpowering, so keep that in mind. (Oils with less scent and less color probably make a prettier, more pleasant moisturizer, but either type will work.)
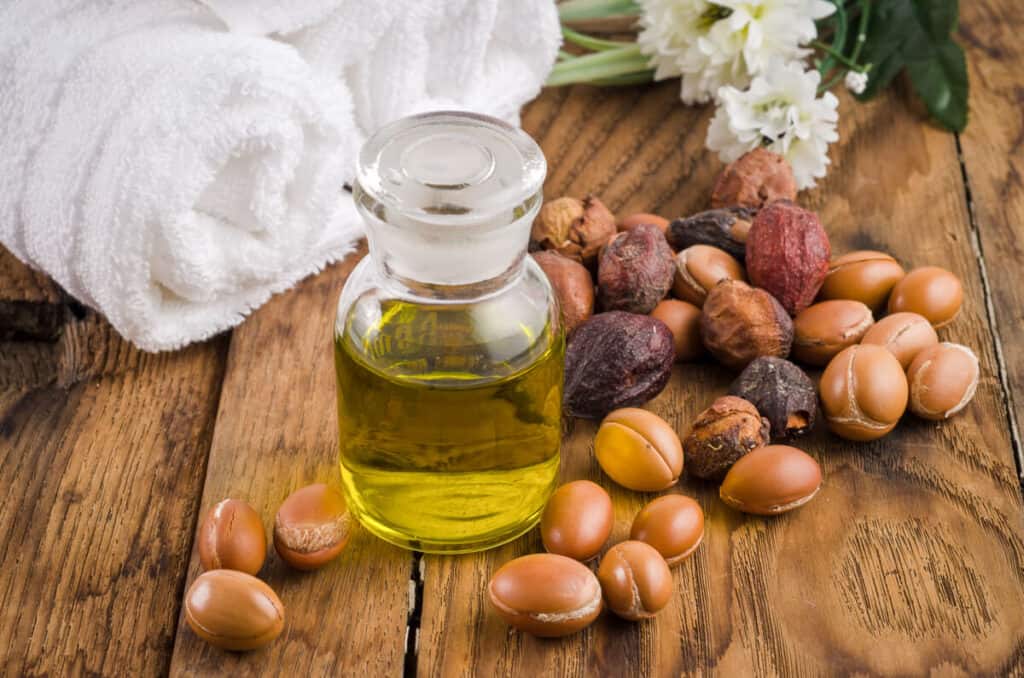
Argan oil
Argan oil was already one of my favorite oils for both skin and hair, but I love it even more knowing that it also has a comedogenic rating of ZERO. In fact, it may even directly inhibit the bacteria that cause acne, making it a possible acne treatment!
The great thing about argan oil is that, because it helps balance the sebum production of the skin, it is a great oil to use on any skin type. It hydrates and works great on flaking or itchy dry skin. It is normally very well tolerated by people with sensitive skin, and it may help eczema, rosacea, or psoriasis.
Because it helps balance the sebum production of your skin, it’s especially great for moisturizing oily or combination skin.
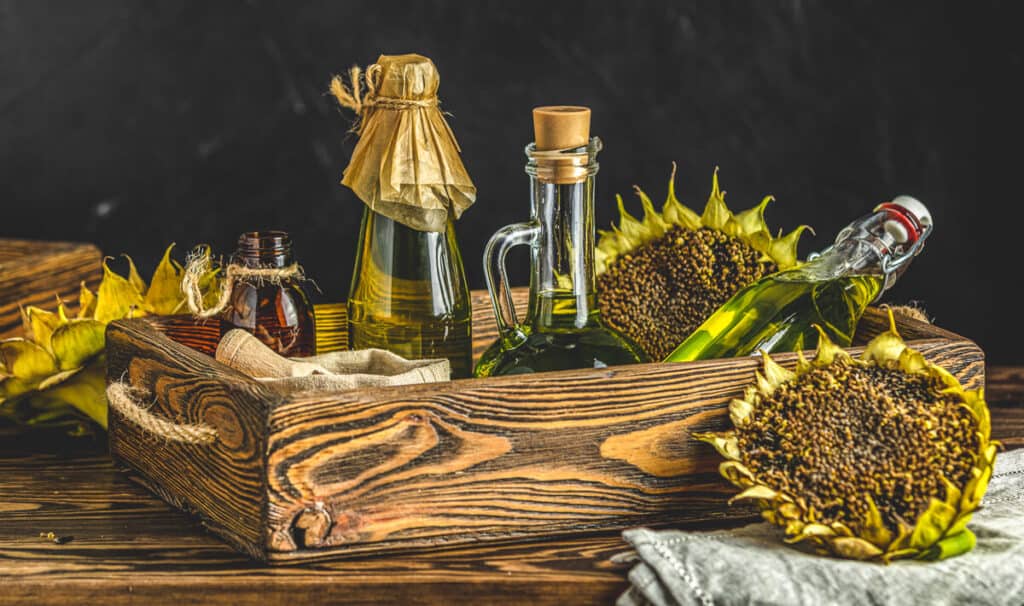
Sunflower oil
I was very surprised to find that sunflower oil is another oil with a comedogenic rating of ZERO!
There is a catch, though. You shouldn’t use sunflower oil with a high oleic content which may clog pores. Sunflower oil that doesn’t specifically say it is high oleic should be fine. (High oleic sunflower oil is made from sunflowers that have been crossbred to be high in oleic acid in an attempt to prolong their shelf life and make them healthier for eating.)
Otherwise, sunflower oil may be the best oil to use on acne-prone skin because it is the highest, of the oils with a comedogenic rating of zero, in linoleic acid. People who are acne-prone tend to have lower levels of linoleic acid in their skin, and it is generally thought that oils high in linoleic acid will help problems with acne.
Sunflower oil has also been shown to hydrate the skin better than olive oil, and it also may provide a barrier against the bacteria that could cause acne and other infections.
Shea butter
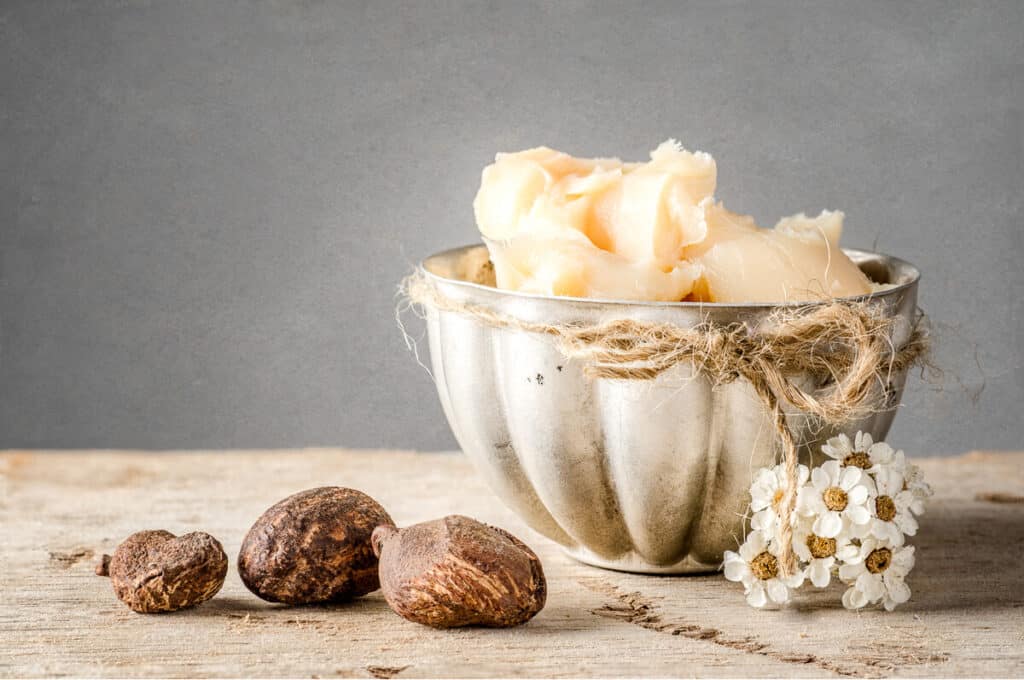
Shea butter is another one of those surprising oils. Because it’s so thick, you’d probably imagine it would cause your skin to break out. Interestingly enough, though, it also has a comedogenic rating of zero!
An amazing emollient, shea butter has demonstrated anti-inflammatory and anti-aging properties. It also naturally blocks some UVB rays, making it a useful addition to day creams.
If your skin is very oily, shea butter may feel slightly heavy for your skin. That’s why I use it in a low concentration. It adds its anti-aging benefits without feeling too heavy.
Unrefined shea butter also has a scent that many people find overpowering and unpleasant. Keep that in mind when choosing which type of shea butter you’d like to use.
Some people (not all) with a latex allergy may also react to shea butter. If you are in doubt, sub out the shea butter for a different oil in the recipe!
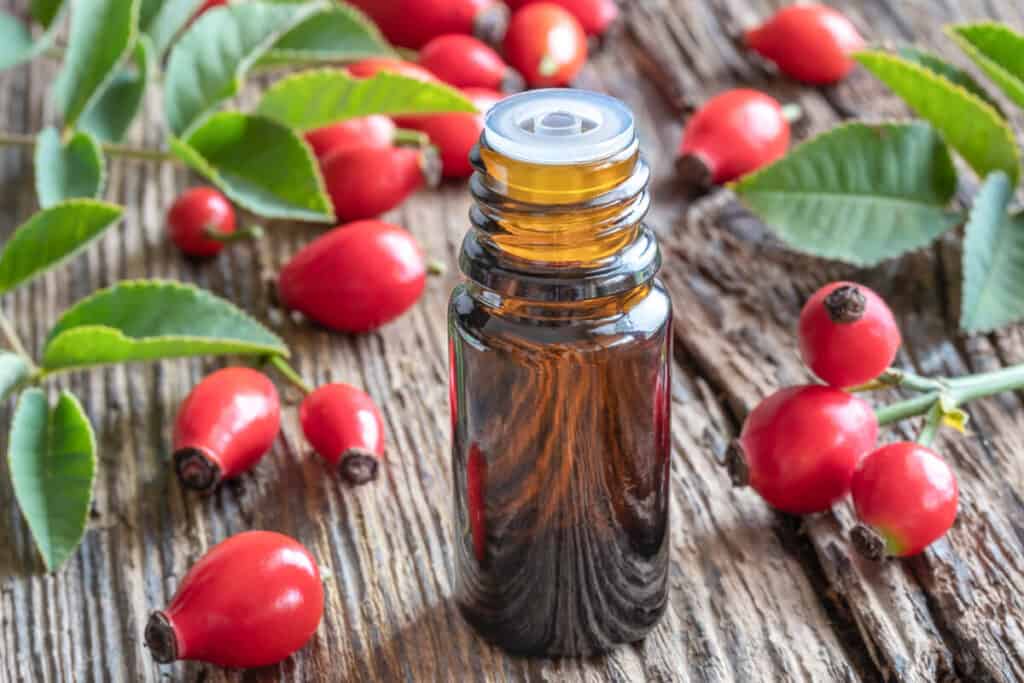
Rosehip oil
Rosehip oil is great for helping combat the redness and inflammation from acne. It has antioxidant qualities and is a good source of phytonutrients.
I was first introduced to rosehip oil when my husband was badly burned in an accident on his fishing boat. During the rehabilitation phase, the doctors prescribed massaging rosehip oil into the scars daily. They told us that rosehip oil and massage could help reduce the thickness of the scars, allowing for mobility in the scarred areas of skin.
It’s not just useful for acne and scars, though. Rosehip oil may help with a variety of skin conditions. It may help reduce fine lines and wrinkles, scarring, and skin discolorations like age spots. It may also help improve eczema, psoriasis, and stretch marks.
With all of its potential benefits, rosehip oil makes a great addition to a homemade moisturizer for acne-prone skin!
Unlike the other oils listed, rosehip oil has a comedogenic rating of 1. That is still a very low rating and most people react well to it.
Some people with acne use rosehip oil on alternate days and find that it helps them when used in that way. I added it in a low percentage to the moisturizer recipe, just in case. It works well for me. If you have issues with rosehip oil, though, sub it out for a different oil!
The water phase
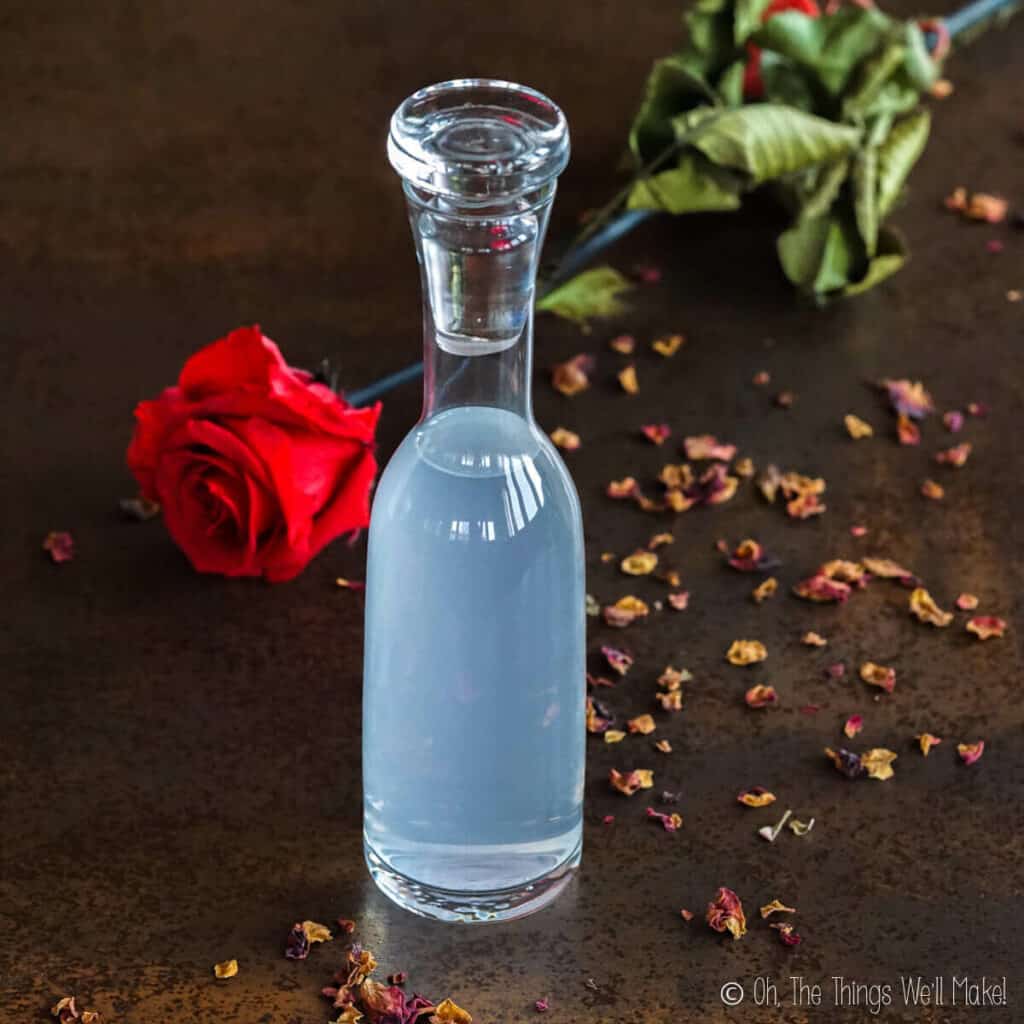
While this moisturizer can be made with only distilled water, I combined the water with rose water. Rose water adds a lovely floral fragrance to the moisturizer, additional moisturizing and anti-aging properties, and it can help fight acne and eczema. Its antioxidant and anti-inflammatory properties may protect cells from damage. It may also help heal wounds and clear up scars!
My homemade rose hydrosol didn’t have as potent of a fragrance as the store-bought rose water sold for use in foods. So, the last time I made this moisturizer, I actually combined the two. I had an abundance of homemade rose hydrosol, so I used that in place of the distilled water. I then used the food grade rose water for the rose water in the recipe below.
While I normally add essential oils to my lotions and creams, the rose water left this facial cream with such a lovely fragrance that I didn’t choose to add any. If you have moderate to more severe acne, though, you may want to consider adding some tea tree essential oil to your cream.
Choosing an emulsifier
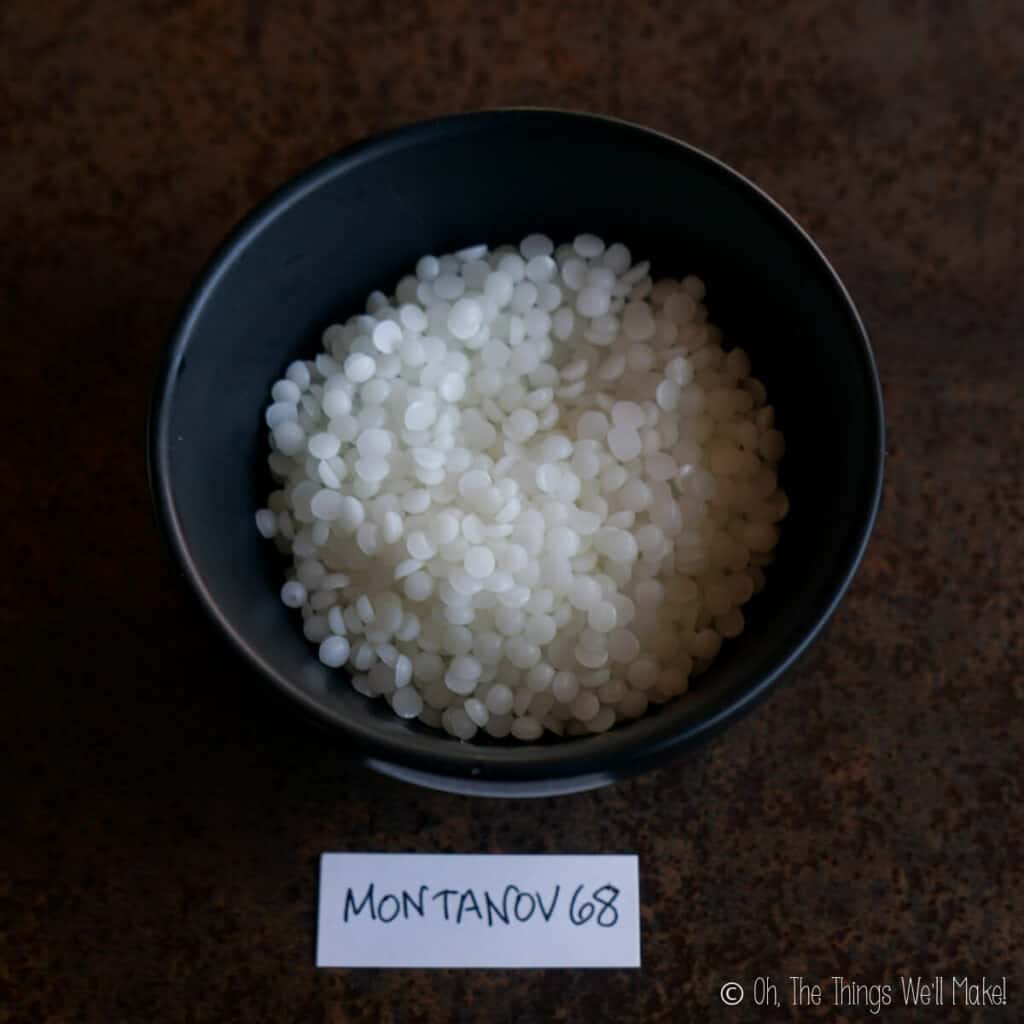
Because this is a recipe for acne-prone skin, I chose to use an emulsifier that is known to be non-comedogenic, Montanov 68. It’s an emulsifier that is made from tapioca and coconut oil. It gave my cream a light, yet thick, texture that goes on wonderfully. It makes my skin feel nice and smooth.
Some readers have commented that it is harder to find Montanov 68 in the United States, so I have researched other emulsifiers. (Check out my guide to cosmetic emulsifiers for more information about the various emulsifiers.)
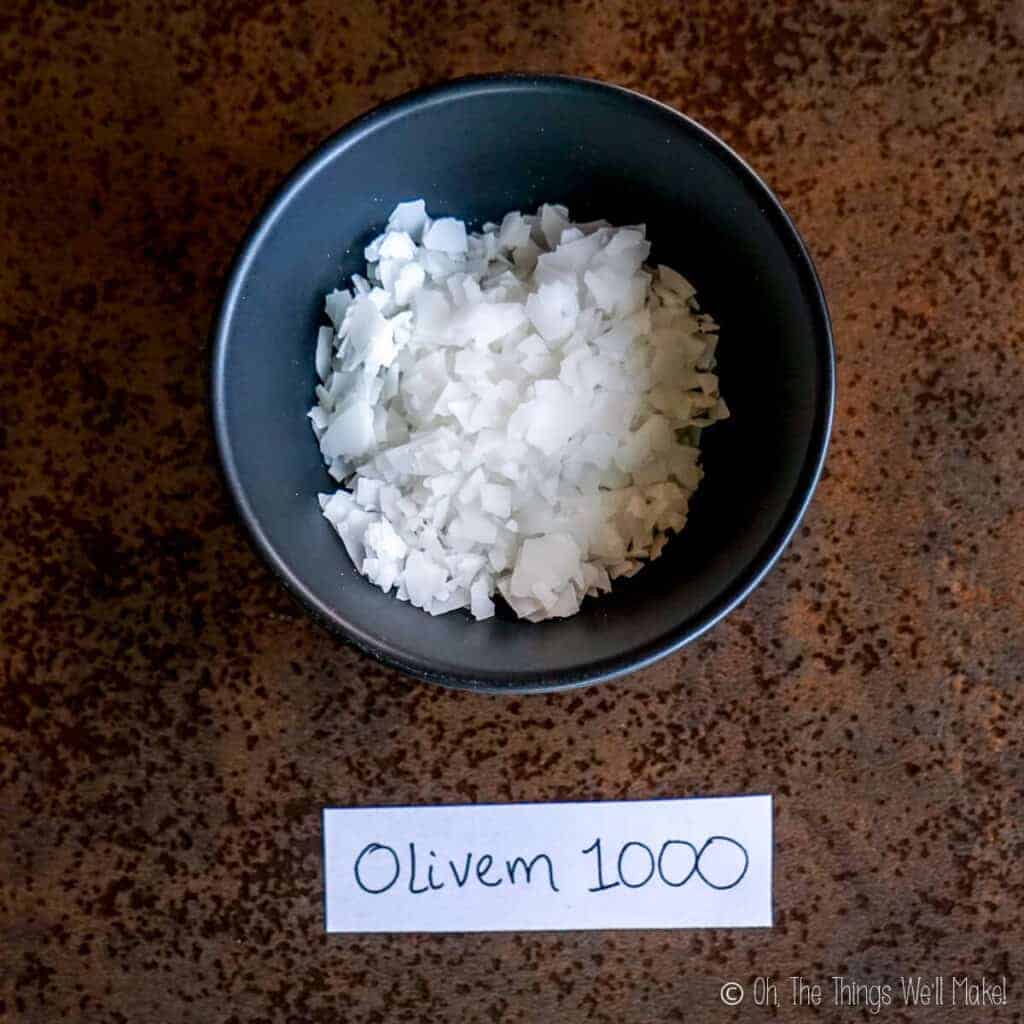
Olivem 1000 is another natural emulsifier that is considered non-comedogenic. It’s an emulsifier derived from the olive plant that also makes a nice creamy lotion. While I haven’t tried it in this specific recipe, I have used in many other homemade lotions like the anti-stress and headache lotion posted on the blog.
Some people say that Olivem is a more difficult emulsifier to use. Others think it has a soapy feel to it in lotions. While I don’t have issues with Olivem, both of those issues can be resolved somewhat by combining it with a co-emulsifier like cetyl alcohol or cetearyl alcohol. (I’ve also read that Olivem may cause problems when over-beaten. If you think you have that issue, either hand-mix it or blend in short bursts during the cooling phase.)
Natural Preservatives
For this recipe, I originally chose Leucidal because it’s a fairly accesible natural preservative both in Spain and in the United States. Leucidal comes from fermenting radishes with a bacteria called Leuconostoc Kimchii. Using it as 3-4% of your recipe by weight allows you to keep your finished lotion for 2-3 months (outside of the fridge) provided that you have made the lotion in hygienic conditions.
I have since switched to using other preservatives instead. Lately, I’ve been making it with either Sharomix 705 or Euxyl® K 903. Both are allowed in natural and organic cosmetics. Most natural preservatives (other than Leucidal) are used at a dosage of around 1% of the recipe, by weight. That means that you’d add 1g of preservative for every 100g of cream (99g other ingredients).
There are several other natural preservatives that you can use. Check out my guide to natural preservatives for more preservatives that can be used and how to safely substitute them in recipes.
I also cover more about preservatives and emulsions in my post about how to make a basic lotion. If you haven’t made lotions or creams before, it’s a good idea to read through that post to give you a better idea of the process. (Don’t worry, it’s easy!)
Using essential oils
This is one of the few times that I haven’t added essential oils to one of my homemade lotions. That doesn’t mean that you can’t add them, though. I mostly didn’t add them because I loved the rose scent of this lotion obtained from using rose water. (This could be made more potent by adding some rose essential oil!)
If you want to try to help increase the acne-fighting benefits of this homemade moisturizer, though, tea tree oil is probably the best essential oil for treating acne. Not only is it gentle enough to be well tolerated by most people, but it has also been shown to have antimicrobial properties, which may very well help clear up acne.
Lavender essential oil is often used in skin treatments for acne-prone skin and it effectively helps clear up the skin of some people. Plus, it has a lovely fragrance!
Some people may find that they are sensitive to essential oils, and their use may cause redness, making the problem worse. If you have sensitive skin, it may be a good idea to divide your batch of moisturizer and only add essential oils to a small amount to test out before adding them to an entire batch.
When adding essential oils, I normally add them at around 1% of the product, by weight. (So, 1g for every 100g of product.)
How to make the moisturizer
To make the moisturizer, you first need to weigh out the various ingredients. The oil-based ingredients should be combined in a heat-safe container and the water-based ingredients should be combined in a separate heat-safe container.
I find it easiest weigh out all of the oil-based ingredients together and all of the water-based ingredients together. To do so, tare the scale with the empty container on it. Add the first ingredient, up to the correct weight. Tare the scale between ingredients to get the reading back to zero again.
The emulsifier will normally be added to the oil-based ingredients. (Check on the instructions that come with your particular emulsifier to make sure.)
For those who will be making their own soaps and other cosmetics, having at least one scale is essential. You can buy an inexpensive kitchen scale for under $20. A kitchen scale is great for recipes where you don’t need to be super precise. It will give you a reading to the nearest gram.
More precise measurements may be needed for making smaller batches. (For example, when measuring out preservatives or when making a homemade serum.) I use an inexpensive jeweler’s scale for those times.
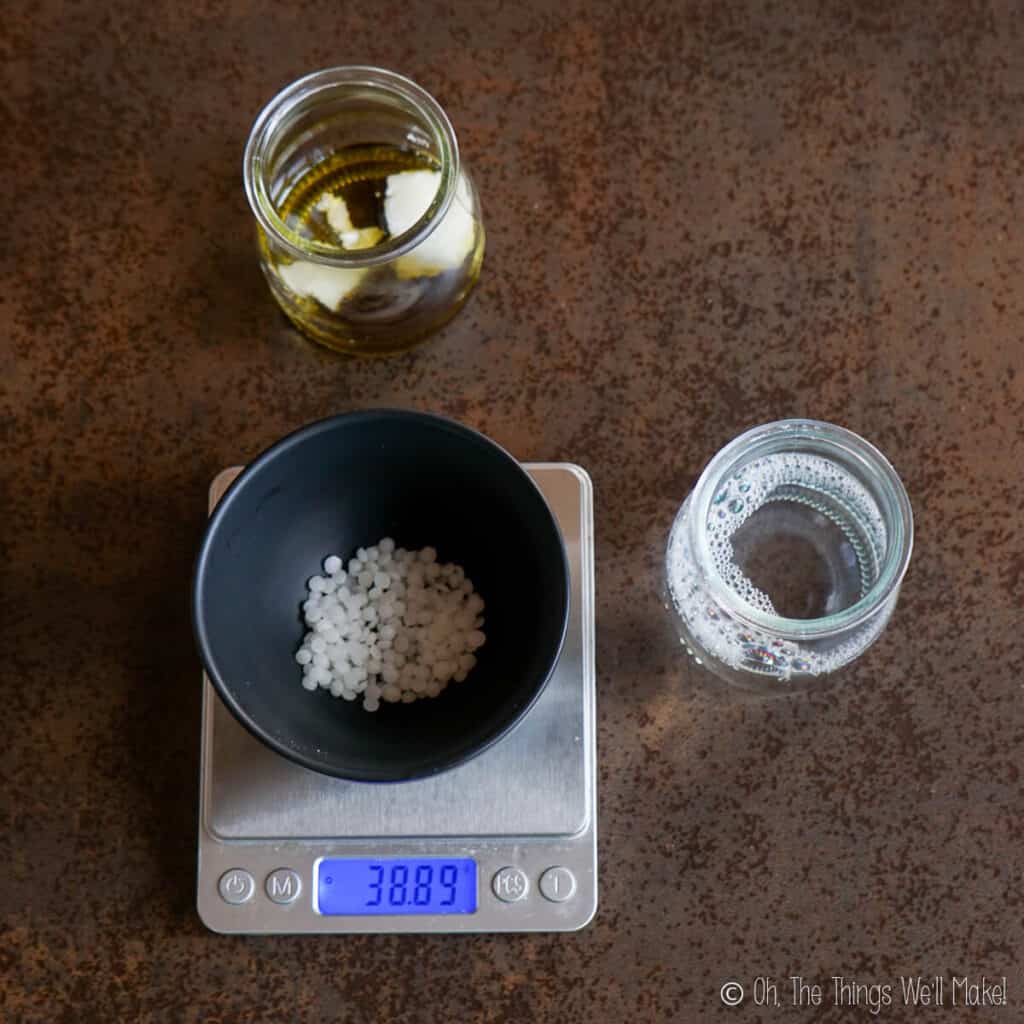
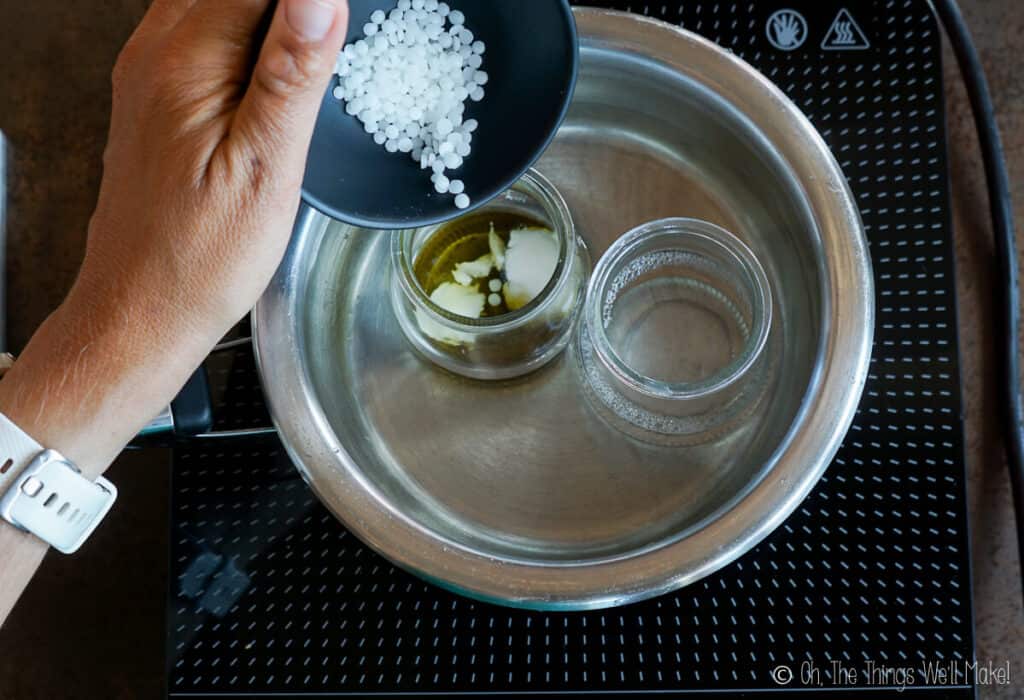
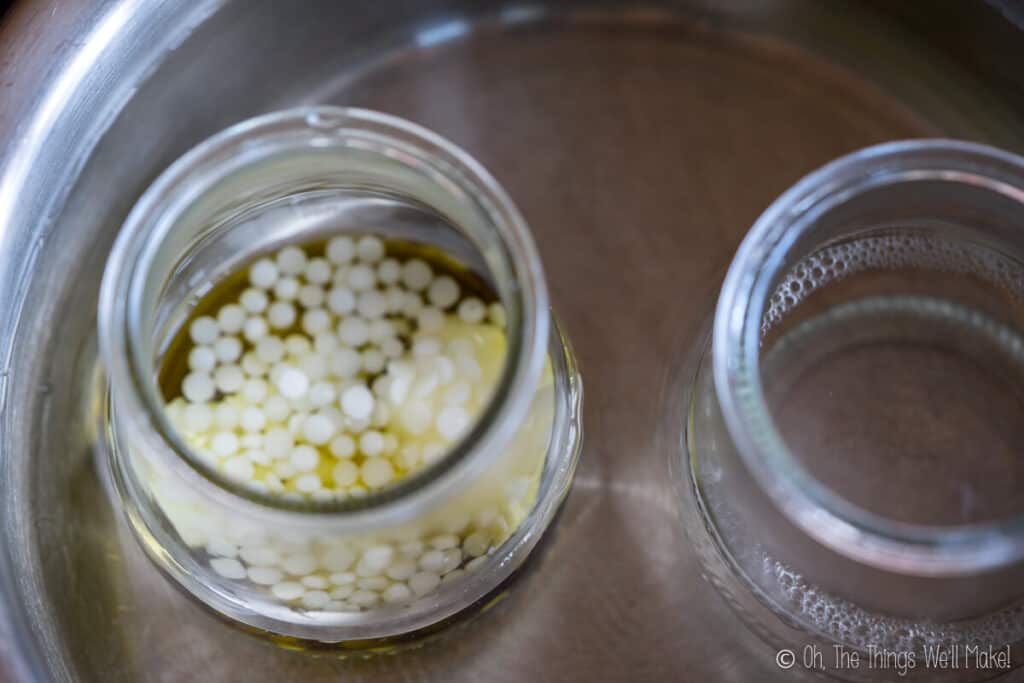
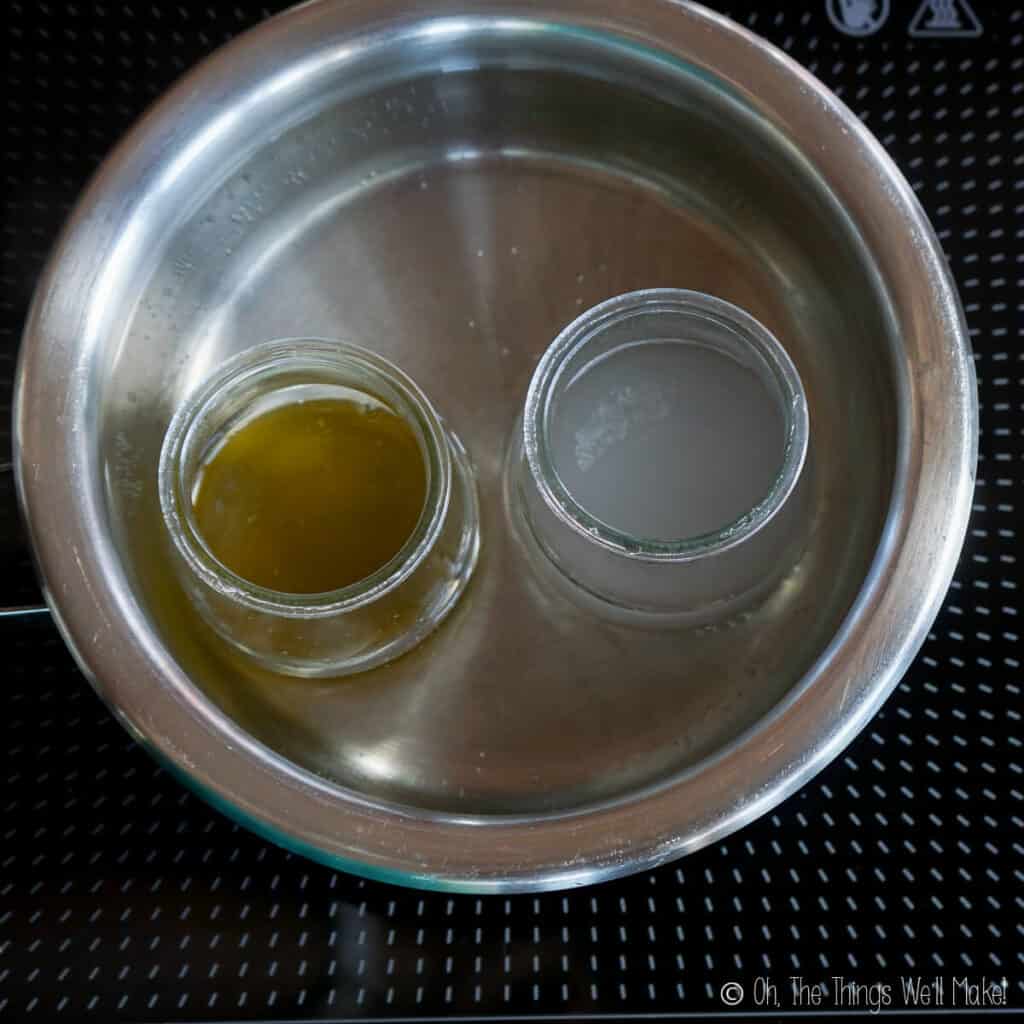
Once you’ve weighed out the various ingredients, heat both the oils and the waters in a water bath until the emulsifier has melted.
Once the emulsifier has melted, remove both containers from the hot water bath. Immediately pour the oil-based ingredients into the water-based ingredients while warm. Ideally, they should both be around 70º-75ºC/160º-170ºF.
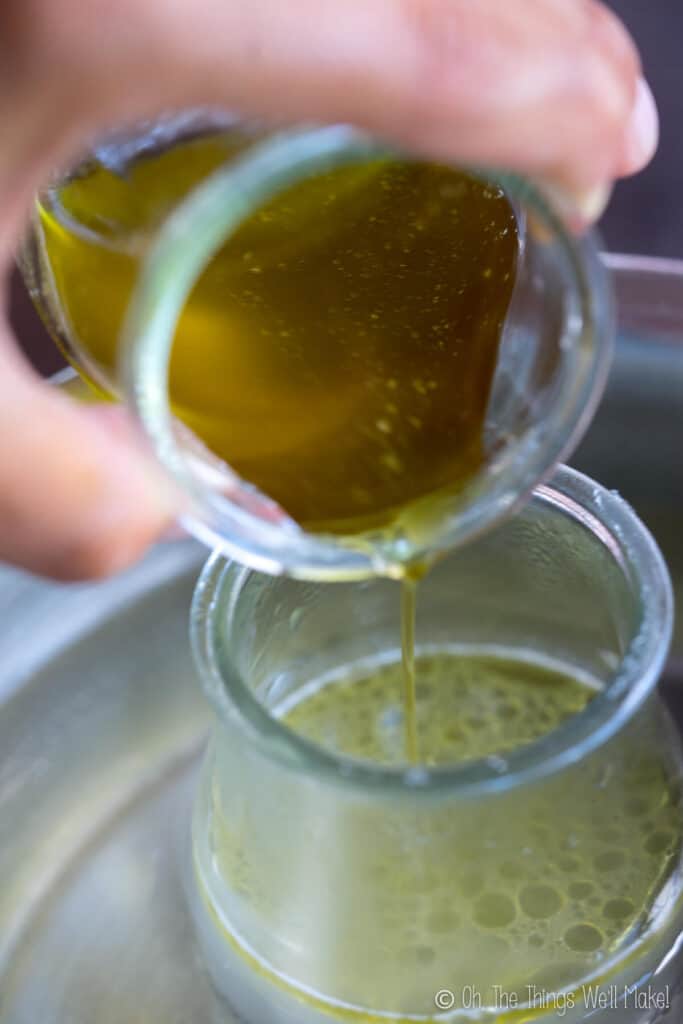
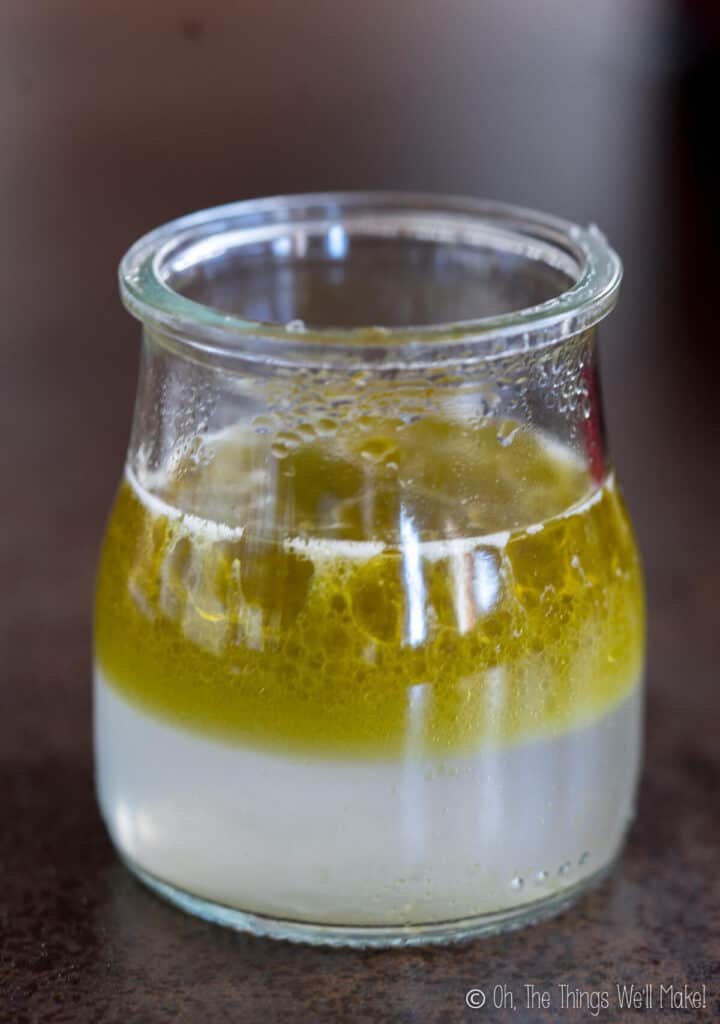
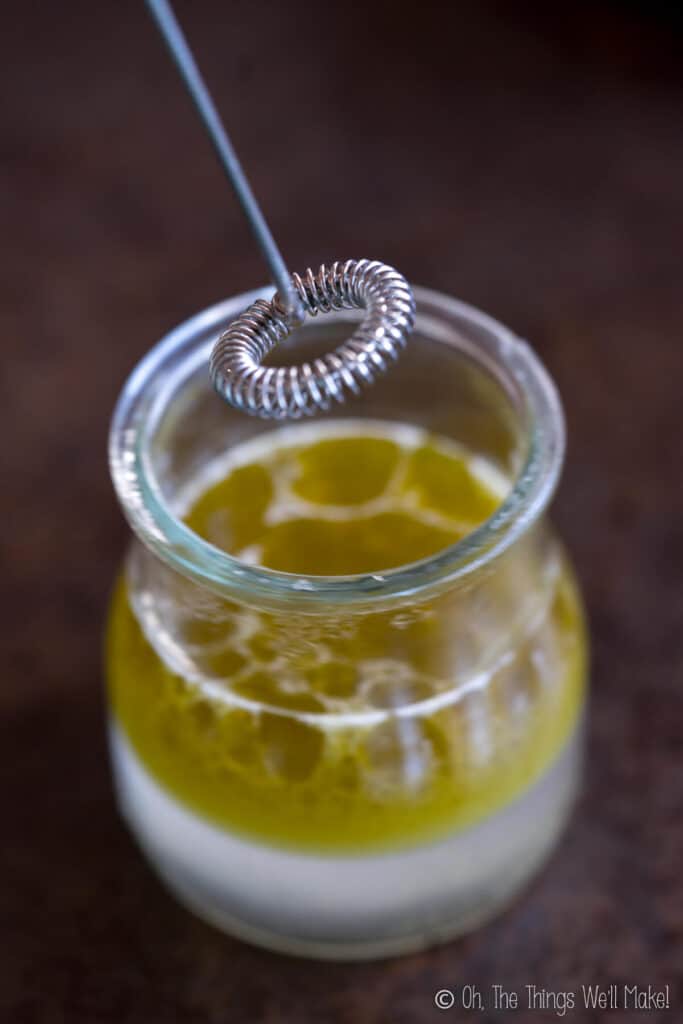
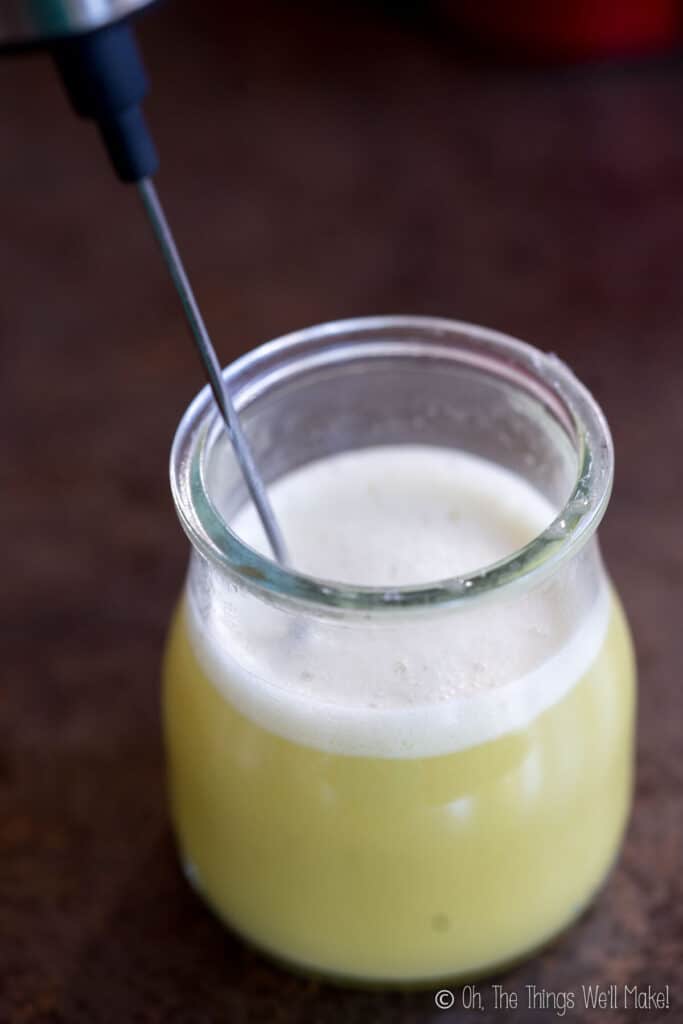
Periodically blend the ingredients together with an immersion blender or a milk frother while the mixture cools. You can also whisk by hand, but an electric mixer can help ensure a more stable emulsion. The moisturizer will thicken as it cools.
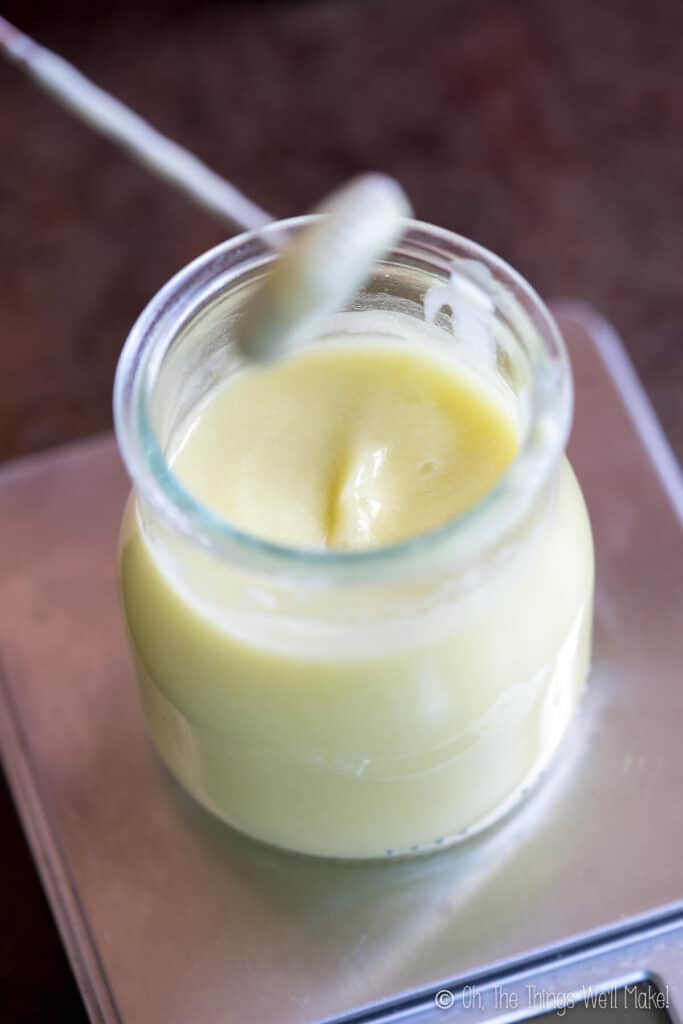
Once the ingredients have cooled enough, add the preservative and any other heat-sensitive ingredients that you may want to add. (This includes essential oils and/or vitamins like b-panthenol.)
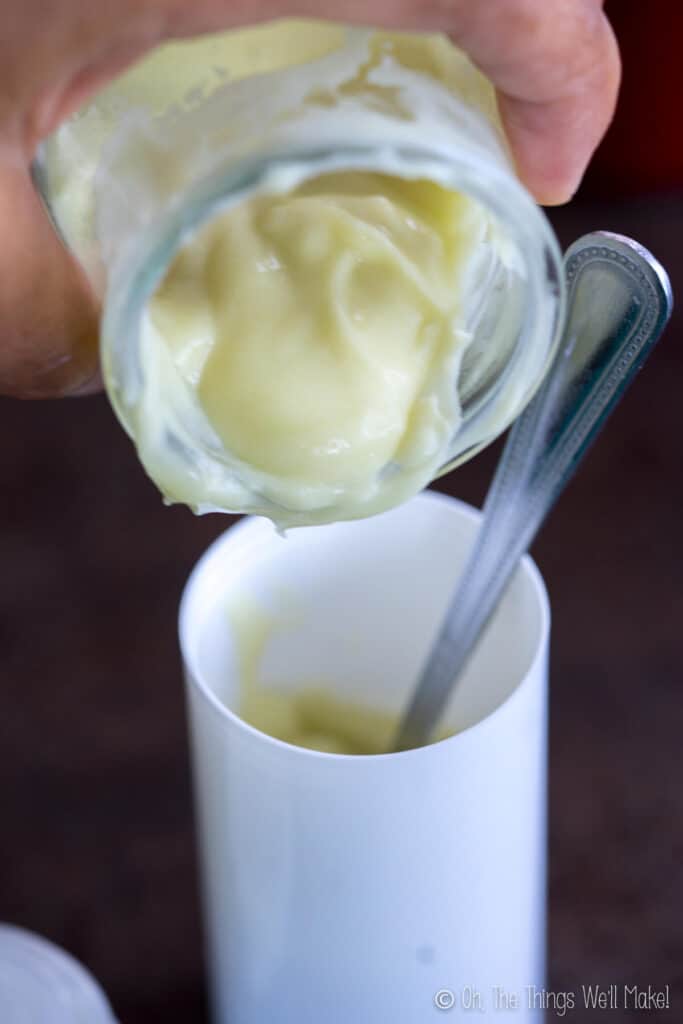
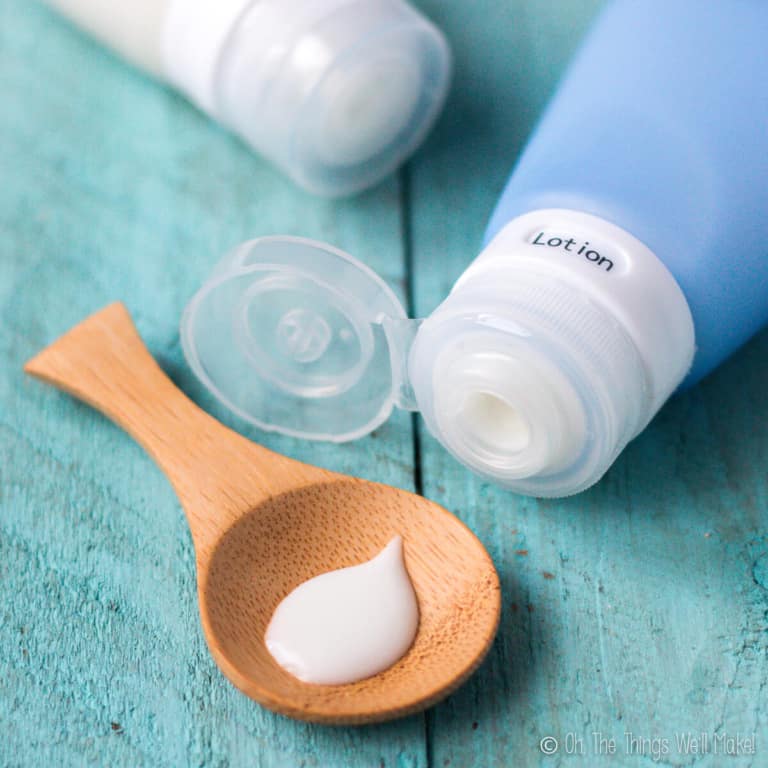
Then, pour the mixture into clean packaging. I like using airless dispensers and silicone travel tubes because they allow you to dispense the moisturizer without contaminating it with your hands.
Day cream or night cream?
This moisturizer works well both day and night. It’s not too heavy and it includes several oils with anti-aging properties.
Normally, the main difference between day and night creams is that night creams often use photosensitive ingredients that can’t be used in day creams. They are also sometimes a bit heavier and greasier than a cream that you would want to wear in the day under your makeup.
This cream doesn’t have any photosensitive ingredients (unless you were to add a citrus essential oil or some other additive that may increase sun sensitivity), so it’s perfectly fine to use both night and day. Perhaps as I get older, though unnecessary, I may try making a separate night cream that is slightly heavier.
Video
Homemade Moisturizer for Oily, Acne Prone Skin
Materials
- 10 g sunflower oil not high oleic
- 5 g argan oil
- 5 g hemp seed oil
- 5 g shea butter
- 5 g rosehip oil
- 40 g distilled water
- 25 g rose water
- 5 g montanov 68 or olivem or other emulsifier
- 1 g natural preservative (follow the recommended dosage for preservative chosen)
Instructions
- Weigh out the distilled water and rose water in a heat-safe container.
- Weigh the oils and emulsifier in a separate heat-safe container.
- Heat both containers in a hot water bath until the emulsifier has melted. (You may also use double boiler inserts for heating the ingredients over the hot water.)
- Combine the hot oils and waters while still hot, stirring until well combined. Ideally, both should be around 70º-75ºC/160º-170ºF when you combine them.
- Periodically whisk the ingredients together while they cool. The mixture will thicken and become more opaque as it cools.
- Once the mixture has cooled to around 30ºC/85ºF, add the preservative and, optionally, essential oils or other heat-sensitive ingredients. Mix together well to incorporate all of the ingredients.
- Test the pH of the lotion. Adjust it down with a few drops of lactic acid, if needed.
- Pour the facial cream into bottles. I love airless dispensers because they allow you to dispense the cream easily without contaminating it with your fingers.
Notes
Customizing oils
You may adjust the amounts and combination of oils used to suit your skin and sensitivities. (Just keep the total weight of the oils the same.Adding fragrance
This moisturizer obtains its subtle floral scent from the rose water. If you want a more pronounced rose scent, you can substitute part of the distilled water for more rose water or add a few drops of rose essential oil. If you prefer, you can also substitute the rose water with another floral water or hydrosol. You can also add an essential oil like lavender or tea tree oil at around 1% of the recipe by weight. Some essential oils may also help prevent and clear up acne.Preservatives
I normally use Sharomix 705 and Euxyl k903 to preserve this moisturizer. If using Leucidal for your preservative, it should be dosed around 3-4% of the recipe by weight (rather than 1%). For more information about preservatives, check out my guide to natural preservatives.Emulsifiers
Different emulsifiers will give different consistencies and textures. You may need to adjust the amount of emulsifier used depending on the one chosen. (Adding more will give a thicker consistency.) For more information about emulsifiers, check out my guide to emulsifiers. I like Montanov 68 and Olivem 1000.Testing the pH
You can use ph test strips to test the pH of the lotion. Test the pH to ensure the lotion falls in a decent range for both your skin (5-6 is ideal) and for the preservative you want to useYield
This recipe makes around 100g of lotion. In volume, it will make slightly less than 100ml. (The oil component of ml to grams isn’t interchangeable in the same way water is.) You can adjust the amount of the recipe to suit whichever container you plan to use.This post was originally published on April 8, 2017. It was rewritten, adding new photos, video, and clearer instructions in April of 2021.
Hi, I have two questions. Do you have any suggestions to find cheaper ingredients? My total came to about $70 with just the oils. Also, how long does this lotion usually last you using it twice a day?
Hi Cameron,
In my post, I tried to give guidelines and told you why I chose the oils I chose. I always have lots of different oils on hand for experimenting and making new products for the blog.
You definitely don’t have to use as many different oils as I did in my moisturizer, though. You could cut it down to one or two oils. I chose sunflower oil as the base because it’s probably the cheapest oil for me to find here in Spain. There are lots of sunflower fields here, though, and sunflower is a common oil for frying here.
You could just use one oil, if you like- substituting all of the other oils for that oil (You want to end up with the same amount of total oils). If you want more moisture, you could use a combination of one oil and a butter- like the shea butter.
You don’t need to add rose water either, and can just use distilled water instead. I love the way the rose water naturally scents the lotion, and I think it’s totally worth it, but it’s all optional. You could also use lavender water or another floral water for different type scents. Rose water may be a bit feminine while lavender water would be less gender specific. 😉
As for the emulsifier, you can use a different one. I’m not sure about the comedogenic rating for the different emulsifiers, though, but you could look that up and find one that suits you and your budget.
In the end, each bottle of lotion is very inexpensive. You’ll find that the bottle is mostly made up of water. That said, yes, I understand your initial investment can seem overwhelming!
Why not try your hand at simplifying the recipe first, and if you like the first batch, the next time you can try adding in a new oil or two to make it a bit more complex.
Remember- you can use the same oils for making lotion for your hands and body, for homemade hair conditioner, lip balm, etc., etc.- so once you’ve made the initial investment, the sky is the limit as to what you can do with the oils and emulsifiers!
I hope that helps!
Oh- I’v never really calculated how long it lasts- I just make more whenever I run out. I’ll have to try to gauge it next time. I’m just about ready to make a new batch as I recently ran out, so I can try to check this time. I normally make it immedaitely, as it only takes a few minutes to make, but I’ve been a bit busy with the holidays. 😉
Thanks so much for posting this! I tried making it and while it did emulsify in the sense of it all being a homogeneous mixture, it did not thicken into a lotion – it was just an opaque white liquid. I used Olivem 300 as my emulsifier and Optiphen Plus as the preservative (couldn’t find Leuxidal in Canada). I followed the recipe precisely… any ideas why it didn’t thicken or how to remedy? Many thanks!
Hi Kaitlyn,
Normally the thickness will depend on the emulsifier. Different emulsifiers will thicken to different extents. The bottles I buy usually give guidelines for each- they’ll say use at a certain percentage for a thin lotion, use at a higher percentage for a thicker cream, etc.
If it’s too thin, I’d try to remedy it by adding a bit more of the Olivem. You’ll have to experiment a bit. I forgot to make my next batch with Olivem- partly because I’m always experimenting with making new creams- so I can’t tell you a precise amount to get the same consistency as mine. That said, it seems strange to me that at 5 grams you’d end up with only a liquid. I’d probably add a few more grams to the mixture to see what happens. (Do you have any other emulsifiers on hand? You could add a couple of a different one, as a co-emulsifier, if you think the Olivem isn’t doing its job.)
As I wrote in the post above, some people complain about having issues with Olivem in general. I haven’t had those issues, but it may also have to do with different formulations of the same emulsifier in different place. If your mixture isn’t separating, though, it may just need more.
Keep in mind that reheating the mixture can affect some of the delicate additions to your lotion. What I mean by that is that the essential oils may lose potency and may not give off as much of a scent. Preservatives and other delicate additives may also be affected. I usually add a few more drops of each to the rebatched mixture after it cools, just in case. (You may want to wait and see the final outcome before adding them in, though, so as not to waste them.)
I really hope this helps!
Hi Tracy Ariza ,
The acne skin problem can be eliminate ,if you can use hemp oil daily before the taking of shower bath according to the time period after concerning this kind of problem with the skin specialist of skin and also understand the procedure of applying hemp oil on the body of which is helpful to eliminate the acne disease rapidly and protect your skin from the dryness and cracks appeared due to the working in a sunlight ,My suggestion is to go at a clinic of skin specialist one time in a week for the proper treatment of acne skin disease and also discussed the results comming during the treatment of acne disease ,don’t move in the sun light because the light of sun damaged the upper layer of skin ,So please take care of skin .
Thanks.
I love your website definitely going to try it out! I know this published a while ago but i hope i still get lucky and get respond from you .
I want to know if i can use beeswax and borax as emfuser instead? Its ust the one that i have, i couldn’t find a place that sell the one you use here(amazon dosn’t do shipping here)
Thank you i hope you will keep uploading great recipe as suvh greeting from Israel 🙂
Hi Hodya,
I’d be surprised if you can’t find a decent emulsifier in Israel. Won’t one of the European companies send there? I live in Spain and have bought things from Israel before without problems, so I’d think things could easily go the other way around.
I honestly don’t think that you’ll get a great result from beeswax and borax. Beeswax itself isn’t an emulsifier, and I have heard of people doing an emulsion by adding other things like borax, I’m not sure how well it works. I’ve never tried it myself.
I do find that the quality of the product you make has a lot to do with the emulsifier you use. Even if you can’t find the emulsifiers I used, any emulsifying wax would probably do a decent job. (I can email you my sources here in Spain if you like?)
Yes i would love if you can send me that .
I actually did try make it with the beeswax and borax by other recipe i saw i did kind of combination between your and there( just change the emulisifier) and it becomes more like body butter even though i add the water, i think the beeswax made harder so I’ll really appreciate if you can send me your source
Hey tracy!
I have used emulsifying wax with ingredients Cetearyl Alcohol, Polysorbate 60, PEG-150 Stearate, and Steareth-20, and vegetable glycerine in home-made body lotions and had no problems. Are these okay to put in face lotion?
Hi Erin,
Use what works for you!
I’m not sure about the comedogenic rating of the other emulsifiers, etc., but in the grand scheme of things, it is a small percentage of the recipe. I can’t see that they would cause any problems. 😉
I’m just giving a base recipe that people can customize to suit their needs, and give a bit of my reasoning for using the ingredients I use to try to help people make the changes they like/need to make. I’d love to hear how it goes! 🙂
Hey Tracy, My moisturizer came out yellow and a bit thicker than lotion, is that normal. I don’t know if this is because of the sunflower oil or what. I followed your recipe to a tee.
Hey Tracy, What brand did you use for the non high oleic sunflower oil from? Because all of the sunflower oils I have been running across have been high oleic.
Hi Chris,
I was concerned about this as well, and had actually further studied sunflower oils to help answer another comment a while back. I thought I had update the post to reflect my new findings, but it turns out I never got around to it.
I just updated the post now to reflect what I think is accurate. As long as a sunflower oil doesn’t specifically say it’s “high oleic,” you should be fine. “Normal” sunflower oils are high in linoleic acid, which is good for acne prone skin, but isn’t quite as healthy for eating, perhaps, as a high oleic sunflower oil. High oleic sunflower oils are made from sunflowers that have been crossbred to have higher percentages of oleic acid. While they are healthier for eating, and help you maintain a good Omega 3 to 6 ratio, all while having a longer shelf life, they may clog pores for some people. I wasn’t able to find a comedogenic rating for high oleic sunflower oil, but have only seen several references that it can clog pores in some people.
I bought a local brand organic sunflower oil which was available here in Spain. (I doubt you have the same brands outside of Spain.) It worked well for my first batches.
I no longer have that bottle to check on the name, but have since tried just a plain supermarket brand sunflower oil in the name of experimentation.
Even the super cheap bottle of sunflower oil from the supermarket worked well on my skin.
Here in Spain, the two main oils for cooking are sunflower oil and olive oil. The oil aisle in the supermarket is mostly made up of those two oils, with lots of different brands and options for either. In the US, I know that corn and canola oil are used a lot, so I’m guessing you don’t have as many options for sunflower oil.
I linked to a sunflower oil from Amazon that people seemed to like for using on their skin, but I haven’t personally been able to try it out. I did specifically look for something people seemed to be happy with, and the oil I’d try if I were in the US. (The links in the recipe go to ingredients I have either tried or researched and would use myself.)
If you can’t find a non-high oleic sunflower oil, you could either try whatever oil you can find to see how it reacts to your skin. (My guess is that it would still have a low comedogenic rating.) Or, you could just ditch the sunflower oil, and use another non-comedogenic oil that you know does work well on your skin. I chose sunflower as a base because it’s probably the most inexpensive oil I can find here in Spain. That cuts down on the cost of making your own skin care products. On the other hand, facial creams are expensive, so even if you were to use expensive oils like hemp oil and rosehip oil in higher concentrations, you should still be able to save a lot of money making your own facial cream. (And my guess is that you’d have a much higher quality product than what you would be buying for the same price range.)
I hope that helps!
Hi Tracy,
I am eager to try this recipe….so a silly question, where did you get the bottle that is shown in your post? The only ones I can find that look like it are foaming pumps, is that the one you used?
Thanks,
Lynda
Hi Lynda,
Actually it’s a great question, and I’m sort of surprised I didn’t address it in the post. I’ll have to update it with that sort of thing.
It’s called an “airless” pump. I like these sorts of pumps because when you use them, you aren’t introducing any bacteria into your homemade lotions when you make them. They dispense nicely, and the bottom pushes up as you use it, which keeps air out.
I bought mine locally here in Spain, but I found this one that looks similar to mine on Amazon:
It only has 3 stars, but it’s from a person who didn’t like that they called them “porcelain white” because she thought they would be porcelain and not plastic. In any case, a search for airless pump 100ml should bring you results wherever you’re looking for containers.
I take it apart and reuse mine. (I try to further clean it with rubbing alcohol after cleaning it well to help sterilize it before each new use.)
hi,
have you a lotion/cream without the 5 g montanov 68 or olivem or other emulsifier
4 g Leucidal or other natural preservative, please as I haven’t these.
thanks Jus
Hi Jus,
To make a lotion with water and oils, you need an emulsifier of some sort. You can use an emulsifying wax- it doesn’t have to be either of those.)
Once you add water to your lotion, you need to add some sort of preservative.
If you don’t want to use either of those, you can mix up the oils and use the oils directly on your face to help moisturize your skin. You won’t have the same feel of a lotion, though.
Hi, do you know the pH value in the cream? do you use any Lactic acid?
Thanks for great information!
/ debbie from Sweden
Hi Debbie,
For now, I use inexpensive pH test strips. It isn’t important to know an exact measurement for this sort of cream, so the strips are good enough. You just want to make sure you are in the right range for whatever preservative you are using.
I don’t think I normally need to use lactic acid with this recipe. I test it each time because I never remember which recipes need a few drops and which don’t. (It also depends on which preservative I’m using. Plus, I tend to experiment with lots of ingredients each time I make a recipe so that I can learn how the different ingredients work together. It helps me learn so that I can better formulate new recipes for the blog. So, I never know how the final cream will be affected by the changes.)
Leucidal, for example, has a pretty big working range. I normally don’t need to add an acid when using it. If I remember correctly, when using Rokonsal, I sometimes have to add a couple of drops of lactic acid to certain recipes to keep them in its effective range. I hope that helps! 🙂