

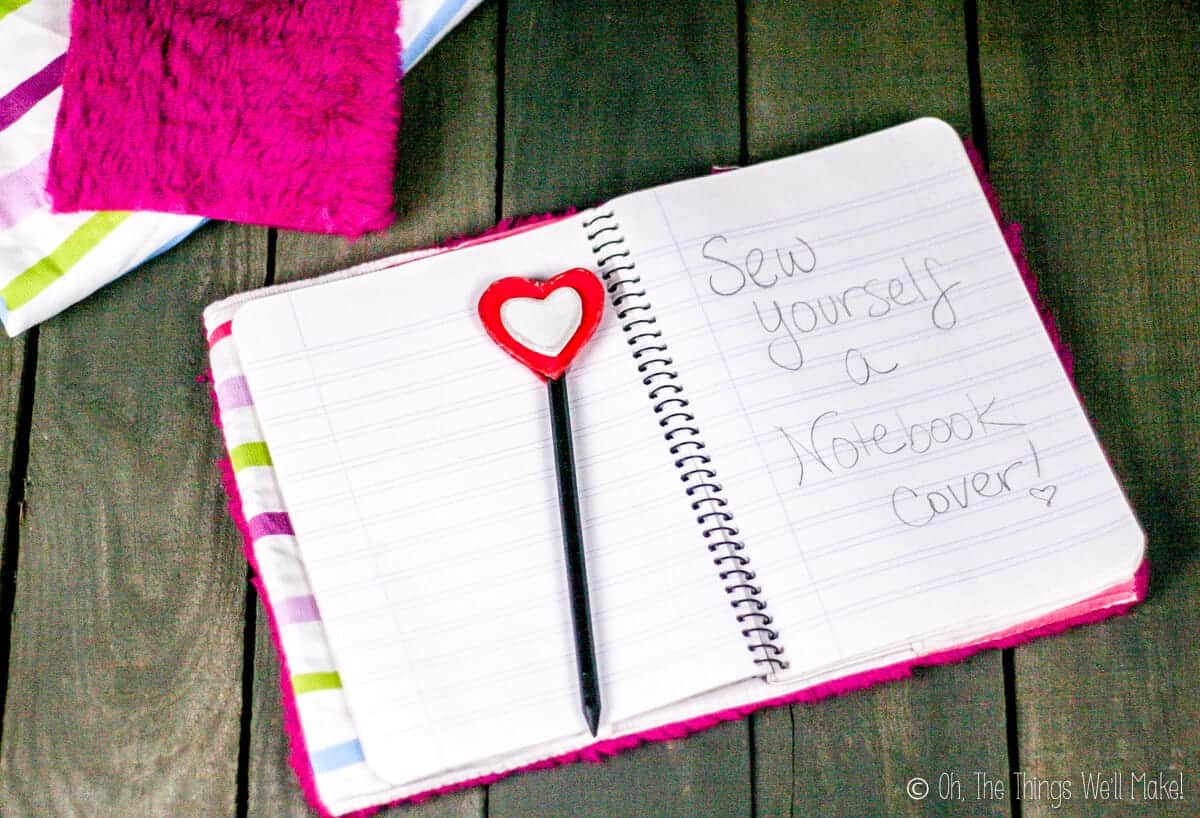
Easy DIY Notebook Cover
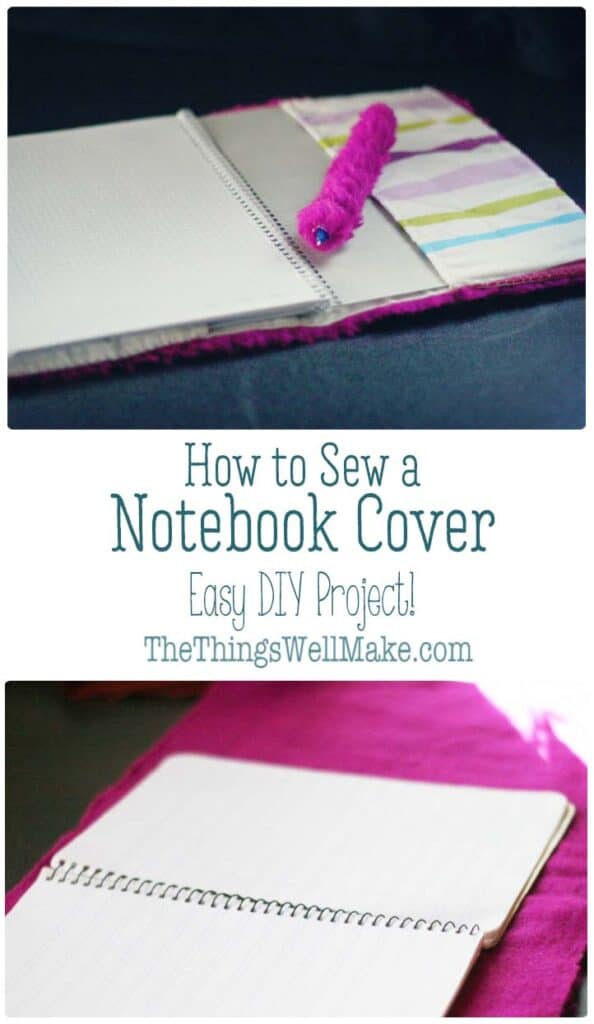
Reading and writing can be so much more fun when you’re using a cute, removable cover. This easy, DIY notebook cover can be quickly and easily made from cloth scraps and can be used over and over again.

While I spend a lot of time writing on my computer, I also like to often go “old-school” and write directly in paper notebooks.
Why make a removable cover?
While I love collecting pretty notebooks to write in, they can be expensive. I somehow found myself not wanting to write in them so as not to “ruin” them.
Rather than buy expensive notebooks, I found a way to save money and still be able to use a cute notebook. I now buy inexpensive generic notebooks and cover them with a reusable cloth cover.
The history
At Christmas time one year, I participated in a “Secret Santa” gift exchange with some other bloggers. I sent homemade soap, some homemade jewelry, and a handmade stained glass ornament in a snowflake gift pouch to the person whose name I chose.
In exchange, I received a package with a homemade deodorant, some fabric scraps, and some cards for crafting. With the scraps of fabric came the challenge to do something with them!
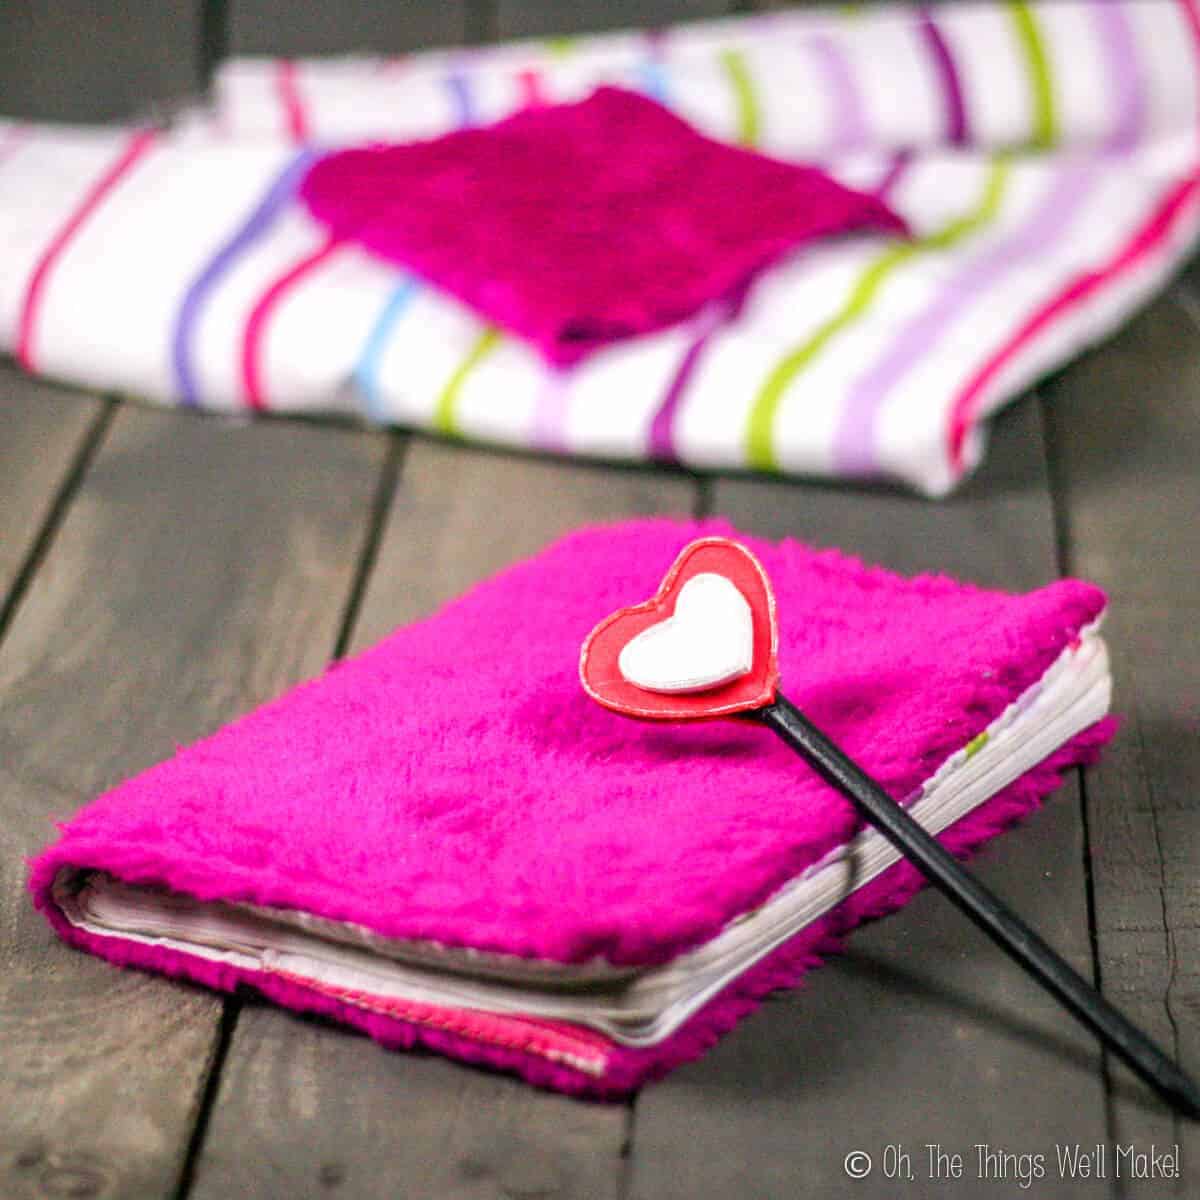
My favorite piece was a small remnant of bright, colorful fuchsia furry fabric. Because the piece wasn’t large, I needed a relatively small project. That’s when it occurred to me: I’d make a notebook cover with it.
Materials
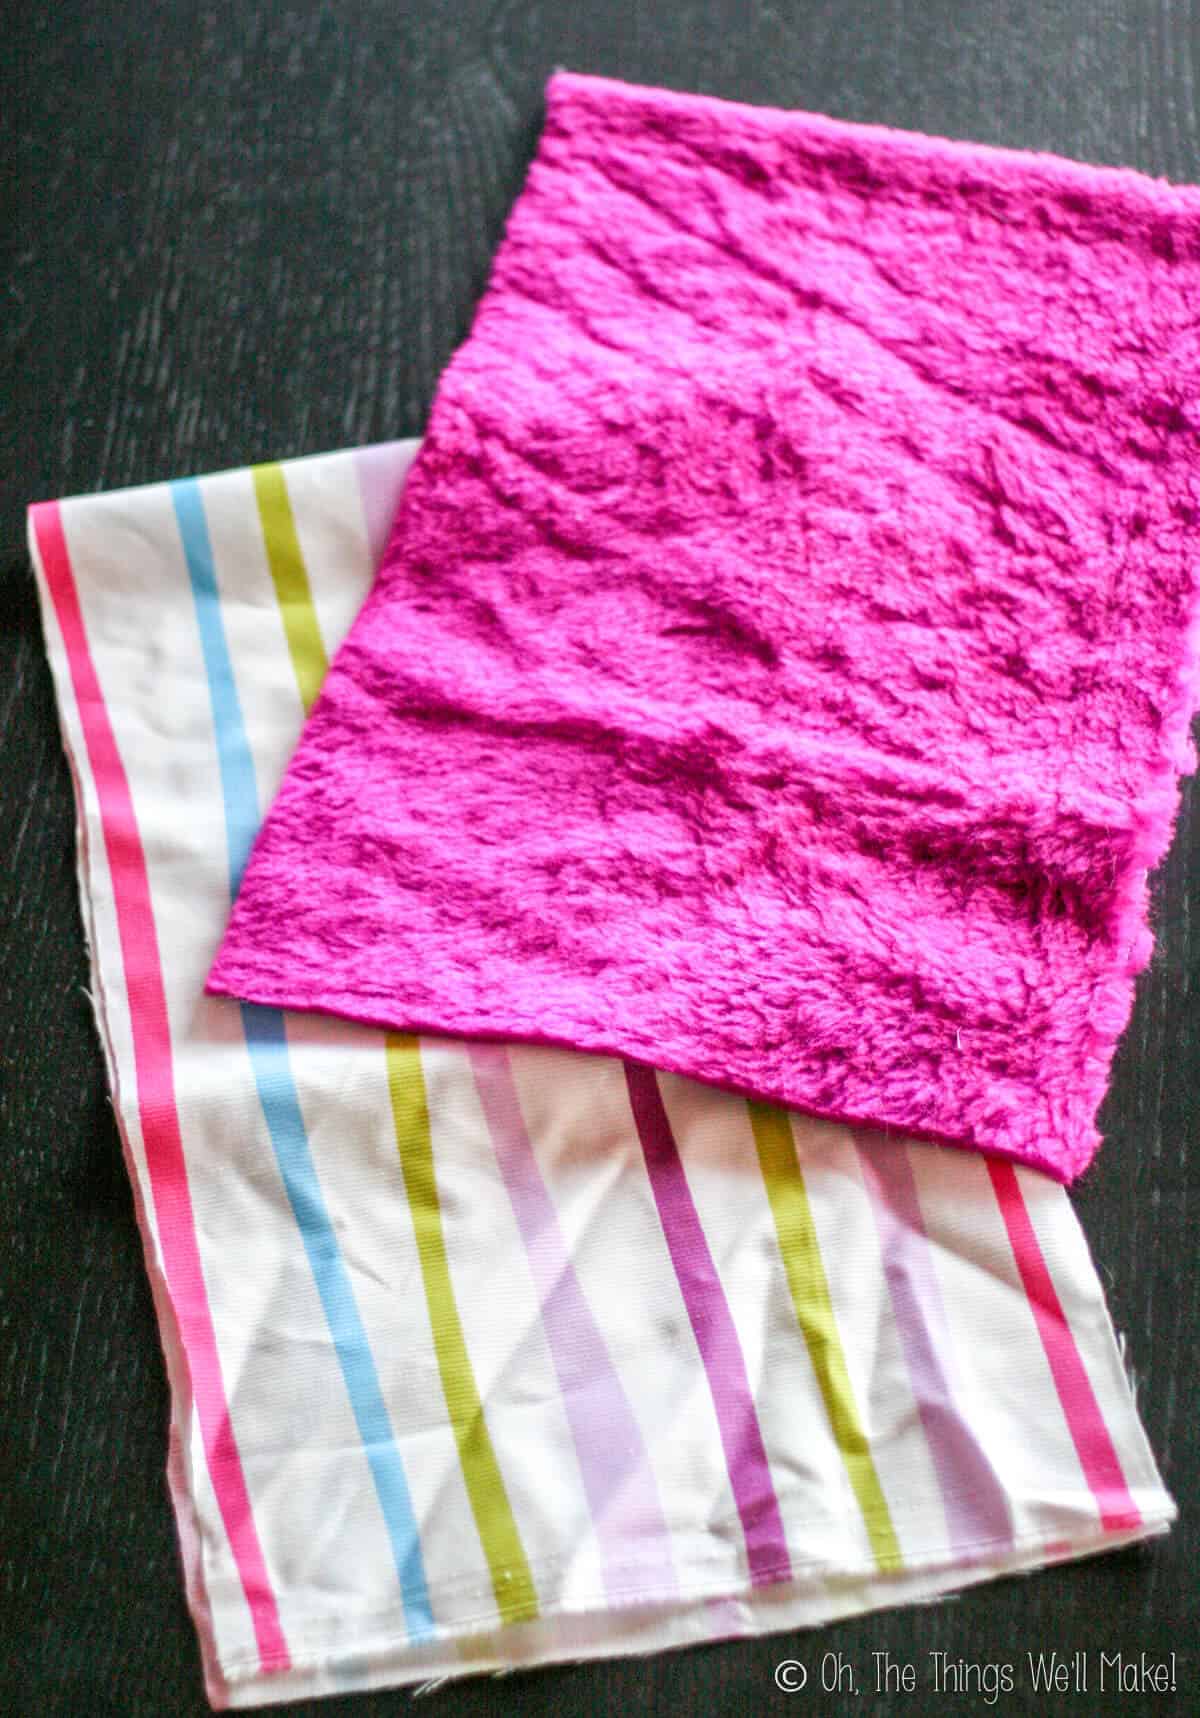
To make a notebook cover like mine, you’ll need to choose a notebook that you want to cover. You’ll also need two pieces of fabric.
The main fabric should be an inch longer and taller than the size of the open notebook that you want to use.
You’ll also need another fabric for the lining. That lining fabric needs to be the same height, but wider than the main fabric. The width needed will depend on how long you want the pockets to be. (More about that below)
Measure and cut the main fabric
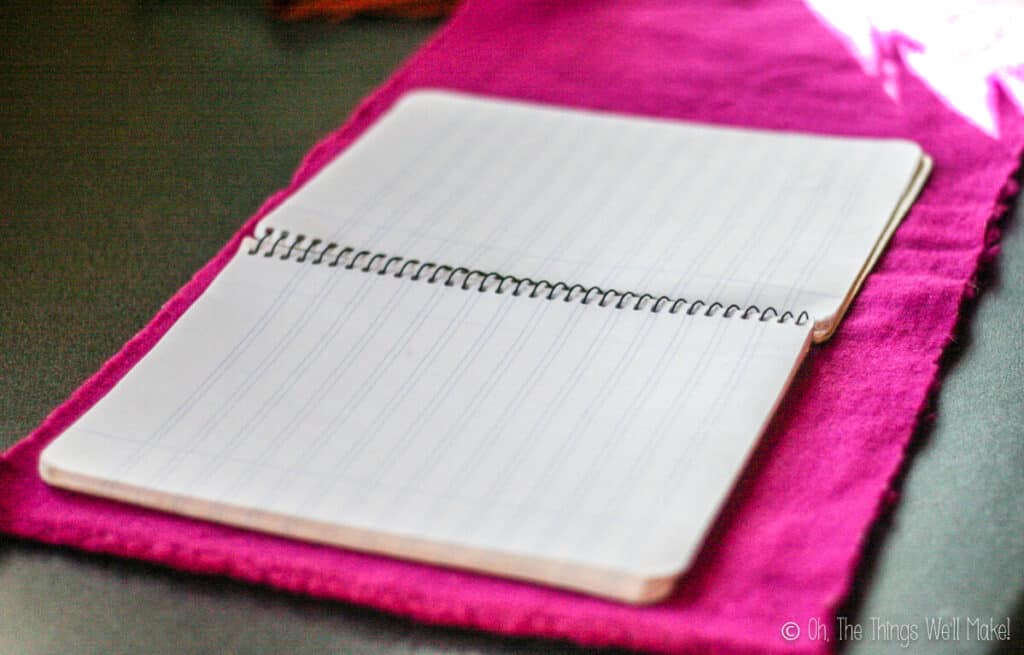
First, measure the notebook while open. Make note of the height and the width.
As an example, a 4×6 notebook will end up being around 8×6 when open. (It may be slightly wider than that, depending on the size of the spiral or other binding.)
To calculate the size of the main piece of fabric, add an inch to both the height and width noted above. Cut the main fabric to those dimensions. That will give a piece of fabric that is half an inch longer than the open notebook on all sides.
In our example, we’d add 8+1=9 and 6+1=7. So, we’d cut the main fabric to be 7x9in.

Measure and cut the lining fabric
Now we need to calculate the size of the lining fabric.
The height of the lining fabric should be the same as that of the main fabric. (In our example, 7 inches tall.)
To determine the width of the lining fabric, first decide on the width you want the pockets to be. You will be slipping the cover of the notebook into the pockets to hold it in place. If they are too wide, it is more difficult to slip the notebook into place. If they aren’t wide enough, the notebook cover may slip off too easily.
I chose to make my pockets around 3 inches wide. That worked out to be a good width for the size of my notebook. I’d suggest making the pockets the width of just over half the width of your cover.
Now multiply that width by 4. In my example, 3×4=12.
Add that width to the width of the main fabric. (12+9=21 inches wide)
Cut the lining fabric to those dimensions. (In my example, 7x21inches)
Sew the cover
Place the two fabric pieces together, right sides together. Line up the top and bottom edges, as well as one of the sides. Sew down that side edge.
I used a serger to finish the edges easily, but you can just as easily use a regular sewing machine or even hand sew the seam. (Use around 3/8 inch inseam.)
Now line up the edges on the opposite side and sew them together down that side in the same way. You will end up with a tube of fabric with the right sides facing inside.
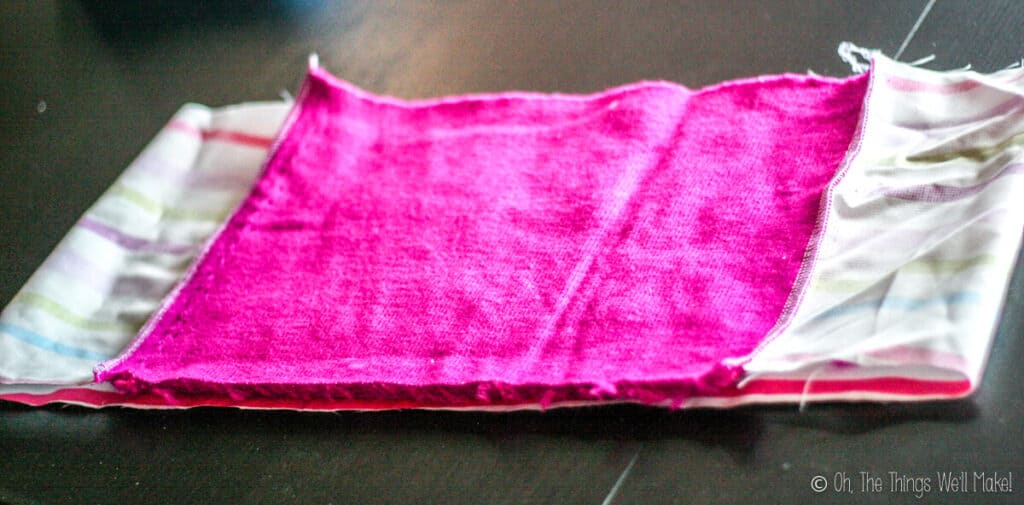
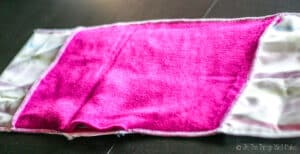
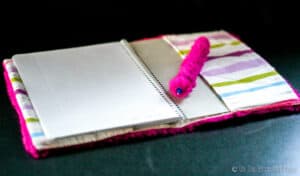
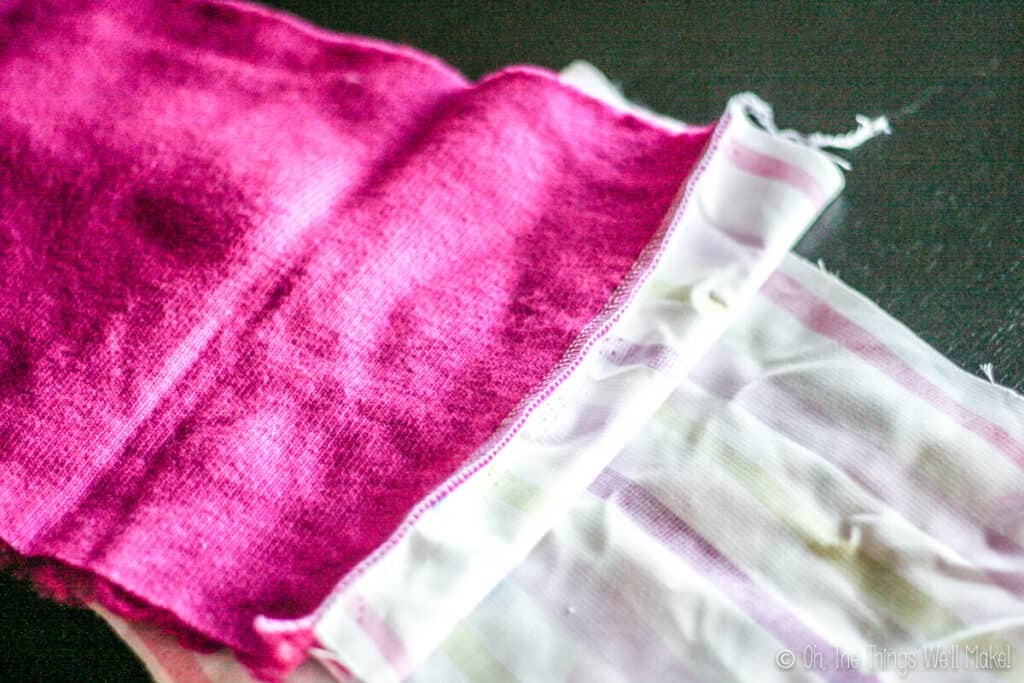
Before continuing, position the tube of fabric so that the main fabric is centered on top. Note that the lining fabric (white) is longer than the main fabric (pink). The excess fabric should be the same width on either side. That excess fabric will soon be folded over to make the pockets.
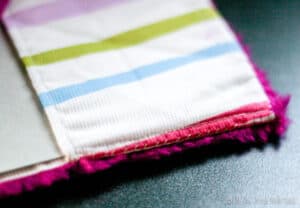
Sew across the top and bottom edges, leaving a small opening on one of the 2 seams so that you can turn everything right side out again. (I once again used my serger/overlock machine.)
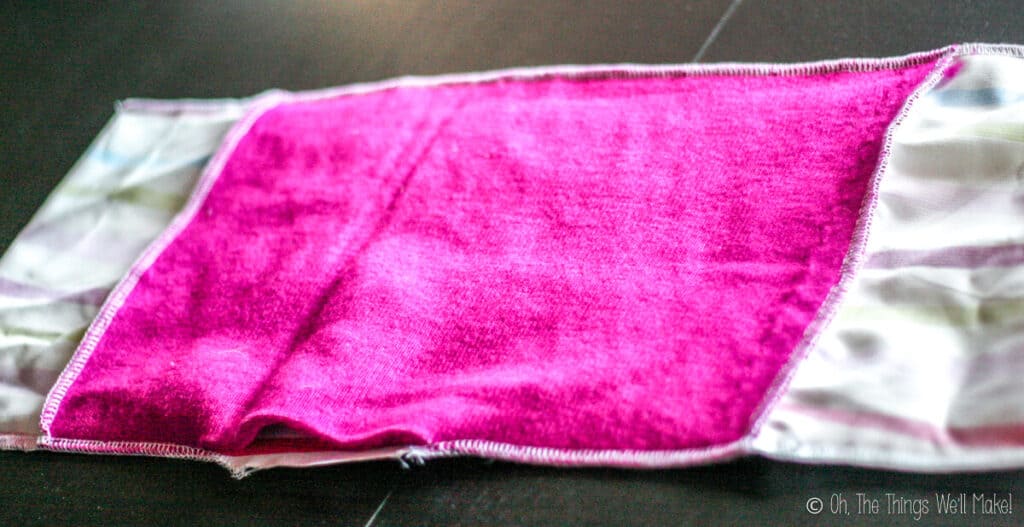
Flip the fabric right side out again, and sew all the way around the rectangle of fabric. When you reach the gap, fold the edges of the fabric under and sew over that part closed. Rather than continue with my serger, I used a regular sewing machine for this step. You could also do this step by hand.
Form the pockets
Fold the excess lining fabric towards the center along the line between the main fabric and lining fabric on either side. This forms the pocket into which we will slide the cover of the notebook.
Hand stitch along the top and bottom seams to secure the pockets in place.

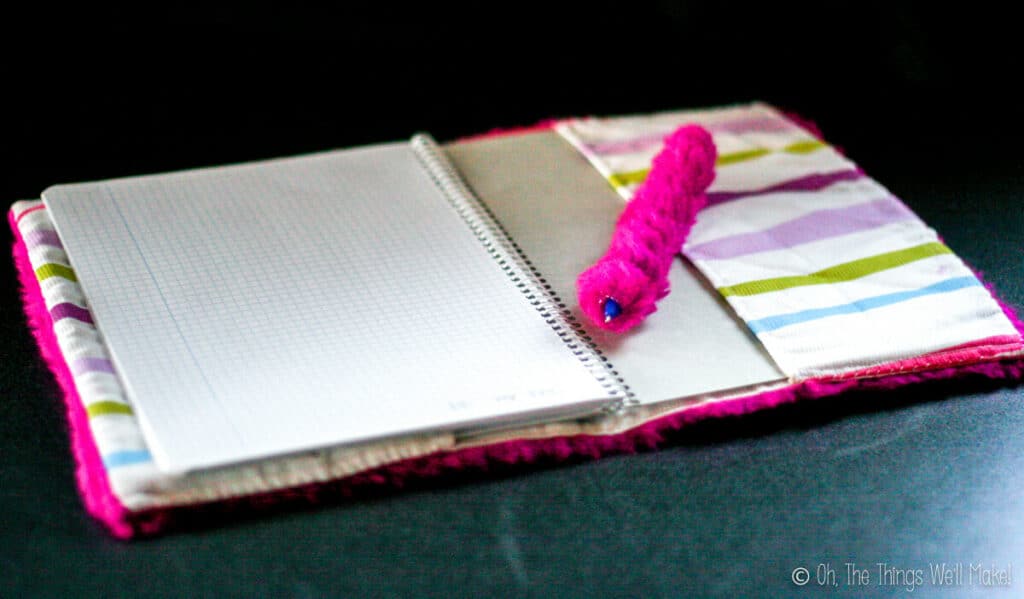
You can now slip the cover of the notebook into the pockets to secure the cover in place.
Enjoy your reusable DIY notebook cover!

DIY Notebook Cover
Materials
- notebook
- main fabric
- lining fabric
Instructions
- Measure the notebook when open.

- Add one inch to both length and width, and cut the main fabric to that size. If you place the open notebook in the center of the fabric, you should end up with a half an inch of fabric all the way around it.
- Cut the lining fabric to the same height as the main fabric. The width will be longer.To calculate the width of the lining fabric, decide how wide you want the pockets for the notebook to be. Multiply the desired width of the pockets by four and add that number to width of the main fabric.I wanted the pockets to be around 3 inches wide, so I added 12 inches to the width of the main fabric. (3×4=12)
- Place the two fabric pieces together, right sides together, and sew the side ends together on either side. You will end up with a long, inside out, tube.

- Position your tube so that your main fabric is centered on top.

- Sew across the top and bottom, leaving a small opening on one of the two seams. This gap will allow us to turn everything right side out again. (Notice the gap in the bottom of the photo.)
- Flip the fabric right side out again, and sew all the way around the rectangle of fabric. When you reach the gap, fold the edges of the fabric under and sew over that part closed.
- Fold the lining fabric over along the line between the main fabric and lining fabric on either side. This forms the pocket into which we will slide the cover of the notebook. Hand stitch along the top and bottom seams to secure the pockets in place.
- Slip your notebook into your newly finished notebook cover!
This post was originally published on Jan. 15, 2014. It was rewritten and republished in June of 2020 to make the instructions clearer.


Very lovely ……. So sweet.
Thanks! 🙂
It should be possible to eliminate the hand sewing step at the end if you fold the excess lining in so that it doesn’t stick out past the cover fabric when sewing along the top and bottom.
Thanks for the tip, Mariel!
If I make another one, I’ll give it a try!
If you measure the notebook while open, the fabric may be too short. Be sure to measure it *around the middle*, from cover edge to cover edge, while closed. My fabric was an inch short when I measured other way, and my project was a mess. I had to add another inch of cover fabric to the end. It turned out ok, but beware!
Hi Jen,
That makes sense. I’m sorry that happened. I must have gotten lucky- or maybe I added extra to account for it and forgot to write it up. I’ll try to update with your tip in the next couple of days. Thank you for your feedback- it can really help others!
great work
Thanks, Julie! 🙂