

Puppy Binkie Pattern
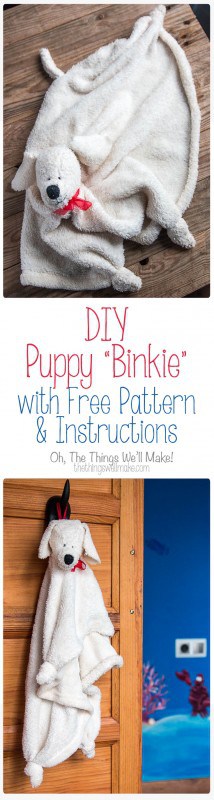
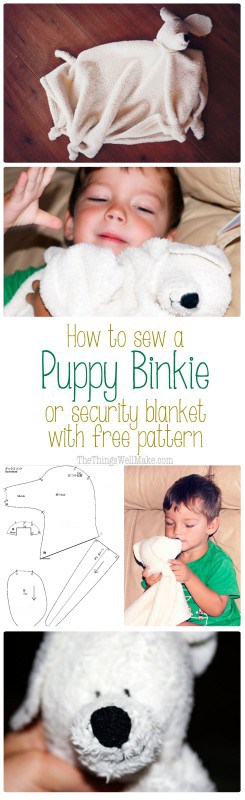
Learn to sew a super cute baby binkie or security blanket that looks like a puppy with free pattern and instructions.
My son loves dogs.
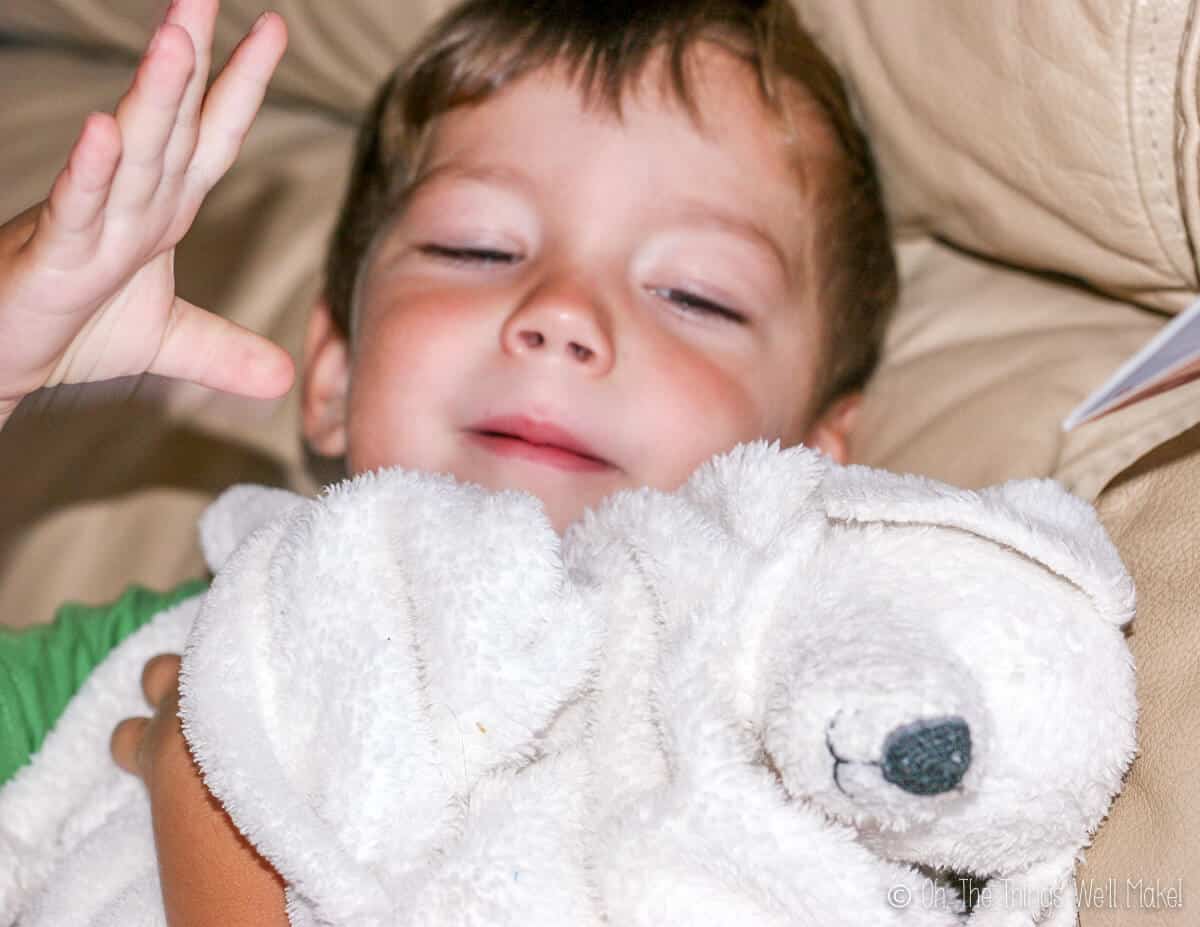
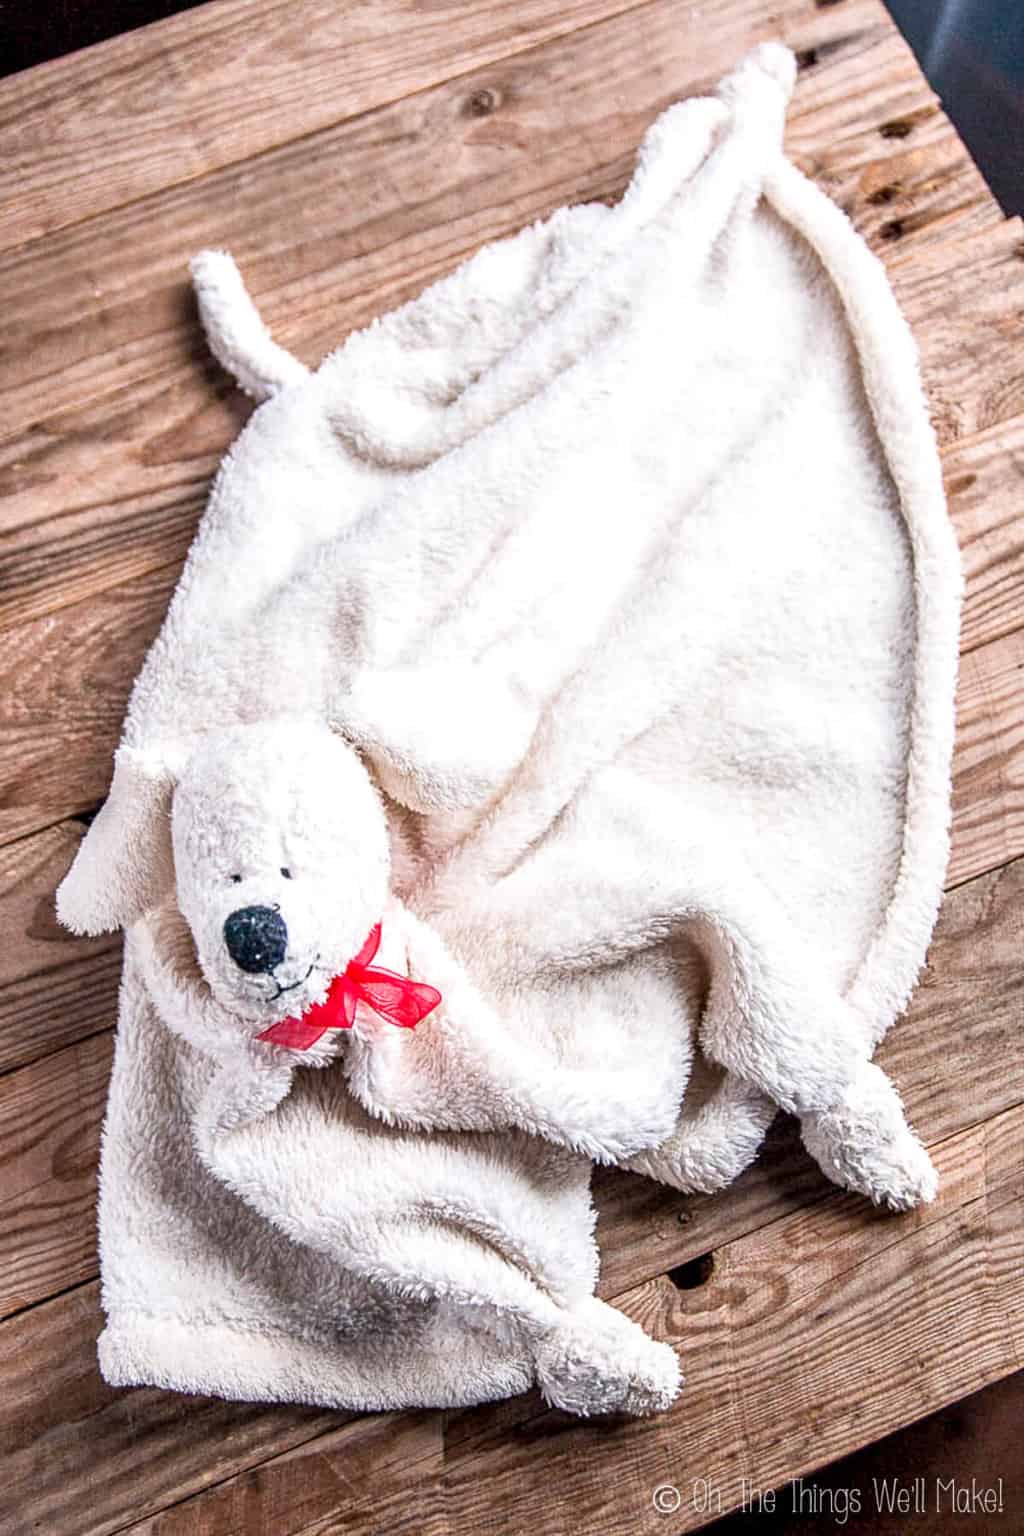
Even before he was born, though, I had a hunch that he would, having two of them at home. So, one of the first things that I made for him was a puppy binkie (blanket). The four corners are the paws, and the blanket has a puppy head and tail.
I have decided to start adding some of my old projects to this blog so that anybody who wants to try to make them can. Even though I made this years ago, and didn’t take pictures of every step, I think you should be able to figure out how to put one together.
The puppy binkie ended up being pretty simple to make.
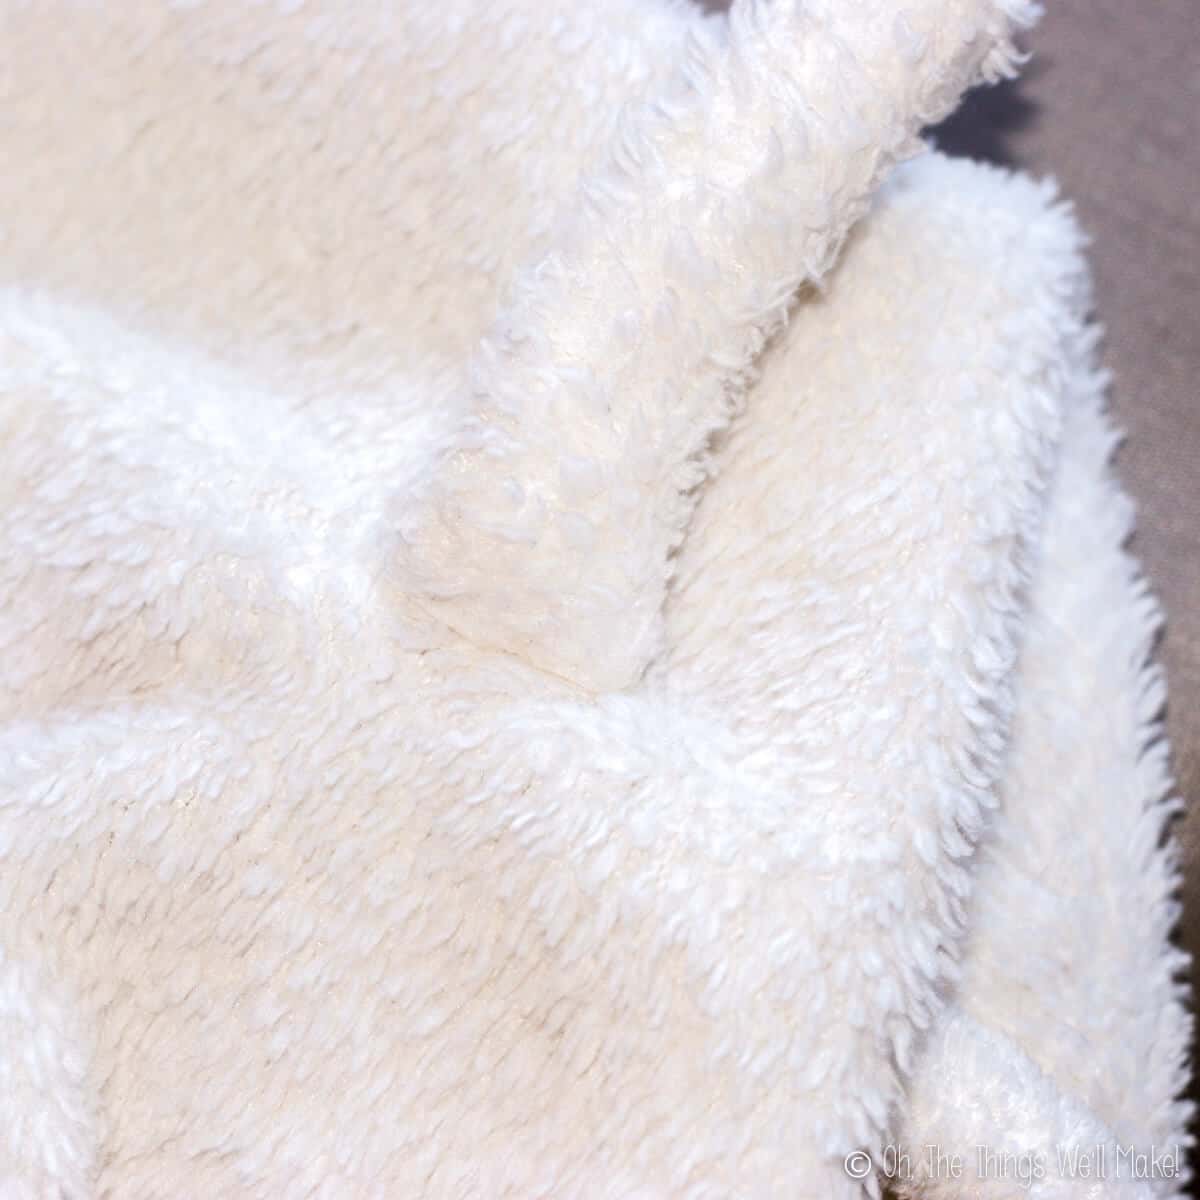
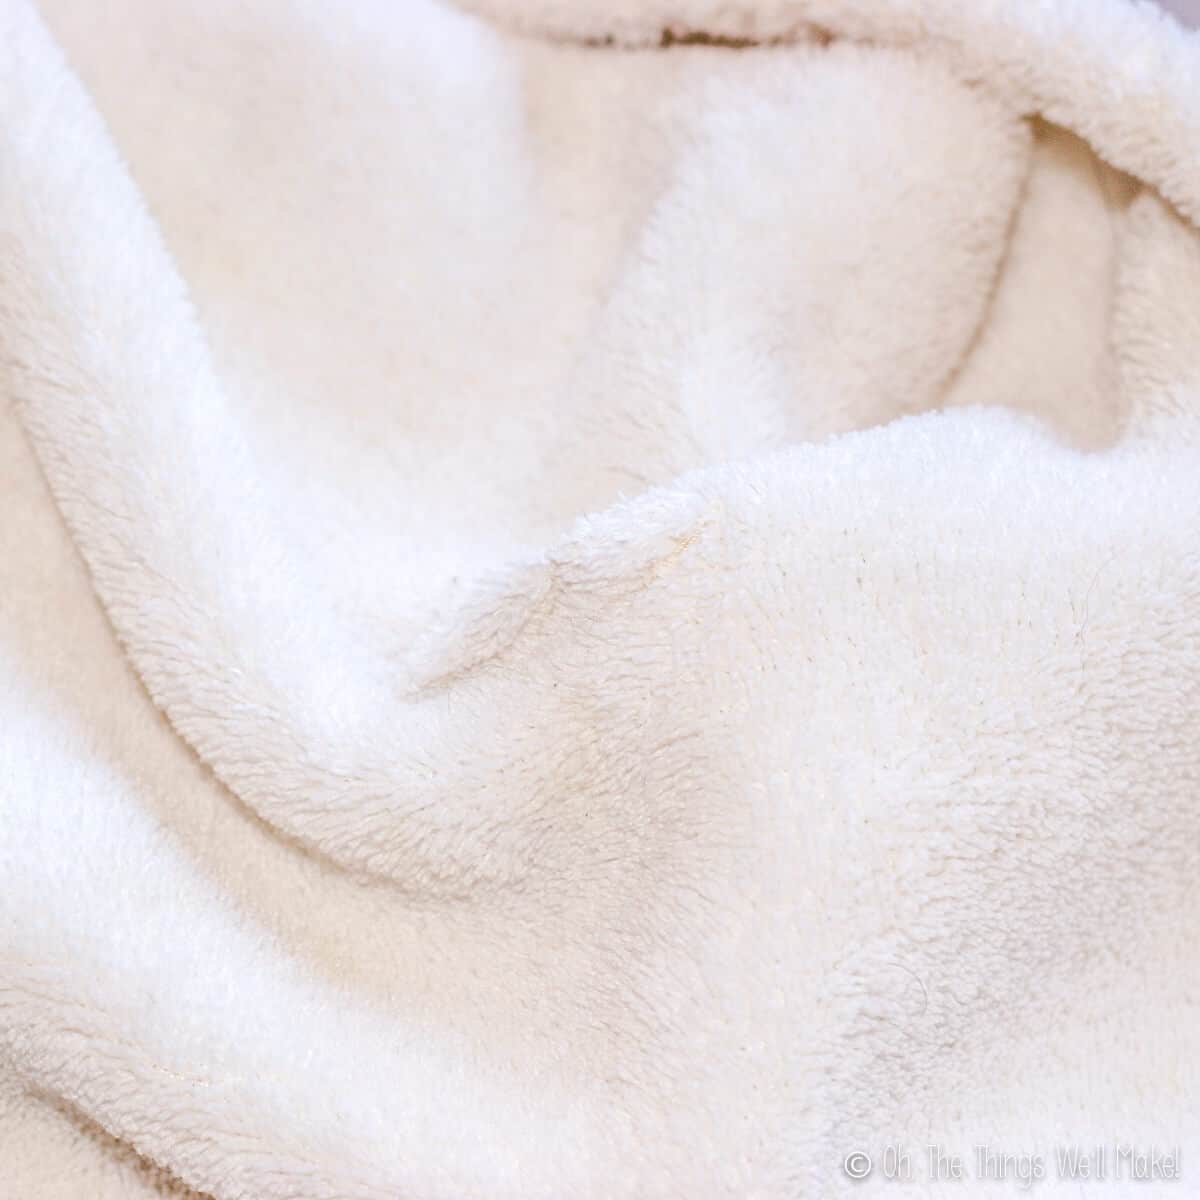
I cut out a piece of a fluffy blanket (mine was micro fleece like this one) that I figured would be a good size for a baby to hold. I hemmed all of the edges, creating a new, smaller blanket.
Then, I found a free pattern online for a dog stuffed animal; I used this pattern for a stuffed dachshund. Instead of using the whole pattern, though, I cut out the patterns of only the head, neck, and tail from leftover material of the same blanket. The website I got the pattern from includes many cute, free patterns, so check it out! The author, Runo, graciously gave me permission to link to the original tutorial and to add my modified pattern to my blog to make it easier for you to sew one like mine.
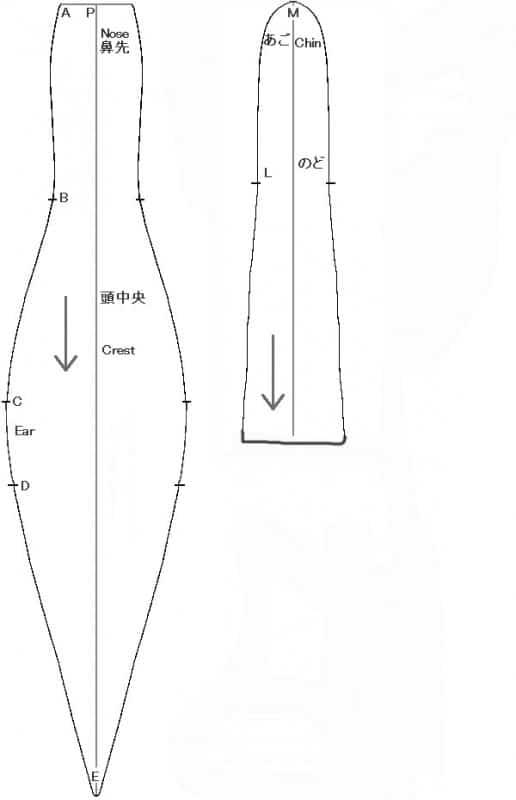
These are my modified pattern pieces. Click on each and print out on a full sheet of A4 or letter sized paper for a similar sized dog as mine.
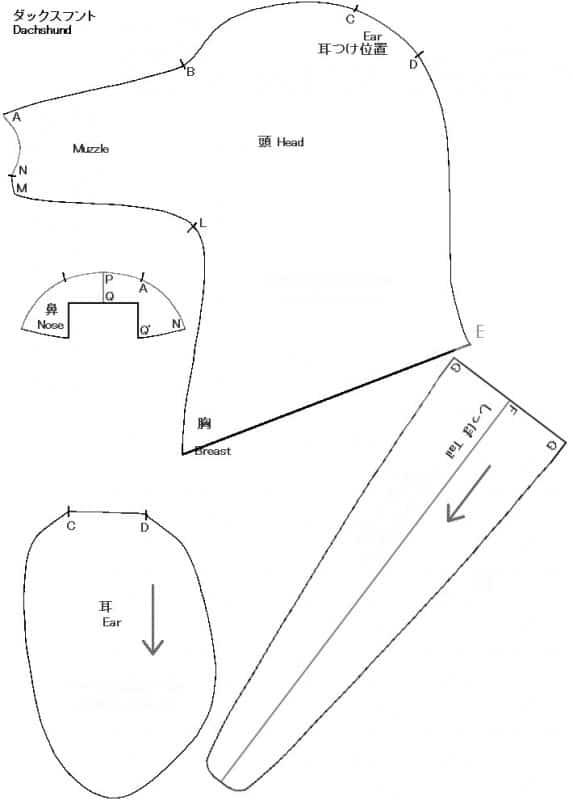
For instructions on how to piece the head and tail together, see the original tutorial.
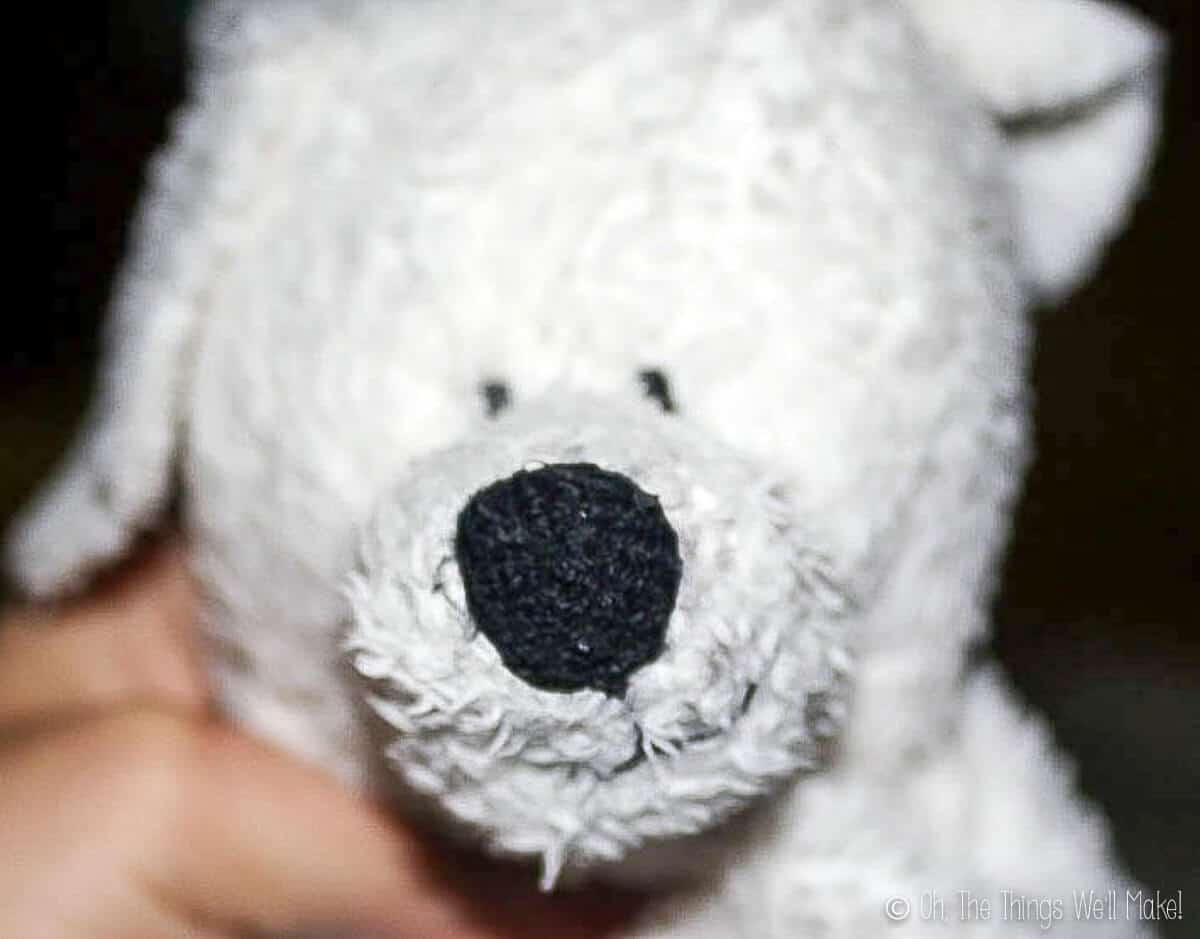
Being for a baby, I used a soft, black fabric for the nose, and formed the eyes and mouth by hand by stitching them on with black thread. I didn’t want to sew on any plastic eyes or other pieces that could be ripped off and swallowed.
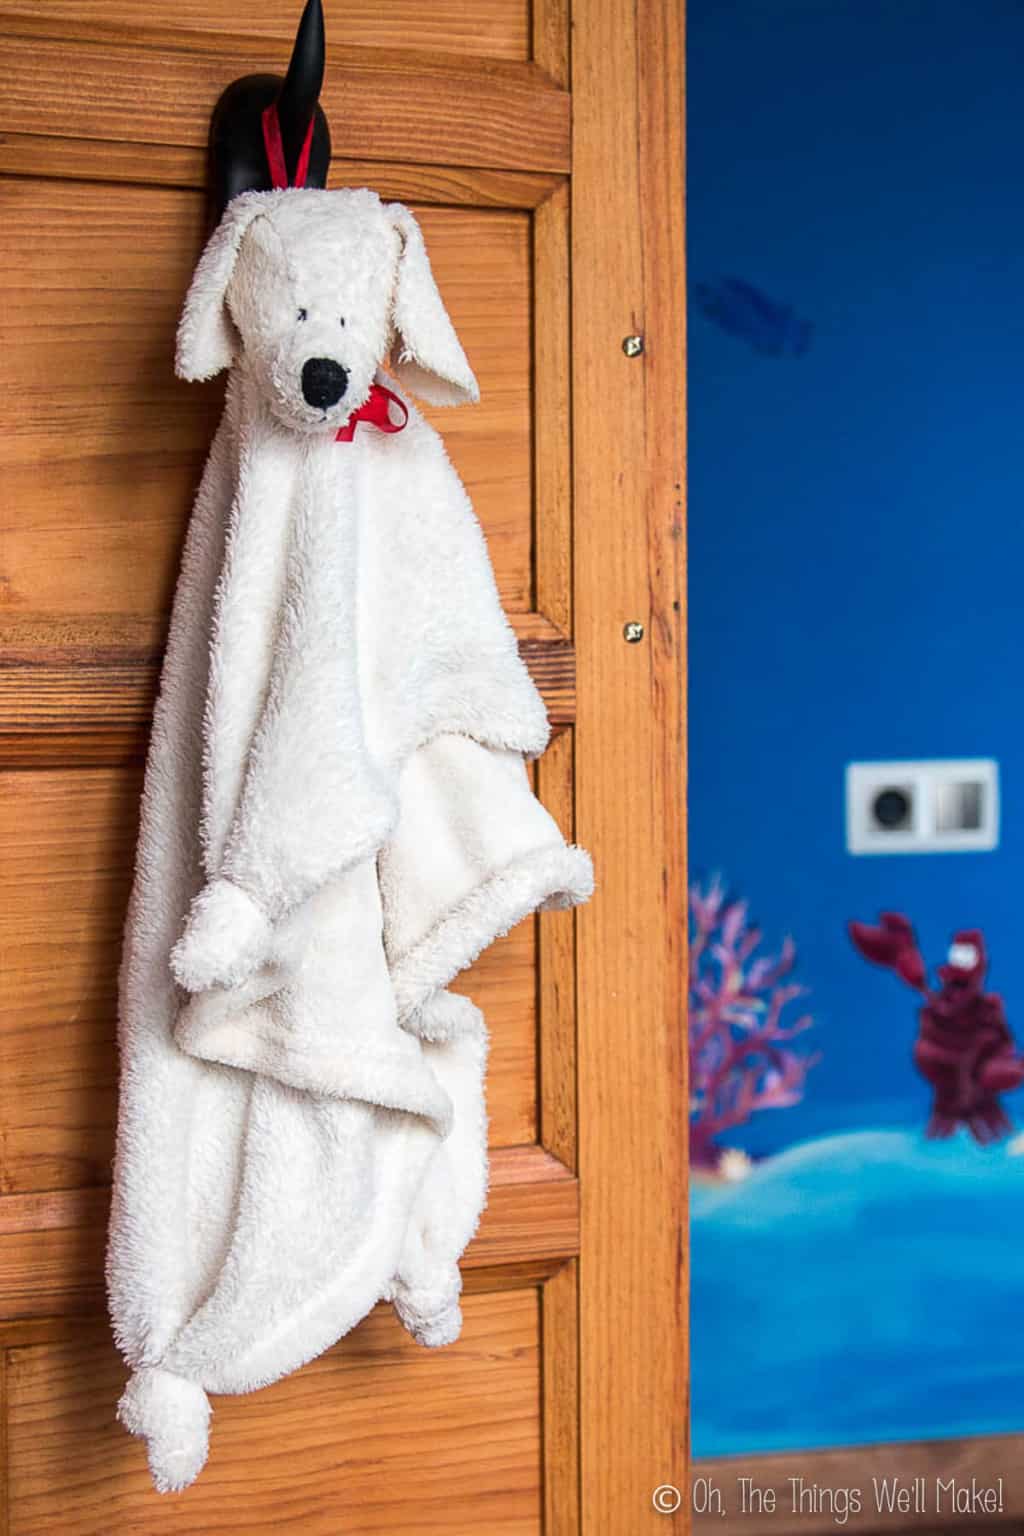
Once I made and stuffed the head (with the scraps leftover from cutting out the head), I tucked the raw edges inside, and I sewed the head to the blanket using my sewing machine. I placed it near one edge along the center line of the binkie. You can see, more or less, where I placed it in the pictures above.
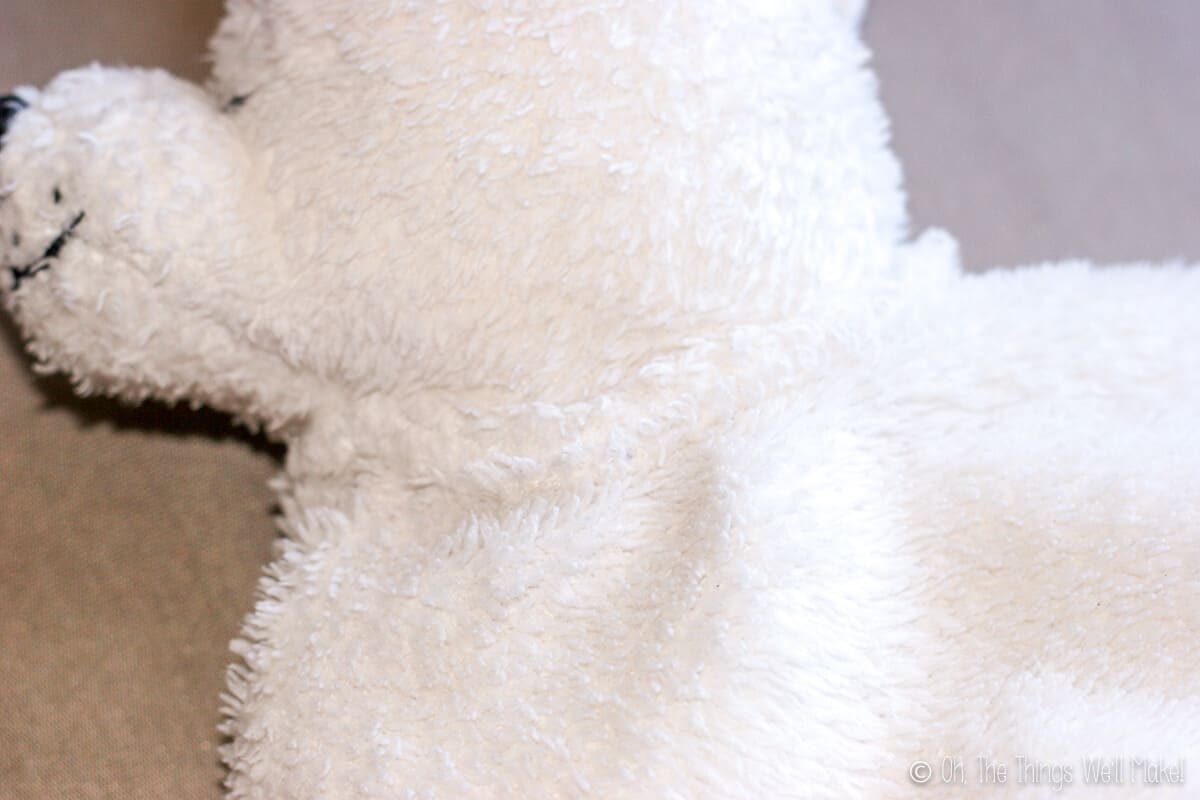
I also made a tail, stuffed it, and sewed it along the same center line, but towards the opposite edge.
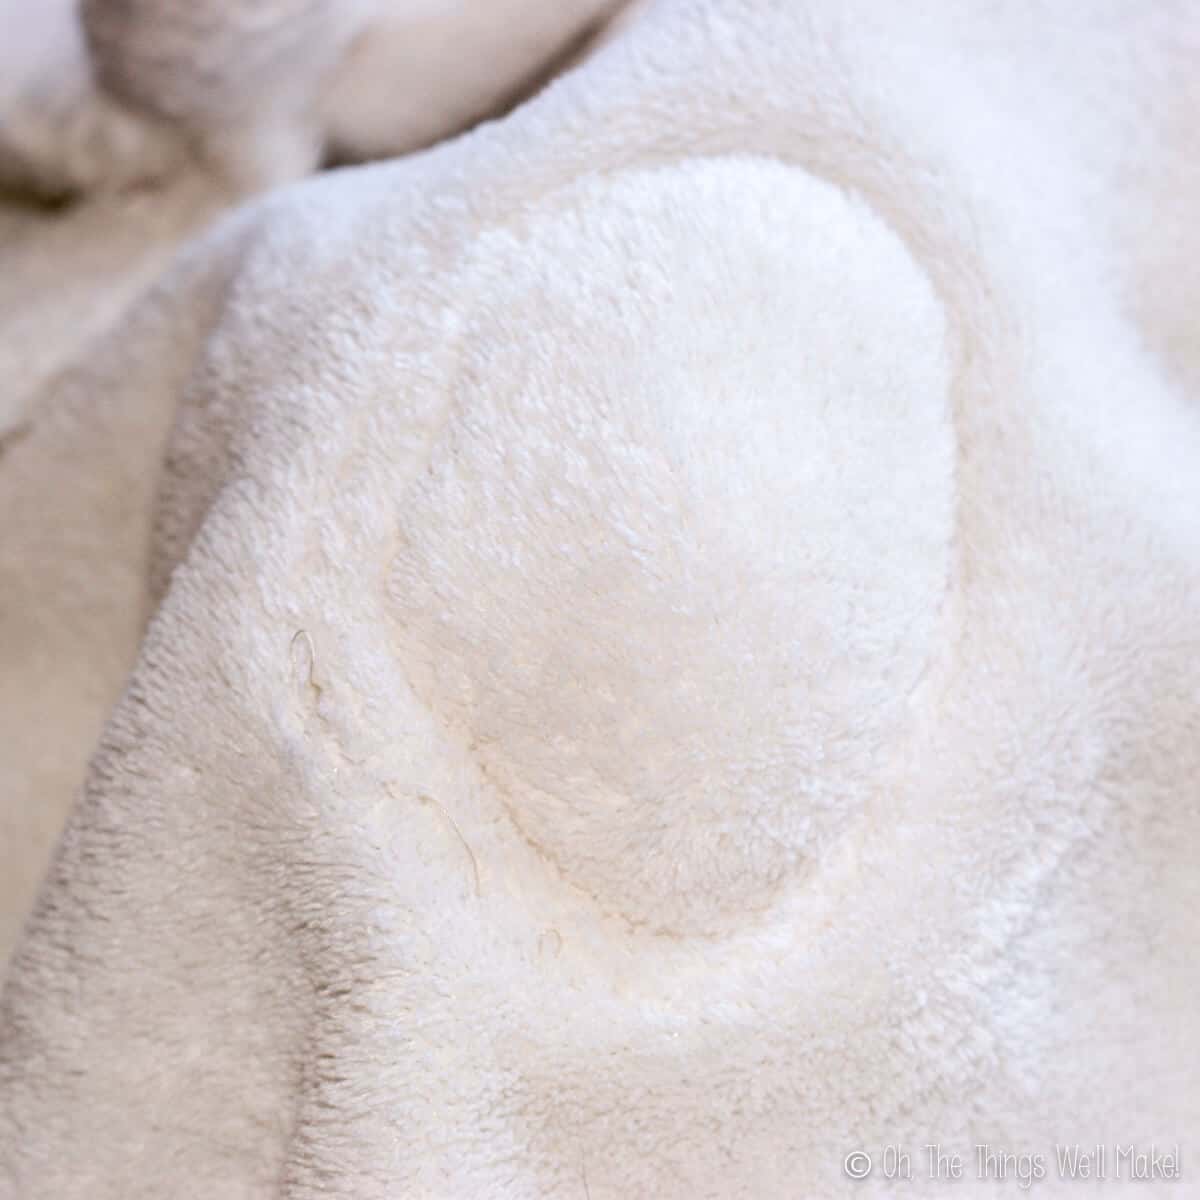
The bottom view shows what the head area and the tail look like when finished.
Once I finished sewing on the head and tail, I tied knots in each corner of the blanket, forming dog paws.
My son still loves it. I guess that’s why it’s so well worn by now- the way it should be. That’s what makes these sorts of projects worth it.

OH this is SO cute! I have got to try and make one for my great nephew that will arrive in July. A boy & his dog 🙂
Hi Tammy,
Congrats on your nephew. I hope he loves it.y son named his Cloudy and still plays with him occasionally. 🙂
Hi Tracy. What a wonderful idea. Since the head is stuffed, can you wash the blankie after it is stitched together?
Hi Kathy,
Sure!
Just make sure that you fill it with something washable. I actually filled mine with fabric scraps from the blanket.
I’ve never had issues washing it.
Make sure to follow the directions for washing the blanket. Some fabrics, especially “furry ones”, don’t hold up as well to washing/drying. It may be best to line dry the blanket to make sure you don’t ruin the “fur”. (You can also brush it as it dries to get it fluffy again!)
ooooooooh so cute!! perfect Christmas gift for the grands!
Hi Kath,
What lucky kids. I’m sure they’ll love it. My son loved his. 🙂
May they have a lovely Christmas- and you!
Omg! I have to make this! This is just too cute! …. Shame I’m so rubbish at sewing! I just don’t get how to attached the head on to the blanket!
Anyone willing to help!?
Thanks
Hi K,
The edges of the head part are unfinished, so I folded them over to hide the free edges. I then just sewed around the whole neck, making sure to catch both layers of the head piece (along with the bottom blanket part) in the entire seam. I hope that makes sense.
You can either use a sewing machine like I did, or can hand sew it on.
Hi Tracy.
Thank you very much that helped me a lot. Also how did you make the nose as I’m left with a whole at the end. Did you just sew the black nose bit on. If that make sense!?
Thank you.
K.
Hi how do I copy or print the free pattern.
Hi Robyne,
If you click on each pattern picture, it will open up for you. You can either print directly form your browser (find the print option under the file section of the menu), or you can right click on the picture and use the save image option. In that case, you can open the picture with whatever app you normally use to print pictures.
I hope that helps!
how did you make the nose
i am going to make this for my son christmas gift
Hi Jennifer!
If you look closely at the pattern, there is a piece that has “nose” written on it. I cut that piece out of black cloth, and followed the directions on how to make a Dachshund here.
The author of that post graciously allowed me to reprint part of that pattern on my own blog (to show which parts I used) as long as I linked back for the instructions to making that part. that’s where you’ll find more information about piecing it all together!
If you have any problems, though, feel free to ask me about any struggles that come up along the way. I’ll try to answer what I remember. (My son is 7 now, so it’s been awhile. Ha!) 🙂
how big was the blanket before you put the head tail on it n knotted it
Hi Jennifer,
I just measured it, and it appears that the center part is about 70cm wide (or just slightly smaller than that). So, I’d make it around 70cm square to get it to turn out like mine.
This is the cutest thing on the internet
Haha,
Thanks, Teresa. 🙂
I think it’s cute, too.
That’s adorable!
Thank you so much!!