

How to make a Drawstring Bag in under 10 minutes
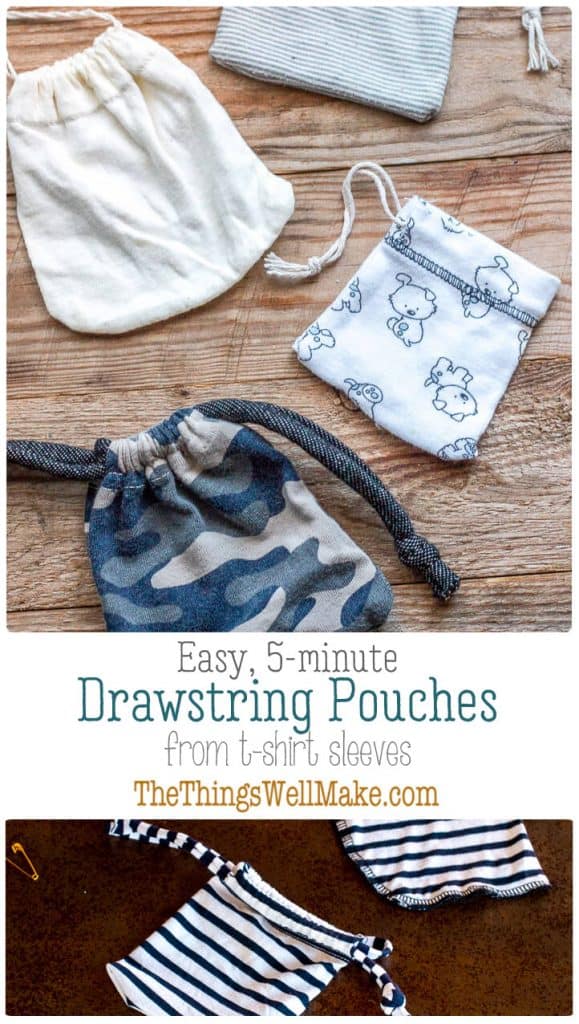
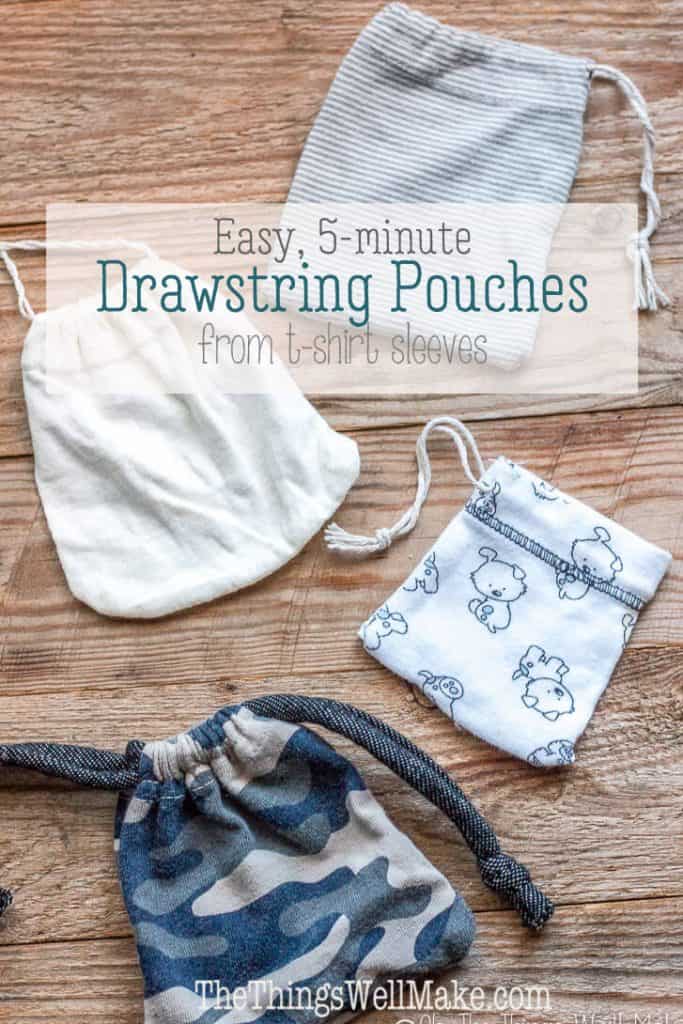
Turn an old T-shirt into a handy drawstring pouch in just a few minutes! By using the finished hem of a T-shirt sleeve, you can make a small fabric bag with as little as one seam. It’s a great way to reuse old clothes, and you don’t need much sewing experience.
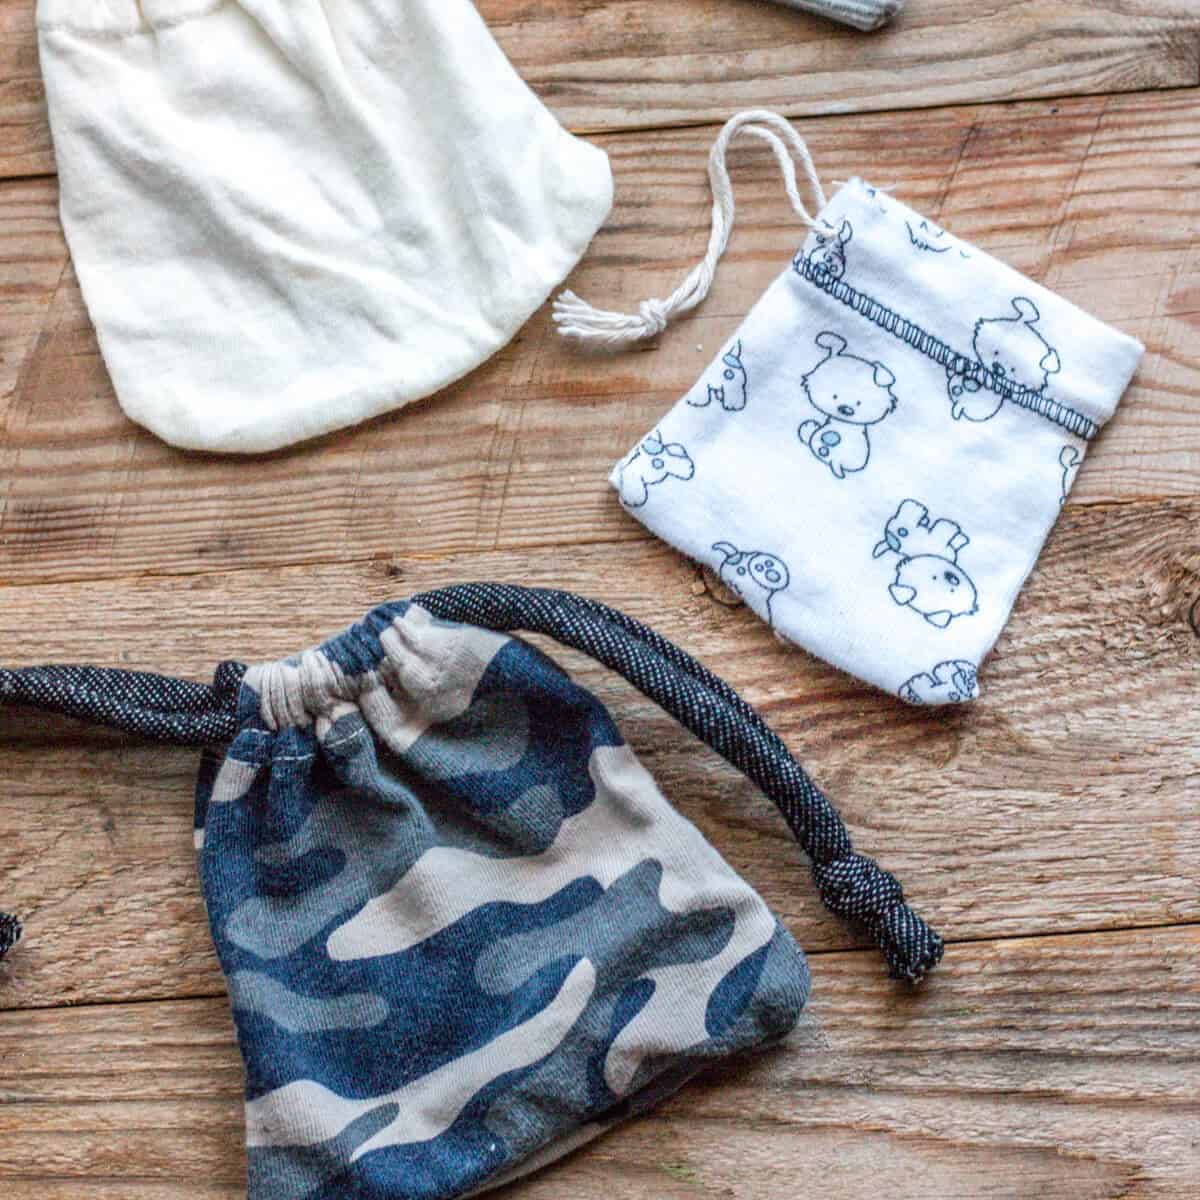
I’ve used this little trick for all sorts of projects over the years, from Christmas gift pouches to Halloween trick-or-treat bags. I kept explaining the same technique in different tutorials, so I finally decided it deserved a post of its own!
The best part is that you can adapt it to whatever size you need. Use the sleeves for small pouches or the bottom of the T-shirt for larger drawstring bags.
Why use an old T-shirt?
One of my favorite things about repurposing old T-shirts is that so much of the work is already done for you.
The finished hem around the sleeve forms a little fabric tunnel that’s perfect for threading a drawstring through. Instead of folding and sewing a separate channel, you can use the one that’s already there.
If the sleeve is fairly straight, you may only need to sew one seam to close the bottom. For sleeves with angled sides, you can sew an additional seam or two to give the pouch a more rectangular shape.
You can use a sewing machine, but these are small enough to sew by hand, too.
And don’t throw away the rest of the shirt! The bottom hem works the same way, so you can use the body of the T-shirt to make a larger bag.
How to make a drawstring pouch from a t-shirt sleeve
All you need is an old T-shirt sleeve, scissors, a needle and thread (or sewing machine), some ribbon or cord, and a safety pin.
The trick is to use the sleeve’s existing hem as the channel for the drawstring. That way, you don’t have to sew one yourself!
Cut and sew the pouch
Turn the sleeve inside out and trim it to the shape and size you want, leaving a little extra fabric for the seams. Make sure you keep the original hem intact, since that will become the top of your pouch.
If the sleeve is fairly straight, you may only need to sew across the bottom. If the sides are angled, you can sew along one or both sides to give the pouch a more rectangular shape.
I like to use a serger to finish the edges, but a regular sewing machine with a zigzag stitch works, too. You can even sew the seams by hand.
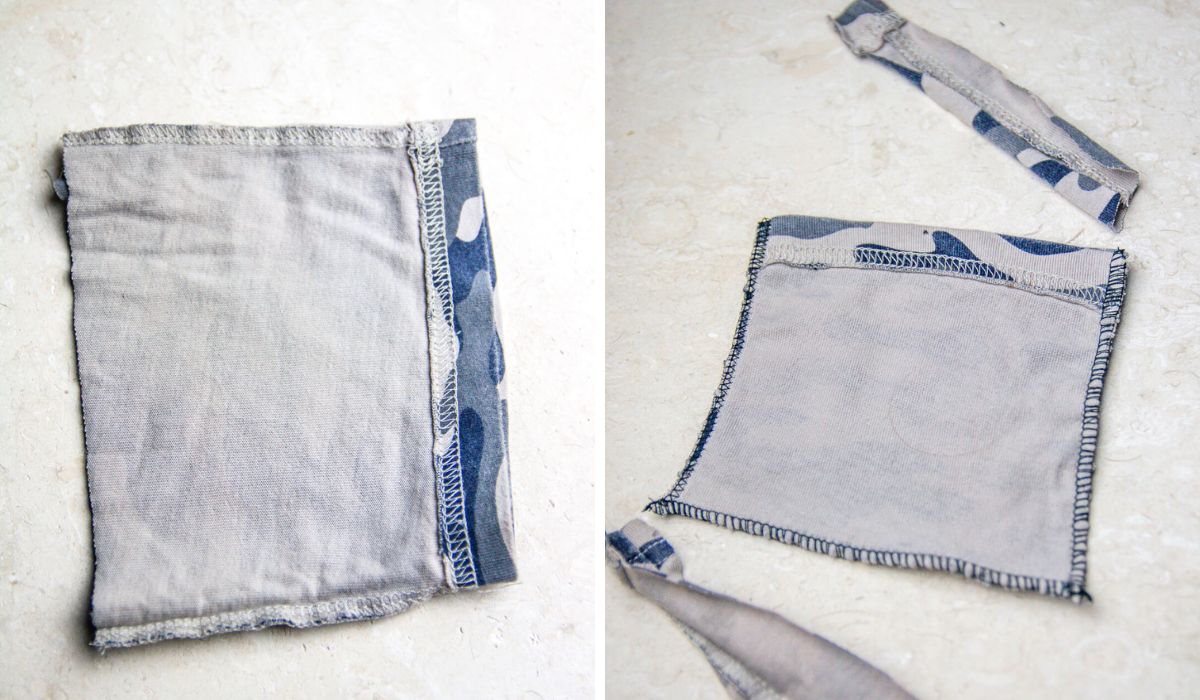
Once you’ve sewn the seams, turn the pouch right side out. You’re already finished with the sewing!
Add the drawstring
Make two small openings in the outer layer of the hem, one on either side of a side seam. Be careful not to cut through both layers of fabric.
Attach a safety pin to one end of your ribbon or cord and use it to guide the cord through the hem. Work your way around the entire opening until the cord comes back out beside where you started.
Tie the ends together, and your pouch is ready to use!
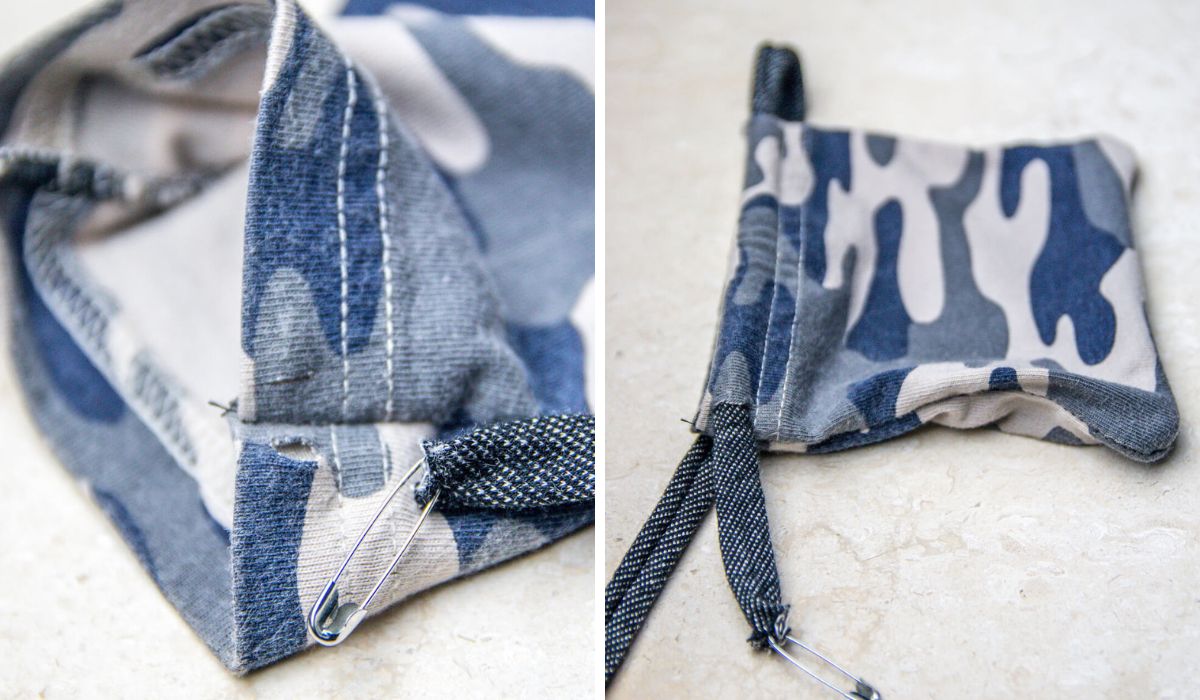
Make a double-drawstring pouch (optional)
For a pouch that closes when you pull from both sides, add a second drawstring.
Make another pair of small openings on the opposite side of the pouch. Thread a second cord all the way around the hem, starting and ending at those openings.
Tie the ends of each cord together. When you pull the two cords in opposite directions, the fabric gathers closed.
You can make these pouches in all sorts of sizes, depending on the sleeves you use. I’ve made quite a few from Eric’s old baby clothes!
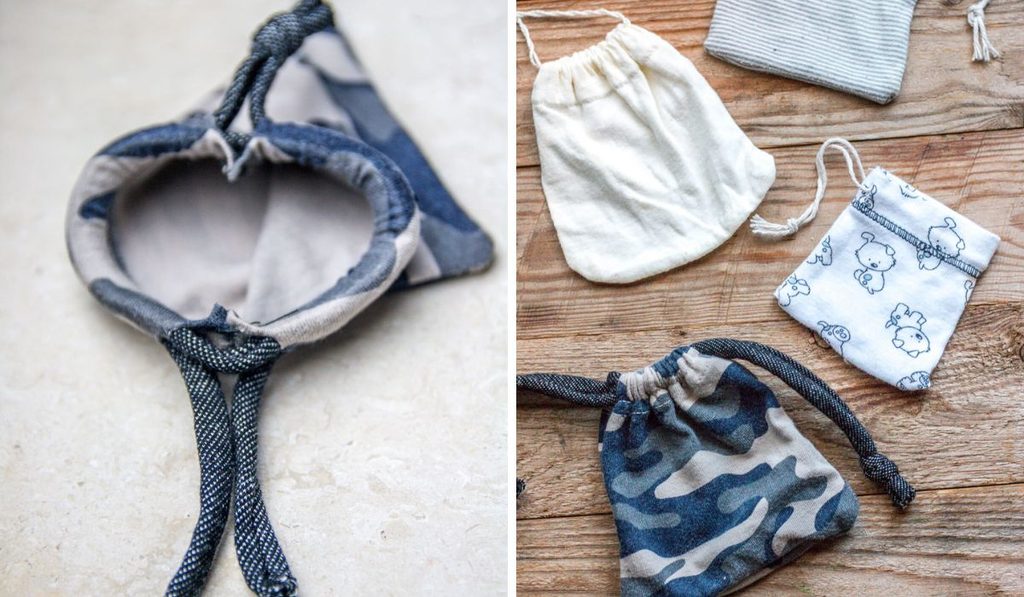
Watch how to make a drawstring pouch
Want to see how it works? Here’s a quick video showing how I turn an old T-shirt sleeve into a drawstring pouch.
This is actually one of the first videos I ever made for the blog. I filmed the whole thing with one hand while holding the camera with the other, so it’s a little rough around the edges. But it still shows the process!
Ways to use your homemade drawstring pouches
I’ve made quite a few of these over the years, especially from Eric’s old baby clothes. They’re a great way to give clothes that no longer fit a second life.
I originally used them to organize all the little things that seemed to accumulate around the house when Eric was younger: small toys, bouncy balls, playing cards, and party favors.
They’re also handy for organizing things when traveling or wrapping small homemade gifts.
One of my favorite uses is packaging homemade soaps. A little fabric pouch makes a cute gift bag, and the recipient can reuse it afterward.
You can also fill a small pouch with dried lavender to make a reusable sachet for drawers or closets. It’s a great alternative to sewing a separate sachet from scratch.
More projects using this technique
Once you’ve made a drawstring pouch, there are all sorts of ways to decorate it or adapt the technique for other projects.
I’ve used old T-shirt sleeves to make Christmas gift pouches, little bags for birthday party favors, and even reusable tea bags. You can also use the bottom of a T-shirt to make larger bags.
Seasonal gift bags
I’ve used this technique for several holiday projects, too. For Christmas, I decorated small gift pouches with snowflake stencils. For Halloween, I used the bottom of an old T-shirt to make a larger trick-or-treat bag that Eric helped decorate with homemade foam stamps.

Painted Snowflake Gift Pouches

DIY Trick-or-Treat Bag
Other ways to decorate your bags
I’ve experimented with several ways to decorate fabric bags over the years.
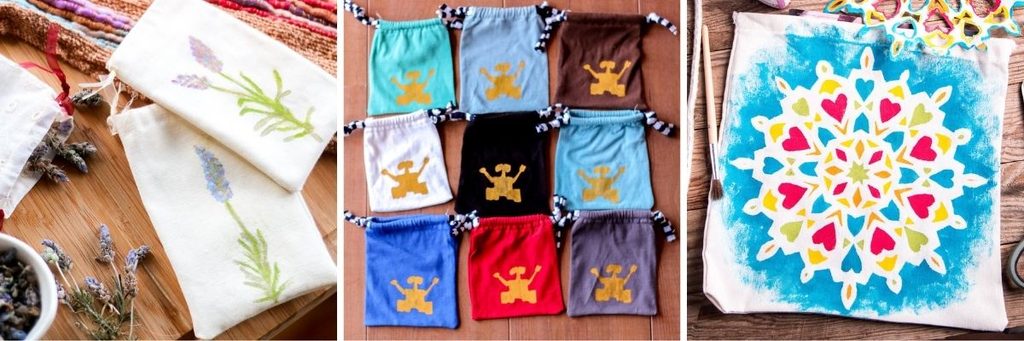
For my homemade lavender sachets, I transferred flower designs onto fabric using a hammer. I also made colorful WALL-E party favor bags for Eric’s birthday using a homemade silk-screening technique.
You can even paint mandala designs on fabric. That project uses a larger bag, but the same decorating technique could work on smaller pouches.
Other ways to reuse T-shirts
For smaller projects, you can use a similar technique to make reusable tea bags from old sleeves.
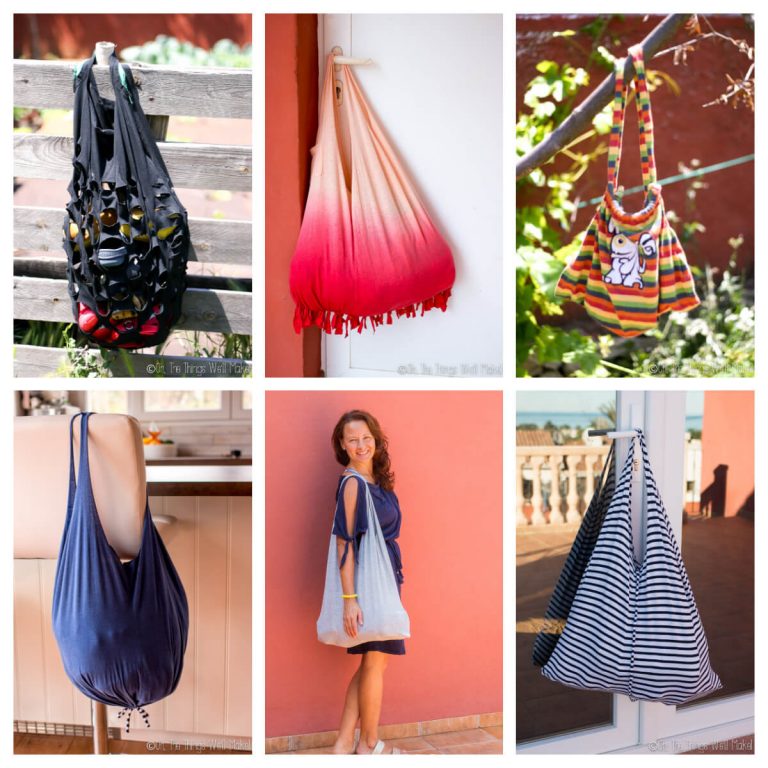
And if you’re looking for something bigger, I’ve also shared eight ways to make shopping bags from T-shirts. Some don’t even require sewing!

Easy Drawstring Pouches
Equipment
- Sewing machine, serger, or sewing needle
- scissors
- Safety pin
Materials
- T-shirt sleeve Cut from an old T-shirt
- Cord or ribbon, or fabric strips for the drawstrings
- Thread
Instructions
- Cut a sleeve off an old T-shirt and turn it inside out.
- Trim the sleeve to the desired shape and size, leaving a little extra fabric for the seams. Keep the original hem intact, as it will become the top of the pouch.
- If the sides are angled, sew along one or both sides to make the pouch more rectangular. If the sleeve is already fairly straight, you can skip this step.
- Sew across the bottom of the pouch to close it. You can use a regular straight stitch, a zigzag stitch, or a serger.
- Turn the pouch right side out.
- To make a single-drawstring pouch, cut two small openings in the outer layer of the hem, one on either side of a side seam. Be careful not to cut through both layers of fabric.
- Attach a safety pin to one end of your ribbon or cord. Use it to guide the cord all the way around the hem until it comes back out beside where you started.
- Tie the ends of the cord together to finish your pouch.
- For an optional double drawstring, make another pair of small openings on the opposite side of the pouch. Thread a second cord all the way around the hem, starting and ending at those openings.
- Tie the ends of the second cord together. Pull the cords from opposite sides to close the pouch.
Notes
Originally published on February 20, 2014. Updated on October 14, 2026, with clearer instructions, new photo collages, and additional ideas for using and decorating the pouches.





Nice! loved it.You Can also make smaller ones from pants.
Great idea!
Yes, I use sleeves of t-shirts for smaller pouches (baby sleeves make really tiny ones). I use large t-shirts for big pouches. 😉
Thank you for sharing!! Awesome, creative and simple. Looking forward to the flaxseed gel!!!…
Ironically, my daughter had to empty out her fry daddy yesterday n ask me where to dump her old oil.
I had her using an empty Tide pod container for her lint from dryer, cuz she was walking all the way to kitchen trash can to throw her lint away, so I had her sit container on shelf n laundry room. I just luv recycling. Anyways told her to pour oil n with lint, we probably could make firestarters with it.
And I found ur site!!!
Just awesome…
Thanks again!!!!
Haha-
Sorry to take so long to get back to you. I just got back from a needed vacation in which I didn’t have an internet connection.
I love your comment. As you can probably tell, I also love to recycle things. I have a really hard time throwing things away and am always looking for new uses for them first. 🙂
I actually forgot to bring the small container of flaxseed gel with me that I had made for my trip, and it drove me crazy that I wasn’t able to tame my hair. I almost caved and bought a hair product, but ended up just going with the natural look. Since my husband isn’t a very good photographer, there isn’t much evidence of it anyway. I guess every cloud has a silver lining. 😉
This is so clever!
I love your teabag idea! It could also be used to carry small snacks such as nuts.
Thank you so much for your comment, Aryane! That’s a great idea. If you only knew how many of these I have made over the years, and how many things they get used for! 😉
you could repurpose old child or adult size Tshirts, especially one that have printing or logos on them to be stuff bags for backpacks or luggage! Cut Tshirt just below sleeve level, sew the raw edge shut, and run cording through the bottom hem. Luggage organizers are expensive, and I seem to be TSA’s favorite traveler when it comes to baggage inspection; I can use the re-purposed shirts to pack undies, bras, hose, and even larger items in.
Great idea!
Haha- I always get stopped too, at least when I am with my husband and traveling in the US. He’s from Spain and, of course, questions the randomness of the searches. 🙂
I didn’t get stopped the time I travelled alone.