

Stamping Fabric: Make a Minion T-shirt
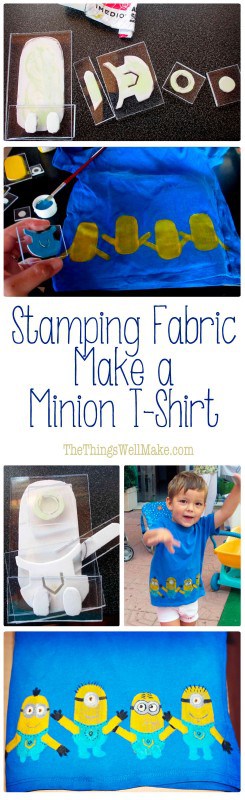
Make a minion t-shirt by stamping fabric with paints using easy homemade craft foam stamps. My son loves this technique because he can help make his own clothes.
Over the last few weeks, we have moved from watching the Fox and the Hound to watching Despicable Me every day. We had received the movie for free with our new BluRay DVD plaver, and I, sick of watching the Fox and the Hound, convinced him to watch Despicable Me instead.
At first he protested the change, as always, but once he started to watch it, he was hooked. Since then, he has been pleading to watch the movie every day. So, I figured it was about time for us to make him a new t-shirt, a minion t-shirt!
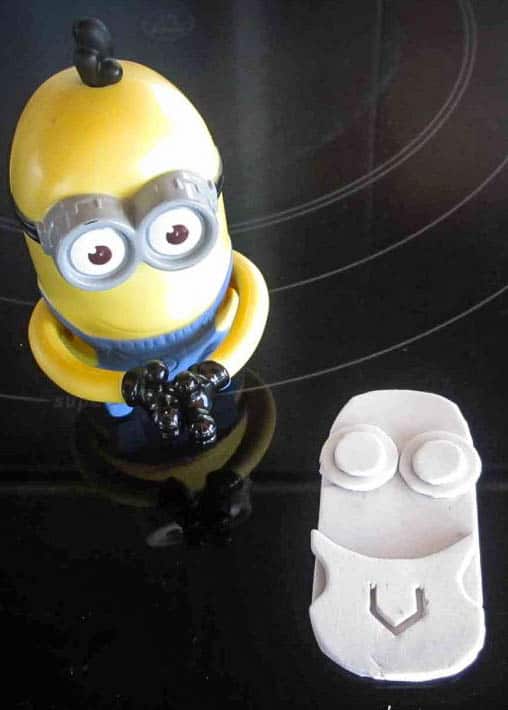
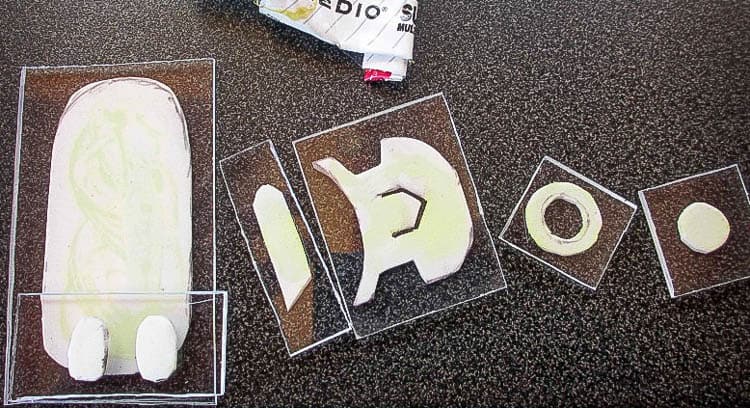
Having him help me stamp on the balloons on the last t-shirt had worked out really well, so I decided to try to do the same thing again. We basically used the same technique with craft foam. First I cut out the basic minion body shape. In the movie they are all different, albeit similar, shapes and sizes. I figured for the shirt it was OK for them all to be the same, though.

I cut out the body and used it as a guideline for drawing out some of the other pieces. I wanted to cut out the overalls next, so I traced around the body and marked off where I thought the top of the overalls should go. Using those marks, I drew them out and cut them out too.
I used a craft knife to cut out the outline of the pocket in front. Then I cut out two circles: one for the outline of the glasses and one for the eyes. You can see I cut out four at first (two of each), but decided I really only needed two because some minions have two eyes and others only have one. I preferred to just stamp on each eye rather than have a stamp for two eyed minions and another one for one eyed ones.
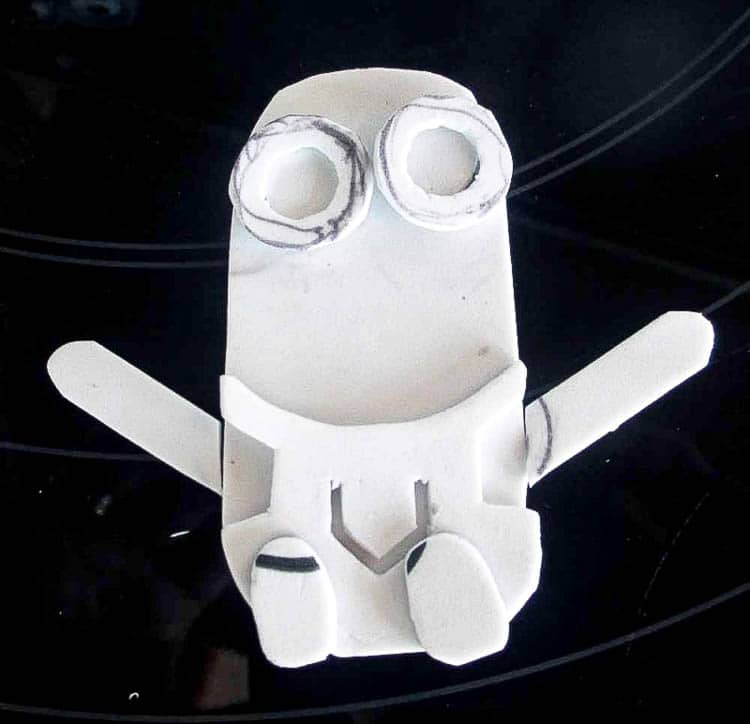
I used a craft knife to cut out the center of the larger circle, forming the rims of the glasses. I then cut out arms and feet. In the end, I only used one arm. I should have used both arms, though, each with the angle cut in a different direction. That would have made it easier to stamp on some arms facing up and others facing downwards on the different minions. I also squared up the armhole of the overalls.
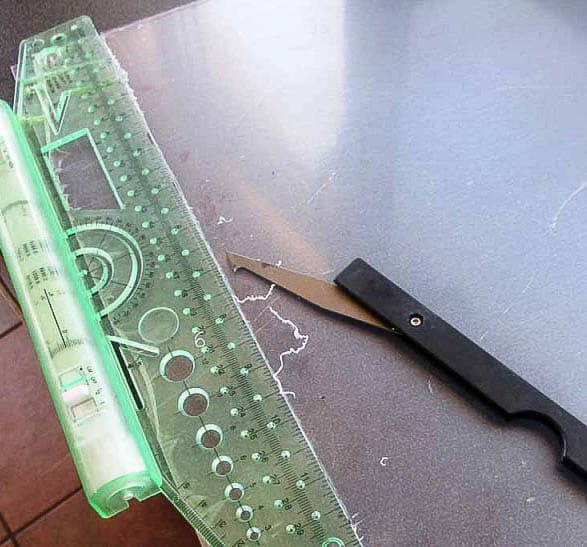
This time I used plexiglass to back my craft foam stamps, but I have also used the cover of broken cd cases successfully many-a-time. 🙂
I cut one strip wide enough for the pieces, and then divided it into enough pieces for each stamp. Using a transparent backing is important so that you can see exactly where to stamp each piece.
I then glued on the craft foam shapes with contact cement.
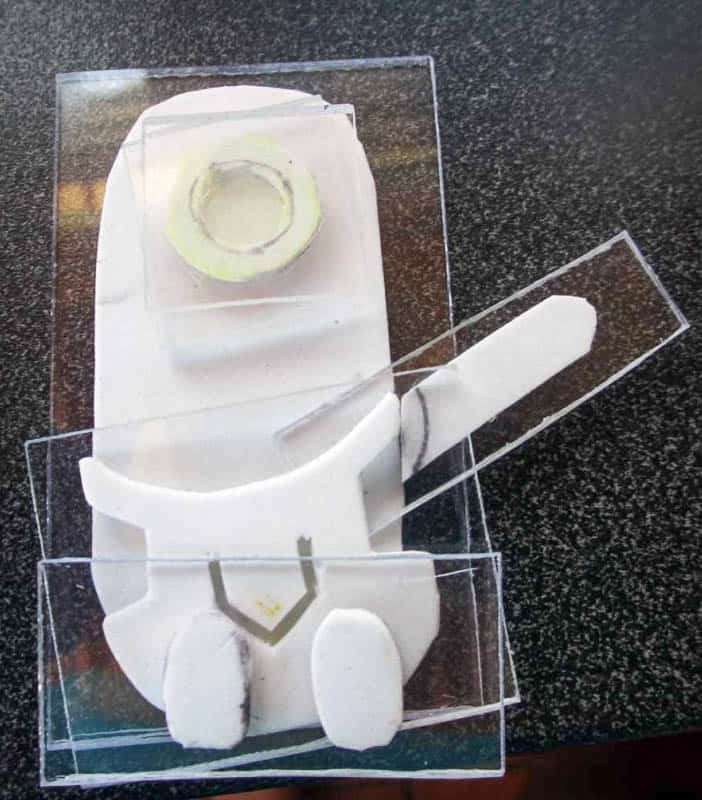
I then stacked them up to see how they all worked together. I was pretty happy with it, so it was time to paint!
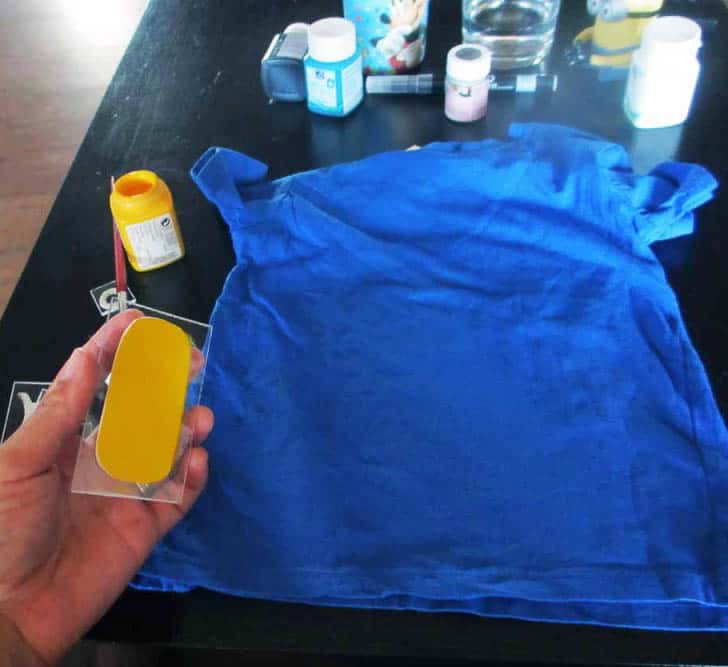
I find that the easiest way to apply the paint is to just apply it with a brush. It goes on quickly and easily. Once the paint is applied, move it into place and stamp!
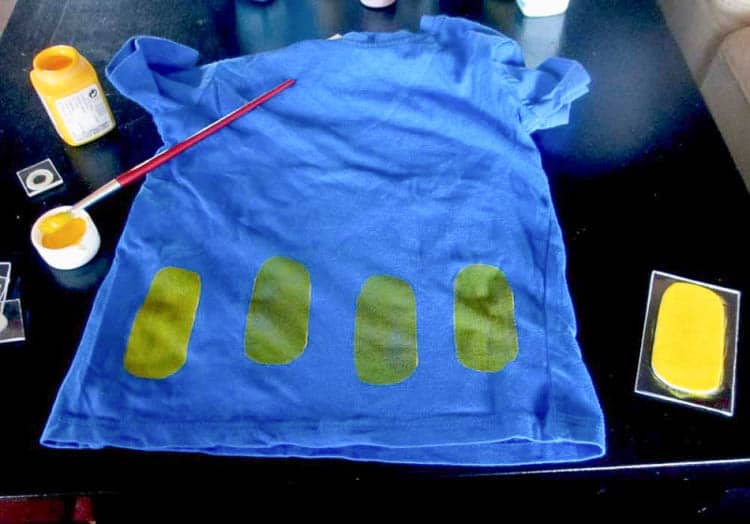
I found that the yellow wasn’t very bright on such a dark background T-shirt, so I stamped on another layer of paint. Having the transparent background on the stamps made it possible to stamp them in the right place easily.
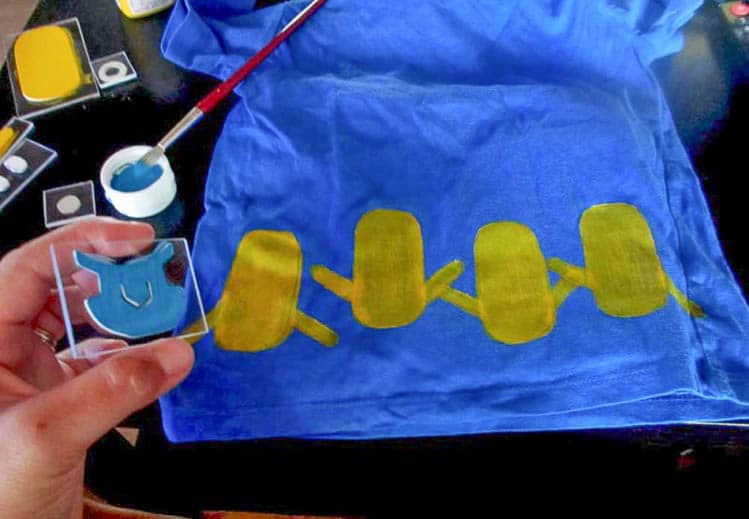
I finished stamping all of the yellow before moving onto the blue overalls. You can see that I decided to have some minions with their hands up and others with their hands down.
As I did with the yellow, I ended up stamping on another layer of blue.
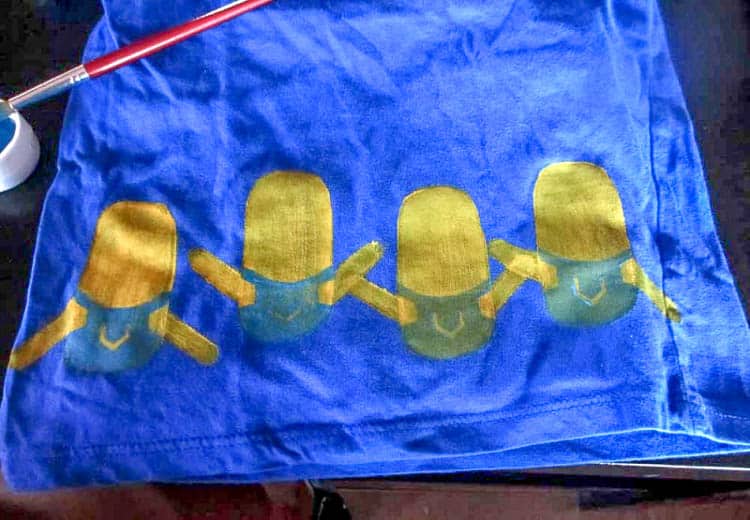
I stamped on some blue feet, and had two minions sitting and two standing. I directly painted on the legs of the two standing minions. You can now see why I prefer to stamp rather than paint with a paintbrush on T-shirts. The borders stay cleaner, and it goes so much quicker. Overall it just looks better.
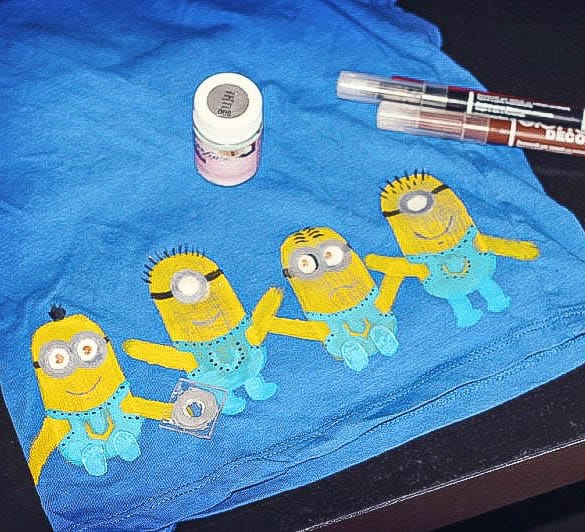
Continue stamping on the eyes (white) and the glasses (gray). I used a black fabric marker for adding on the black details. You can see that each minion has a different hairstyle. I also added gloves, eye color, the band that holds their glasses on, some buttons on their overalls, and Gru’s “G” on their pockets. I also went over the gray part of the glasses with some silver paint. I could have made them silver to begin with, but my silver paint is transparent and doesn’t show up well on its own.
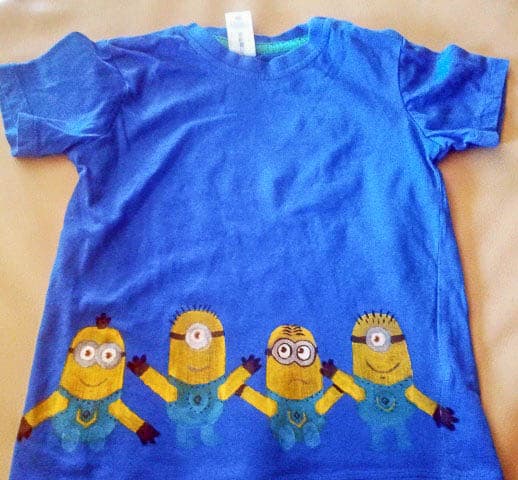
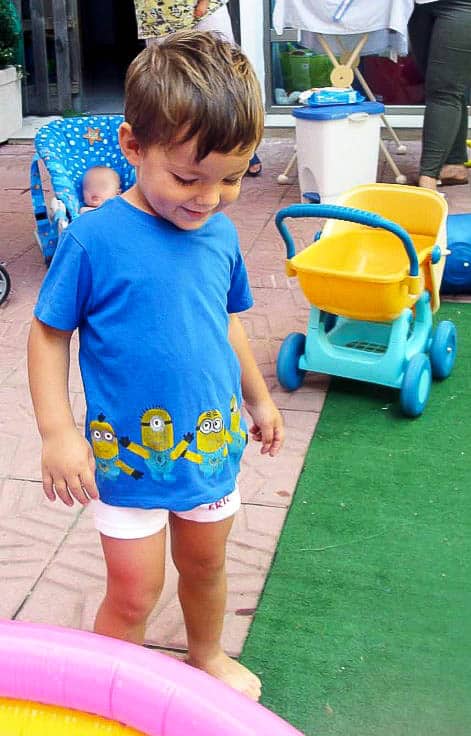
There you have it. My son liked the “silly minions,” and had to wear his shirt right away.
It may look complicated, but really was pretty quick and easy. Obviously the majority of the work is in the preparation, but even that is quicker than it looks.
Even if you don’t make a minion shirt yourself, hopefully this gives some good ideas. You could also stamp the minions onto something else like a notebook or something else, or stamp your own design onto your fabric or material of choice.
On the blog, you can see that we used the same technique for stamping our DIY trick-or-treat bag, too!
What will you use it for?


I LOVE this shirt idea so much better than the solid yellow t shirt minion shirt i constantly see floating around on pinterest! I am going to give it a try for my son, who is 3, and loves the minions. We are taking him to Universal Studios in a month and I think he will be wearing this shirt. Thank you for posting such wonderful info.
You’re welcome! It sounds like a fun trip. I would love to take my son there on my next trip to the US. Disney World is also on my to-do list. 😉
I hope the shirt works well for you. I’d love to see the final result!
What kind of pain did u use
Any fabric paint should work well. I actually have a collection of several different types of fabric paint, and I have been successful stamping fabric with all of them.
Some are runnier than others. If they are too runny, they may be hard to work with. If they are too thick, though, you may end up with a very thick layer of paint which, with some brands, may crack when washed. So, you may want to experiment with watering the thicker paints down.
I live in Spain, so telling you the brands that we have here isn’t going to be useful to you elsewhere. I have used Dylan fabric paints for t-shirts in the past and really liked them. The other paints that I more easily acquire here, though, wouldn’t be readily available elsewhere. I hope that helps!!