

Homemade Lavender Sachets
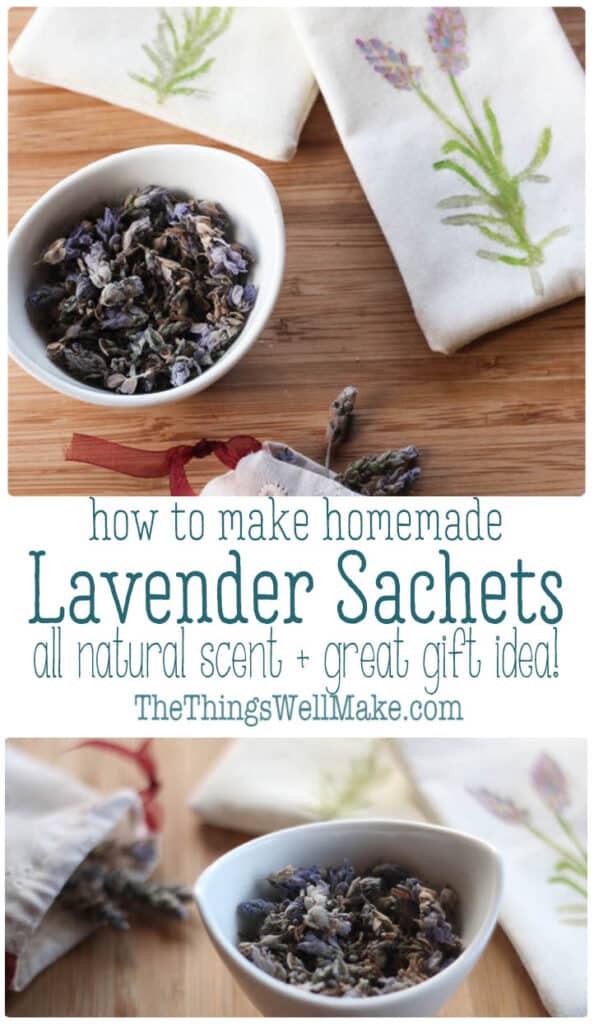
How to make homemade lavender sachets, decorated with lavender flowers, and great as gifts. They’re easy and perfect for non-artists because you decorate them by hammering flowers on your cloth.
Lavender is one of my favorite scents, especially lately, now that I have gotten rid of most of the artificial scents in my house.
Ever since my pregnancy, I stopped using perfumes and ditched a lot of the unnecessary products that I was using, like laundry softener. I’ll show you how I use lavender essential oils on some homemade wool balls in my dryer some other day, but for now, I’ll show you how you can make some great looking and smelling lavender sachets that are also perfect for giving away as gifts.
Even if you think you aren’t an artist and can’t paint, I’m here to share how you can make something really beautiful very easily! Plus, it’s a great way to get out any stress or aggression that you may have. 😉
Want to know how?
You smash plants on cloth!
Really!!
It’s usually referred to as hammered printing or leaf pounding, and basically, you take a leaf or flower and place it on a cloth or absorbent paper and smash away at it.
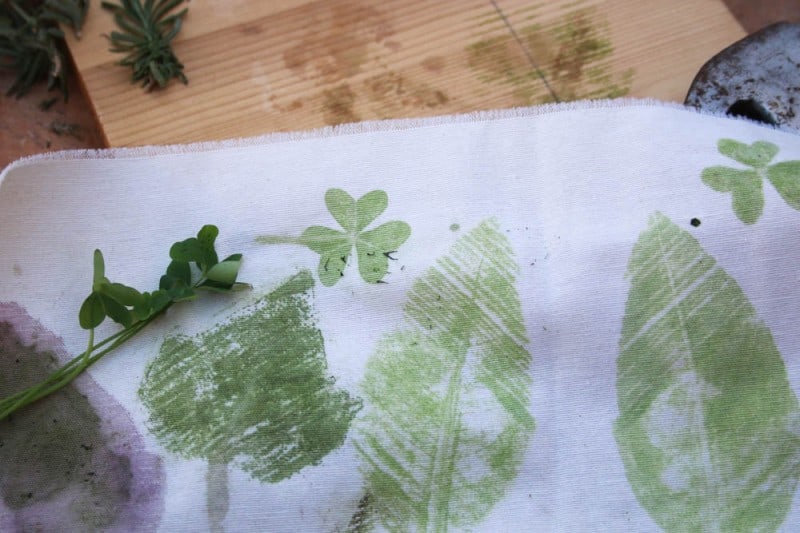
Some leaves make really beautiful designs, and I’ve been practicing and playing with the technique, and hope to share more crafts using it soon. For now, though, I’ll stick with using lavender for making lavender sachets.
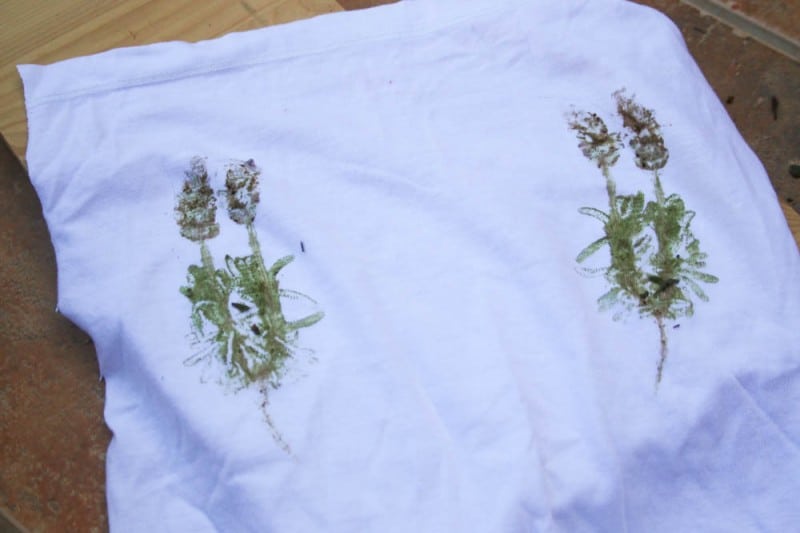
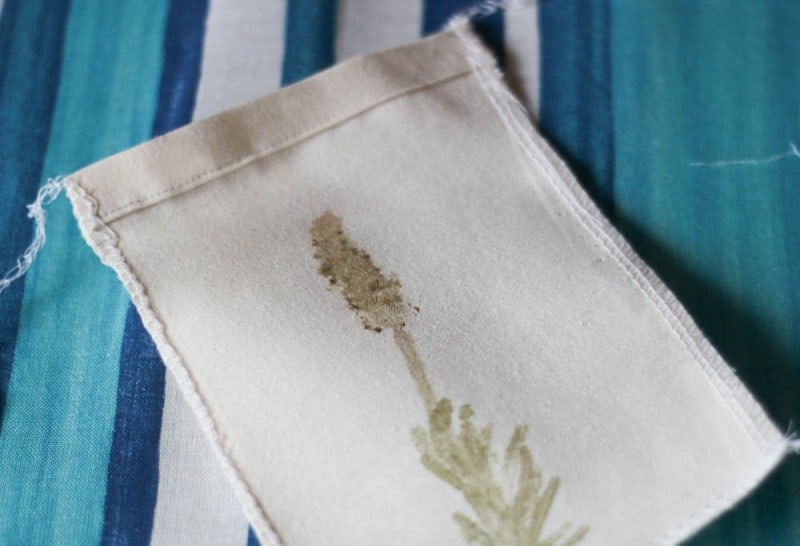
Some flowers leave their beautiful colors on the fabric, but, sadly, lavender turned a more brown color for me. I think it’s mostly due to the lavender flowers being surrounded by leaves and their stem, and the green and purple colors bleed together, forming a brown color.
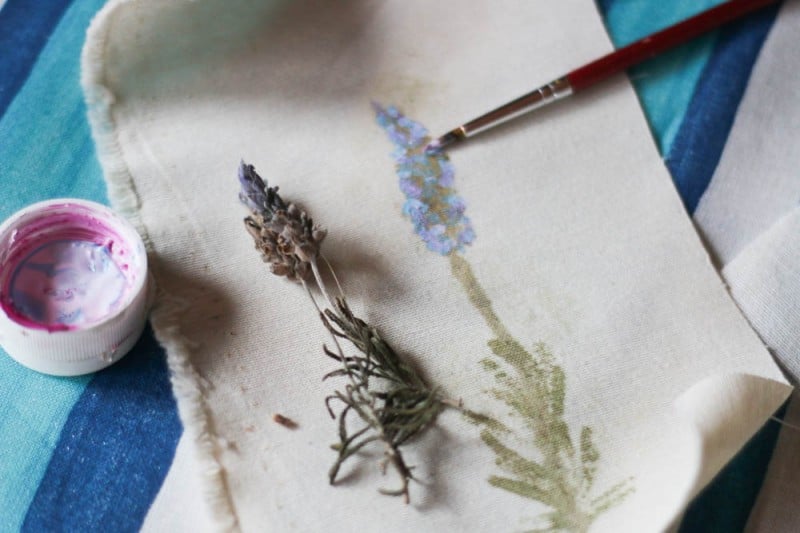
I find the prints beautiful in any case, but it’s very easy to fix them up by touching them up with a tiny bit of fabric paint. When smashing leaves, I think it’s prettier to just leave them alone, but I do like the way the lavender flowers look when you paint them their beautiful lavender color.
So, let’s make some homemade lavender sachets…
What you’ll need:
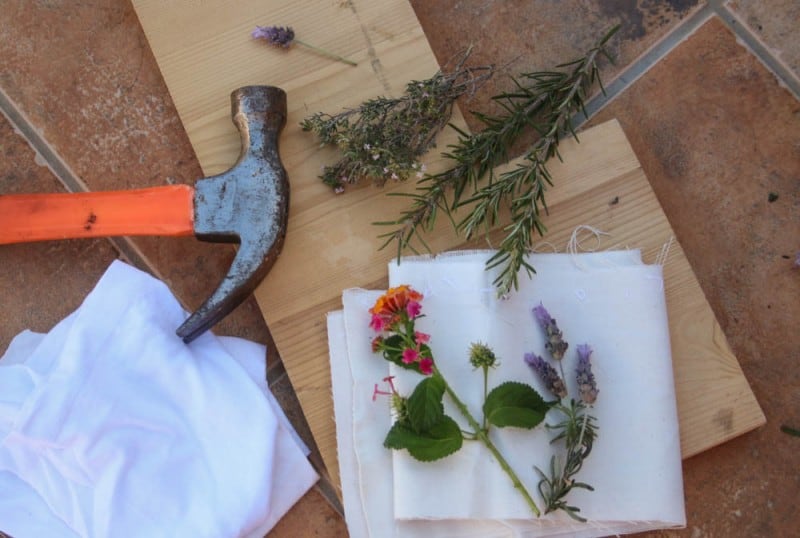
Get some fresh lavender flowers together, along with the cloth from which you want to make your sachets, a hammer, and a smooth surface that you can hammer on. I used a wooden board for my smooth surface, and found out the hard way that it wasn’t as smooth as I thought! You can see with my leaf experiments that the wood grain shows up in my leaf prints.
1. Lay your lavender flowers on your cloth over your smooth surface. You can layer another cloth over top if you’s like to experiment with printing on two cloths at a time. I tried using a muslin type cloth as well as a t-shirt sleeve so that I could make quick and easy sachets using my sleeve to bag sewing technique. Both fabrics worked well for this project.
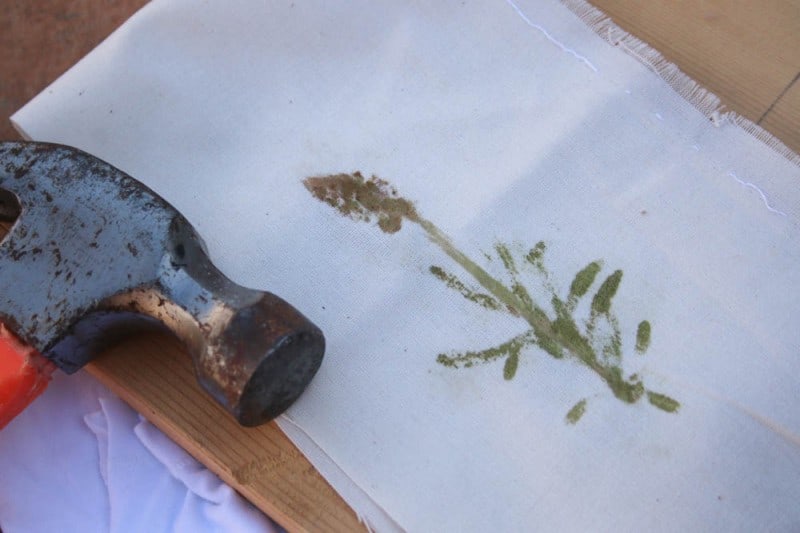
2. Start smashing the flowers and leaves against the fabric with your hammer. Try to cover the entire plant as evenly as possible.
3. Carefully peel the plant material away from your cloth.

4. You should have a beautiful print of a leaf or flower!
5. If you want to, you can touch up your flower with fabric paints. I dabbed on a bit of a mix of pinks and blues together to get a pretty lavender color.
6. Once painted, I set my design with an iron. I did that mostly to set the fabric paint, but I figured that would help set the printed flower too. I’m not sure it really needs it, though. I washed mine, and the print survived the washing with no problems.
Just think how hard it is to get grass stains out, right? 😉
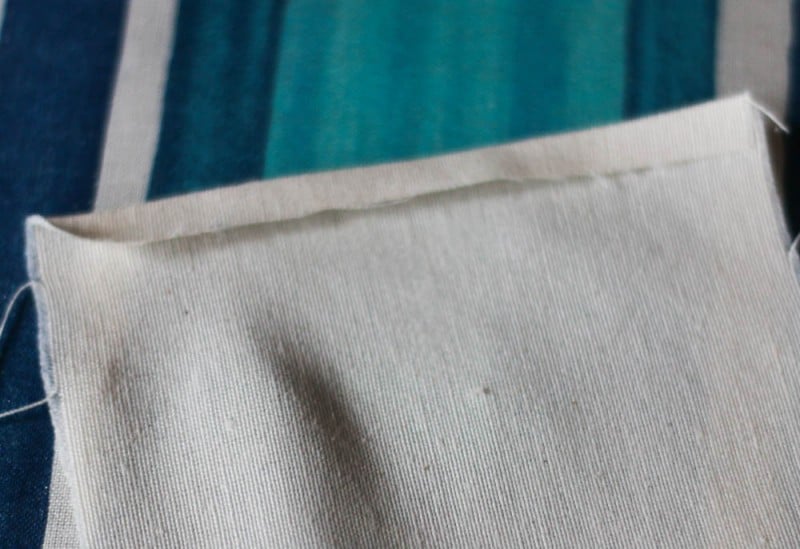
7. Now, it’s time to make your sachet. If you aren’t using the t-shirt sleeve to pouch design, here is another way to make a drawstring bag. I made a simple drawstring sachet so that I can refill the sachets later on if I want to. To begin the process, while I was setting my design with the hot iron, I also folded down the top edge of my cloth and ironed the fold. Then I repeated and folded it down and ironed it down again. This helps get your drawstring enclosure ready for sewing.
8. Sew along the bottom of the folded down cloth flaps, finishing up the drawstring enclosure.
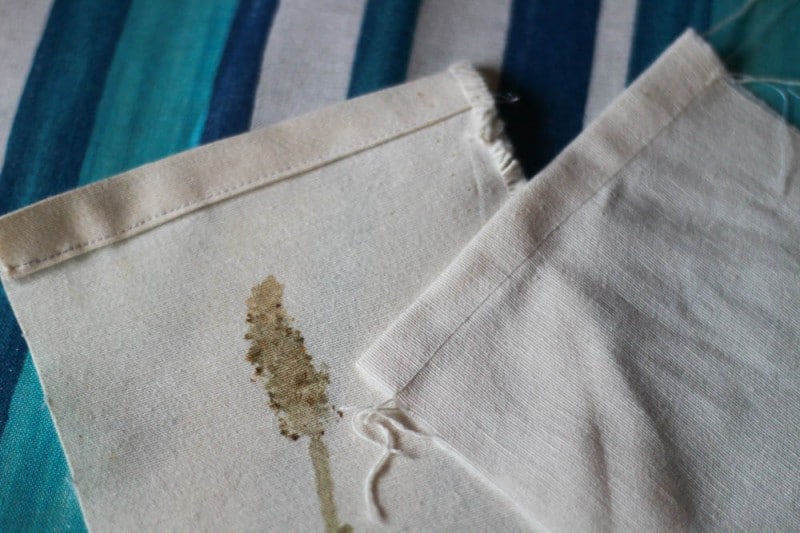
9. Now, find another similar sized cloth, and prepare it with a similar sized drawstring enclosure.
10. Place the two prepared cloths right side facing each other, lining up their drawstring enclosure area.
11. Sew down both sides and across the bottom.
12. Turn the pouches right side out.
13. Make tiny slits in the top layer of cloth in the drawstring enclosure area on either side of each seam. You’ll end up with 4 tiny slits.
14. Thread some string or ribbon through your drawstring enclosure, just like I did with the t-shirt pouches.
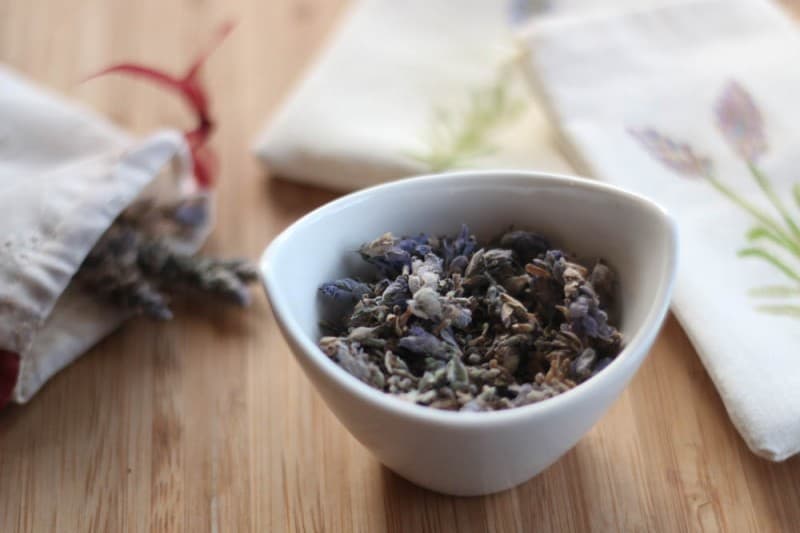
15. Fill your newly made sachets with dried lavender flowers, and you’re done!
For your lavender, you can either pick and dry your own, or you can easily buy lavender flowers online.
See, that wasn’t so bad!
Quick, easy, beautiful, and they smell wonderful!
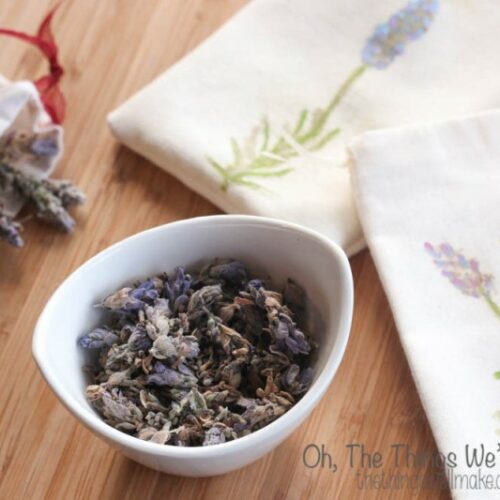
homemade lavender sachets
Equipment
- hammer
- wooden board
Materials
- flowers
- cloth
Instructions
Make the lavender print
- Get some fresh lavender flowers together, along with the cloth from which you want to make your sachets, a hammer, and a smooth surface that you can hammer on.
- Lay the lavender flowers on the cloth over the smooth surface. You can layer another cloth over top if you's like to experiment with printing on two cloths at a time.
- Start smashing the flowers and leaves against the fabric with your hammer. Try to cover the entire plant as evenly as possible.
- Carefully peel the plant material away from the cloth. You should have a beautiful print of a leaf or flower!
- If you want to, you can touch up your flower with fabric paints. I dabbed on a bit of a mix of pinks and blues together to get a pretty lavender color.
- Once painted, set the design with an iron. (That will set the fabric paint and also help set the printed flower.)
Make the sachet
- Make a simple drawstring bag by folding down the top edge of the cloth, where you want the drawstring enclosure to be. Iron the fold. Repeat the process by folding down the folded seam and ironing it down again. Make sure to fold it over by around a centimeter or more to have room for the drawstring.
- Sew along the bottom of the fold.
- Find a similar-sized cloth, and prepare it with a similar-sized drawstring enclosure.
- Place the two prepared cloths right side facing each other, lining up their drawstring enclosure area. Sew down both sides and across the bottom.
- Turn the pouches right side out.
- Make tiny slits in the top layer of cloth in the drawstring enclosure area on either side of each seam. You’ll end up with 4 tiny slits.
- Thread some string or ribbon through the drawstring enclosure.
- Fill your newly made sachets with dried lavender flowers.
Notes
- For your lavender, you can either pick and dry your own, or you can easily buy lavender flowers online.
- I used a wooden board for my smooth surface, and found out the hard way that it wasn’t as smooth as I thought! You can see with my leaf experiments that the wood grain shows up in my leaf prints.

I love these! They’re so pretty! Such a cute idea.