• Skip to main content
  • Skip to header left navigation
  • Skip to header right navigation
  • Skip to site footer
es_ES Español
  • Mail
  • Amazon
  • Facebook
  • Pinterest
  • Instagram
  • Twitter
  • YouTube
  • About
    • Meet Tracy!
    • Contact Me
    • Disclaimers & Disclosures
    • Terms and Conditions
    • Cookie Policy
    • Privacy Policy
  • Holidays
    • New Years Eve
    • Valentine’s Day
    • St. Patrick’s Day
    • Easter
    • Fourth of July
    • Halloween
    • Thanksgiving
    • Christmas
  • es_ES
Oh, The Things We'll Make!

Oh, The Things We'll Make!

Make it yourself so that you control the ingredients!

  • Recipes
    • Appetizers & Snacks
    • Soups & Salads
    • Breakfast
    • Lunch & Dinner
    • Desserts & Sweets
      • frozen treats
    • Breads & Wraps
    • MIY Pantry Basics
    • Condiments & Sauces
    • Beverages & Smoothies
    • Carnivore Diet
    • Story Archives
  • Make it Yourself
    • Arts & Crafts
    • Face & Body
      • Cleansers, Soaps, & Gels
      • Deodorants
      • Hair
      • Skin Care
      • Oral Care
      • Baby & Toddler Care
    • Home & Garden
      • Cleaning & Laundry
      • Garden & Hens
    • Soap Making
    • Upcycling
  • About
    • Meet Tracy!
      • More About Me
    • Contact Me
    • Disclaimers & Disclosures
    • Cookie Policy
    • Privacy Policy
  • Recipes
    • Appetizers & Snacks
    • Soups & Salads
    • Beverages & Smoothies
    • Breakfast
    • Lunch & Dinner
    • Desserts & Sweets
      • frozen treats
    • Breads & Wraps
    • Condiments & Sauces
    • MIY Pantry Basics
    • Carnivore Diet
    • Story Archives
  • Make it Yourself
    • Arts & Crafts
    • Natural Face & Body
      • Cleansers, Soaps, & Gels
      • Natural Skin Care
      • Natural Hair care
      • Oral Care
      • Deodorants
      • Baby & Toddler Care
    • Soap Making
    • Home & Garden
      • Cleaning & Laundry
      • Garden & Hens
    • Photography
    • Upcycling
  • Holidays
    • New Years Eve
    • Valentine’s Day
    • St. Patrick’s Day
    • Easter
    • Fourth of July
    • Halloween
    • Thanksgiving
    • Christmas
es_ES Español
A stack of homemade marble photo coasters wrapped with organza ribbons for gifting placed beside a cup of coffee that's on top of a homemade marble photo coaster.

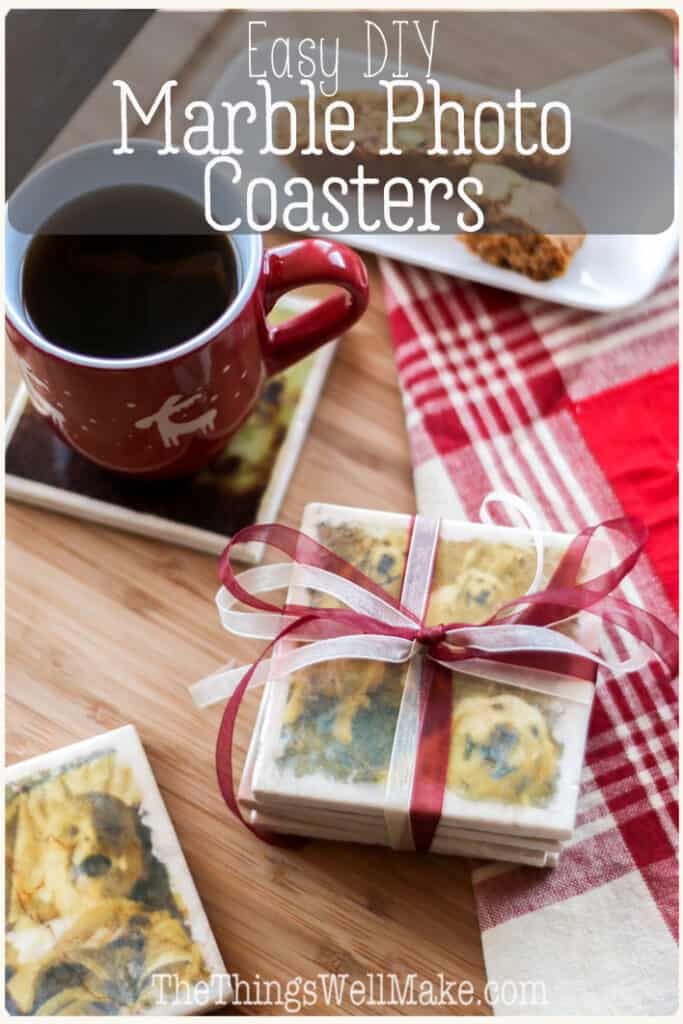
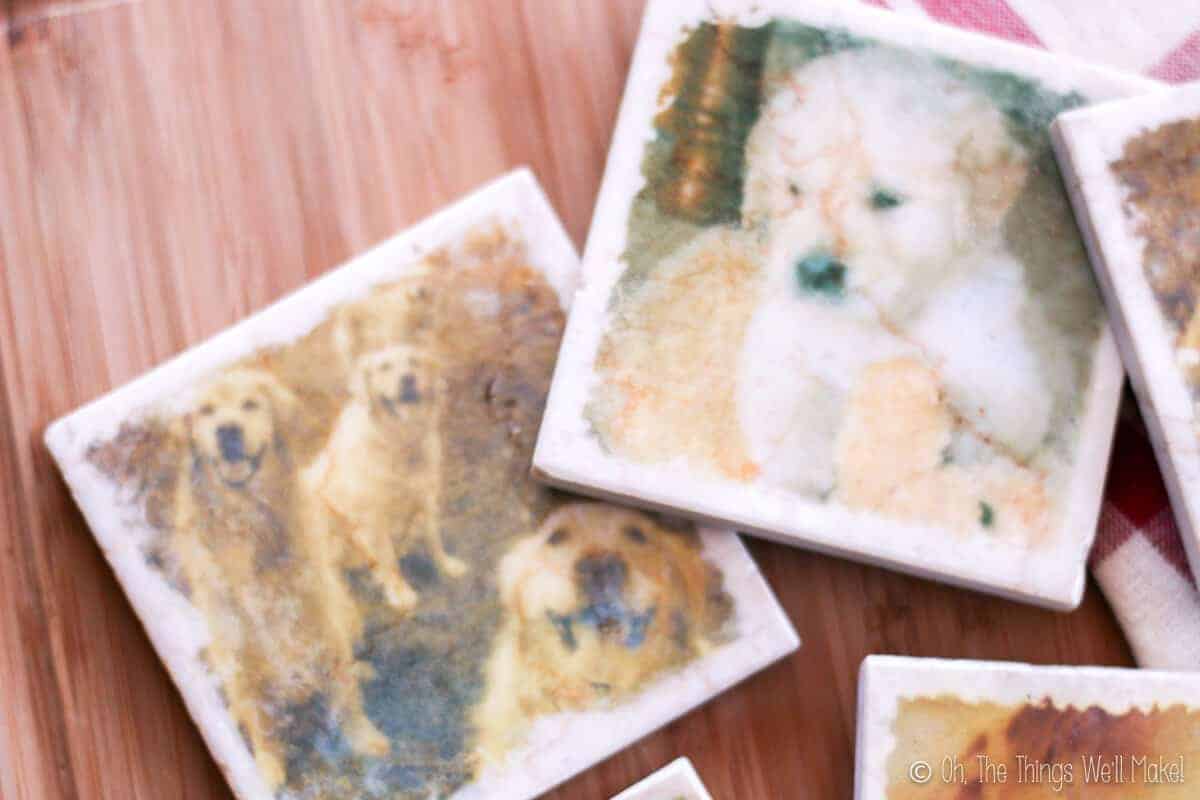
DIY Marble Photo Coasters

Last Modified: June 5, 2020 // by Tracy Ariza, DDS // November 10, 2014 I may receive a commission if you purchase through links in this post. Learn more here.

es_ES Español

Learn how to make DIY marble photo coasters for yourself, or as a personalized, homemade Christmas present. Easy and fun! #thethingswellmake #coasters #photography #diygift #giftidea #easygiftideas

Several years ago, before my son was born, I worked for a few hours each weekday at a friend’s nursery school to help them out at the start of the school year when things were overwhelming. Working at a nursery school requires a lot of patience. I often wonder how they all keep up their good spirits and do such a wonderful job day after day, year after year. While I don’t work there anymore, I do occasionally stop by, and I have maintained my friendships there.

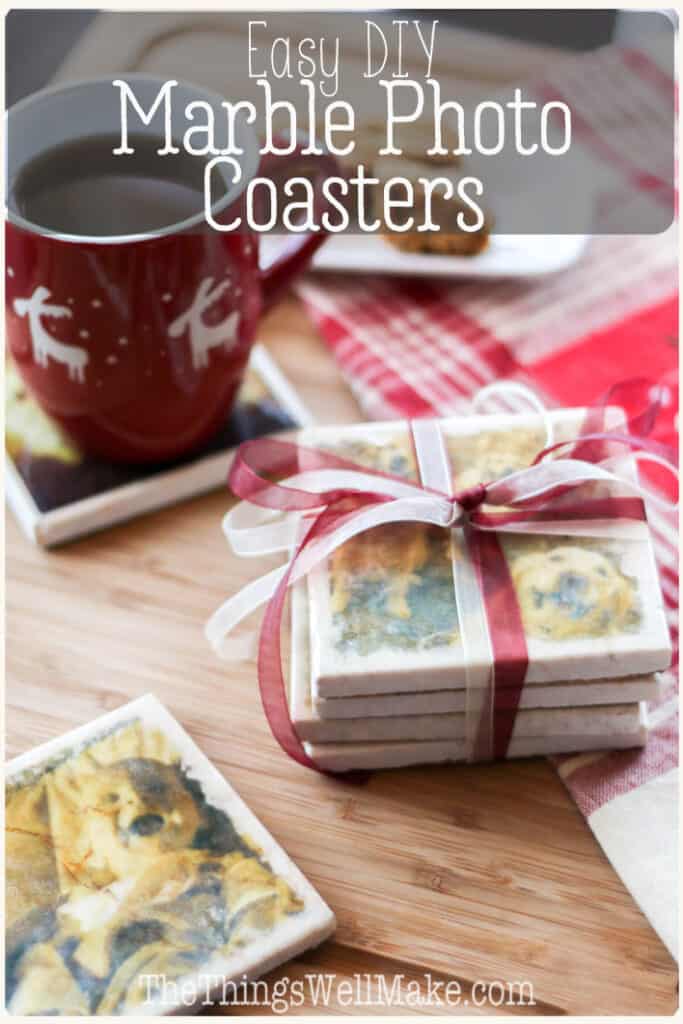
At Christmas time, the girls set up a secret Santa type gift exchange, and I ended up choosing my friend’s name from the pile. She said that she wanted a set of coasters, and I knew that that was a prefect DIY gift in the making. There was no way I was going to go out and buy her a set. I was going to make them, no matter how difficult they ended up being.

Overhead view of 5 homemade marble photo coasters.
Pin this for later!

I had just recently started using Pinterest at the time, and immediately went searching for ideas on how to make her some photo coasters. There were a lot of tutorials for adding photos to tiles, converting them into coasters, and I immediately went shopping in search of some small, coaster type tiles.

I found some beautiful, natural marble tiles that I knew would be perfect for coasters, but I didn’t want to use the traditional methods of decoupage on the marble because I didn’t want to cover up the beautiful veining. I wanted to use a technique that would let it show through.

After a bit of searching, I found a technique that seemed like it would be perfect. It consisted in printing the photo onto tissue paper, and then using midge lodge to decoupage it onto the tile. Being a thin paper, it becomes translucent when transferred to the tile.

I somewhat successfully was able to use the technique, but it was a bit hit or miss.

Overhead view of 3 homemade marble photo coasters.
3 coasters made with the tissue paper method

First of all, Modge Podge isn’t available here in Spain, so I had to use other materials instead. I tried a couple of different glues and varnishes. The main trouble I had was painting over the tissue paper without blurring the photo with the moisture of the glue or varnish. For the most part, the glue didn’t ruin the photo, but I had to work quickly because the image would slightly bleed, resulting in a slightly blurry photo.

Around the time I had been making coasters, I had also been using transfer paper for t-shirts. It occurred to me that maybe they would also transfer to other materials, so I decided that I would give them a try on my tiles.

T-shirt transfers come in two main types, opaque transfers for dark fabric and translucent transfers for light fabrics. I, of course, chose the latter for this project because I wanted the veining of the marble to show through, but I suspect that the opaque transfers would also work well for this type of project if you prefer an opaque look. The nice thing about transfer papers is that they are waterproof, unlike the tissue paper, so you end up with a clear, crisp transferred image.

Overhead view of 2 homemade marble photo coasters
Coasters made using t-shirt transfers

With that long introduction, here is how I easily made my marble photo coasters, after quite a bit of trial and error.

1. Clean off your tiles as best you can. Mine were glued to a netting to make tiling large areas easier. For making coasters, though, it made things much more difficult. The most difficult part of the project for me was trying to scrape off all of the glue from the back of the tiles.

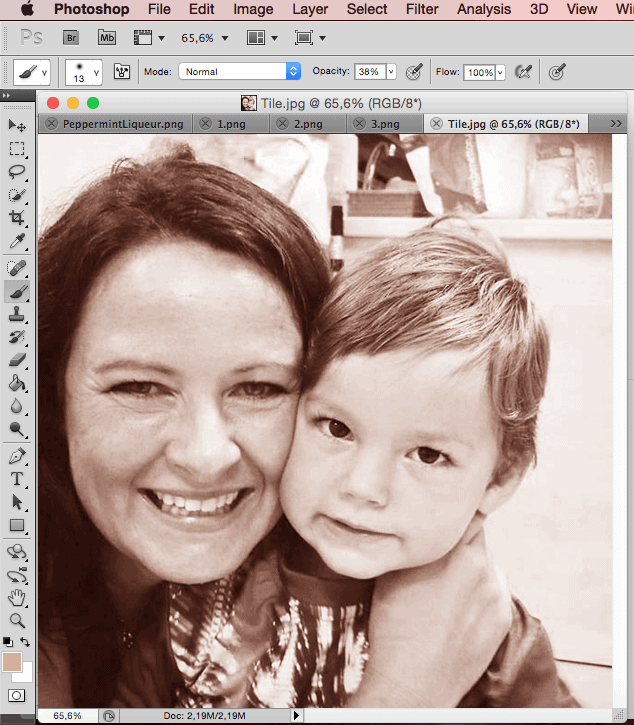
2. Measure your tiles, and print out photos at the desired size onto the transfer paper. When using the transfers for light colored fabrics, print your photo out backwords so that it will show up the right way on the tiles. If you are using opaque transfers for dark colored fabrics, you usually don’t need to reverse the transfer because they are transferred using a different method. Follow the instructions on your transfers when in doubt.

Screenshot of a photo being edited in Photoshop

3. Preheat your iron to a high heat setting. Follow the temperature recommendations for your particular iron if they are included in the directions.

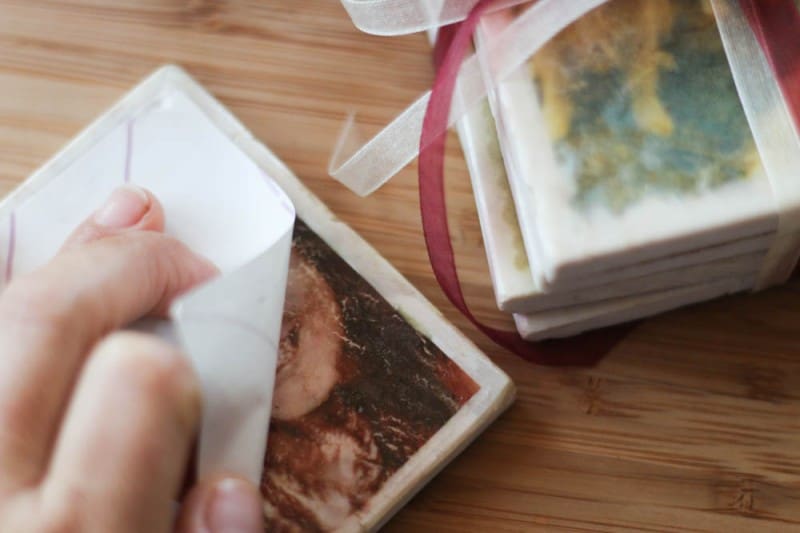
4. Cut out your t-shirt transfers and, when using the light colored transfers, flip them onto your tiles with the photo part facing the tiles.

An iron, a marble tile, and a picture on a t-shirt transfer

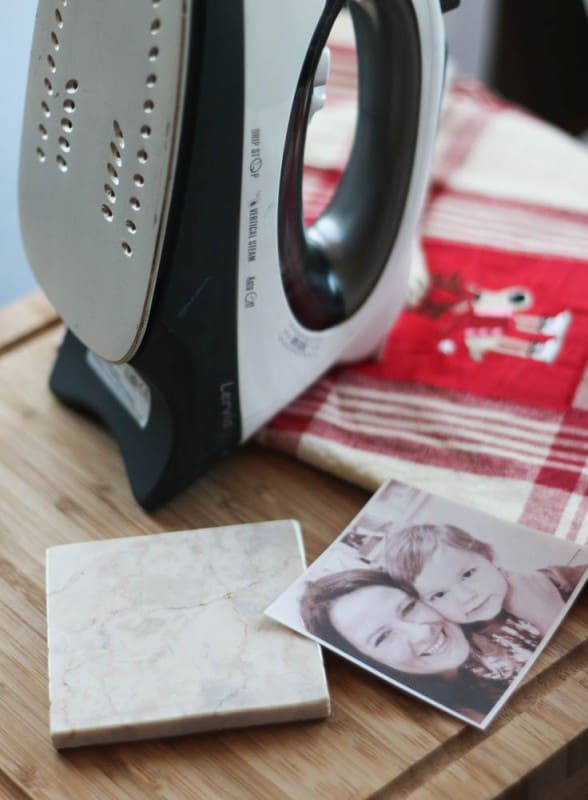
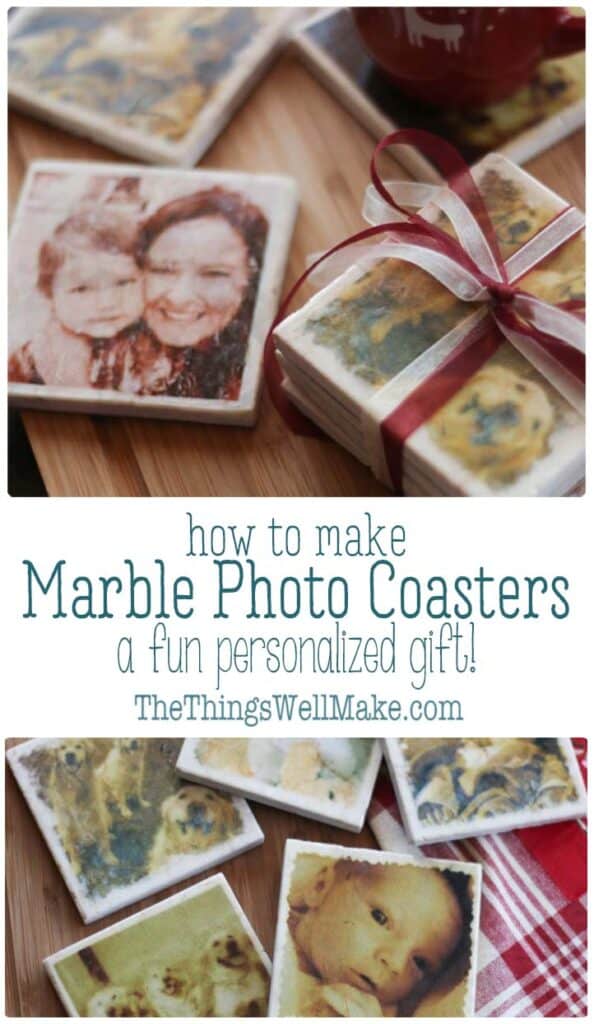
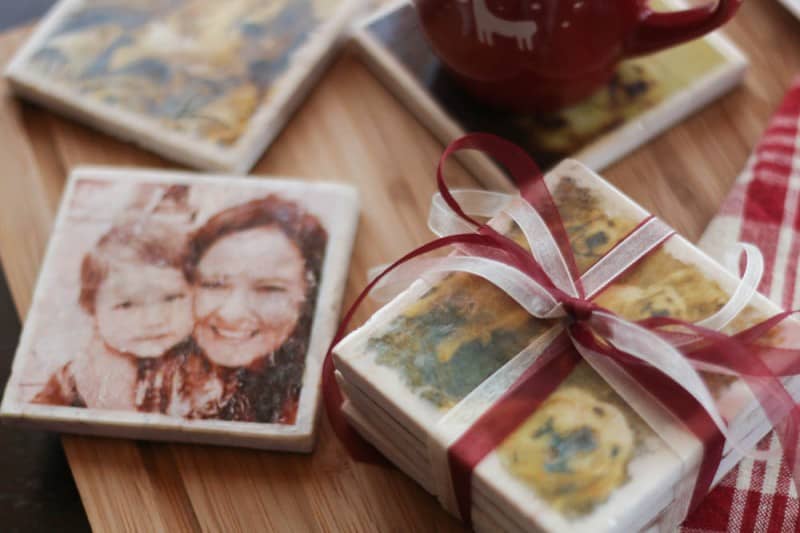
5. Press your iron over the tiles and transfers. Use pressure over the transfers, keeping the iron in place for about a minute. You will have to move the iron a little bit to make sure all parts of the photo have transferred to the tile, but it’s best to wait until the photo is mostly fused to the tile. In the photo of my son and me, I moved the iron too soon, and it smeared the photo a little bit in certain areas.
If the transfer doesn’t appear to have fused to the tile yet, keep pressing for a little while longer.

A t-shirt transfer ironed onto a marble tile (backing paper side up)

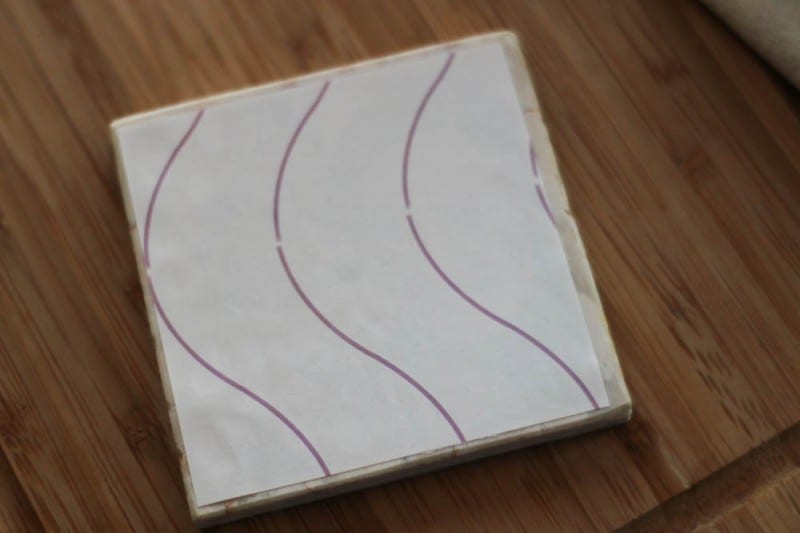
6. Let the tile with the transfer cool (It may take awhile), and check to see how well it has transferred by lifting up a corner. Press it some more if needed. If it appears to have transferred well, peel off the entire backing.

Peeling off the backing paper of a t-shirt transfer on a marble tile

7. Because of the permanent, waterproof nature of the transfer papers, you can use your coasters immediately. That said, I chose to seal mine with a coat or two of varnish just to be safe.

8. To keep your coasters from scratching your tables, glue something like felt, craft foam, or cork to the back of them. I found a roll of thin cork at my local home improvement store, and I thought I would like the final look of the cork the most, so I used that for the backing on my coasters.

A stack on homemade marble coasters tied with a ribbon, surrounded by other homemade marble coasters

Tips:
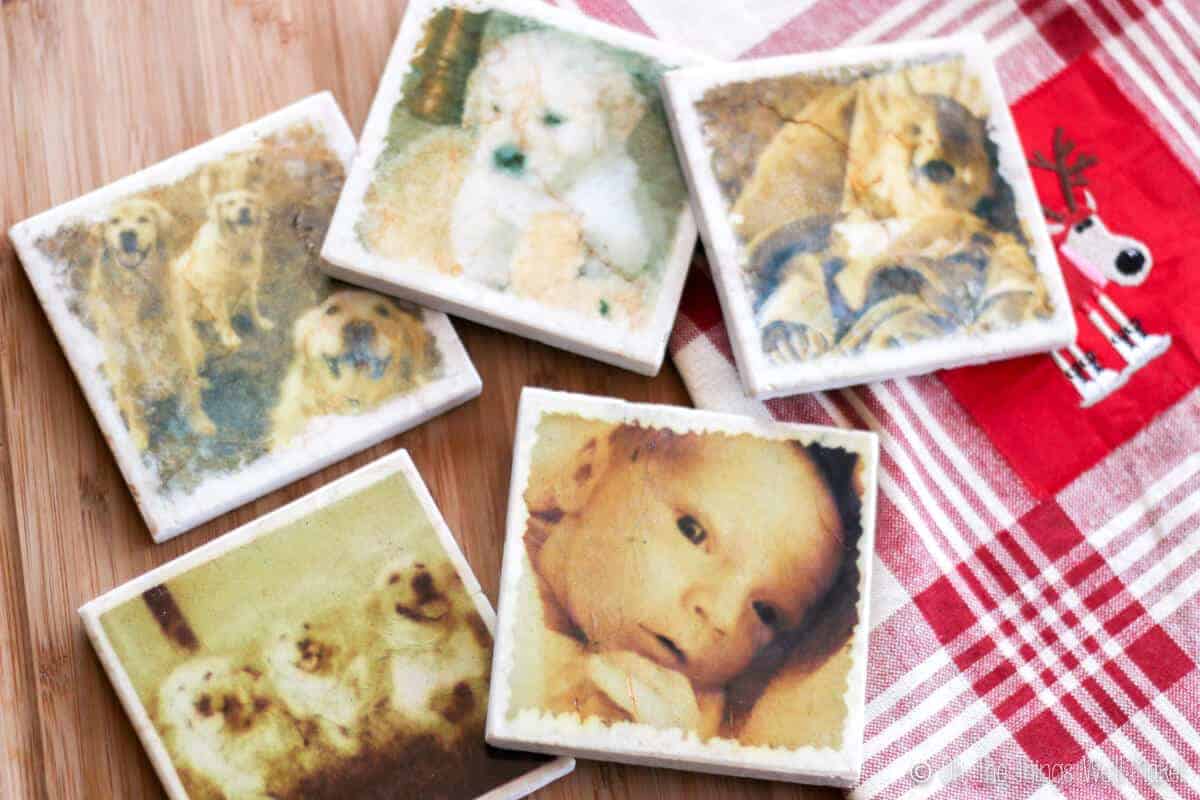
I chose to edit my photos to a sepia tone so that it would better fit the tone of my marble tiles, but I did try one in color, and it looked pretty good too.

To make my tiles look aged, I tore the edges to give them a tattered edge. I also experimented with not completely transferring them in some areas.

When choosing a varnish for your tiles, look for a transparent varnish that is said to be waterproof.

I had better results with one brand t-shirt transfer than I did with another. So, if you are having problems with it, perhaps try a different brand transfer.

Category: Arts & Crafts, Christmas, Make it Yourself

About Tracy Ariza, DDS

Tracy Ariza, B.A., D.D.S., left dentistry and the United States to found Oh, The Things We’ll Make!, writing to you from the Spanish Riviera. She loves making things herself in order to keep control of what goes in them. While far from perfect, she strives each day to live a healthier, more sustainable lifestyle.

Previous Post:A clear glass full of pumpkin pie yogurt parfait showing off the layers of yogurt, pumpkin pie, and nuts.Pumpkin Pie Yogurt Parfait: Layered Pumpkin Dessert or Breakfast
Next Post:Homemade Lavender SachetsA cup of lavender next to two homemade cream colored lavender sachets with lavender print on them.

Reader Interactions

Comments

  1. Rebecca Newman

    November 7, 2019 at 3:47 PM

    Hi – I love these! Where did you find the marble tiles?

    Reply
    • Tracy Ariza

      November 8, 2019 at 1:42 PM

      Hi Rebecca,
      Thank you!
      I bought them at a local home improvement store here in Spain. I’d think that larger home improvement type stores should have something like this.
      Mine came as larger squares of 9 tiles stuck together by a mesh on the bottom.
      The hardest part of the project for me was getting the mesh off the bottom of the tiles so that I could smoothly adhere the cork to the bottom. ?

      Reply
  2. Emily @ Recipes to Nourish

    November 11, 2014 at 8:30 PM

    These are so cute! What a great idea. Thanks for sharing. Pinned it.

    Reply

Leave a Reply Cancel reply

Your email address will not be published. Required fields are marked *

Recipe Rating


Sidebar

Search

  • Email
  • Facebook
  • Instagram
  • Pinterest
  • Twitter
  • YouTube

Hello, I’m Tracy!

I love making my own natural products like soaps and lotions and my own pantry items like yogurt and salad dressings.
Why do I do it? Sometimes to save money, sometimes because it's healthier, but I always love having control of the ingredients!​
Oh, the things we'll make!...

More about Tracy

I am a participant in the Amazon Services LLC Associates Program, an affiliate advertising program designed to provide a means for us to earn fees by linking to Amazon.com and affiliated sites.

Featured on Buzzfeed, Lifehacker, Fitness, Shape, Country Living, Healthline, Redbook, Redfin

Closeup of 4 bars of homemade soap. Two of them have been wrapped in brown paper and wrapped with ribbons. One soap is wrapped with red ribbon and the other with white ribbon.

Making an Easy, Basic Beginner Soap, and Then Making it Fun!!

Homemade prawn crackers on a plate in front of uncooked homemade prawn crackers and a roll of prawn crackers dough.

Prawn Crackers from Scratch

Impress your friends and save money by making your own soy sauce from scratch. Today we'll learn how to make a homemade shoyu, a fermented Japanese soy sauce made from soybeans and wheat berries. #shoyu #soysauce

How to Make Soy Sauce (Homemade Shoyu)

Two bottles of a homemade conditioner next to a wooden comb and a washcloth.

Easy DIY Hair Conditioner for Natural Hair

A small glass jar filled with an emulsified sugar scrub with a wooden spoon in it.

Easy Emulsified Sugar Scrub

Over head view of a spoon full of tomato paste over a jar full of it. A couple of fresh tomatoes lay next to the jar.

Easy Homemade Tomato Paste Recipe

Featured on Buzzfeed, Lifehacker, Fitness, Shape, Country Living, Healthline, Redbook, Redfin

Oh the things we'll make.

Copyright © 2025 Tracy Ariza · Disclaimers and Disclosures · Privacy Policy · Cookie Policy

We use cookies to ensure that we give you the best experience on our website. If you continue to use this site we will assume that you are happy with it.Ok