

Christmas Card Photo Ideas
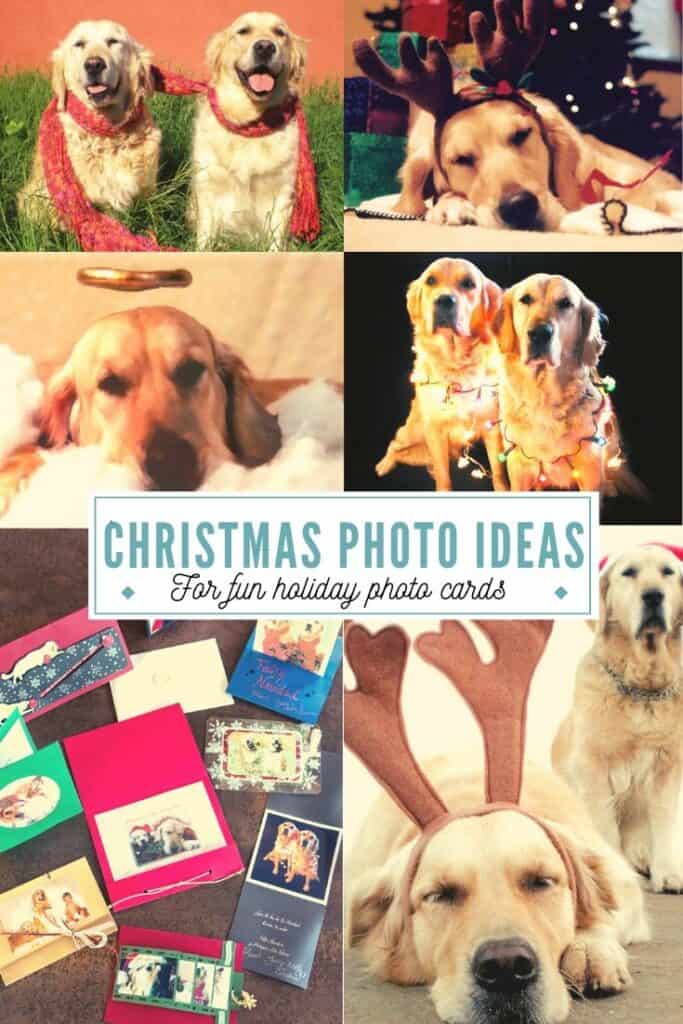
Send personalized Christmas cards with fun photos using these handmade and printed card ideas. Included are ideas for taking Christmas photos with dogs and young children as well as ideas for how to make the cards themselves.
I used to love to make handmade cards. When the new millennium rolled in, I began a tradition of sending out handmade Christmas cards each year. Rather than stamp or paint them, though, I added photos to personalize them. With a great photo, even the simplest of cards becomes a memorable keepsake.
Choosing your models
When I first started making photo cards, we didn’t have any kids yet. My husband wasn’t fond of the idea of taking silly pictures of us either. So, those first years, I decided to use our golden retriever, Molly, as my model. Later, when we adopted another golden retriever, Sheena, I had two beautiful models to work with.
Pets make wonderfully cute models for Christmas card photos (as do young children). If you catch them when they are sleeping, the photoshoots are much easier and very peaceful looking.
Truth be told, though, both of my golden retrievers were wonderfully patient and obedient models. They would pose and stay in place, allowing me to get the perfect shot. Things have gotten much trickier with our new dog, Kahlúa, a Bernese mountain dog.
If you have young kids, they usually love to get involved. They can either help you set up the photo, or can get dressed up to be one of the models. They can later help embellish the card with paint or stickers.
Christmas card photo ideas
The Santa Claus hat
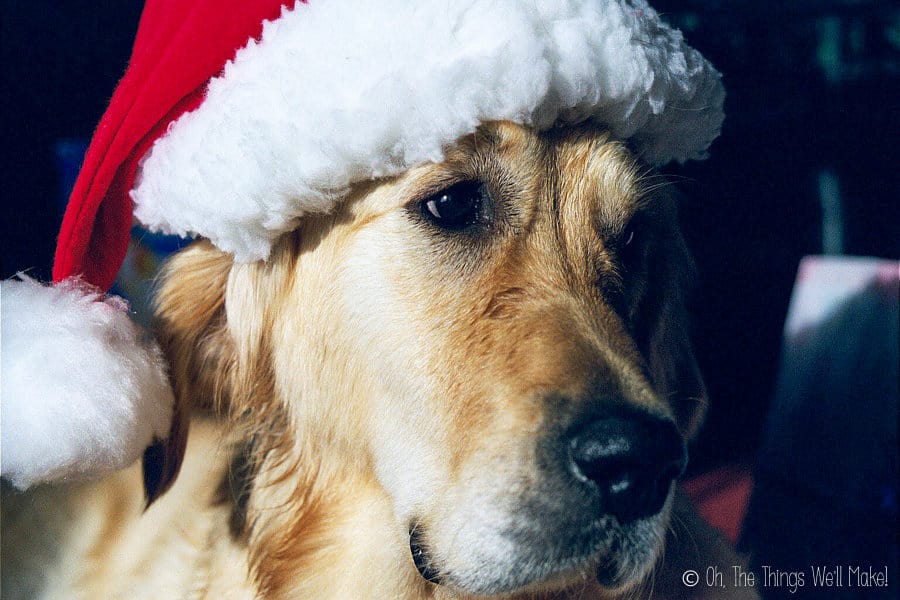
In 2000, I chose to use a simple, obvious idea: to dress my Molly for Christmas in a Santa Claus hat. I printed out the picture and glued it onto a simple card.
Reindeer antler headbands
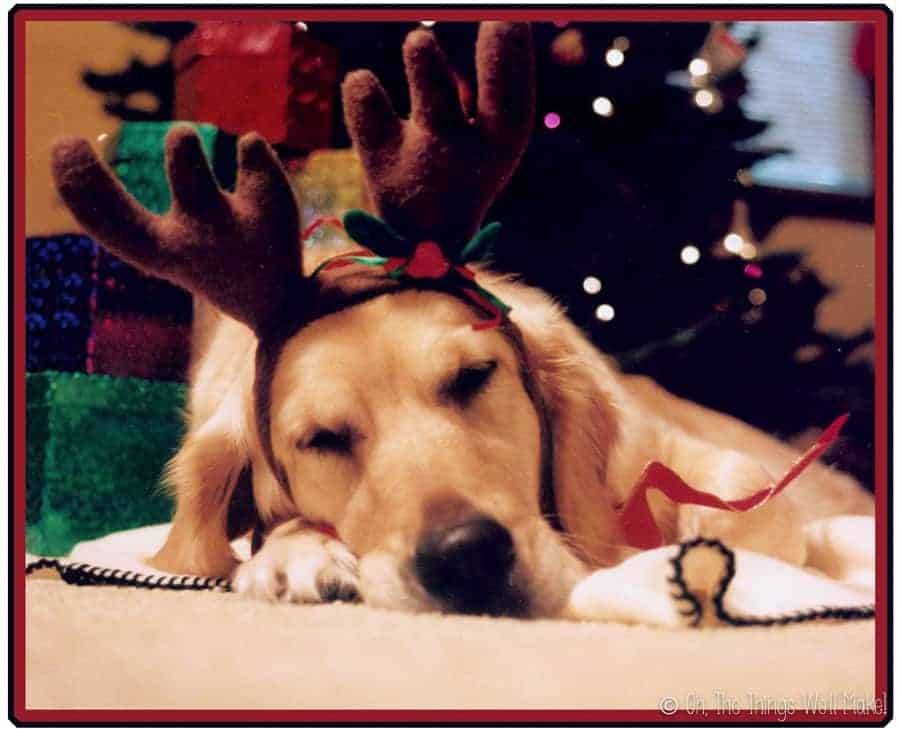
In 2001, I chose to use reindeer antlers instead. Reindeer antlers work wonderfully for animal shots.
I placed a comfy blanket in front of my Christmas tree and waited until my dog fell asleep on it. I then carefully slipped the headband on her head and took my photo.
In this photo, you can see how peaceful naptime pictures can be. By taking your photos during naptime, you can get wonderful shots without disturbing your pet. That’s especially useful for animals that are easily frightened by adornments, or those that won’t sit still normally.
Angel Halo
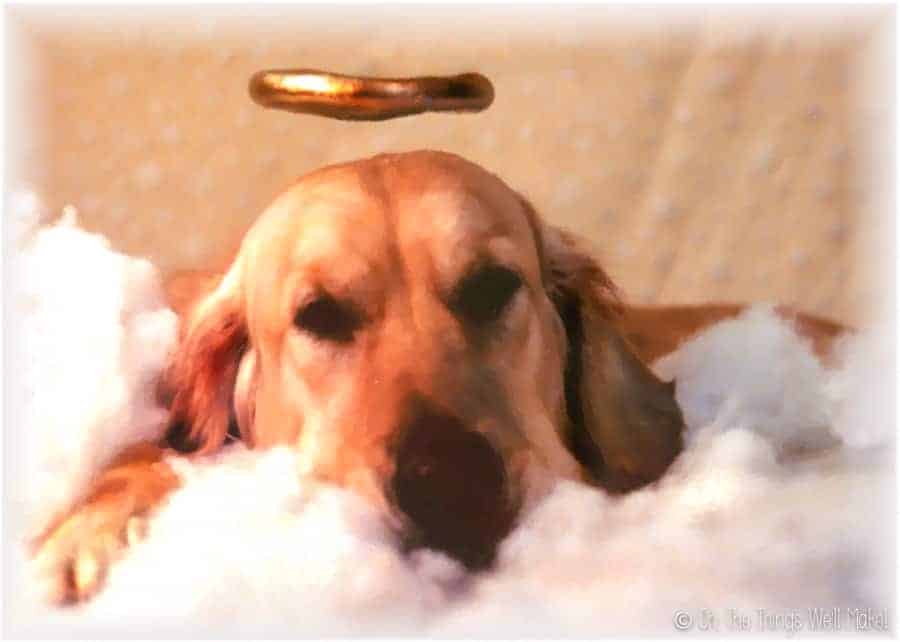
In 2002, I let my beautiful angel show off who she really was.
I, again, started when she was asleep, but this time I accidentally woke her up in the process of taking the picture. Luckily, she was such a good dog that she quietly stayed in place while I quickly snapped a few photos.
For the angel scene, I taped up a sheer cloth with embroidered snowflakes on my wall. I then had my dog rest on a pillow covered in cotton batting to give the appearance of clouds. While she slept, I slipped a headband with a halo on it around her neck.
If I were to repeat this photo today, I wouldn’t bother with the halo headband. At the time, though, things were more complicated. I didn’t have a digital camera yet, and it was the early days of the internet and photo editing. I actually felt like quite a pro just for being able to edit out the wire that held the halo up.
Nowadays, you can completely photoshop halos onto your pictures after the fact. (You’ll see the result a bit further down.)
Christmas decorations
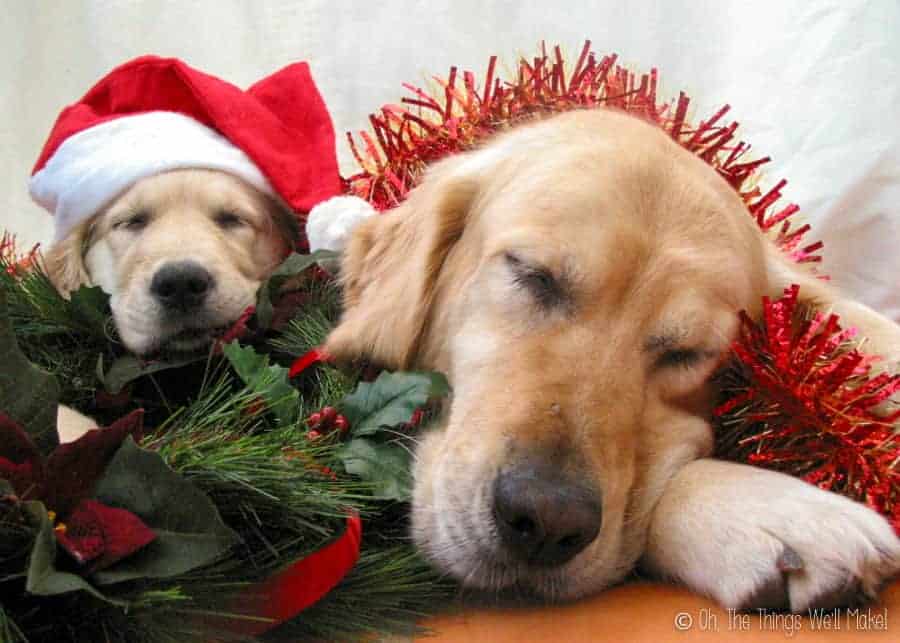
2003 brought the addition of little Sheena, our golden retriever puppy who loved to fall asleep on Molly. I took advantage of that one day & dressed them in Christmas decor while they slept!
They were both so beautiful and peaceful sleeping there that not much was needed to dress up the photo.
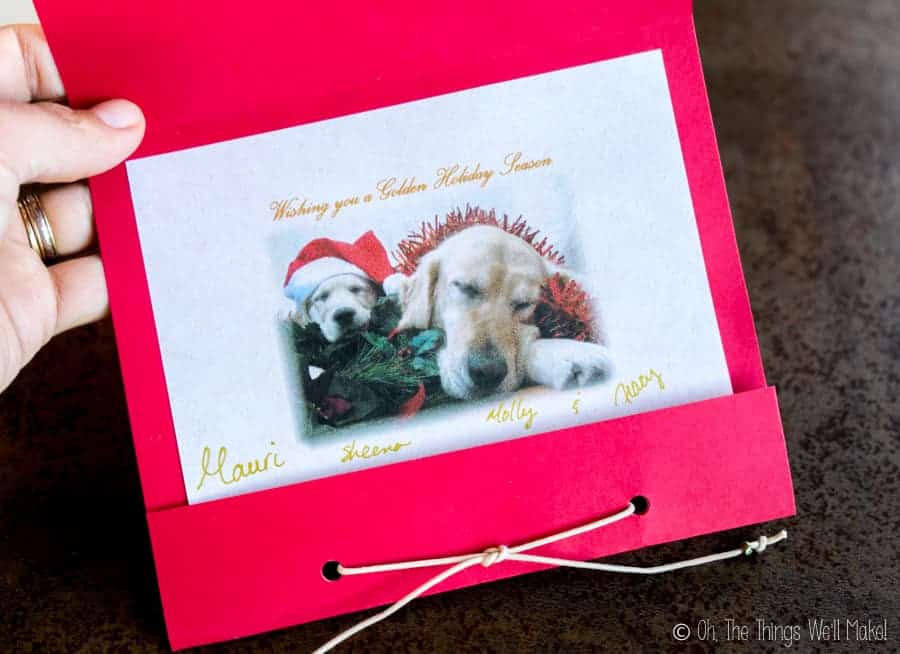
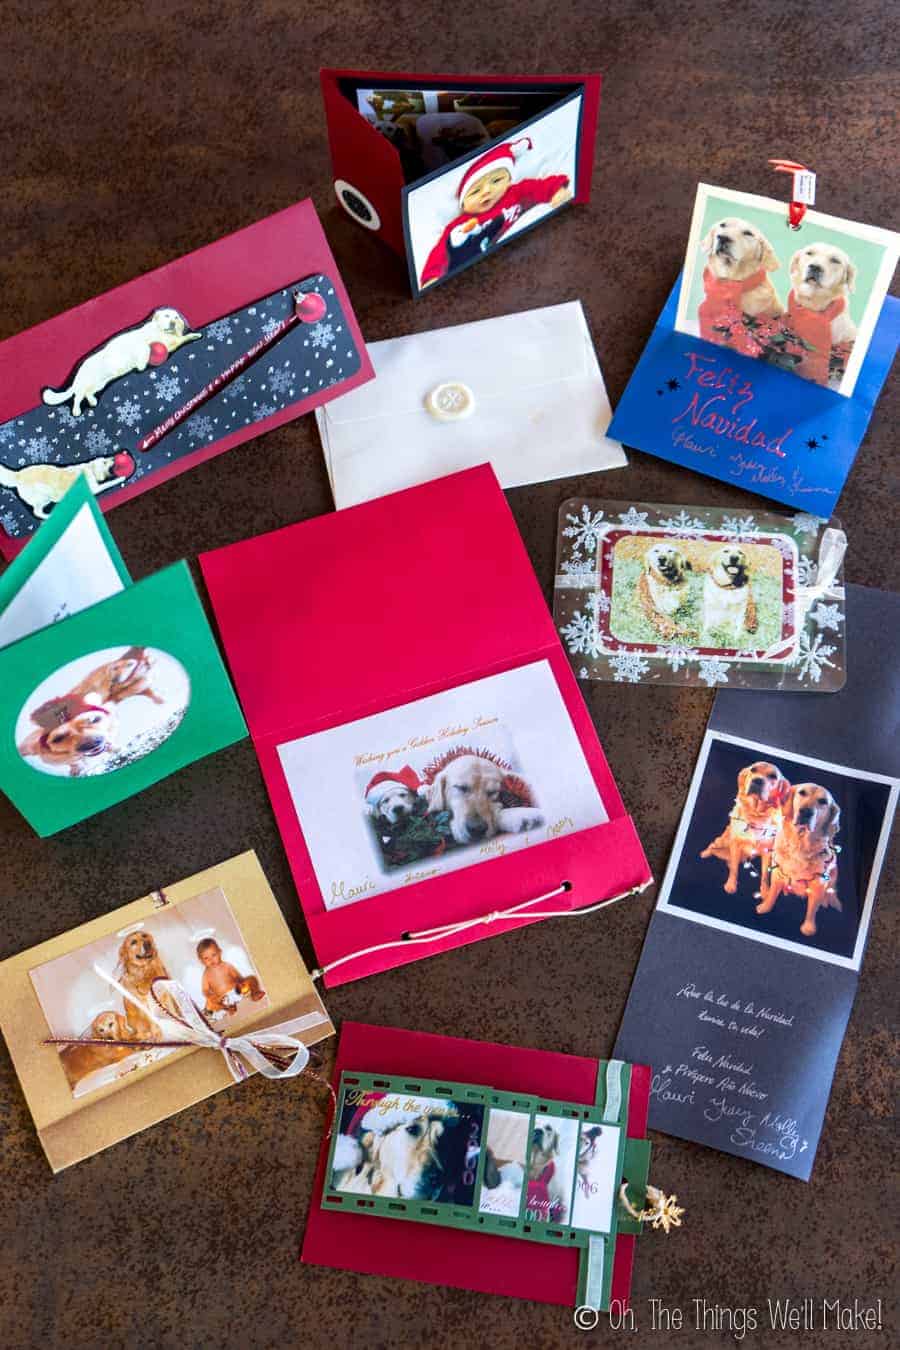
The handmade card part was also simple. I printed the photo onto a somewhat opaque vellum paper with the words, “Wishing you a Golden Holiday Season.” (That, of course, was in reference to the fact that my dogs were golden retrievers.)
To hold the card together, I punched holes in both the card and the photo and tied them together with cording.
Scarves and Poinsettias

By Christmas of 2004, my little Sheena had already grown up. I dressed both her and Molly in matching scarves and had them pose behind some poinsettia plants.
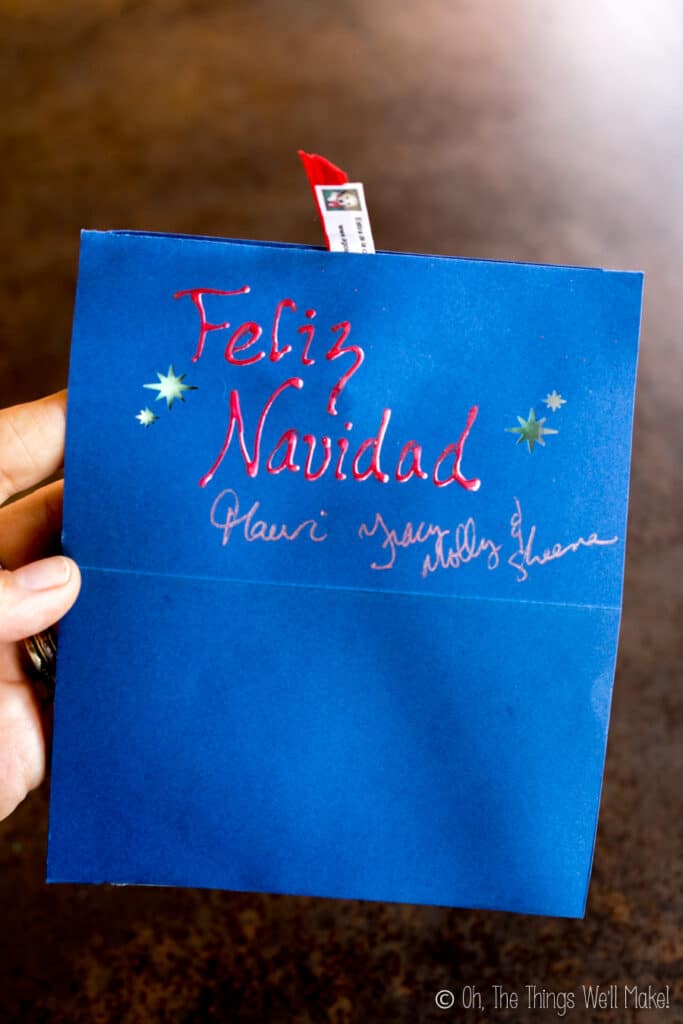
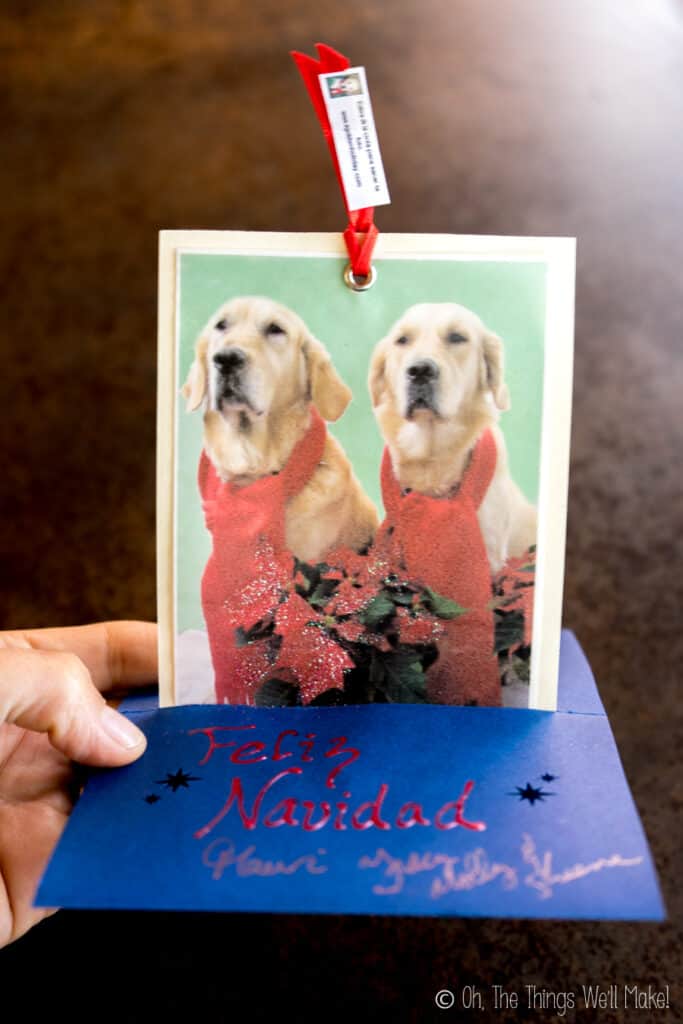
The handmade card that year was a bit more interactive. When you pulled on a tab on the top of the card, the photo would pop-up. As you pulled the card downwards, it formed a base that served as a stand to keep the photo on display.
Find a tutorial for a similar type pop-up stand-up card here.
Christmas lights
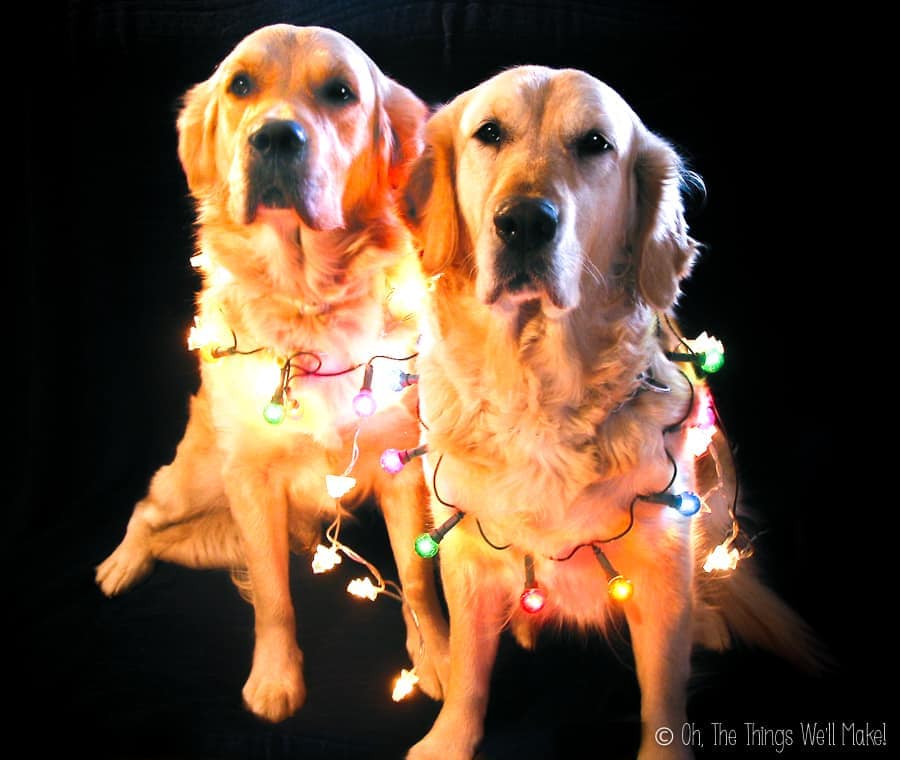
In 2005, I decided to light things up with some colorful Christmas lights. I used a dark backdrop and had them sit on a dark cloth so that the light would really pop.
If you do this, make sure you use LEDs so the lights won’t heat up and burn your animals.
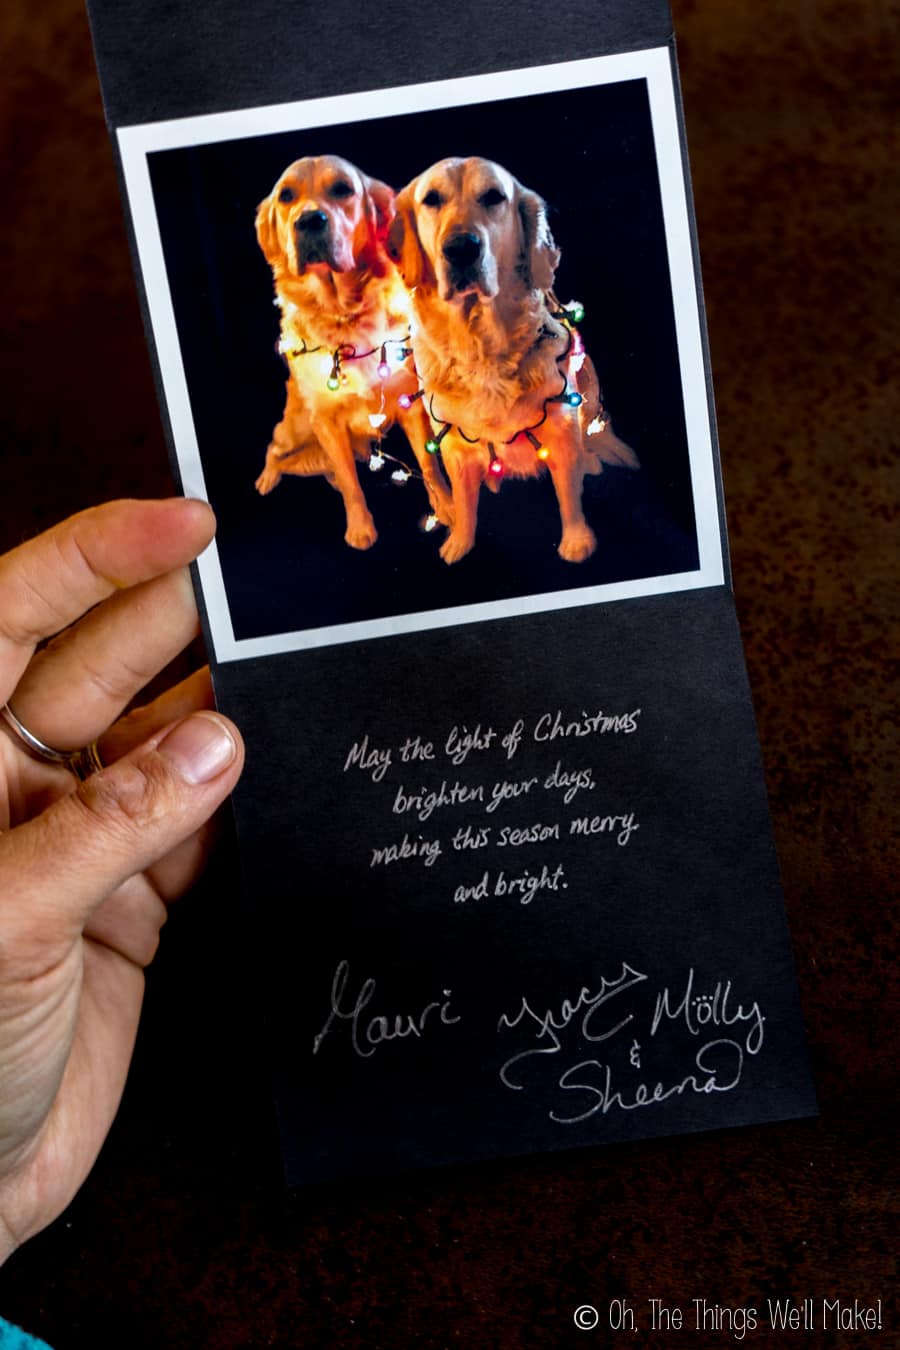
The card itself was again very simple. I used a black cardstock so that the photo would stand out. I then wrote in silver lettering, “May the light of Christmas brighten your days, making this season merry and bright.”
Ski hats with pompoms
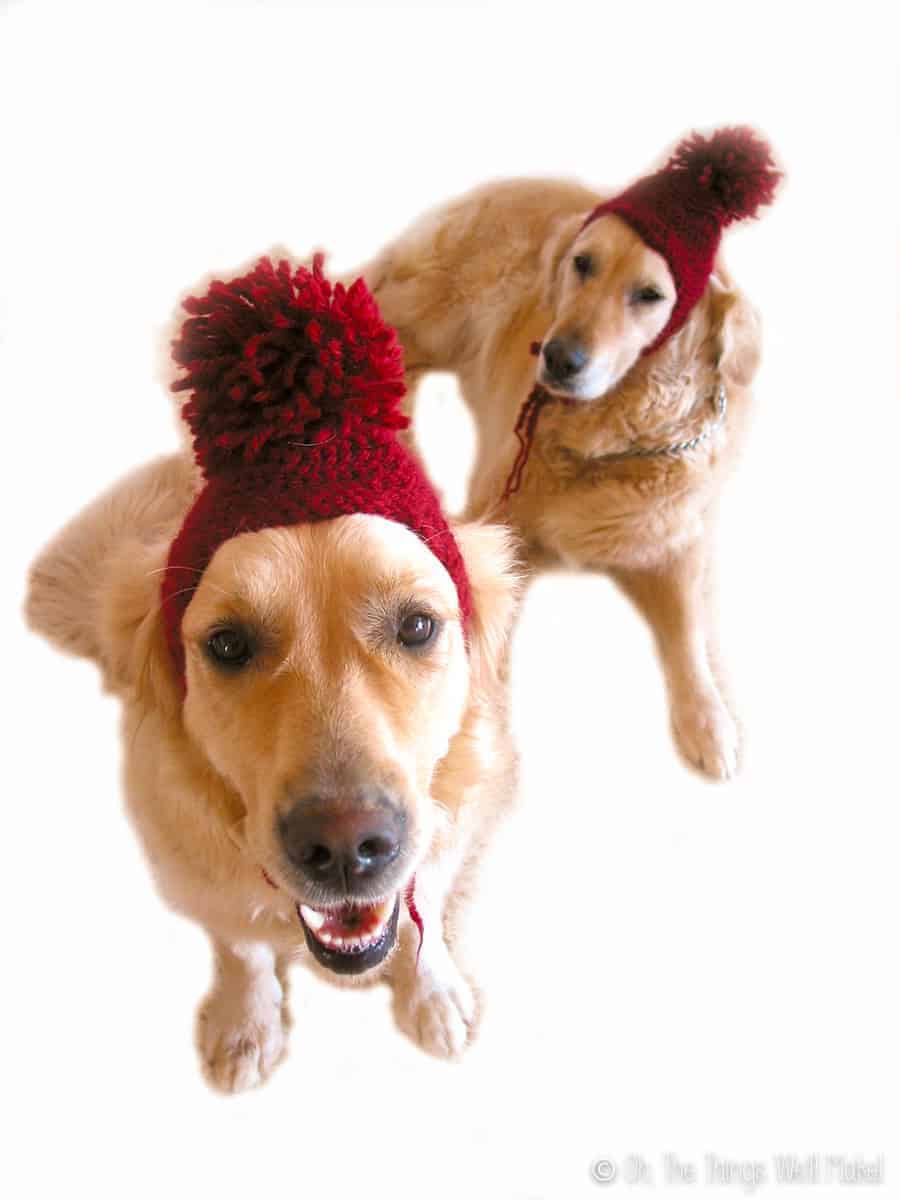
In 2006, I crocheted some quick and easy ski hats for my dogs. My idea was to make snowglobe cards with their photo in the background. Because it was going to look “snowy,” I wanted it to look as if they were dressed for the cold.
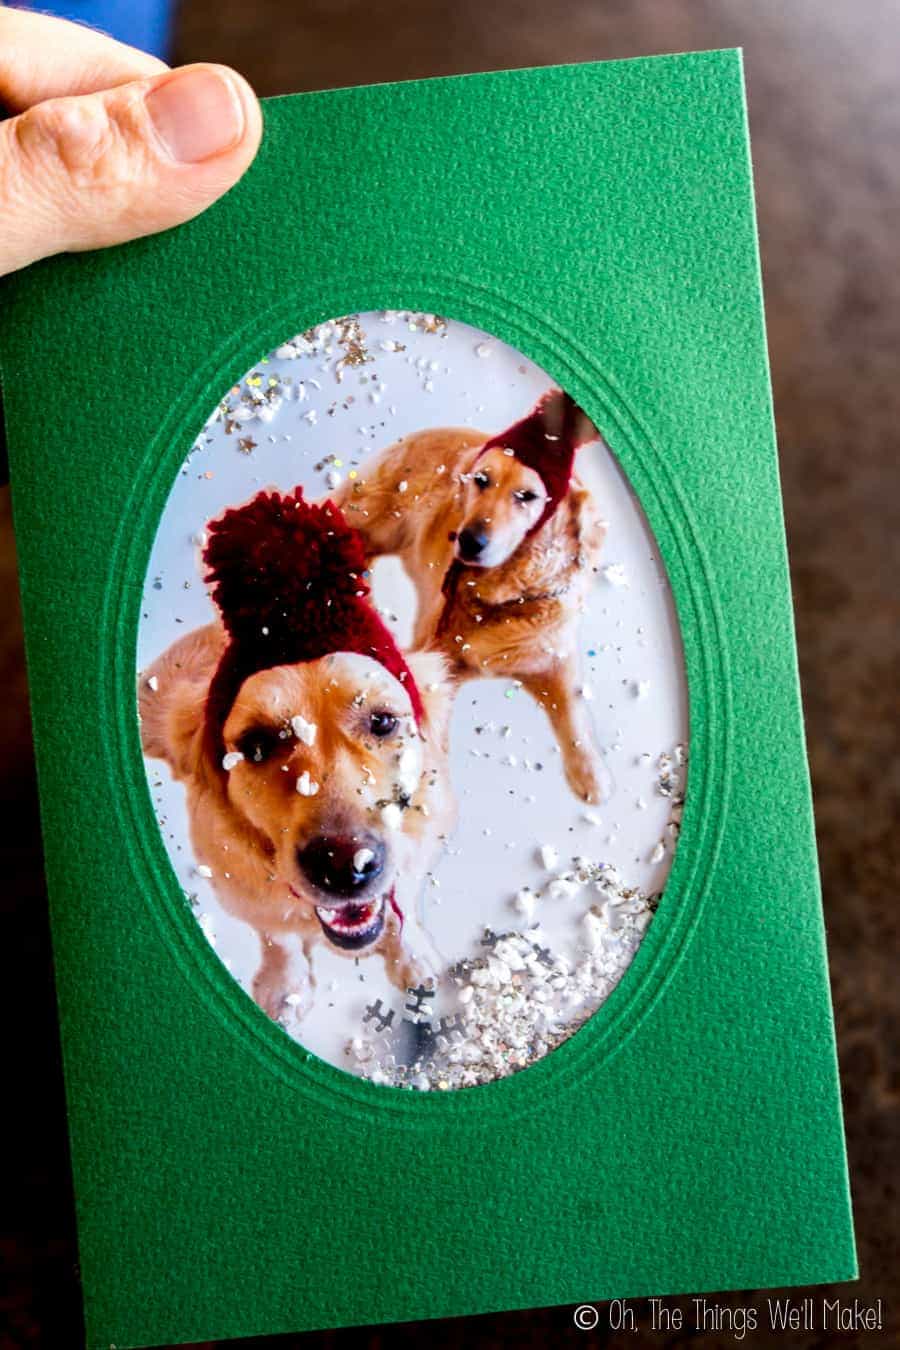
Snowglobe cards are fun to make with transparent acetate plastic, foam tape, and some sequins and/or glitter. Find a tutorial for making a snowglobe card here.
Santa and “his” (her) Reindeer
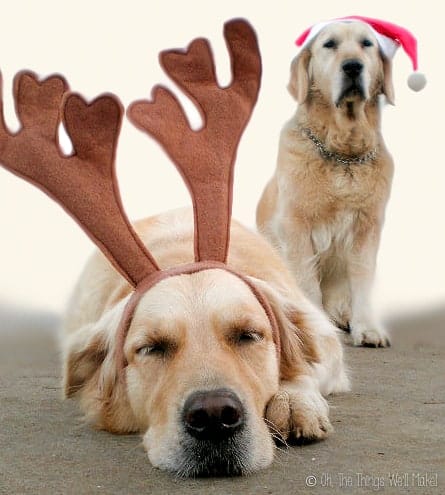
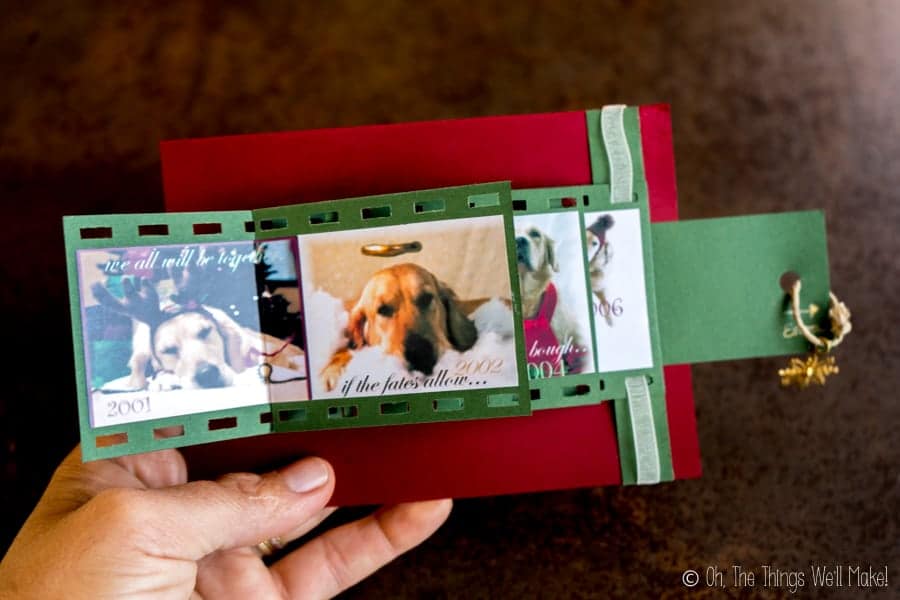
In 2007, I made what turned out to be my favorite card. It was a photo waterfall card that showcased the pictures from previous years as you pulled on a tab on the side of the card.
Using a spiral binder, I cut small rectangular holes in the edges of the cardstock to make it look like filmstrips. I then printed out the photos with the lyrics of “Have Yourself a Merry Little Christmas” written over them strategically…
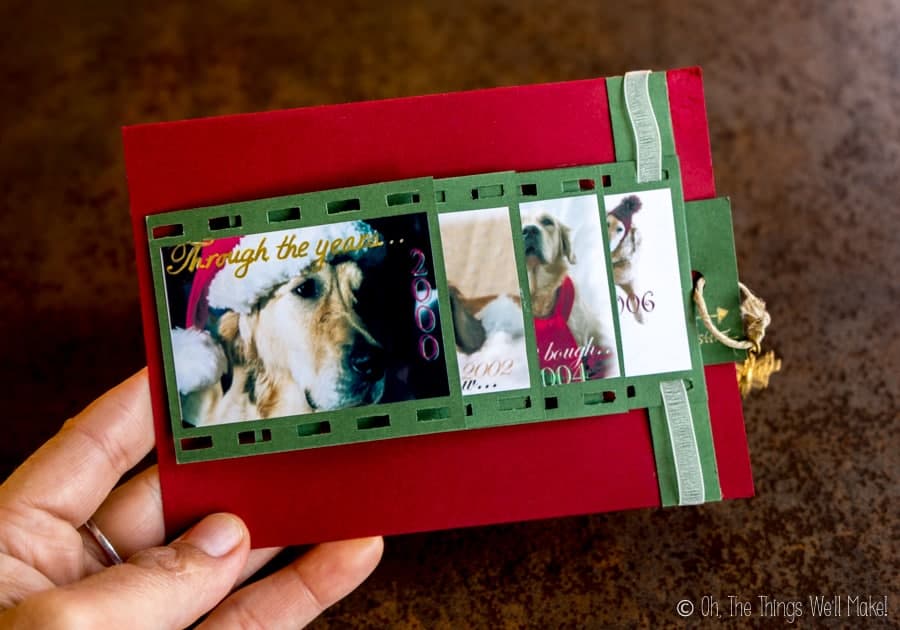
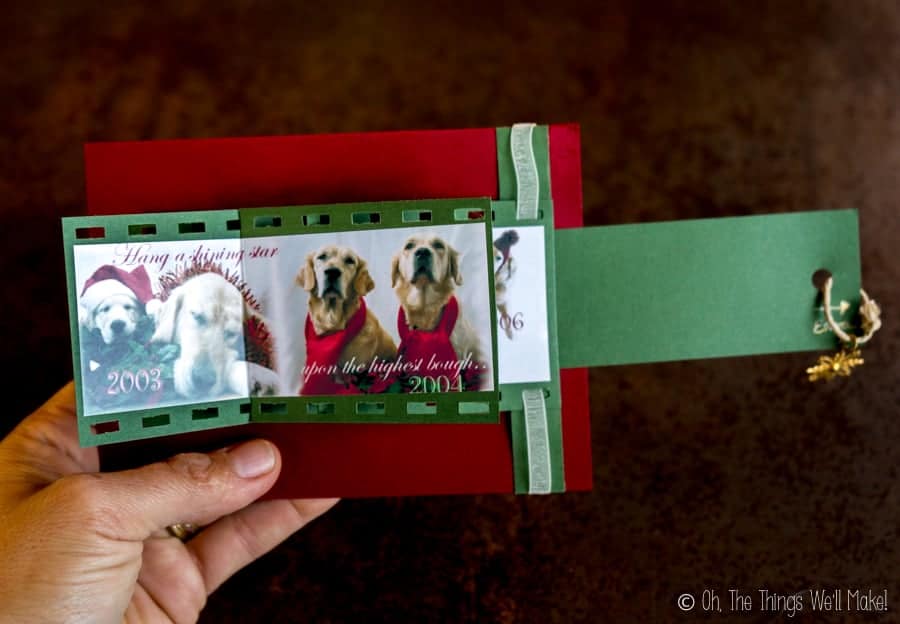
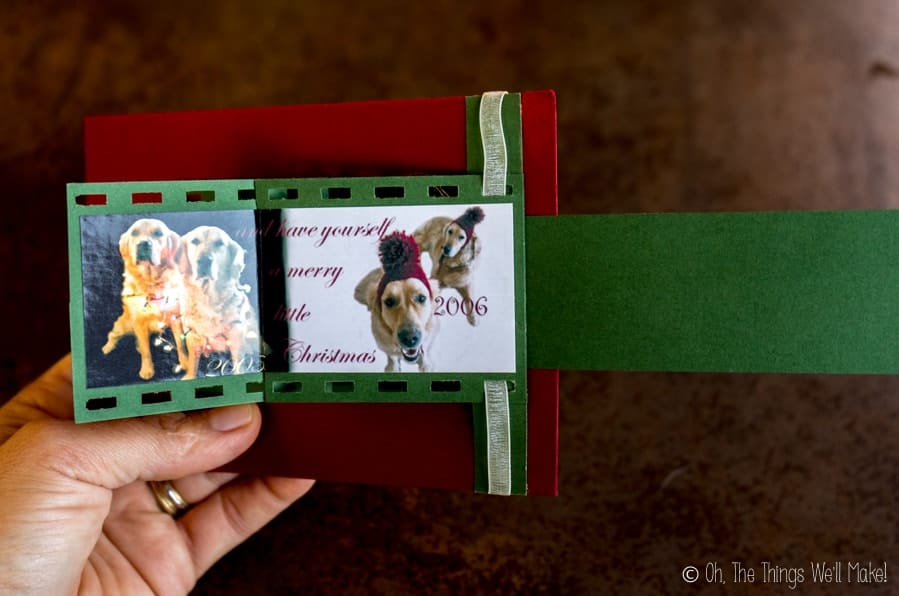

The card featured my newest photo of our dogs with Molly dressed as Santa, and Sheena as her reindeer. I painted Sheena’s nose red in Photoshop to make her look like Rudolph.
If you’d like to make a similar style card, check out this waterfall card tutorial.
A shared long Scarf
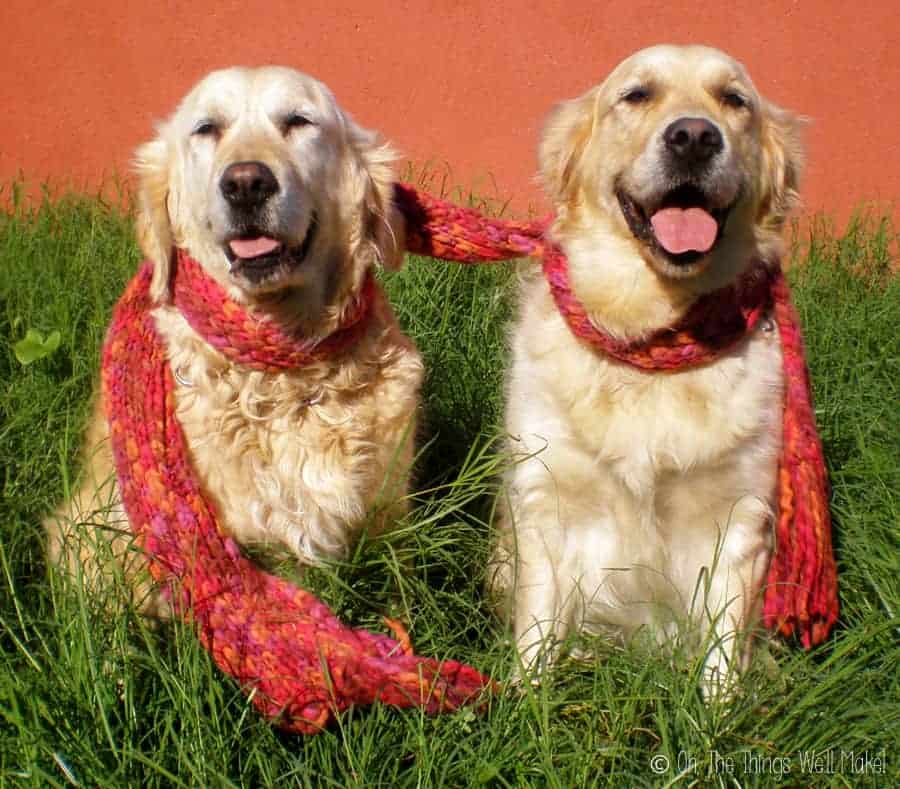
In 2008, I repeated the scarf idea, but this time I had my girls share a long, woolly red scarf.
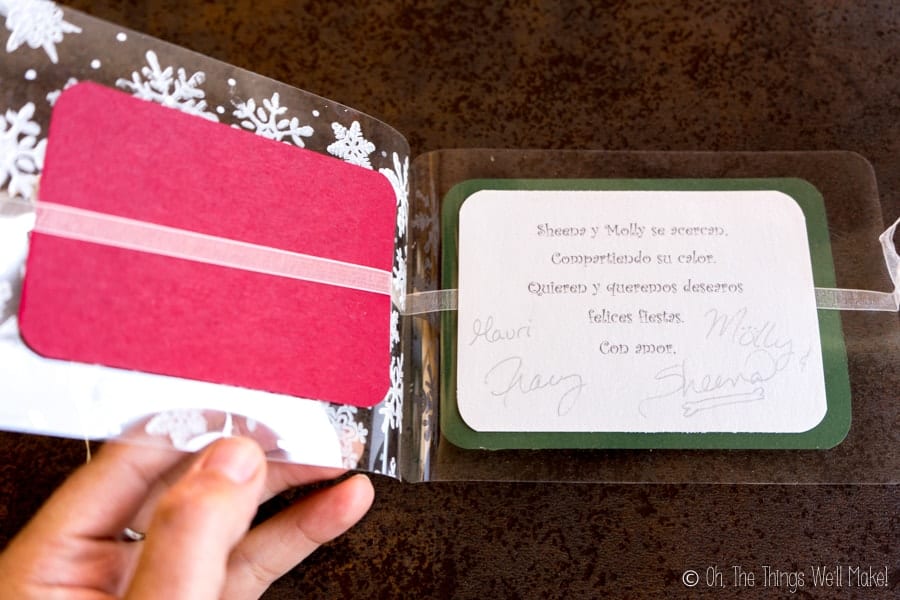
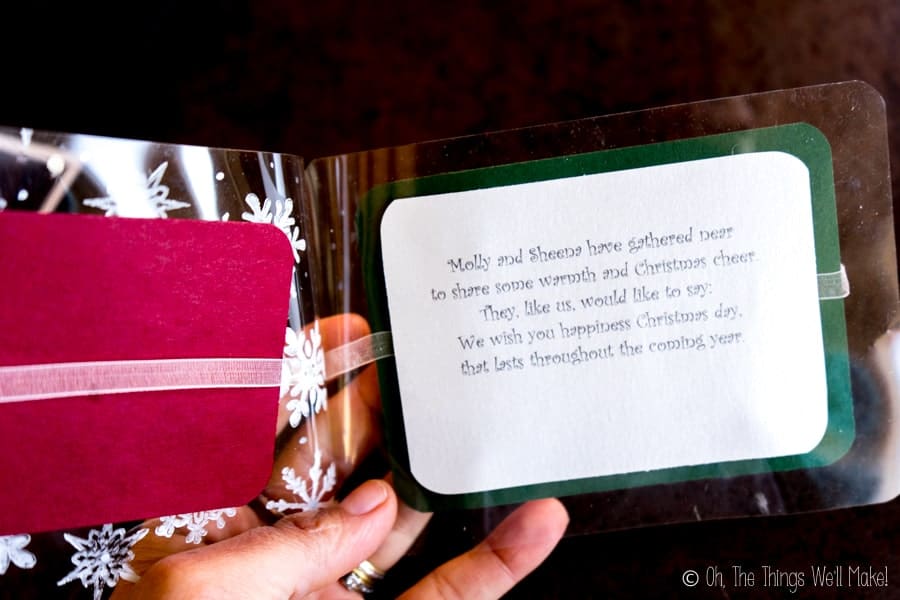
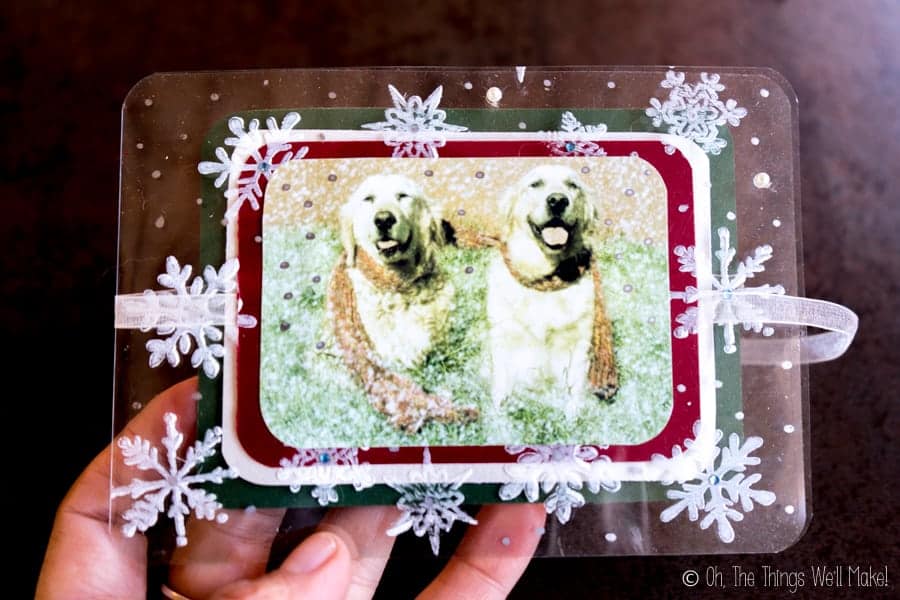
I featured the photo on a transparent card made from stamped acetate. To make the card, I stamped transparency sheets with white paint and then embellished them with pearls and blue rhinestones.
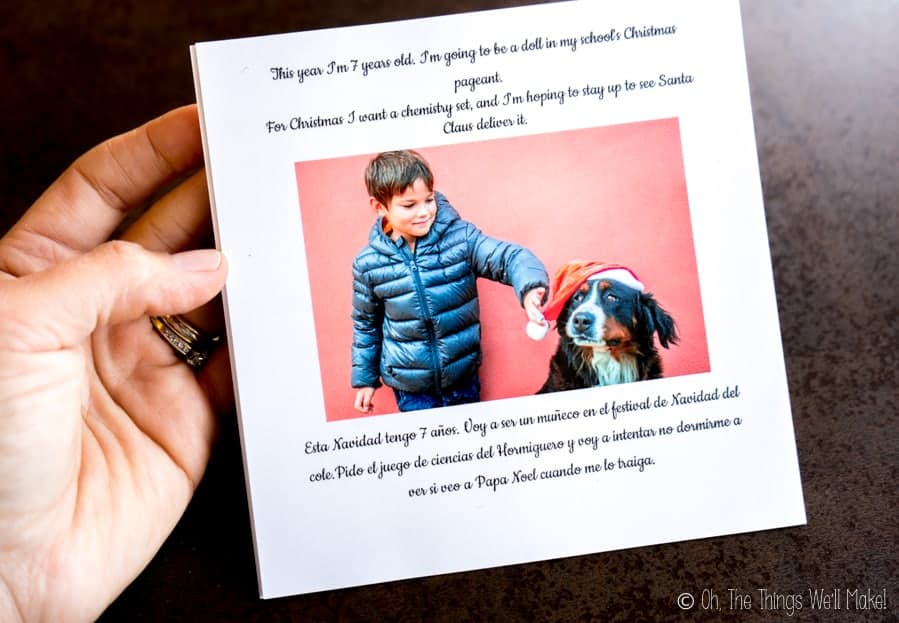
I wrote poems describing the photo in both Spanish and English (depending upon who would receive the card).
“Molly and Sheena have gathered near to share some warmth and Christmas cheer.”
If you’d like to make a similar transparent card, check out this acetate card tutorial.
Christmas Bauble Ornament Ball
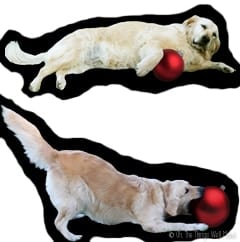
In 2009, I made a more playful, interactive card. For the photos, I had my dogs pose with a ball. I then converted the ball into a Christmas bauble ornament in Photoshop.
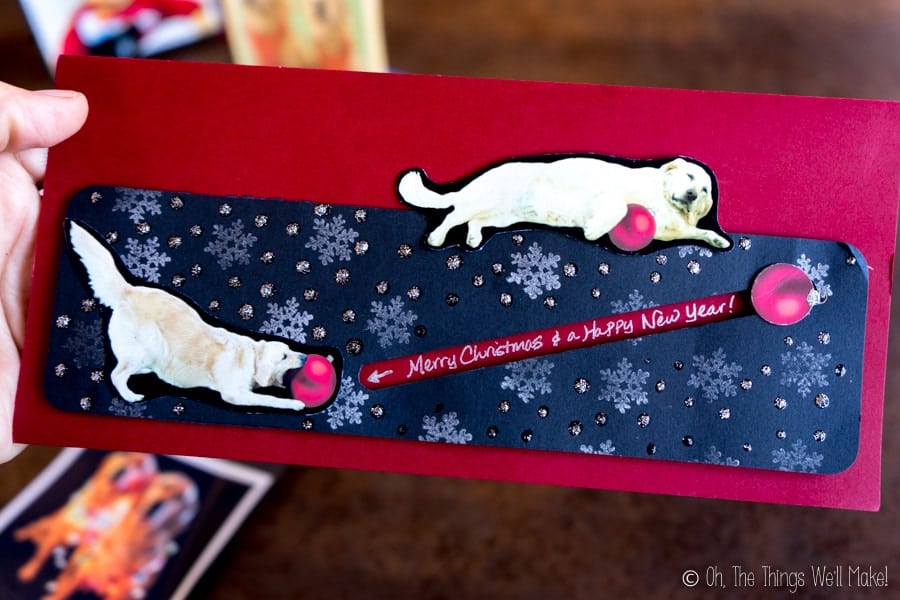
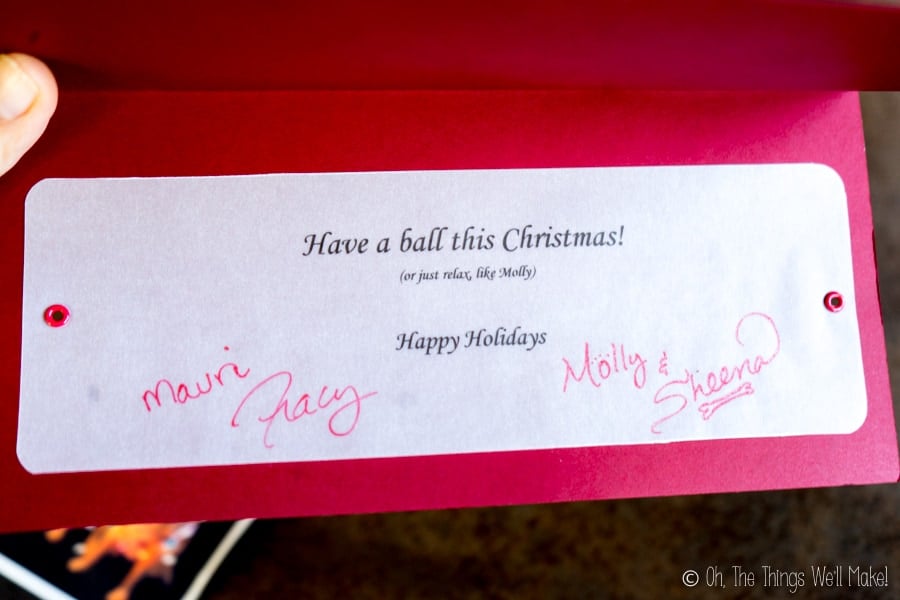
To make the card more interactive, I used a “penny slider” covered with a photo of another bauble. As you angle the card diagonally, the bauble spins upwards and downwards along the slit in the center of the card.
Inside, the card read “Have a ball this Christmas.”
You can find a tutorial for making a penny slider card here.
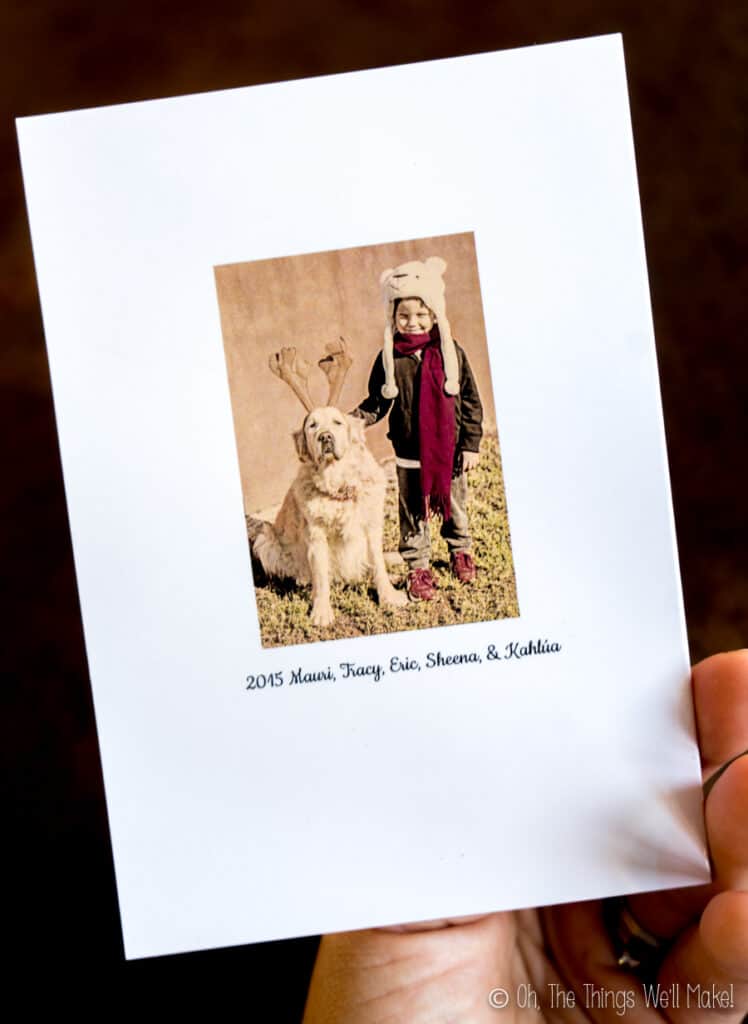
Santa and his 2 Reindeer
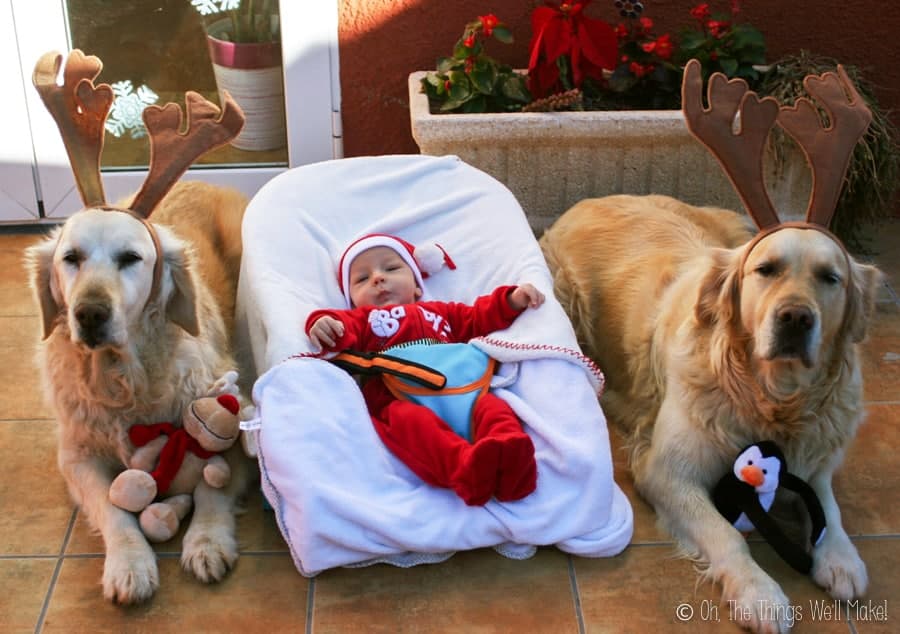
Things got a little trickier when I had my son.
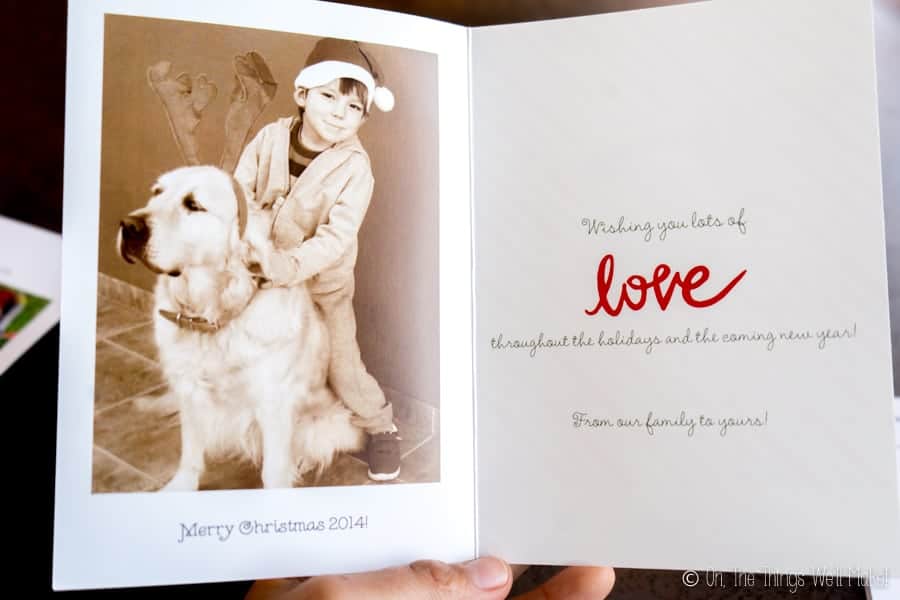
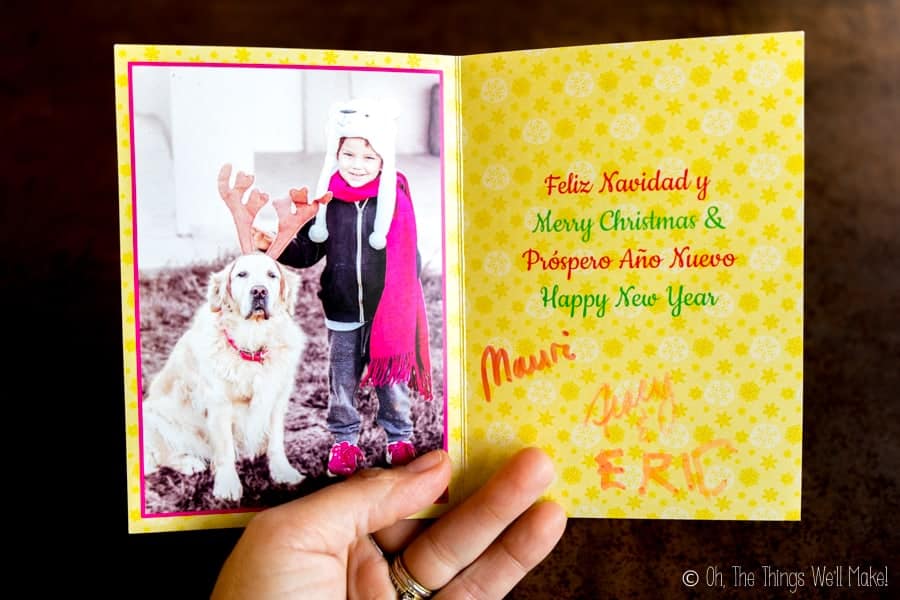
He was just a baby, but I wanted to incorporate him into the card tradition. So, in 2010, he became Santa Claus accompanied by two beautiful golden reindeer.
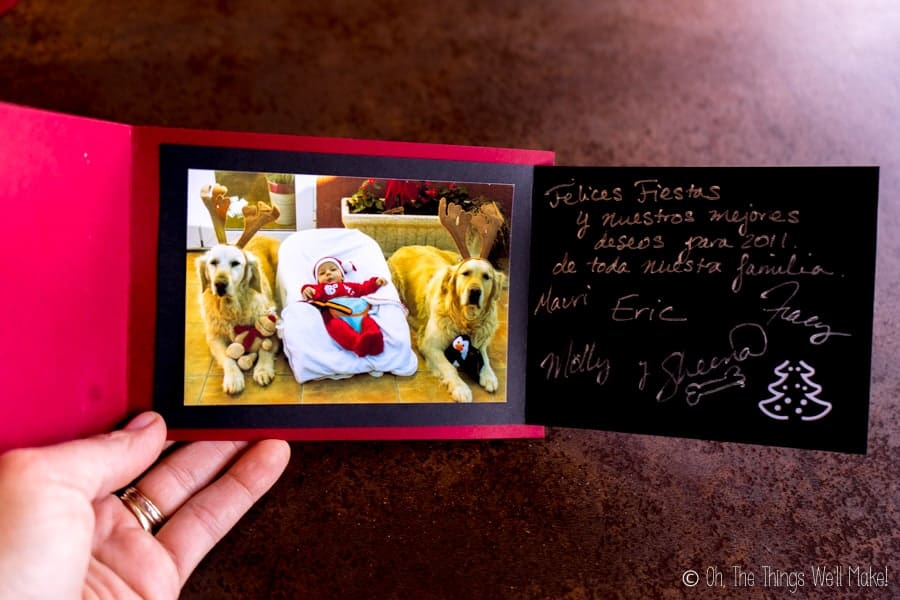
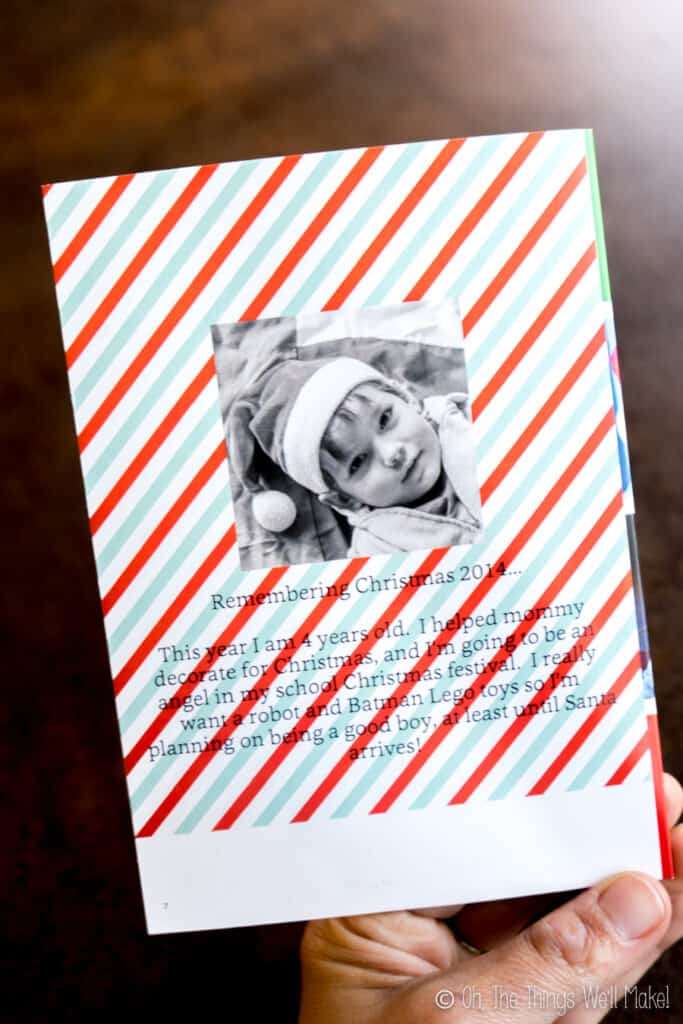
The card itself was simple. It featured a close-up of my son on the front and opened to the new photo inside.
Angels with lights
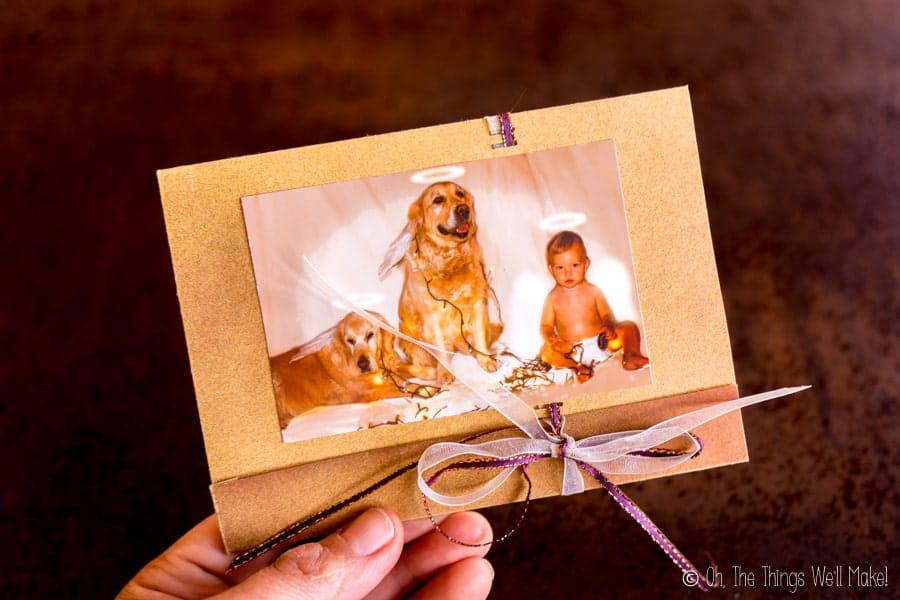
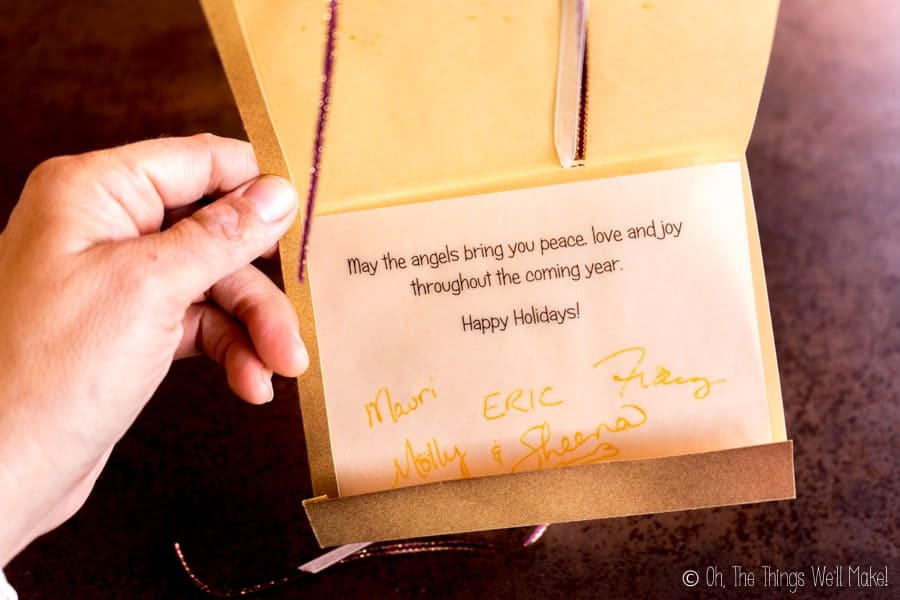
In 2011, I decided to try my hand at photoshopping halos (and wings). I combined the concept of angels with that of Christmas lights. The card itself was also quite simple. I printed the writing onto transparent vellum and used ribbons to dress the cards up.
It’s a bit eerie that I chose angels that year, but I had no idea of what was to come.
Sadly, we lost our beautiful Molly later in 2012, and I ended up taking a year off from making cards.
Printed Photo Cards
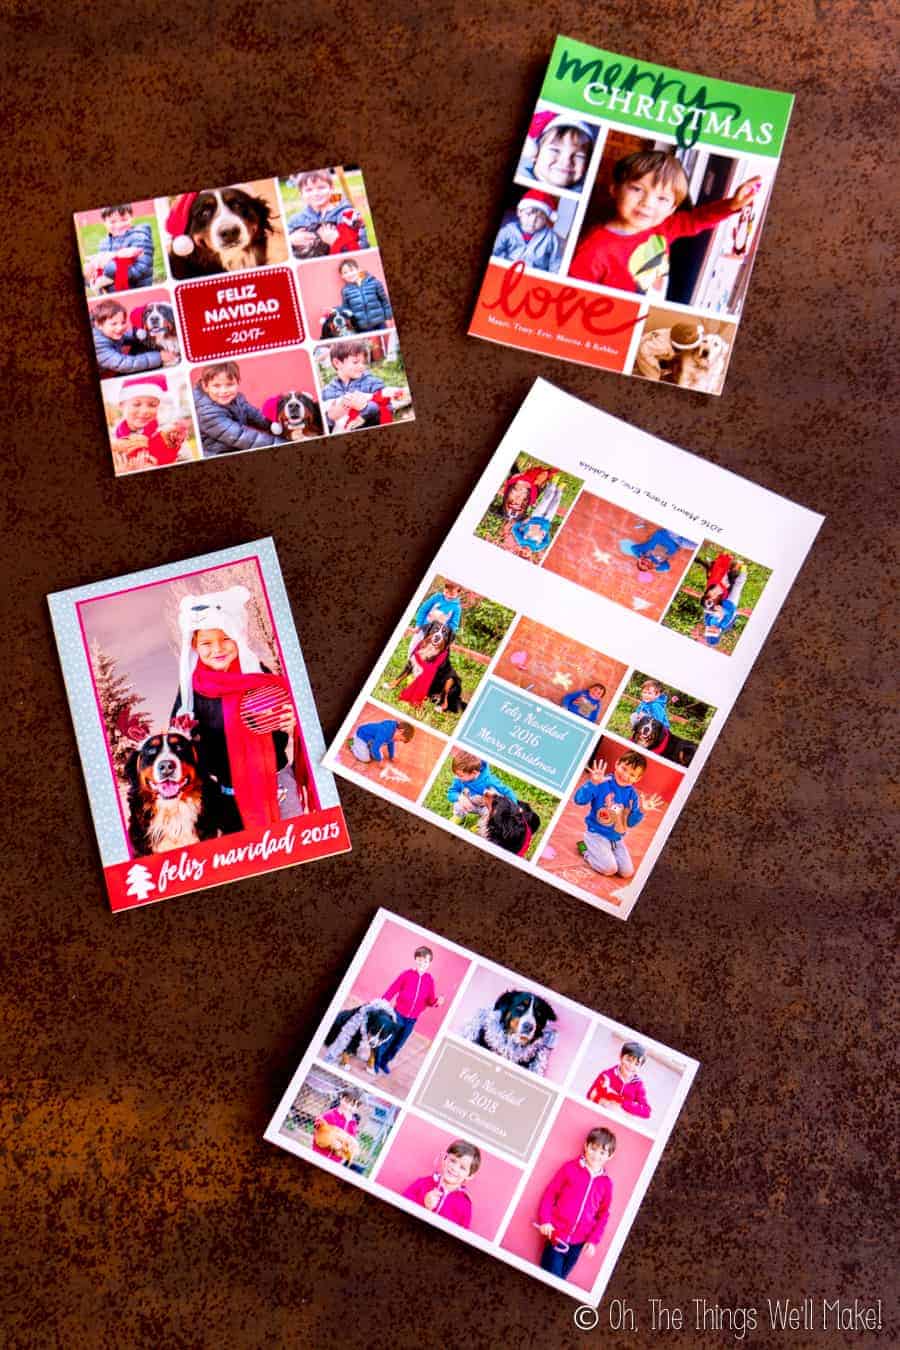
People continued to beg me for Christmas cards each year. I, however, no longer felt I had the time and energy to keep making them by hand year after year (especially considering that most people didn’t bother sending anything in return).
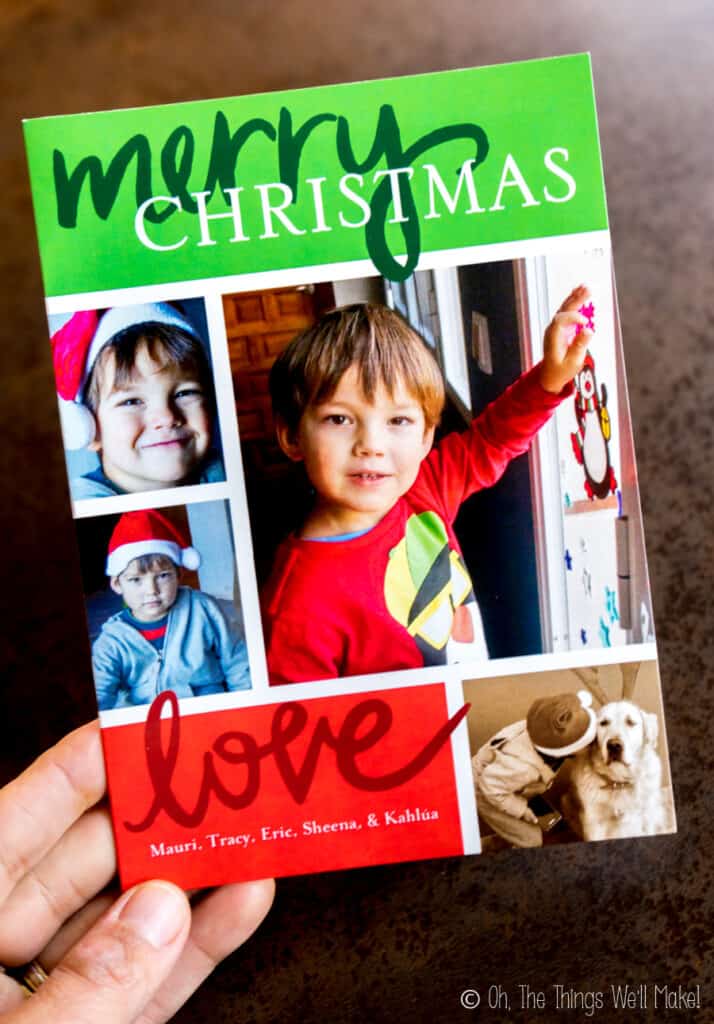
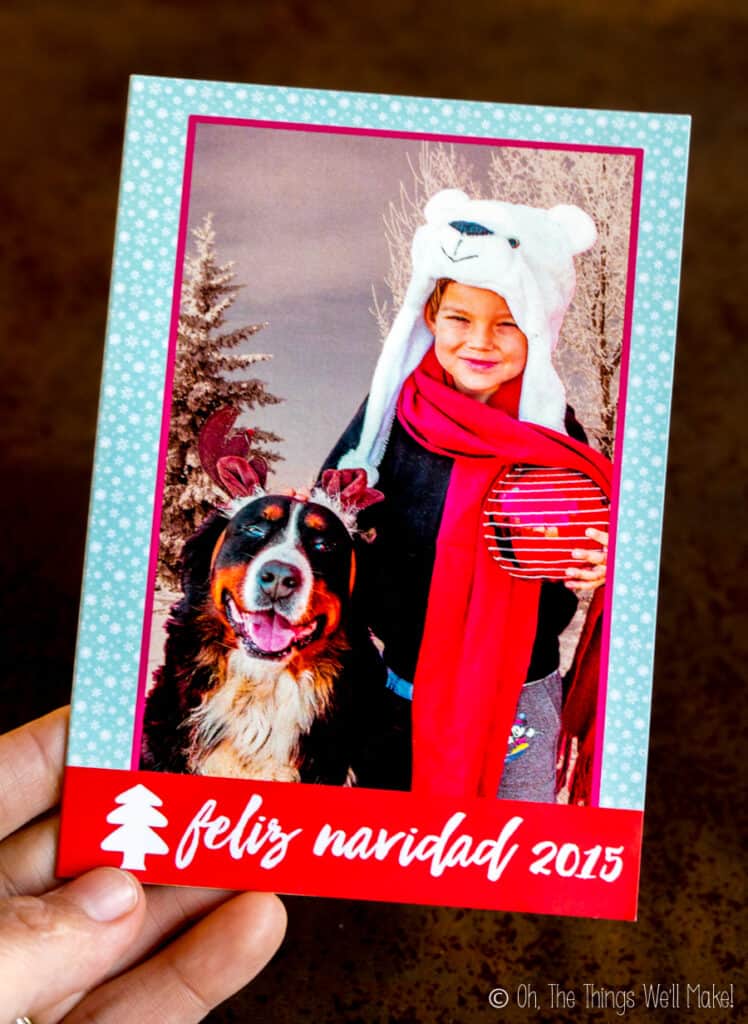
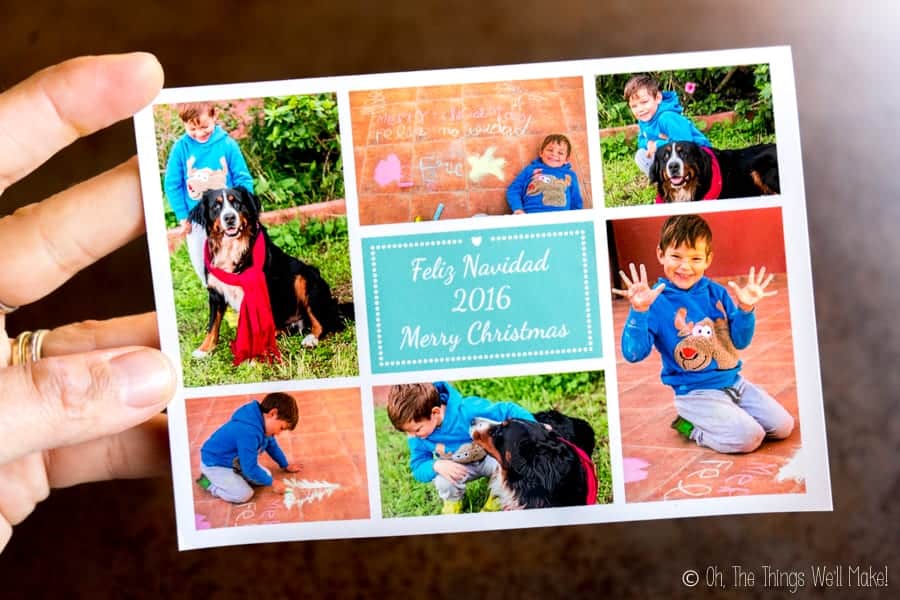
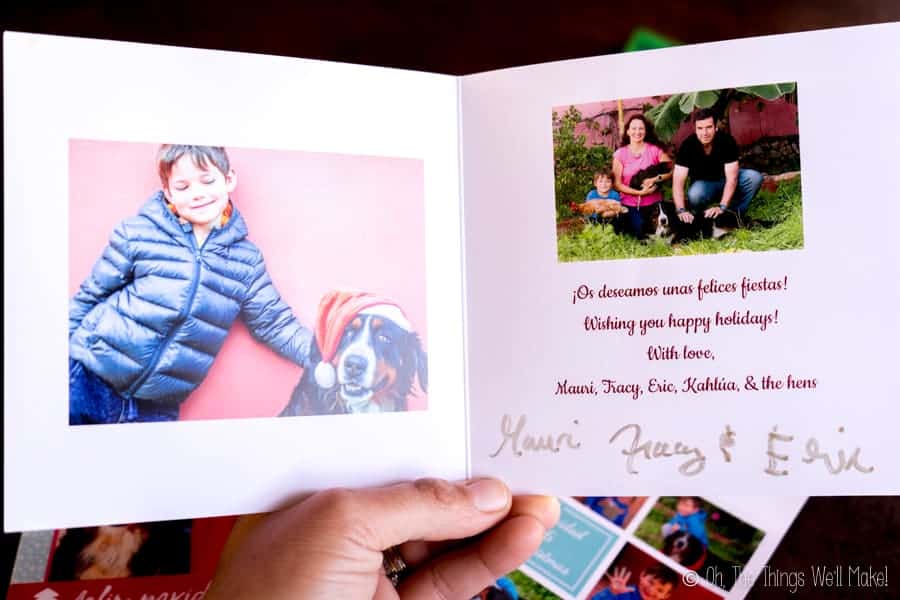
Rather than going out to buy pre-made cards, I decided to compromise. I continued with the tradition of taking new photos each year, but I had them printed at online printshops rather than making the cards by hand.
By using an online printing service, I’m able to easily make as many cards as I want without needing to set aside extra time. I now order more than I think I’ll ever need and hand them out to all of my son’s teachers (current and past). We also give them to friends, family, and the people who work at the places we frequent.
Many of those people look forward to their new cards each year.
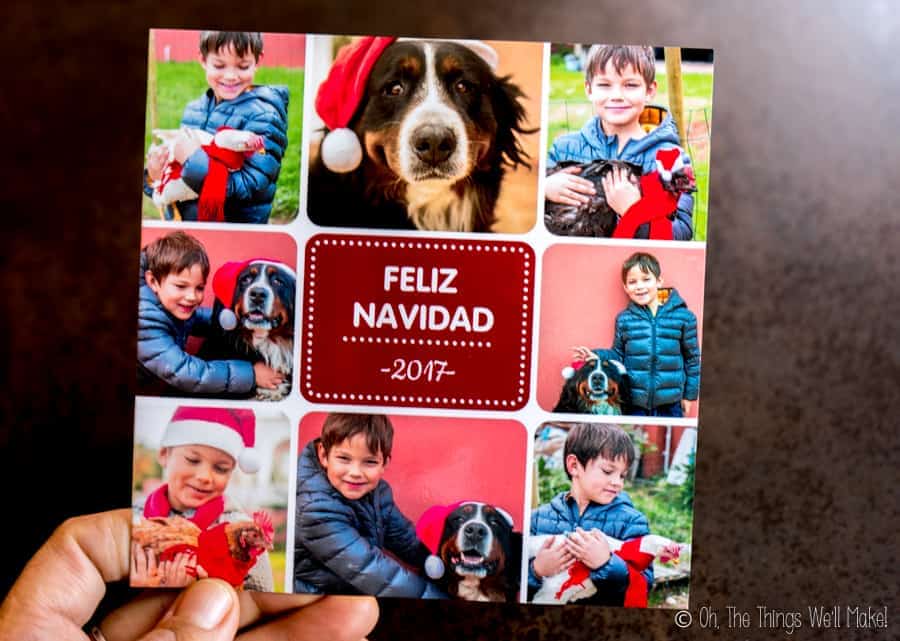
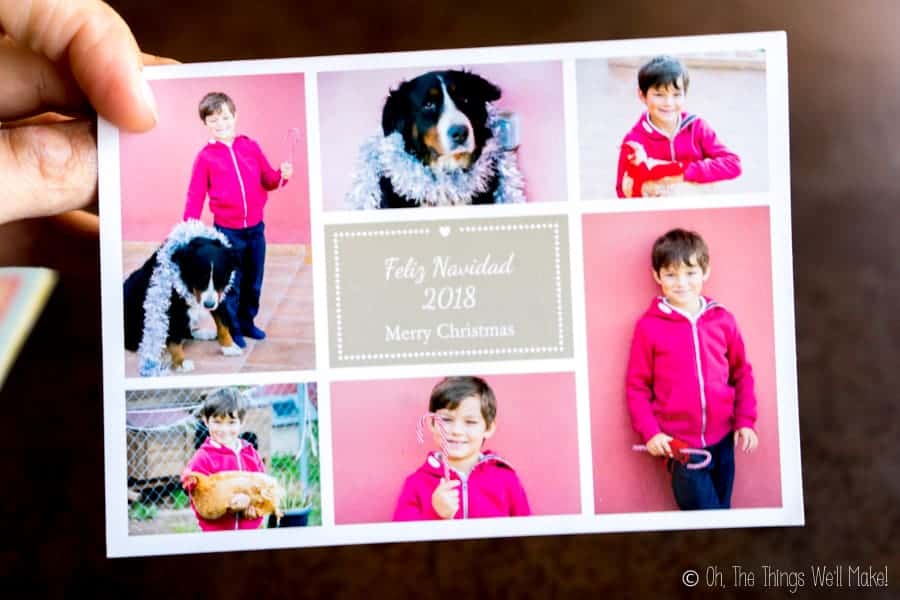
These days, we also include our hens in our photo cards. My son wouldn’t have it any other way!
Hopefully, I’ve given you some ideas for taking the perfect Christmas photo for your next Christmas cards. I’d love to see what you come up with!
*This post was originally published on November 13, 2013. It was completely rewritten with the addition of new photos and ideas in November of 2019.

Tracey all your cards were adorable!
Love the goldies and your ideas.
Aww, thanks, Leslie!