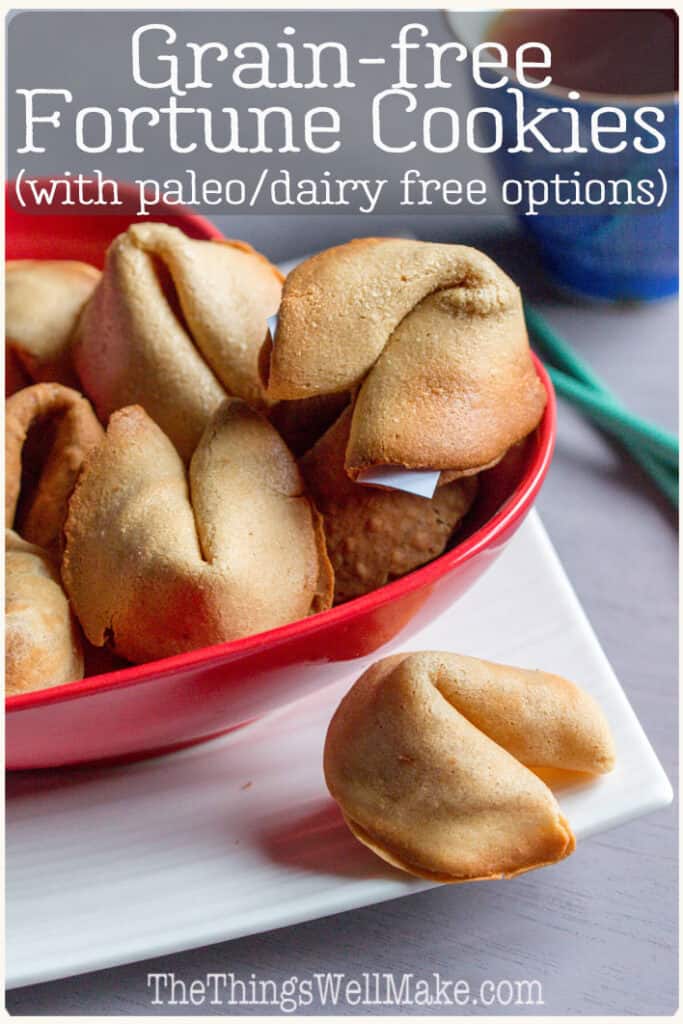
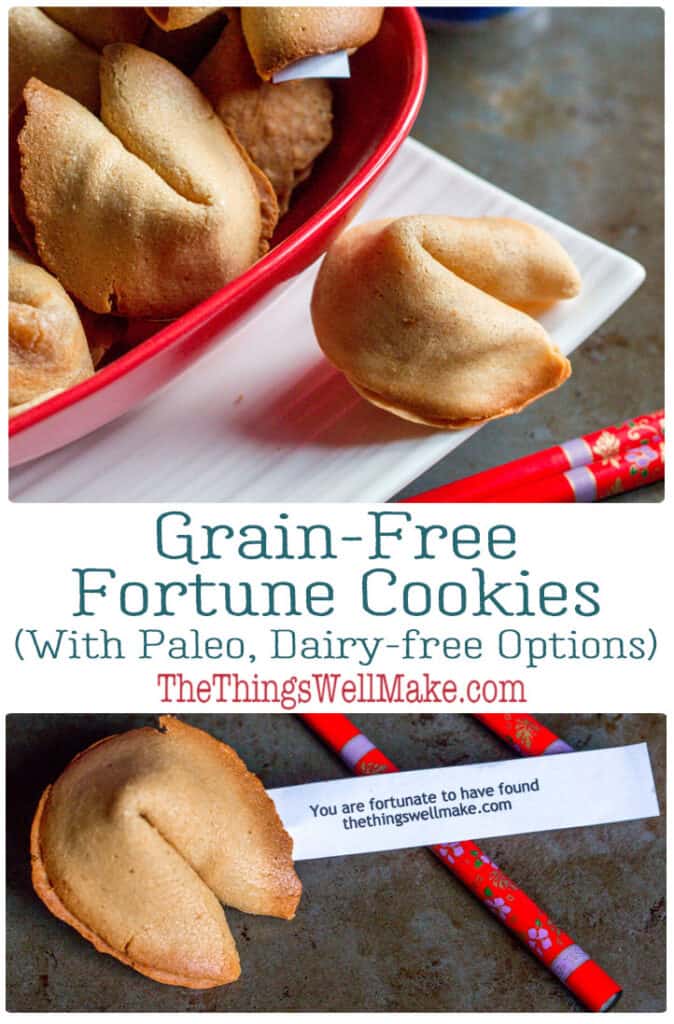
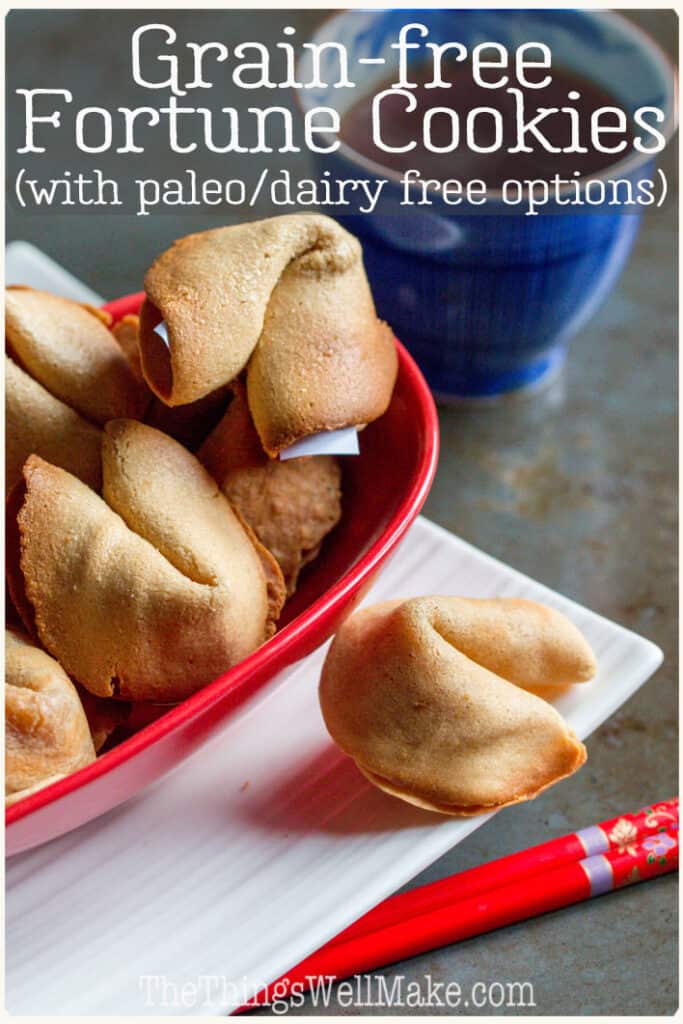
Fun and easy to make, these homemade fortune cookies are also gluten and grain-free. They’re the perfect way to get your message to that special someone on Valentine’s Day!
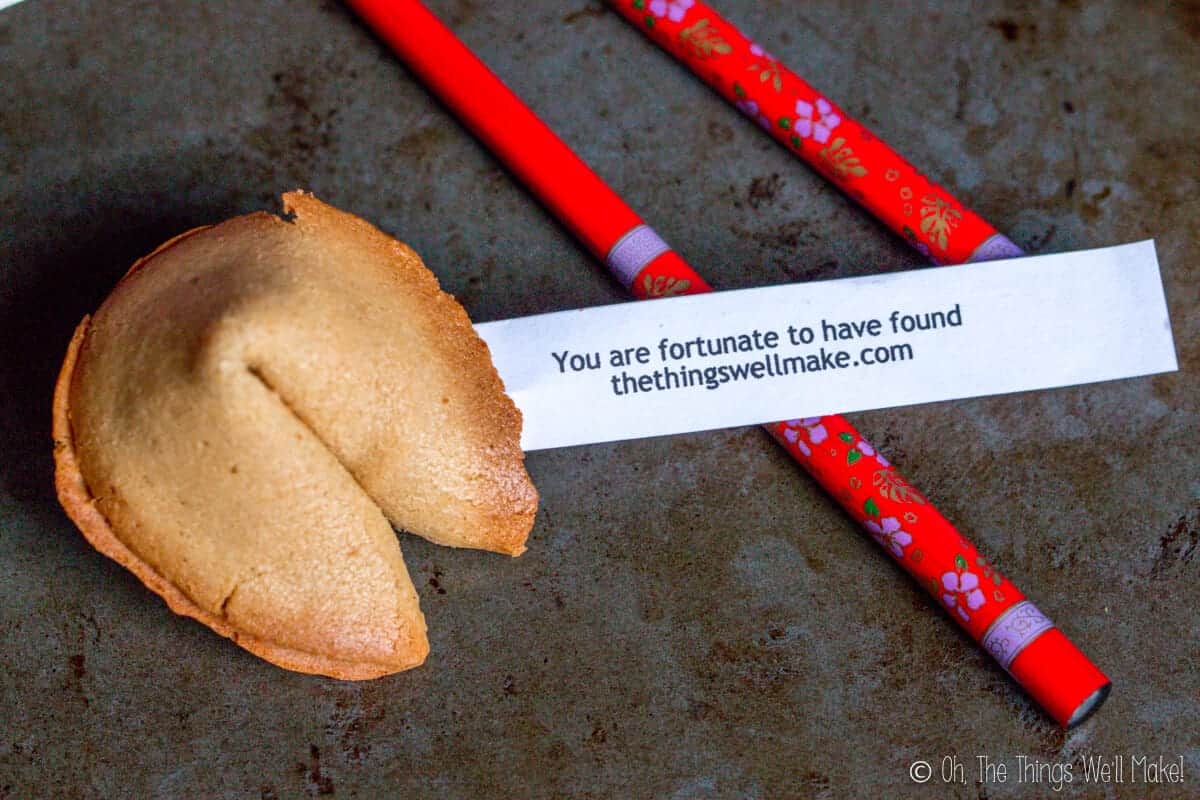
Making your own fortune cookies is a lot of fun. It’s also simpler than one might expect.
Most fortune cookies are made with wheat, though, so many unlucky people are unable to enjoy them.
While I’ve always said that I love making things myself to remain in control of the ingredients, with fortune cookies, it’s more than that. Making your own fortune cookies is great because you can also control your fortune!
How fortunate, right? ?
Valentine’s Day Fortune Cookies
Valentine’s Day is the perfect time of the year to be making fortune cookies because they make a really cute non-candy valentine. It also is conveniently near the celebration of the Chinese New Year.
To make special Valentine’s Day cookies, write fortunes with similar wording to that found on card valentines. Or write an important message for that special someone in your life.
Ideas for fortunes
A quick google search for “fortune cookie fortunes” should also help get your creative juices flowing. I had linked to a page I liked with “cheesy” fortunes like “I love you more than bacon,” and “If you were ground coffee, you’d be Espresso because you’re so fine.” Those amused the foodie in me, but you may want to search for something more your taste.
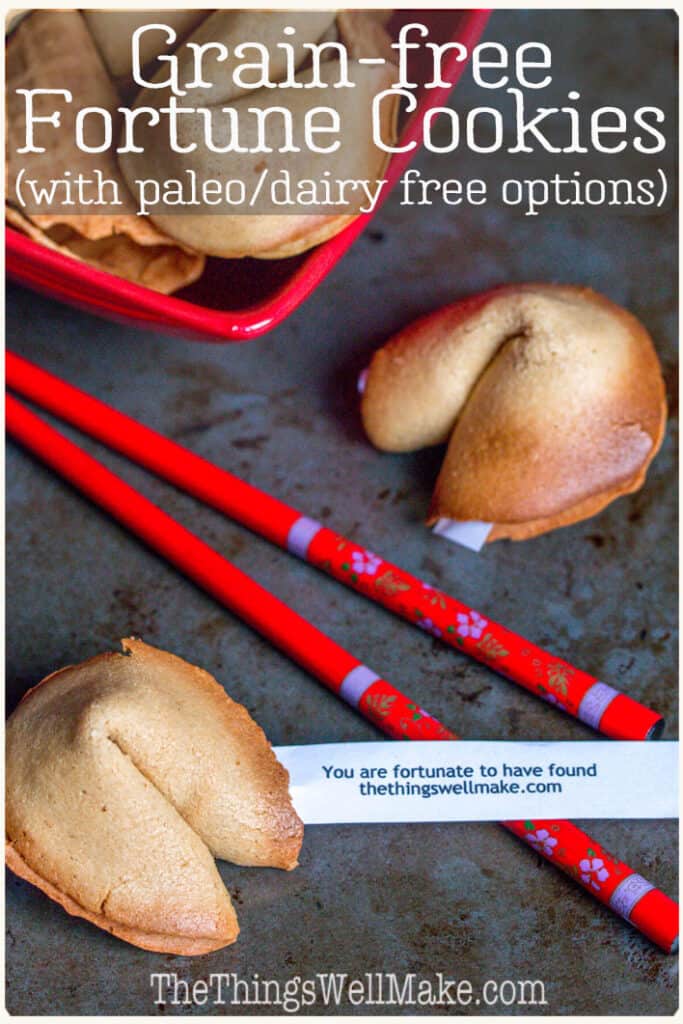
A good pun is always fun, too, so you could always remind your significant other of how “fortunate” they are to have found you!
Printing out the fortunes
While you could just hand-write your fortunes, they look more professional if you type them and print them out.
I used Google Docs to make a spreadsheet template for my different fortunes. When I printed it out on a regular-sized sheet of paper, they were a decent size for my cookies. You are welcome to use my template if you like.
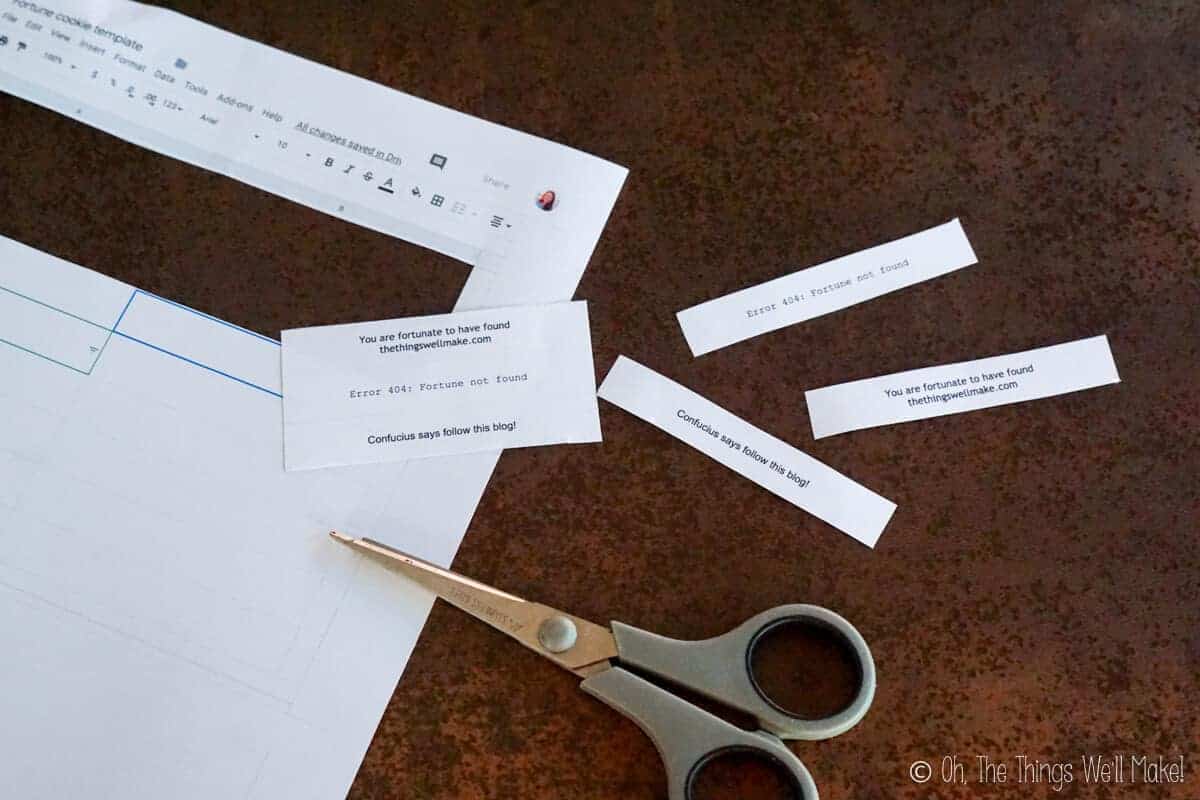
I have set the template so you can only see it and not edit it. (I don’t want an unscrupulous person to come across it and change it to something that isn’t family-friendly.) That said, feel free to download it or make a copy and edit your copy for yourself!
Healthier fortune cookies
In the past, I developed a recipe for grain-free ice cream cones and bowls. When I made them, it occurred to me that the same mix of ingredients would work just as well for making homemade fortune cookies. The method for making both is quite similar. While I waited to try them out until Valentine’s Day, I think making fortune cookies is a really fun project for any time of year.
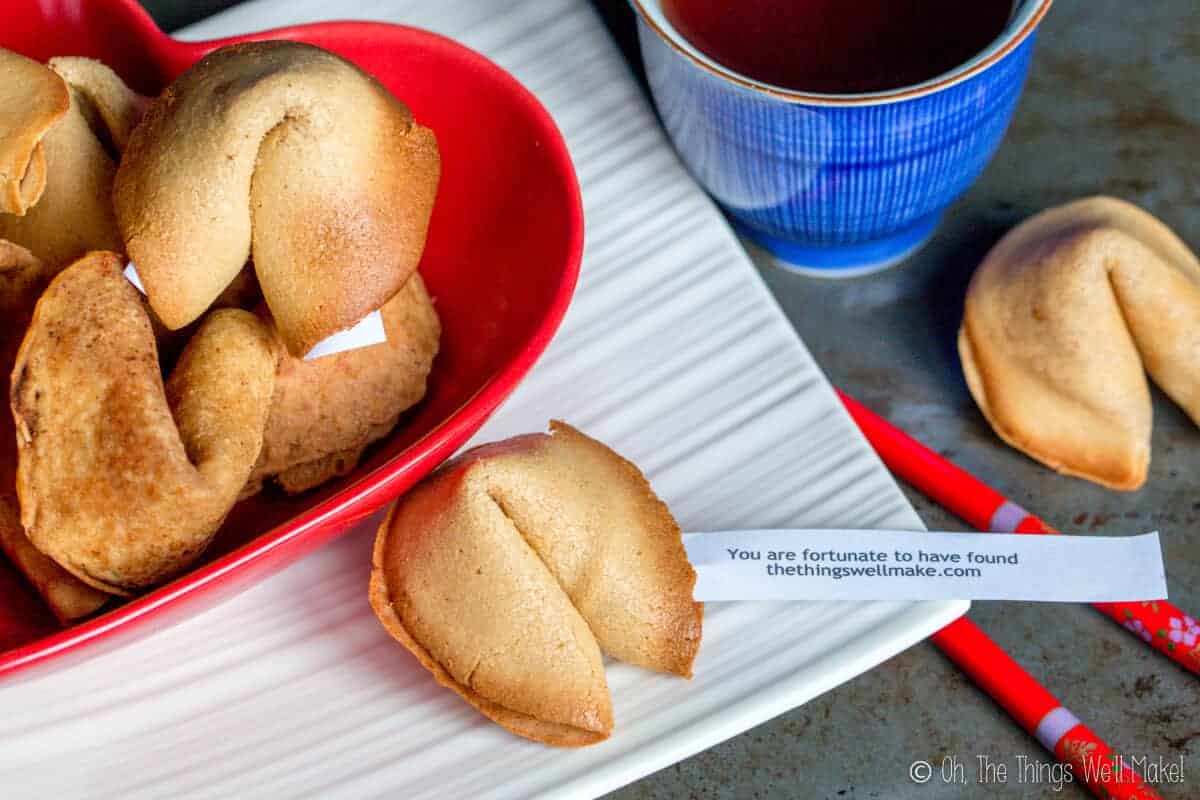
Making the batter
To make this recipe grain-free, we’ll be using a combination of almond flour and tapioca starch. I sweetened the cookies with coconut sugar, but you can use other sweeteners too.
Other ingredients include an egg and a homemade vanilla extract. (You can use store-bought too.)
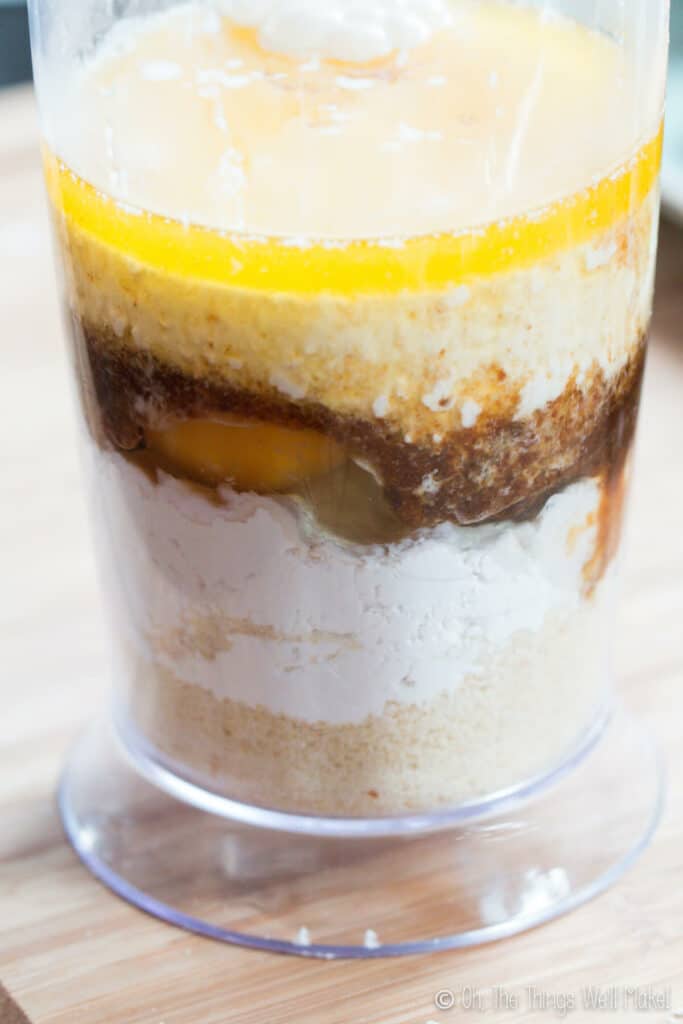
Combine all of the ingredients. 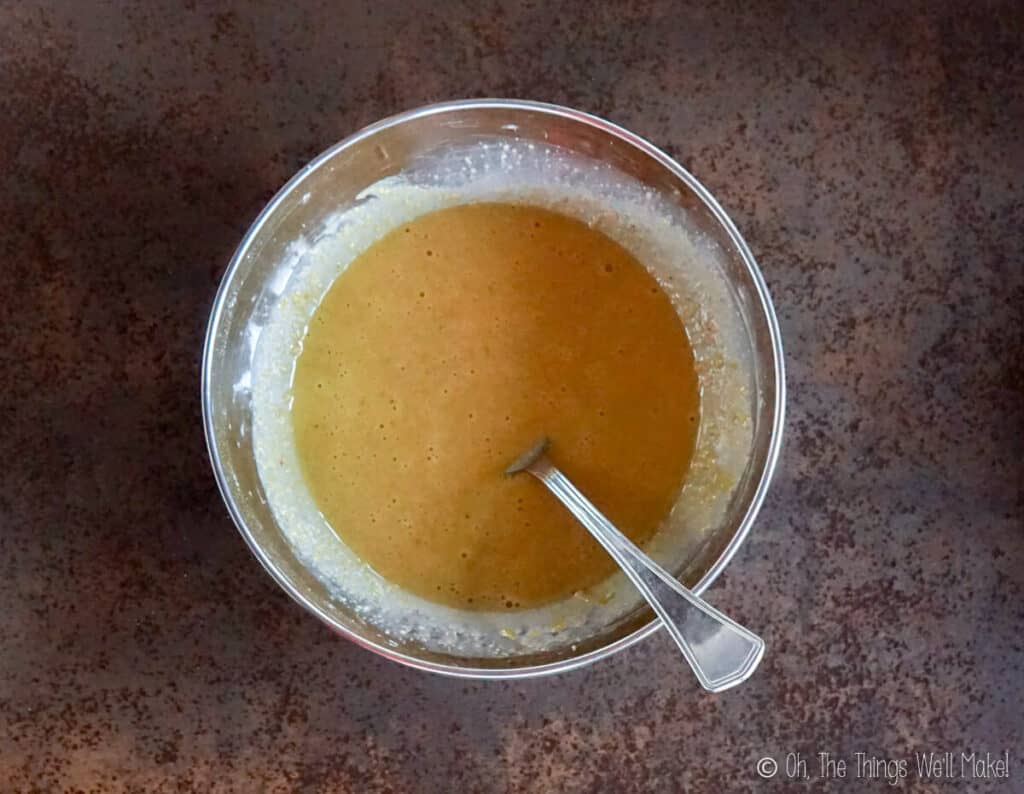
Mix them together well. 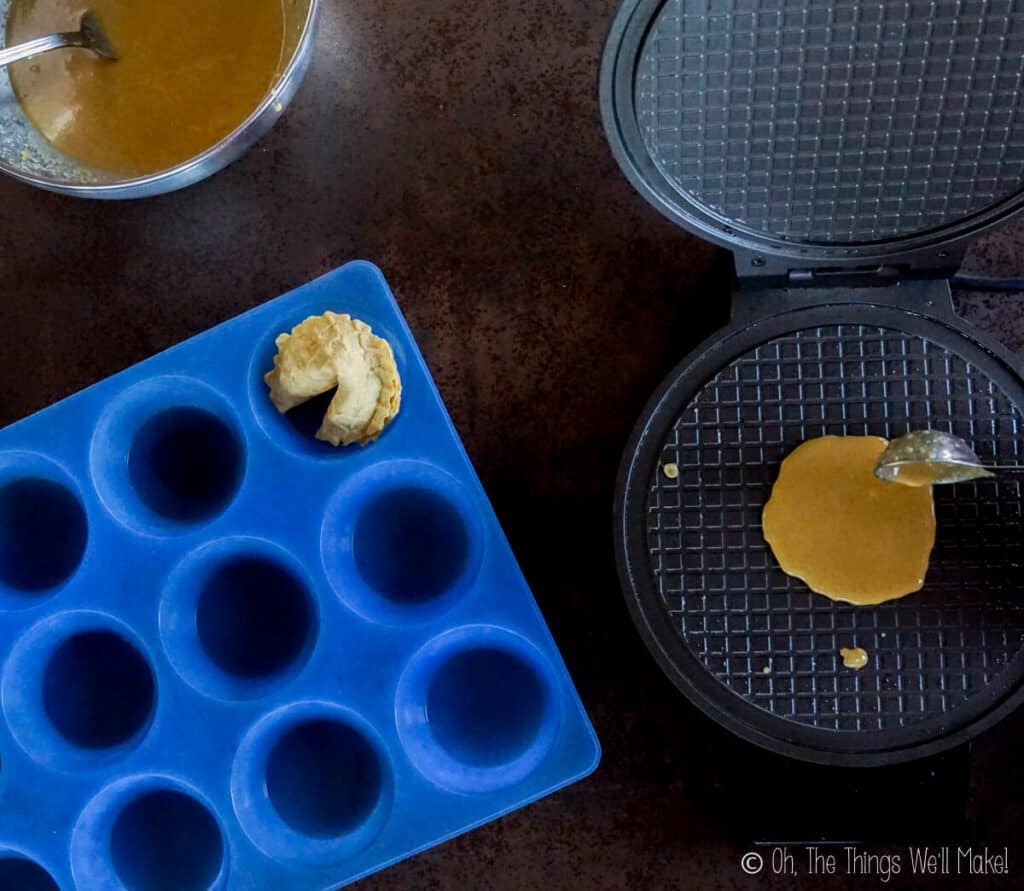
Pour 1 Tbsp. of the mixture onto a pizelle iron. 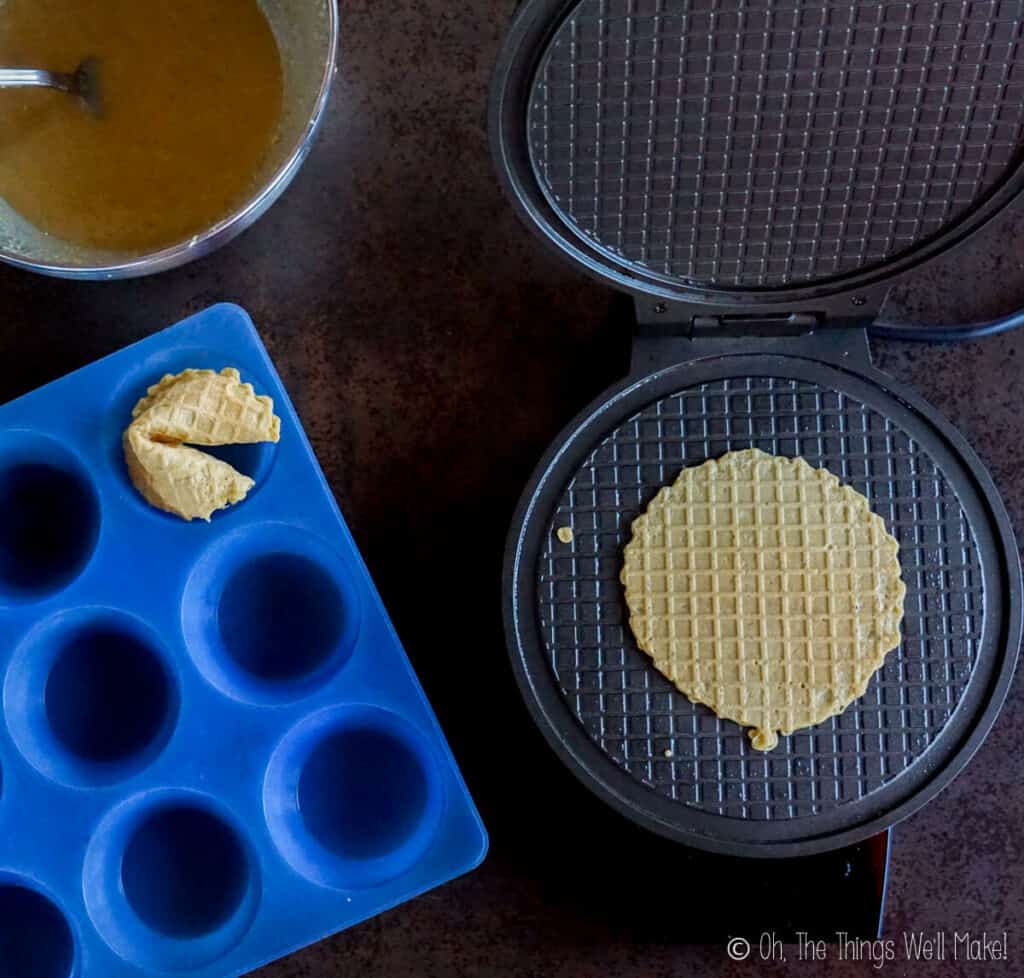
Cook until golden brown.
Customizing the recipe
When I first made this recipe, I used butter and heavy cream, but I have since made it with coconut oil and coconut milk instead. That makes a recipe a bit more “Paleo-friendly.”
Advice
When making the video for this recipe, I used coconut milk and coconut oil (vs. butter and heavy cream). That made the batter thinner. While the batter worked fine for making the cookies in the pizzelle iron, it was a bit too thin for making them in the oven. The cookies didn’t hold their round shape well while baking.
If you choose to use coconut milk and want to make these in the oven, I’d suggest reducing the amount of milk used, enough so that the batter holds its shape.
Other sweeteners can be used in place of the coconut sugar. You can also consider changing the vanilla extract for another extract to change the flavor of the finished cookies.
I haven’t tried subbing out the egg for an egg replacement yet (like flax). If someone gives it a try, I’d love to hear how it goes.
Cooking the batter
Before I share the complete recipe, let me explain the different methods that you can use to make these cookies.
Use a pizzelle or waffle cone maker
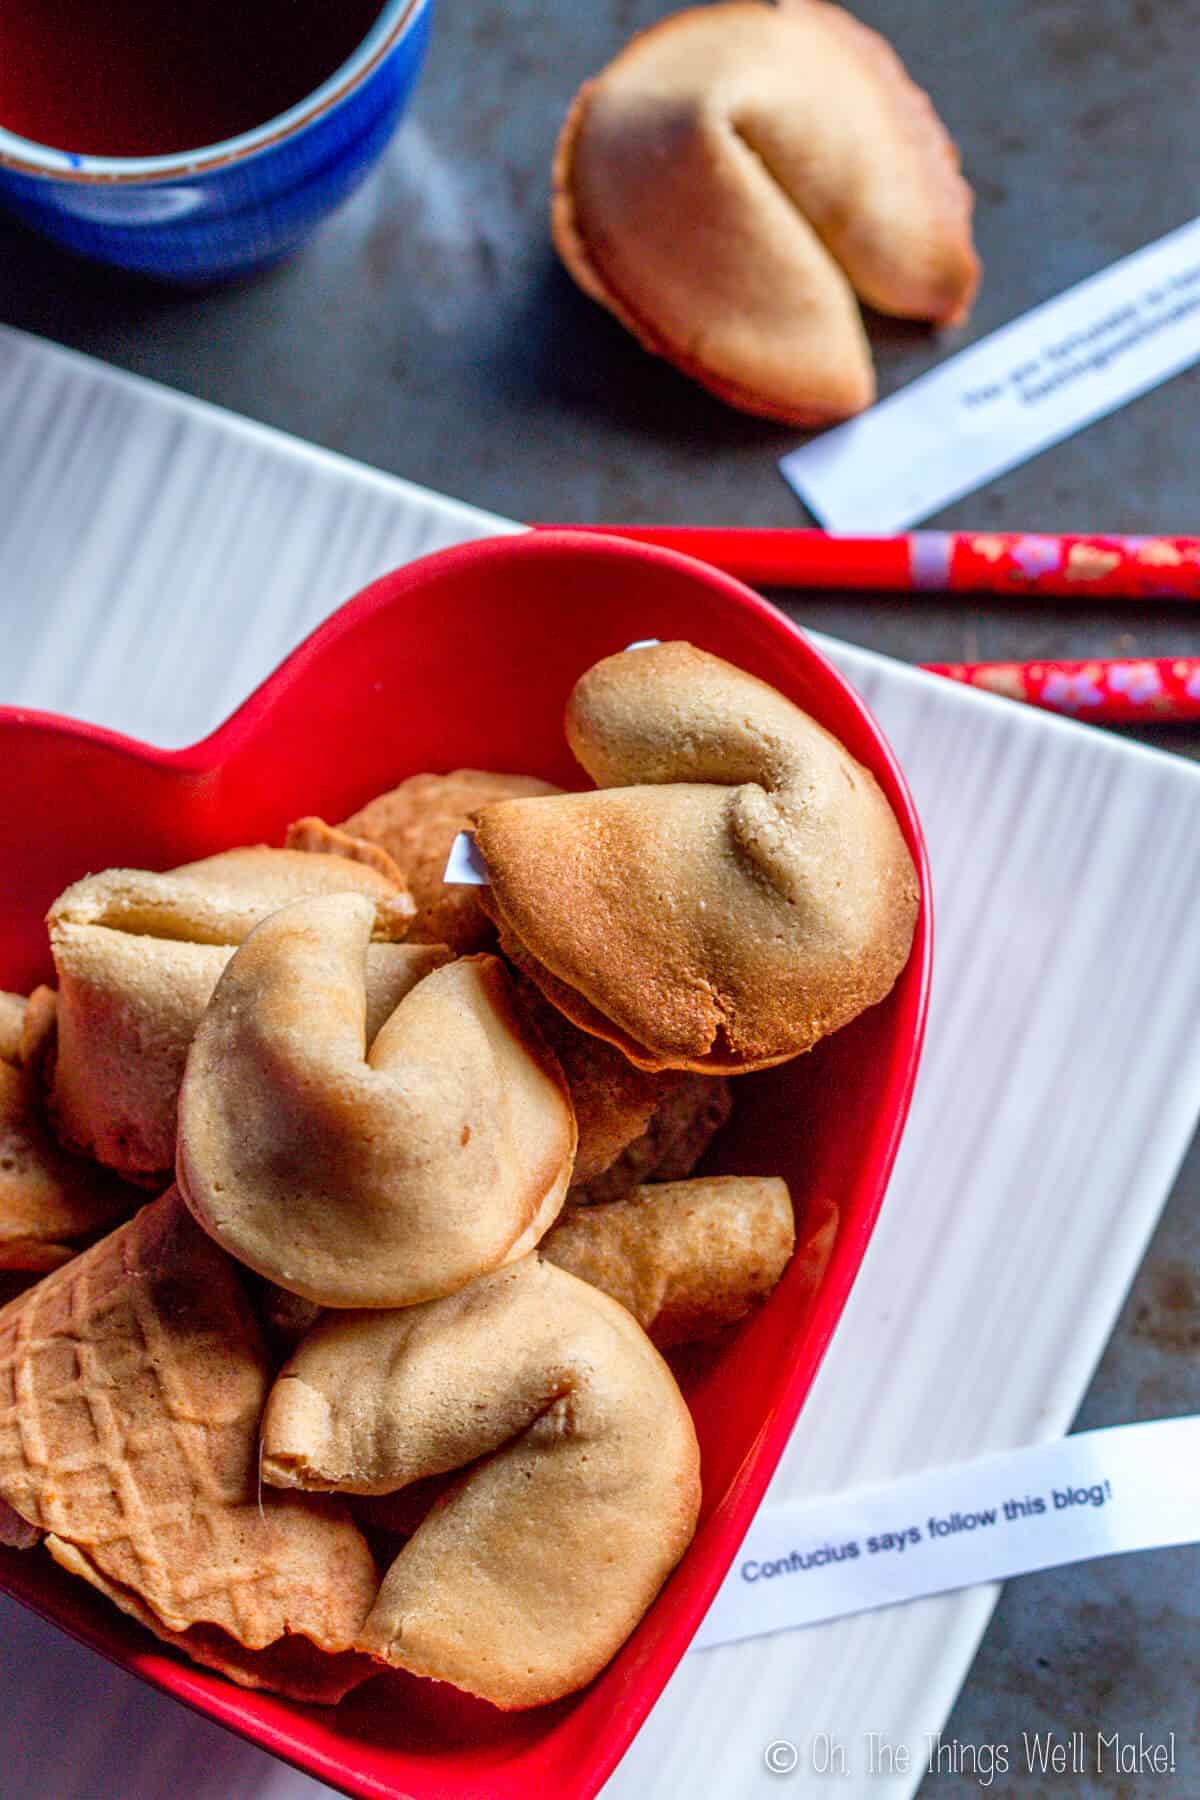
At first, I used a pizzelle/waffle cone maker to cook the cookies. This was by far the fastest and easiest way to make them. The problem with this method, though, is that the fortune cookies had a waffle texture. That kept them from looking like a commercially made fortune cookie. If that doesn’t bother you, and you happen to have a pizzelle or waffle cone iron, use this method as it really does work the best!
The benefit of using a pizzelle maker is that the batter is heated from both sides. The iron quickly and evenly cooks the mixture to the right stage needed for forming your fortune cookies. Plus, the iron presses the batter into a thin disk shape. This gives the cookies the perfect thickness for an ideal fortune cookie.
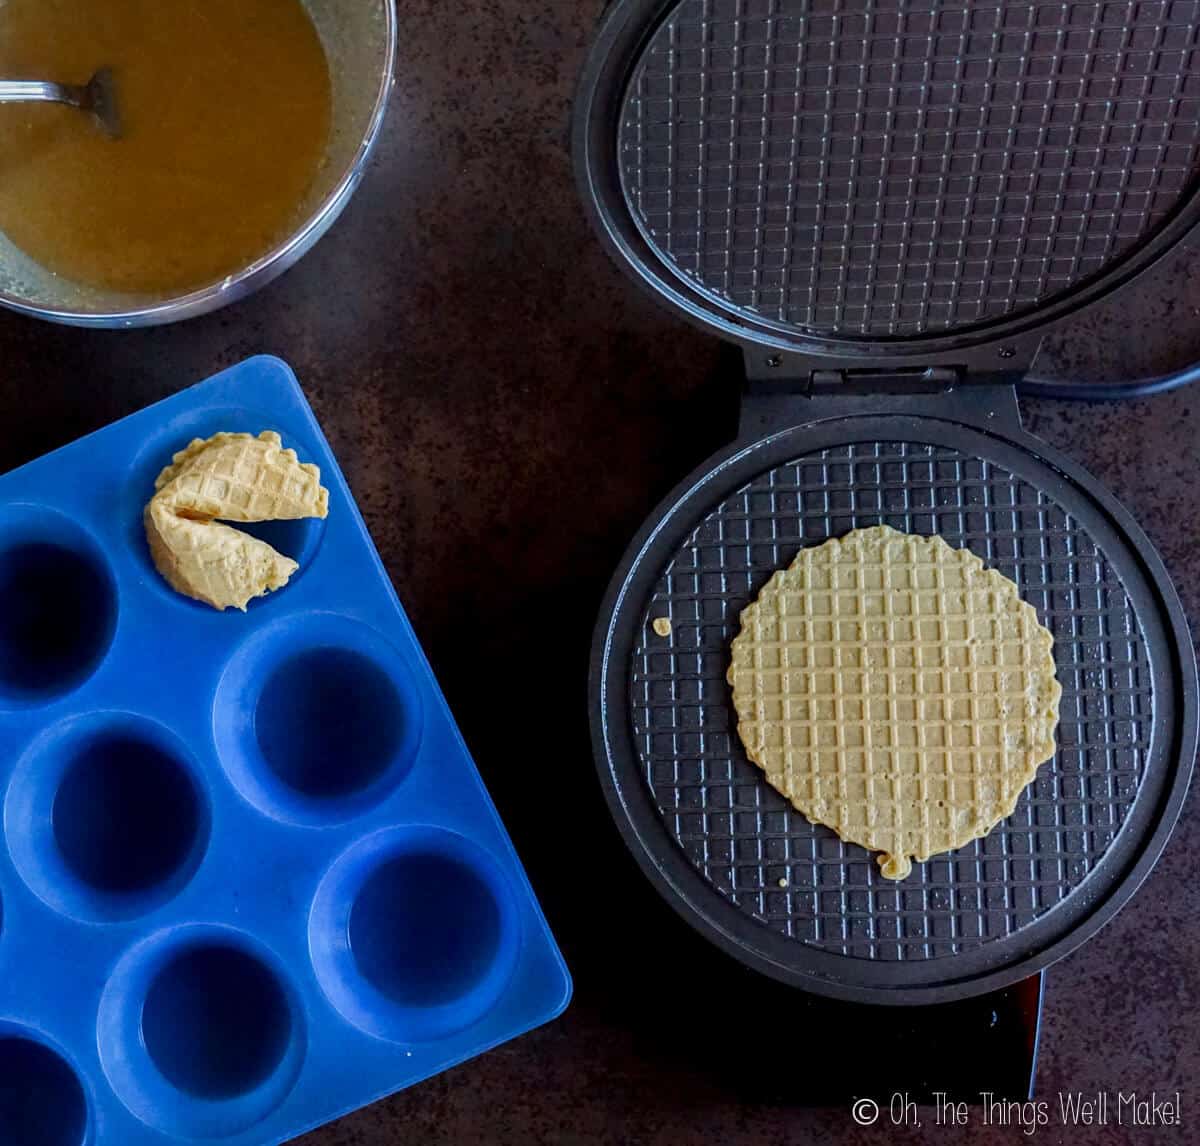
Because they are cooked evenly with this method, the cookies are less likely to break as you form them into the right shape.
The oven method
Next, I tried using my oven for cooking the batter. That seemed to be the most popular method for making conventional fortune cookies.
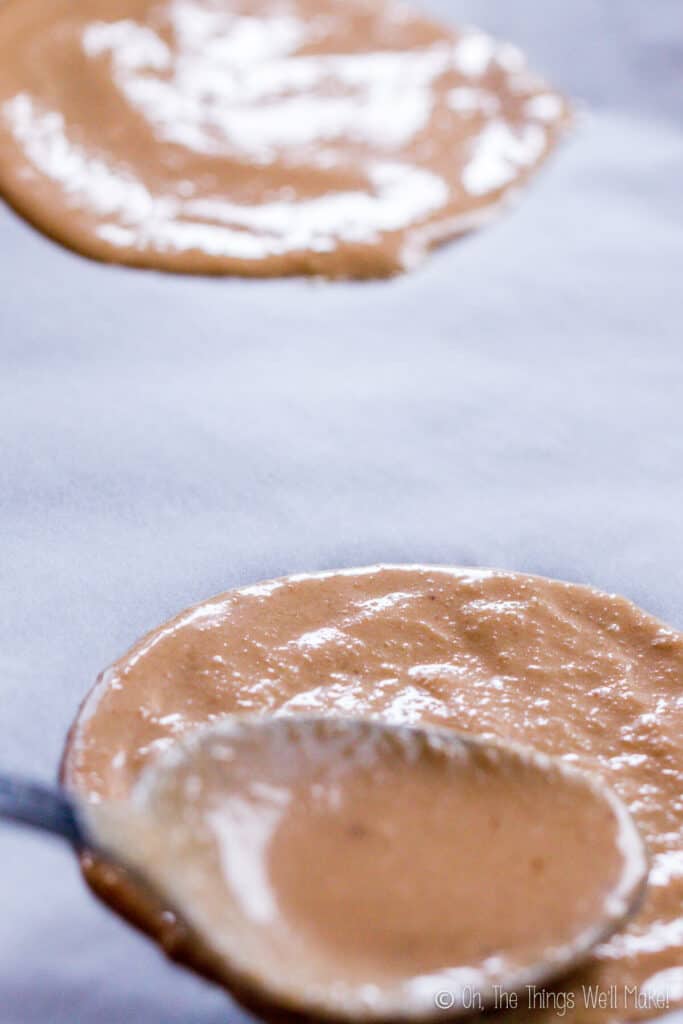
For the oven method, bake the cookies on a cookie tray covered with baking/parchment paper. (You can also use a silicone baking mat.) Use a spoon to scoop up and spread out about a tablespoon of batter into a thin circle, as evenly as possible, onto the prepared tray.
Work by baking only two or three circles at a time or it is difficult to form the cookies at the precise moment. (Once they cool, they are too hard to form.)
Bake the cookies until they begin to brown around the edges. Once they turn golden brown, take one circle at a time and fold it into shape (see below). Move quickly to finish with the rest of your prepared circles and repeat the process until you have made all of your cookies.
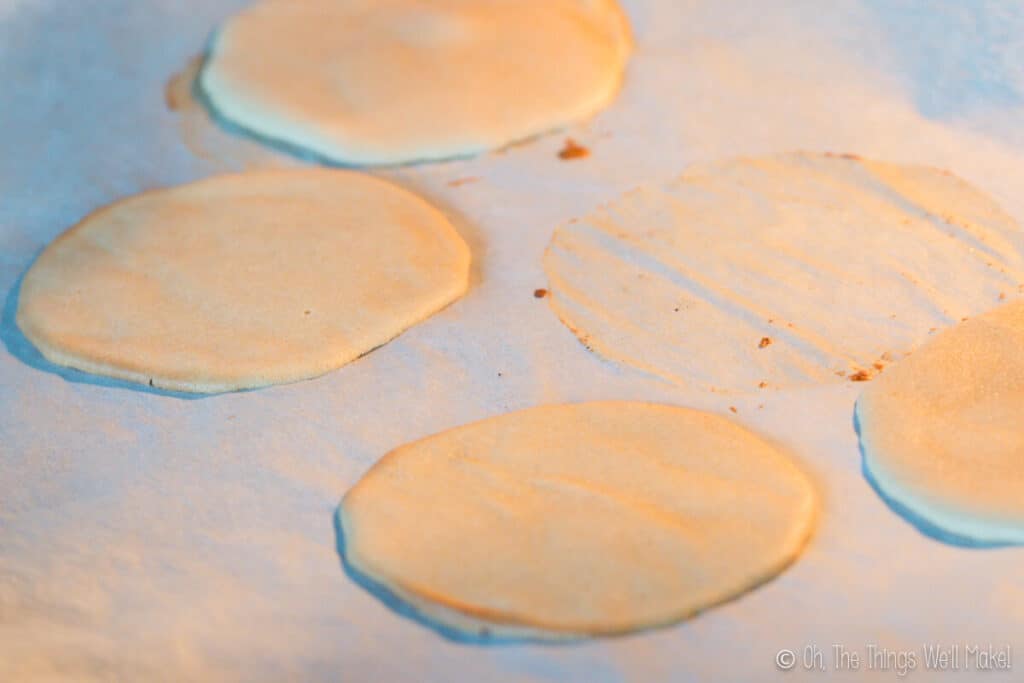
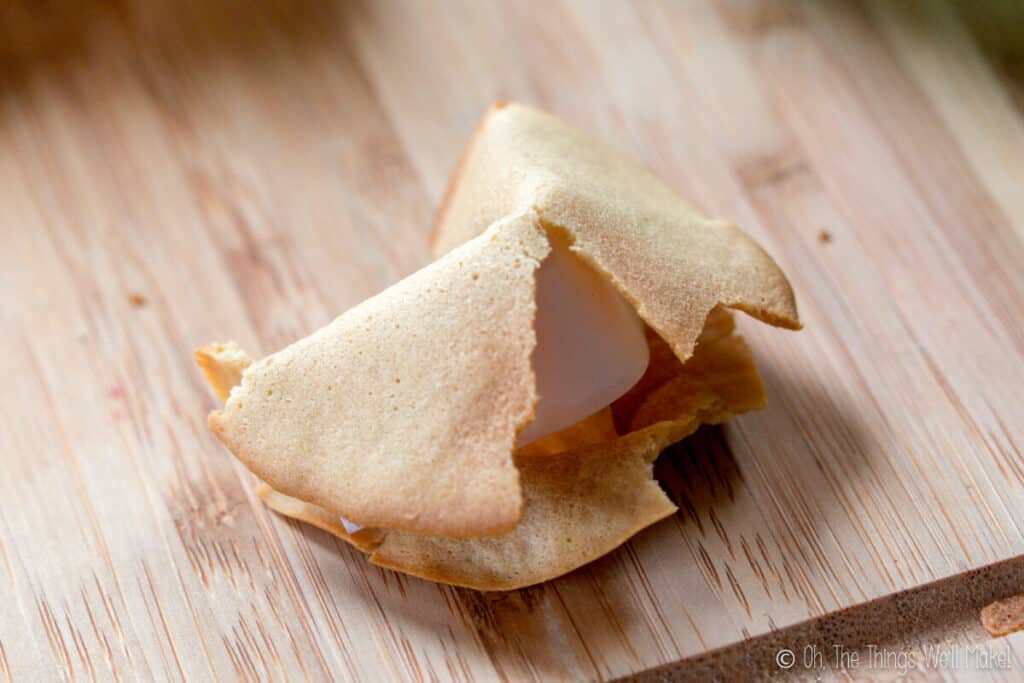
The cookies are more likely to break with this method.
Pros
This method gives the best looking cookies.
Cons
It’s also the trickiest method and the most tedious
- It takes a while (around 10 minutes or even more) to get the cookies browned enough so that they will hold their shape once formed and cooled.
- In the oven, the cookies don’t bake evenly either. They brown more on the edges than in the center. While that gives a nice looking effect in the final cookies, it makes it trickier to form the cookies. The edges end up being crispier and more fragile. They are much more likely to break when you try to fold them into shape.
To help solve that problem, I tried only lightly baking my cookies in the oven, and then flipped them and finished browning for a minute or two on a skillet over the stove. That did seem to help make the process a bit quicker and easier, and resulted in less broken cookies.
I’d also recommend making the batter slightly thicker when using this method. That can be achieved by using slightly less cream or coconut milk.
The Skillet Method
I figured that on the stove, the cookies would bake more quickly and evenly, making it much easier to make the cookies.
While that is true, I wasn’t completely happy making them this way either.
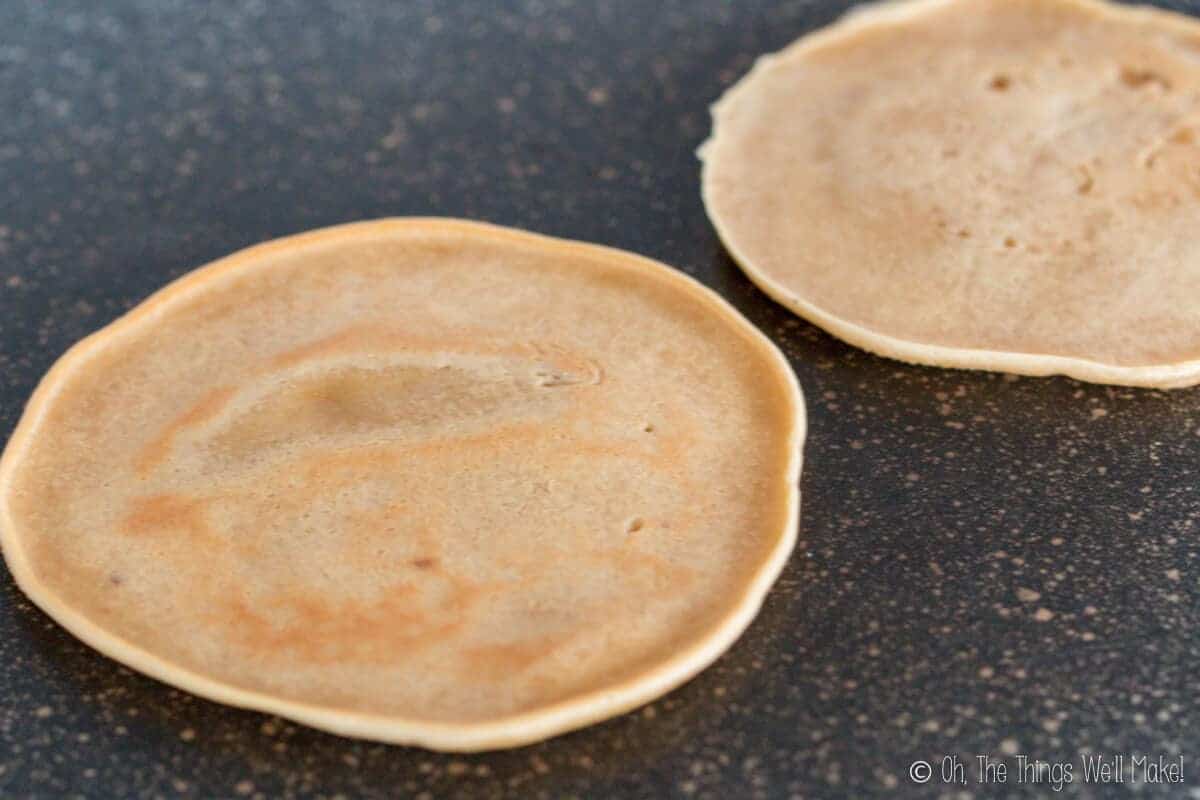
Cons
- It was tricky to spread the dough out quickly enough to get the dough thin and even on the hot skillet.
- The cookies took on a sort of pancake-like appearance. The browning on the cookies is spotted all over the cookie, rather than just browning the edges. The texture isn’t as smooth because the dough bubbles up on the griddle just like pancakes do when you cook them.
- They have a tendency to roll up on the edges.
So, what method do I recommend?
It really depends on what your priorities are.
If you really want a more perfect looking fortune cookie, I’d suggest using the oven method or a combination of the oven method and stove method where you finish browning the cookie on a skillet.
If you don’t mind having a textured cookie, the easiest and quickest method by far is to use the pizzelle iron. I didn’t have any fails at all with that method.
Forming the cookies
Once the cookies have turned a dark golden color, you’ll want to move quickly and form your cookies.
Carefully (so as not to burn yourself) pick up the warm cookie and place a fortune in the center. Bring both the top and bottom edges around over the fortune. Then bend both of the side edges down, leaving a crease in the center of the cookie. You can use the edge of a glass to help you bend the cookie.
When you bend the side of the cookies down, the top and bottom close up over them, forming the characteristic shape of a fortune cookie.
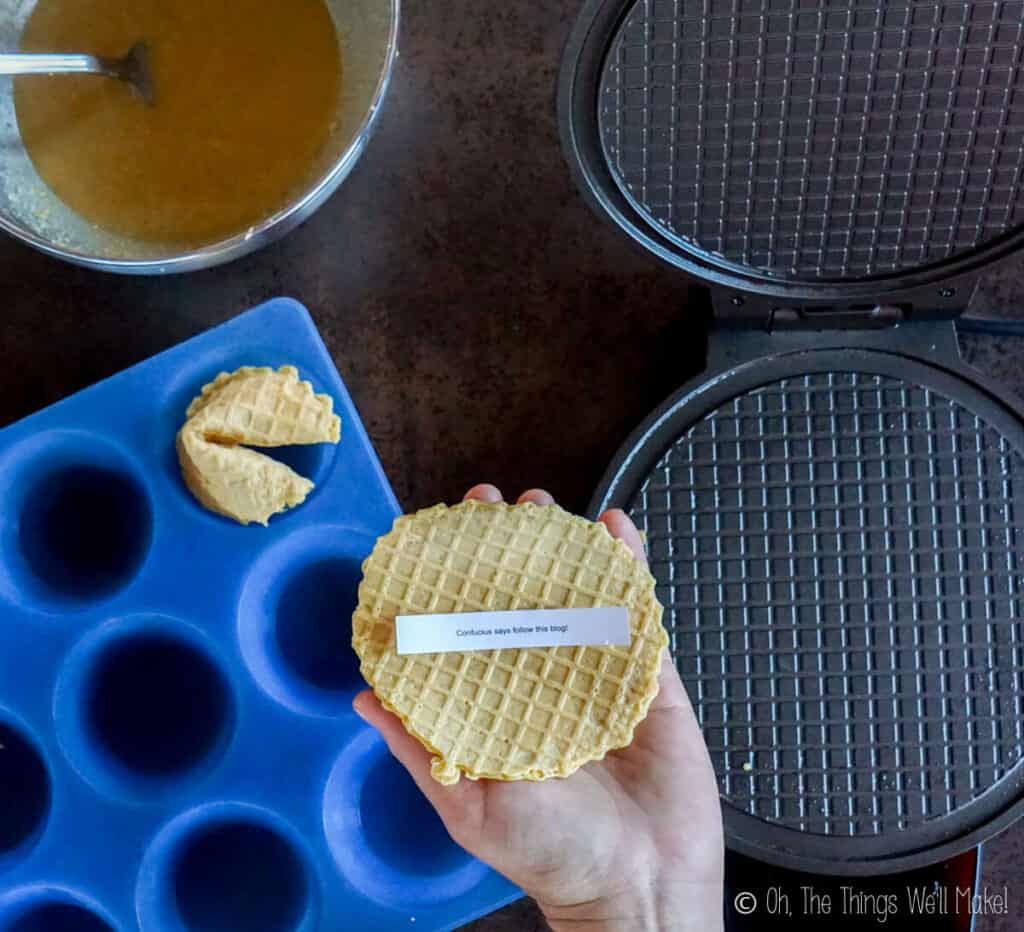
Place a fortune onto the cooked cookie. 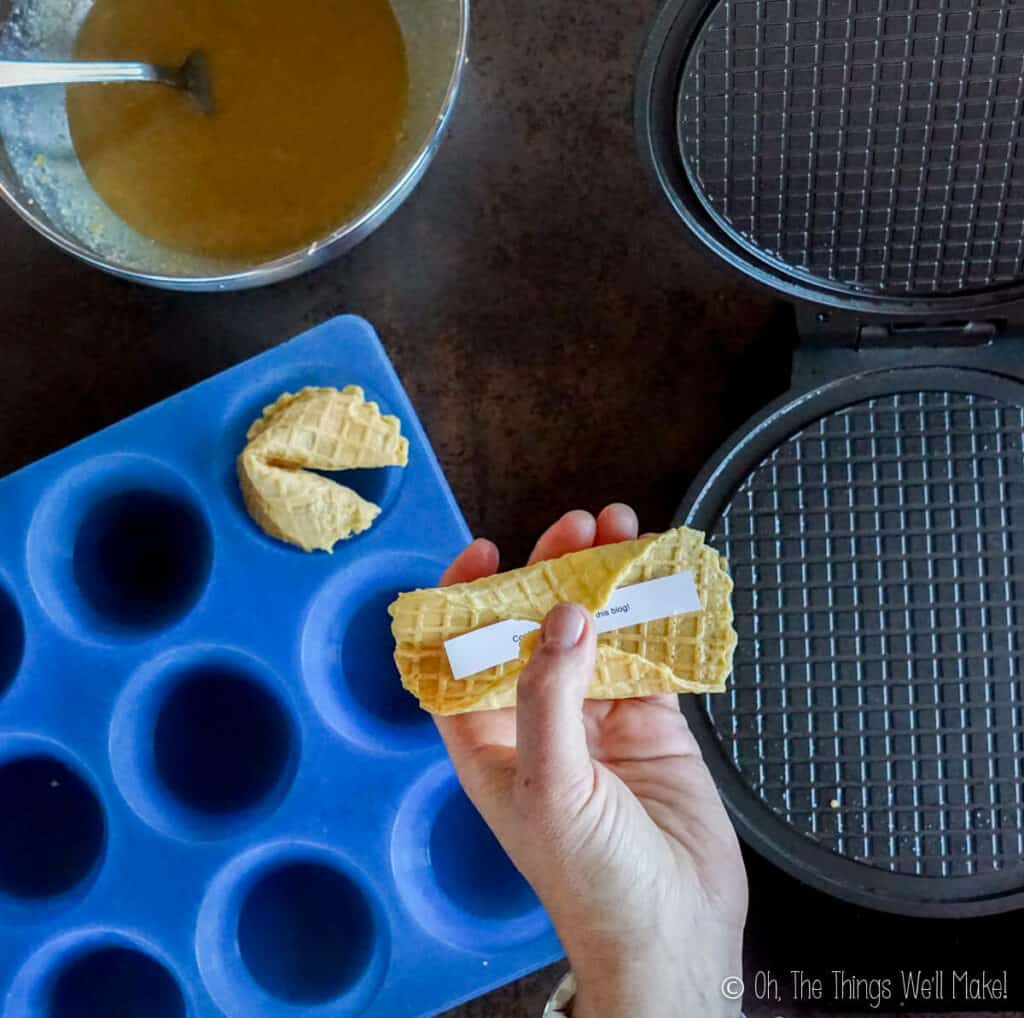
Roll the edges over the fortune. 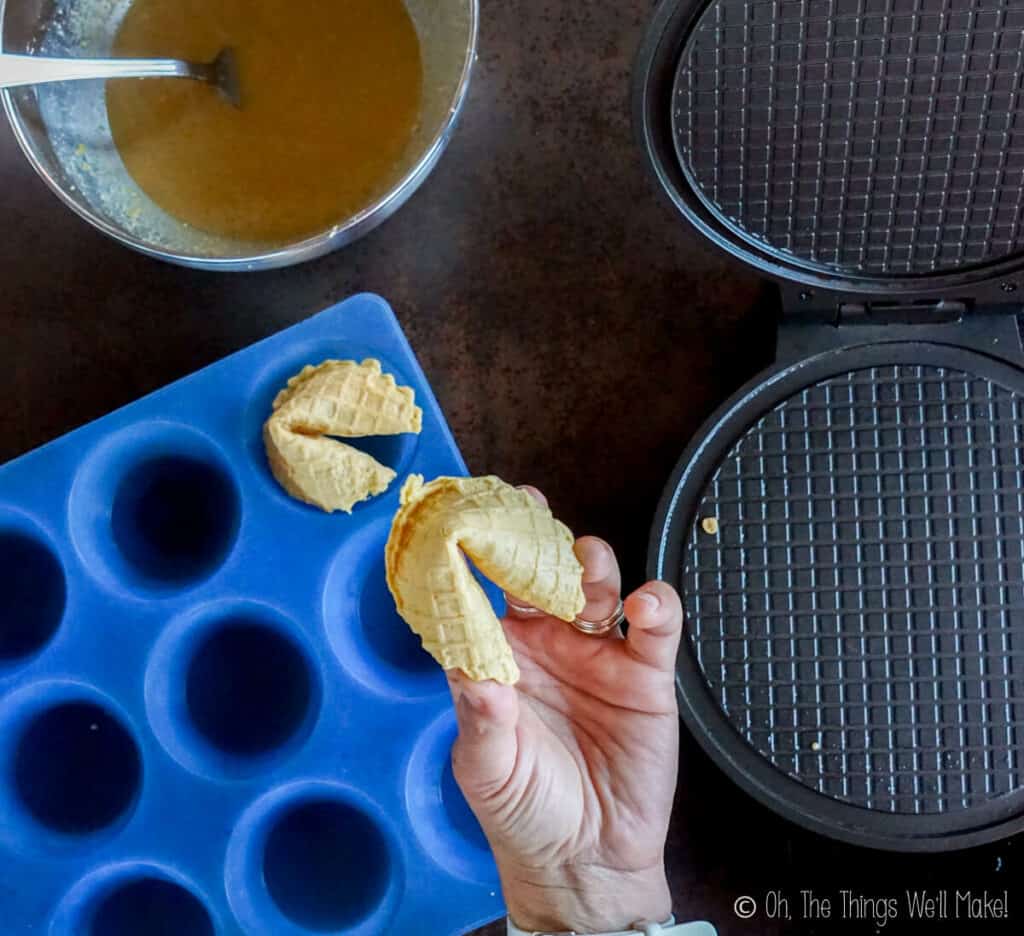
Fold the cookie in half. 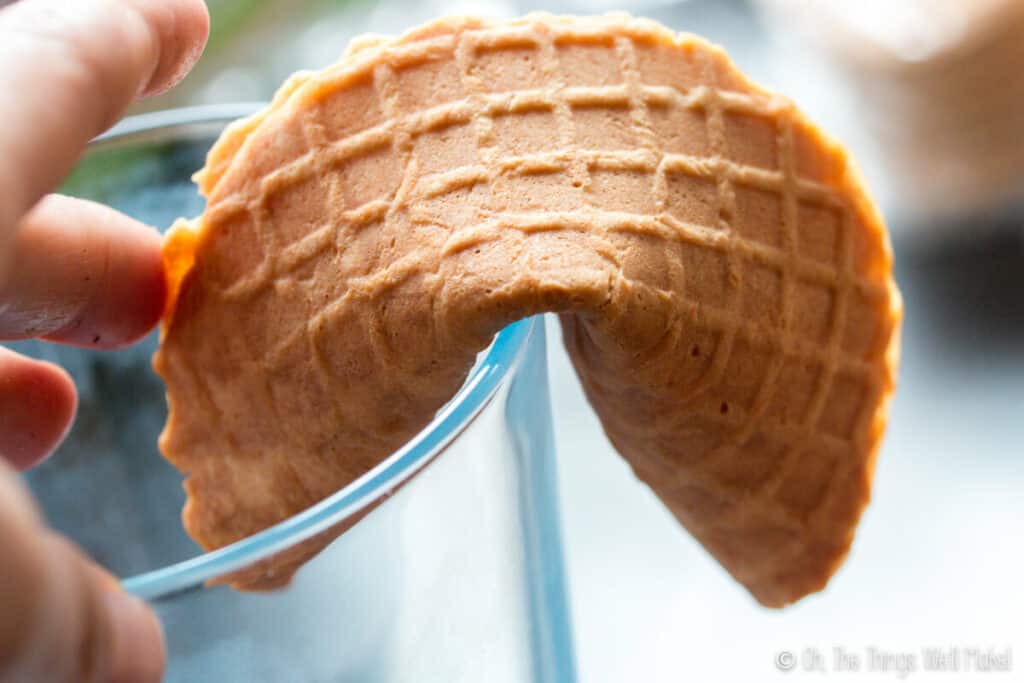
You can use a glass to help shape it. 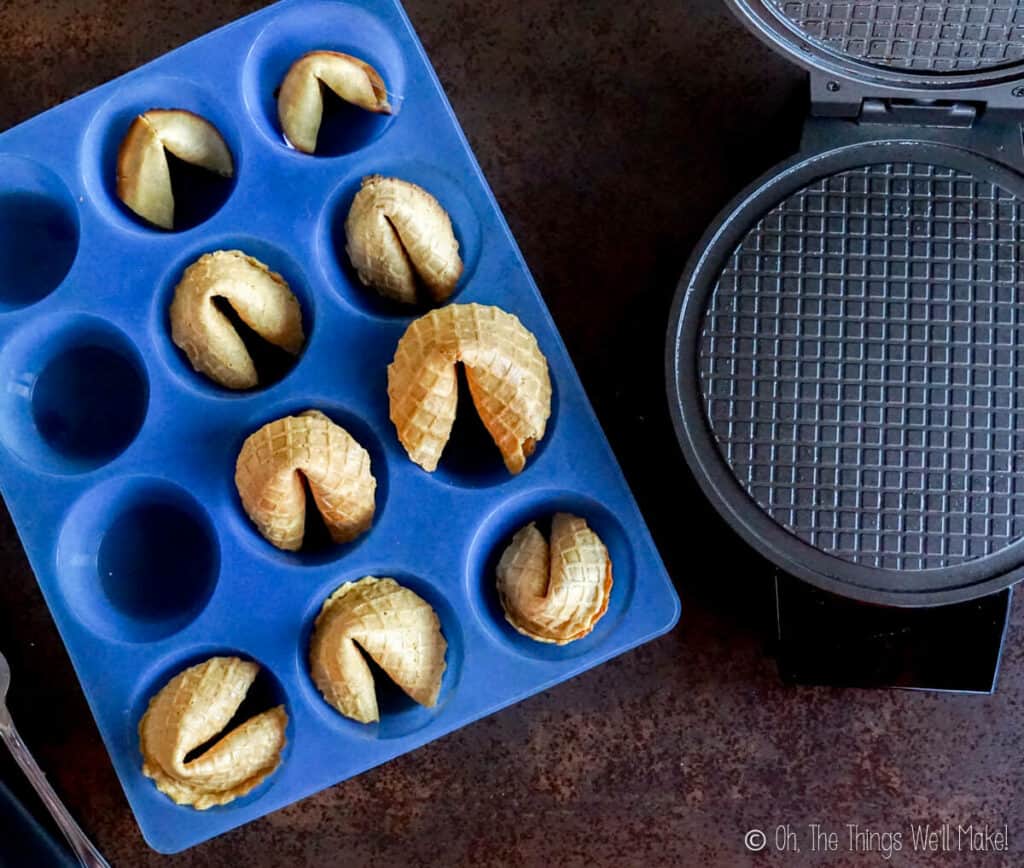
Place in a muffin tin to hold the shape while cooking.
Once you’ve formed the cookies, place them in a muffin tin so that they keep that shape while they cool. As long as they are warm, they may still come apart. They will harden upon cooling.
Watch me make these fortune cookies
Storing the cookies
If you want to gift these cookies or store them for later, keep them in a well-sealed container. You want to avoid humidity from coming in contact with them so that they don’t lose their crispness.
Grain-free Fortune Cookie Recipe

Grain Free Fortune Cookies
Equiment
Ingredients
- 2/3 cup almond flour
- 1/3 cup tapioca flour
- 1/4 cup heavy cream or coconut cream/milk
- 3 Tbsp. butter melted (or coconut oil)
- 1 egg
- 1/4 cup coconut sugar
- 1/4 tsp. salt
- 1 tsp. vanilla extract
- the zest of a lemon or orange (Optional, for added flavor)
Instructions
- Preheat the pizzelle iron, iron, or skillet. If using an oven preheat it to around 400ºF/200ºC. If using a skillet, use medium heat.
- Blend all of the ingredients together well.
- Spoon about a tablespoon of the batter onto the hot iron and close. If you are using an oven instead, spread the batter into a thin, even circle (around 3 inches in diameter) on a tray prepared with some parchment paper or a silicone mat. If using your stove, quickly spread the batter in a circle on the hot skillet.
- Close the iron and wait a minute or two before opening it to peek at how the cookie is looking. If you are using the stove, you want to bake the cookie until it begins to brown. It is normal for the edges to be slightly darker than the center. Be careful not to allow them to burn.If using a skillet, cook the batter until the top of the cookie is no longer sticky before flipping it like you would a pancake. Your cookie is ready when it is lightly browned on both sides.No matter which method you are using, you want to achieve a golden brown color. If the cookie doesn't reach this stage, it won't crisp up enough to hold its shape or have the texture of a fortune cookie.
- Once your cookie has browned, carefully remove it from the heat source and begin to form it into a fortune cookie shape.
- To form the fortune cookie, begin by placing your fortune in the center of the circle, then fold the cookie in half over the slip of paper.
- Immediately fold the cookie in half again, this time by bringing the side edges down and together. This can more simply be done by bringing each edge down on either side of the rim of a glass or a bowl.
- Once you have achieved the right shape, place your cookie in a muffin tin to help it keep its shape until it cools. Once cool, it will harden enough to be crispy and hold its shape on its own.
- Eat immediately or store in a well sealed container to prevent the humidity from reaching your cookies and making them soggy!
- Enjoy!
Notes
Troubleshooting
If your cookies aren’t hardening upon cooling, you probably haven’t cooked them long enough. If the cookies are really soft and pliable still, unfold them and cook them until slightly darker before refolding them.
I did experiment with making some that were too soft and placing the whole muffin tin of finished, soft cookies in the oven. Browning them in this way also worked to harden them. Keep in mind, though, that they may brown more on the top, so you may want to flip them halfway through the cooking process.
If you are having a hard time getting the batter to keep its shape when spreading it out on the baking sheets, your batter is too thin. Consider adding a bit more tapioca flour to help give the batter more consistency.
This post was originally published on January 20, 2015. It was rewritten and republished with new tips and tricks, substitution ideas, photos, and video in January of 2020.
 Español
 Smooth and Creamy Panna Cotta
RG
Not tried them yet but lololol will be next week
Seen done on tv and this might not be as hard as they made it look
Will use Bible text for the message
Tracy Ariza, DDS
I hope you enjoy them!
JoAnn V
I made this recipe today and am really pleased how they turned out. I made 2 double recipes and ended up with 88 cookies including the 2 I burned and 2 that I taste tested. Used regular sugar instead of coconut sugar and lemon extract instead of zest. Since I don’t have a pizelle iron I used my Krumkake iron which is similar. This is a great recipe and thanks for sharing it.
Tracy Ariza, DDS
Thanks, JoAnn!
Jessica
Hi! This looks so fun! How long do they last? Or will they last a few days if I keep them in the fridge?
Thanks for the inspiration 🙂
Tracy Ariza, DDS
They keep for several days if stored in an airtight container. The problem is humidity. If they get humid, they get sift. They’re still edible but not as fun (or good). 😉
Athena
Hi–(newbie here) What kind of paper do I use for the fortune that won’t stain when oil gets on it?
Tracy Ariza, DDS
Hi Athena,
I just used normal copy paper. Most looked OK. Some did get slightly stained by the oil.
I’m not sure what could be used to prevent that.
Ingrid
If you can’t do the cream, can you use coconut cream instead?
Tracy Ariza
Hi Ingrid,
Yes, that should work fine.
I’ve been meaning to make a completely dairy free- paleo alternative recipe. Once the Christmas holidays pass, I want to make these again with my son and hope to update the post.
MELISSA EVEREST
How many cookies does the recipie make?
Tracy Ariza
Hi Melissa,
Well, to be honest, it’s been a long time since I’ve made these and I don’t remember. I’ve been slowly going through some of these older recipes to update the serving sizes (my old recipe plugin didn’t include that information, and I wasn’t always good about making notes about that sort of thing when I first started!)
I’m not sure when I’ll get around to it as I’m in the middle of a detox right now. 😉
It really depends a lot on the size and thickness you make them, but I was able to make all of the cookies in the pictures and more, so I’d say that it probably makes at least a dozen. If you have too much batter, you can make an ice cream cone with it too! I wish I could be of more help.
If you do make them I’d love hearing how many you were able to make with the recipe. 😉
Krystal
Tracy this is just awesome! You are so talented… fortune cookies from scratch and grain free to boot! My goodness! I think I will try making this with my daughter as a fun mommy and me Valentine’s Day project.. 🙂
Tracy Ariza
Thank you, Krystal!
I hope you have fun making them.
As much as I enjoyed making them myself, though, I have to admit that I prefer making them into ice cream cones and bowls. Maybe it’s because I love ice cream more than I love cookies, though. 😉