

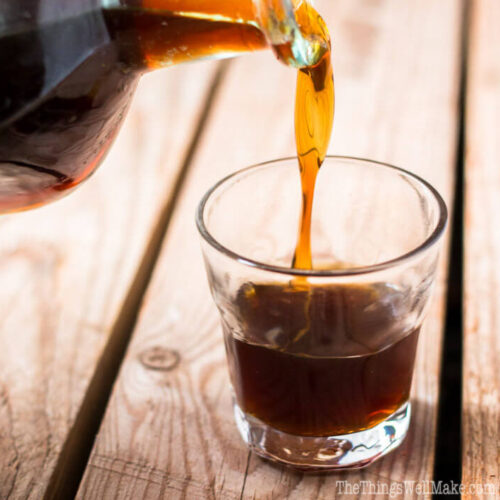
Homemade Tía María or Kahlúa Copycat Coffee Liqueur Recipe
Control the quality of the ingredients and the level of sweetness when you make your own homemade Tía María or Kahlúa copycat using this easy coffee liqueur recipe.
While I have been buying Kahlúa for over twenty years now, I even brought back a bottle of it directly from Mexico once, Tía María is really a new discovery for me. I’d seen recipes before that used Tea María, but, to be honest, I wasn’t even sure what it was. I figured it was some sort of liqueur, but didn’t know if it would be something like Cointreau, something “nutty” like Amaretto, or if it would be what it is, coffee liqueur.
Interestingly enough, while there are probably hundreds of cocktail recipes that use Kahlúa in the United States, it’s not so commonly recognized here in Spain. It’s so uncommon that when we tell people our dog’s name is Kahlúa (named for her beautiful coloring), most people say it’s a pretty name without having any idea that it actually means something. It’s a lot more common to find Tía María here. (And in my region of Spain, the most common coffee liqueur, Cerol, is a non-sweet, thinner coffee liqueur that gets mixed with cola or lemon soda pop to make a drink commonly known as burret.)
What got me to finally give Tía María a try?
We went to a Mexican restaurant the other night and were eyeing their collection of liqueurs when I finally got around to asking my husband what Tía María actually was. He hadn’t tried it before, despite being a huge fan of coffee liqueurs, and decided to order his after dinner coffee “tocado” with a dash of Tía María.
Once he tried it, he was hooked, and I was forced to go out and buy a bottle. First, I bought it to see if I could tell the difference between Tía María and Kahlúa, and second, to see if I could make my own version of which ever one ended up being our favorite. (Because you know I love that sort of thing, right?)
What is the difference between Tía María and Kahlúa?
Kahlúa originated in Mexico, and Tía María originated in Jamaica using Jamaican rum. Both coffee liqueurs are quite sweet and have a strong coffee flavor with a slight hint of vanilla. I find Kahlúa to be thicker and sweeter, closer to a light syrup consistency, while Tía María is lighter and smoother with a stronger hint of vanilla. Kahlúa typically has an alcohol content of around 20%, although I was surprised to find that it actually varies quite a bit from region to region, while Tía María has a set alcohol percentage of 26.5%.
From what I can tell, both liqueurs have mostly the same principal ingredients: rum, sugar (caramel), vanilla, and, of course, coffee. Kahlúa is normally said to add high fructose corn syrup to the other ingredients, which may be why it has more of a syrupy feel to it. After trying them together, both my husband and I ended up becoming coffee liqueur snobs, deciding that we no longer wanted Kahlúa, and preferred the easier to find Tía María. Our favorite Kahlúa is most definitely our cute Bernese mountain dog. 😉
Why make your own Tía María (or Kahlúa) like Coffee Liqueur?
While you can save yourself some money by making your own coffee liqueur, that isn’t my main reason for wanting to do so. (Although now that my husband has become addicted to adding a dash of it to his coffee, being able to save a buck is a nice perk!)
The main reason I prefer to make my own coffee liqueur is to be able to control the quality of the ingredients.
When it comes to infusing things into alcohol, you are getting a pretty concentrated version of whatever it is that you are infusing. In the case of a homemade Tía María or Kahlúa, that main ingredient is the coffee, so you should make an effort to use a good quality coffee bean. Whenever I make homemade liqueurs, I always use organic ingredients whenever I can find them. That’s why I used organic mint from my garden when I made peppermint liqueur, and why I used lemons, limes, and tangerines from my own trees when making homemade limoncello, limecello, and mandarinecello!
When I made the homemade limoncello, I used a refined white sugar to keep the flavor light and to leave the liqueur a lovely shade of light yellow. In the case of this liqueur, though, I actually prefer the flavor of the more unrefined organic sugars when making the “caramel” sugar syrup. (In my first batch I used an organic panela sugar, and I think it suited the recipe quite well.)
Apart from being able to use quality, organic ingredients, by making your own, you can adjust it to suit your personal taste.
Do you like the idea of coffee liqueurs but find them to be too sweet? By making your own, you can add less sugar syrup to get a not-so-sweet version. Depending on your taste, you can give the liqueur more of a caramelized flavor by first melting the sugar over medium heat until it lightly browns, just like when you make the caramel topping for flan, or you can just make a simple syrup by dissolving the sugar in water over low to medium heat.
Do you find the alcohol content too strong or not strong enough? You can add more water to lower the percentage of alcohol, or increase it by using a thicker, more concentrated sugar solution or a rum with a higher proof to begin with. As for the strength of the coffee and vanilla, well, of course you can adjust those to suit your taste too. By letting the coffee beans infuse for more days, you can get a stronger coffee flavor. Because I love the vanilla flavor so much, I cut open 4 vanilla beans to use during the infusion process, and added one of the beans back into the bottle after filtering out the other stuff.
Homemade Tía María or Kahlúa Copycat Coffee Liqueur Recipe
Homemade Tía María: Coffee Liqueur Recipe
Ingredients
- 25 ounces rum
- 1 cup coffee beans (whole) I chose organic
- 4 vanilla beans
- 2 cups panela or other sugar of choice
- 2 cups water
Instructions
- Find a glass bottle or jar large enough to store the rum with the coffee beans and vanilla beans for several days. Pour the rum into the container.
- Split the vanilla beans down the center with a sharp knife. This will expose the inner seeds, allowing the vanilla flavor to better infuse into the rum.
- Add the split vanilla beans to the bottle with the rum.
- Add the coffee beans to the bottle with the vanilla beans and rum, cover it, and give it a good shake. I use whole coffee beans because it’s less messy and works great, but you can also use ground coffee if you don’t have any whole beans.
- Store the bottle out of direct sunlight, shaking the bottle occasionally, when you walk by it, to help incorporate all of the ingredients so they infuse well into the alcohol.
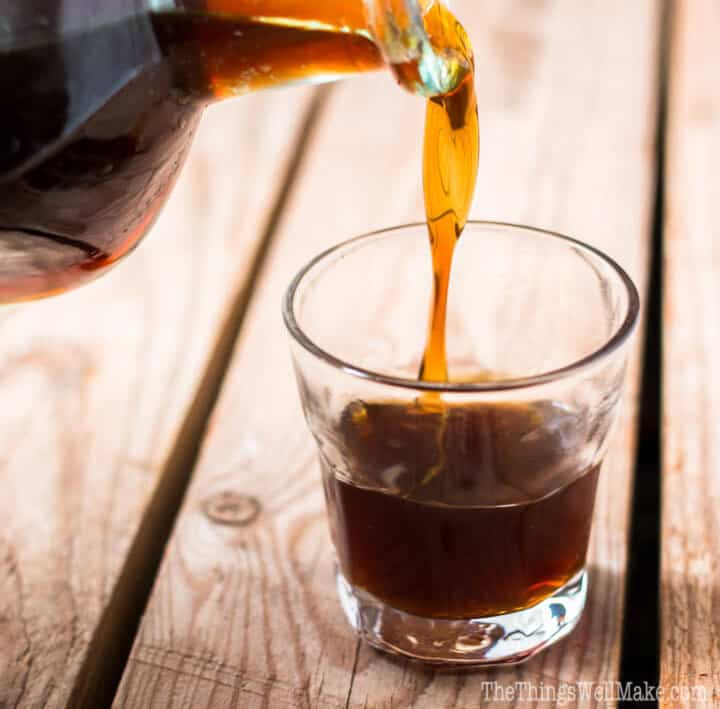
- Depending on the strength of the alcohol used, the type of coffee, and whether it was ground or not, in just a few short days the rum will have taken on a dark color and a strong coffee flavor. You should also note the flavor of the vanilla beans, but the flavor is more subtle. At this point, it’s really up to you how long you want to leave it infusing. When you are ready to stop the process, move onto the next step.
- Make a sugar syrup. The first time I made this liqueur, I made a simple sugar syrup by mixing together the water and sugar in a pan over low to medium heat until the sugar dissolved. I used equal weights of water and sugar to make a very basic sugar syrup, but you can make it sweeter by adding more sugar, or lighter by adding less. Once cooled, add the syrup to the coffee infused rum.
- I have since been experimenting with ways to alter the final flavor of the liqueur. If you want a more caramel flavor, you can caramelize the sugar first, before dissolving it in water to make the syrup. To do so, heat the sugar, without water added, to a pan over low to medium heat until it begins to melt and lightly brown. At that point, you can add water to dissolve the caramelized sugar into a caramel flavored sugar syrup.
- Strain out the coffee and vanilla beans, and add the sugar syrup to the coffee and vanilla infused rum. It’s a good idea to add the sugar syrup little by little, tasting the mixture along the way, so that you don’t make the liqueur too sweet for your taste. Stop when you’ve reached the desired level of sweetness. (If it’s sweet enough, but too strong, you can add a little water. I’d wait a few days before adding the water, though, because the alcohol flavor seems to slightly mellow with time.)
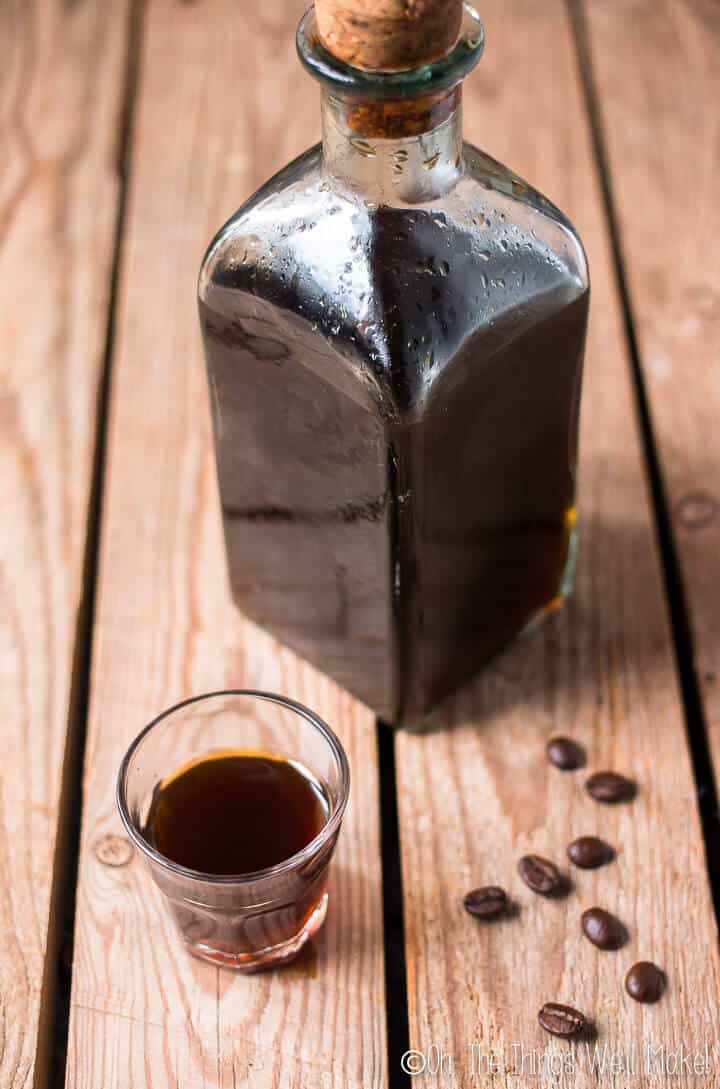
- I wanted a stronger vanilla flavor, so I added a couple of vanilla beans back into the liqueur. Some people are very particular about not having little seeds in the final liqueur. If you want it perfectly smooth and clear of any seeds, you can do a final strain through a coffee filter or tight cheesecloth.
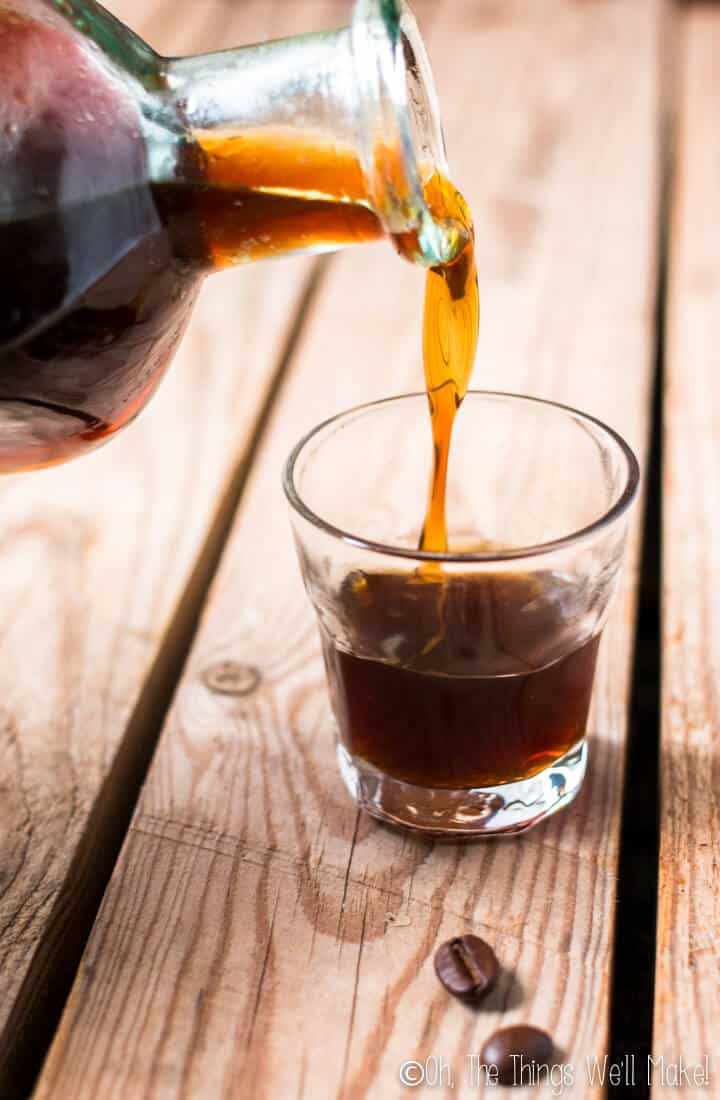
- Store at room temperature or refrigerated, and serve alone or in any Kahlúa or Tía María recipe. (My husband adds a dash to his espresso.) Enjoy!


Is it ok to separate into smaller bottles.
Hi Mags,
Yes, absolutely! It’s perfectly fine to divide your homemade Tía María or Kahlúa into smaller bottles. In fact, I often do the same—it makes it easier to store, gift, or just grab a little at a time. Just make sure the bottles are clean and well-sealed, and you’ll be good to go.
Enjoy your homemade liqueur—and let me know how it turns out!