How To Make Brown Butter: A Foolproof Method
Also known as beurre noisette, the nutty, toasty, and toffee-like flavor of brown butter is pure liquid gold. Use it to enrich the flavor of your main dishes and desserts or make it into ketogenic brown butter bites. Learn how to make it perfectly, every time.
What is Brown Butter?
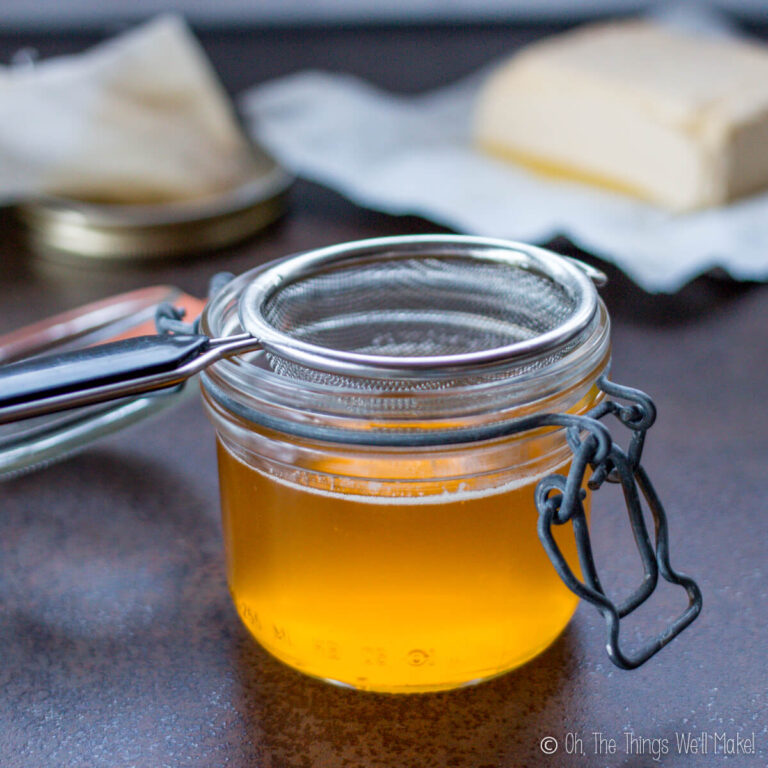
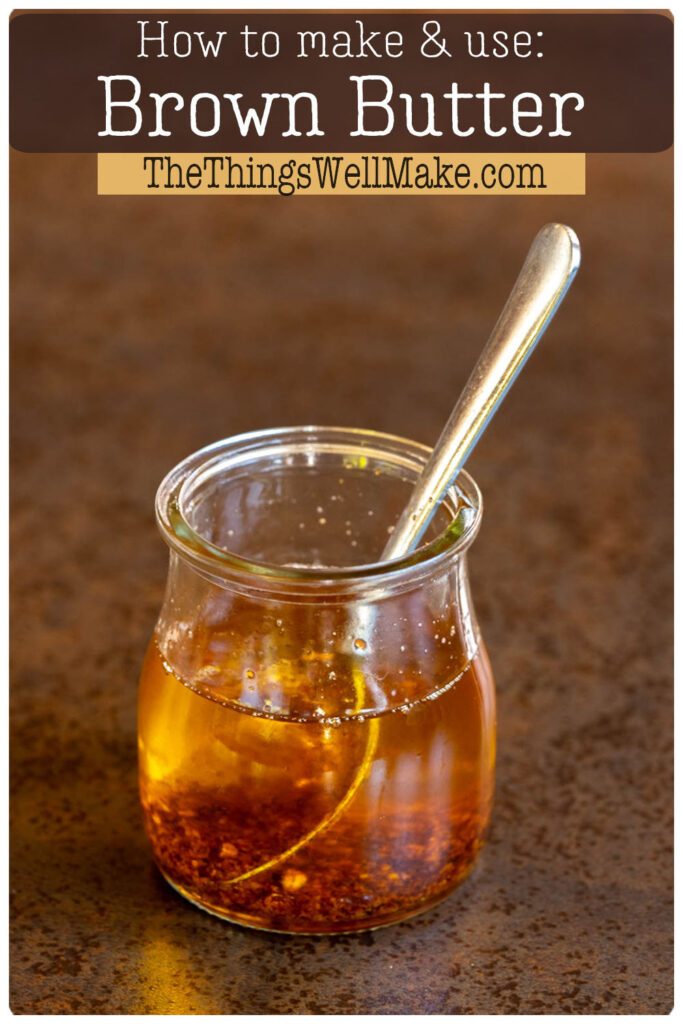
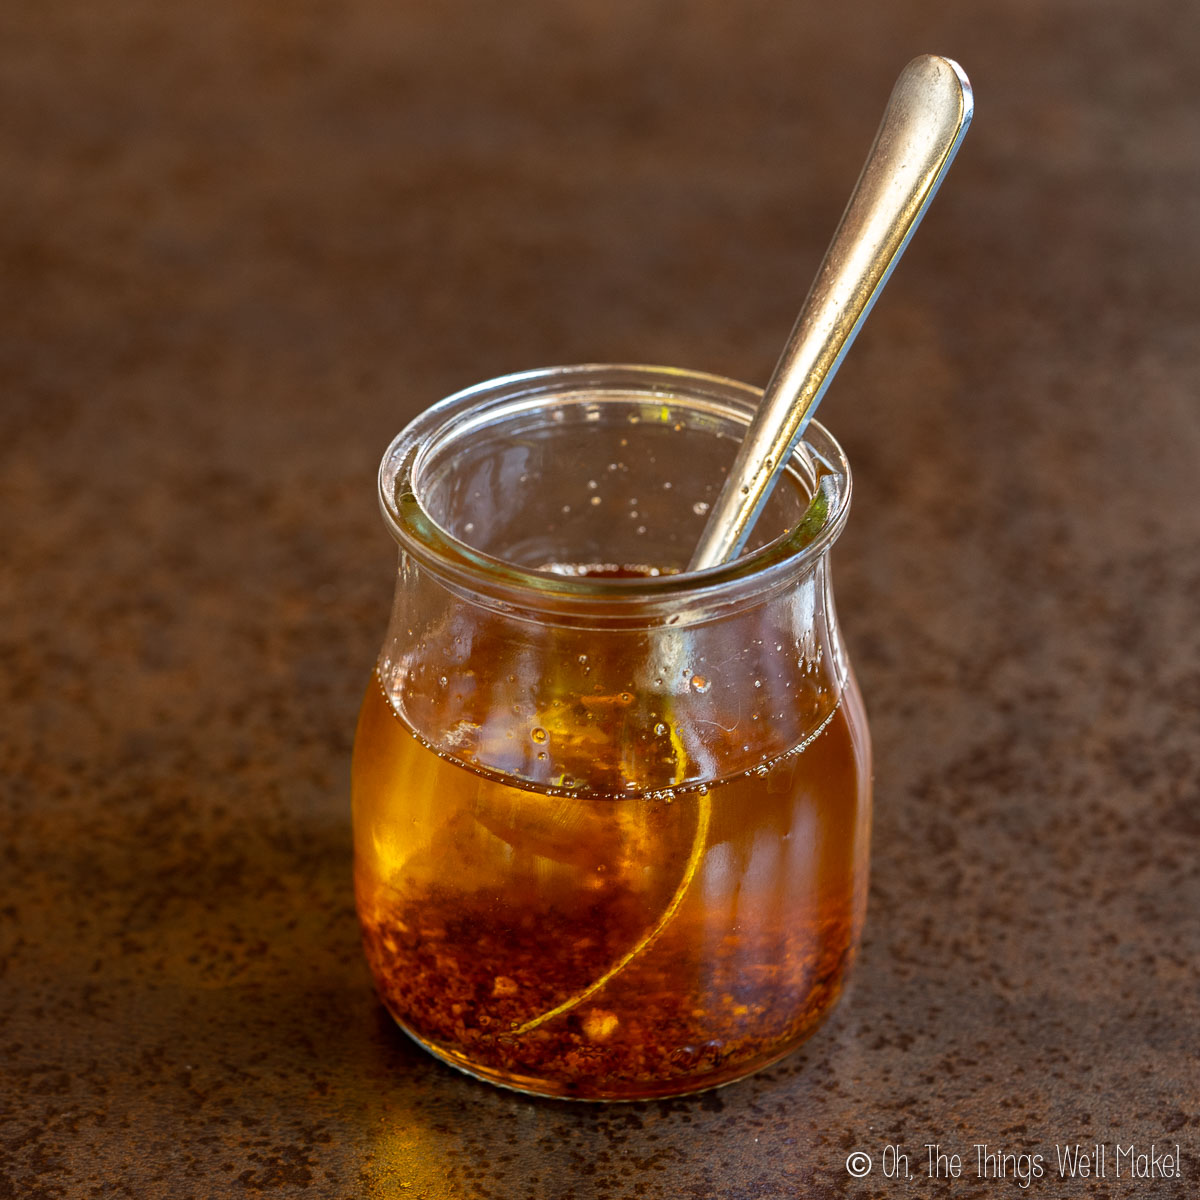
Brown butter is a type of clarified butter with a nutty brown color and a deep, rich, caramelized flavor. It is very versatile and can enrich the flavor of many dishes and recipes.
When used instead of regular butter, it adds a toffee or nutty flavor to desserts. It can also be used as a sauce for pasta and other savory dishes. I love using it to accompany seafood or vegetables.
When cooled, it solidifies and can be made into tasty ketogenic fat-bomb bites for snacking on or eating as a sugar-free dessert when following a carnivore or ketogenic lifestyle.
Ingredients
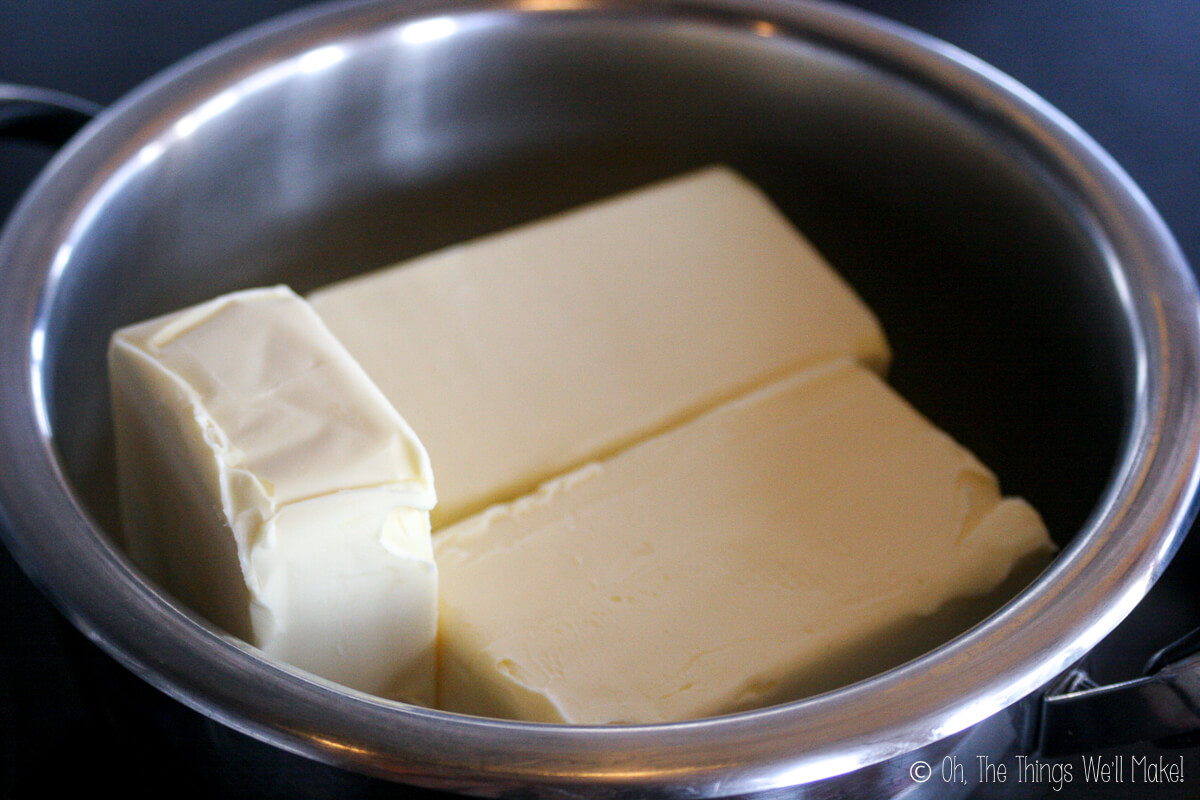
To make it, you will only need one ingredient, butter. Generally, it’s best to use unsalted butter so you can adjust the saltiness more easily. If you only have salted butter on hand, you can use it. Keep in mind, though, that the salt will fall to the bottom of your pan with the other milk solids. This can make the brown solids overly salty.
Optionally, you can add salt to the finished brown butter, to taste.
How to make it
Making brown butter is similar to making ghee, but without filtering out the milk proteins. The caramelized proteins are what give brown butter its characteristic color and nutty aroma.
To begin, melt the butter in a large saucepan over low to medium heat on the stove. It’s best to use a heavy-bottomed pan that conducts heat evenly. Stainless steel or cast iron are good choices. I prefer to avoid using non-stick pans. Not only do they present the health risk of PFAS exposure, but they can make it difficult to see when the butter has browned.
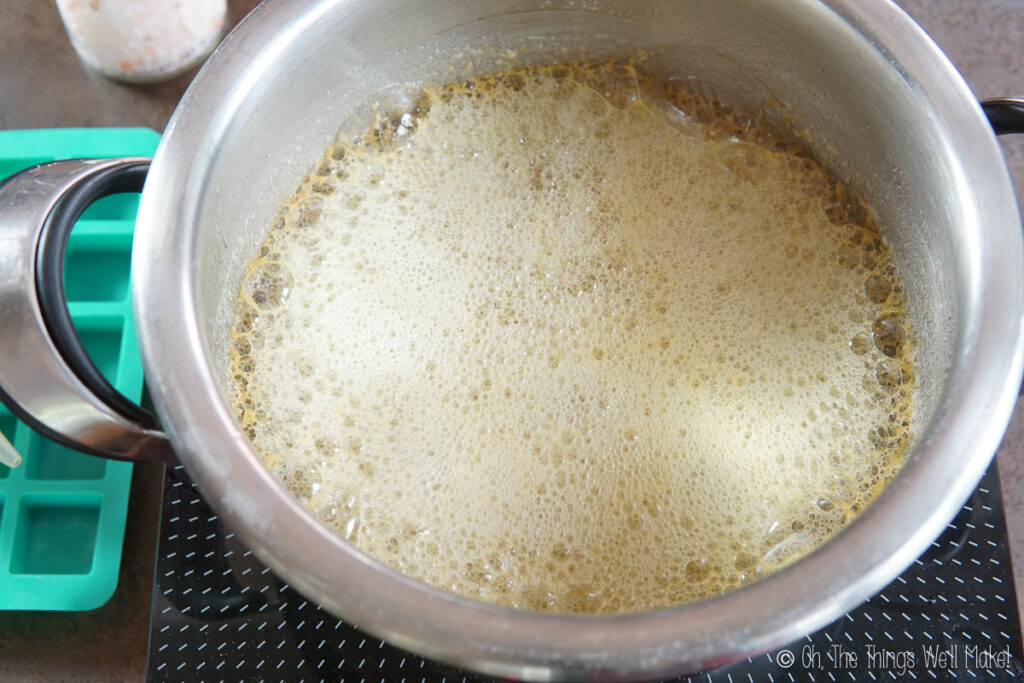
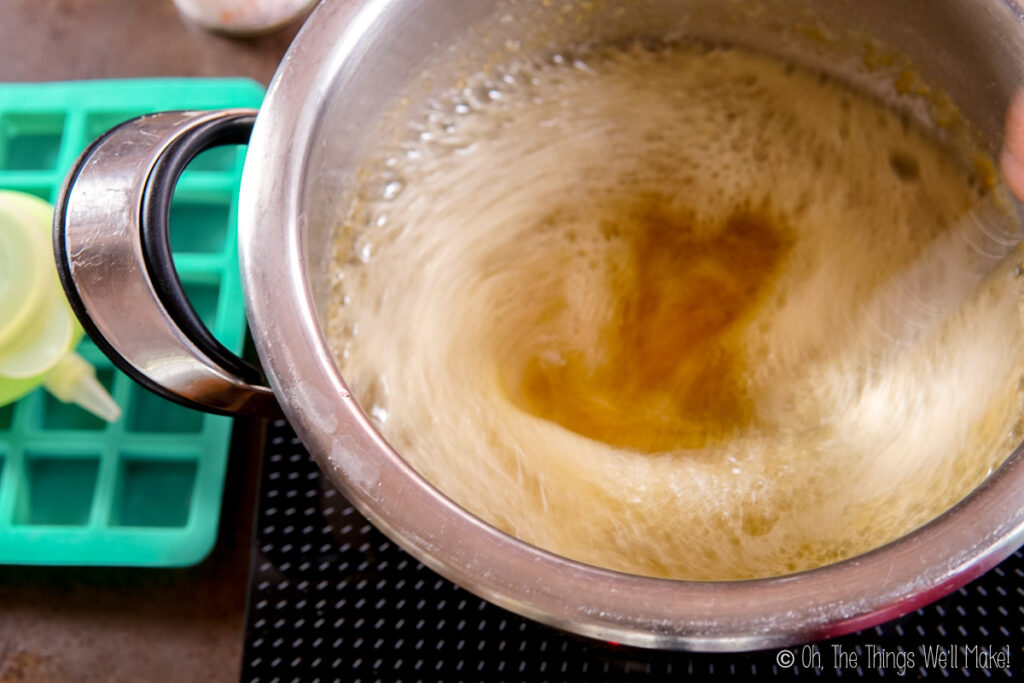
Simmer the melted butter until the milk proteins separate from the liquid butter. At first, there will be some foaming on the surface as the moisture is released from the butter. Later, the separated proteins should start to fall to the bottom of the pan. Don’t be surprised if you see foaming over the surface again as you get to the end of the cooking process.
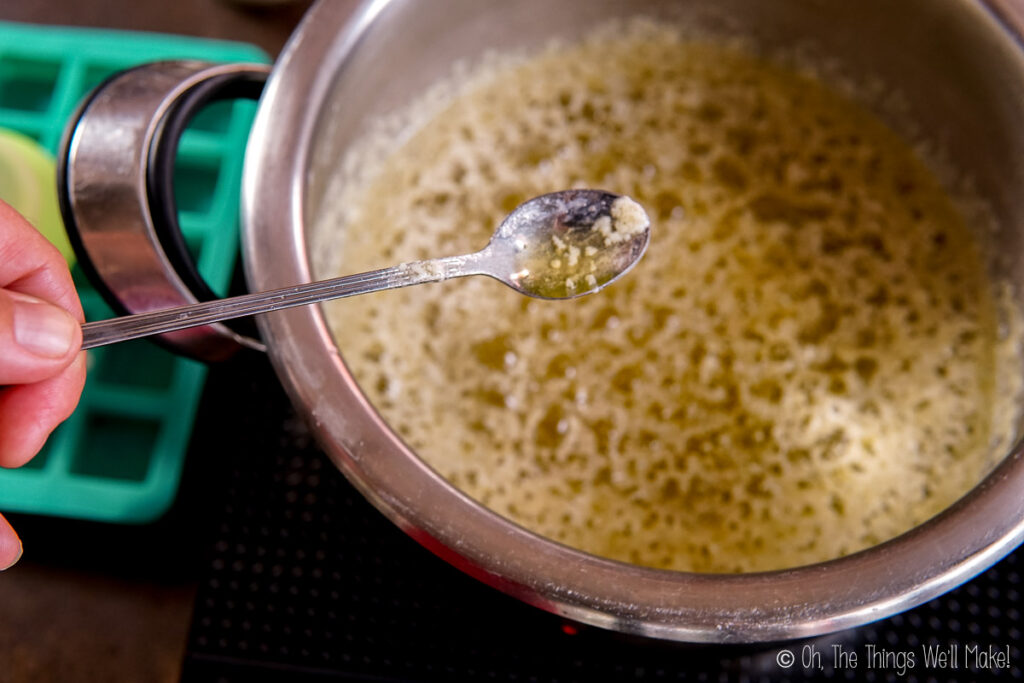
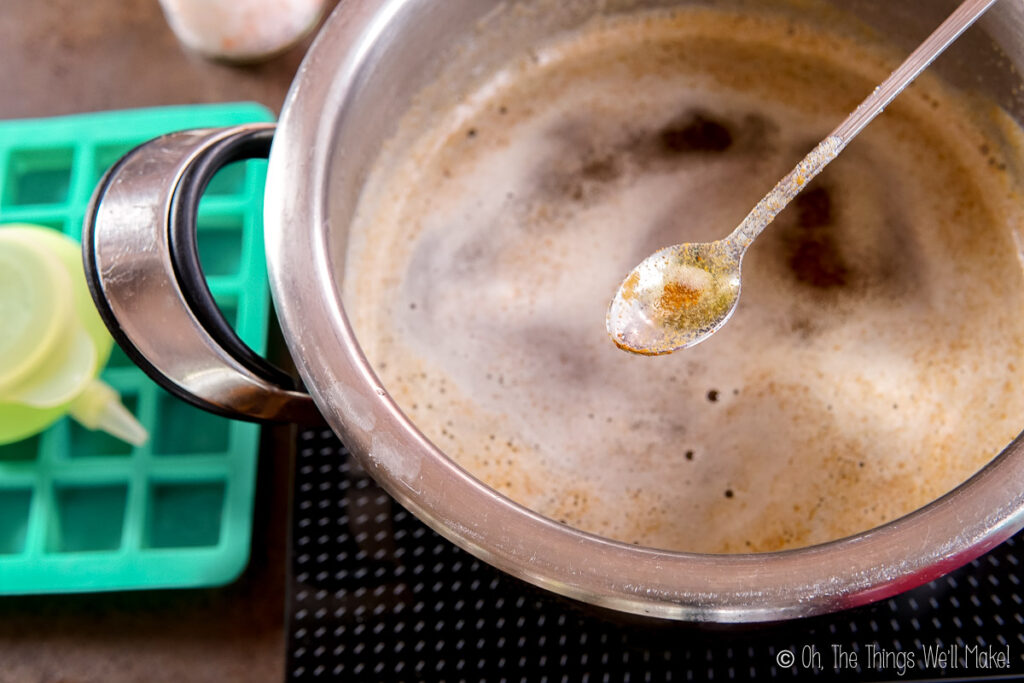
To keep the solids from burning, use a metal spoon, rubber spatula, or a wooden spoon to gently scrape the bottom of the pan while the butter simmers. Spoon up some of the fallen milk solids to check on their color. (This is important because the foamy surface can hide the browning below.) They will look like brown specks in the melted butter. Once they are a golden brown color, keep a close eye on them so that they don’t burn. Ideally, you want a caramel or medium to dark amber color.
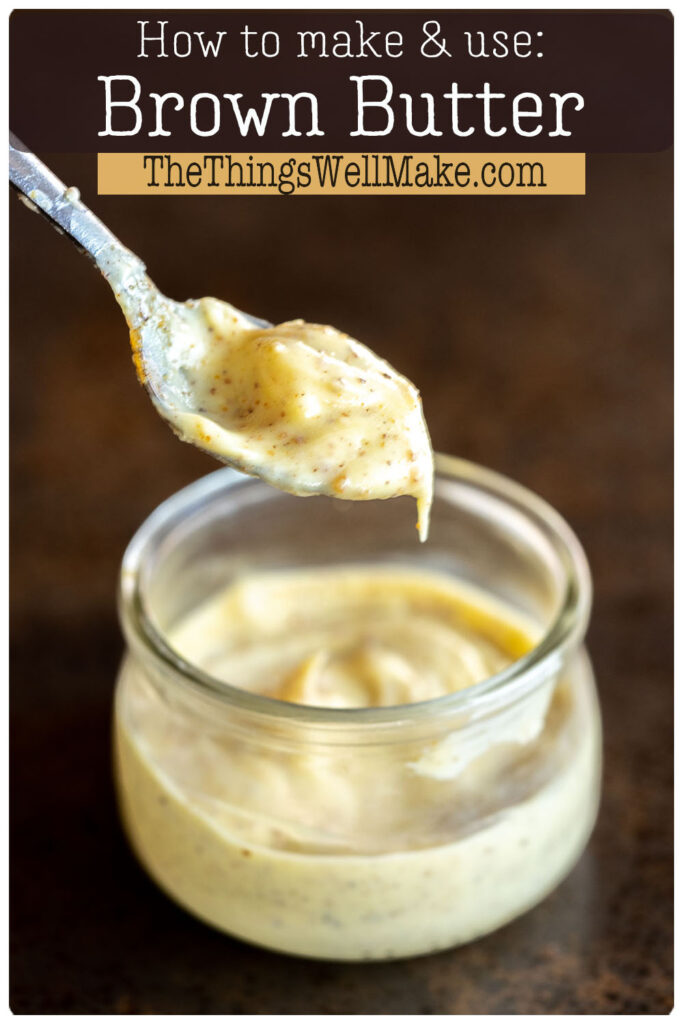
Whipped brown butter
Whipping brown butter is a simple process that involves using a hand mixer or stand mixer. Once you have made it, let it cool to room temperature. You want your butter to be solid yet soft. (You can stir the mixture as it cools, but it isn’t necessary.)
Once the butter has cooled, transfer it to a mixing bowl, and begin whipping it at high speed. You can use a whisk or paddle attachment on your mixer or an immersion blender. I prefer using a beater to incorporate more air into the mixture. This results in a softer finished product. After a few minutes of whipping, it will become light and fluffy, almost like whipped cream.
As it cools 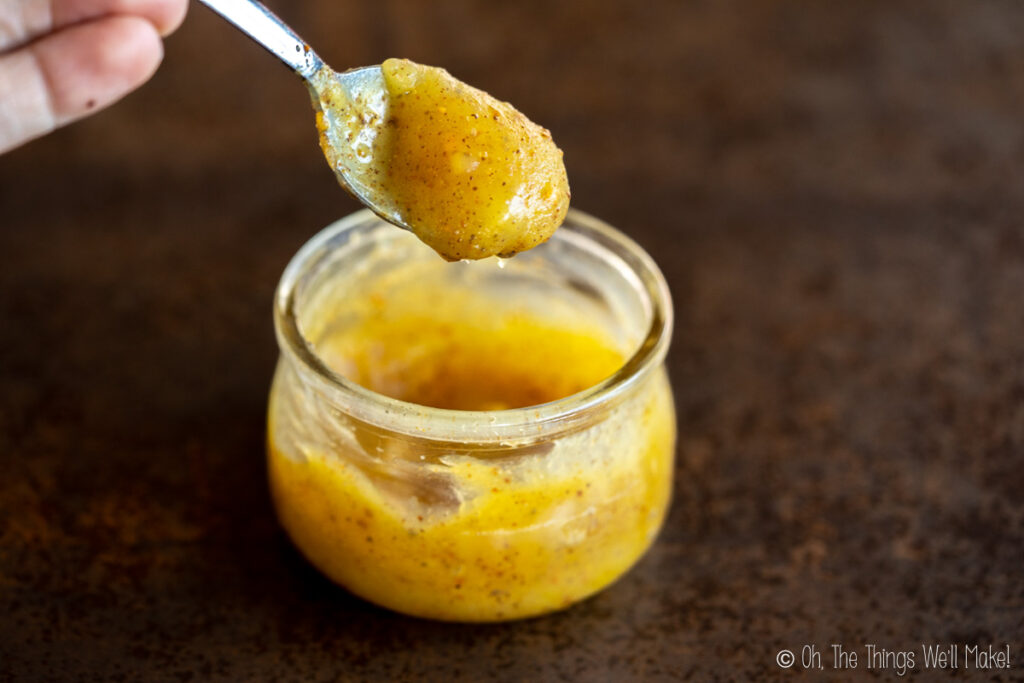
Cooled, before whipping 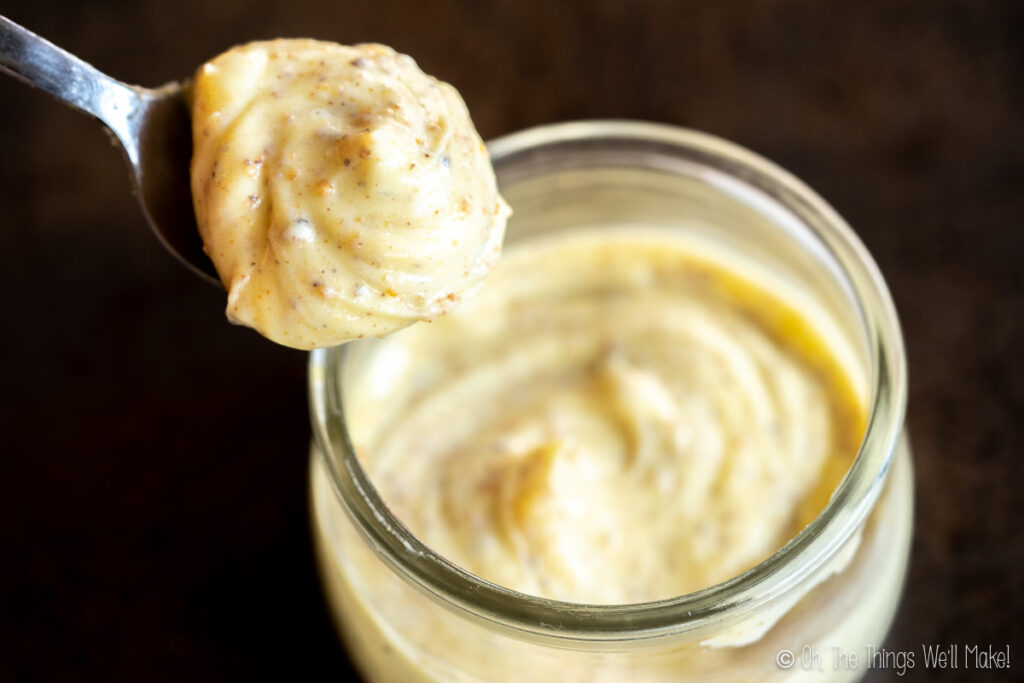
Whipped brown butter
Whipped brown butter can be used in a variety of recipes, including baked goods, sauces, and even as a spread. It can also be pressed into candy molds to make ketogenic bites with a truffle-like texture when cold.
Health Benefits
Brown butter, like regular butter, is rich in healthy fats (including omega-3 fatty acids) that can support heart health and cognitive function. It also includes vitamins A, D, E, and K, and minerals like calcium and phosphorus. It also contains butyrate, a short-chain fatty acid that has been shown to help improve gut health and reduce inflammation in the digestive tract.
Through the Maillard reaction that occurs when browning the butter (like when I made black garlic), Malliard reaction products are formed that may have antioxidant properties that help protect against cell damage caused by free radicals.
Expert tips
- Make sure the temperature of your pan is low enough so that the butter doesn’t burn. This is especially important once the milk solids fall to the bottom of the pan and start to turn a light honey color. (Turn it down to medium-low heat or it will get too dark too quickly, leaving a bitter-tasting butter.)
- Another trick to prevent burning is to use a light-colored pan or spoon to check the color of the milk solids. This allows you to judge the color more easily.
- Lastly, stir the butter as it cooks, occasionally scraping the bottom of the pan to loosen up the solids so that they don’t stick to the bottom of the pan and burn.
Uses
Brown butter is versatile and can be used in many ways to add depth and richness to your dishes. Try experimenting with some of the following ideas:
- Add some garlic and sage to make a sauce for seafood. The sauce is perfect for shrimp, scallops, or crab legs but would also be delicious on meat or pasta!
- Spoon some of your butter over warm meats, pasta, and seafood and allow it to melt over them for a delicious flavor.
- Replace some of the butter or oil in baked goods recipes with brown butter for enhanced flavor.
- Use it in place of regular butter as a popcorn topping.
- Use the whipped brown butter as a spread for pancakes, bread, or crackers.
- Pour the melted brown butter (or press the whipped butter) into candy molds to make butter bites.
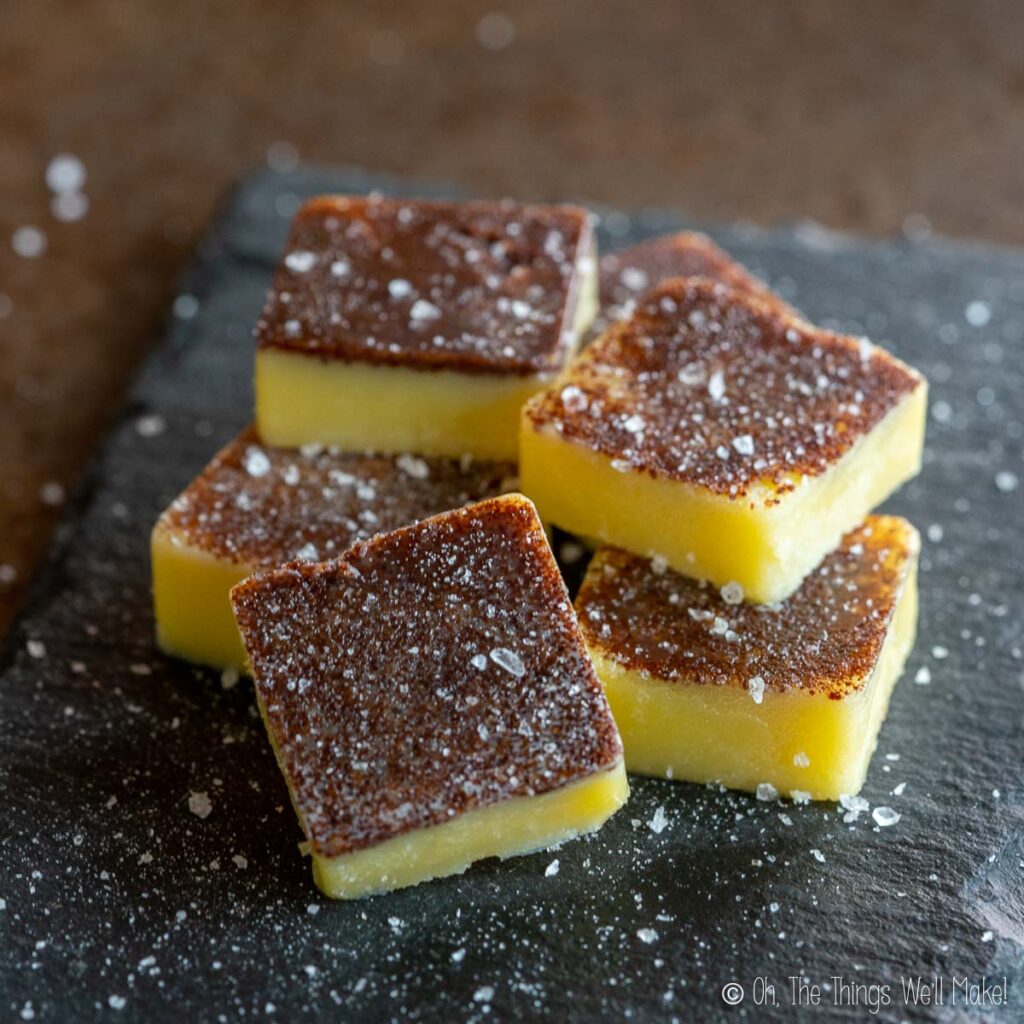
Brown butter bites 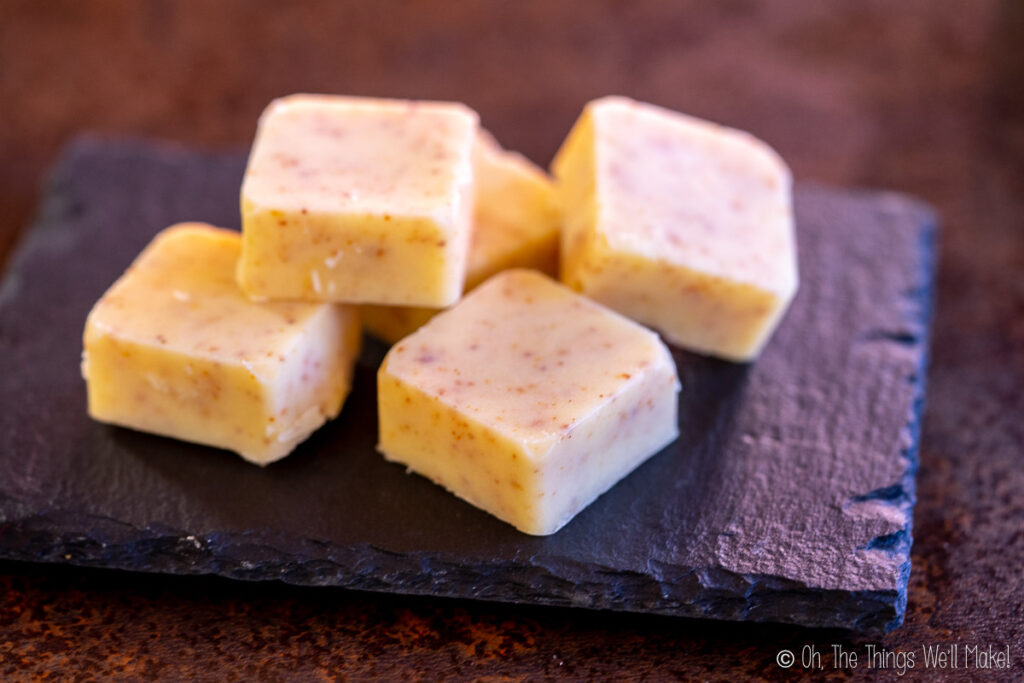
Whipped brown butter bites
Storage
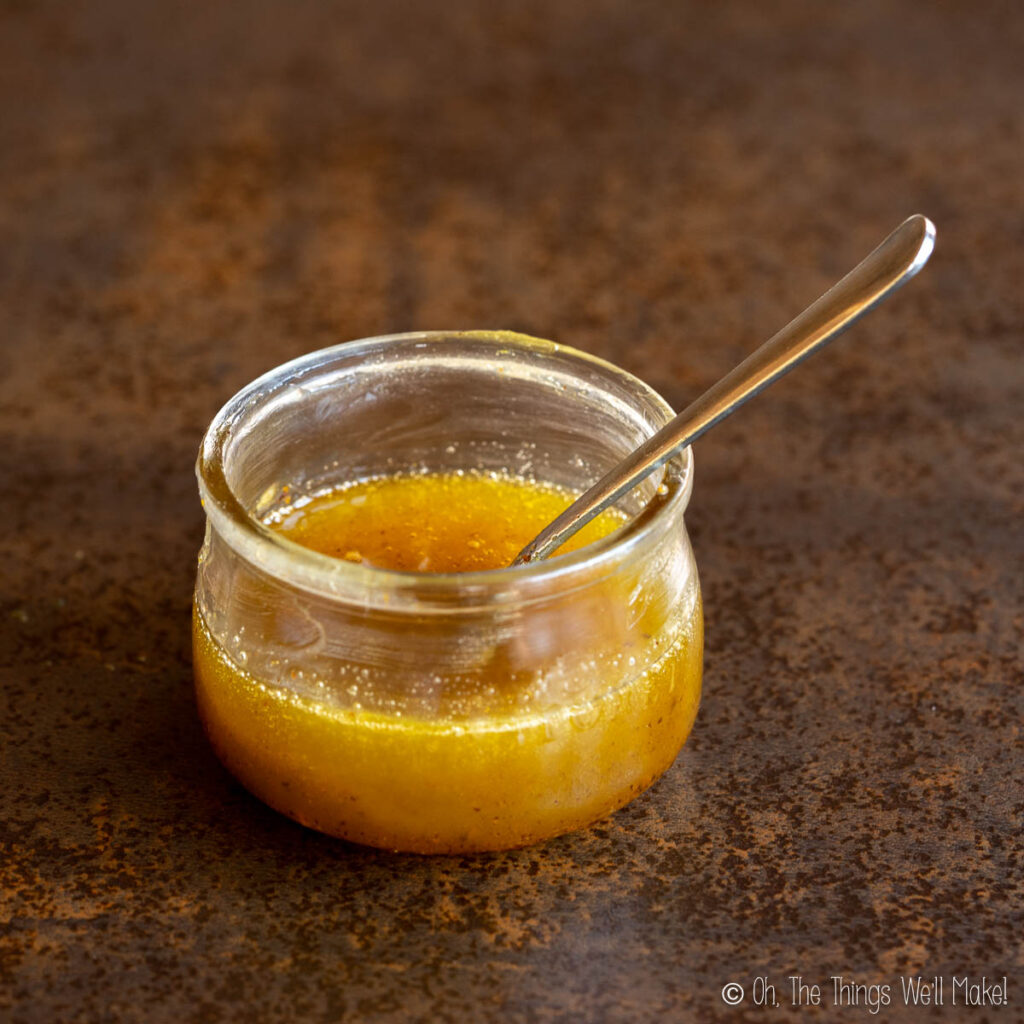
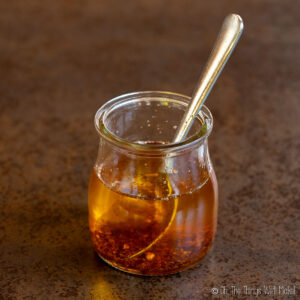
If you don’t plan on using all of your brown butter immediately, you can store it in a covered glass jar. It can be stored for several days at room temperature or for around a month in the refrigerator. For longer-term storage, keep it in the freezer for several months.
Brown Butter Recipe
Ingredients
- 1 kg butter unsalted
Instructions
- Place the butter in the pan and melt it over medium-high heat. Stir the butter occasionally as it melts.
- As the butter melts, it will start to foam. This is the water in the butter evaporating. Keep stirring the butter occasionally to prevent it from burning.
- After several minutes, the foam will start to subside and the milk solids will start to fall to the bottom of the pan. At this point, lower the heat to medium low. Keep stirring, scraping the bottom of the pan to prevent the solids from sticking and burning.
- Keep checking the color of the milk solids at the bottom of the pan by spooning them up and looking at them. (It will likely begin to foam again.)
- Once the milk solids have browned, remove the butter from the heat source. The residual heat in the pan will continue to cook the butter, so it's important to remove it from the heat as soon as it's done.
- Use the brown butter immediately in your recipe, or store it in an airtight container in the refrigerator for up to 1 month.
Notes
Uses
- Add some garlic and sage to make a sauce for seafood, meat, or pasta.
- Spoon some over warm meats, pasta, and seafood.
- Replace some of the butter or oil in baked goods recipes with brown butter for enhanced flavor.
- Use it in place of regular butter as a popcorn topping.
- Use the whipped brown butter as a spread for pancakes, bread, or crackers.
- Pour the melted brown butter (or press the whipped butter) into candy molds to make butter bites.