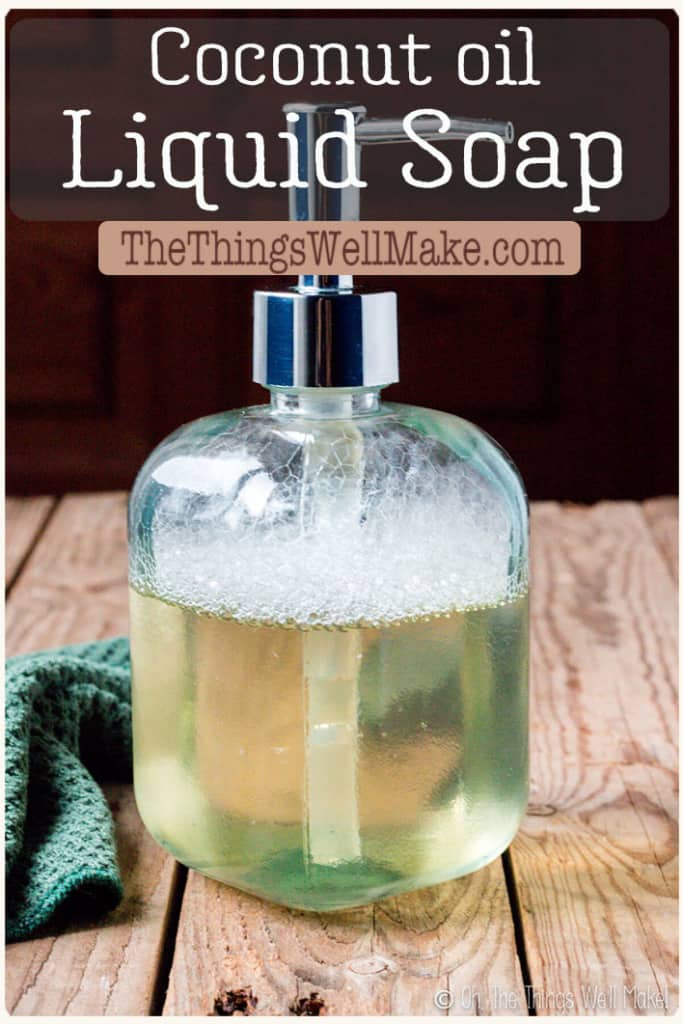
Making your own homemade liquid coconut oil soap is simple, thrifty, and very rewarding. Coconut oil soap provides lots of lather and cleaning power for all-purpose cleaning.
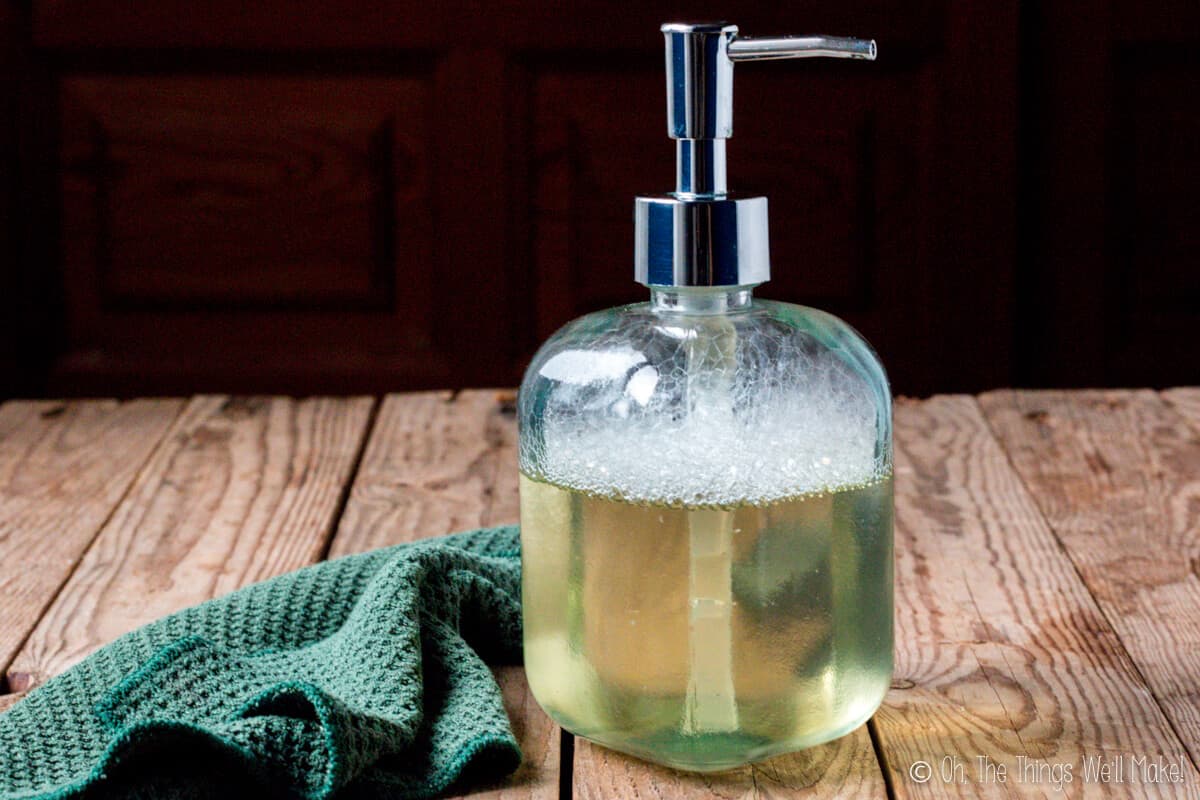
When I first made this soap, I had a great idea. I made a pure liquid Castile soap (made with only olive oil) and this liquid soap made with only coconut oil. My idea was that I would combine them, as needed, for different purposes around the house.
Oils in soapmaking
I had my reasons. Each oil in soap making brings different properties to soap (different from the properties they’d bring to a homemade lotion, for example). In a bar soap, there is a HUGE difference between a pure Castile soap made with only olive oil and soap made with only coconut oil.
Soaps made with olive oil are more conditioning. Olive oil is great for soaps meant for the face and body for that reason. On the other hand, soaps made with only olive oil don’t make much lather and they aren’t as “cleansing” as soaps made with coconut oil. Some people find them “slimy.”
Soaps made with coconut oil are cleansing and they provide a nice bubbly lather, but they can be drying to the skin when used alone.
Most people prefer using a soap with a combination. They want a soap that isn’t too drying, but that has some lather and cleansing ability. That’s why I used a combination of the two oils in my easy beginner soap recipe. I wanted a conditioning soap that provided some lather. If you haven’t tried making soap yet, you may want to begin with that recipe to get your confidence up before moving on to liquid soaps.
Read my post about the best oils in soap making for more information.
Oils in liquid soap making
Now that I’ve made these liquid soaps several times now, I have to admit that I don’t notice as much of a difference between the liquid soap made with olive oil and this liquid soap as I thought I would. In fact, I generally make this soap most often.
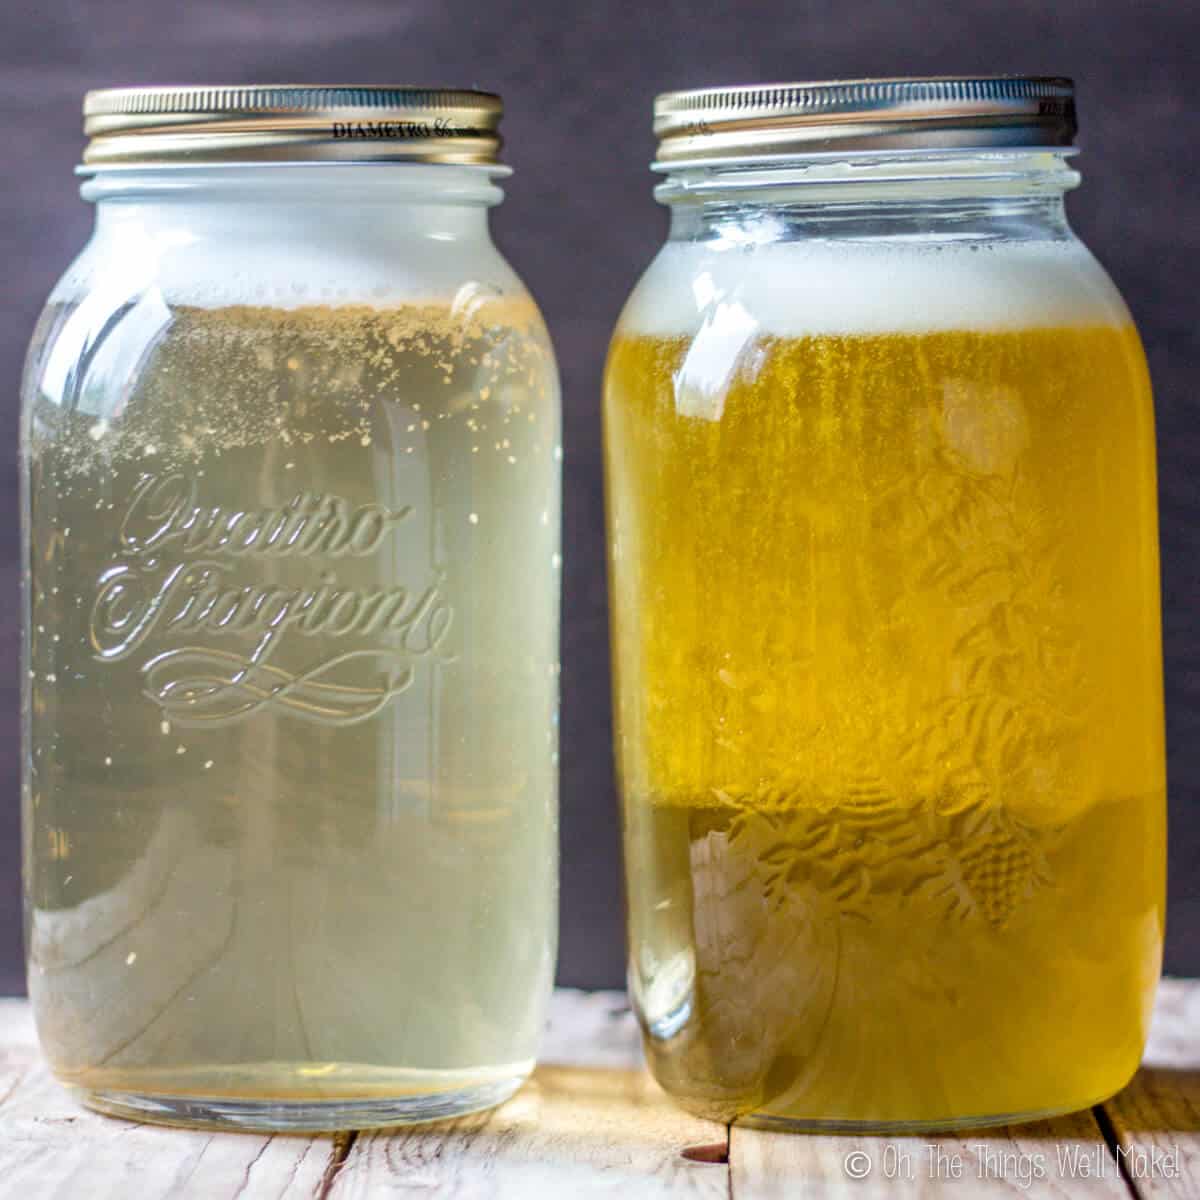
The biggest differences are cosmetic. This soap is much lighter in color while the liquid Castile soap is more golden in color. They also have a different scent. (If you add essential oils or fragrance oils when you dilute your liquid soap, though, you probably won’t notice a difference.)
I’ve found that both of these soaps provide a lot of lather. This one makes a slightly more abundant and bubbly lather. Neither one is excessively drying, although the one made with olive oil is slightly more conditioning.
My husband prefers my homemade liquid soaps for use in the shower to gels made with other surfactants because he likes the amount of lather they provide. (Yes, even the one made with only olive oil provides a lot of lather.)
Refined coconut oil, sold for soap making, generally is very inexpensive, so I like using it to make soap. I haven’t noticed a difference when using refined coconut oil vs. virgin coconut oil (which I used to use before I could find the more inexpensive coconut oil locally). (I used to make soap with olive oil more often because here in Spain it was the least expensive oil.)
Those with coconut allergies will be happy to learn that pure Castile liquid soap is also a great multi-purpose soap.
Why Make this soap?
Making your own liquid soap makes a lot of sense financially. It’s a bit intimidating, but once you’ve successfully made it, you’ll see it’s not that difficult. Liquid Castile soap is surprisingly expensive. Not only can you save a lot of money by making it yourself, but you are able to control which ingredients you use. This is especially helpful for people with allergies and skin sensitivities.
It’s also more sustainable. You can keep using the same containers and dispensers over and over again, meaning much less waste! One big batch of soap will keep for a very long time.
Before making this soap, you may want to read my post about how to make a liquid soap with general information about the process. It may also help you choose which soap you’d like to make.
Ingredients
This recipe uses only a few simple ingredients.
Coconut oil
Obviously, you will need coconut oil. You can use refined coconut oil or virgin coconut oil. It doesn’t really matter which you choose. Avoid using fractionated coconut oils or coconut oils that have been modified to melt at a different temperature. (If you want to use them, you’d have to run the recipe through a lye calculator and adjust the amount of lye used. Read more about using a lye calculator here.)
Lye (KOH)
Apart from the coconut oil, you will also need lye. In the case of liquid soap, you will need a different type of lye than the one used in bar soaps. For liquid soap, we will be using KOH, potassium hydroxide. (Bar soaps use NaOH, sodium hydroxide). All true soaps use lye. (For more information about lye and why it is needed in soap, read my post about why soap needs lye.)
Do not use NaOH, sodium hydroxide, to try to make liquid soap!
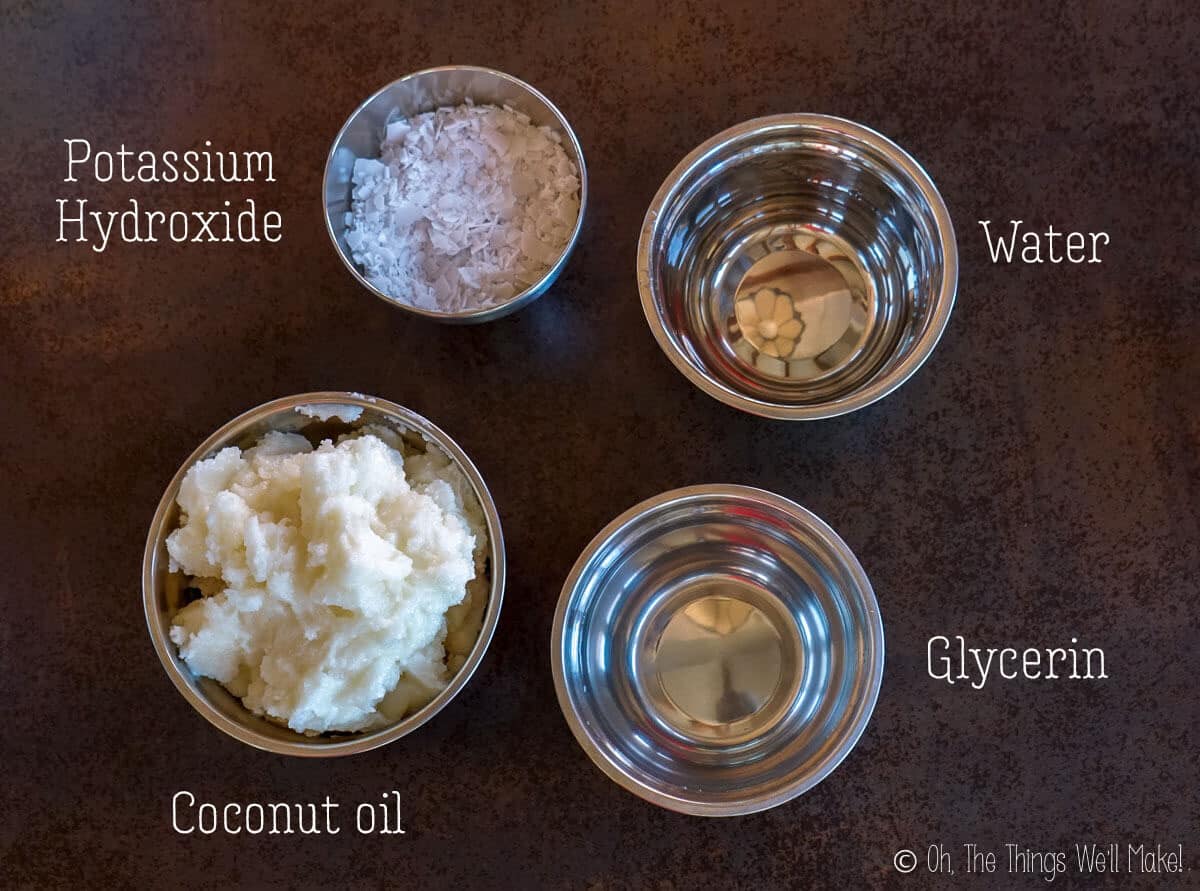
Glycerin
I use glycerin when making liquid soap for several reasons. Glycerin is normally a by-product of the soap making process. Adding more glycerin makes the process of liquid soap making easier and more fool-proof.
Not only is it said to move the process along more quickly, making the process quicker and easier, it also has other advantages. Soap pastes made with glycerin tend to be easier to dilute in water. They also may be more transparent and conditioning to the skin. (Glycerin is a humectant which can draw moisture into your skin.)
If you don’t want to use glycerin, you can just sub it out for more water. Just know that it may take longer to make and your resulting soap may be slightly different from mine.
Water
We’ll also be using water in our lye solution. I recommend using distilled water to avoid adding impurities and minerals that could result in a cloudy soap.
Procedure
Making liquid soap is very similar to making bar soap. Most people hot process their liquid soap, though. That means that they will cook it in some way or another to help finish the process of saponification. (Someday I will write about my experiments in trying to cold process liquid soap.)
In the past, I have recommended making this soap in a slow cooker. Over the years, though, I’ve had many questions about how to make this if you don’t have one. I made my last batch of this soap in the oven, and it worked quite well and was very easy to do too.
So, if you are using a slow cooker, you can add the weighed out coconut oil to the slow cooker and allow it to melt in there. If not, I’d suggest melting the coconut oil in a large bowl.
Making the lye solution
In a separate medium-sized bowl, mix together the water and glycerin. In a separate smaller bowl, weigh out the potassium hydroxide (KOH).
Pour the KOH into the water and glycerine mixture. Mix them together until the KOH is fully dissolved into the water and glycerine mixture. It will be cloudy at first but will clear up. It will also get very warm.
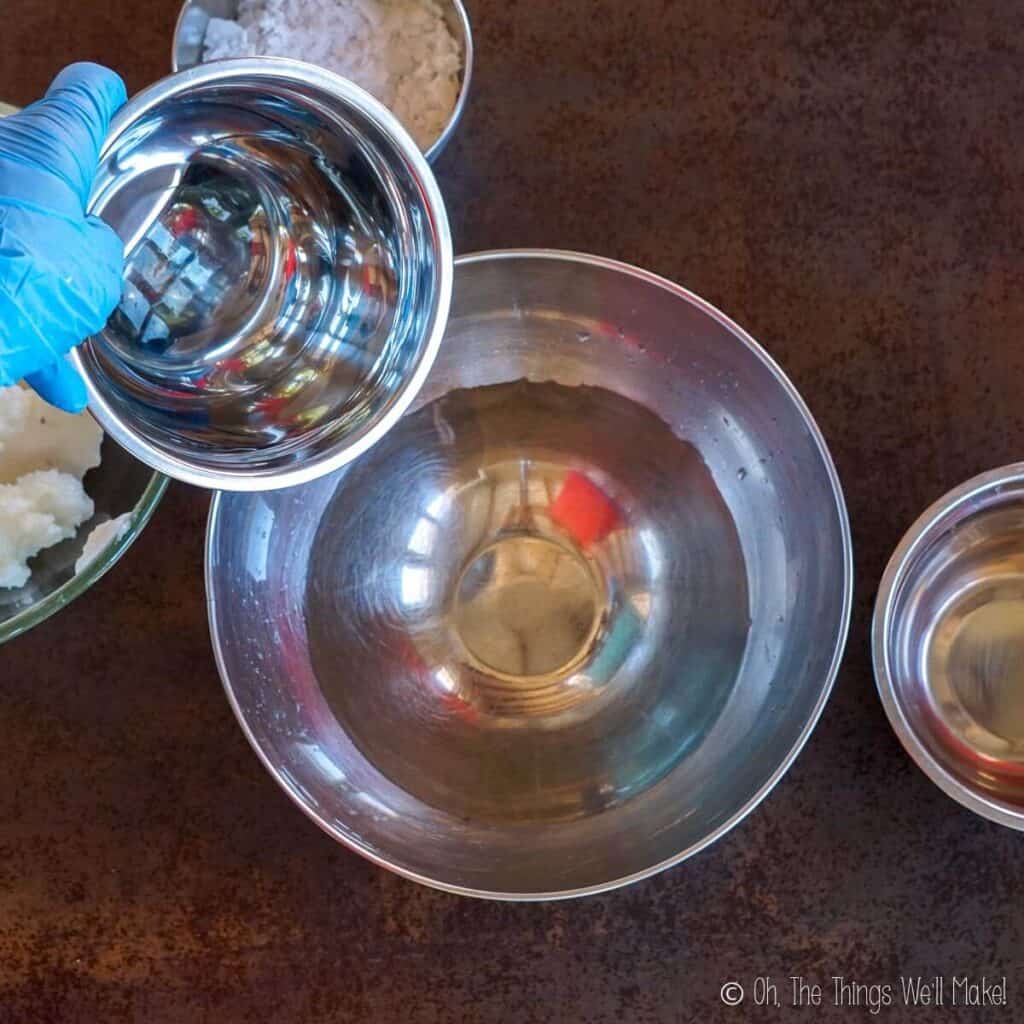
Combine the water and glycerin. 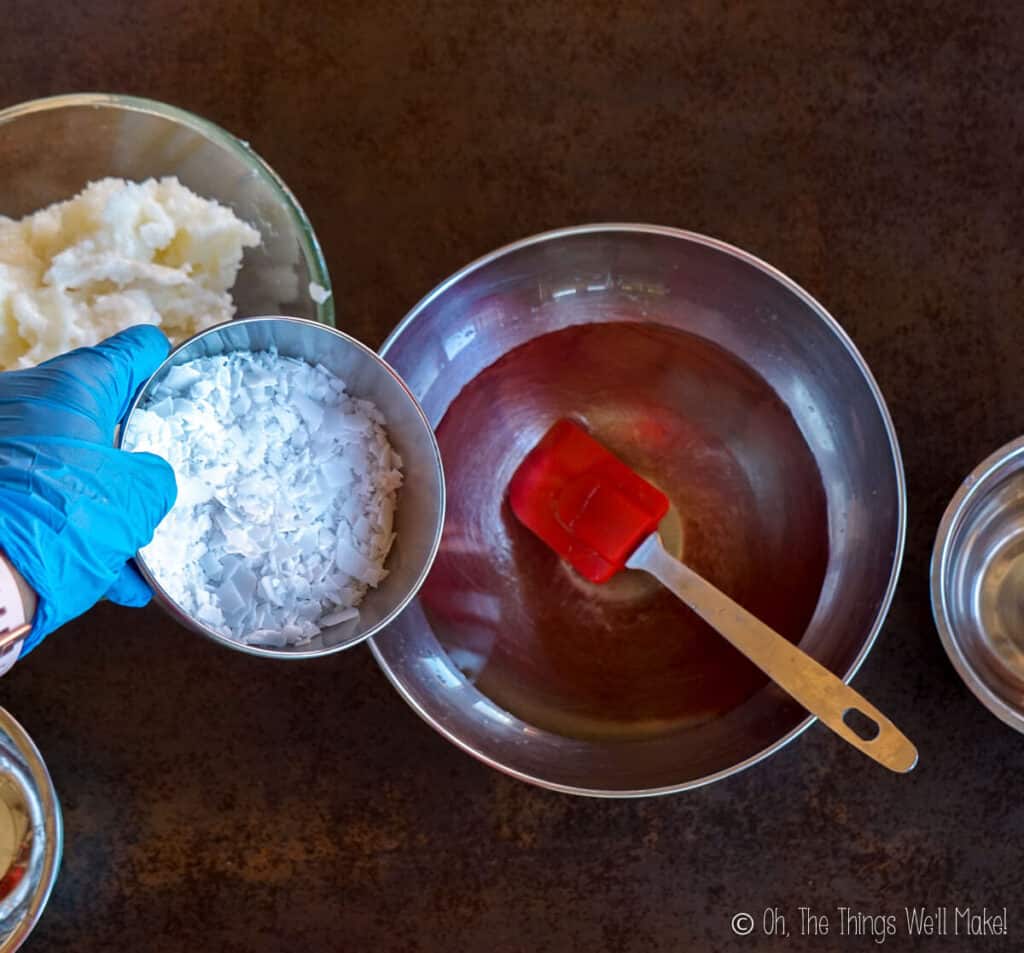
Add the KOH to the water mixture. 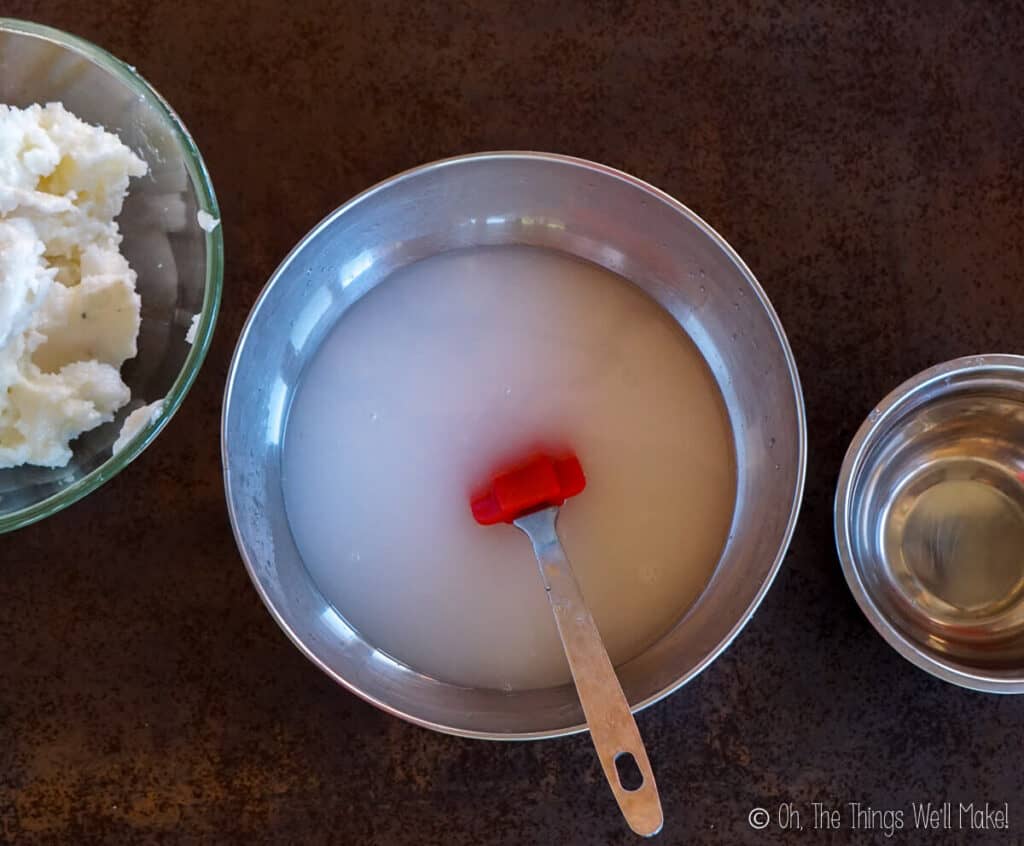
The lye solution when cloudy. 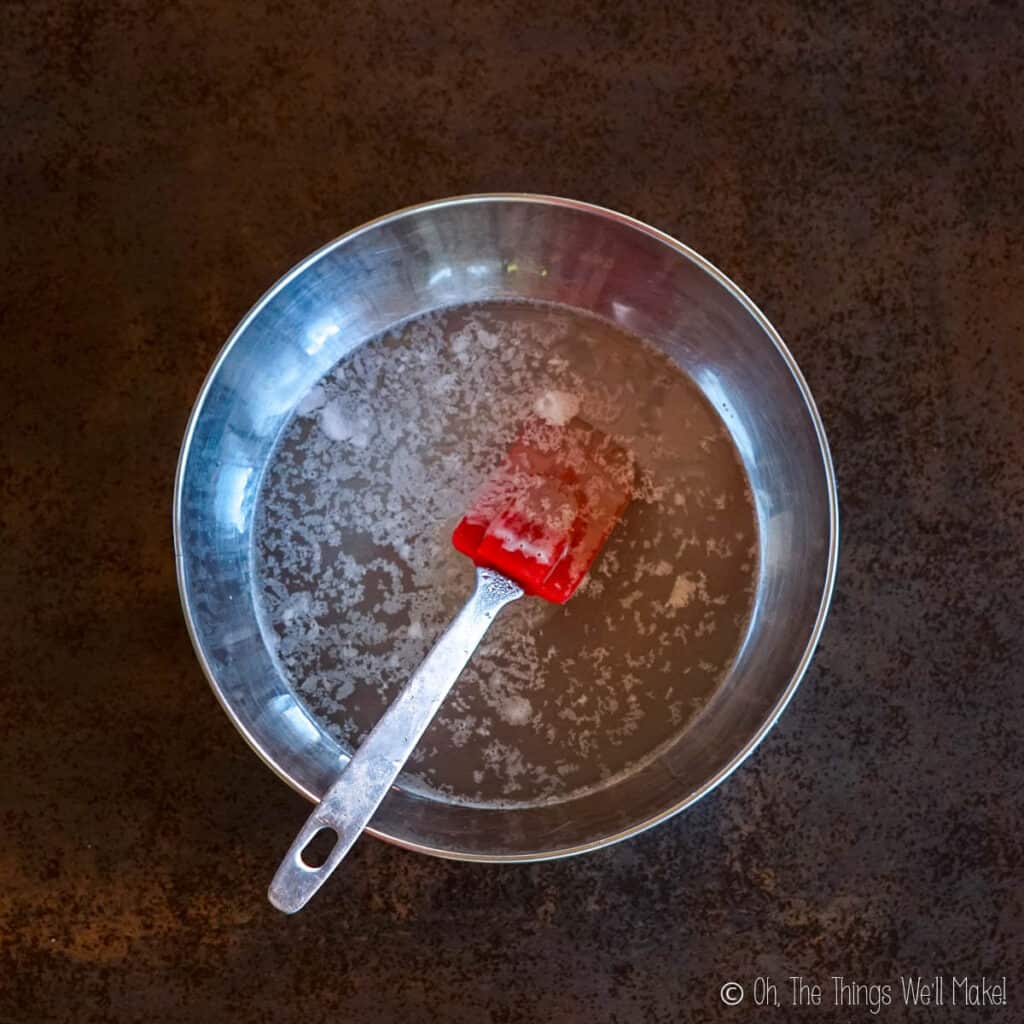
The lye solution clears.
Making the soap paste
Carefully pour the KOH mixture into the warm coconut oil, and slowly mix them together. This can either be done right in the slow cooker crock or in a large bowl.
Using an immersions blender, blend the ingredients together. The mixture will begin to thicken after a few minutes. A couple of minutes later, the mixture will probably begin to look grainy. Continue to blend. (You can take breaks to give your blender time to rest. This helps prevent burning out the motor.)
Soon after the mixture gets smooth again, it will start to thicken. At that point, you may want to remove the immersion blender as the mixture turns into a paste pretty suddenly. (You don’t want to burn out the motor of the blender or get it stuck in the soap paste.)
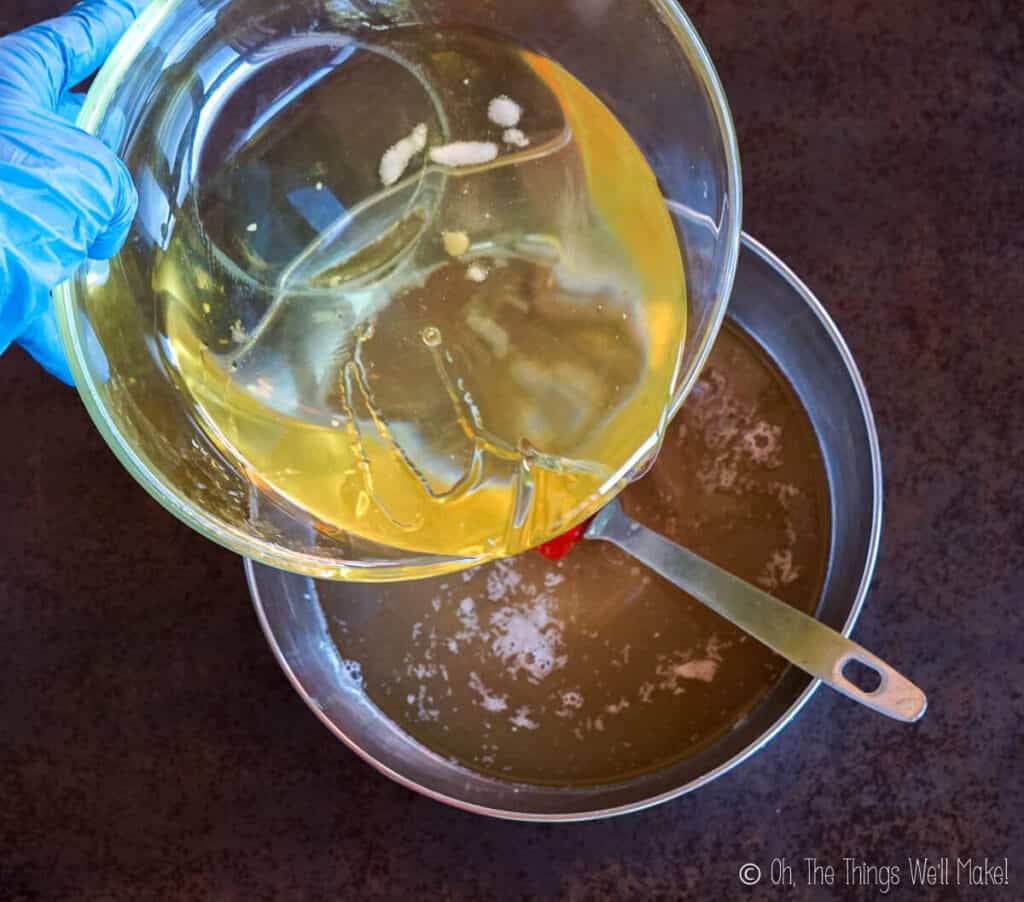
Pour the oil into the lye solution. 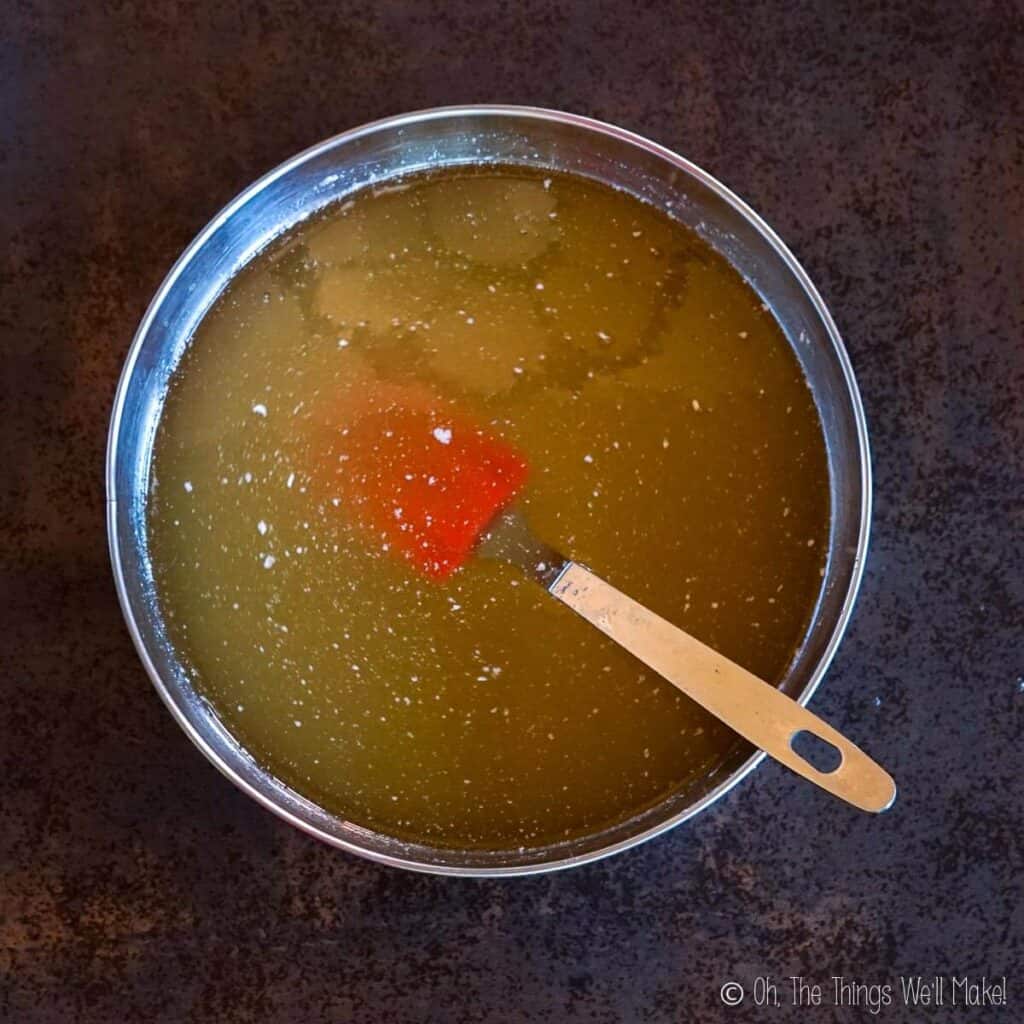
Hand mix at first. 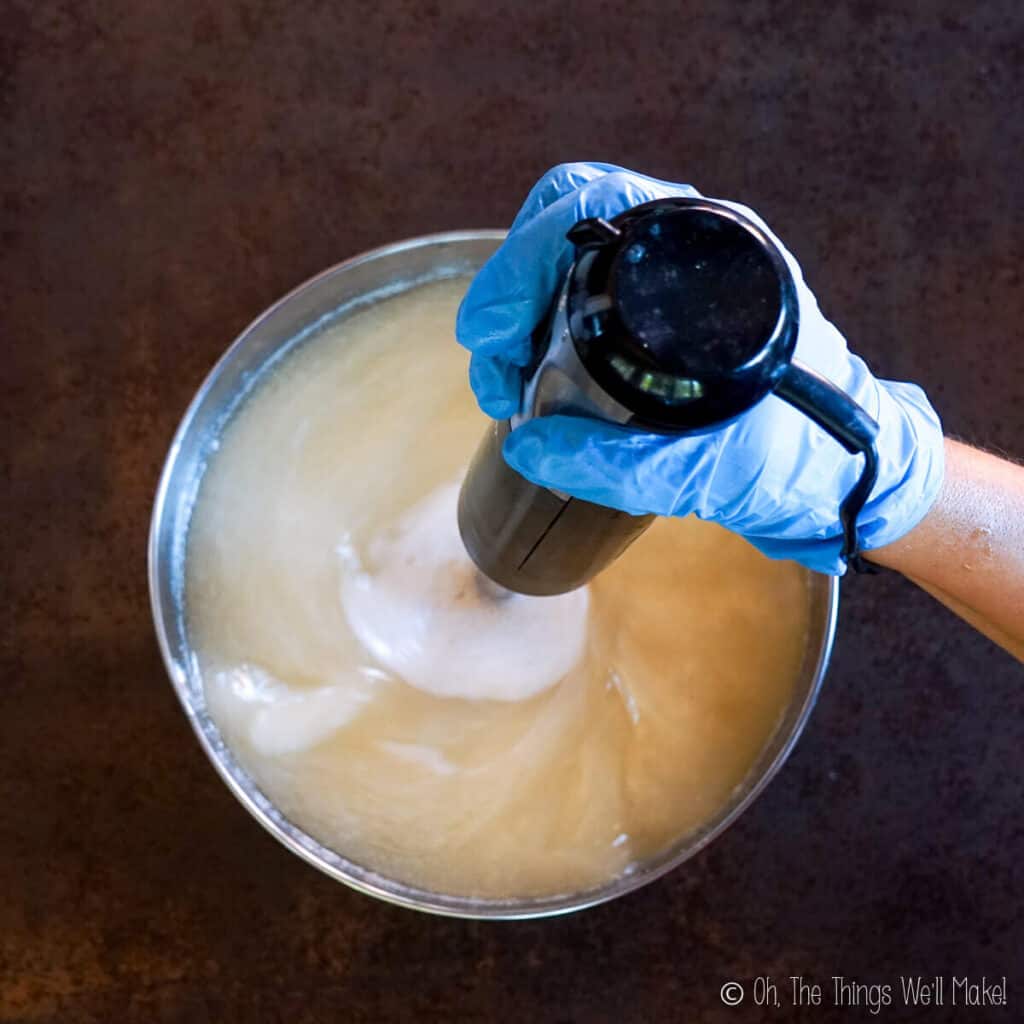
Blend with an immersion blender. 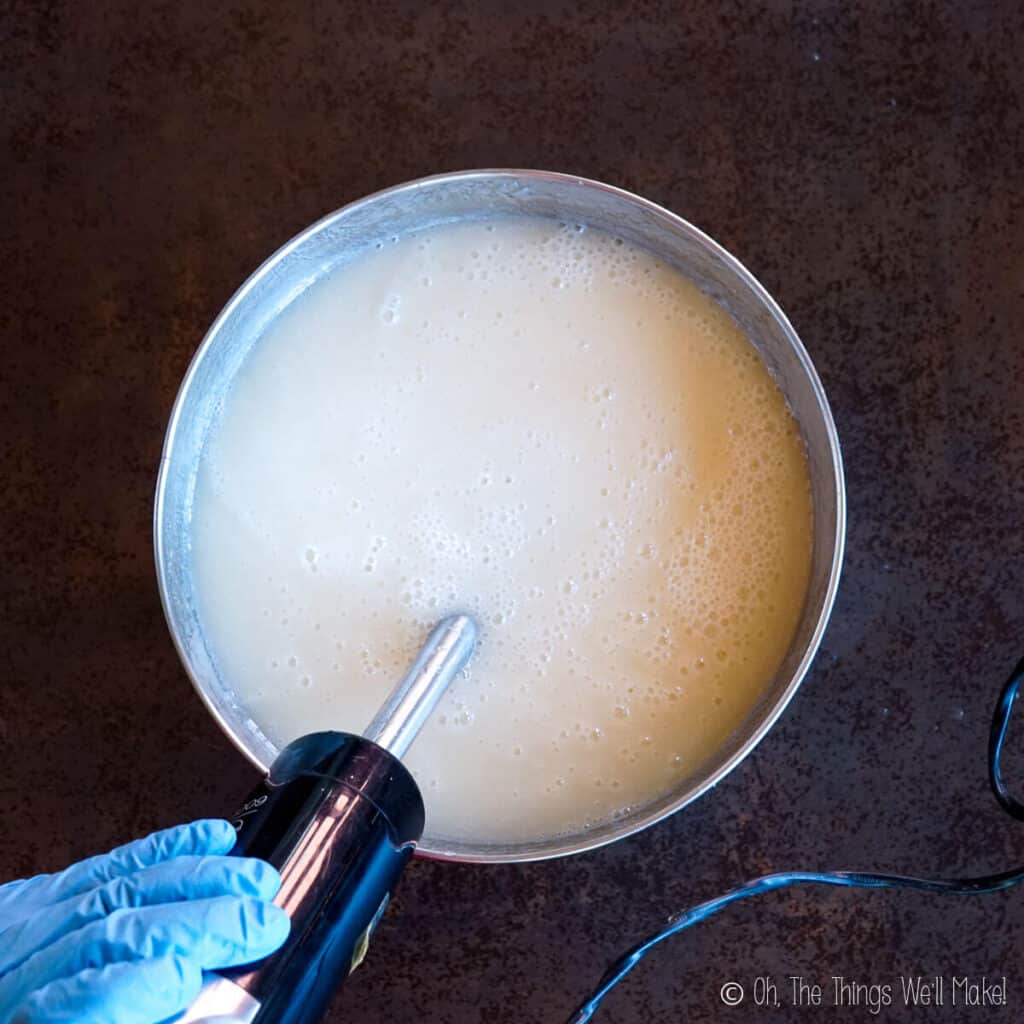
It will get opaque and creamy. 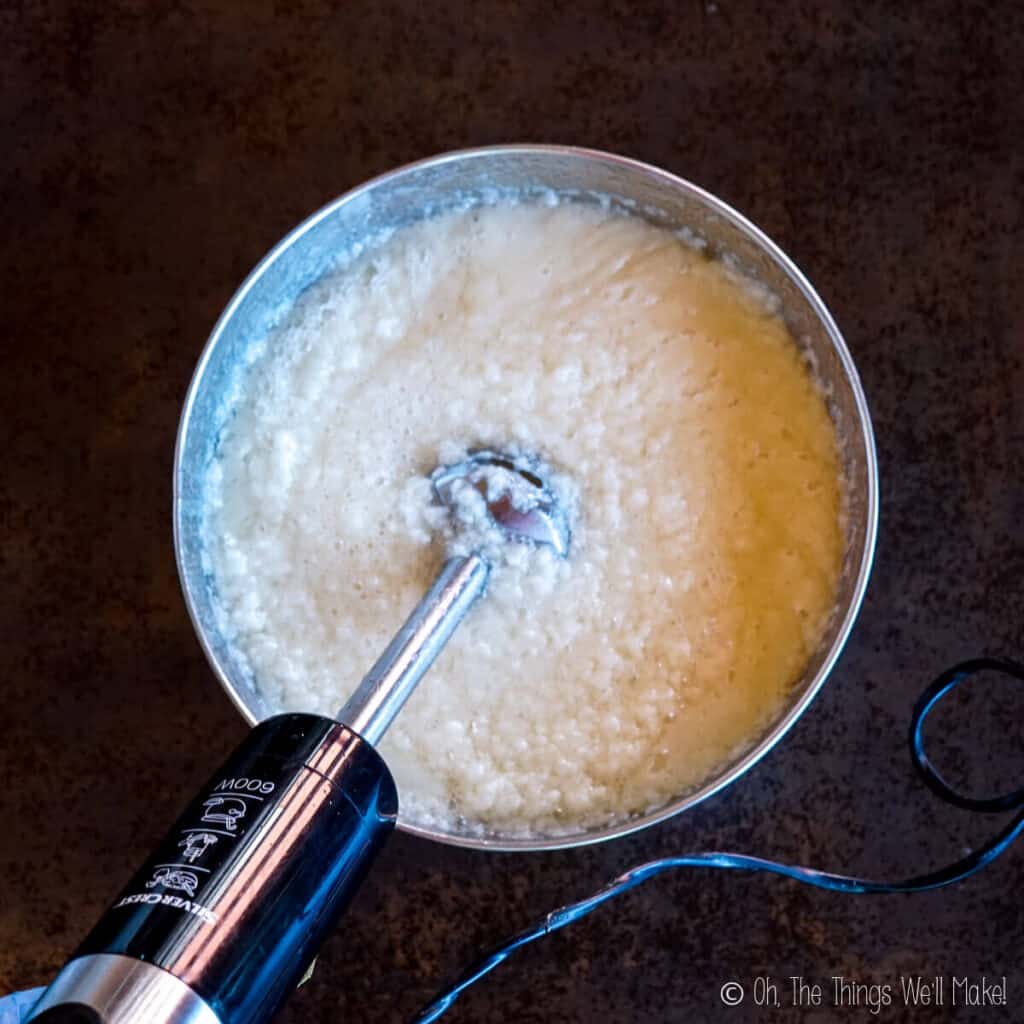
It may go through a grainy phase. 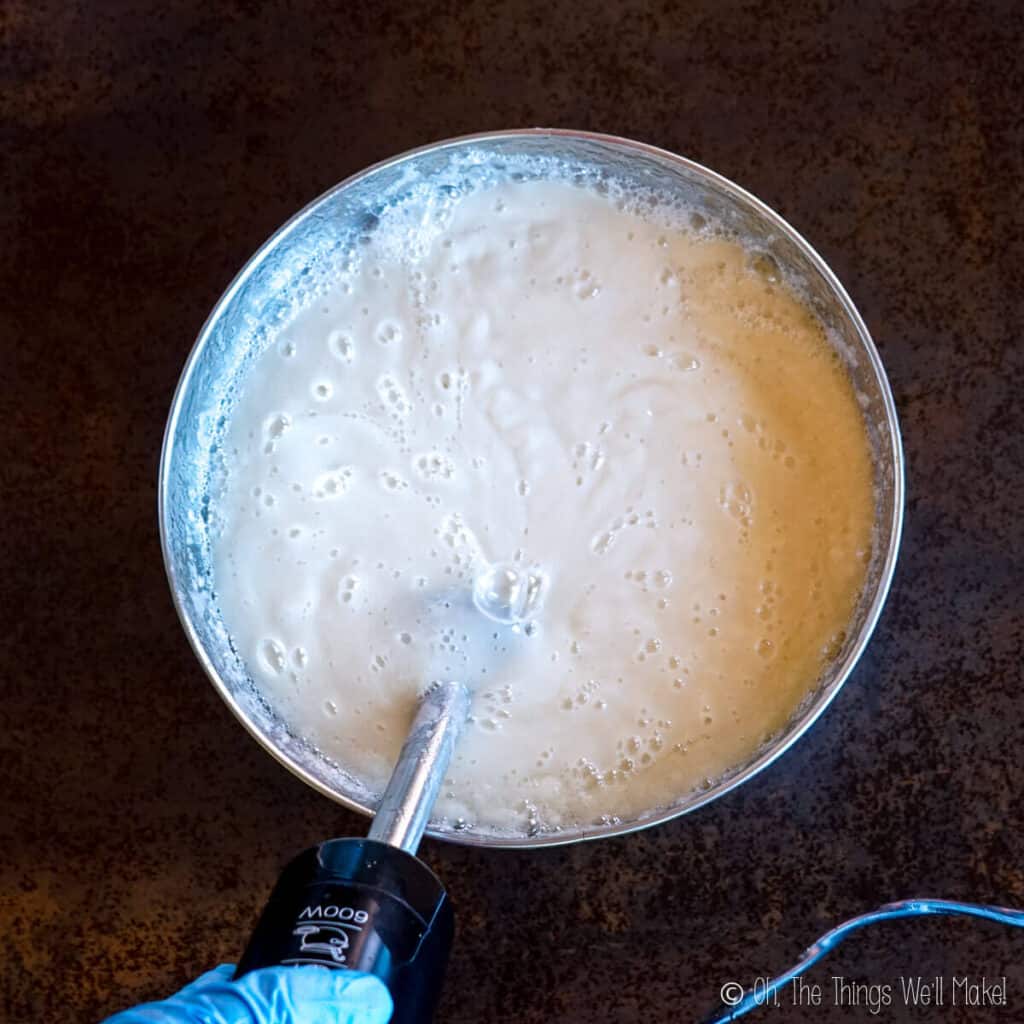
Further blending makes it smooth. 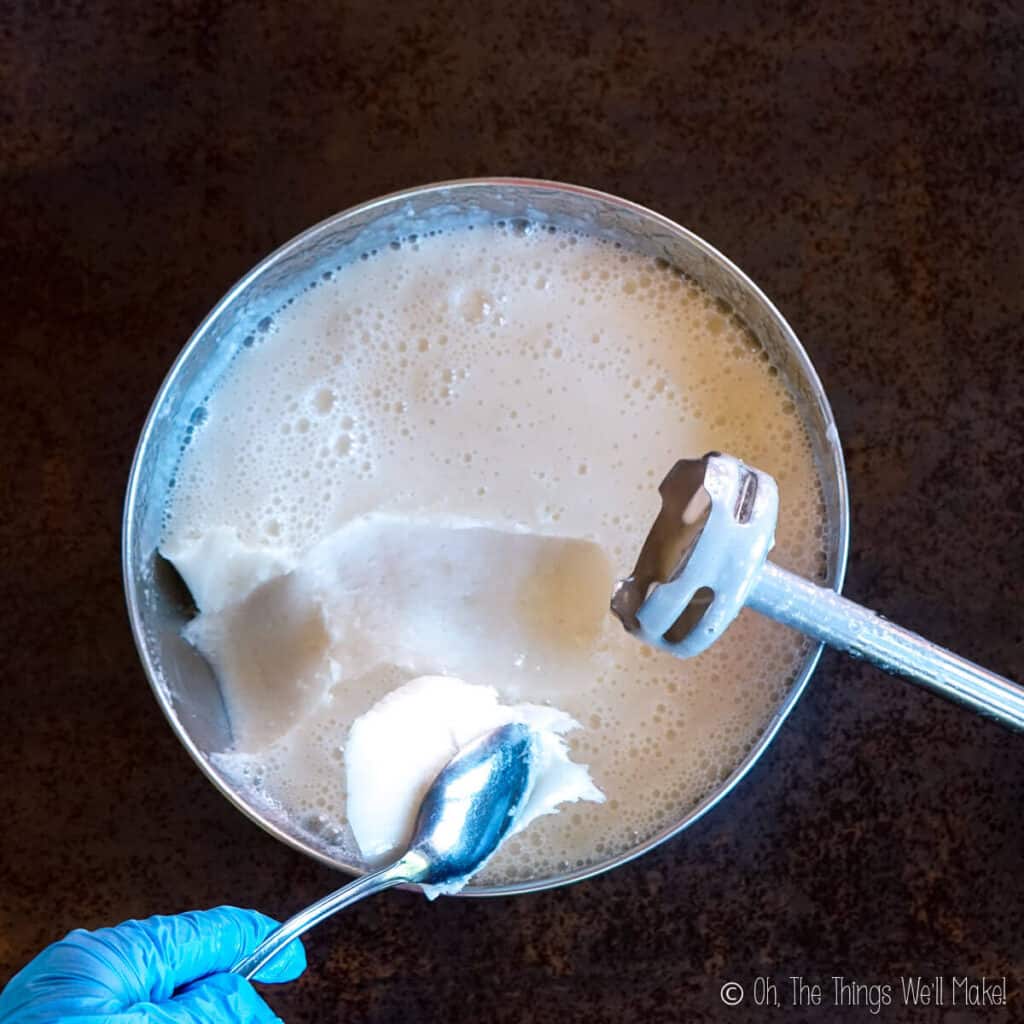
The thick soap paste.
Cooking the soap paste
Once the paste has formed, it should be cooked to help finish the saponification process and make a translucent soap. (I’ve tried skipping this step and the paste stayed opaque and the finish soap was on the cloudy side. Even cooking for a short time, though, was enough to get the paste to the point where it could finish the process on its own, with time.)
Cooking in the slow cooker is the best option, if you have one. If you’re using a slow cooker, cover the soap and cook it on low for several hours.
If you don’t have a slow cooker, the paste can be spread out on a baking sheet and baked in the oven at around 70ºC/160ºF. (Ideally, cover the soap paste so that it doesn’t dry out too much.)
I tried cooking my last batch in the oven and my soap paste didn’t get as translucent as it does in the slow cooker. Perhaps, it would have had I cooked it longer and covered it. It may have also helped to increase the temperature slightly. In any case, the saponification process did complete and the soap is safe to use, but it was slightly cloudier than the soap I make in the slow cooker. (See my video!) I’ve found that soap pastes that haven’t gone fully translucent generally improve with time.
Every half hour or so, try to mix the soap paste as best you can. You can flip it over to expose different parts of the soap paste to cook the paste evenly. As it cooks, the mixture will become more translucent. The process will take 3-4 hours.
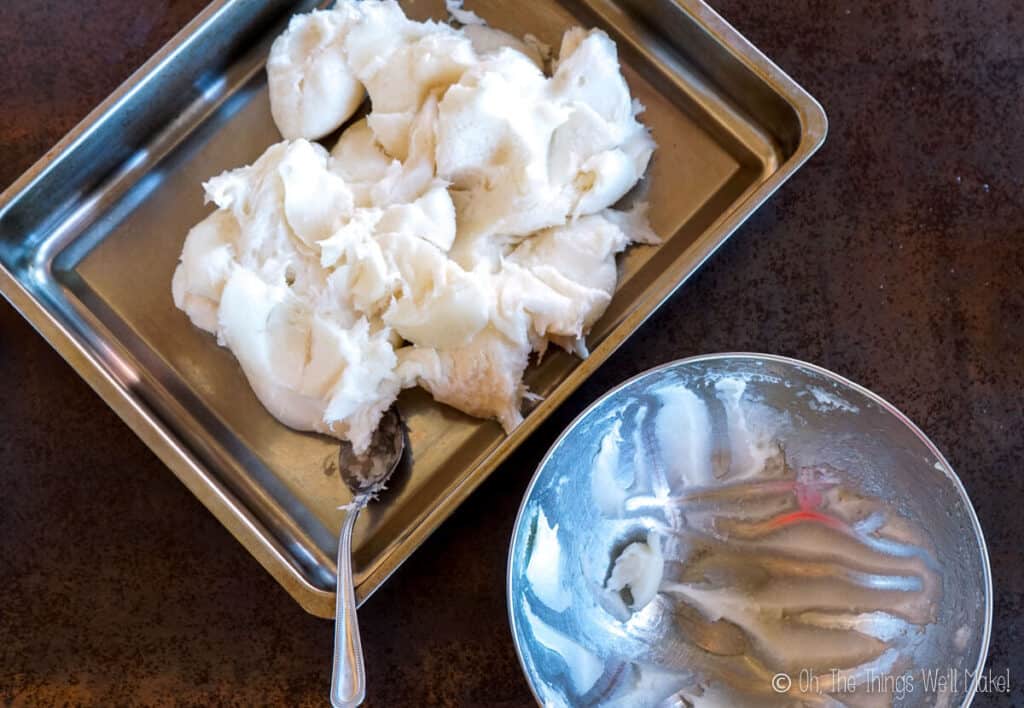
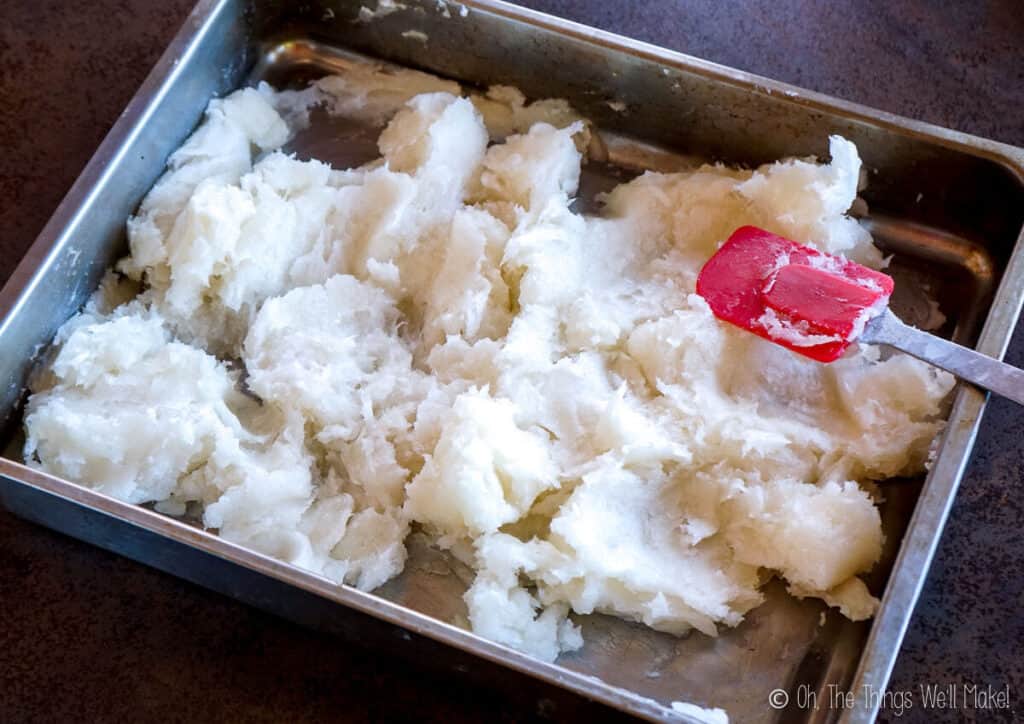
Spread the paste over a baking sheet. 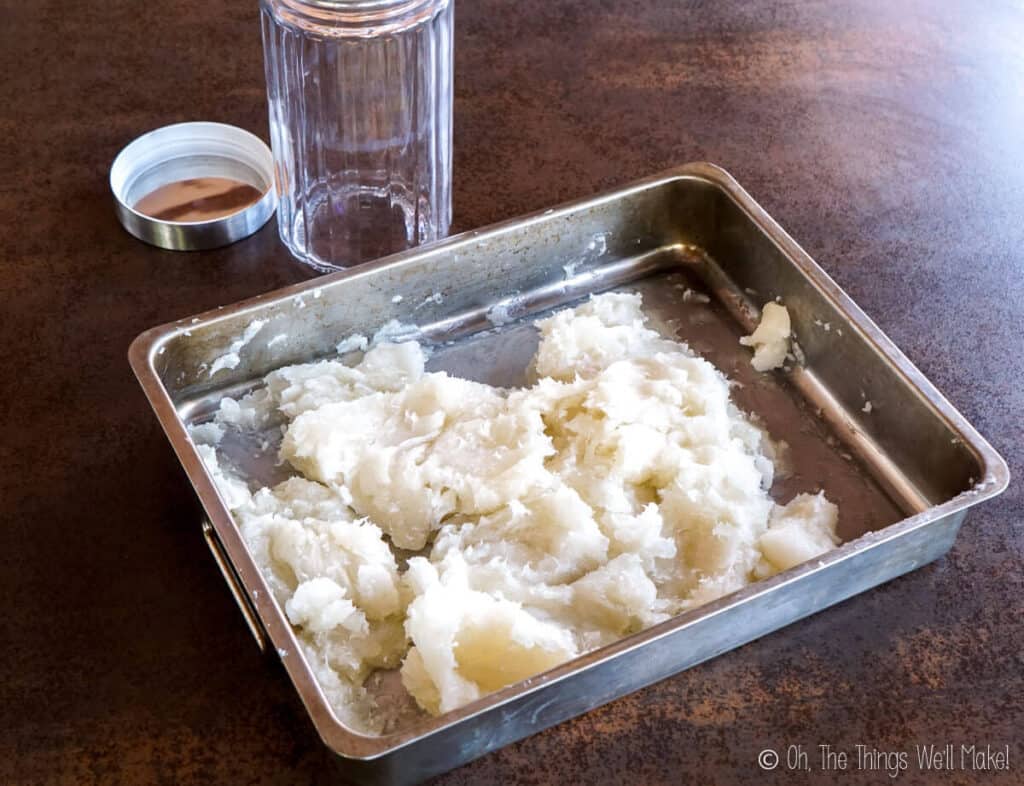
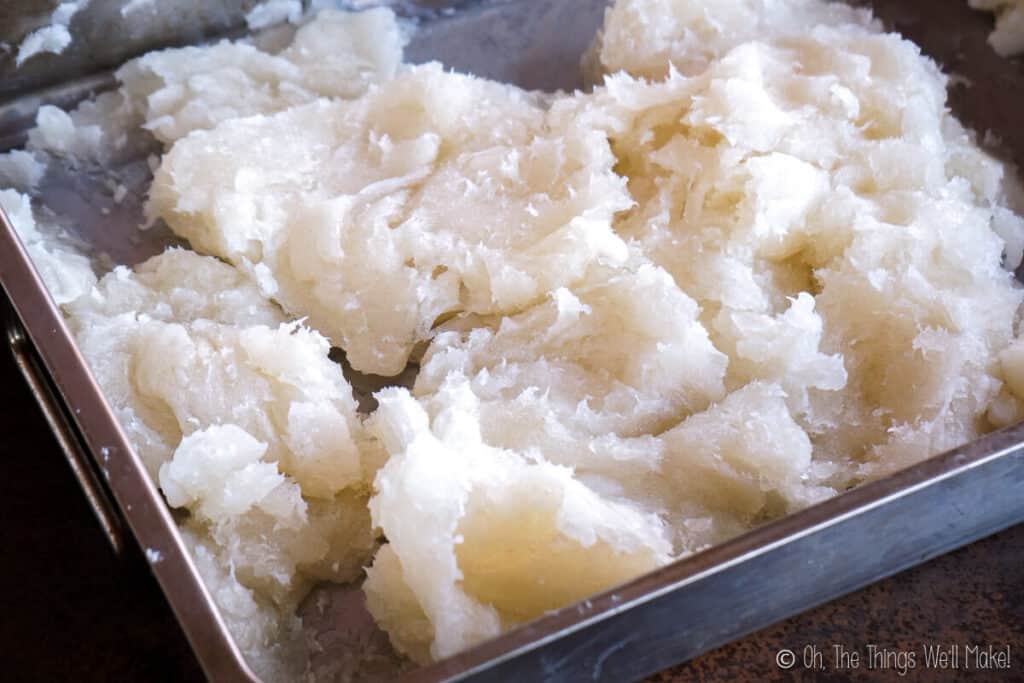
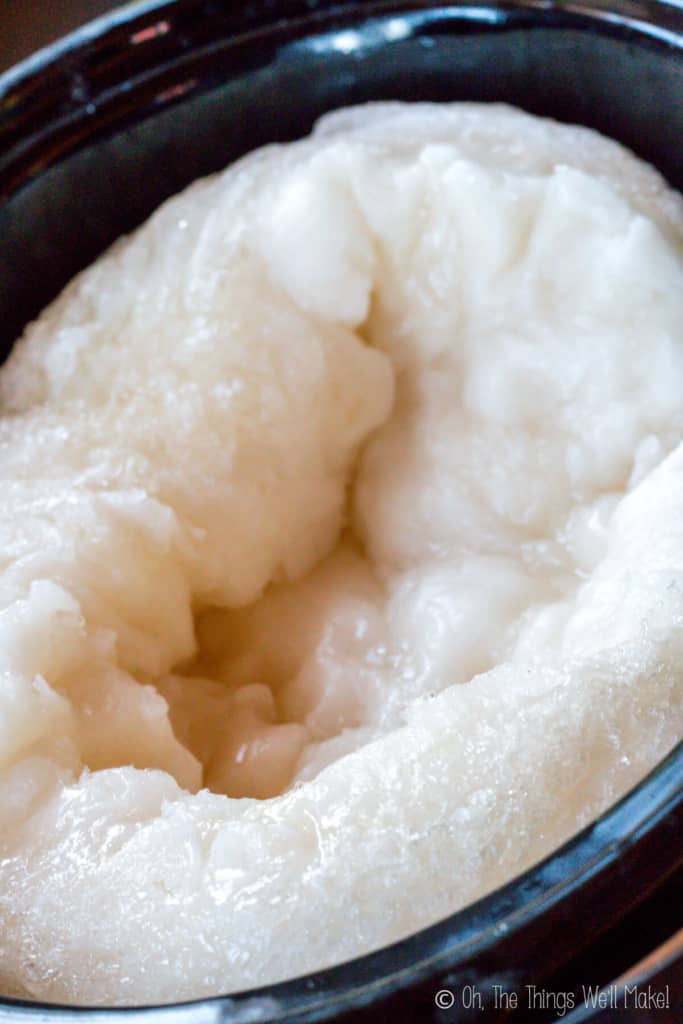
In a slow cooker, it may bubble up on the sides. 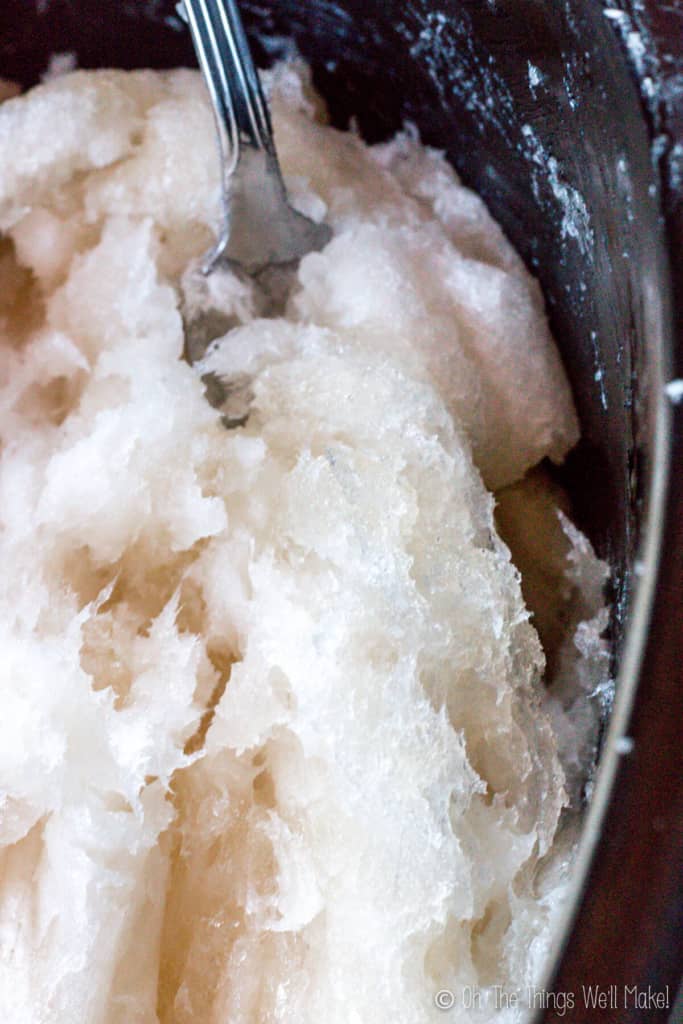
It will get more and more translucent. 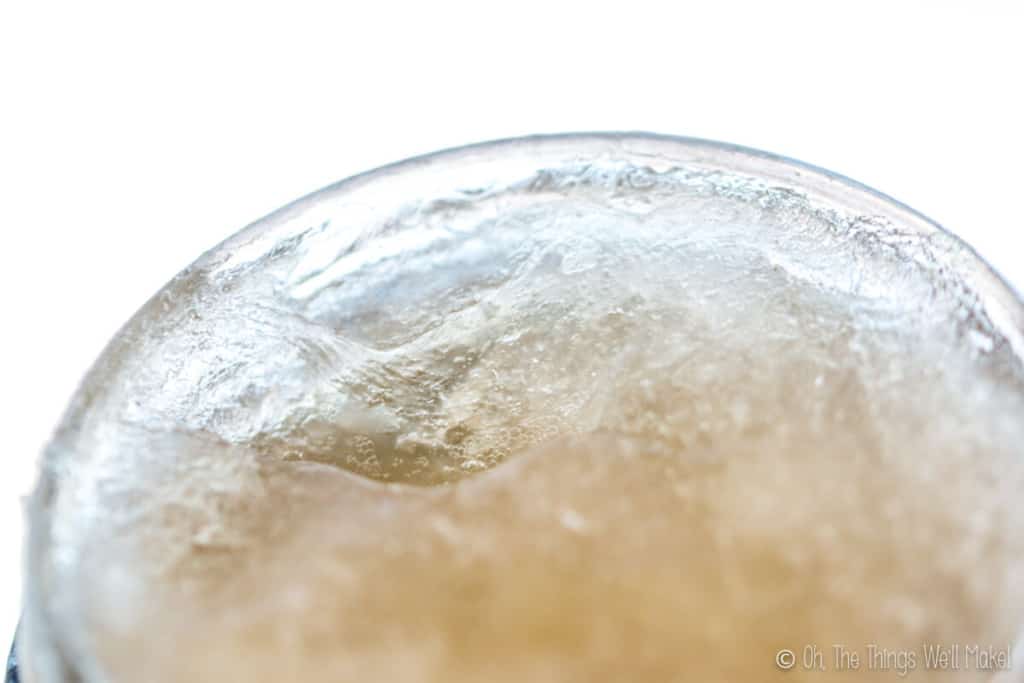
Check for doneness
There are several ways to test for “doneness.”
One method is to dissolve a small amount of the paste into distilled water, checking to see if dissolves into a clear soap. If the liquid is cloudy, you can continue to cook the soap in the slow cooker for another half an hour before checking on it again. If it dissolves clear, you are finished making the soap paste.
Another method is to use the zap test.
The zap test
To check for safety of the soap, many soap makers rely on what is called the zap test. To zap test a liquid soap paste, run your wet finger over the surface of the paste and then touch your soap-covered finger to your tongue. If the soap is caustic, it gives a zapping sensation. (This has nothing to do with flavor.)
If the soap doesn’t zap (if you can’t tell, it doesn’t), then it doesn’t have any more active lye, and should be safe to use.
If the paste passes the zap test, but is still cloudy, it’s your call whether or not to continue cooking. Cloudiness is generally only a cosmetic issue and may be caused by a number of factors (including minerals in your water). Often, soap paste that isn’t translucent after cooking for a while will eventually get more translucent on its own.
(I once removed part of a soap paste before it was fully cooked to see what would happen, and after a few weeks, it looked just like the rest of the batch that had been fully cooked.)
Once ready, the soap paste can be stored or dissolved into liquid soap as needed.
Storage
To store liquid soap paste, scoop it into a covered glass or plastic container or in Ziplock type plastic bags. The soap paste can be kept in a cool, dark place for a very long time. (I’ve had soap pastes stored for years without issues.)
Avoid storing in metal containers and avoid contact with metal as certain metals can react with the soap paste and shorten its lifespan. (Don’t ask how I know that. 😏)
Diluting the soap paste
To use the soap paste, it will need to be diluted in water. I suggest using distilled water to ensure a transparent soap. You can add more or less water, depending on the desired concentration. I generally 1 part soap paste to 1-3 parts water.
For fragrance, I also often add a few drops of essential oils to my liquid soap at the time of dilution.
For more information about diluting the soap paste, read my post on diluting soap pastes.
Troubleshooting
Over the years, I’ve had many people writing me with various problems. One of the most common is that the soap isn’t transparent or that the paste doesn’t get clear no matter how long they cook it. There are several reasons that your soap may not be as transparent as you’d like.
Keep in mind that cloudy soap is generally safe to use, it just isn’t as pretty as clear soap. If your soap paste passes the zap test, it should be completely safe to use.
Temperature
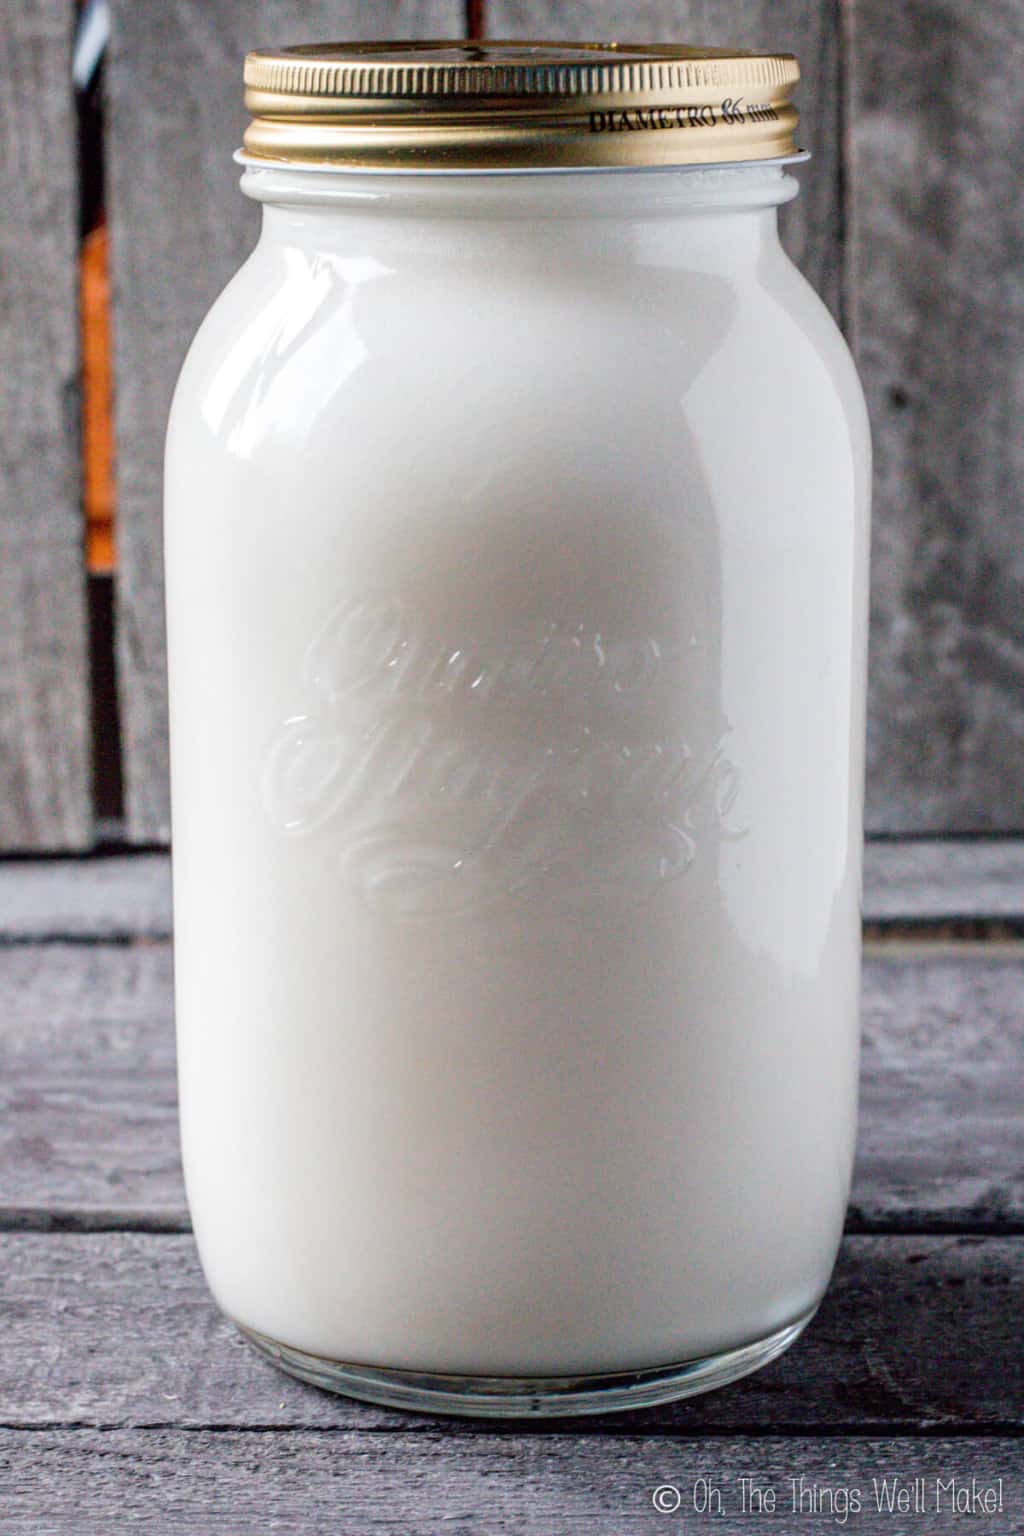
Just as coconut oil turns solid and opaque in cold temperatures, so does this liquid soap, to a certain extent.
My partially diluted liquid coconut oil soap turned an opaque white and thickened up in the winter. When the weather warmed up again, the soap cleared up. This is only a cosmetic issue, but you can dilute it more in the winter than you would in the summer if you want it to be clear.
Water used
The other most common issue is having used tap water to make the soap. Tap water has minerals and can have impurities that often make the soap look either cloudy or even opalescent.
For other problems, read my post about troubleshooting liquid soap problems.
Video
Homemade Liquid Coconut Oil Soap
Makes 1-2 Gallons of soap (See notes below.)
Materials
Instructions
Making the soap paste
- Melt the coconut oil. This can be done in a slow cooker or in a large bowl.
- Mix together the water and glycerin in a large bowl. Measure out the potassium hydroxide (KOH) in a separate smaller bowl.
- Pour the KOH into the water and glycerine mixture. (Not the other way around!) Mix well until the KOH fully dissolves into the water/glycerine. It will heat up and be cloudy at first but will clear up.
- Carefully pour the KOH mixture into the warm coconut oil, and slowly mix them together. This can be done in the slow cooker or in a large bowl if you don't have a slow cooker.
- Using a hand blender, blend the ingredients together. The mixture will begin to thicken after a few minutes.
- A couple of minutes later, the mixture will probably begin to look grainy. Continue to blend it until it gets creamy again. (You can take breaks, as needed, to allow the blender to rest. This prevents burning out the motor.)
- Once the mixture thickens into a putty like paste, you can begin to cook it. This can be done in the slow cooker or on a baking sheet in the oven.
Cooking the soap paste
- Cook the soap paste in a covered slow cooker on the low heat setting. If preferred, spread it out on a baking sheet and cook it in the oven at 70ºC/160ºF. As it cooks, the paste will become more translucent. Cook the paste for around 3-4 hours, stirring it as best you can every half hour or so.
- To check for "doneness," take a small amount of the soap paste and dissolve it in distilled water. If the resulting liquid is cloudy, cook the soap for another half an hour before checking on it again. If it dissolves clear, you are finished making the soap paste. It can now be stored or dissolved into liquid soap.
Dissolving the liquid soap paste
- To make liquid soap, dissolve the paste into water. (Preferably use distilled water to get a transparent soap.) The amount of water used depends on how concentrated you want the finished soap to be. I generally use 1 part soap paste to 1-3 parts water. You can allow the soap the dissolve on its own overnight or use heat and stirring to speed up the process.
Notes
This post was originally published on October 21, 2016. It was rewritten in May of 2021, adding clearer instructions, new photos, and video.
 Español
 Homemade Pure Vanilla Extract
Brenda
Can you add borax or soda ash to this to make it more of a laundry soap? I’m tired of buying Laundry soap and all the plastic bottle waste & dyes everywhere!!
Tracy Ariza, DDS
Yes, that should work OK. I have a post up with soap based “detergent” recipes. It was a guest post by someone who was supposedly in the cleaning business, but her website seems to have since disappered and I’ve been trying to decide how to update that post. I tried the powder verison and think I did try the liquid version once, but didn’t like it very much. I’d almost say to just use the liquid soap and add the soda ask separately rather than mix them together.
Since then, I make my own non-soap laundry detergent because we have hard water and I think the soap based ones can lead to a buildup on clothing after a while. I do love this soap, though, and use it for practically everything else.
Tam Johnson
This recipe was spot on, thank you so much for the excellent instructions. Even though I was cooking mine in a big pot on top of our woodburner and ran into a snag when it looked like it had curdled (because the temp of the oil was too low I think) I just kept blending and it came together as it warmed up again. I’ve made cold-process soap many times but this was my first attempt at a liquid soap, and I’m very happy with the results! Thank you so much! I’m going to make your conditioner recipe next as soon as I get the ingredients 😁
Tracy Ariza, DDS
Awesome, Tam! I’m so glad you enjoyed it!
Kaitlin
Hey, I would love to say I have learnt alot about doap making here
I’m curious my soaps pH is around the 8 I would like it higher for cleaning. How would I do that?
Kaitlin
Also I didn’t use glycerin just added extra water
Tracy Ariza, DDS
Hi Kaitlin,
I’m going to guess that it’s just an error reading when you are testing the pH as it can be a bit difficult to test accurately. Soap is generally at a pH of aorund 9-10.
Amy
I made both the Olive oil Castile liquid soap and The Coconut oil based liquid soap and mixed them as instructed here. I love this combination honestly, I’m hoping to sell this at our farmers markets so testing it out on family. So far biggest complaint is the liquidity of the soap. I read in your Castile Soap Q&A about adding Salt or Xanthum Gum? I’ve not heard of this. Wouldn’t this end up drying out your skin?
Tracy Ariza, DDS
Hi Amy,
No, they shouldn’t dry the skin.
Only certain liquid soap s and other surfactants will thicken with salt. If I remember correctly it’s mainly the soaps made with olive oil and not coconut oil. I thickened my surfactant based laundry detergent with salt and I live the consistency.
Thickening with guns us more problematic because they can separate and I don’t like the texture as much. I thickened my homemade shampoo with xanthan gum.
You’d want to incorporate the gum into water and gently add it in. It can get difficult to blend gums into soaps as they can create a lot of foam as you blend but the mixture can separate if not blended well.
Mary
So helpful. Thank you. Can this be colored with mica powder? TYIA
Tracy Ariza, DDS
Yes, that should be fine, but it may depend on the concentration of your soap how much of it stays suspended in the liquid soap.
I’d test it out with a small amount of soap and add it when you dilute a very small, experimental amount.
Ruth
Aghhh… my husband gave me sodium hydroxide instead of potassium hydrixide, and I’ve got a crock pot full of hardening soap… is there anything I can do to save it, or make hard soap instead?
Tracy Ariza, DDS
Sorry for the late reply. You can really only make some sort of hard bar of soap at that point.
Some people dissolve their bar soaps to make a “liquid soap” of sorts,but I tried it once and hated it.
It isn’t a true liquid soap.
DiasPraya
well, thanks
hasan
Hi,
How to get the liquid soap becomes thick, like liquid soap in the market ?
Manny thanks,
Tracy Ariza, DDS
Most liquid soaps in the market are not true liquid soaps. (They are detergents that are either thickened with salts or gums.) A true liquid soap like Dr. bronners is generally thin like this one.
That said, if you want to thicken it, you have a couple of options.
If it’s an olive oil based liquid soap, you can try thickening it with a salt solution. (It doesn’t generally work with coconut oil soaps.) Add little by little as too much can change the texture of the soap and ruin it.
The other option is to add a fun to it. I’d suggest diluting the gum in some if the water you’ll use to dilute the soap to incorporate it best. See how I used the gum to thicken my homemade shampoo.
Chris H.
Hi there, Just wanted to add for anyone who is interested that it is also possible to cook your paste on the stovetop with great results and it takes less time. I did a pure coconut oil paste this way and it turned out clear when diluted. A stainless steel pot (18/10 ) with a lid was used. My heat was constant at 2 or one notch above minimum for the entire duration. It was fully traced in about an hour and became translucent after 2 more hours. I stirred similarly to how you describe – maybe every 20 minutes after trace. You do need to check on it more often so as not to overcook it but even if it is overcooked, your paste will just be less translucent and slightly drier. Hope this helps and adds to your already wonderful post!
Tracy Ariza, DDS
Thanks so much, Chris!
A lot of people ask for other methods and I’ve successfully tried in the oven, but hadn’t gotten around to tryin on the stovetop yet!
Maybe I’ll try it next time and document it for people!
Trini
Hi Samantha! Does this recipe need to be neutralized with a borax (or boracic acid) solution? its usually a 20-33% mix to water solution that is then added at about a 4.5% rate (from what I’ve seen elsewhere). Is there a benefit to this? Thank you
Tracy Ariza, DDS
Hi Trini,
People “neutralize” liquid soaps when they make them with a lye excess to ensure a clear liquid soap.
This recipe has been calculated to be exact and turned out great…clear and not overly harsh, so I’ve never bothered with “neutralizing it.”
You can read more of my thoughts on the subject in my post about how and why to neutralize liquid soap.
Shoib Memon
It is a very good recipe. I did it. Lathering is good, cleaning is perfect. But the PH comes out at around 10-10.5, which is harsh if used more or is harsh for drier skins. How to lower PH naturally ? or avoiding this ‘harsh’ situation ? e.g a friend used it, he had a minor cut on his hands, and it was difficult for him to use this.
Tracy Ariza, DDS
All true soaps have a higher pH. If you want to have a lower pH product, you’ll have to make a detergent vs. a true soap, something like my shampoo recipe.