

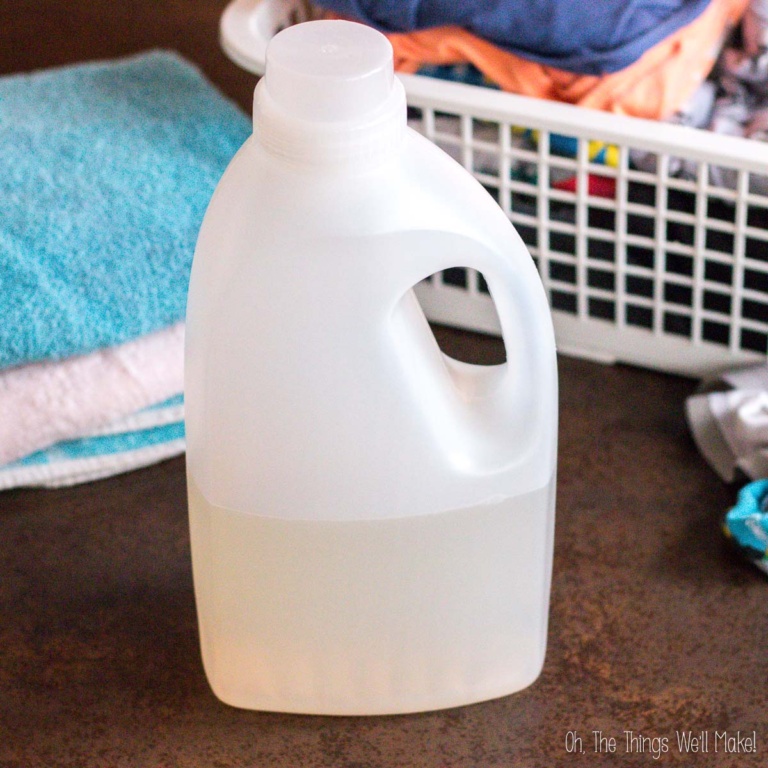
Natural DIY Clarifying Shampoo
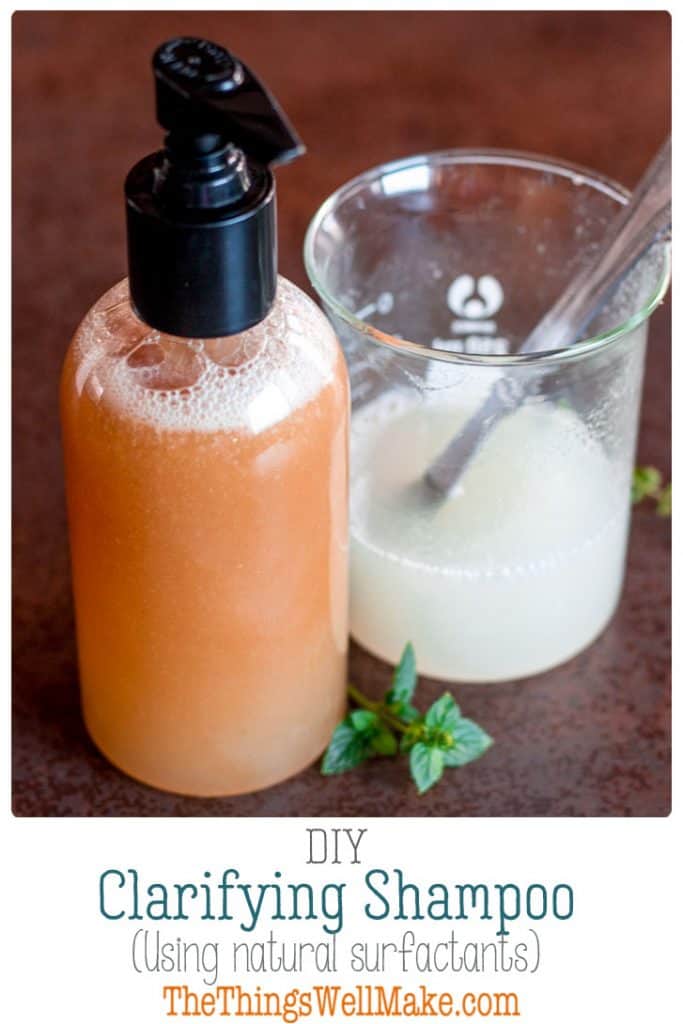
Cleanse your hair gently with this DIY clarifying shampoo that uses natural surfactants to remove dirt and leave your hair clean and soft.
Because many of you have found me through my soap recipes (like my liquid Castile soap or my easy beginner soap), I often get requests for a soap-based shampoo. While I love making soap, I never use soap for my hair because it leaves my hair dry and unmanageable. Some people are able to cleanse their hair with Castile soap and are quite happy with it, but I’m not one of those people.
Why not use liquid Castile soap?
I’m not alone, though. Castile soap isn’t an ideal shampoo for hair because the pH of soap is high yet our hair and scalp have a more acidic pH. Not only can an alkaline shampoo increase the negative charge in the hair making the hair more prone to friction and damage, but it can also be irritating to your scalp.
In an attempt to remedy this issue, most people who wash their hair with soap or soap-based “shampoos” will follow it up with a vinegar rinse to lower the pH again. Not everybody reacts well to vinegar rinses either. I, again, am one of those people and I don’t like the feel of my hair after a vinegar rinse.
Choose natural surfactants
You want a “natural” alternative, but soap may not be the best option. So what’s left?
Natural surfactants, of course!
Surfactants have a bit of a bad rap. It’s partly because harsher surfactants like SLS Sodium Lauryl Sulfate and Sodium Laureth Sulfate can be found in just about every conventional product at the supermarket. It can be found in everything from household cleaners to shampoos, shower gels, and even toothpaste! (You can make your own toothpaste sans SLS, too!)
I’m actually not even an SLS hater, to be honest. (Shocked?) I use it in my homemade version of Dr. Bronner’s Sal Suds just like they do (I’ll share my recipe soon!), but I reserve it for general cleaning around the house. For my skin and hair, I choose milder, more natural surfactants instead!
With time, more natural surfactants are being developed to meet consumer demands! I wrote more about them and shared a list of some of my favorites in my post about working with natural surfactants! (If you aren’t familiar with natural surfactants, I recommend reading that post as a great starting point for making your own homemade products!)
Who is this shampoo best for?
Because this is a fairly gentle shampoo, it should work well with most, if not all, hair types.
Those who follow the curly girl method for developing waves or curls and keeping their hair hydrated can use this shampoo as a “low poo” alternative. (No, I didn’t come up with that term.) It makes a good starting point for beginning the process and for occasional washings when normally using co-wash.
You can use it as often as works best for your hair. I have been developing my natural waviness over the last few years by rarely using shampoos and sticking to very gentle ones when I do. I usually use this shampoo around once a week and for my other “washing,” I either co-wash with my homemade conditioner or I use a DIY conditioning shampoo. (Yet another recipe that I’ll be sharing with you shortly!)
Why make your own clarifying shampoo?
It’s very difficult these days to find shampoos free of harsher surfactants like SLS. When you make your own shampoo, you can control which surfactants you use.
Many shampoos also have other ingredients that may not be right for your hair. They may contain non-water soluble silicones, harsh preservatives, and artificial fragrances.
Customizing your DIY clarifying shampoo
What it comes down to, though, is that when you make a product, you can control the ingredients and customize the recipe to suit your needs. While most of us aren’t that in tune to our hair and will use just about any shampoo that doesn’t have harmful ingredients, those that are doing processes like the curly girl method to maintain perfectly hydrated curls and waves are often very in tune to what their hair needs in terms of vitamins and proteins. Your hair may show more need for protein, for example, so you can adjust the amount you add to your hair care products. Looking for a shampoo without protein, you can make it without too! Making your own shampoo allows you to fine tune it to perfectly suit your hair from batch to batch.
Vitamins and Proteins
In this shampoo, I chose to use d-panthenol (provitamin B5) to help nourish the hair, but you could also add some hydrolyzed wheat protein or silk protein to give your hair extra nutrients. (Just use the suggested range for each particular ingredients, as suggested by the supplier, and exchange any water-soluble additions for part of the water in the recipe.)
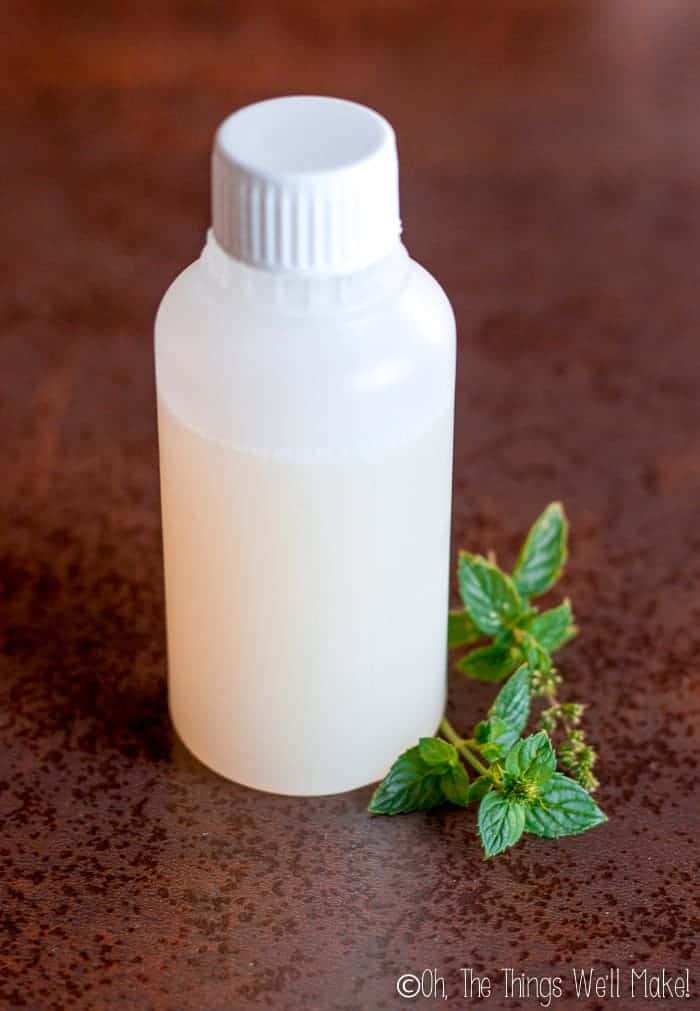
Distilled water or floral waters
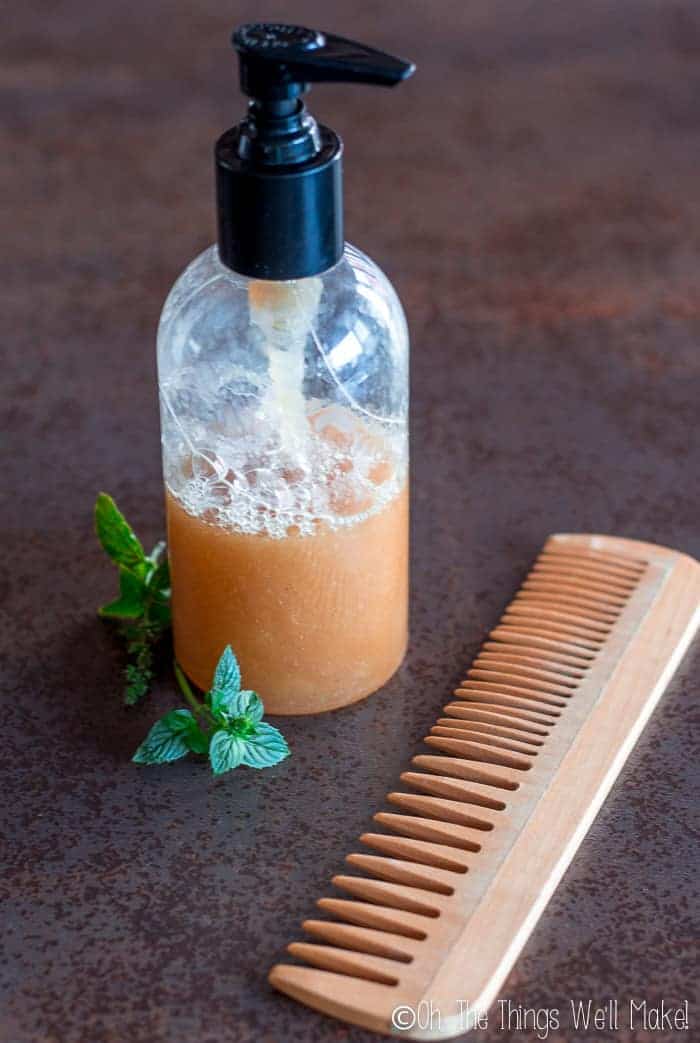
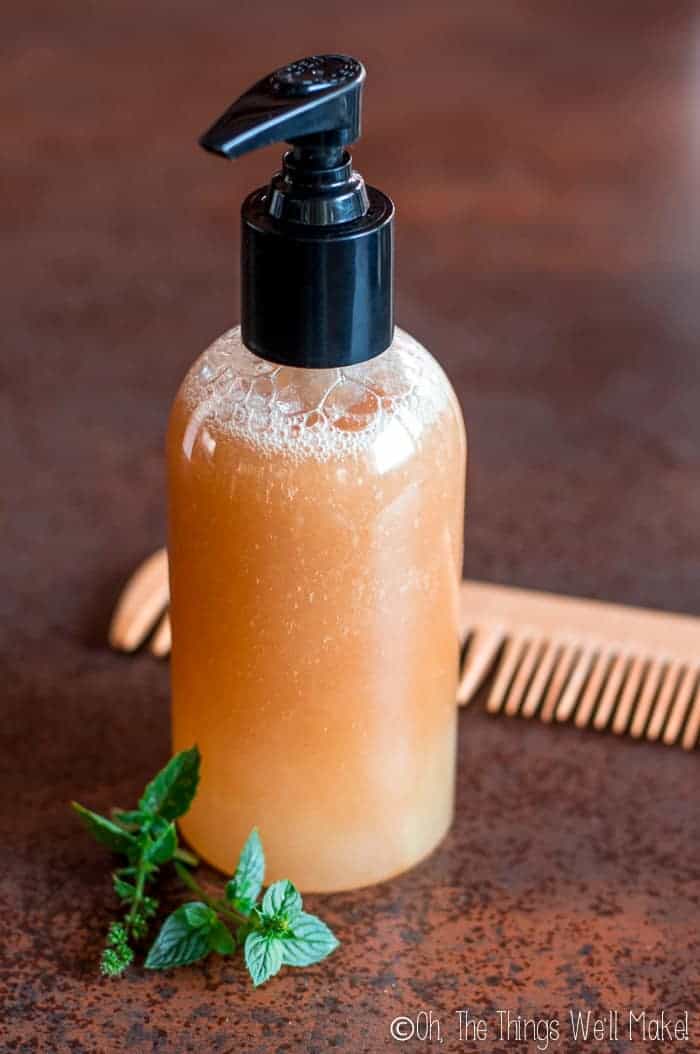
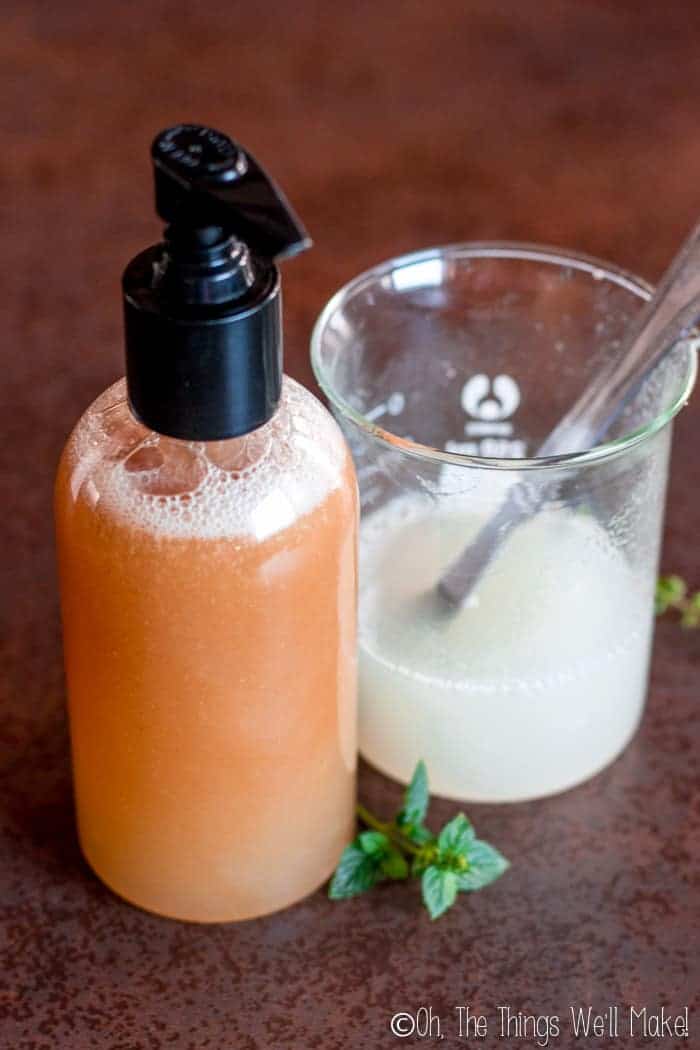
In the shampoo in the photos, I actually used an infusion of peppermint leaves in distilled water as the water component of the recipe. I like mint for shampoos because it leaves your scalp feeling nice and refreshed, and just feels clean to me. That refreshing feeling is said to help stimulate the circulation in the scalp and may help stimulate hair growth.
Prefer to use a floral water or some other infusion? Go for it. It’s your shampoo. Nettle tea would also make a good base as nettle is also said to be great to help fight hair loss. You could have the best of both worlds by using a nettle infusion and some peppermint essential oils.
The surfactants
You can experiment by changing up some of the surfactants in this shampoo. I used a mix of non-ionic surfactants (coco glucoside and decyl glucoside) as well as an amphoteric surfactant (coco betaine) to help boost the foaming. Because my husband likes a lot of lather to his shampoo, and I’m not using any of the harsher anionic surfactants like SLS, I’m using a relatively high percentage of surfactants in this recipe. You can reduce the percentage of surfactants added to make for an even gentler shampoo, but you will probably find that it will also lather a bit less.
Natural DIY Clarifying Shampoo
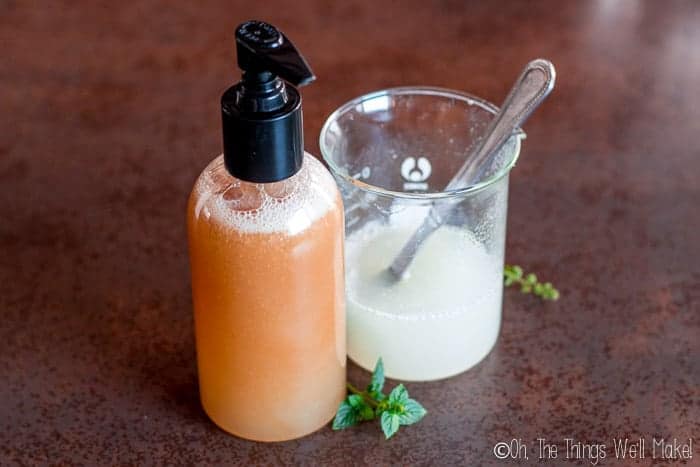
DIY Clarifying Shampoo
Materials
- 88 g distilled water (or infusion, or floral water)
- 40 g coco betaine
- 25 g coco glucoside
- 25 g decyl glucoside
- 10 g glycerin
- 2 g xanthan gum
- 4 g d-panthenol
- 2 g peppermint essential oil or other essential oils of choice
- 2 g preservative (use the recommended amount for your preservative)
Instructions
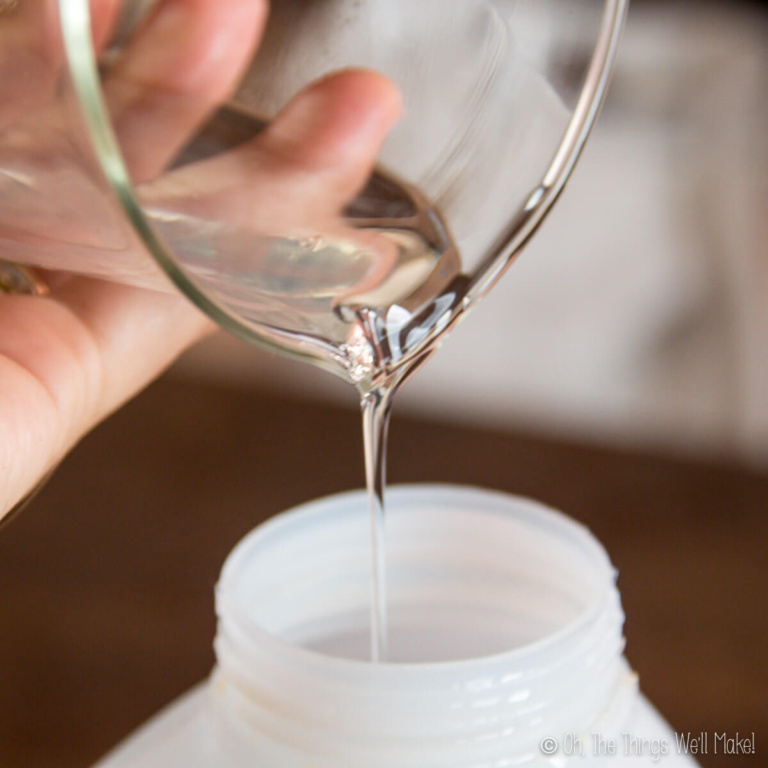
- Mix the xanthan gum into the glycerin until fully incorporated. This helps prevent clumping later on when it’s added to the rest of the shampoo.
- Once the xanthan gum is fully incorporated, begin adding the remaining ingredients, stirring gently as you go. Avoid mixing too vigorously, as this can create excess foam and make the shampoo harder to work with.
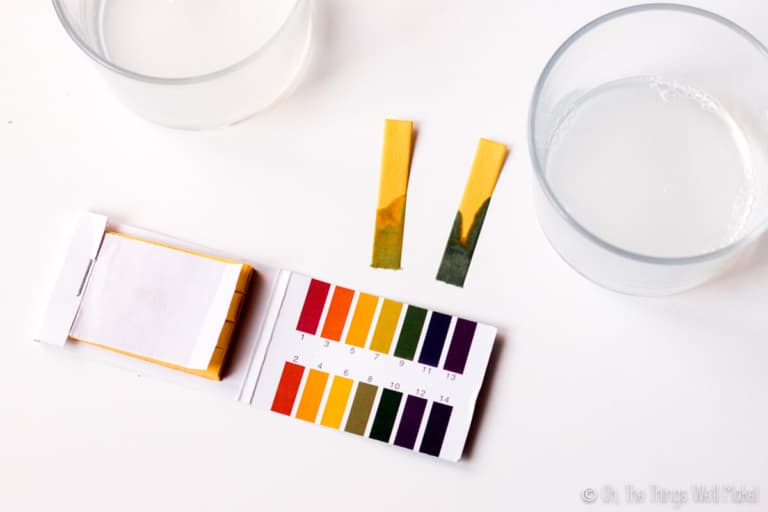
- Once everything is fully mixed, check the pH using a test strip. You want it to fall within a slightly acidic range, ideally around pH 4–5.5, and to be compatible with the preservative you’re using.
- If needed, adjust the pH with a few drops of lactic acid to lower it, or a small amount of baking soda or sodium hydroxide (lye) to raise it. Once it’s where you want it, the shampoo is ready to bottle and use.

Hi, it looks like a great recipe which I’m going to make. Just wondering if I can add the probiotic, Avena Sativa Ferment Extract Filtrate to the recipe due to my wife having seborrheic dermatitis and oily skin? Also could we use this recipe both as a body wash and a shampoo? Thanks so much…
Hi Rob,
Yes, you could add something like Avena Sativa Ferment Extract, but you’d want to keep the amount fairly small and replace part of the water with it so the overall formula stays balanced.
And yes, the recipe can work as a body wash too. It’s basically a mild liquid cleanser, so many people use it for both hair and body.
Hi, Tracy
I have followed the exact receipe, but it was separated into two layers upper milky and lower oily after few hours.Any ideas why my shampoo is separating,
Thank you..
Hello,
Separation usually means something didn’t fully incorporate. A common cause is the xanthan gum not dispersing well enough at the beginning.
Make sure the xanthan gum is fully mixed into the glycerin first before adding the other ingredients, and then stir the rest in slowly. If it still separates, briefly blending the mixture can help bring it back together.
In the cosmetics course I took, they actually recommended using an immersion blender if needed. It helps disperse the xanthan gum much more evenly. The only downside is that it introduces foam, but that usually settles down again after the shampoo sits for a while.
Would this shampoo be a suitable for me to add Sea Salt and Aloe Vera gel?
Hi Hannah,
A small amount of aloe gel should work fine, but you’d want to replace part of the water with it rather than just adding extra liquid.
Sea salt is trickier. Salt can change the thickness of surfactant mixtures and sometimes thin them out instead of thickening them, so I’d add only a very small amount if you experiment with it.
I just made this recipe. I noticed it’s not very bubbly. It was mostly like a cream. Is this correct or did I do something wrong? Thanks!
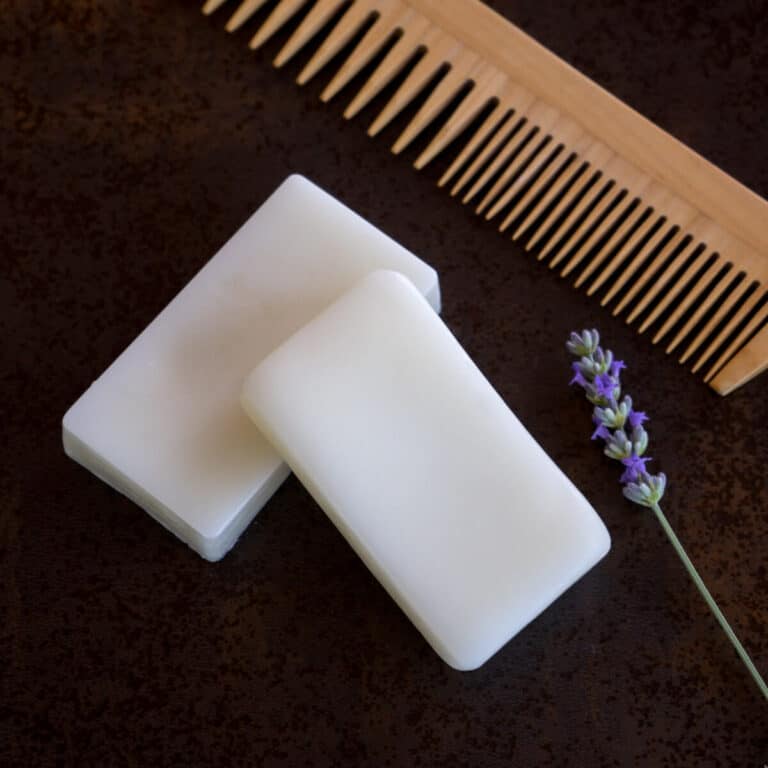
Hi Beth,
It won’t be as sudsy as a shampoo with SLS, but it is gentler. If you prefer foam, I’d suggest trying the shampoo bar recipe as that gives a lot more suds. I’m considering testing a liquid shampoo with the natural solid surfactants I used in that recipe. They are anionic surfactants like SLS and, while gentler and “more natural,” they provide a lot of foam.