

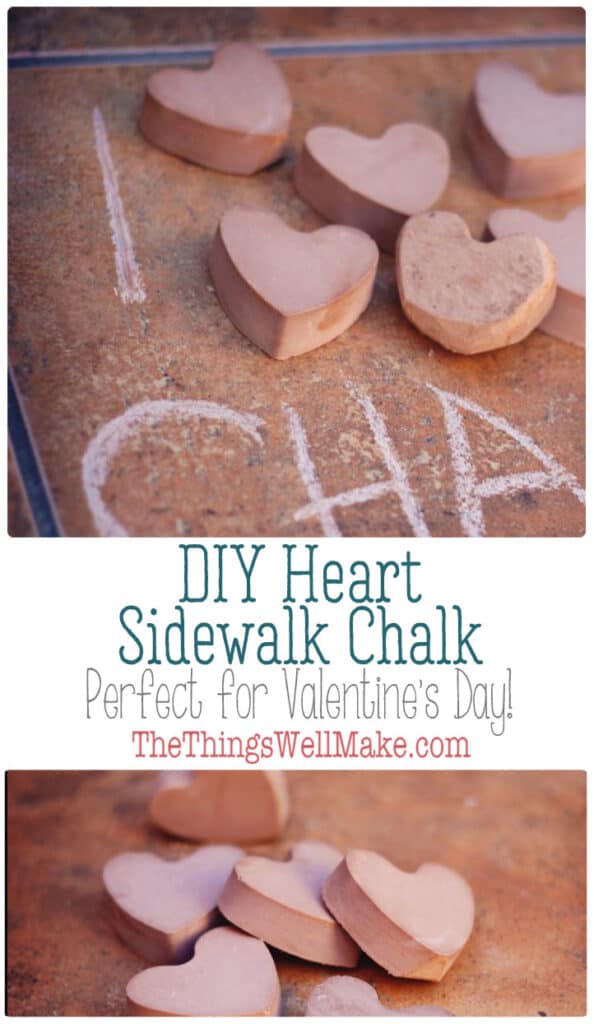
Heart-shaped Homemade Sidewalk Chalk
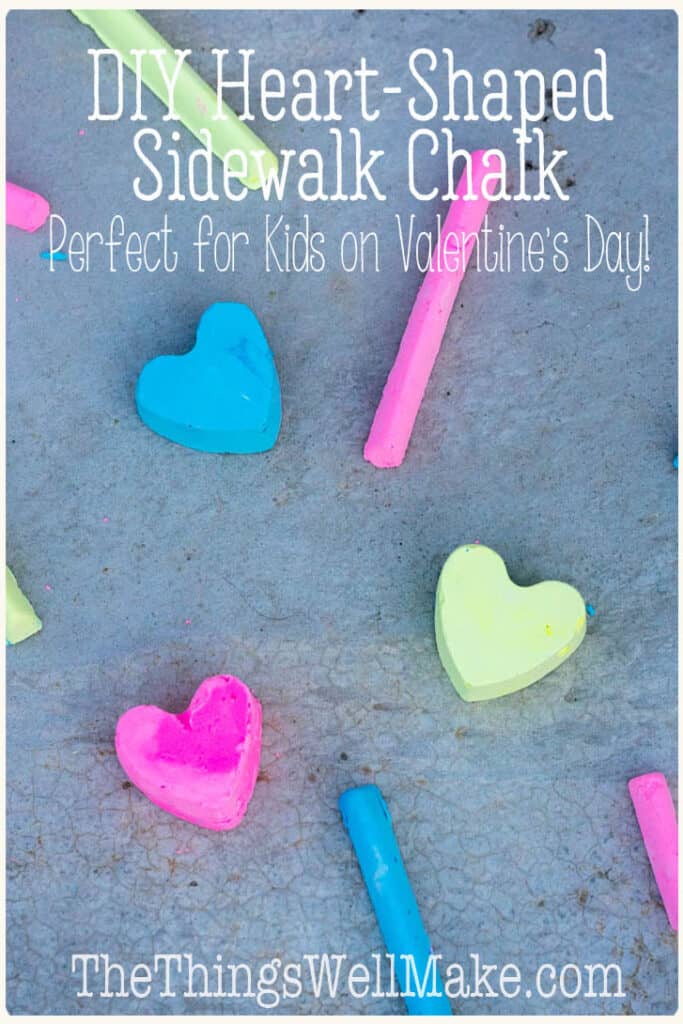
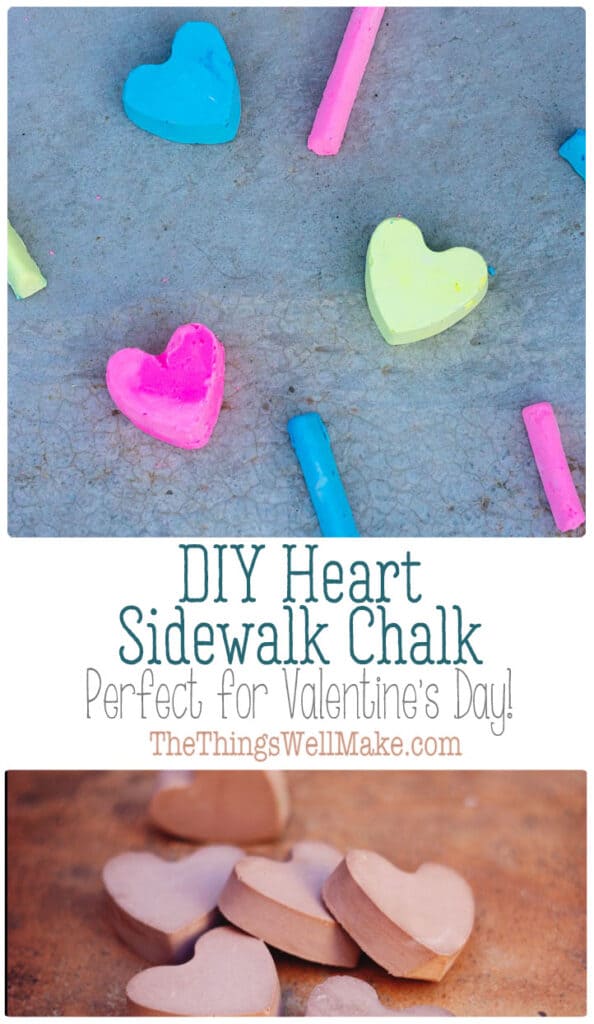
Making your own sidewalk chalk is a fun and easy project that kids will love. For Valentine’s Day, I decided to make heart-shaped chalk and tested it out outside.

Last time, I showed you how I made a portable, foldable chalkboard heart valentine. It’s a super-cute Valentine for kids because you can fold the chalkboard up around some chalk and snap it together. That makes it easy to transport the chalkboard and chalk without making a mess. I even made a homemade heart-shaped felt eraser that you could slip inside.
Following the theme, I thought it would be a great idea to give away some heart-shaped chalk with it.
Why Make Your Own Chalk?
We’ve done this activity several times, spaced out over several years. It was fun for both my son and me; both times. That’s why I think it’s a great activity for kids of all ages.
Kids love being able to make something that one would normally buy. By making it themselves, they can choose the shape of the chalk. They can also choose the colors. Best of all, though, is the feeling of accomplishment of making it themselves!
Watch us Make our own Chalk
How to Make Sidewalk Chalk
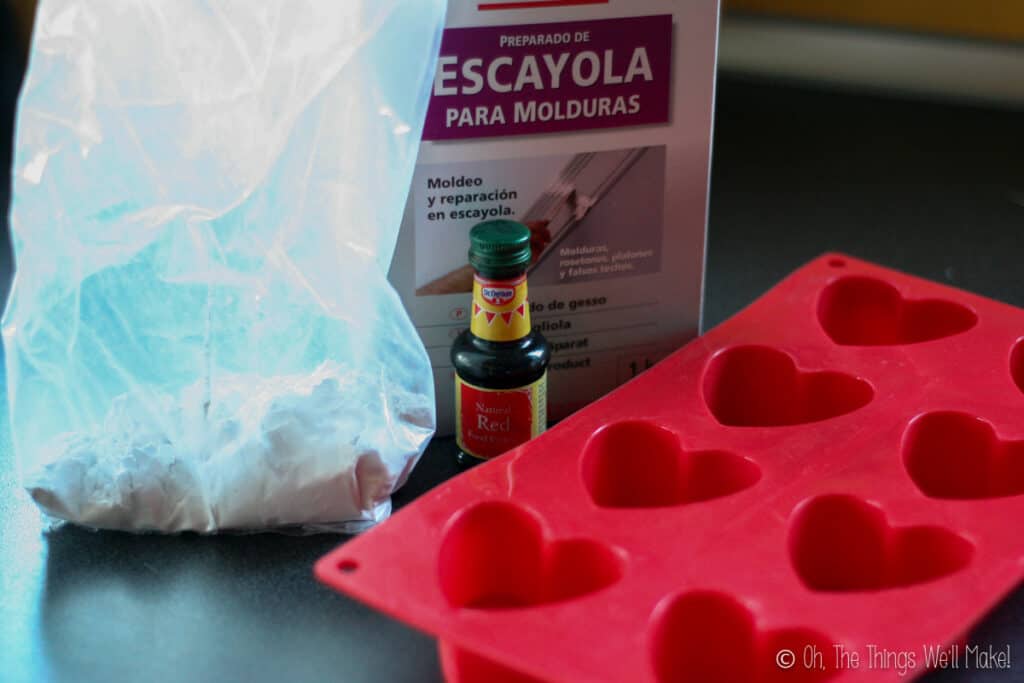
Making sidewalk chalk is a very simple, quick project. It uses only plaster of Paris, water, and any colorant that you would like to use to make colored chalk.
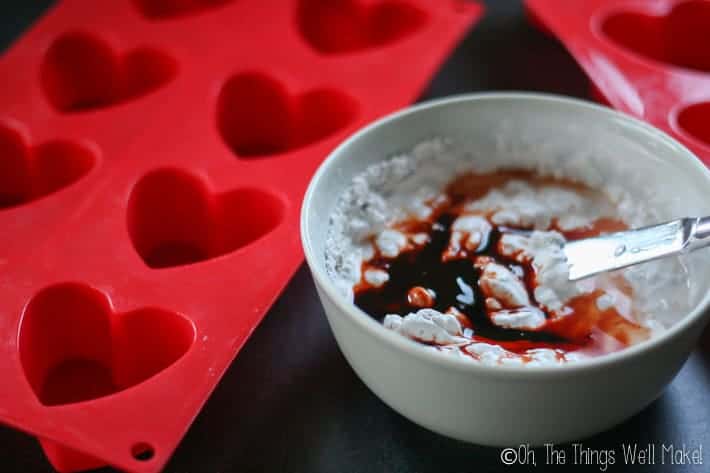
To make the chalk, mix your plaster according to the package directions or until you get a consistency that you like. (Usually, you should add around 3 parts water to 4 parts plaster.) Then, you add in your colorings until you get the shade you want.
When we made our first batch of sidewalk chalk, I used a plaster meant for making moldings. It was hard and dense and was harder to write with. We later made chalk using a craft-type plaster of Paris, and the results were much better. It was just like store-bought chalk!
Choosing your plaster for making chalk
When I first made the heart-shaped chalk, I used a regular plaster (the so-called “escayola” here in Spain). This year, I decided to use what is called “yeso” in Spanish. It’s lighter and not-so-hard. It took longer to set and dry but worked perfectly as “normal” chalk would. I was even able to use it on my homemade foldable chalkboards.
For reference in English, I think that “plaster of Paris” is the lighter type of plaster that you want to use to make chalk. Certain plasters meant for making repairs may make a much harder type of chalk. Those chalks are more heavy-duty and harder to break, but also harder to use. They also will only work on harder, rougher surfaces like the ground outside.
Because the plaster will hold moisture for at least a few days or so, it may be a bit trickier to use on the first day(s) after you make it. If you draw on the sidewalk, the chalk will leave its mark, but it doesn’t show up completely until the plaster dries. As the chalk dries out more, it gets easier to use.
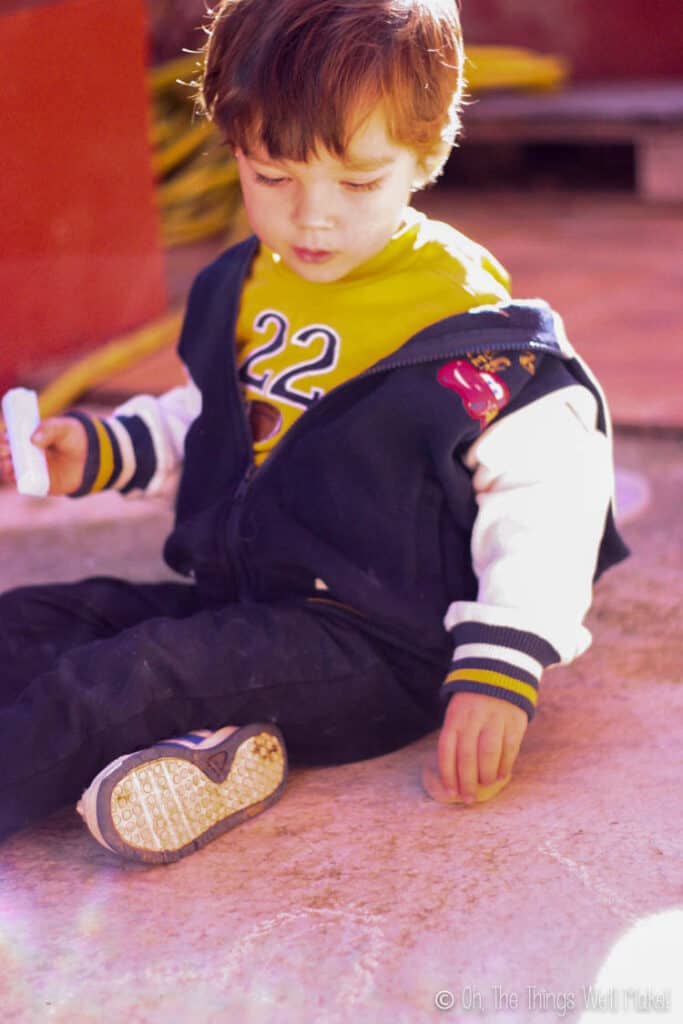
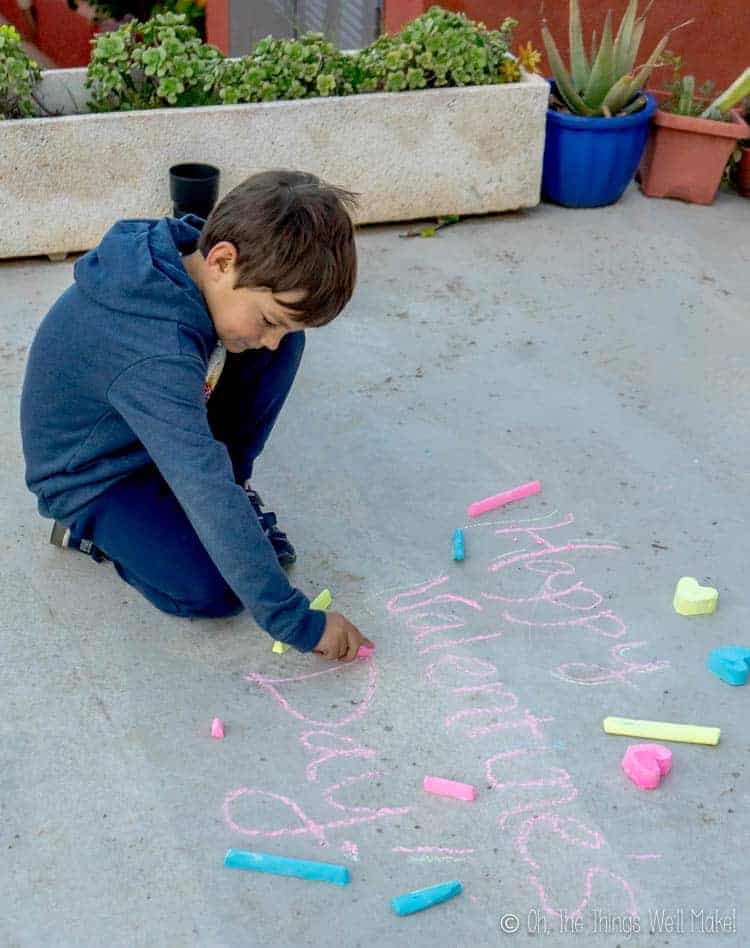
My son had a lot of fun playing with it. (As did I, as you may be able to tell.)
If anybody has any more tips and tricks for making a light, easy-to-use chalk (which plasters are best in the US, for example), I’d love to hear your ideas!
Adding color
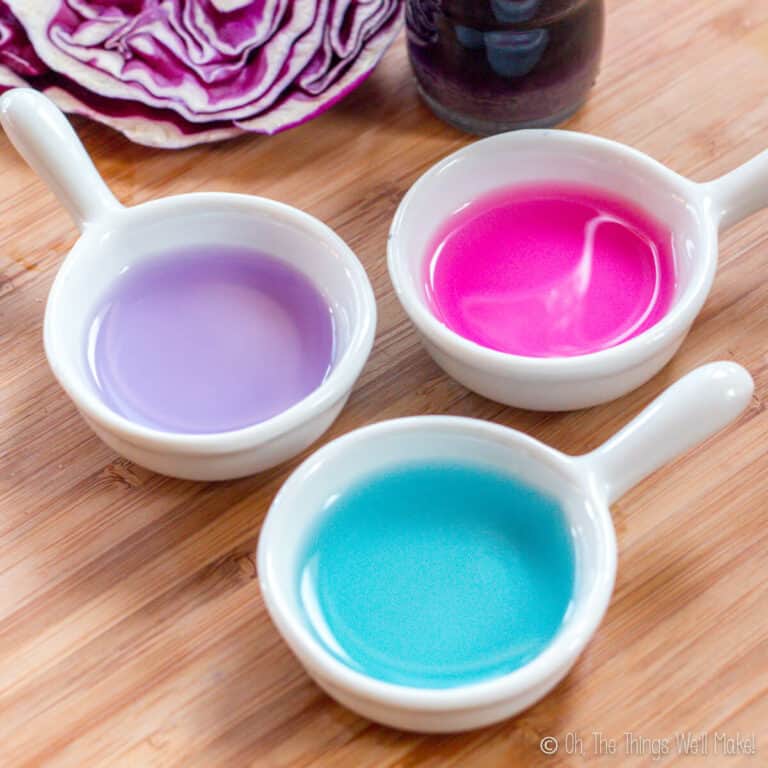
Most people seem to choose tempera paint powder for coloring their chalk. On the other hand, it’s not a material that most people have at home. I didn’t want to have to buy anything specifically for this purpose so I looked for alternatives.
The first time I made this chalk, I tried using food coloring that I had sitting around the house. The color wasn’t as bright as I hoped, but it served it’s purpose well enough.

Because I wanted vibrant, stronger colors, the next time we tried using liquid acrylic paint. It worked perfectly.
We ended up with a really bright, vividly colored chalk.

Shaping your sidewalk chalk
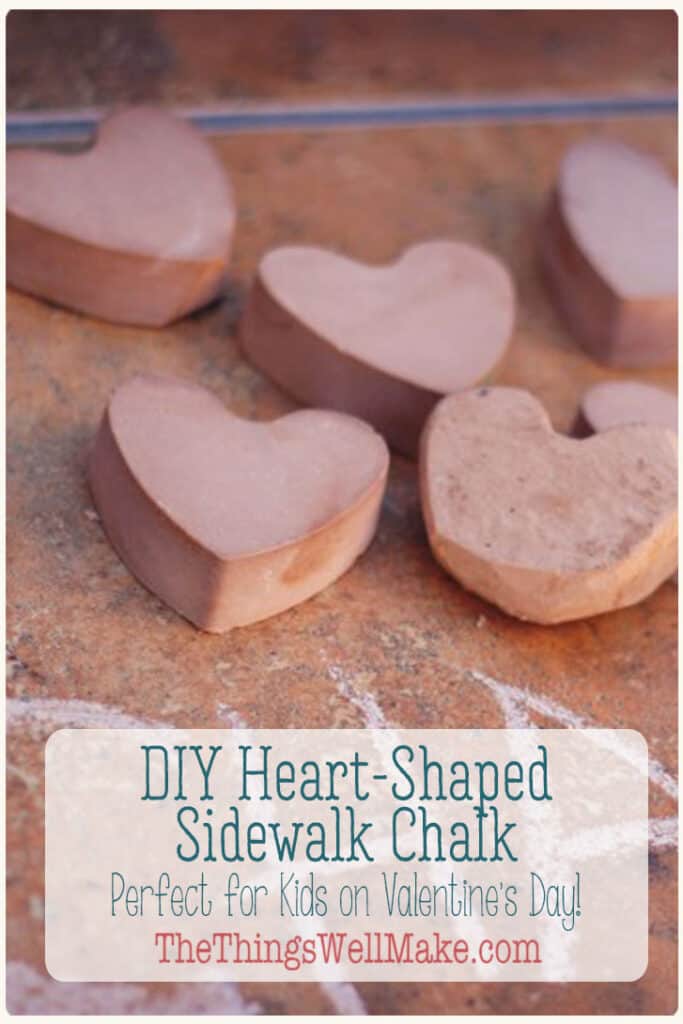
Once you have the plaster mixture ready to pour, fill up some silicone molds in your desired shape. With Valentine’s Day coming up, I chose to use heart-shaped molds to make cute, heart-shaped sidewalk chalk. The heart-shaped chalk was great for tiny hands to hold onto.
There was no need to prepare the trays in any way, and when the plaster is set, the heart-shaped chalk pops out easily.
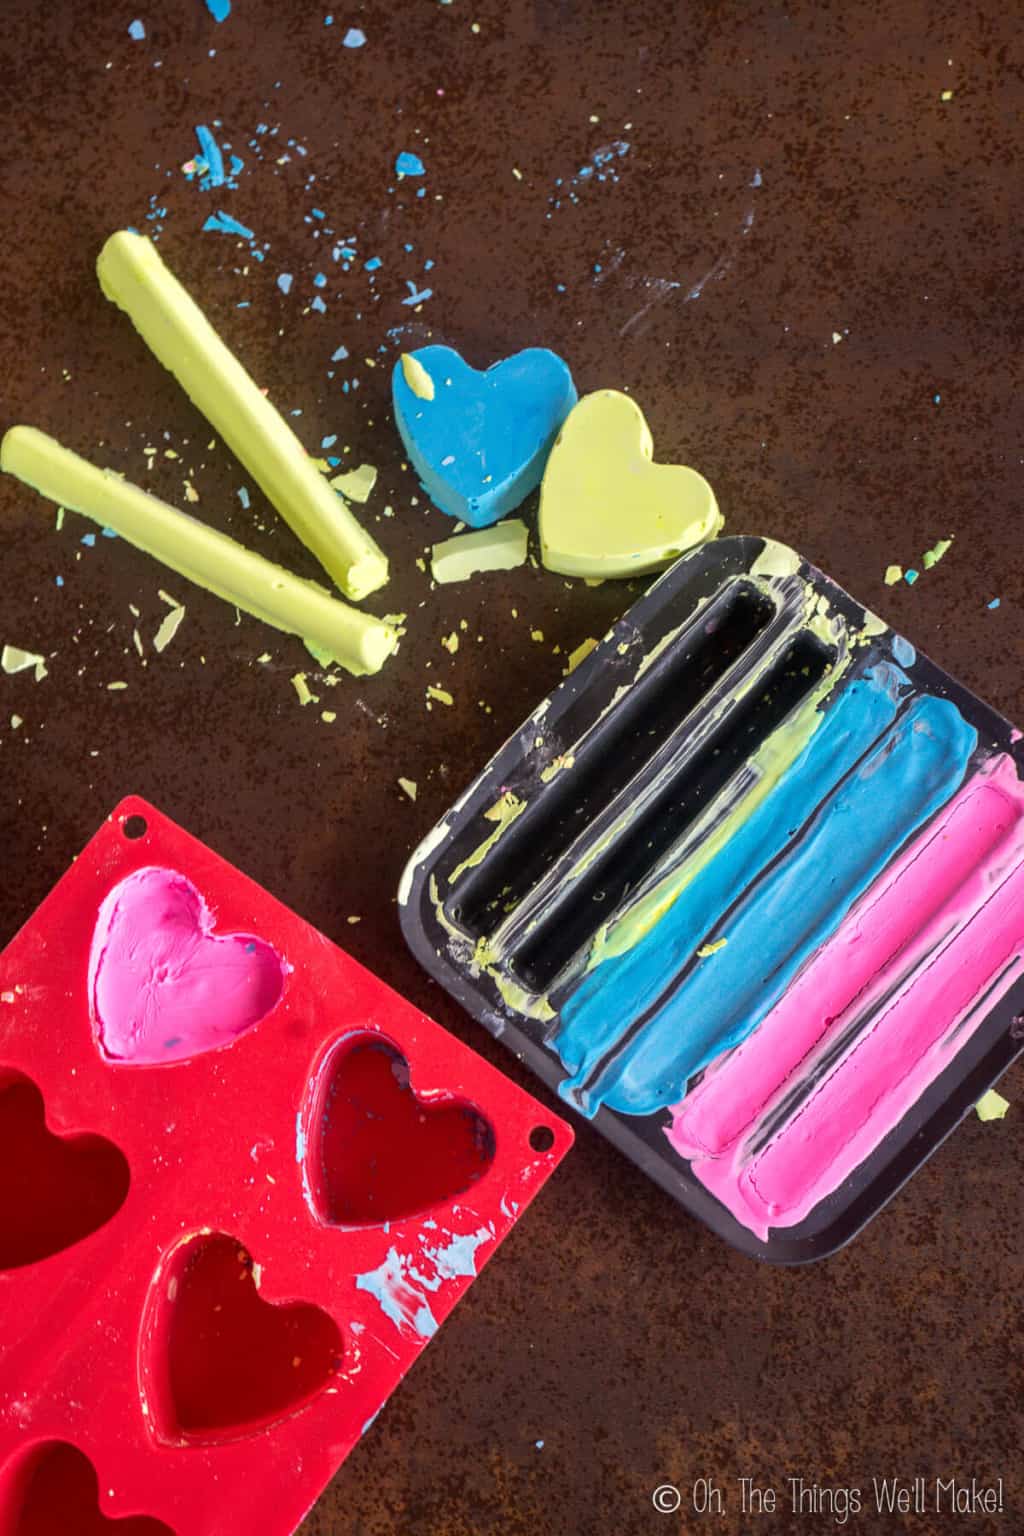
Now that my son is older and wanting to be more precise in his writing, I tried some new molds. This year, I used ice cube trays meant for making ice cubes for bottles, and they worked great. The resulting chalk is long and narrow. That makes it easier for kids who are used to holding a pencil or pen to do more detailed writing.
With the harder plaster, I only needed to let the plaster dry overnight before unmolding it. With the lighter plaster, I decided to wait for a couple of days to unmold the more delicate pieces of chalk (in the thinner molds) to keep them from breaking.
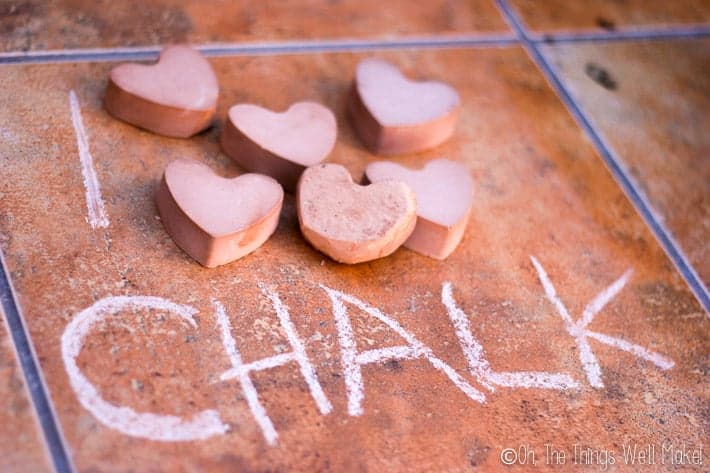
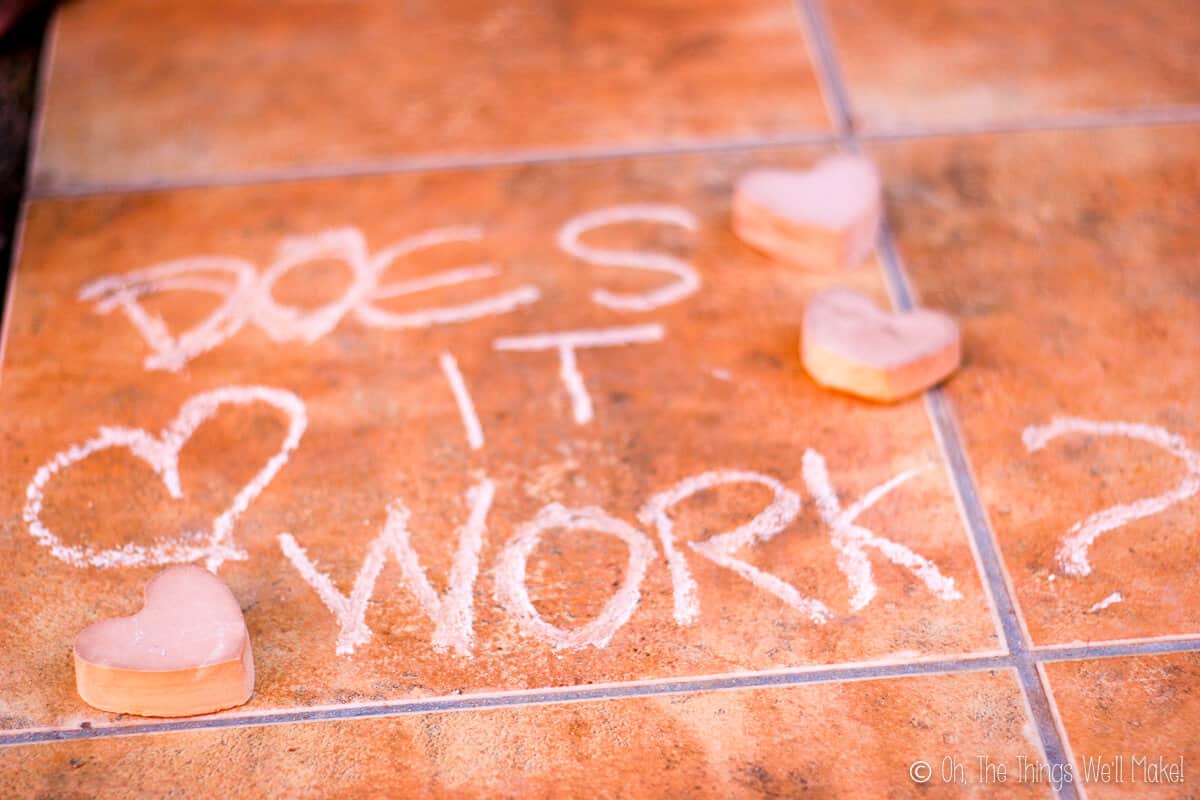
Does Homemade Sidewalk chalk work?
With it being cold outside, I first tried our chalk inside on my foldable heart chalkboard valentine. I was a little bit discouraged, though, to see that it wasn’t leaving much of a mark. 🙁
That, though, was due to the fact that I used the chalk made with a harder plaster meant for making ceiling molding. (I was able to get it to work this year with a lighter, less dense plaster.)
I wasn’t going to give up on my heart chalk completely, though! It was time to take it outside and use it as most people do… as sidewalk chalk.
On the sidewalk and tiling outside, our heart-shaped chalk worked much better. In fact, even the harder chalk worked well on the rough surfaces outside. For softer, smoother surfaces, though, you’ll want to use a softer plaster.
Sidewalk Chalk Recipe

Homemade sidewalk chalk
Materials
- 3/4 cup water
- 1 cup plaster
- tempera paint or food coloring
Instructions
- Mix together the water and plaster until well combined.
- To make colored chalk, add tempera or acrylic paints (or food coloring). Add a small amount of paint and then fully mix it to completely incorporate the coloring. Add more, as needed, until you are happy with the intensity of the color.
- Pour the mixture into silicone molds. I used a silicone heart-shaped muffin tin for making heart-shaped chalk which is great for little hands. To make long, thin chalk, we used silicone molds meant for making ice cubes for bottles. They both worked really well as chalk molds.
- Allow the plaster to dry.
- Unmold and have fun writing on the sidewalk outside.
Notes
This post was originally published on February 7, 2014. It was republished in January of 2020 with new tips, updated information, new photos, and video.

Cute! Good to know that powdered tempura and food coloring both work, as I can’t find powdered tempura here in Malaysia!
Can you move back to the US so you can share all these goodies with me, please?
Move, no, but maybe I’ll eventually stop by and visit you, bearing gifts. 🙂
I still want to make something for your soon-to-come bundle of joy. 😉