

Heart-Shaped Chocolate Ravioli
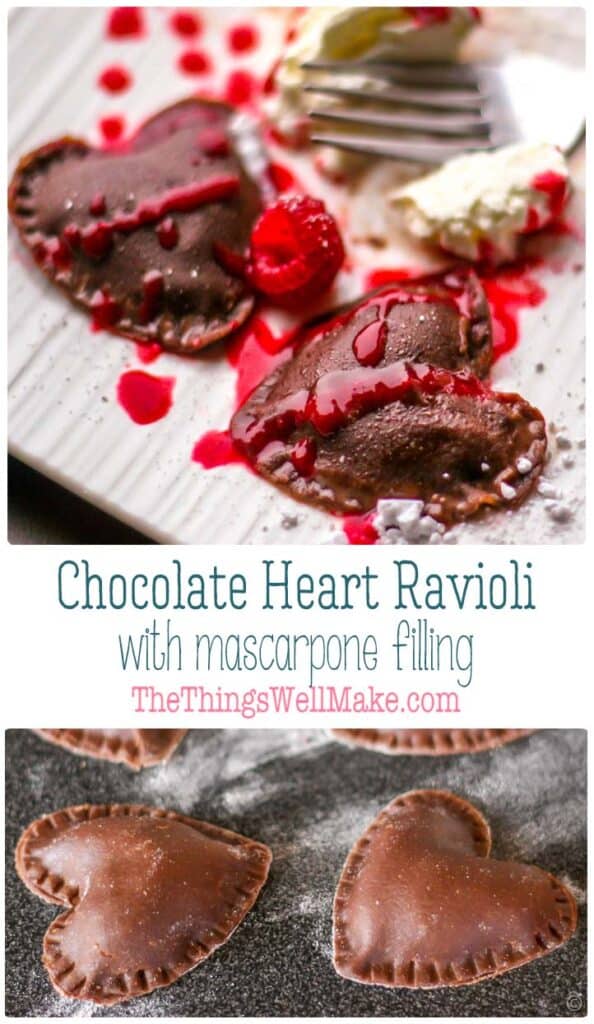
Impress your valentine with this romantic dessert pasta: heart-shaped chocolate ravioli with a chocolate mascarpone filling and raspberry sauce.
I’ve made my share of homemade pasta from scratch over the years. This all started with my son who loves pasta and pesto sauce. With time, I realized that it was quite easy to make the pasta from scratch. It cooked almost instantaneously when fresh, and the results were delicious!
My son is obsessed with basil, so every year I grow lots of basil plants and make and freeze large batches of homemade pesto sauce. That ensures that I always have some on hand for quick meals. (If you follow the link, you can find my recipe and tips for freezing the sauce and storing it for later!)
For those of you who are also pasta lovers, I wanted to make something different. I decided to develop a special dessert ravioli for Valentine’s Day!
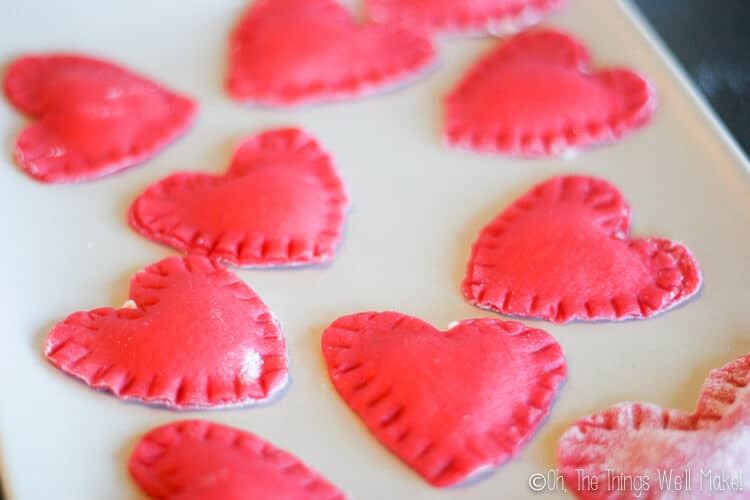
At first, I tried using my basic pasta recipe, tinting it pink with some beet juice. I filled the ravioli with a strawberry cream cheese filling. It was actually quite pretty, but the ravioli lacked flavor.
If you want to make pink pasta, though, and don’t have any beet juice on hand, you can either use some beetroot powder or make a natural food coloring extract from beets. It adds natural color without changing the flavor much.
Chocolate Ravioli
Rather than give up, I decided to stick with my heart-shaped ravioli idea. On my next attempt, I decided that the pasta itself should also be special (and sweet). So, I flavored the pasta with a bit of cocoa powder and a touch of honey.
Sticking with the chocolate theme, I decided to fill the chocolate pasta with a chocolate mascarpone filling.
The outcome was much better than expected. With both my husband and son being chocolate lovers, they also loved the heart-shaped chocolate ravioli!
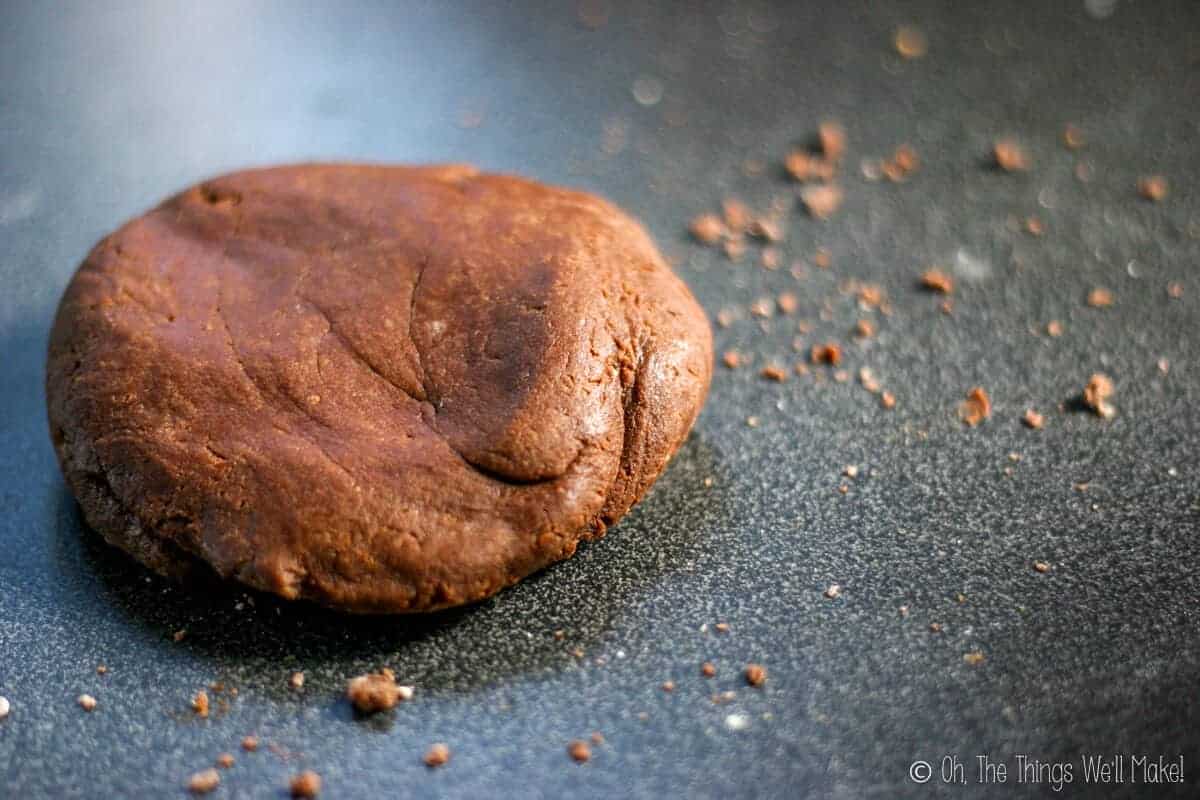
Making the Chocolate Pasta Dough
To make the chocolate pasta the first time, I added a heaping tablespoon of cocoa powder and about a tablespoon of honey to my basic pasta recipe. Because of the added liquid from the honey, the dough ended up being sticky, and I had to add in more flour to compensate.
While I was able to make it work, it was trickier to work with that first batch of chocolate dough. I had to work using smaller pieces of the dough.
Because the finished pasta didn’t taste sweet anyway, I decided to leave the honey out for the next batches. I don’t like overly sweet desserts so the sweetness from the filling was more than enough for me.
For those who want to try sweetening the pasta dough more, I’d suggest experimenting with adding a touch of powdered sugar. I haven’t tried it myself, but I imagine it would allow for a workable dough with a touch of sweetness.
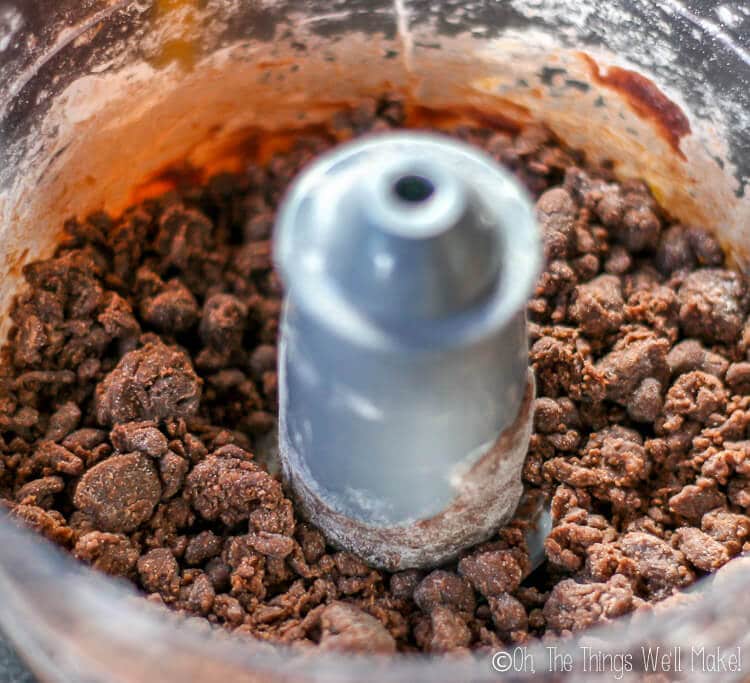
Basic pasta is made easily by processing a couple of eggs with a cup of flour in a food processor. In this case, you’ll also want to add some cocoa powder. You can also add a bit of butter.
Ideally, once processed, you’ll end up with coarse crumbs. If the dough is wet, add more flour (and/or cocoa powder). If it is too dry, add a tiny bit of water.

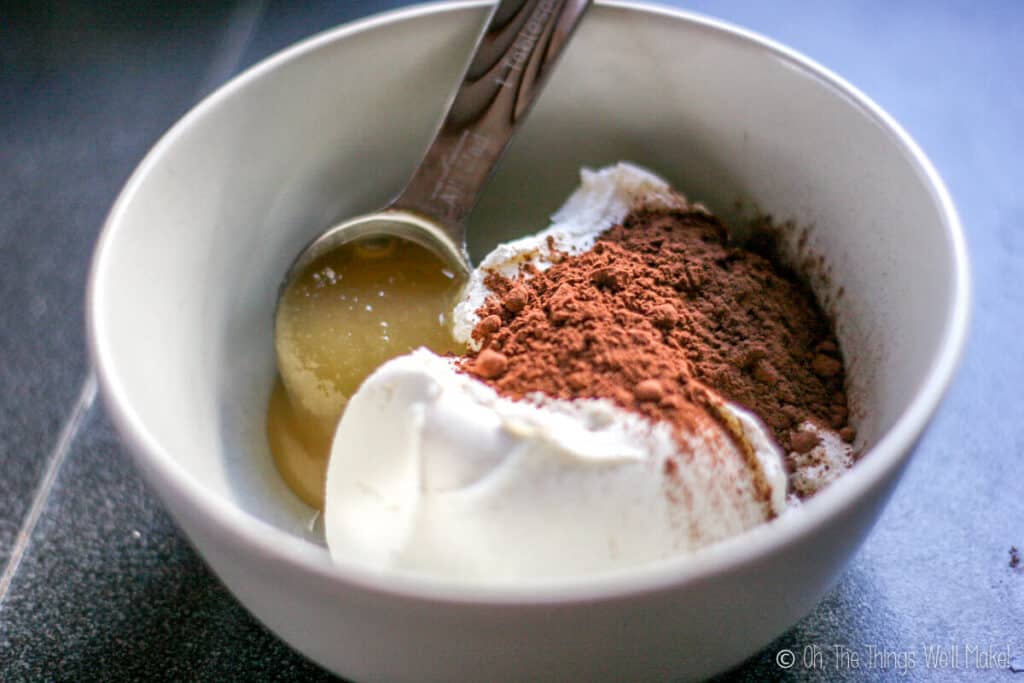
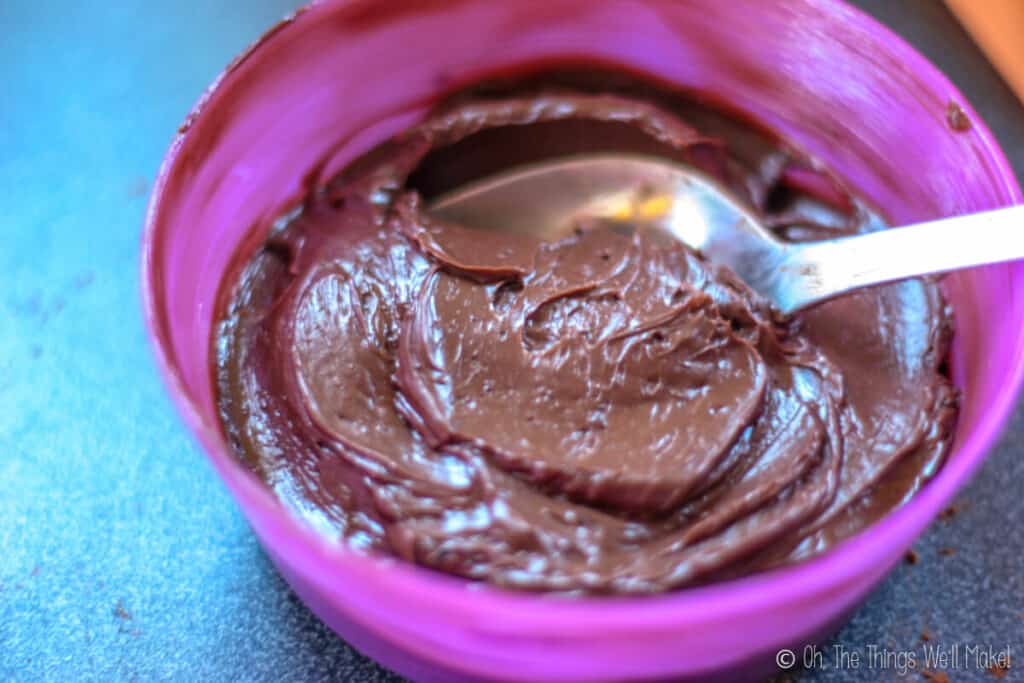
Making the Chocolate Mascarpone Filling
Years ago, I discovered something marvelous: adding cocoa powder and honey to mascarpone cheese results in a super easy-to-make, absolutely delicious treat.
I have since used this chocolate mascarpone mixture as a filling in a variety of desserts and other sweet treats. Here on the blog, I used it to fill this chocolate ravioli and also to fill my stuffed, double chocolate pancakes!
Rolling out the dough
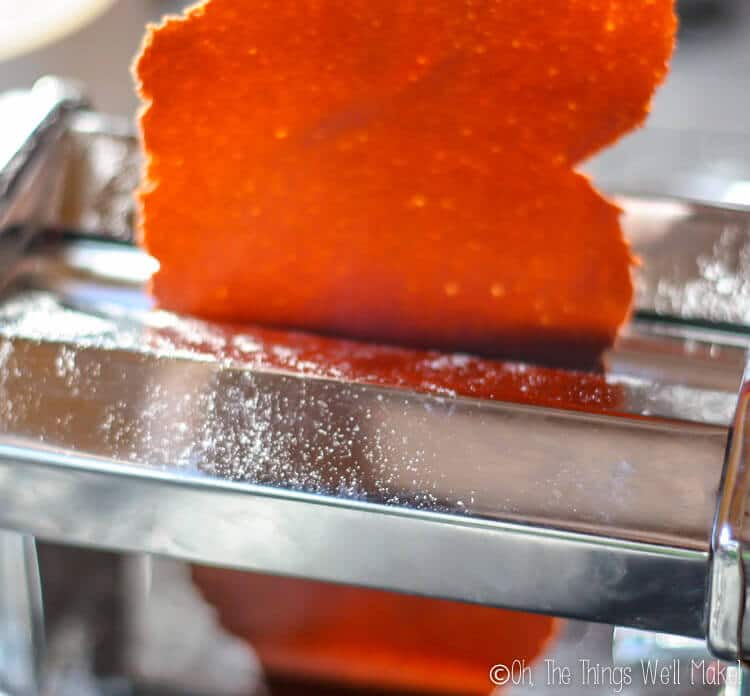
To make the ravioli, roll out the pasta into a thin sheet. This is most easily done by running it through a pasta machine.
If using a pasta machine, run the pasta through the widest setting several times. Then, run the pasta machine back through a narrower setting each time, until you’ve reached the desired thickness. (I used the second thinnest setting on my machine for this dessert.)
Filling the ravioli
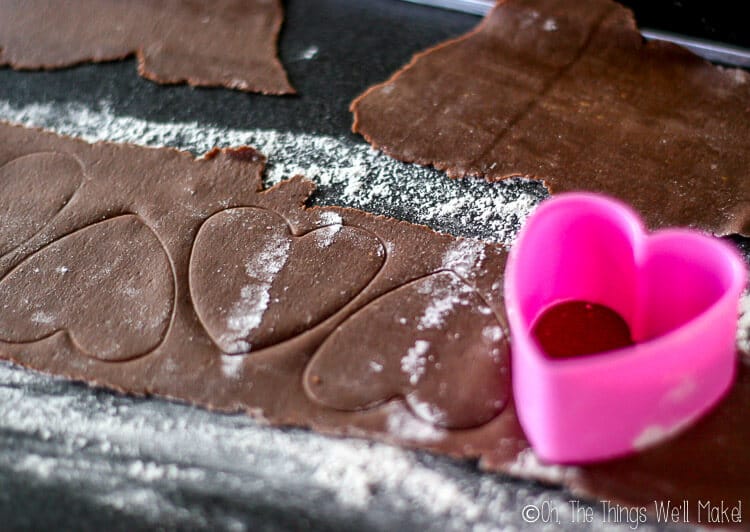
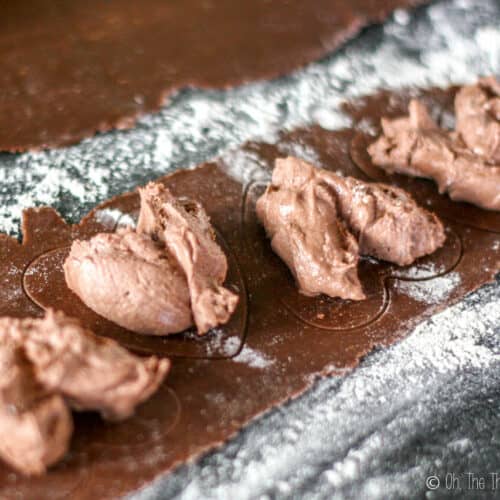
Take one of the sheets of chocolate pasta, and mark it with the cookie cutter (or pasta cutter) that you plan on using to cut out the ravioli. I used a heart-shaped cookie cutter for Valentine’s Day.
At first, you don’t want to cut all the way through the dough. You only want to mark it so you know where to place your filling. (I pushed harder than necessary because I wanted to make sure the marking showed up in the picture. Don’t press as hard as I did.) ?
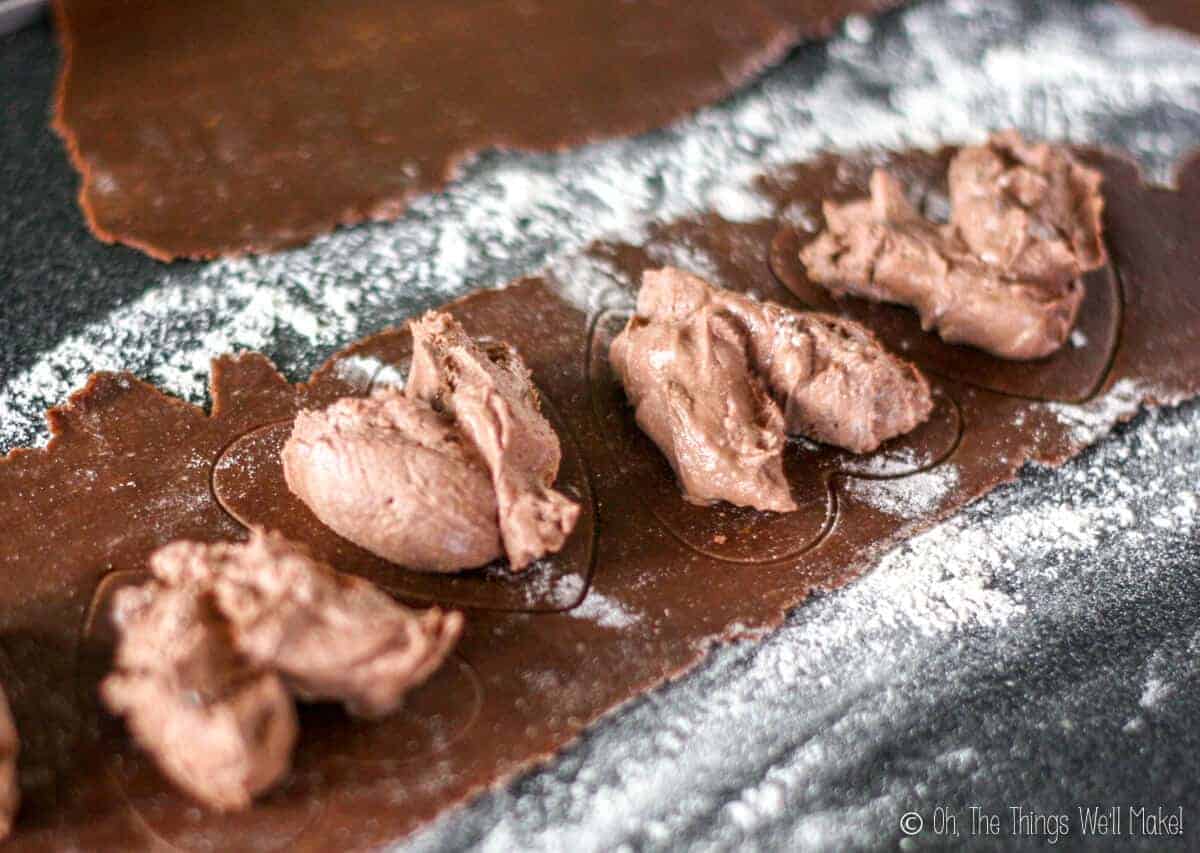
Next, spoon some of the chocolate mascarpone filling within the markings you just made. (You can also use some other filling like ricotta cheese.) If you use a larger cookie cutter, each ravioli can have more filling, so keep that in mind when you choose your cutter. (The filling is my favorite part!)
Add as much filling as possible to each ravioli, but don’t force it. (If the pasta breaks, you’ll lose your filling when you cook it.) Leave room around the edges so that you can seal the ravioli closed.
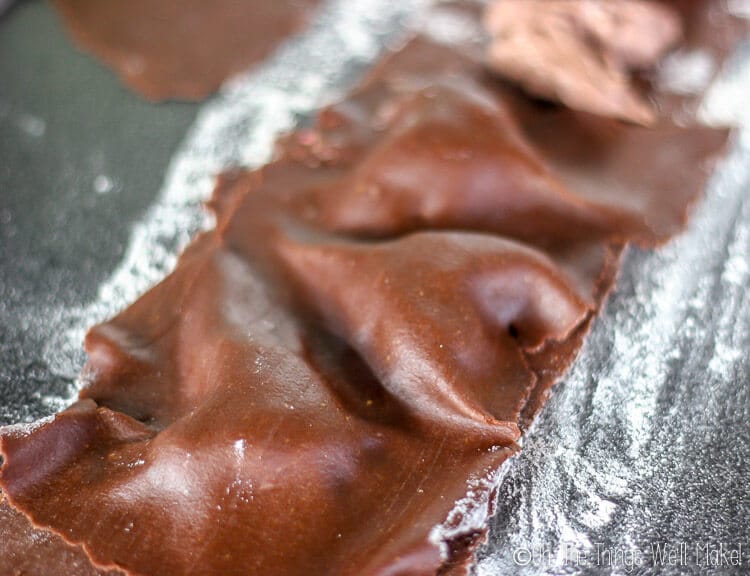
Cover the heart-shaped filling with another sheet of chocolate pasta. I tried to make a few at once for the photos, but it’s easier to cover each one separately. You want to let the pasta conform to the shape of your filling, carefully guiding it into place with your fingers.
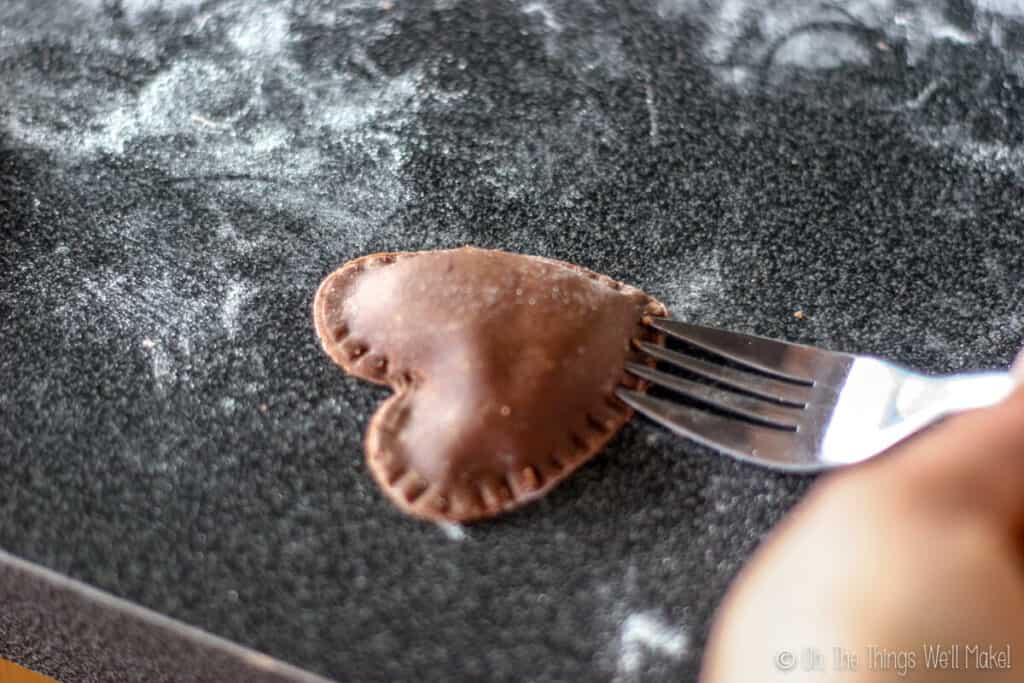
Sealing the ravioli
Once the second sheet of pasta is in place, cut out the ravioli. Use the same cookie cutter that you used before to mark the pasta. Be careful to leave space all around the filling, and cut through both layers. Once you cut out the ravioli, seal the edges with the tines of a fork.
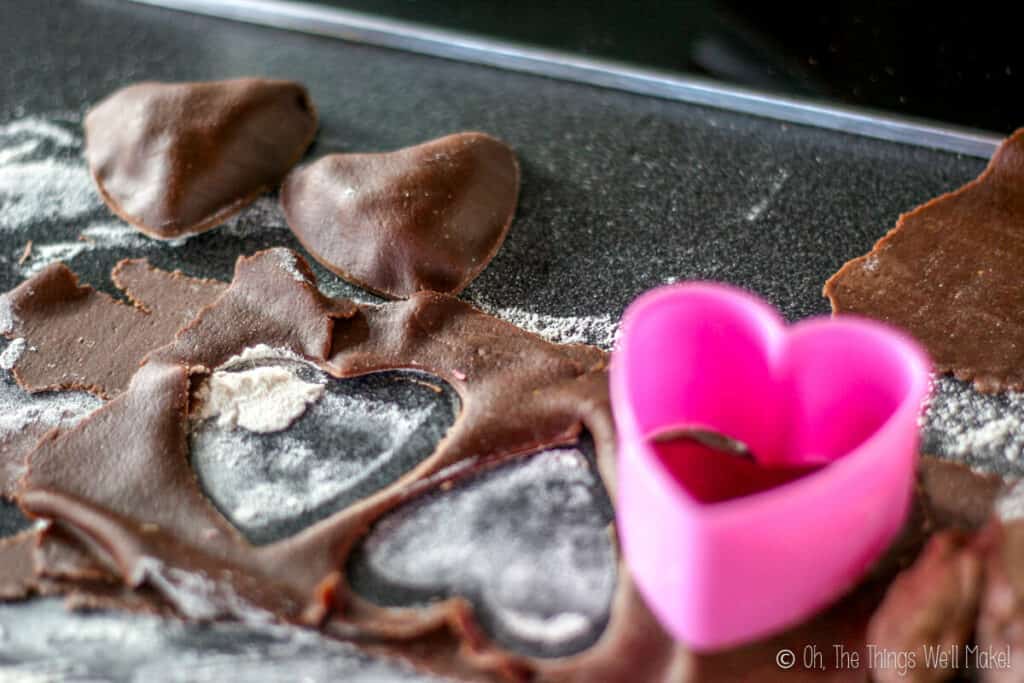
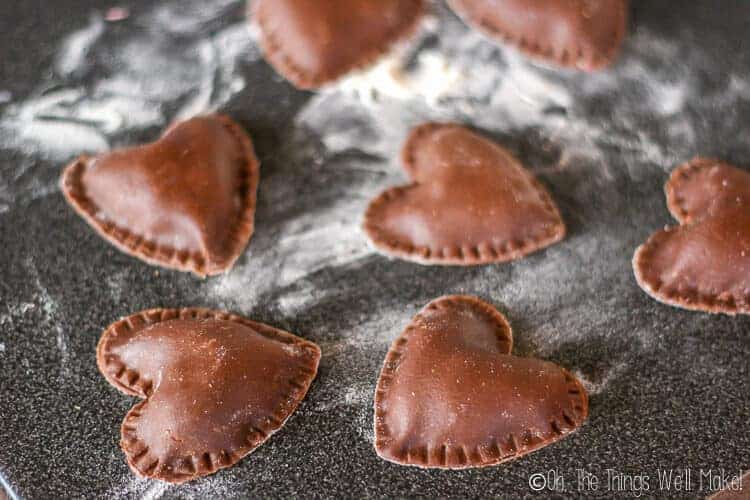
Repeat the process, making as many ravioli as you need.
The recipe for the chocolate mascarpone filling was enough for 1 dozen small ravioli. If you use larger cutters or want more than that, you can double or triple the recipe as needed.
Cooking the ravioli
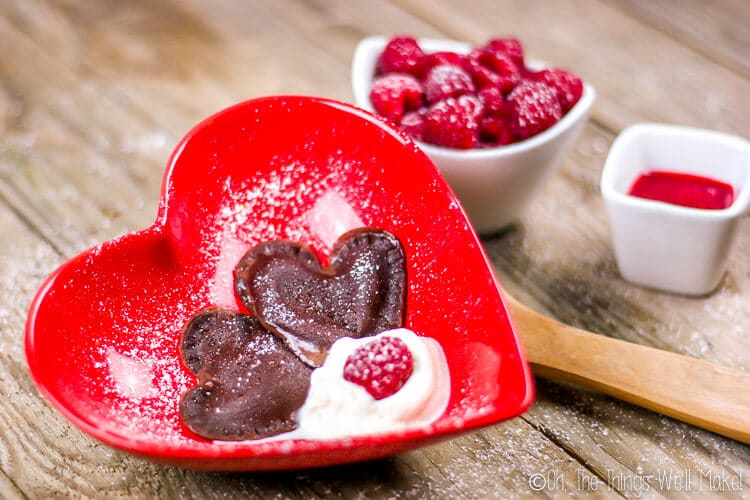
Once you have your ravioli ready, you can cook them immediately, allowing them to cool and serve them chilled. Or you can cook them at the last minute, and serve them warm. I tried them both ways, saving some for my pictures, and actually preferred eating them chilled.
These ravioli are delicate so you can either gently add a couple at a time to boiling water or carefully steam them.
Don’t try to add too many at once or they may stick together and break. Fresh pasta cooks very quickly, so these only need to stay in the boiling water for about a minute, or maybe even a little less than that.
Garnishing the ravioli
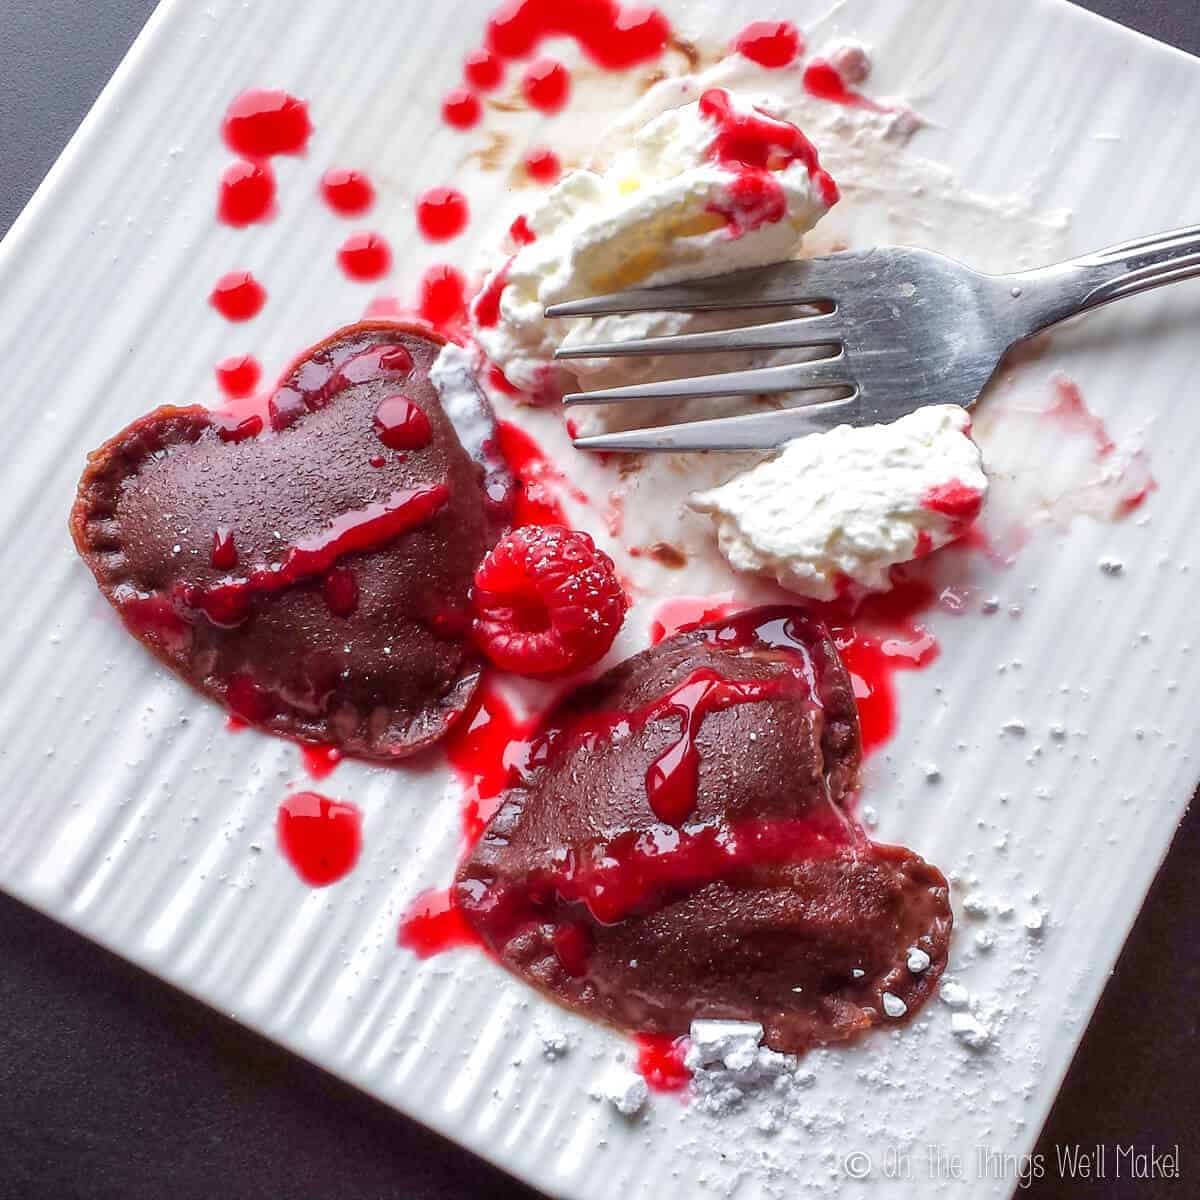
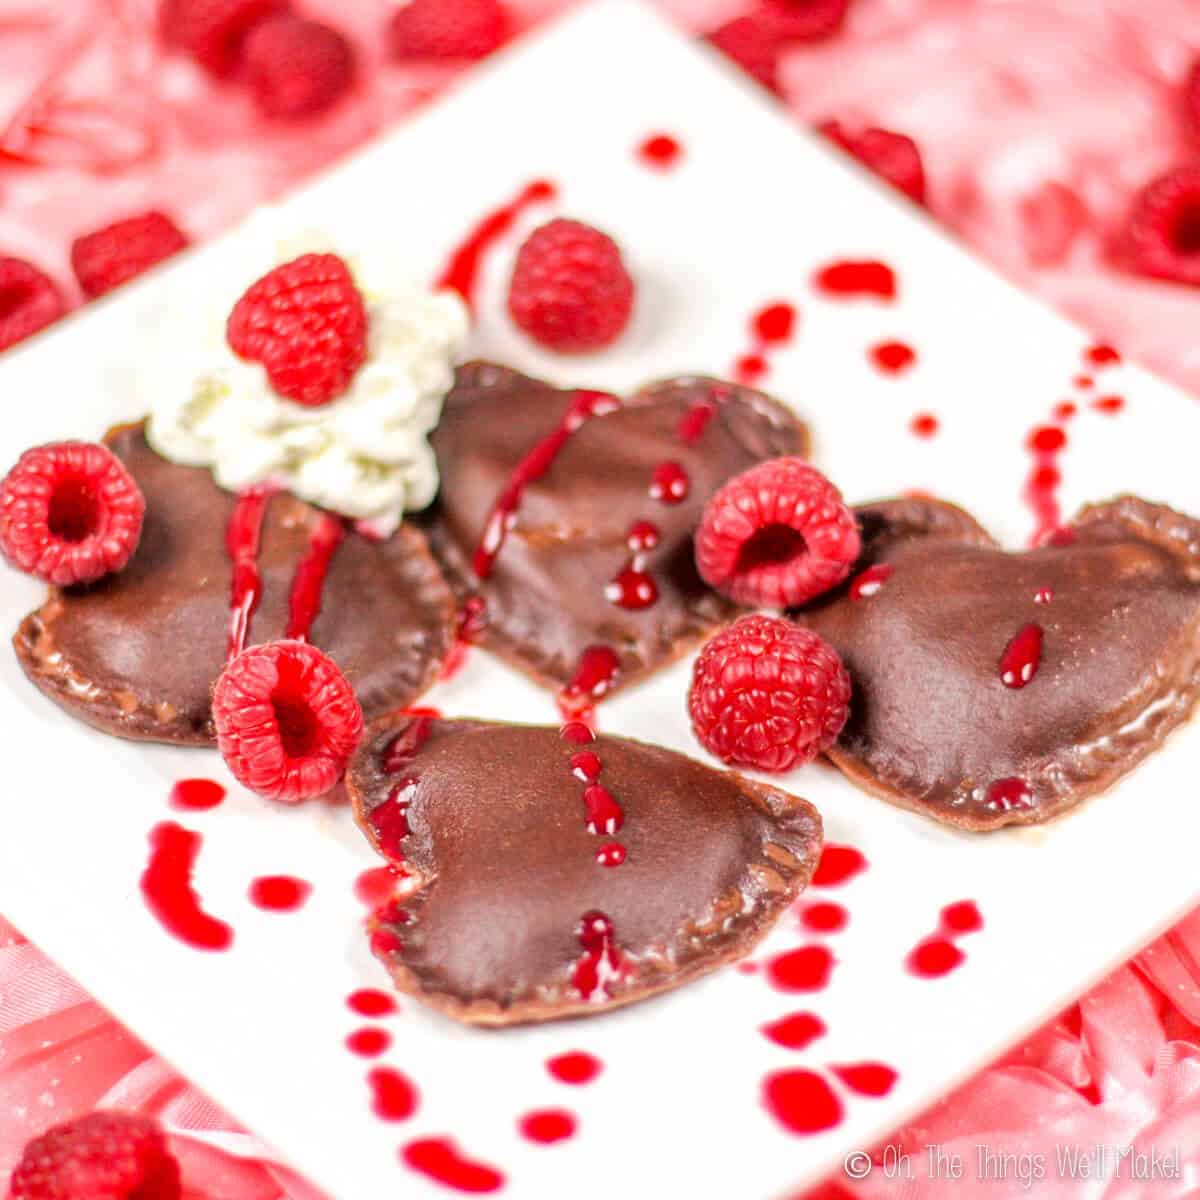
I served my chocolate ravioli with a raspberry puree and some homemade whipped cream.
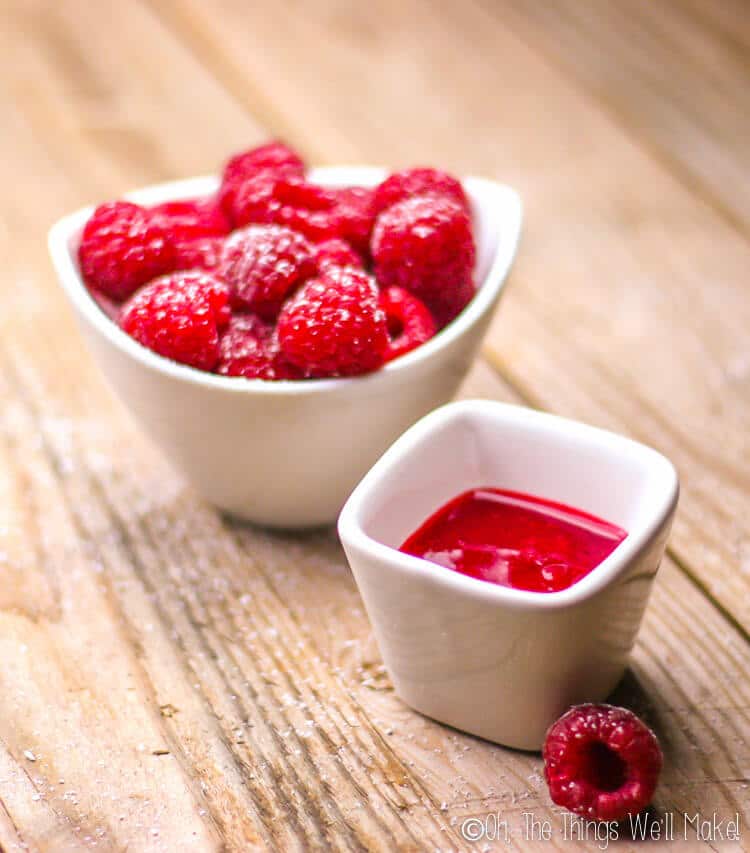
Making a raspberry puree
To make the puree, I thawed some frozen raspberries, and pureed them using an immersion blender. You can make a smoother sauce by straining out the seeds out with a stainless steel mesh strainer, pushing the sauce through the strainer with the back of a spoon.
Sweeten the raspberry puree, if desired, with some honey, to taste.
Serving the chocolate ravioli
To serve, place a few chilled (or warm) ravioli on a plate. Drizzle some raspberry puree, or another sweet sauce of your choice, over them. Top with whipped cream, if desired. Garnish with fresh raspberries!
Chocolate Pasta Dough Recipe

Chocolate Pasta Dough
Ingredients
- 2 eggs (medium-sized, or one large egg)
- 1 cup flour may need slightly more
- 1 Tbsp. cocoa powder
- 1 pinch salt
- 1 Tbsp. butter
- 1 Tbsp. powdered sugar optional
Instructions
- Add all of the ingredients to the bowl of a food processor.
- Process the ingredients until they are fully combined. You are looking to get a big crumb like texture. If the dough compacts itself into a sticky dough, you’ll want to add a bit more flour. If it makes tiny crumbs that don’t stick together easily, you’ll need to add a tiny bit of water.
- Pulse again, and adjust until you get the right consistency. You can now remove the dough from the food processor and start to knead it. Divide the dough into 2 smaller balls of dough to make it easier to work with.
- Flatten one of the balls of pasta as best you can, and begin to run it through a pasta roller on its widest setting. To help get the dough more pliable, it's a good idea to fold it in half and run it through the machine at the widest setting a few times.
- To make a thinner pasta, adjust the pasta machine down to a narrower setting. Don't skip numbers, but instead work your way down and run your pasta through the machine at each setting. This may sound tedious, but it only takes a couple of minutes to do!
- Work your way down to one of the thinnest settings, until you reach your desired thickness for your ravioli. While I normally make my pasta at the thinnest setting for noodles, I left it at the second smallest setting for this dessert. I recommend experimenting with the thickness obtained from your machine. (It may be hard to work with and may not hold up as well to boiling on the thinnest setting, but you don't want it too thick either)
- You are now ready to use your chocolate pasta for making chocolate ravioli or whatever other recipe you choose!
Notes
Chocolate Mascarpone Filling Recipe
Chocolate Mascarpone Filling
Ingredients
- ½ cup mascarpone cheese
- 1 Tbsp. cocoa powder
- 1 Tbsp. honey
Instructions
- Mix all of the ingredients together until they are fully combined.
- Your chocolate mascarpone filling is now ready for filling or topping your favorite recipes!
Notes
Have a very Happy Valentine’s Day, everybody, and a great weekend, whether you choose to celebrate it or not!
This post was originally published on February 14, 2014. It was rewritten, adding new photos and clearer instructions, in February of 2020.

I am a newby to your site- & WOW did I luck out!!! So far I’ve drooled over your coconut butter, 2 ingredient mousse & now these gorgeous ravioli. I’m blown away at how easily you do things, with great ingredients!!! My husband and I have 7 kids (from 11yrs down to 3 yrs) & we don’t allow (unnatural) food coloring & do our best to limit processed foods as much as is possible… but I do suffer from chronic pain & must limit my cooking time to very short bursts. I just had to take a moment to thank you SO much for your clear, REAL explanations as well as your dedication to the pure, uncomplicated way of using real foods. I love how you use honey as a sweetener! You’re a gal from my own heart!! Pat yourself on the back for me for giving me hope & encouragement that I can make wonderful yummies for my family on my “good” days without suffering for days afterward. You have a fan for life!!!! 🙂 🙂 🙂
Thank you so much for your sweet comment. You don’t know how much I appreciate someone taking the time to write; it’s what makes blogging worthwhile.
As you can see, I am also trying to limit processed foods, and am looking into using some natural food coloring for my son’s birthday cake this year. It’s hard because I love cake decorating, but want to find healthier alternatives to everything. Little by little, I guess.
I’ve been absent for awhile while doing some changes on the house, and just had a family visit. I also started contributing to another website, which I will talk about in my next post, but I expect to be back with more recipes and fun stuff soon.
Oh these look amazing! You did a great job.