

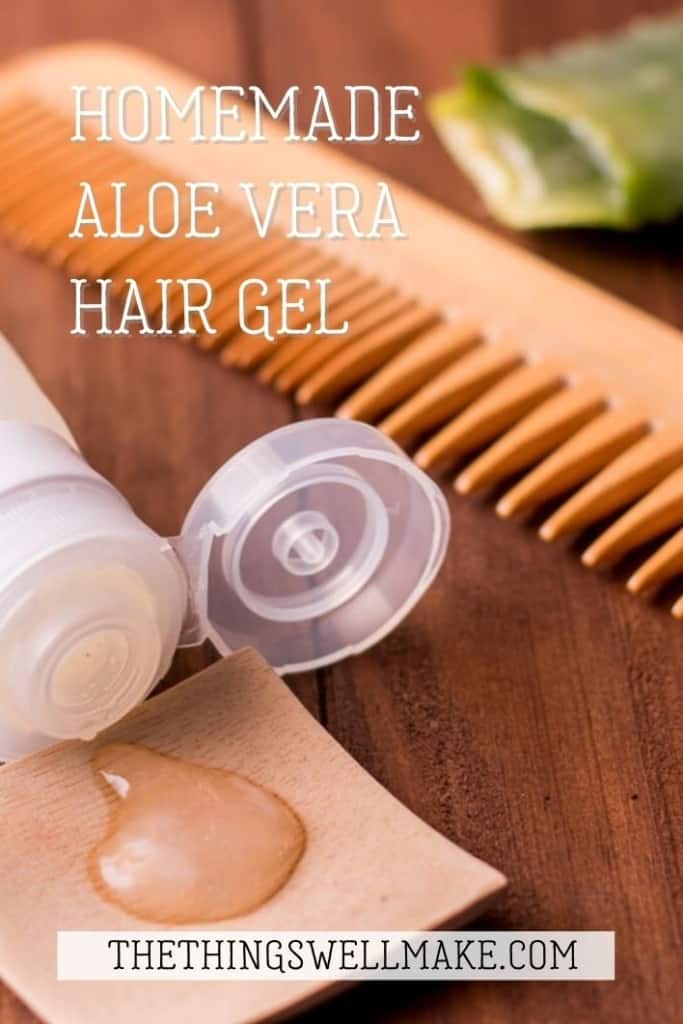
Easy Homemade Hair Gel (With or Without Aloe Vera)
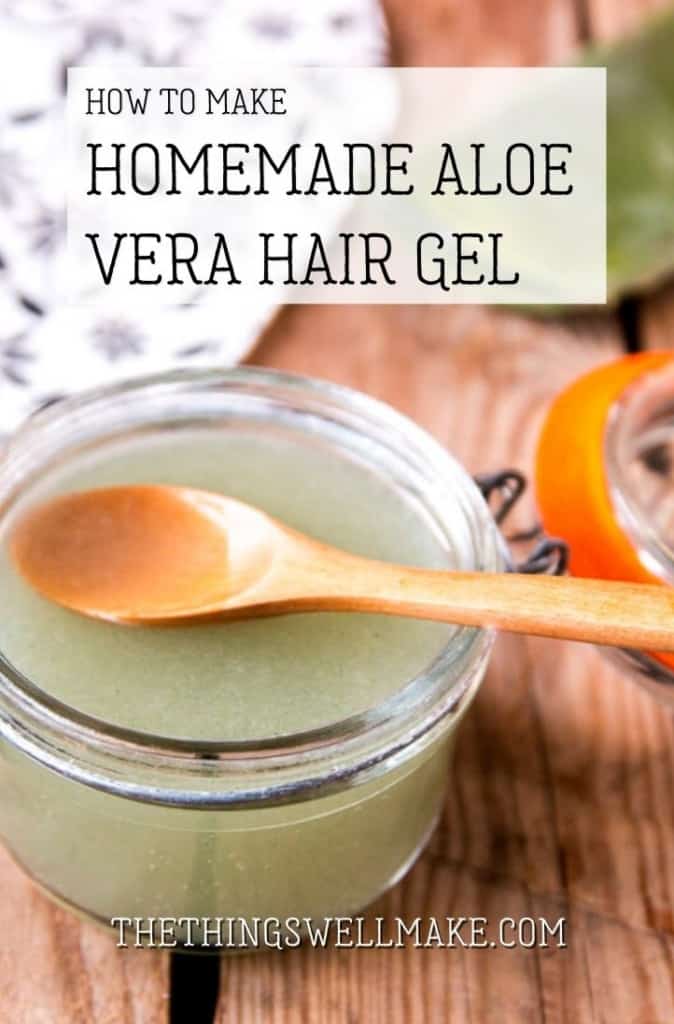
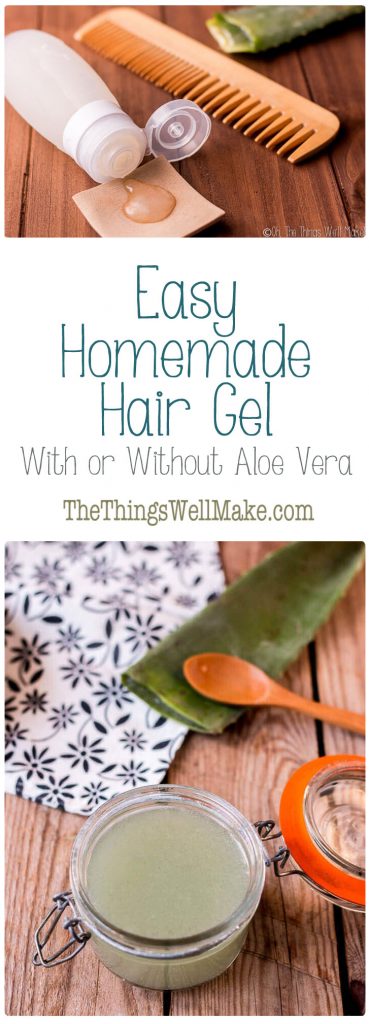
Define your curls and waves naturally with this easy homemade hair gel that can be made with or without aloe vera. It’s the perfect simple hair gel for when you are on the go.
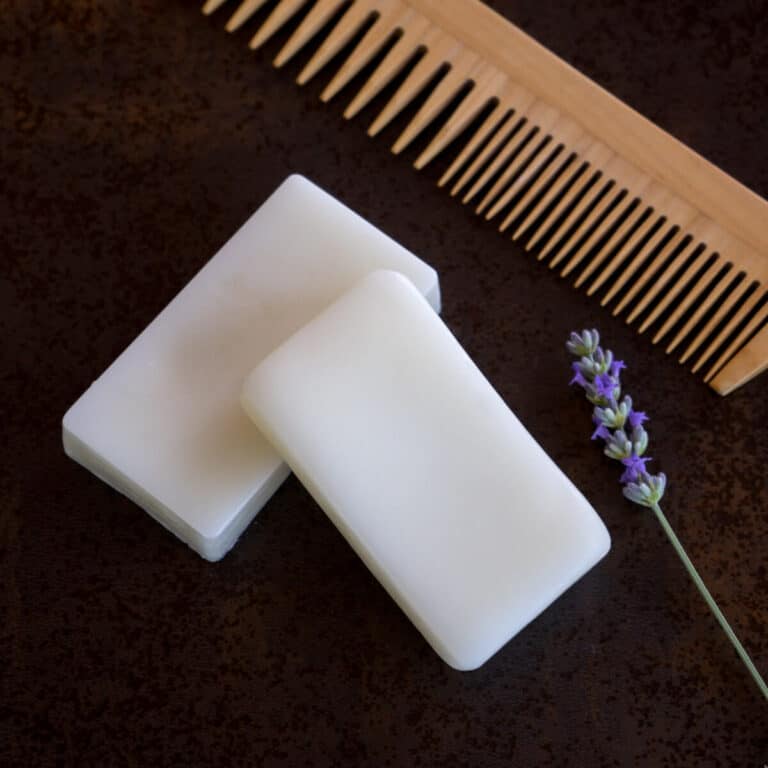
A couple of years ago I showed you how to make a homemade hair gel using flaxseeds. I love how natural that homemade hair gel is. It leaves my hair with defined curls while feeling soft to the touch.
I had previously been drying my hair straight and decided that I wanted to allow it to air dry and be its naturally wavy self. (With the help of my homemade conditioner, my hair was healthy enough to finally be able to do that!) Using a homemade hair gel allows you to define your waves and curls so that your hair looks its best.
With as much as I love making and using the flaxseed hair gel (that is a quick and easy recipe), it isn’t always the most convenient option. Not only do you need to cook the flaxseeds with water over the stove and strain the mixture, but most people store it in the fridge and make a new batch each week. (I have since updated the post with tips for preserving it, though.)
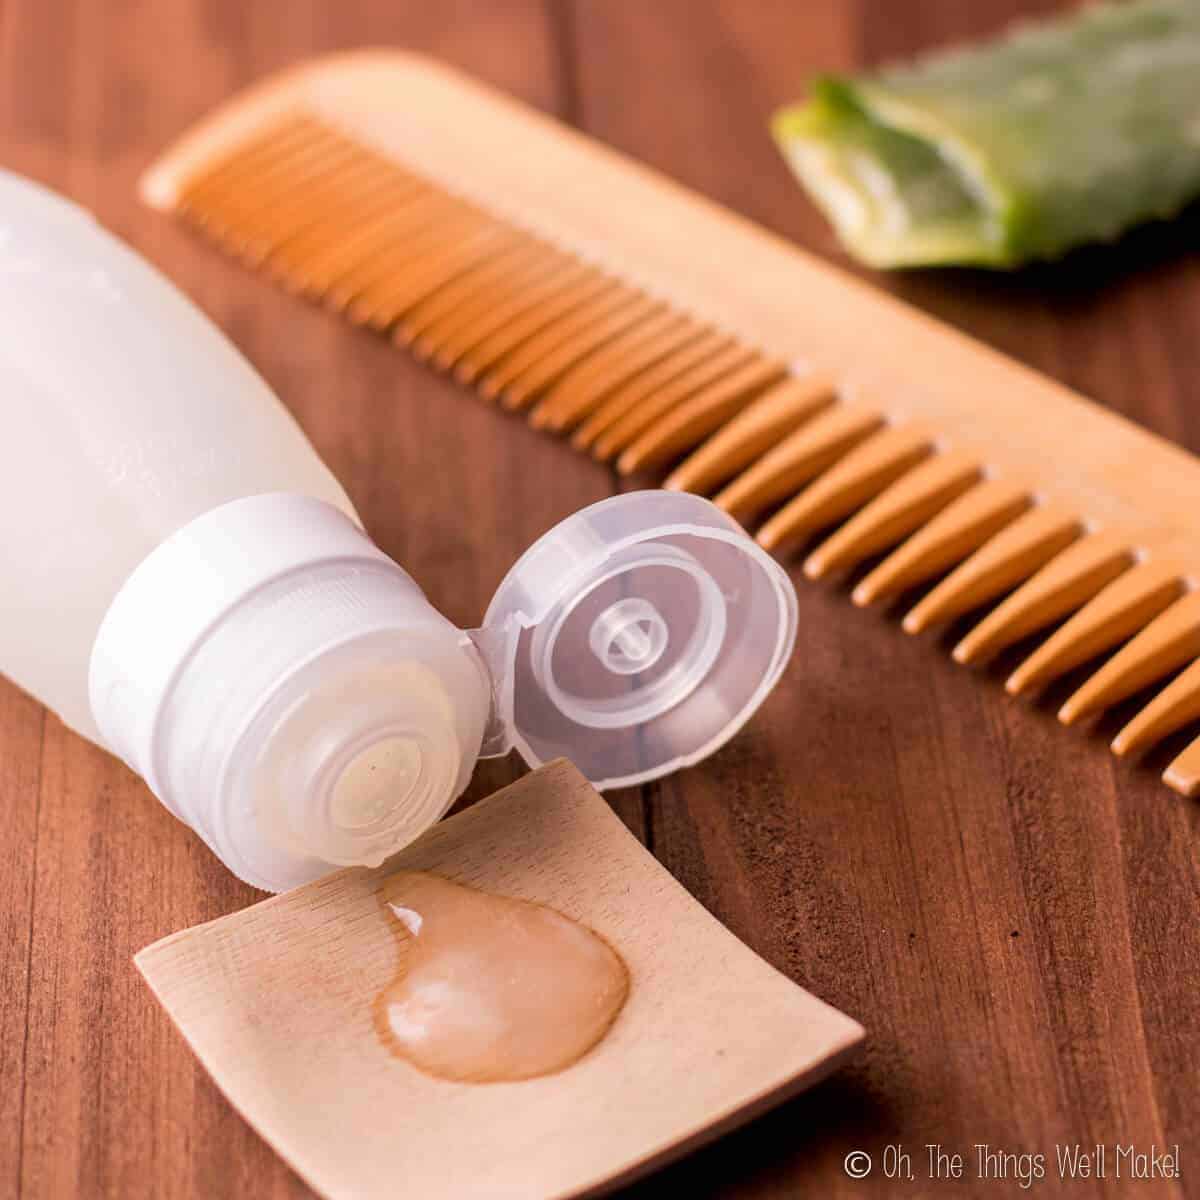
Making a homemade aloe gel
I accidentally stumbled on this homemade hair gel when trying to make myself a non-sticky, homemade aloe gel to soothe our skin after being out in the sun.
With some recently bought aloe vera juice in my fridge, I decided to try thickening it into a gel with some xanthan gum.
At first glance, the homemade aloe gel was great. It didn’t feel slimy like a homemade aloe gel made from blending up the pulp of aloe vera leaves. Plus, it had a consistency similar to store-bought aloe gels, but there was a problem with it.

While the aloe gel made with xanthan gum doesn’t feel sticky, it does feel slightly weird on your skin. When you allow it to dry, it leaves a bit of a skin that feels tight and then cracks. Once cracked, it isn’t really noticeable anymore. (I’ve since found that one of the more natural brands of aloe gel that my husband bought also leaves the same sort of feeling on your skin as it dries.)
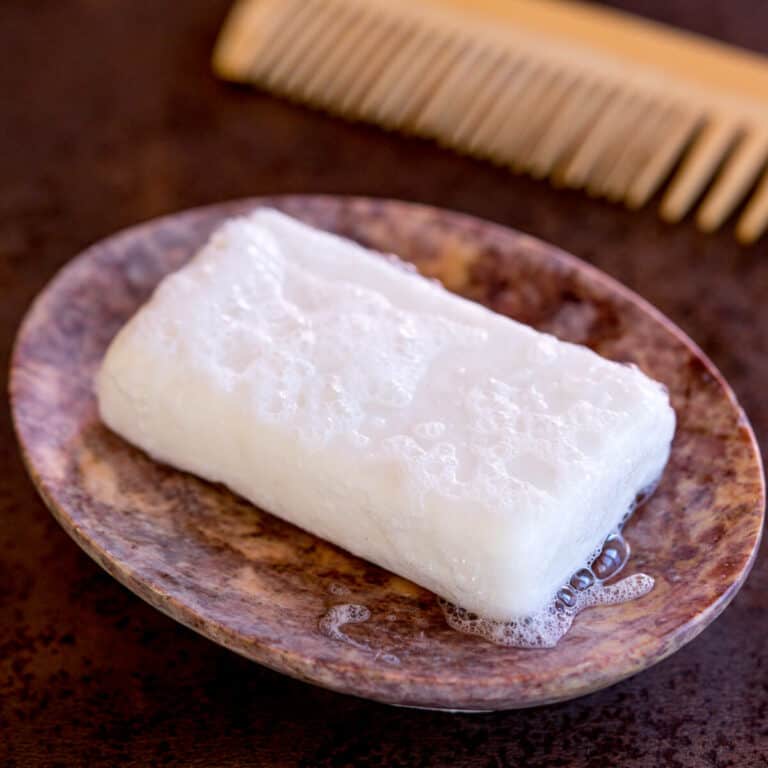
I wasn’t really impressed with it for use on skin but instead found a new use for it. The homemade aloe gel gave the same sort of sensation on my skin that my homemade flaxseed hair gel left on my hair, so I figured it might make a perfect hair gel. The hair gel dries stiff, which helps define your curls. When you scrunch your hair and “crack” it, it feels soft and clean, while keeping its shape.
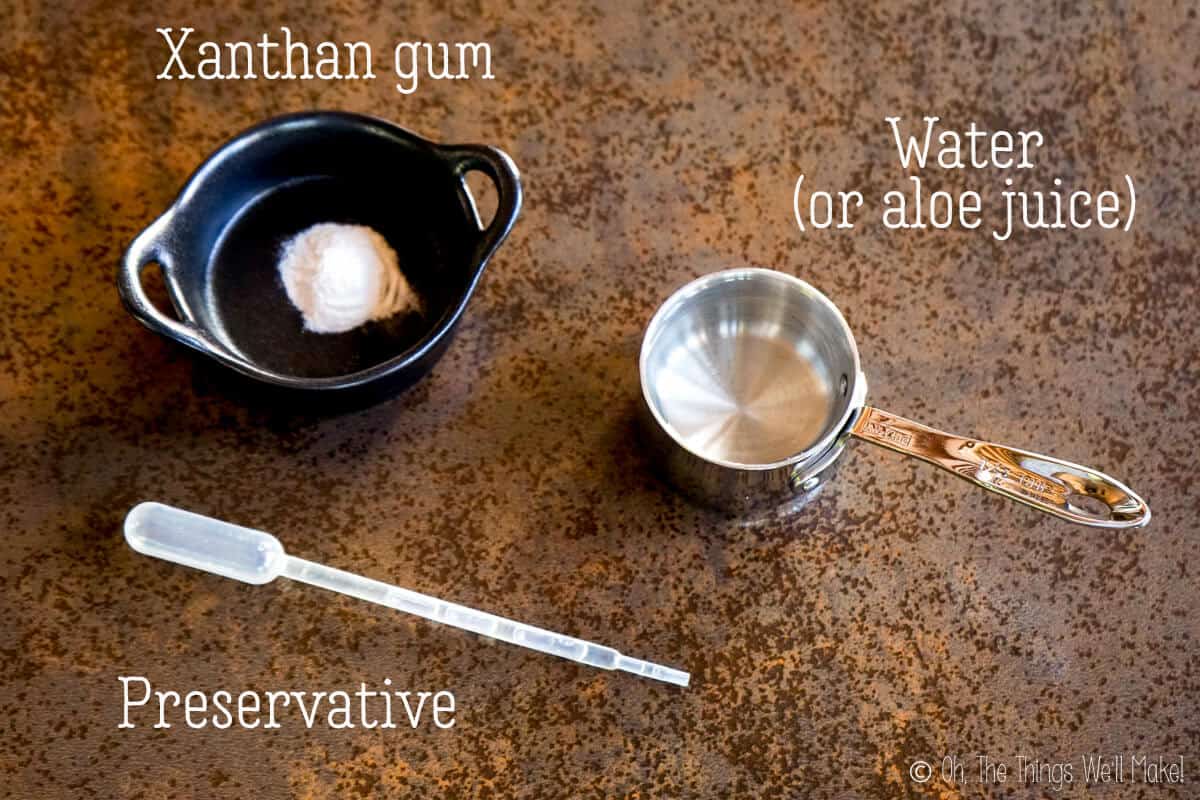
Ingredients
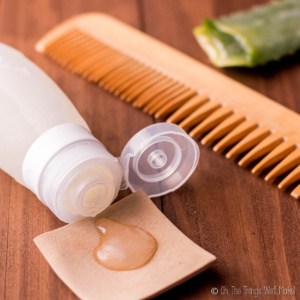
Just like the other gel, this simple recipe uses only two main ingredients. It can be made with water (preferably distilled water or pre-boiled water) or aloe juice (or even a floral water or hydrosol). To thicken the liquid, you’ll need xanthan gum (or a similar gum powder).
If you don’t want to have to store it in the fridge and make a new batch every week, you can also use a preservative. The preservative will allow you to store the gel at room temperature and keep it for around 3 months.
What is xanthan gum?
Xanthan gum is a thickener and stabilizing agent that is used in foods, cosmetics, and industrial products. It is made by fermenting glucose with a bacteria, Xanthomonas campestris. It is solidified when reacted with alcohol, and then the solid precipitate is dried and ground into a powder.
The powder is often used in cosmetics in the same way that gelatin is used to thicken certain foods.
While I make this with xanthan gum, you could also probably make a decent hair gel using guar gum or one of the other gums.
Why make this?
Making your own hair gels is an easy, frugal way to style your hair. Because you can reuse the packaging, it’s also a sustainable option.
When I first posted my flaxseed hair gel recipe, a lot of people told me that they loved it, but that they found it inconvenient to make, especially when traveling. They wanted to know if I could suggest something that could be made on the go.
While a pre-made and preserved flaxseed hair gel should keep for the length of most travel stays, some people prefer to not travel with liquids and gels.
Xanthan gum is a powder that you can easily take with you and mix with water as needed once you’ve reached your destination. Since you don’t need a stove or a strainer, like you do when making flaxseed gel, the process of making the gel away from home is simplified.
How to make it
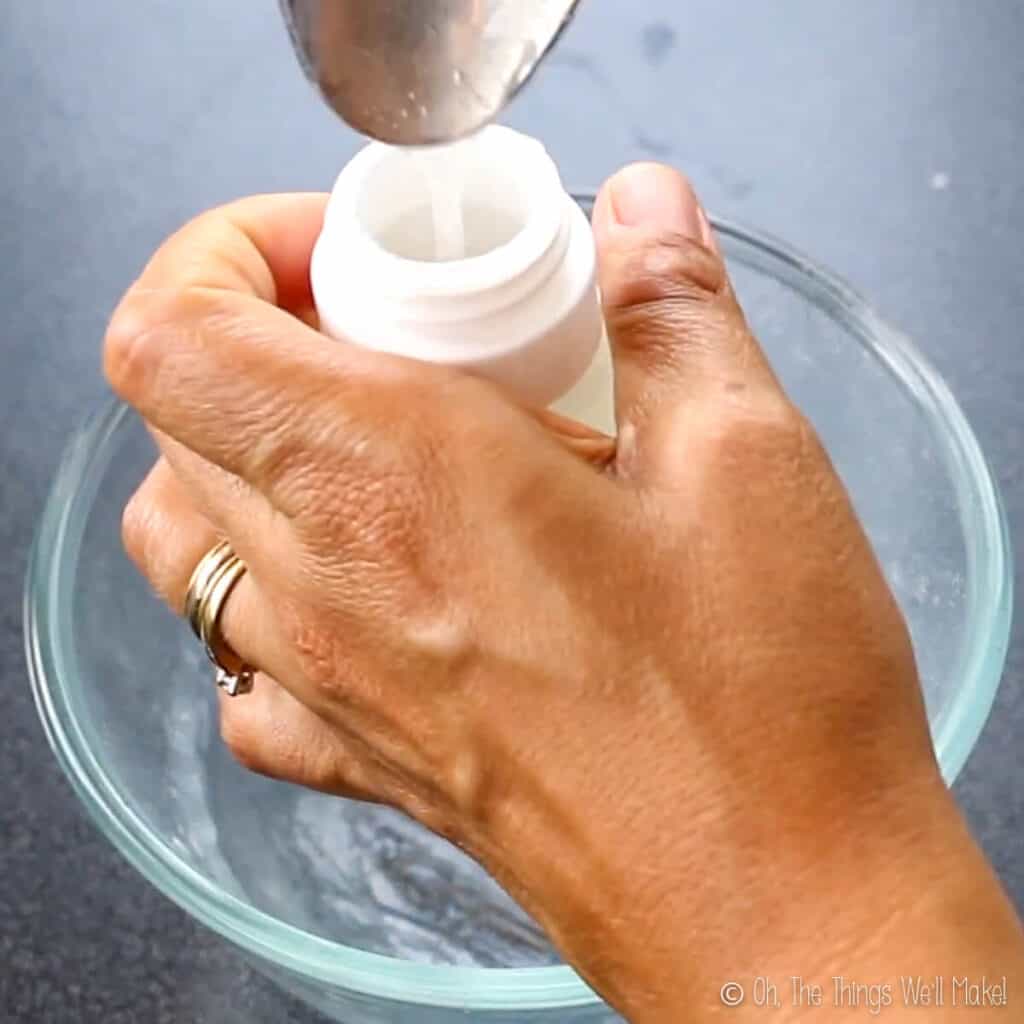
Making this gel is very simple. Basically, all you need to do is combine the xanthan gum with the water or aloe juice. While this sounds easy enough, xanthan gum can be a bit tricky to blend with liquids without clumping.
Tricks for blending xanthan gum with liquids
While you don’t need a stove to make this gel, I will admit that it can be tricky to mix xanthan gum with water without it clumping. Xanthan gum is so good as a thickening agent that it starts thickening before it gets well dispersed throughout the liquid, making thick, hard clumps within your gel.
Use a blender
To avoid getting a clumpy mixture, the ideal way of mixing xanthan gum into water or aloe juice is to pour the powder right into the whirl cause by an immersion blender as you blend and pour simultaneously. Of course, if you’re traveling, it isn’t likely that you have an immersion blender on hand. I have a tiny, inexpensive milk frother that I like to use for this sort of thing, but most people don’t take something like that along with them on their trips either.
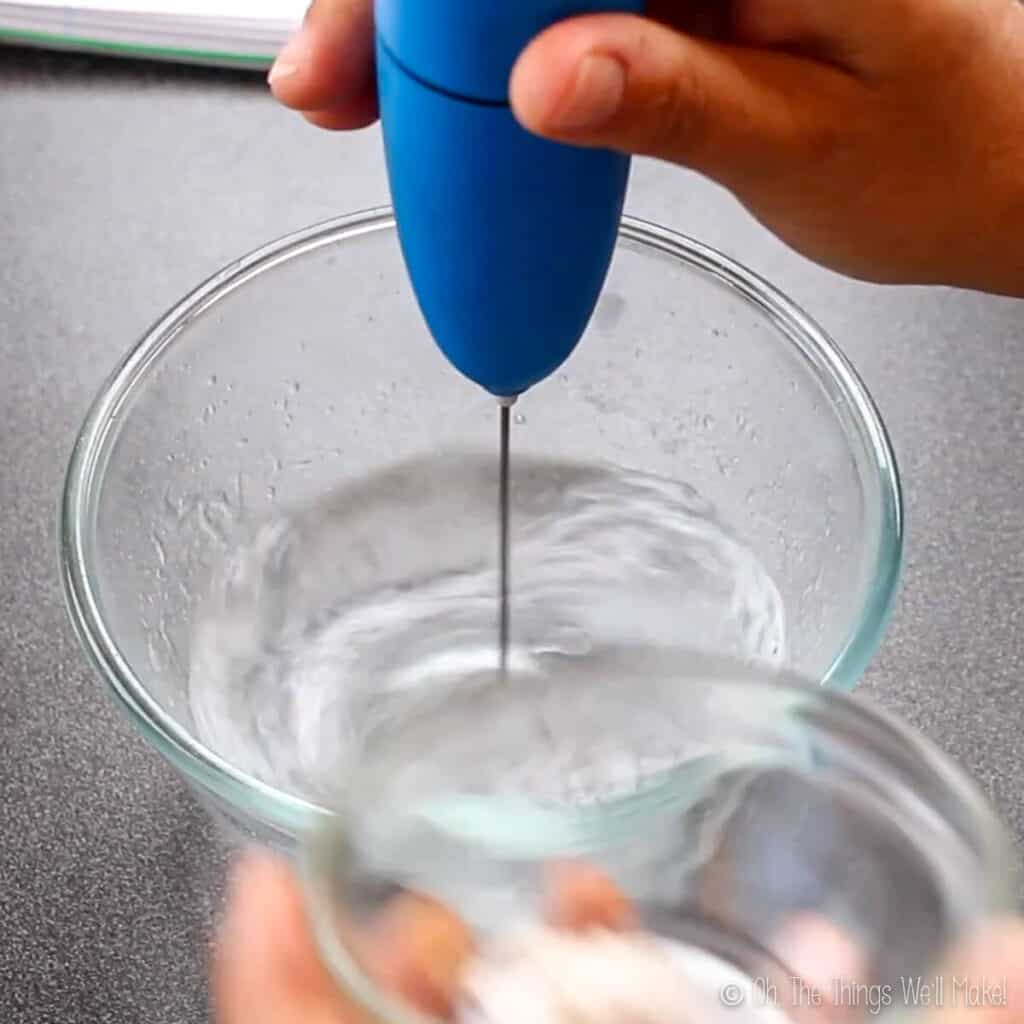
Blend water and add the powder into the whirl. 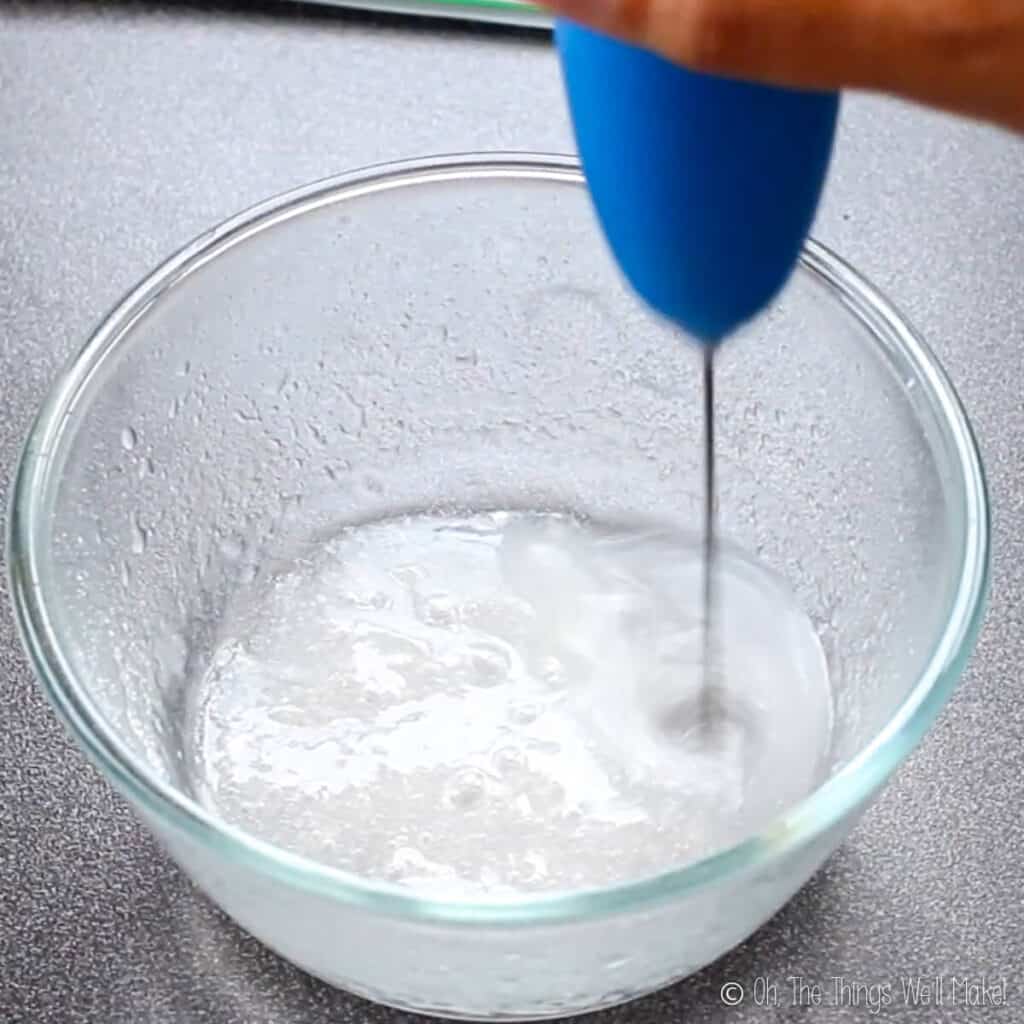
Continue to blend until the gel forms.
Mix little by little
Another way to help blend the xanthan gum with the liquids is to divide the liquid in half, and slowly add the powder to half of the liquid while stirring constantly. Then, more liquid can be added as needed until all of the water or juice has been used. I’ve found that any clumps that do remain will eventually hydrate enough so that stirring later on will break up the clumps. If you do end up with little clumps in your gel, just allow the gel to rest for a couple of hours before stirring again.
Using heat
If you have access to a stove, using a double boiler to help slightly heat the mixture while stirring also helps prevent clumping. You can also heat up the liquid before adding the xanthan gum powder to help disperse it more easily.

Using Glycerin
Another way to easily disperse xanthan gum in a liquid is to first combine it with glycerin. Glycerin is a humectant that can help draw moisture into your hair, so it’s not a bad addition to a homemade hair gel anyway.
To use glycerin, add a small amount to a bowl. (I suggest using a maximum of 5% of the recipe, by weight, so that it doesn’t feel too sticky. So, for every 100g of gel, you could use up to 5g of glycerin.) Add the xanthan gum powder, and mix it into the glycerin. Once the mixture is smooth, you can slowly add in the liquids.
Preserving this homemade hair gel
If you want to preserve the gel, there are a few things to keep in mind.
- Choose a water-soluble preservative.
- You should test the pH of your hair gel to ensure that it falls into a range in which your preservative is effectives. The gel will likely have a pH around 7.
- If you want to adjust the pH down slightly, which would bring it into a better pH for your hair and for most preservatives, you can use a couple of drops of lactic acid or a citric acid solution.
- Make sure to use the right dosage for your particular preservative. Most natural preservatives have a recommended dosage of 1% by weight. That means that for every 99g of gel, you’d add 1g of preservative. (Some, like Leucidal, need a higher dose to be effective.)
For more information about natural preservatives, check out my beginner’s guide to natural preservatives.
While I chose to use volume measurements for this recipe to make it easier for those who are just starting out on making their own homemade products, you really should weigh out the product if you want to properly preserve it.
For those who will be making their own soaps and other cosmetics, having at least one scale is essential. You can buy an inexpensive kitchen scale for under $20. A kitchen scale is great for recipes where you don’t need to be super precise. It will give you a reading to the nearest gram.
More precise measurements may be needed for making smaller batches. (For example, when measuring out preservatives or when making a homemade serum.) I use an inexpensive jeweler’s scale for those times.
Optional ingredients
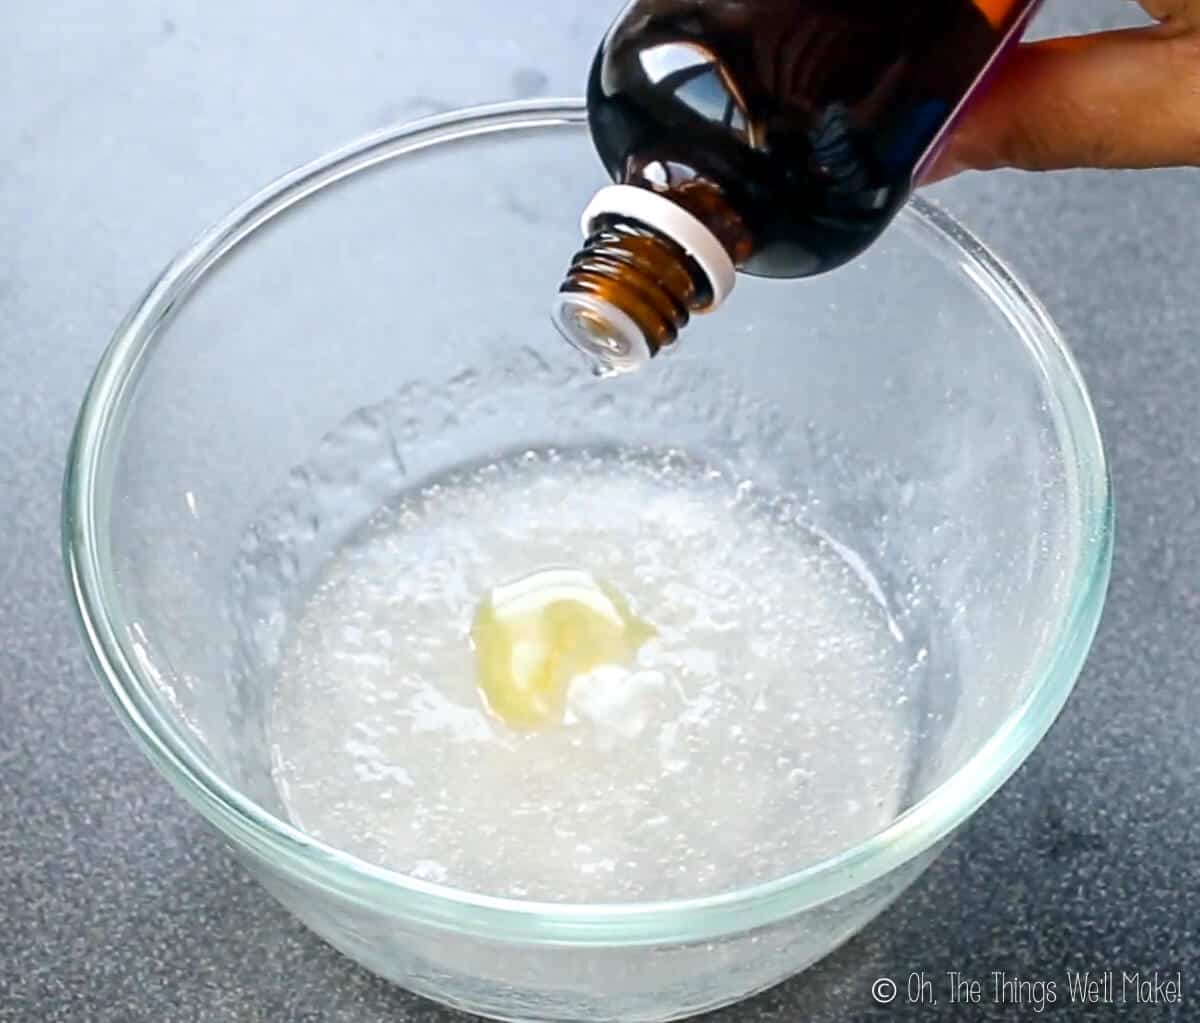
Apart from the xanthan gum and liquid, you can add a fragrance to your gel with essential oils. A good dosage rate is around 1% of the finished product by weight. (1 g of essential oil for every 100g of gel)
You may also consider adding vitamins and/or other beneficial additives to your gel. I like to add d-panthenol to most of my hair and skin products at around 2% of the recipe. I also occasionally add some proteins like hydrolized wheat protein. (Also around 2%)
Packaging
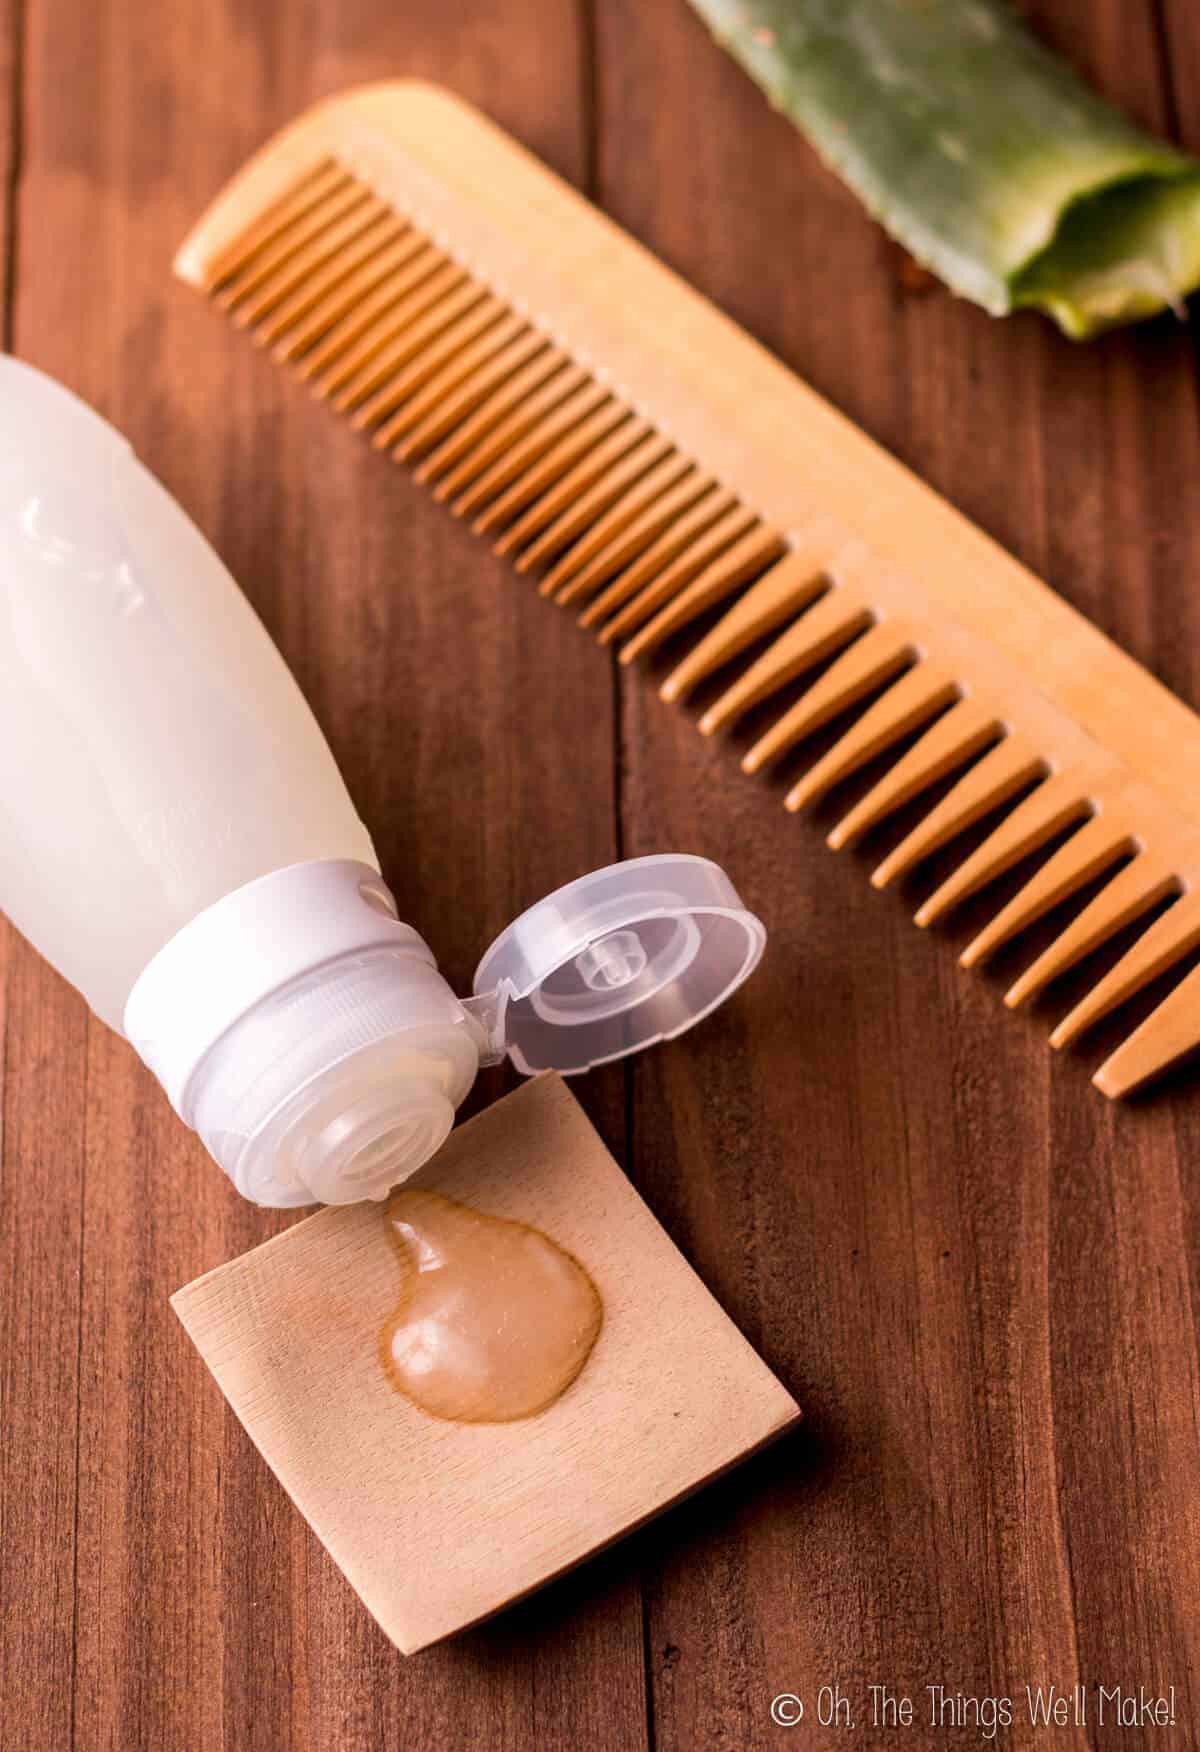
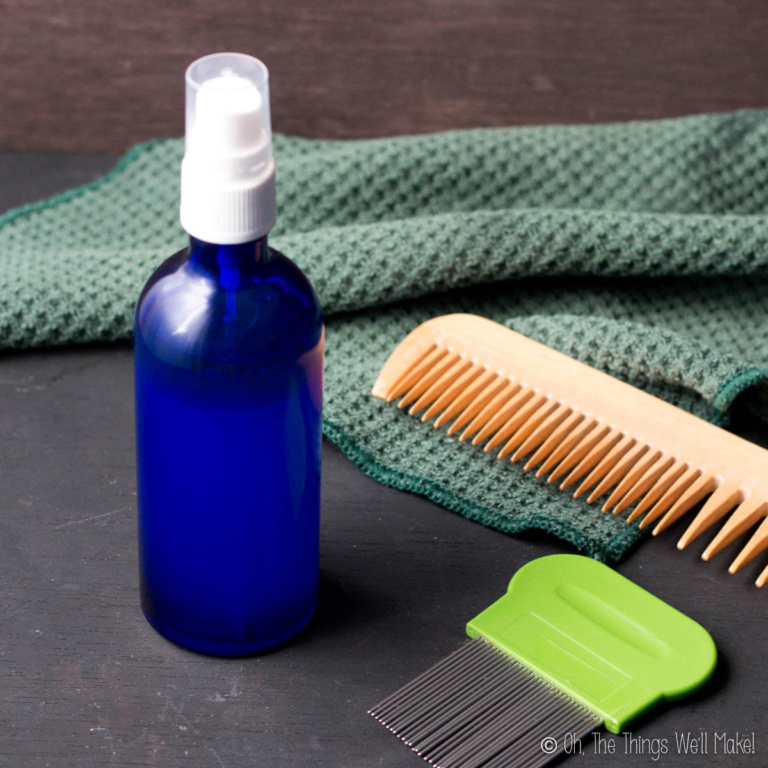
While I have shown the gel in glass jars, I usually package my homemade hair gels in silicone travel tubes. The advantage of using travel tubes is that you can dispense the gel easily without contaminating the rest of the gel with your hands.
Video
amzn_assoc_placement = “adunit0”;
amzn_assoc_search_bar = “true”;
amzn_assoc_tracking_id = “ohththwellma-20”;
amzn_assoc_ad_mode = “manual”;
amzn_assoc_ad_type = “smart”;
amzn_assoc_marketplace = “amazon”;
amzn_assoc_region = “US”;
amzn_assoc_title = “My Amazon Picks”;
amzn_assoc_linkid = “0530370751946a9c20d0790f88d1f4d8”;
amzn_assoc_asins = “B00CYMU3TA,B00Y6LBFLC,B01FWS6RAQ,B01B4BSHMQ”;
Easy Homemade Hair Gel
Easy Homemade Hair Gel (With or Without Aloe Vera)
Materials
- 1/4 tsp. xanthan gum (1g)
- 1/3 cup aloe juice or distilled water (80g)
- .8 g natural preservative Follow the dosage for your preservative!
- essential oils optional, for scent
Instructions
- Mix together the xanthan gum with the aloe juice or distlled water. This is easiest when using an immersion blender. For best results, blend the water and then slowly add the powder to the whirl created by the blender.
- If you plan on keeping the gel for more than a few days, add a preservative following the recommended dosage for the preservative chosen.
- To add a fragrance, and possible other beneficial properties, optionally add in essential oils (Around 1% of the recipe by weight). Lavender and rosemary are great oils for your hair and smell great in a homemade hair gel.
- If you end up with small clumps of xanthin gum in the gel, heating up the mixture can help dissolve them. You can also leave the gel to rest for several hours so that the clumps are better hydrated. After several hours, you can blend the mixture again and the clumps should disappear.
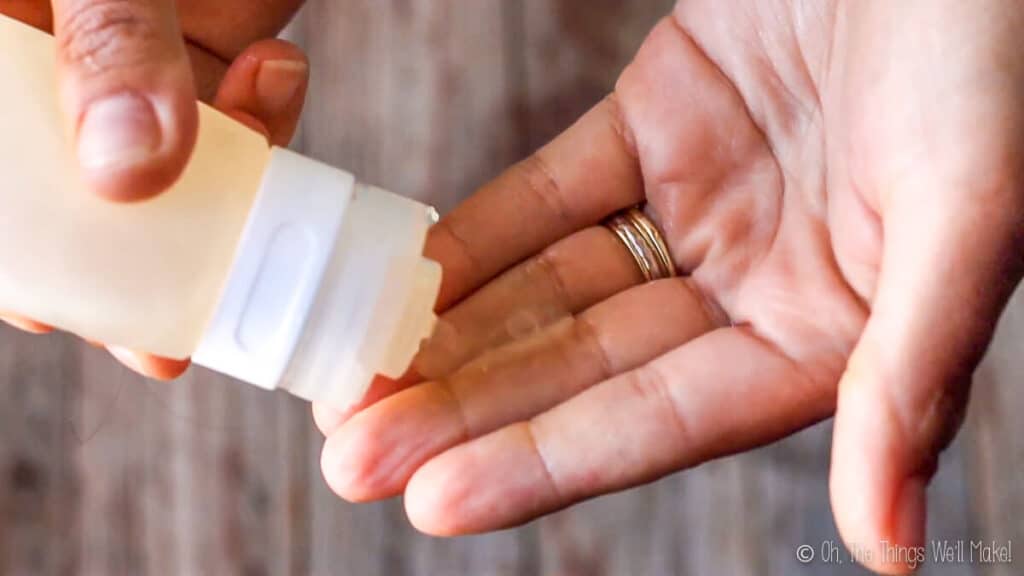
- Pour the gel into storage containers. I prefer silicone travel tubes because it's easy to dispense the gel without contaminating it with bacteria from your fingers. They also travel well without spilling or leaking.
- You can use the gel on both wet or dry hair. I usually use it right after having towel dried my hair. I find that it defines my curls well as my hair dries. You can also apply it to frizzy hair or dry hair when you want to smooth it or define your curls. I often wet my hands and dampen my hair slightly with my wet hands before working the gel in so that I can distribute the gel more easily.
Notes
This post was originally published on June 24, 2017. It was rewritten in April of 2021, adding new photos and more information.

Hi i would like to ask. Did you put your your finished product in refrigerator or not? I make this recipe in little batch. I use germaben II as preservatives and tweak them a little bit with glycerin put them ini my unused tube bottle (after sterilized them with rubbing alchohol) and put them in my table. While using them little by little I would like to know how long they can be in room temperature. i would like to bring this on traveling as my hair gel and skin moisturiser. What should i do?
They turn bad after 3 day (forgot to mention)
Hello,
No, with a preservative, I leave it out of the fridge.
What was the exact recipe you followed that turned bad for you?
Too much aloe can be hard to preserve, so you should use smaller amounts- and not use fresh aloe, which is notoriously hard to preserve. You should use an aloe juice that you have bought.
You also need to make sure that your final product falls into the correct pH range for your preservative, and that you are using the preservative at the correct percentage for the recipe.
Without knowing more, I can’t really pinpoint what went wrong for you.
I think the biggest problem is i am using fresh aloe vera (not store bought aloe vera juice). While I can find aloe vera gel and fresh aloe easily in Indonesia you cant find aloe vera juice so easily and I dont know why? For ph range they are about 7 and preservative is 0.5 (range used 0.5-1%). Well it such a same I cant bring it in my travel. But I would like make it again and put in my refrigerator as my body gel before sleep or go out in morning.
Oh yeah did you have some recipe using fresh flower. Maybe lotion (extract oil with double boiler) or the othe you can use daily? I will travel in Bromo Mountain in next october while hopping getting some edelweiss flower. Village around bromo has been cultivated rare flower “edelweiss” for their tourism development part. Edelweiss ca only growth in spesific weather and land not only that they cant growth if you put some pestiside and the other checimal product. Simple said edelweiss is very delicated flower and only few brand using edelweiss because they are rare. Edelweiss is high spf and vit c. So did you have some similiar recipe for this one. Even if edelweiss calles “eternal flower” and not withered. I would like turn it in skin care not only decorated my house with it. Thank You so much ^^
Yes, aloe is notoriously difficult to preserve. I wouldn’t try at home because it’s very difficult for us to refine it enough and preserve it adequately.
I buy a concentrate that I dilute for recipes.
You could consider lowering the pH slightly to bring it closer to 5.5- which is good for both hair and skin. (I’m not sure if you’re using for both?)
If you want to use a fresh flower in a lotion, I’d actually consider making a glycerin based extract of the flower. That’s the safest way to preserve it. (Any time you are using fresh botanicals in a lotion directly, it makes them difficult to preserve, but this way is much safer.) If you have a larger quantity, you can also make a floral water, but it takes more specialized equipment normally to turn out best. I should make a post about making glycerites (and, perhaps, floral waters).
You can then add the glycerite rather than glycerin in a lotion as a fragrant humectant.
Wow there the way doing it With glycerin. As far as i know many people extracting using carier oil and double boiler it. Yup i really wait your post about floral water and glycerites
Great! I’ll try to work on it soon! 🙂
Hei just now I remake this recipe with a tweak and they turn out so well i try in my hands first and they really love it no sticky at all Next i try use it my hair and my frizzi hair is gone.
i use my homemade aloe hydrosol instead of water and put some avocado oil and sweet almod oil solublize them with letichin and gelling with xanthan gum. I really love it thank you so much. Waiting for your floral water and glycerite post ^^
Great! I’m glad you found something that works for your hair! 🙂
Hi!
I love your videos. They are so helpful. So I wanted to thank you for that first. I am interested in making big batches or making multiple containers full of this gel, how would I go about this ?
Hi Morgan,
Thank you so much!
I was going to tell you how you can easily adjust my recipes by changing the “servings” in the recipe card, but I just realized that this recipe wasn’t written in a way that allows it. I wrote up the recipe before I got good about doing that. I also have just realized that this recipe was written in cups and measuring spoons, and that isn’t really my preference for a proper cosmetic type recipe.
Because I’m about to run out of mine, I think I’ll work on updating this recipe this week if I can. I can promise all of the updates will go up ASAP as I have a friend’s baptism and party (and have agreed to make several things for it) this weekend, and my own son’s birthday party the following weekend, but I’m on it as soon as I can.
I’ll update and make it easier to size the recipe up and down.
Meanwhile, I’d just say that you can increase the amount of each of the ingredients in the same percentage to increase the batch.
I’m trying to remember what the usual percentage of the xanthan is. (Around 2-3% by weight? I’ll let you know). It’s easier to dissolve it in glycerin- I wouldn’t go over 5% with that or it can feel sticky. Then you have the preservative (around 1%- depending on which you are using). The rest can be water or aloe or other hydrosols and other additives of your choice. 😉
I hope that helps, and I’ll try to update this recipe very soon!
hello! Have you ever heard of sclerotium gum to use as a thickener and gelling agent? A product that I have been using has that in with aloe and a preservative…that’s it. I wonder what the sclerotium gum actually does. thanks! Anna
Hi Anna,
Interesting! No, that’s a new one for me. I’ve used different types of xanthan, alginate, gum arabic, guar gum, but I’d never seen that one before.
I just looked it up, though, and it looks like it would be a good one, though, for making that gel-like consistency.
You learn something new every day. If it were easier to find here in Spain, I’d buy some and give it a try.
For now, it will probably wait until my next visit to the US or until it’s more accessible here. (If it’s good, I’m sure that will happen.) 😉
I noticed it in an ingredient list in a brand of hair products made that contain very few ingredients and they are very clean. If you have access to “Making Cosmetics” online, you can purchase it there.
They probably do send here, but I’ll probably wait until I’m going to go to the US anyway to save on shipping. I have way too many supplies all over right now. ?
Hi
My name is vinay i have a hair gel how to make normal hold hair gel strong hold without geletin
Hi Vinay,
This recipe, using xanthan gum, is one way to do it.
You can also make a natural hair gel with flaxseeds.
Hi,
Thanks for sharing!
However, I’m wondering at the %s. 1+80+5=87. Is remaining 13% aloe juice?
Hi Aarti,
I honestly should update the recipe. It doesn’t add up to 100%. This one was made less technically with kitchen measurements (because I made it that way weekly in small amounts before later making large amounts and adding a preservative). The adding of the preservative was done more as an afterthought.
Leucidal is a preservative that needs to be used in a high percentage if it’s used alone (3-4% minimum). That’s why it is used at around 2.5 grams for the 85g total.
You could bring the recipe up to 100%, and that would make it easier to adjust with whatever preservative you are using. (Most of the natural ones are used at around 1% of the recipe.)
Thanks so much for sharing! I was wonderung where did you get your bottles from? Thanks!
Hi Janet,
I buy the glass jars and bottles locally normally, but I buy the silicone dispensers online through Amazon most of the time. Here’s an example of a set that has two sizes. I find the small ones convenient for things like toothpaste or throwing hand lotion in your purse and the larger ones good for lotions, gels, shampoos, conditioner, etc. 😉
Thank you so much for gettung back to me!
You’re very welcome! 🙂
Just wanted to leave a quick note that it helps to mix the xanthan gum with vegetable glycerin first, to avoid the clumping. You may have to adjust some measurements from adding the vegetable glycerin,but the texture you will get from doing it this way should be worth having to play around with your amounts a little…
Hi Tera,
Thanks for the tip!
Yes, you are correct, and I’ve been doing it like that lately. I learned about it in a cosmetic formulation course and it does make the process so much easier.
I’m slowly making my way through these older posts and updating them with new information (sometimes new pics and videos) and like to include this sort of tip too. Eventually, I’ll get to this one and make a new video probably. 😉
Hello. This is the first of your recipes I plan to try and I am really excited. I have vegetable glycerin and I would like to add it as described in this comment. What would be the proper proportion of glycerin and would this simply be subtracted from the aloe juice portion?
Thanks!
Hi Rebecca,
I hope it goes well for you. Lately, I’ve been using a modified xanthan gum for my hair gels, and it’s really nice. I’ll look up the name and try to get back to you. Regular xanthan is easier to find, though, and works quite well. I have used it for many, many months and really like it too.
Whenever you add glycerin to a recipe for hair or skin, I’d normally use it at up to 5% of the recipe. Anything over 5% can start to feel sticky. You’ll also want to keep in mind that a lot of extracts are glycerin based, so you won’t want to combine glycerin and extracts without taking that into account.
How much works best for you will depend on the humidity of your environment, your hair type, and your personal preference for the feel of the product.
Oh, and, yes, I almost forgot. Yes, you should replace part of the aloe juice/water portion with the glycerin. That’s mainly just to keep the proportions of your other ingredients accurate.
Hi, Tracy
Great, it’s an easy process but never applied past. Thanks for the attached video. I hope it will work for me as well. Thanks for the homemade gel, I love to apply with aloe vera.
Would this Hold short boys hair? Does it flake when messed with after it dries? Thank you
Hi Wendy,
Yes, it should work well on a boy’s short hair. No, I haven’t found it to flake at all. It will form a bit of a crust (many people using the curly girl method call it a cast) if you use a lot of it. Once it dries, though, you can scrunch that hardness out, and it leaves the hair soft again.
I’ve read the whole article. Sensible write and very easy to understand. I really appreciate it. Especially the video makes it easier to understand.
Thanks Dean!
I’m happy it was helpful for you!