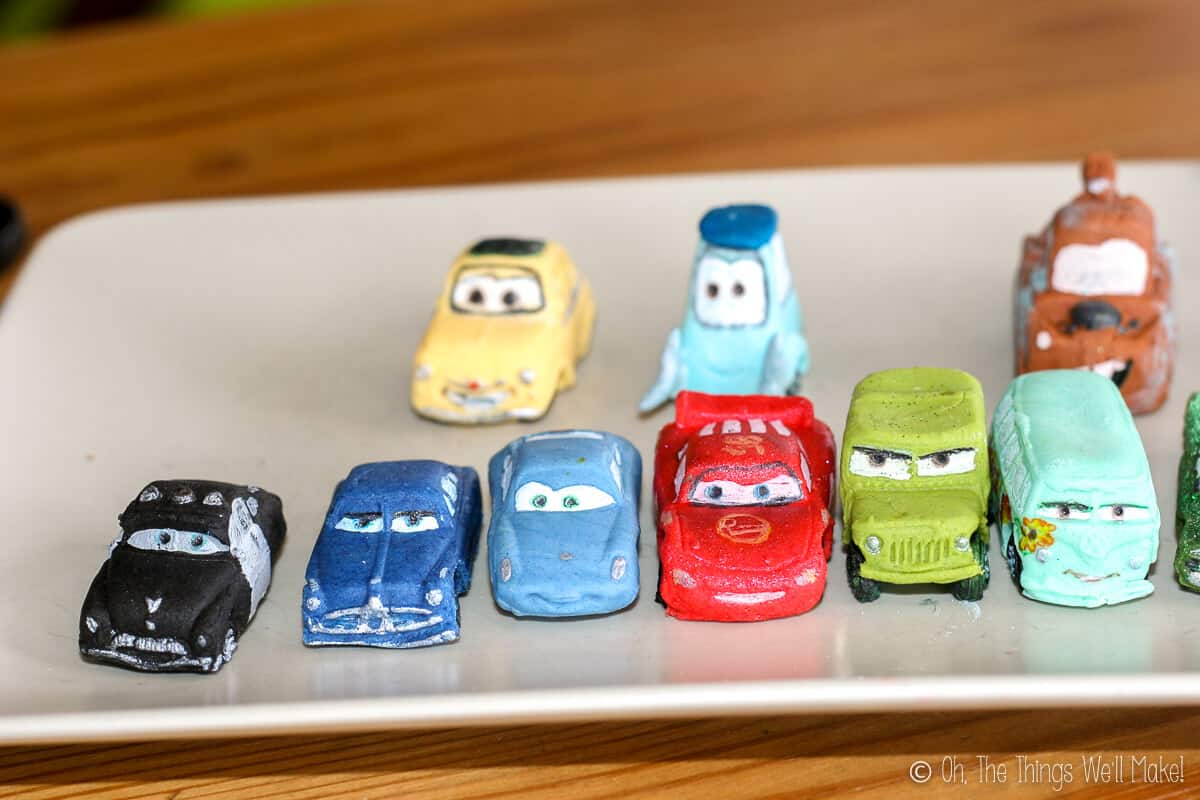
The perfect birthday cake topper, these super cute DIY fondant cars feature Lightning McQueen and his friends. With this simple technique, even a “non-artist” can make these.
I know what you are thinking…
You have just vowed to switch over to a healthier lifestyle/way of eating, and then you immediately show a tutorial on how to make fondant Cars cars?!?!?!
In my defense, I did say that I wasn’t going to give up making fondant cakes for special occasions.
Plus, they are just too cute to eat! So, nobody ate them. 🙂
As for the cake, we did eat it, of course. Granted, I didn’t bake it with sprouted wheat flour or any special flour or sugar, but just by baking your own cakes, you can at least control your ingredients. I used the best eggs I could find, used real butter instead of gross vegetable oil substitutes, and, of course, used no food preservatives. So, while not exactly health food, baking a cake is still better than going to the supermarket to buy one.
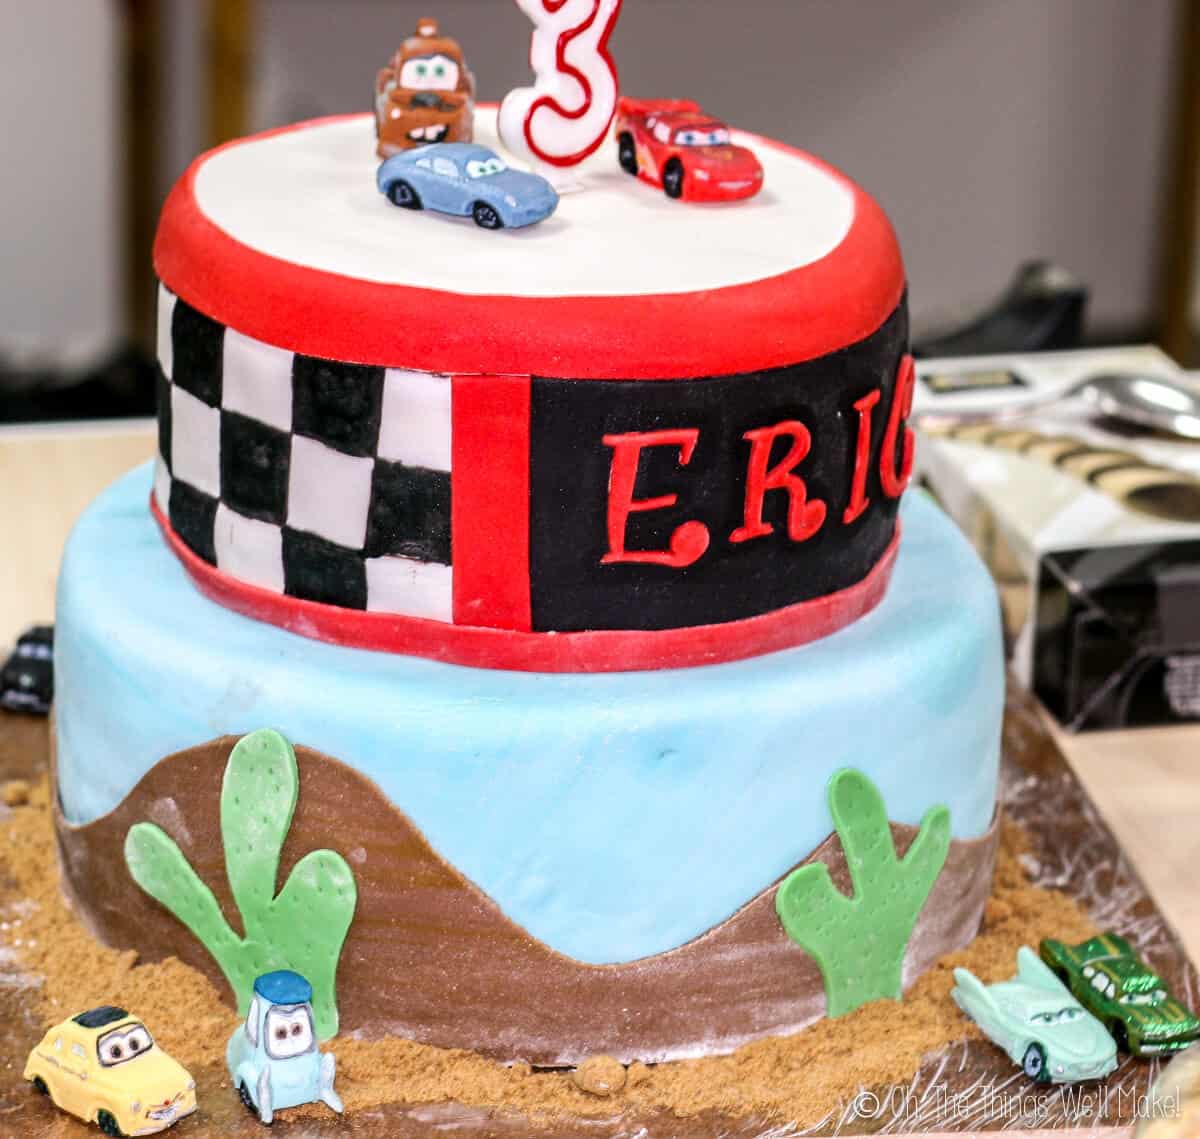
I wanted to make a cake with fondant versions of some of the main characters of Radiator Springs. Trying to make figures that were detailed and small enough for the cake, though, seemed like it would be way too difficult. I figured there must be an easier way to get realistic looking figures.
So, I decided to make my own 3-d silicone fondant molds from small toys that my son owns. Ironically, these plastic cars, being sold as cake toppers, look like the toy cars that I used to make my molds.
To make your molds, you have to buy some food grade silicone mold putty. This time I bought some from a dental supply company because I have a hard time getting the Easy Mold silicone putty that I have used in the past here to Spain, but I must admit that I liked the Easy Mold putty better.
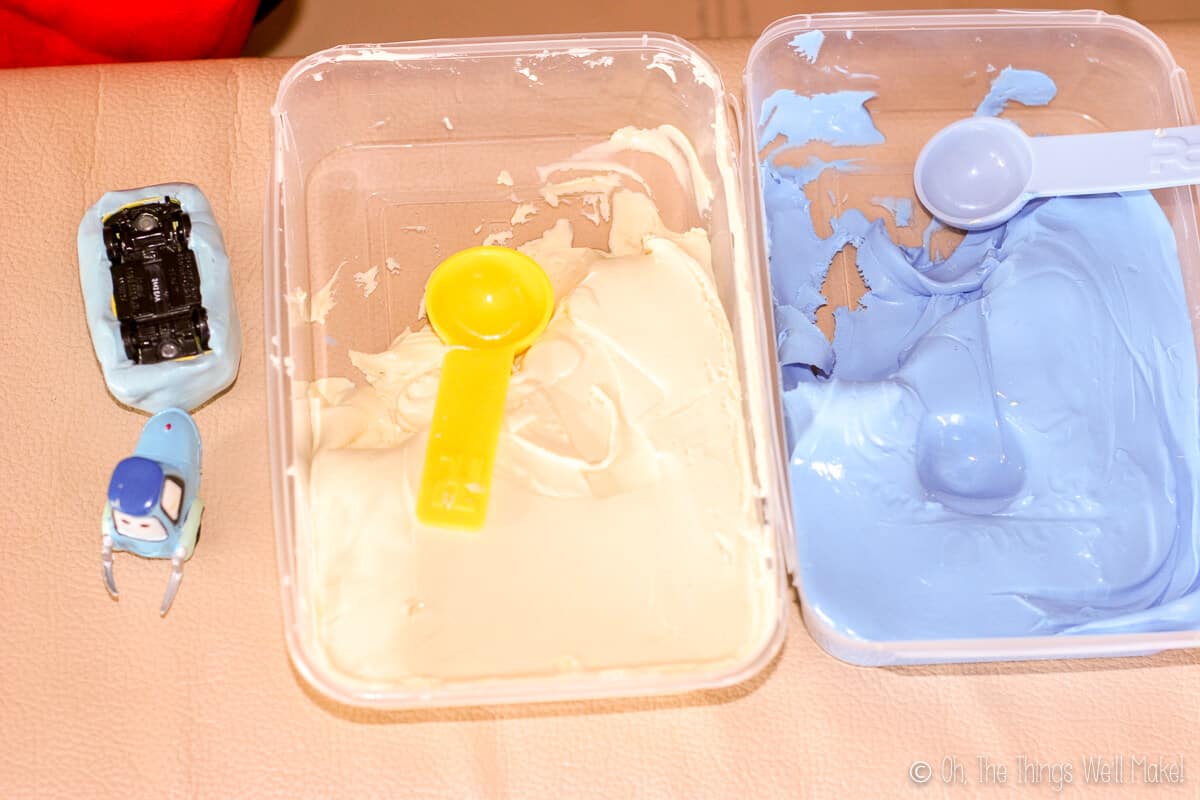
Whichever putty you choose to use, the process is the same. Silicone putties come with 2 components of two different colors. To use them, you have to quickly knead together equal amounts of the two different putties and, once well mixed, press over top of whatever it is that you want to replicate.
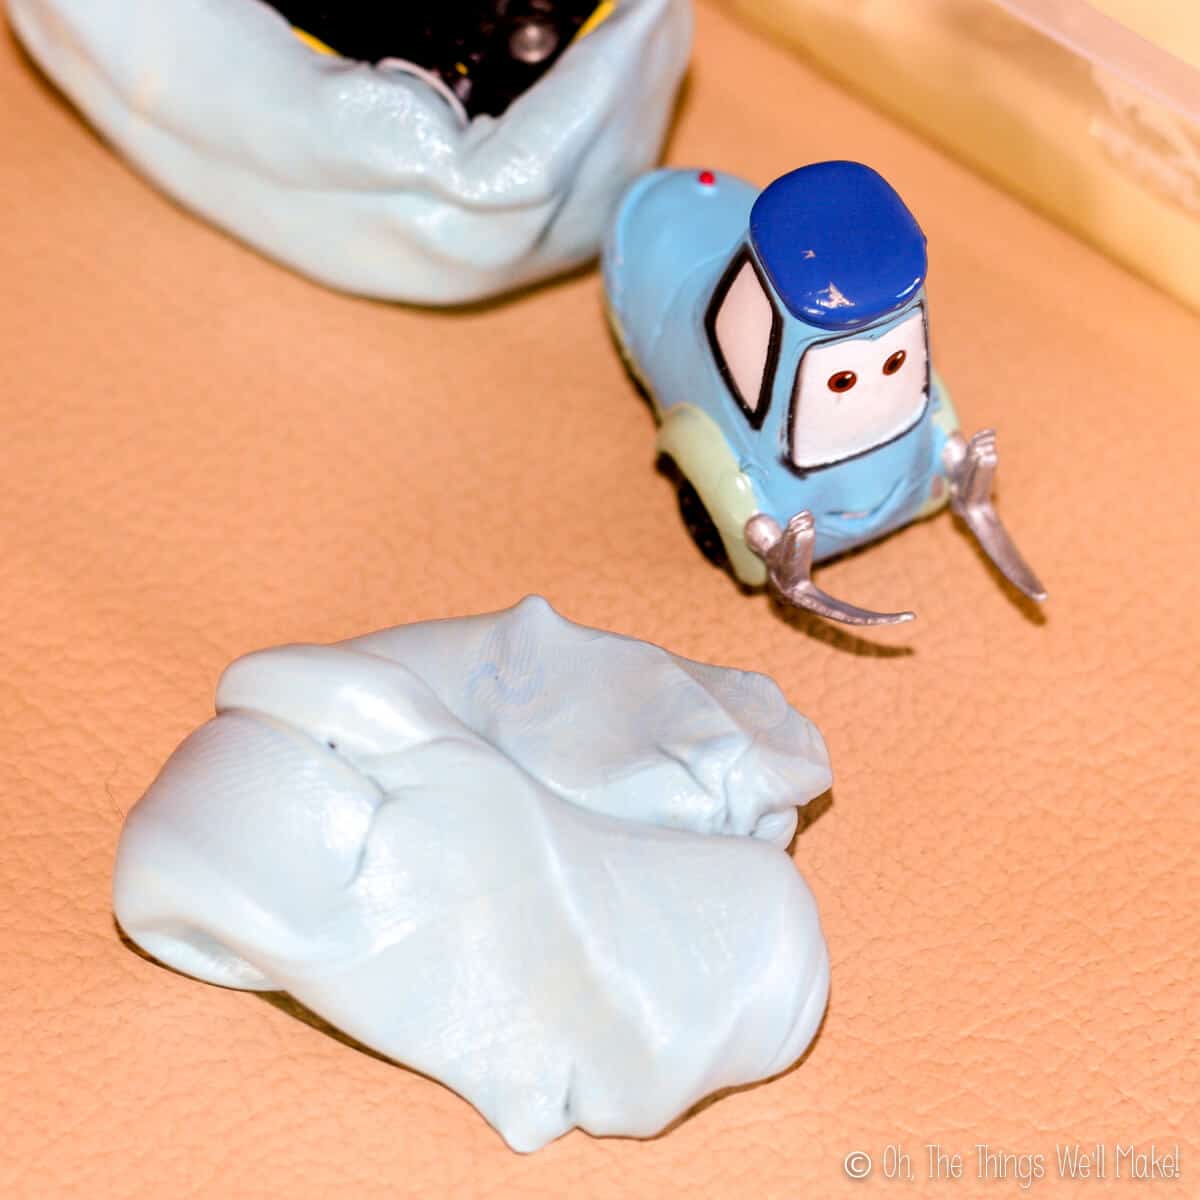
They make the putties different colors so that you can tell when you have finished mixing them well because you end up with a uniform color. Remember to knead together quickly! You want time to be able to shape the putty before it sets.
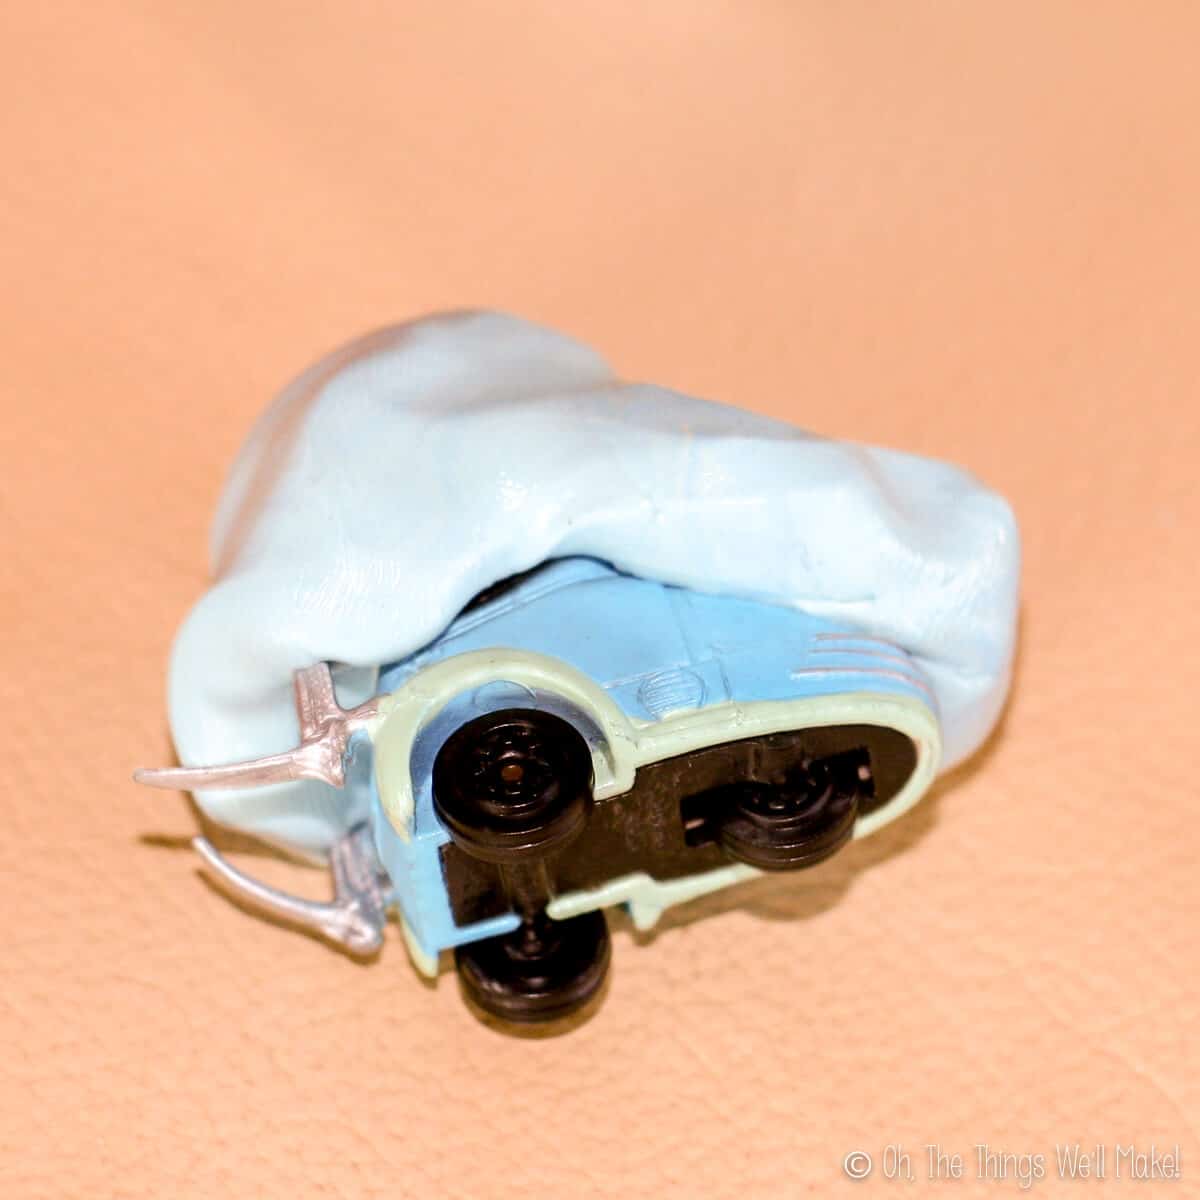
Once you end up with a uniform color, you can begin to press your object into the putty. Try to make sure that the putty is getting into all of the details. Be careful not to push too hard in any place because you may poke through. If that does happen, though, it isn’t a big deal because you can cover up thin or bare spots with extra putty before it sets, but you can also add on another layer later on. (Don’t ask me how I know that!) 😉
Once you get the putty around the top and sides, leave your mold alone to set up. It doesn’t take very long, but since you will be likely making several molds, you have more to do meanwhile anyway. If you are impatient, though, you can check to make sure it is done by pressing your fingernail lightly into an inconspicuous area. If your nail leaves a mark, wait a little longer before pulling the toy out.
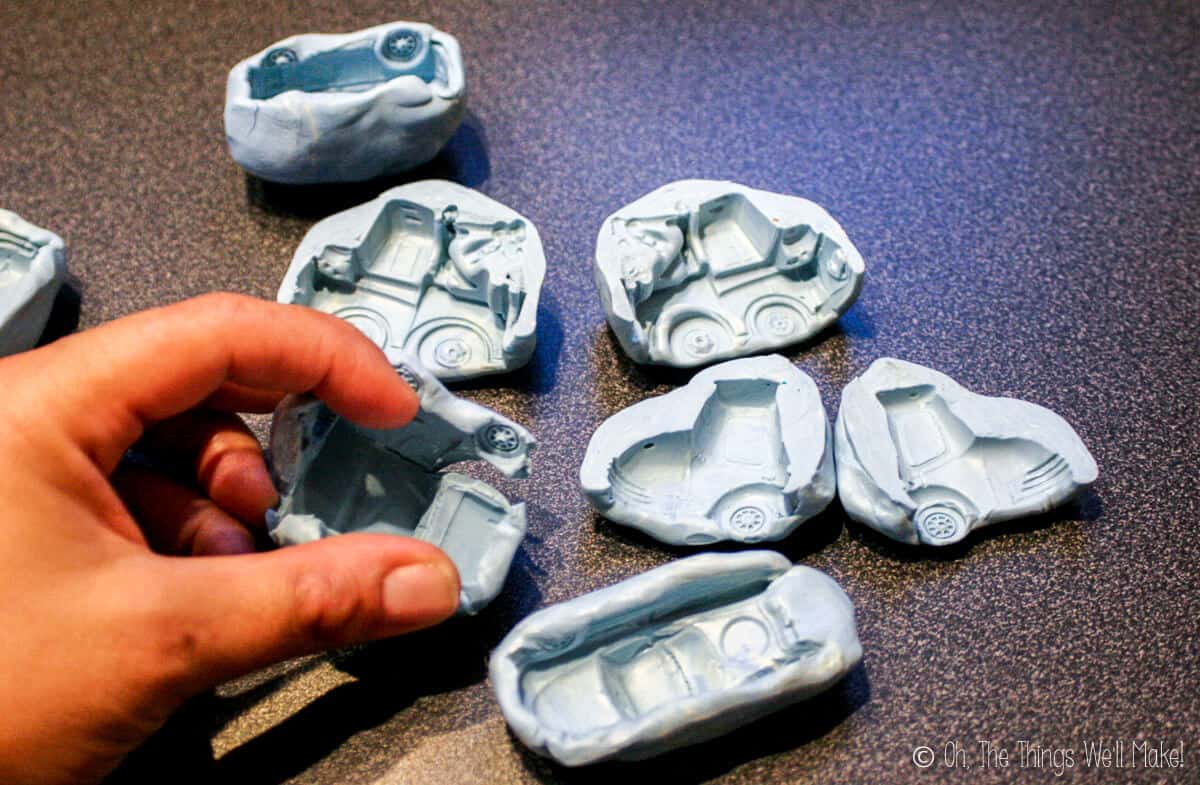
Once your putty has set, you can remove the mold from your cars. After some practice with the molds, I found that the characters that turned out best, were the ones that I could most easily remove from their molds. So, rather than try to get the molds off in one piece, it is probably best to cut down through the putty to the toy car (carefully) down the center of your car, cutting your mold into two pieces. You can see that I did that for my Mater and Guido molds, and they were the easiest to unmold and still keep the details in fondant without them breaking.
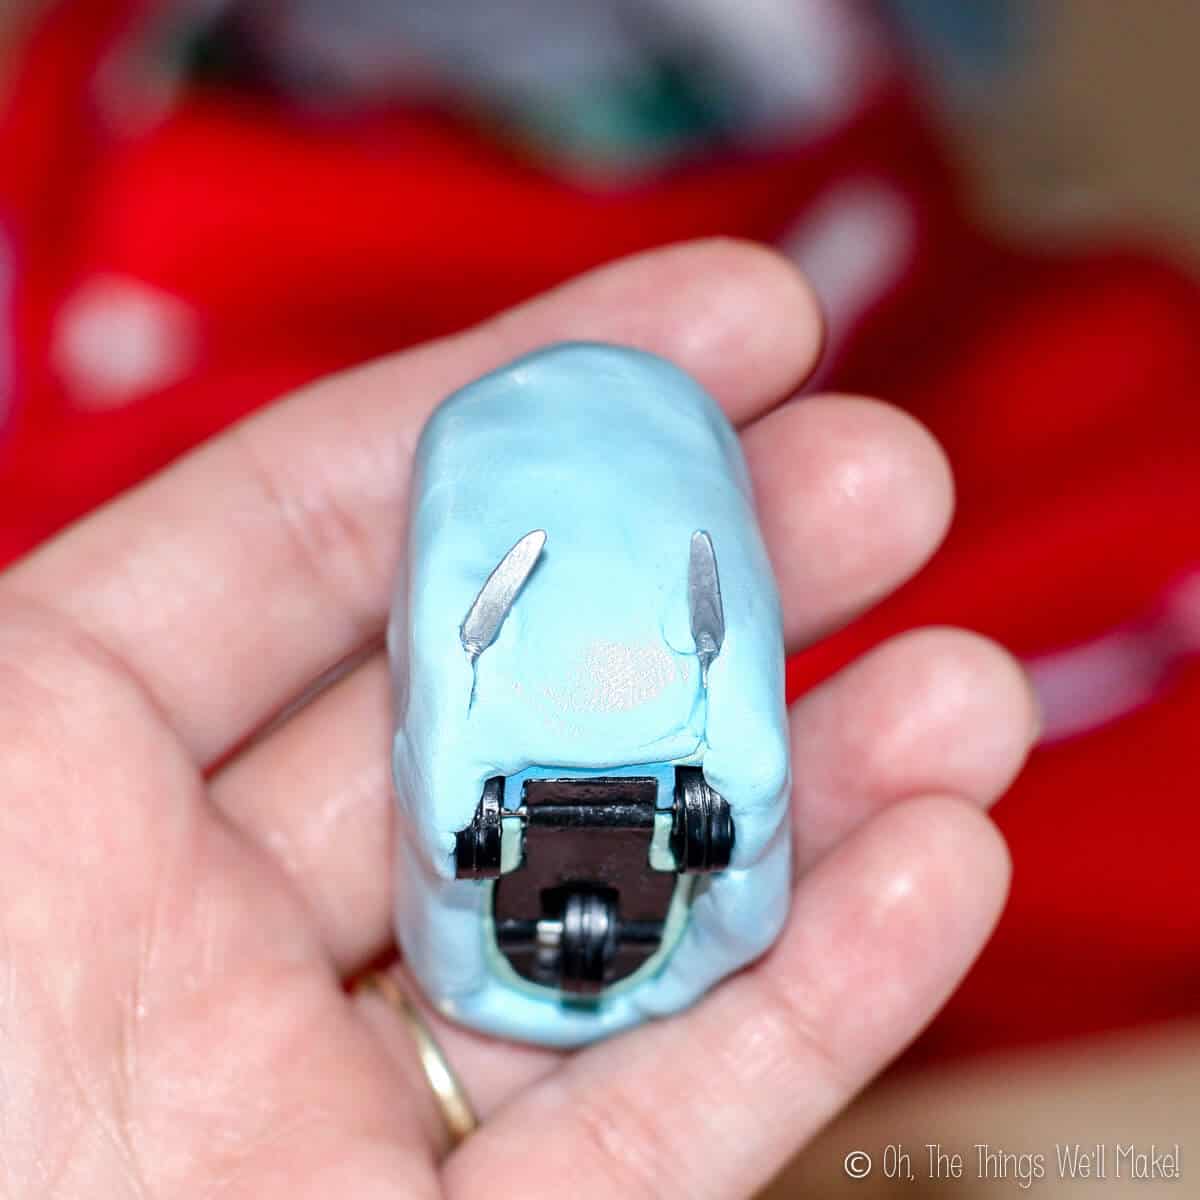
In the case of Guido above, I decided to keep his lifting forks out of the mold. I figured that they (once made with fondant) would most likely be impossible to remove from a mold in one piece, and that it would be easier to make my own later on. To remove the mold, I had to cut down to each fork and pull it out. Later on I filled the holes with the tiniest bit of silicone putty from the outside.
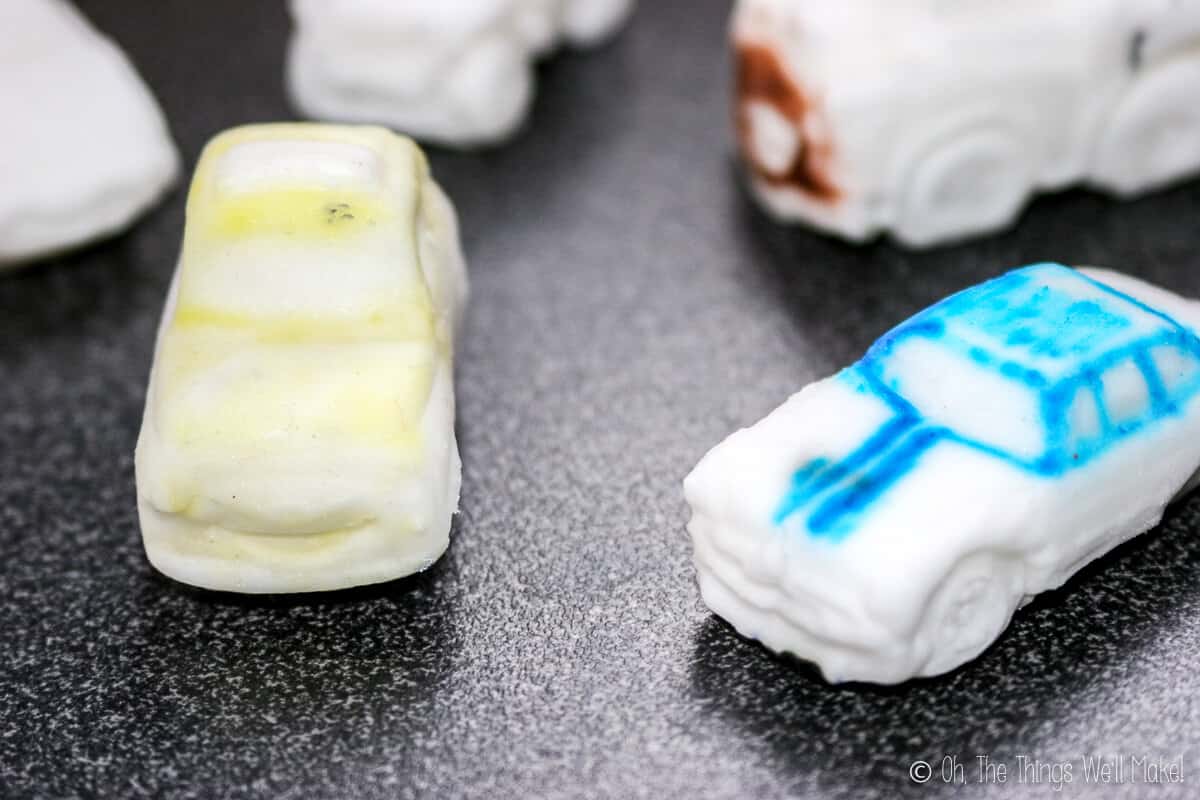
Once you have your molds, you can start making your fondant cars. My idea was to make them all out of white fondant, and then to paint them with food coloring and edible markers. After some experimentation, though, I found that it was too hard to get the colors I wanted with food coloring “paints” and it was much easier to mix fondant to the main colors of the cars I was making.
The best way to form your figures out of fondant is to push the fondant into the molds and then put the molds into the fridge for a couple of hours to help harden the fondant, making it easier to remove them in one piece. If you have cut your silicone into 2 pieces, press the two pieces together over your fondant, trying to keep them lined up as best as possible.
The advantage of having the mold cut into pieces, or at least making cuts up the sides of the molds that you can stretch open, is that when you are trying to remove the fondant figure from your mold, you can pull the mold apart and more gently remove your fondant. If you try to pull it out of a one-piece silicone mold, you will likely break off any detailed pieces. Even larger pieces may break off if you have formed undercuts in your mold. The disadvantage of having two pieces, though, is that you will probably end up with a seam in your fondant where the two sides came together. Luckily, fondant is pretty forgiving to work with. I cut off excess flash, and smoothed off the seams with a clean paintbrush and a little water or with my fingertip.
Once my figures were out of the molds, I cut off any excess fondant, especially on the bottom of the cars. On Sarge, I cut fondant out between each wheel to make him look more realistic.
Having started to make mine with plenty of extra time to spare, I let them dry out for a day or two before I painted them. You can paint them right away, but they can be a little sticky and hard to work with as they warm to room temperature again. It’s much easier when they have dried out a bit.
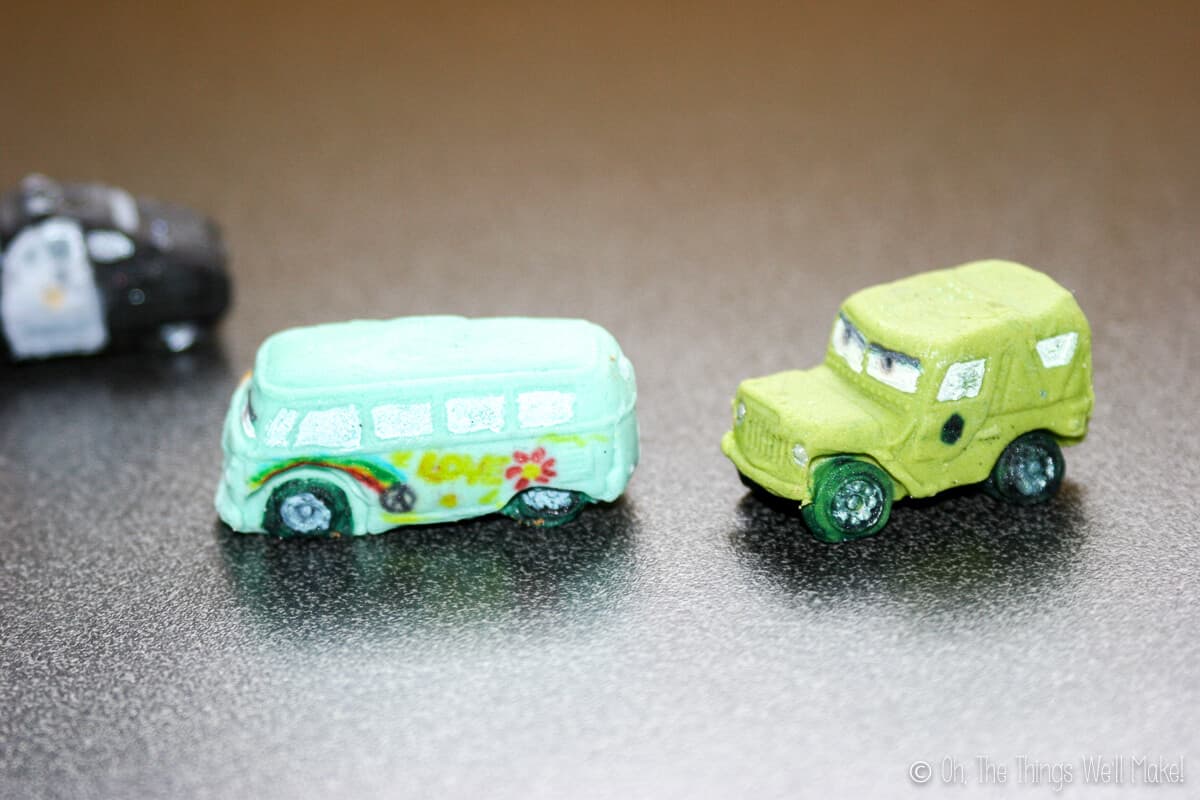
When painting the fondant figures with gel color, it is best to water the colors down a bit with vodka.
I ended up having to make two sets of colored fondant figures after ruining my first set! How?, you ask.
Well, I painted the fondant with black gel coloring, and, even after days, the black fondant color was sticky and wouldn’t dry. I couldn’t handle the figures without getting black smudges all over the place. So, I decided to try what worked for the glasses on the optometrist cake, and put the figures in the oven to dry them more quickly.
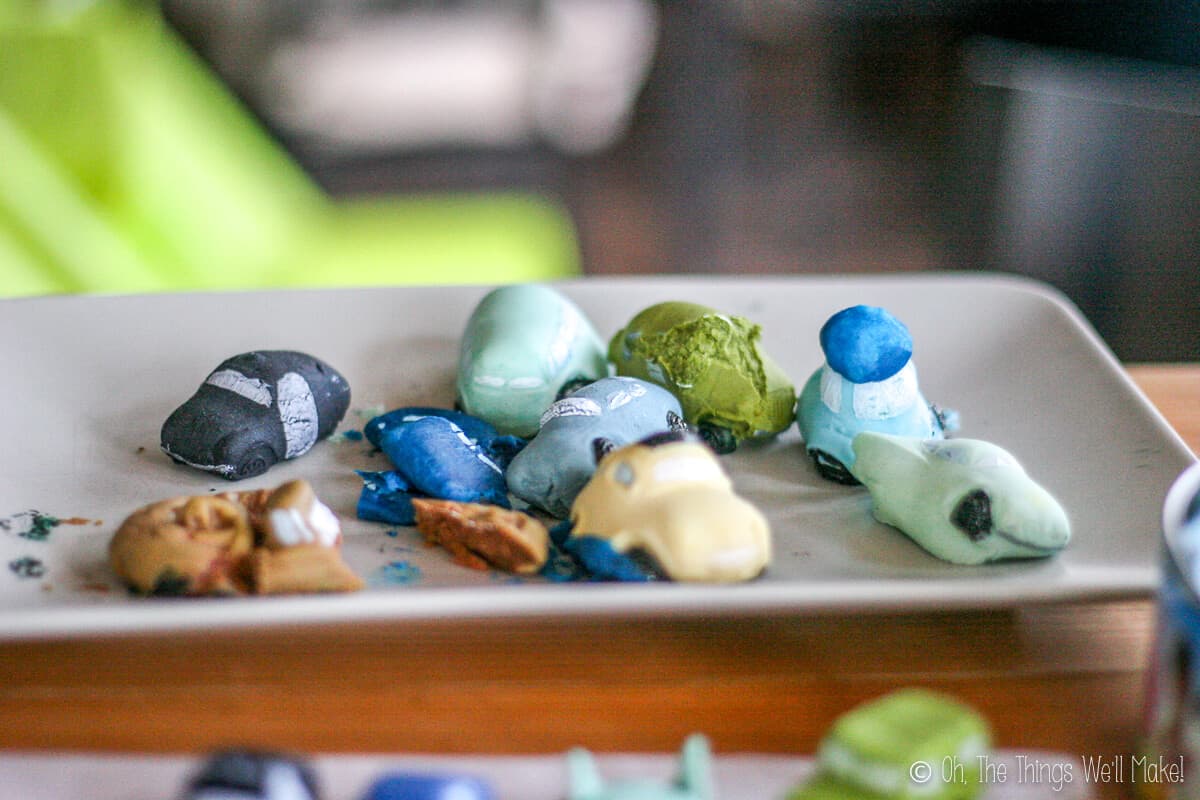
Unfortunately, I didn’t keep an eye on them and had the temperature too high. Not only did the black gel not dry, but some of the cars melted, and the rest exploded in a way. These were the most salvageable, but I didn’t like the way they got puffy, so I decided not to use them.
Mixing the gel with vodka solved the problem completely. I pained mine one night, and by the next morning they had dried completely.
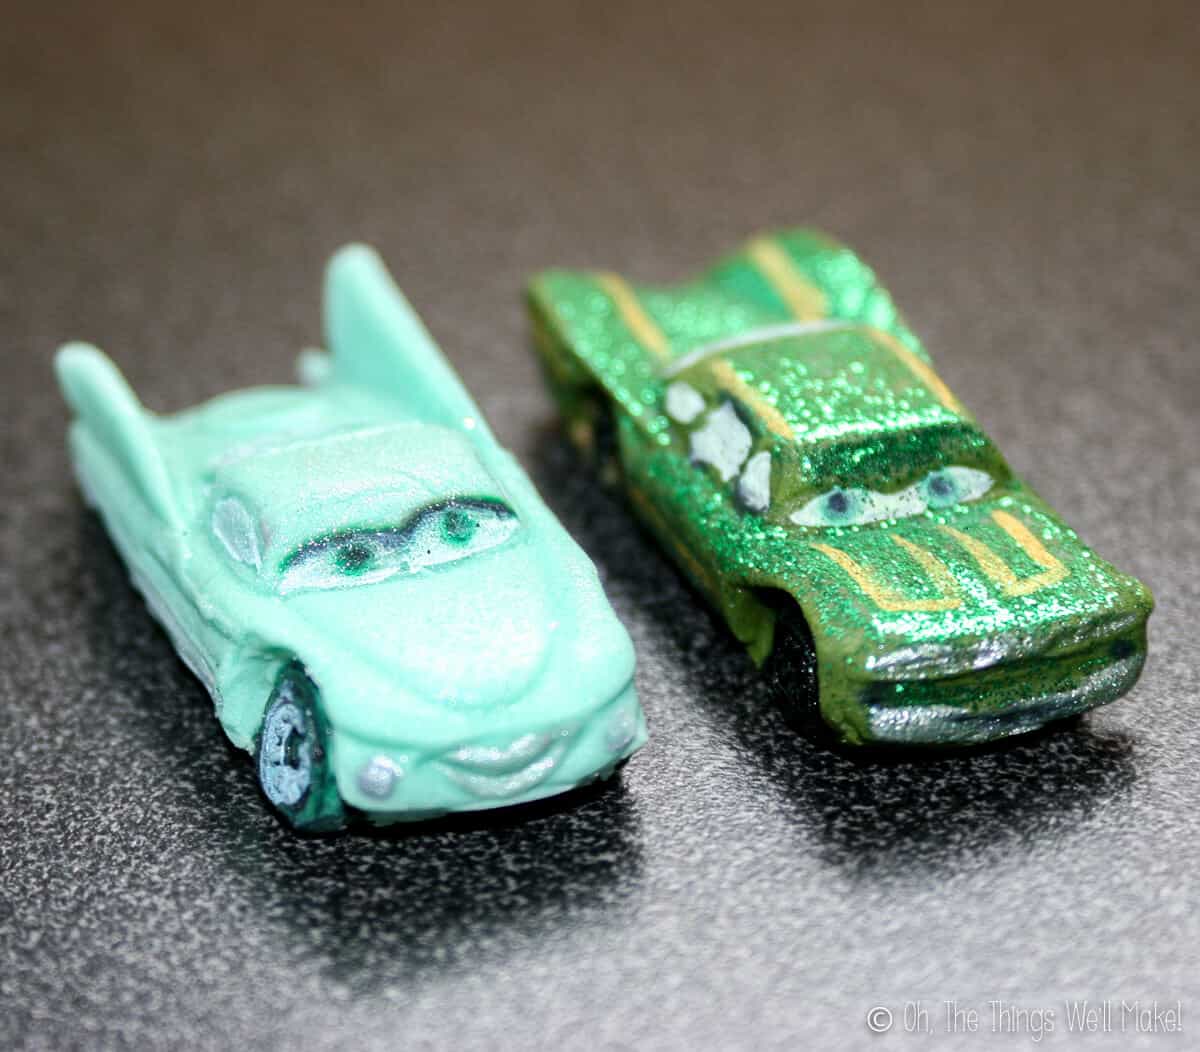
One of the reasons that I had originally wanted to make the cars white and paint them later was that I didn’t think that I would be able to paint white onto colored fondant. Luckily I found an icing whitener that actually worked quite well for painting white onto the cars. It also worked best with a little vodka mixed with it, but I didn’t use too much because I had a hard time painting on layers with the white, and if it was too thin, I couldn’t get the white to be opaque enough.
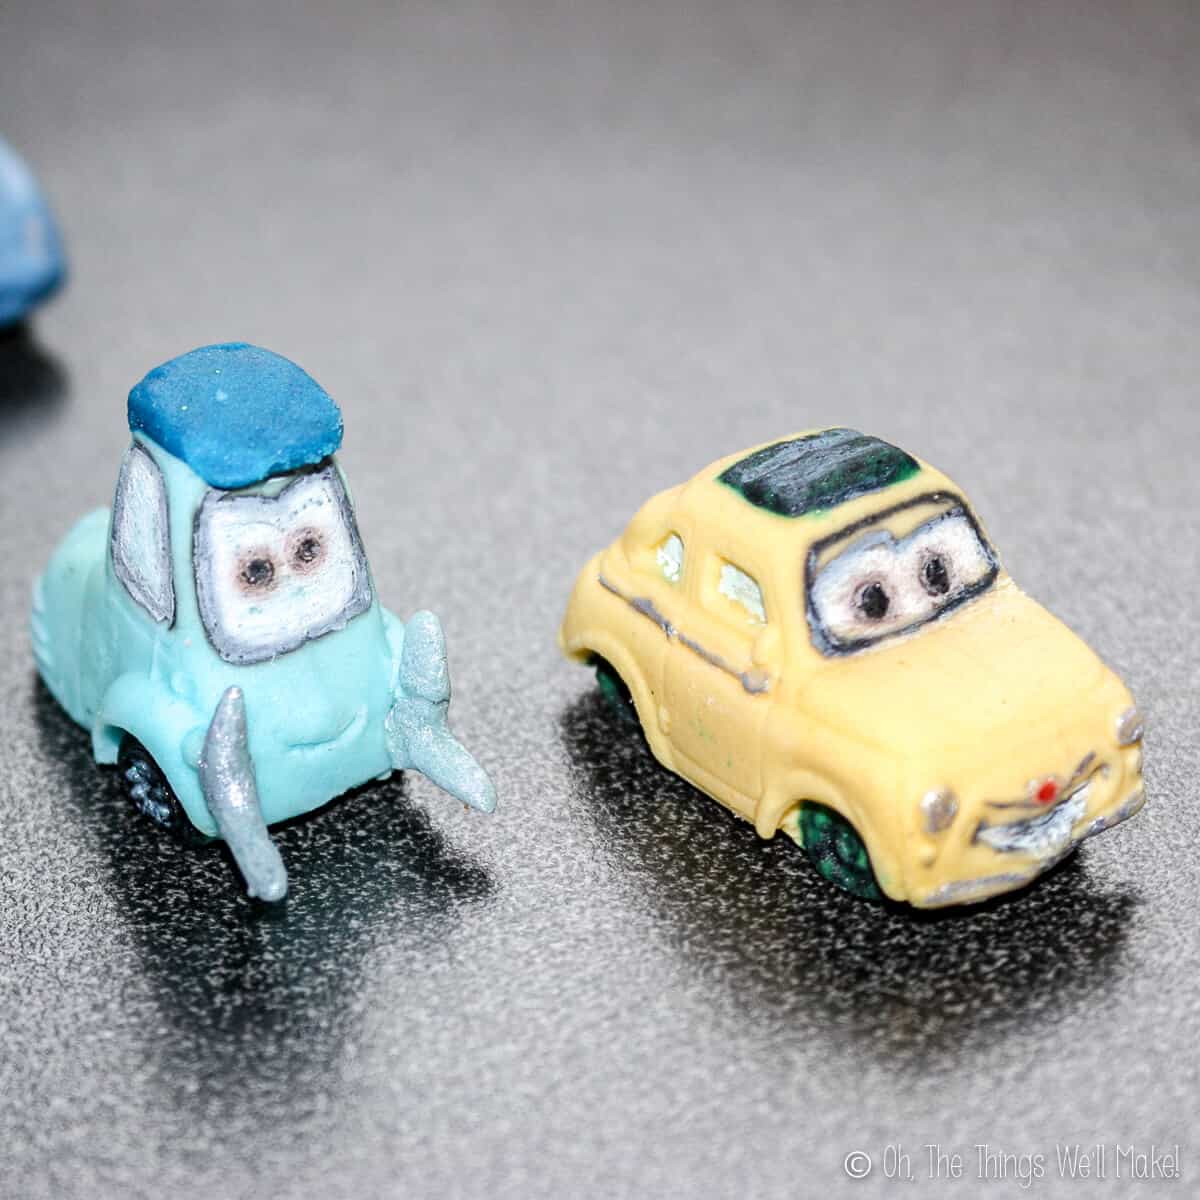
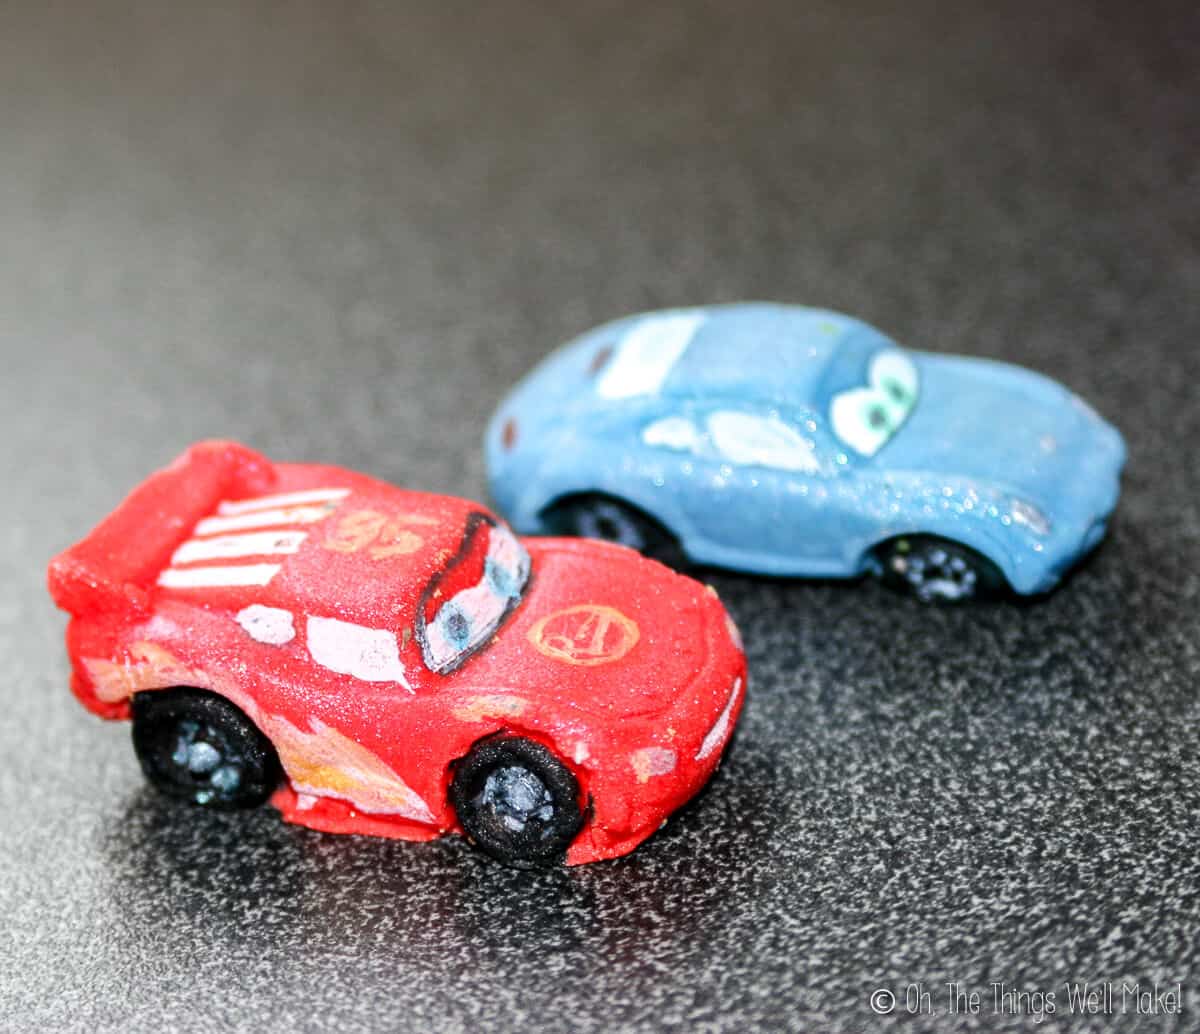
After the white was dry, I drew on the eyes with edible markers. I also added some shine to the cars with metallic edible paints and edible glitter.
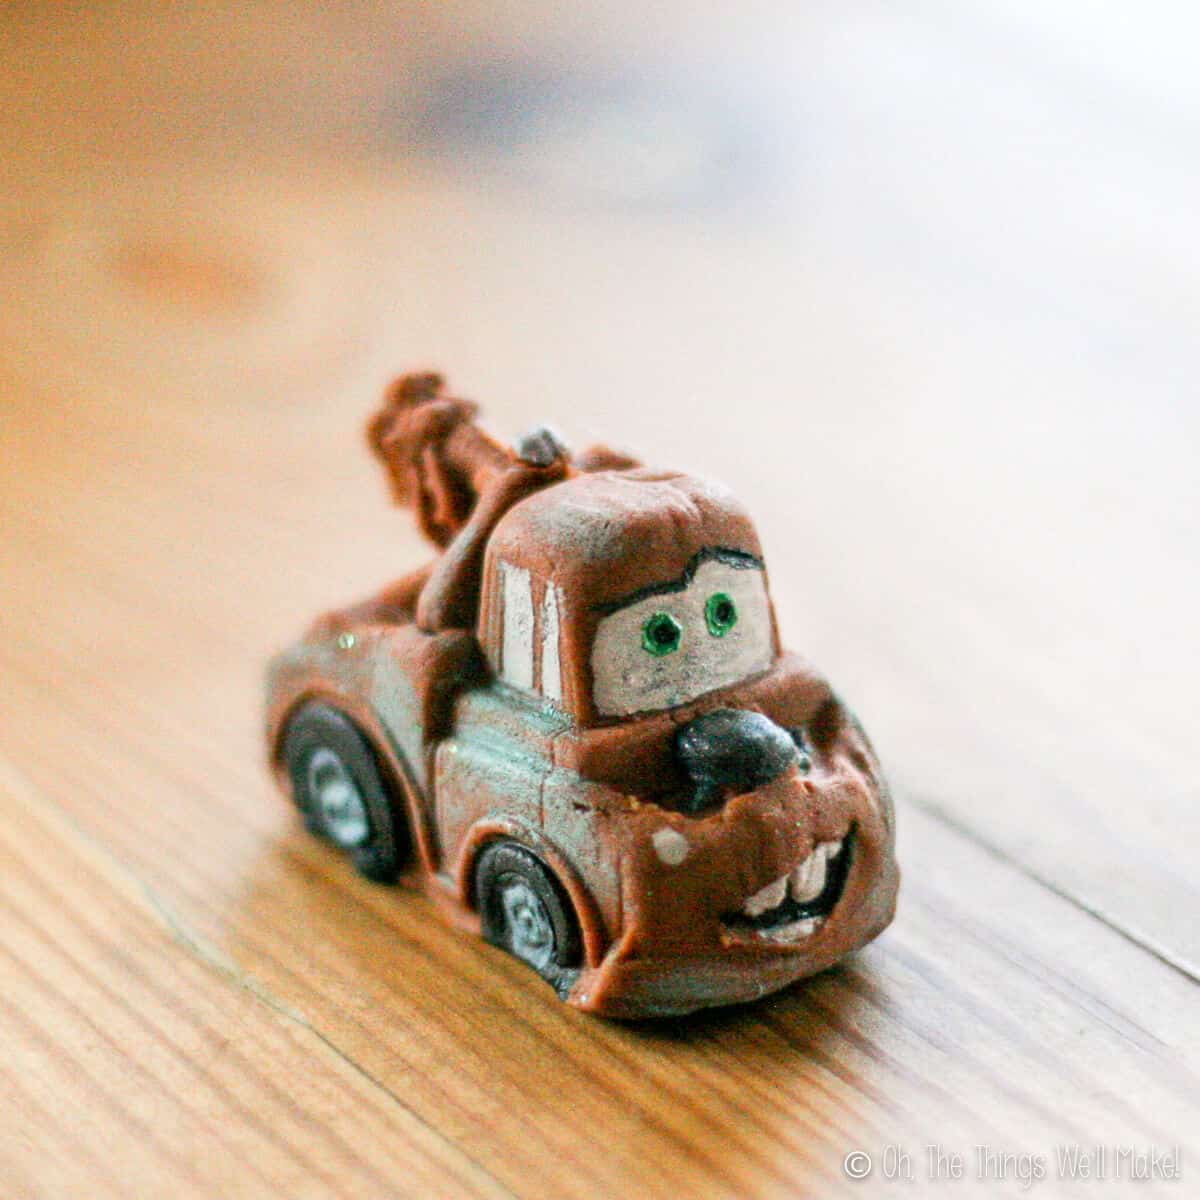
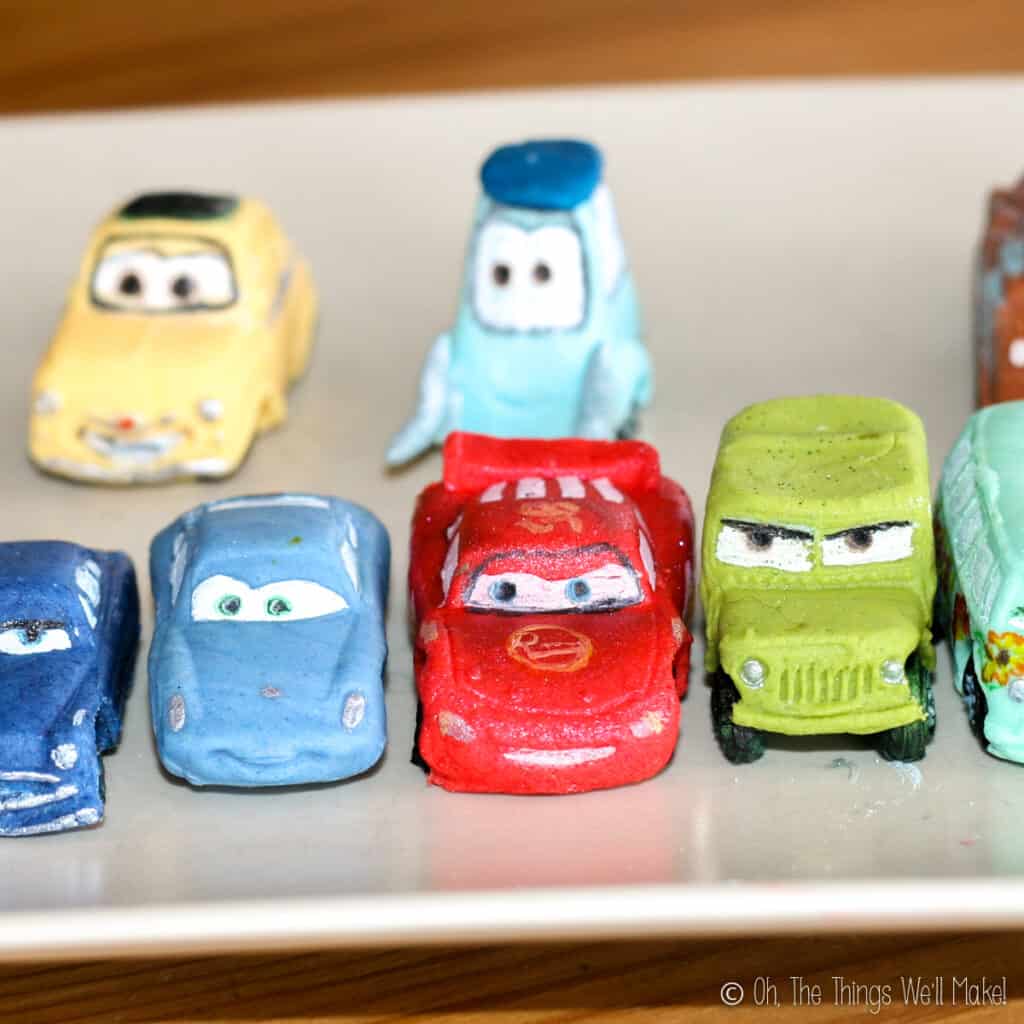
For Mater, I brushed on some turquoise colored edible dust (I used Rainbow Dust Magic Mint color) especially on his sides to help show off his true color before he got so rusty. You can see that the green eyes have also started to fade and bleed days later. I probably should have retouched them before taking the close-up pictures, but I wanted to show what happens if you paint the details on too soon before your party.
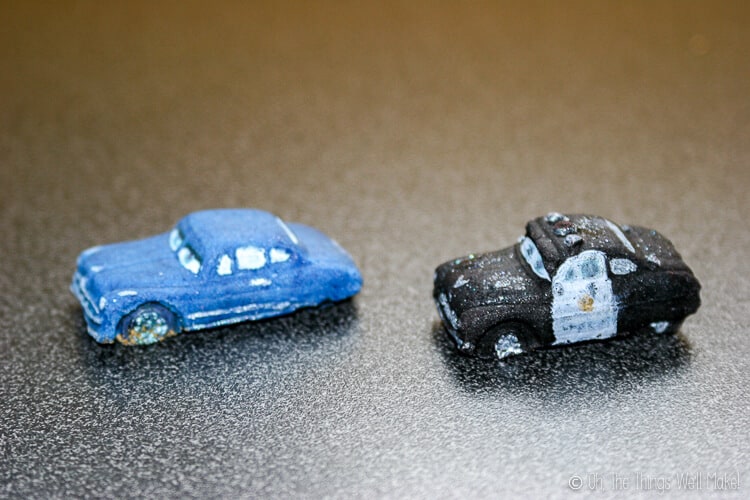
I didn’t think to take close-up pictures of the cars until after the party was done, so they don’t look quite as good as they did when first finished. The markers eventually start to soak into the fondant after a few days (especially where you have used the white icing color), so it’s probably best to save the final details until the last minute. I kept them looking just as they did days later for the pictures so you can see what I mean. In most cases, those things can be quickly retouched right before putting your figures on the cake, though.
So, now that I have shown you how to make the fondant cars, next time I will show you how I made the checkerboard cake!
 Español
 Homemade Cars Pit Pass Invitation Template and Tutorial
Leave a Reply