

Easy Lotion Bars
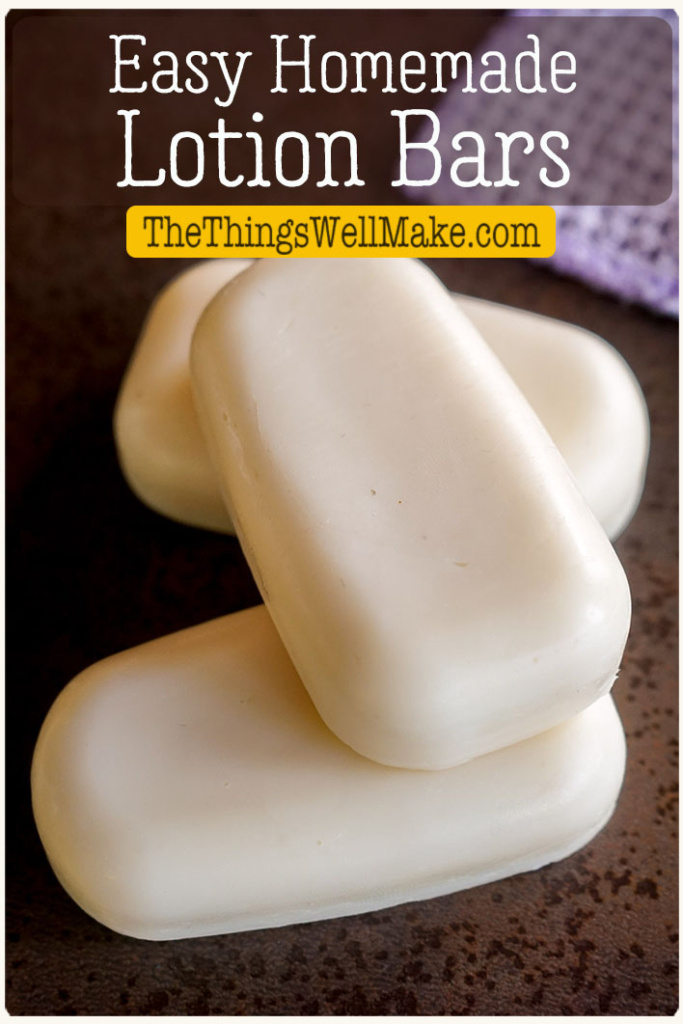
Simple to make and environmentally friendly, lotion bars are the ideal no-mess solution for nourishing your skin with zero-waste naturally.

Why make them?
Lotion bars are a great beginner recipe because they are easy to make and don’t use any complicated ingredients. Because they don’t have water in them, there is no need to add a preservative. (Nor do you need an emulsifier.)
Those who are following a sustainable lifestyle love lotion bars because they are a solid product that doesn’t need any packaging. While it’s best to have a container for storing them to keep them dust-free (and away from water), they can be stored in a container that can be used over and over again. While I prefer to store them covered to prevent the outer surface from drying, they can be left on a soap dish too.
Because they are a solid product, they are very comfortable for traveling. Not only can they be brought aboard planes without any issues, but they are also less messy. Kids can easily apply them without getting lotion all over everything (and without spilling any bottles).
Ingredients
Lotion bars have just a few simple ingredients. To achieve a solid consistency that easily applies when rubbed over your skin, they combine equal amounts of beeswax, cocoa butter, and liquid oil(s). Depending on the consistency that you want to achieve, you can adjust the concentration of each of those ingredients.
For those who are vegan (or just avoiding beeswax for some reason or other), candelilla wax is a good substitute to beeswax.
Any liquid oil can be used. I used macadamia nut oil for my last batch, but you can use pretty much any liquid oil that you have available. That includes inexpensive cooking oils such as olive oil or sunflower oil. When using shelf-stable oils such as coconut oil or jojoba, your finished lotion bars will have a long shelf life.
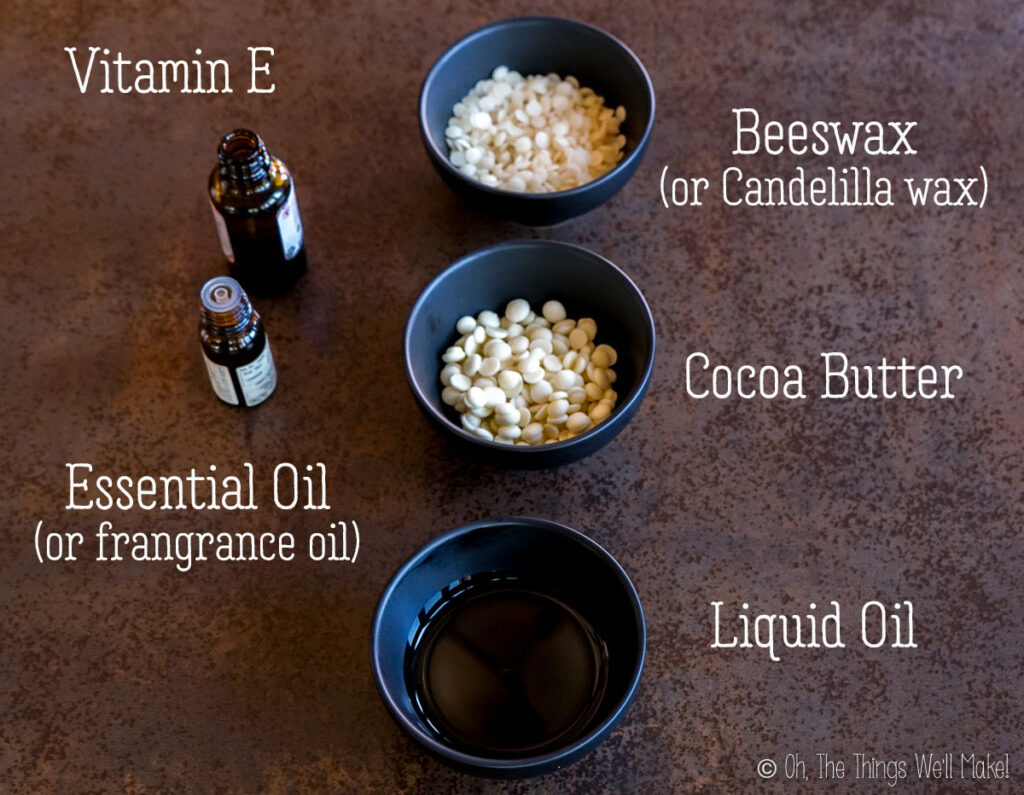
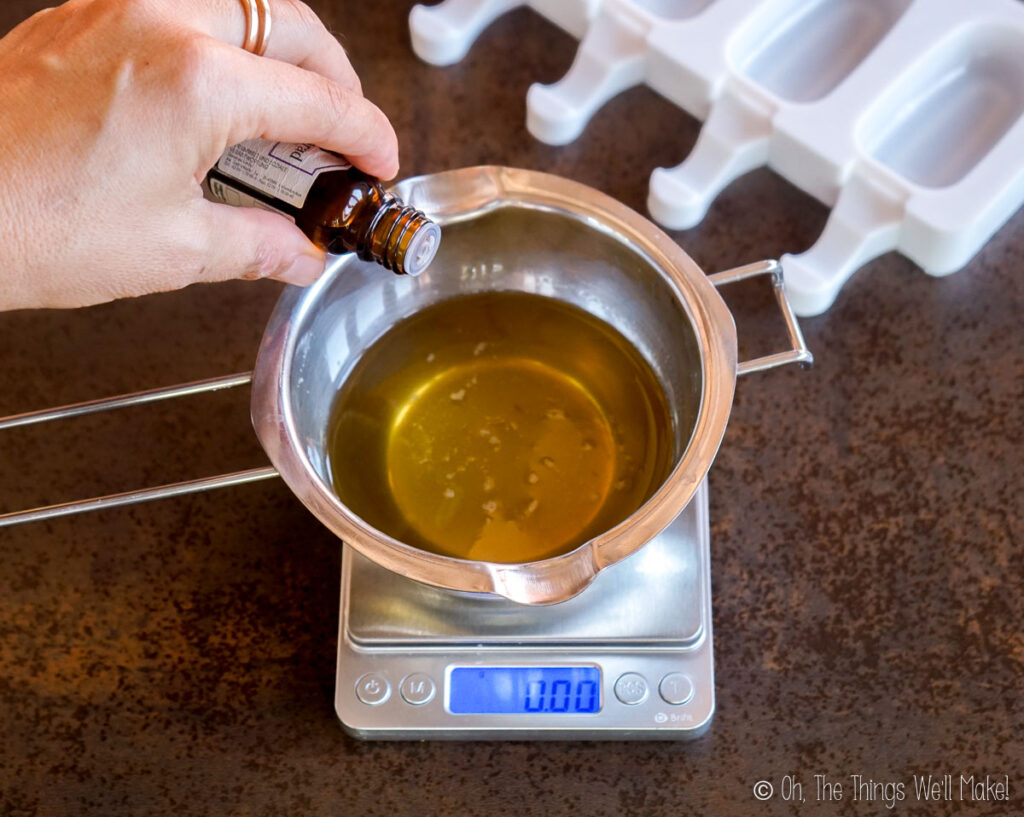
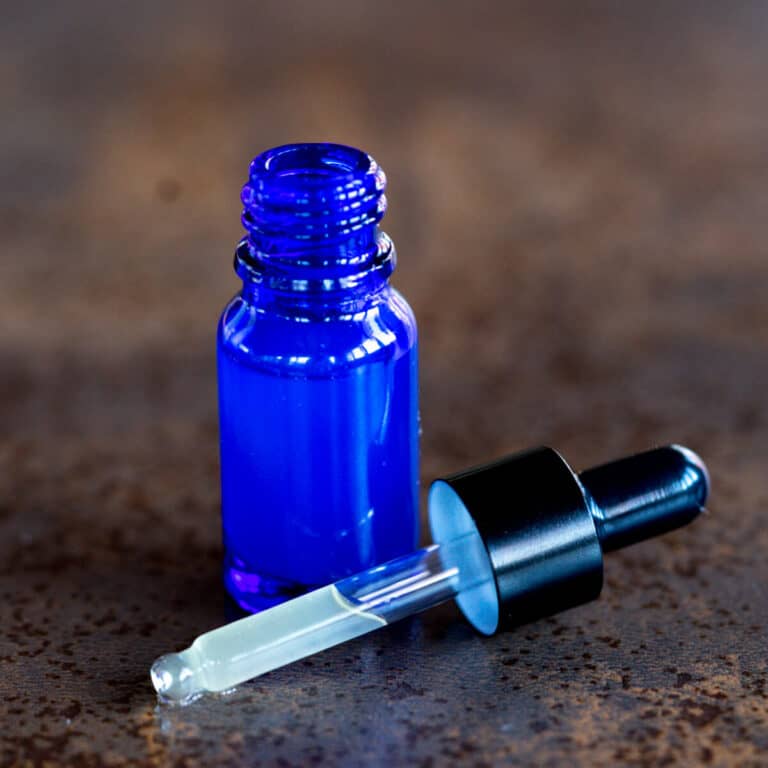
Optionally, you can add other ingredients to your lotion bars. I generally add some essential oils to provide a pleasant scent naturally, but you can also leave them unscented or add cosmetic-grade fragrance oils instead.
Because this is an oil-based product, you shouldn’t use water-based fragrances or other ingredients when customizing your lotion bars. This could provide food for microbes and could also cause your ingredients to separate out.
For more information about why you can’t add water-based ingredients to this recipe, read my beginner’s guide to emulsifiers and my beginner’s guide to preservatives!
Another optional ingredient, vitamin E is an antioxidant that can help extend the shelf-life of your lotion bars. It may also provide some beneficial properties for your skin.
Procedure
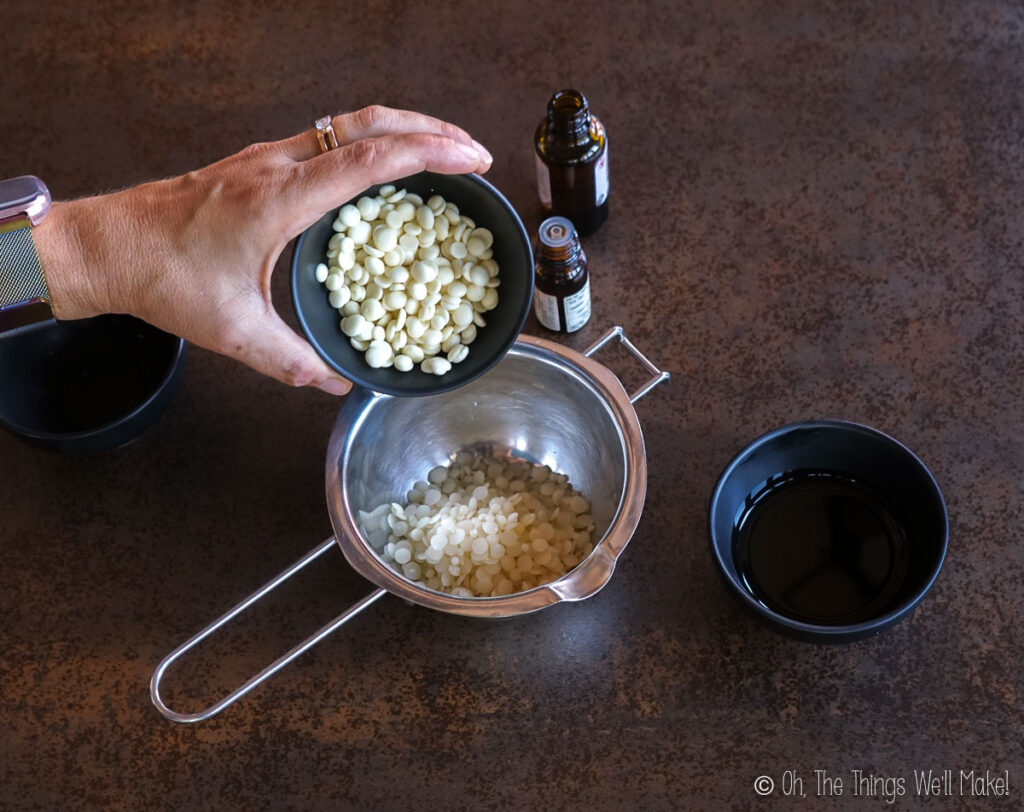
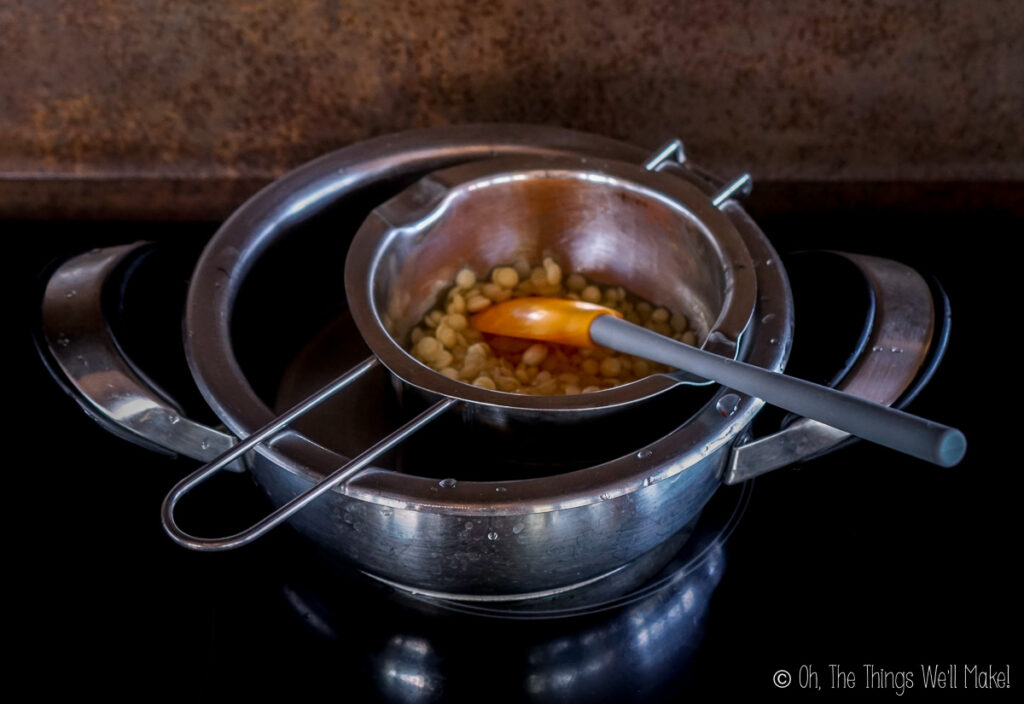
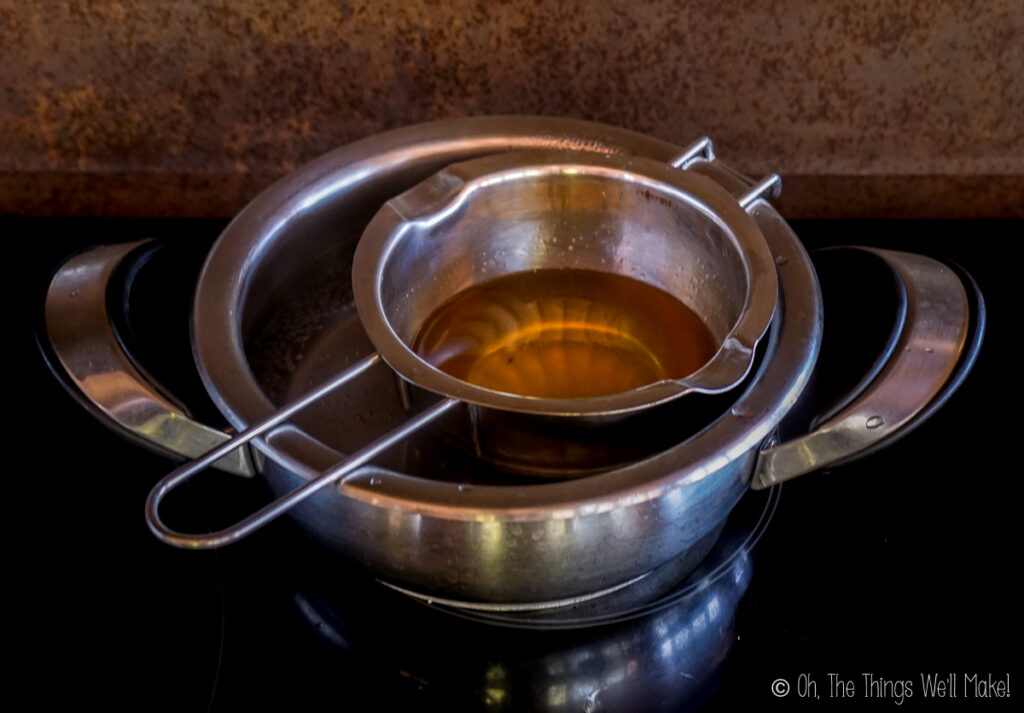
Making lotion bars is just as simple as the ingredients used to make them. You’ll start by heating together the three main components: beeswax, cocoa powder, and liquid oil until the wax and cocoa butter have completely melted.
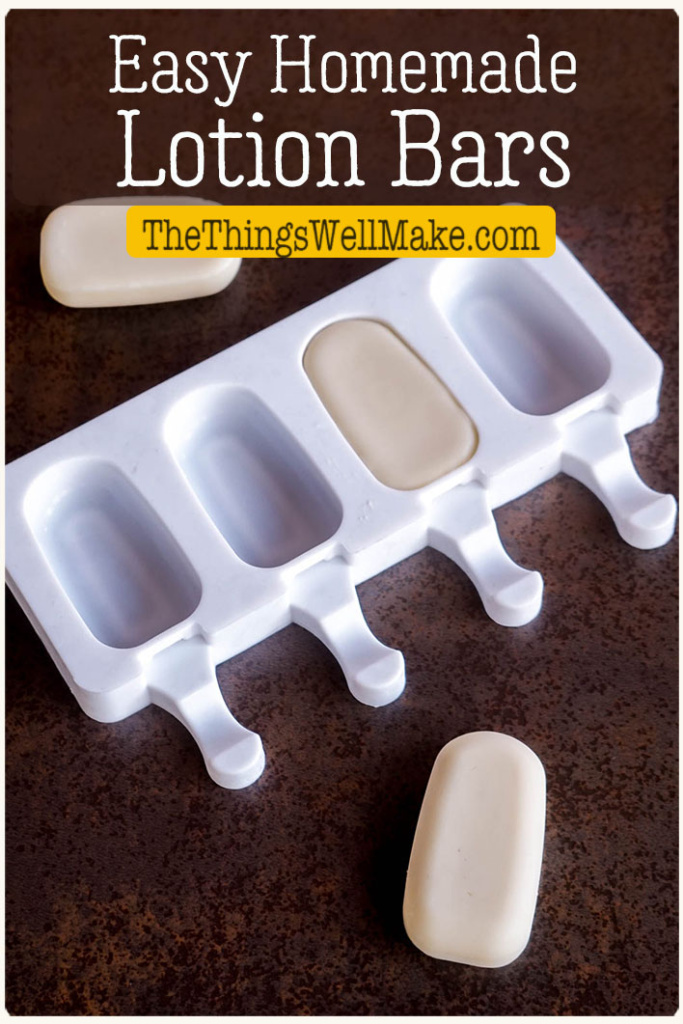
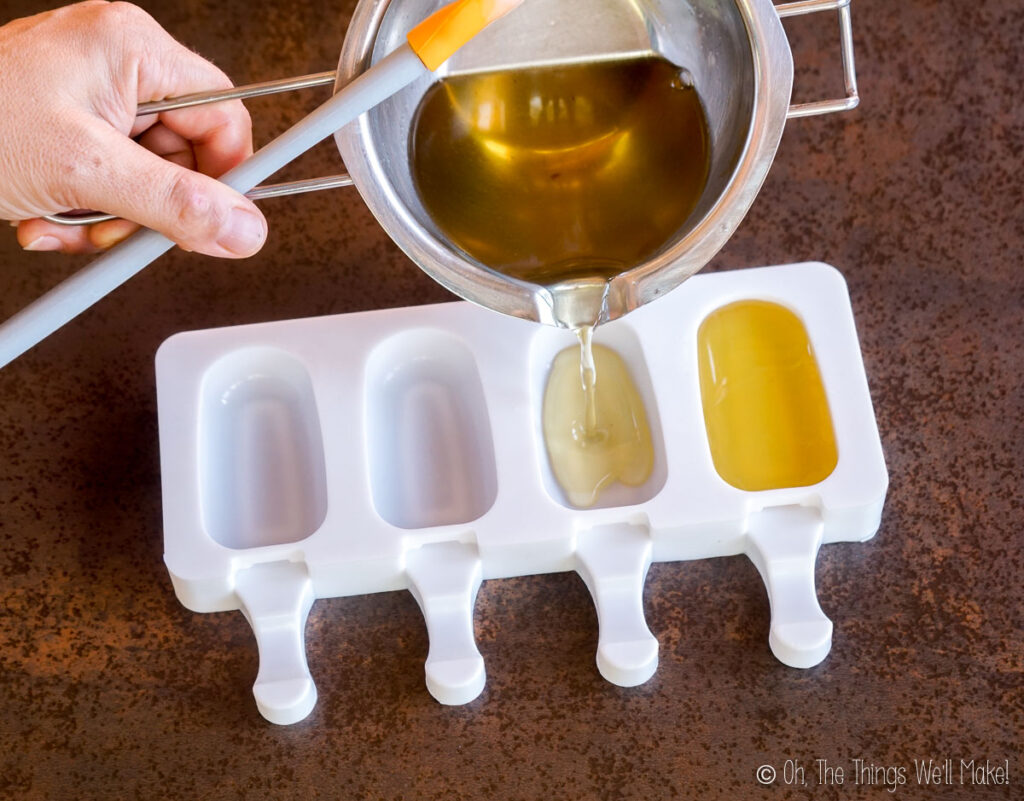
Once melted, remove them from the heat source and stir in additional ingredients like essential oils and/or vitamin E, if desired. Pour the mixture into molds. (I like using silicone soap or candy molds.)
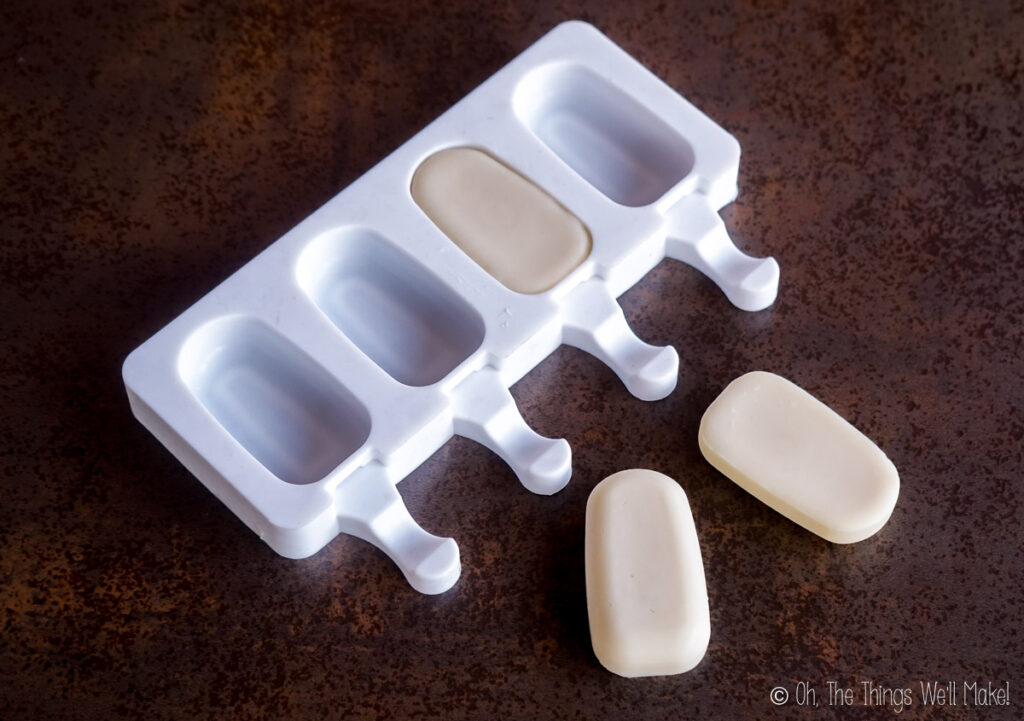
Once cooled completely, remove the finished lotions bars from their molds. Consider freezing them before removing them to ensure you can easily remove them without distorting or scratching them.
Storage
Store the finished lotion bars in airtight containers at room temperature. For easy travel, store them in soap tins or Tupperware-type containers. If you’d prefer to avoid plastic storage options, try using glass jars or metal tins (the latter is more appropriate for safe travel).
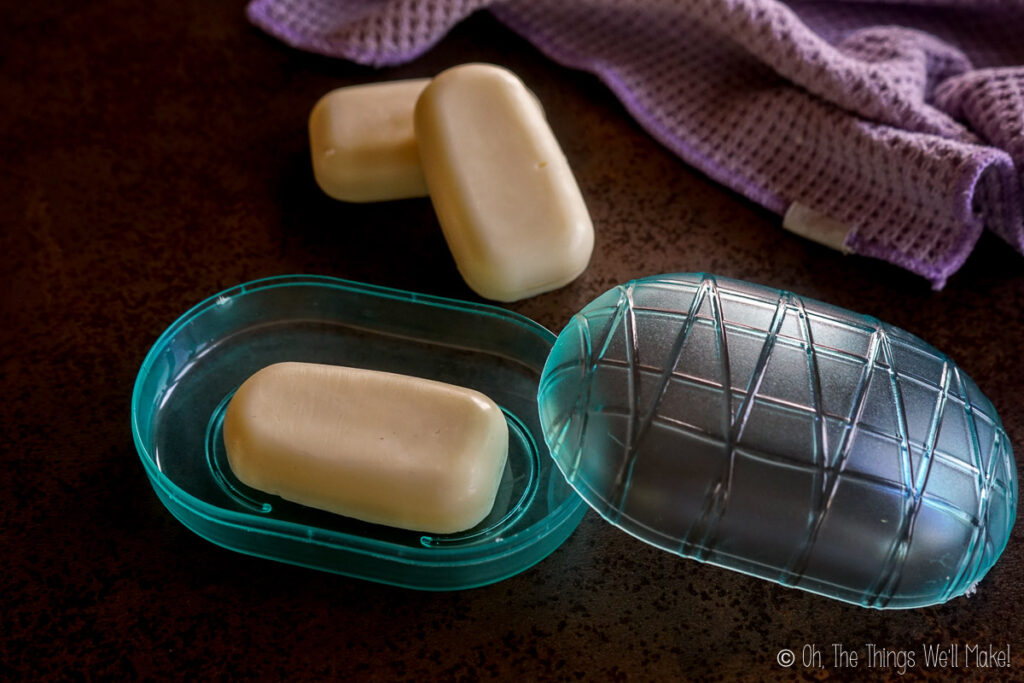
Soap dish 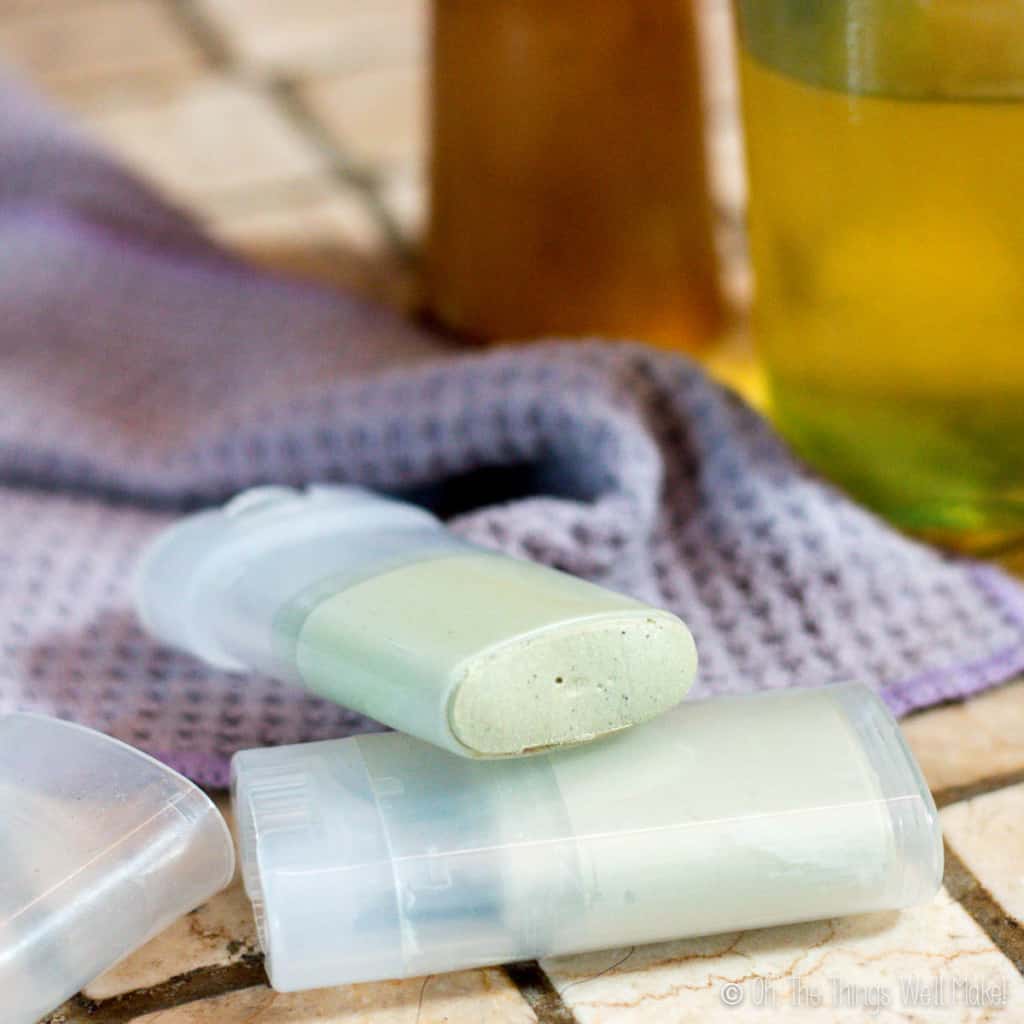
Deodorant applicators
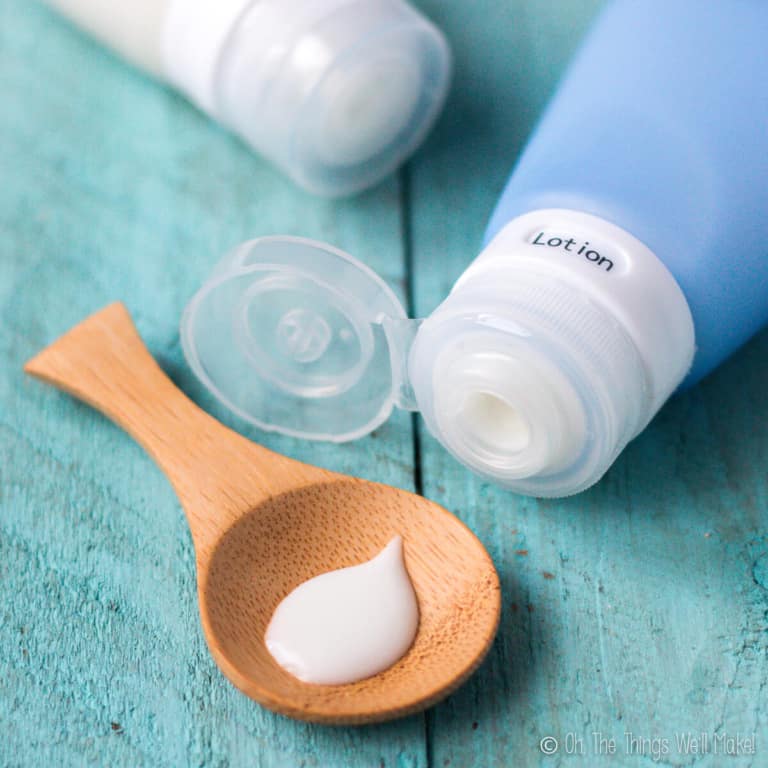
Another option for easy application is to pour the melted mixture into small deodorant applicator-style containers. That makes application even less messy, making it great for kids.
Shelf life
Lotion bars have a long shelf life and should remain stable for at least 6 months after being made. If stored properly, they may not go rancid even after several years.
In the end, though, the shelf life really depends on the quality and choice of ingredients used. If using fresh ingredients, the lotion bars will keep much longer than if you have used ingredients that have been sitting around for a while. Look at the “best before” date on your ingredients to have an idea of how long your finished bars will keep. (Use the product with the nearest expiration date as a reference.)
Stable oils with a long shelf life (like coconut oil or jojoba oil) will also make lotion bars with a longer shelf life than less stable oils like hemp oil.
Troubleshooting
While making these is quite simple, there may be times you aren’t perfectly happy with the results. Here are some common problems and solutions:
- If your lotion bar isn’t firm enough, consider adding more wax or reducing the amount of liquid oil in the recipe. To fix a batch you’ve already made, remelt the bars with a bit more wax. Then pour into molds as before.
- On the other hand, if it’s too firm or hard, add more liquid oil in the same way.
- If your lotion bar feels greasy, consider stirring in about a teaspoon of arrowroot powder or another starch into the mixture before pouring into molds.
- Lastly, if you’re having a hard time removing the lotion bars from the molds cleanly and easily, consider freezing them for a little while before unmolding.
Customizing the recipe
Adjusting the recipe to suit your needs isn’t difficult. Apart from adjusting the texture by changing the ratio between solid and liquid fats, you can also make other customizations.
Make sure that anything you add to your lotion bar doesn’t incorporate water. All ingredients should also be oil-soluble to avoid issues with clumping.
Adding color
Try incorporating color by varying adding some natural colorants to your lotion bars. Micas work wonderfully for coloring them, but other natural powders like alkanet and annatto seed powder should also work well. You can see the color of alkanet and annatto in my post about making a blush stick.
Don’t use water-based colorants! Even some water-soluble dry powders won’t work well for coloring lotion bars because they may clump up rather than cleanly color the lotion bars. If experimenting with a new colorant, try adding some to a small amount of oil to see if it will disperse well before trying to incorporate it into your mixture!
Incorporating botanicals
Another great way to customize your lotion bars is to infuse your oils with dry plant material. Using homemade aloe oil would be one great way to add the healing properties of this beneficial plant to your bars.
Rather than use aloe, you can also macerate dried herbs and other botanicals. Dried calendula flowers would be ideal as calendula is known for its soothing effects. Other options include plantain or dandelion flowers.
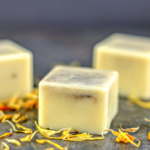
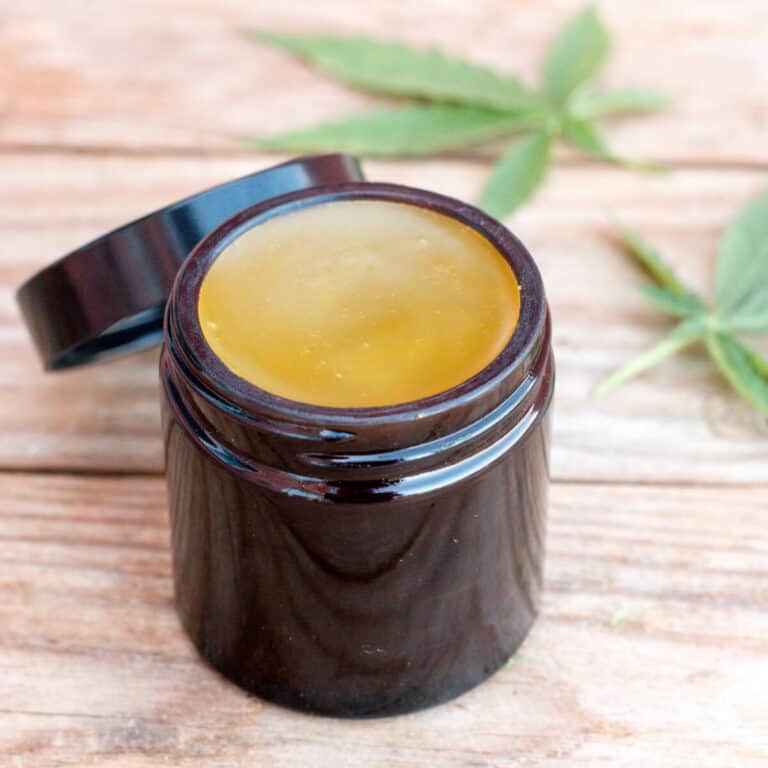
For more help incorporating botanicals, check out the recipe for homemade dandelion lotion bars.
Homemade Dandelion Lotion Bars
Video

Easy Lotion Bars
Equipment
Materials
- 33 grams beeswax
- 33 grams cocoa butter
- 33 grams liquid oil
- 0.5 grams vitamin E
- 0.5 grams essential oil
Instructions
- Weigh out the first three ingredients and add them to a heat-safe bowl or double boiler insert.
- Heat over a pan of simmering water at low to medium heat until all of the ingredients have melted.
- Remove from the heat source and add in the remaining ingredients.
- Pour into molds. (Silicone soap and candy molds work well.)
- Allow to cool. The cooling process can be sped up in the freezer.
- Remove the finished lotion bars once they've solidified. Store them in an airtight container.
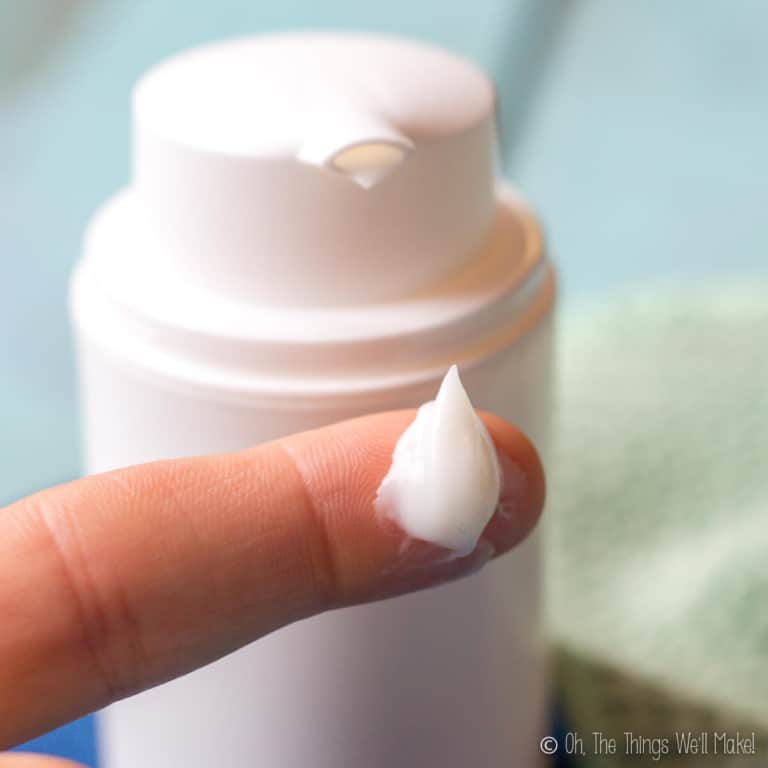
- To use, wipe over skin and rub it in. You may want to warm it between your hands first for easier application in cooler environments.
Notes
Storage
Store the finished lotion bars in airtight containers at room temperature. For easy travel, store them in soap tins or Tupperware-type containers. If you’d prefer to avoid plastic storage options, try using glass jars or metal tins (the latter is more appropriate for safe travel). Another option for easy application is to pour the melted mixture into small deodorant applicator style containers.
Shelf life
Lotion bars have a long shelf life. The shelf life depends on the quality and choice of ingredients used. Look at the “best before” date on your ingredients to have an idea of how long your finished bars will keep. (Use the product with the nearest expiration date as a reference.) Stable oils with a long shelf life (like coconut oil or jojoba oil) will also make lotion bars with a longer shelf life than less stable oils like hemp oil.Troubleshooting
- If your lotion bar isn’t firm enough, consider adding more wax or reducing the amount of liquid oil in the recipe. To fix a batch you’ve already made, remelt the bars with a bit more wax. Then pour into molds as before.
- If it’s too firm or hard, add more liquid oil in the same way.
- If your lotion bar feels greasy, consider stirring in about a teaspoon of arrowroot powder or another starch into the mixture before pouring into molds.
- If you’re having a hard time removing the lotion bars from the molds cleanly and easily, consider freezing them for a little while before unmolding.


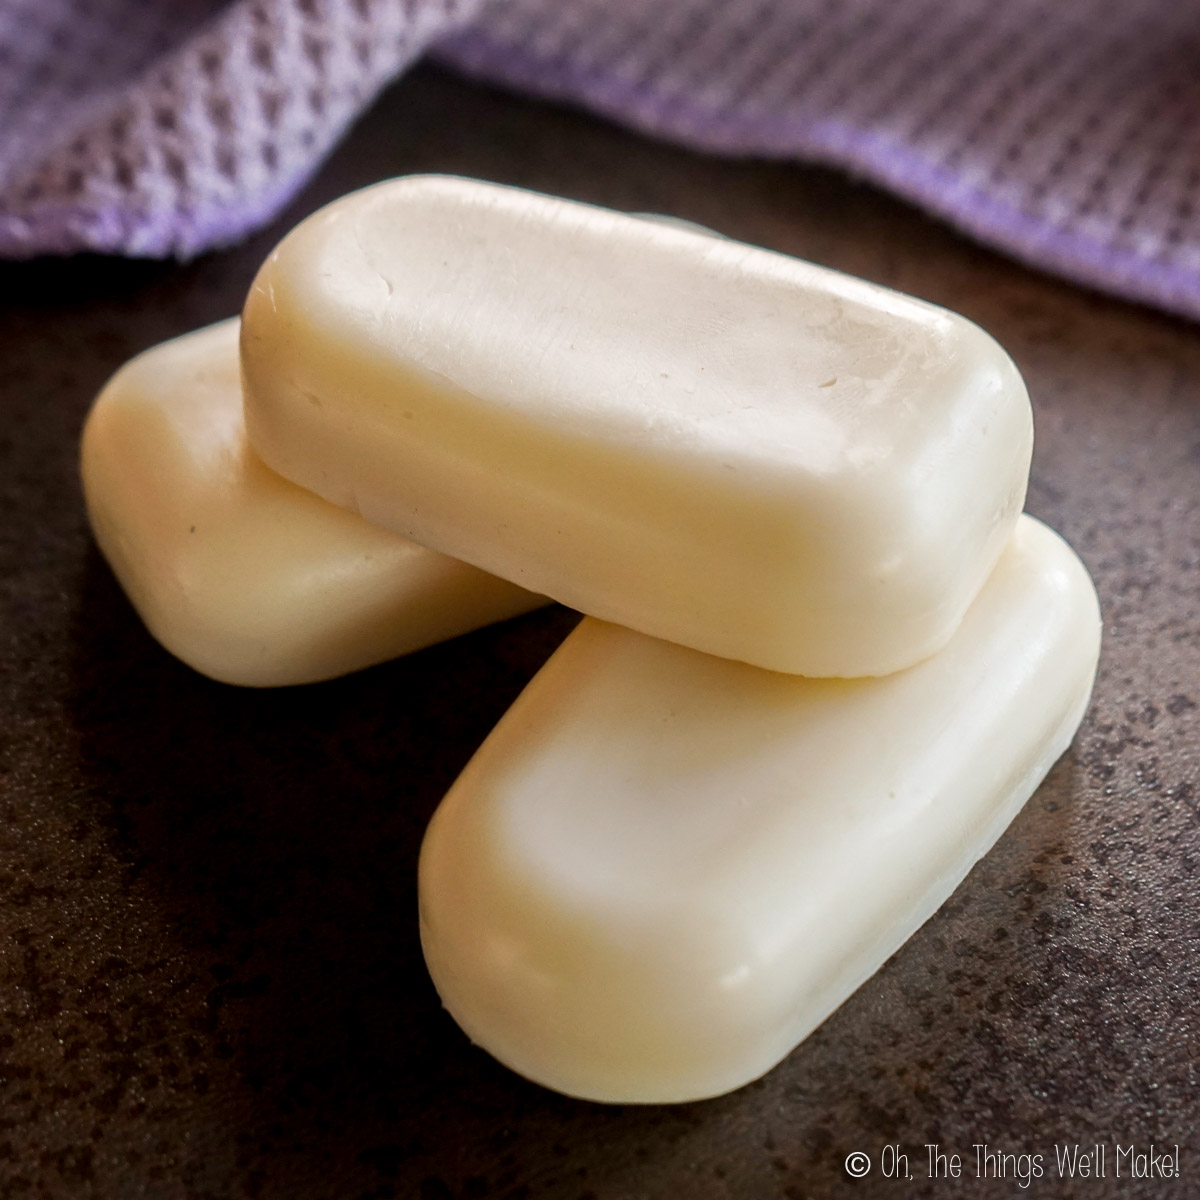
Hi Tracy! Looking forward to trying your recipe, would love to know where to get the molds you used?
Hi Susan,
Those were actually silicone popsicle molds. I just poured the mixture into them without inserting the sticks, which is why the bars have that slightly oblong shape.
Silicone molds work really well for lotion bars because they’re easy to unmold once the bars have cooled. Soap molds, candy molds, or even muffin molds would work just as well.
Thank you so much for these amazing recipes! I’m allergic to cocoa, is there something I can use in its place?
Hello!
A good substitute for cocoa butter in this recipe is kokum butter, which has a similar firmness and works well in lotion bars.
If you’d rather use a softer butter like shea or mango butter, the bars may turn out a bit softer. In that case, you can either reduce the liquid oil slightly or add a little extra beeswax to help firm them up.
Kokum butter is derived from a different plant than cocoa, making it safe for people with cocoa allergies. That being said, if you have really sensitive skin, it’s smart to do a little patch test with any new ingredient.
I have a question for you. I am allergic to bees, honey, and bees’ wax. Do you have a recommendation for a substitute natural wax?
Thank you
Generally, candelilla wax is recommended as a vegan alternative to beeswax. It’s pretty similar in texture, but I’m not sure if you’d need to experiment with how much you use to get the right texture. Luckily, this recipe is pretty forgiving.
Love your recipe, but what do you mean by “liquid oil”?
Thanks! By “liquid oil”, I mean any liquid that is generally a liquid at room temperature. So, I’m not referring to oils like coconut oil or tallow that solidify at room temperature. (Those oils/fats can be used, but if you’re using them in cooler climates, you’ll want to combine them with oils that stay liquid at your current ambient temperature to soften up the consistency.)